|
Here are some
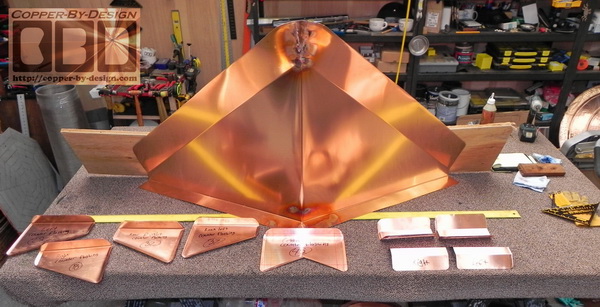
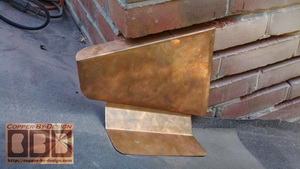
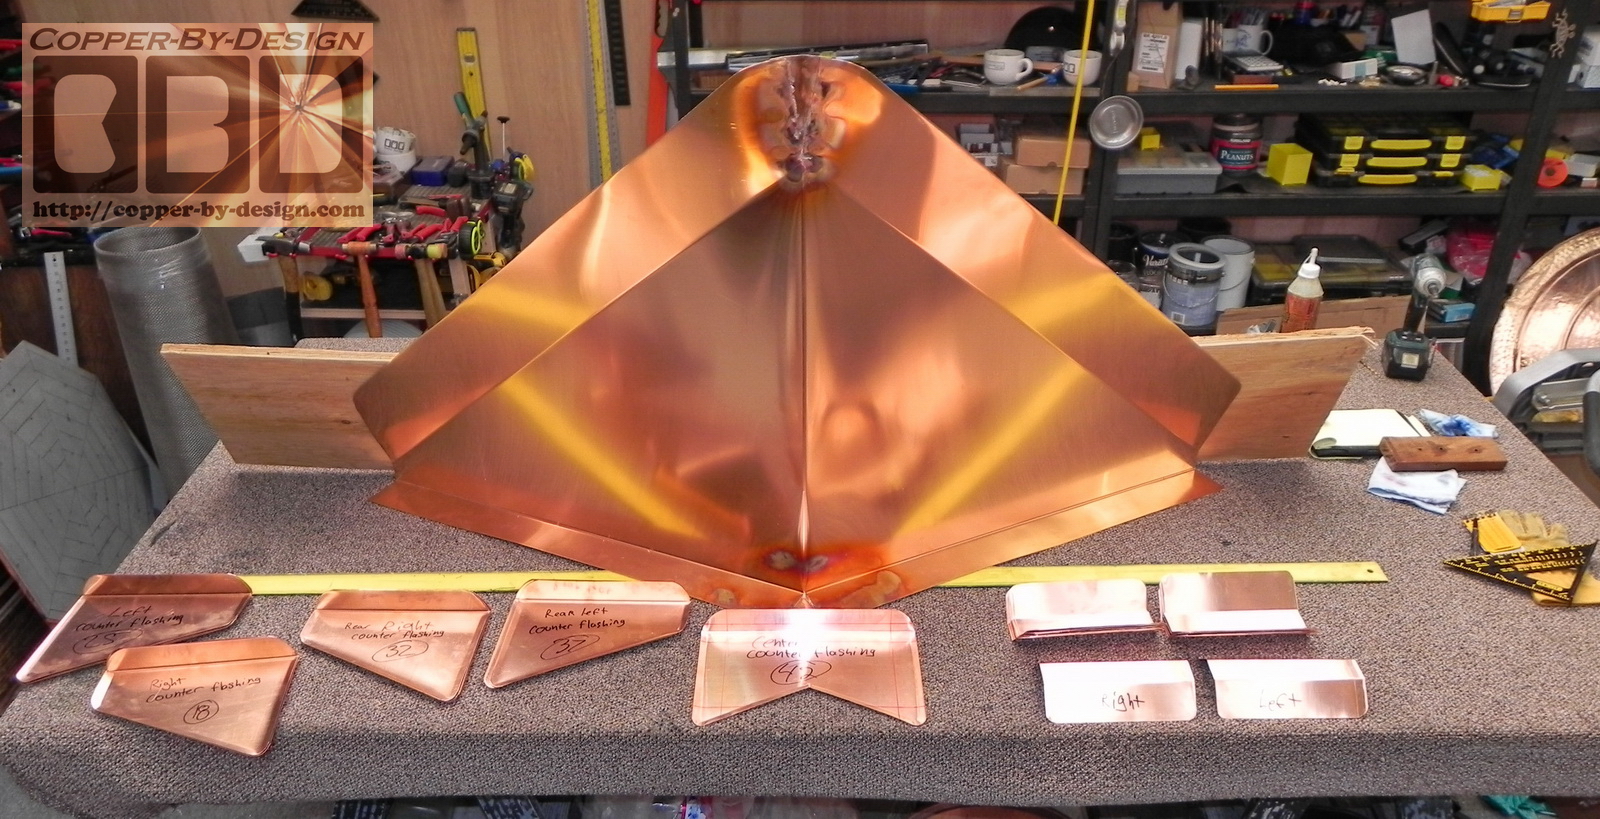
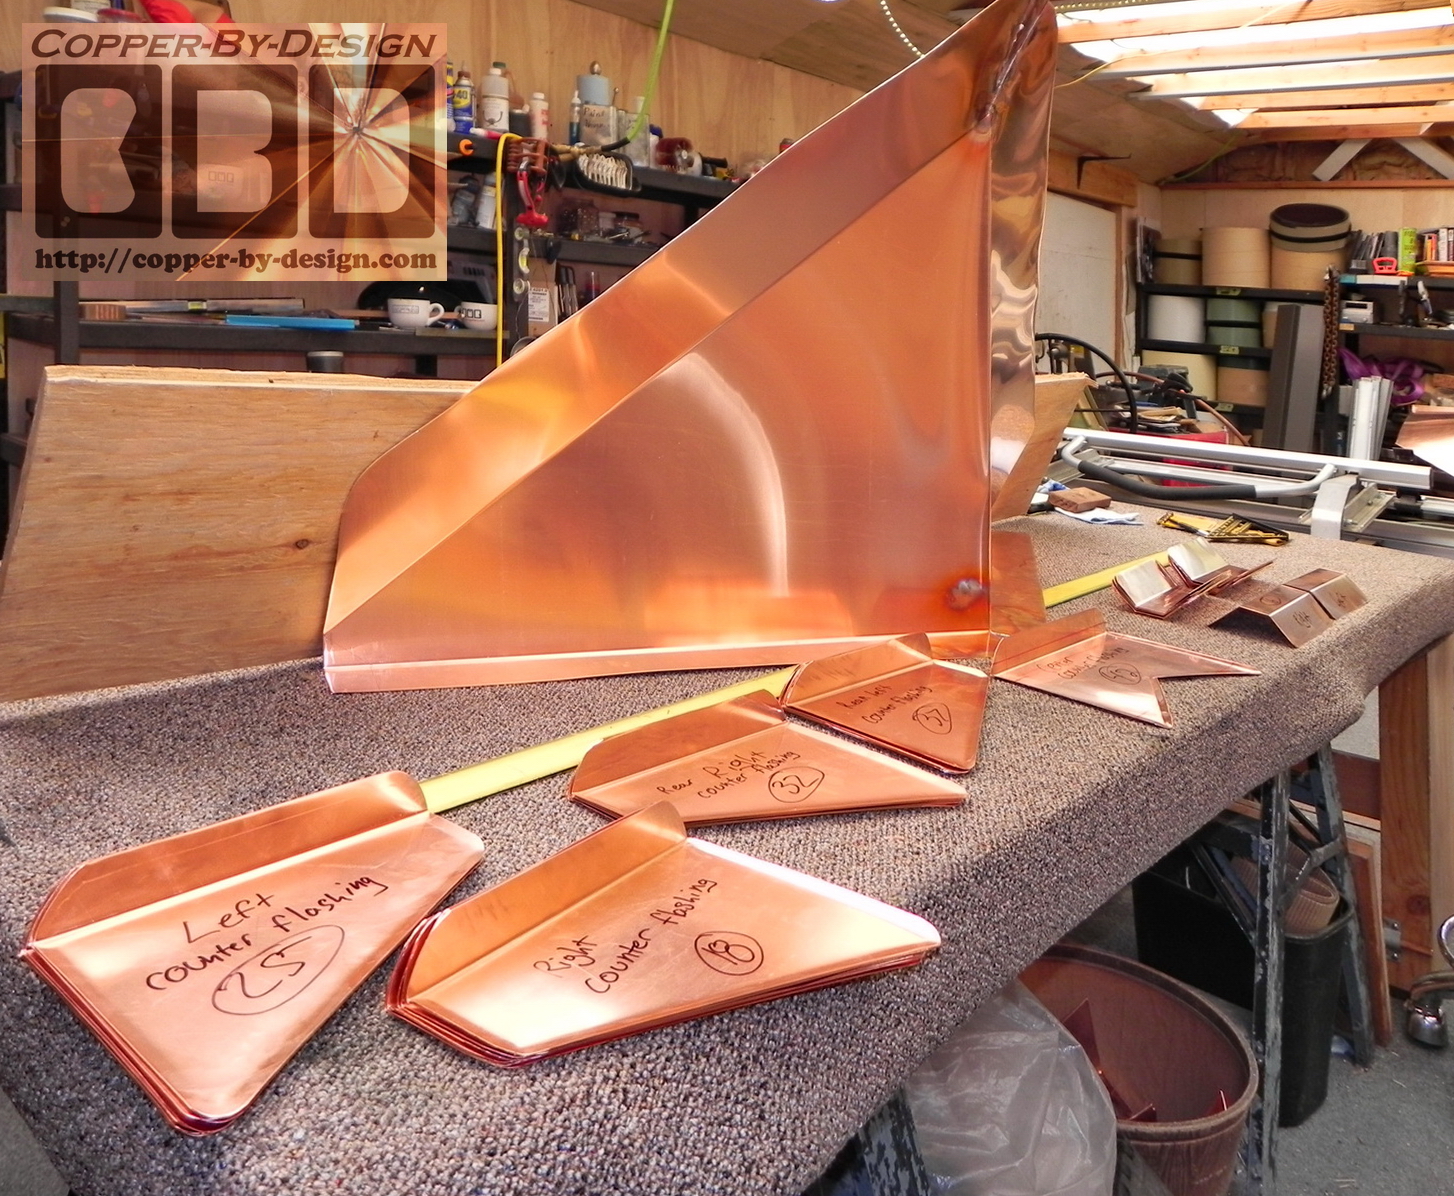
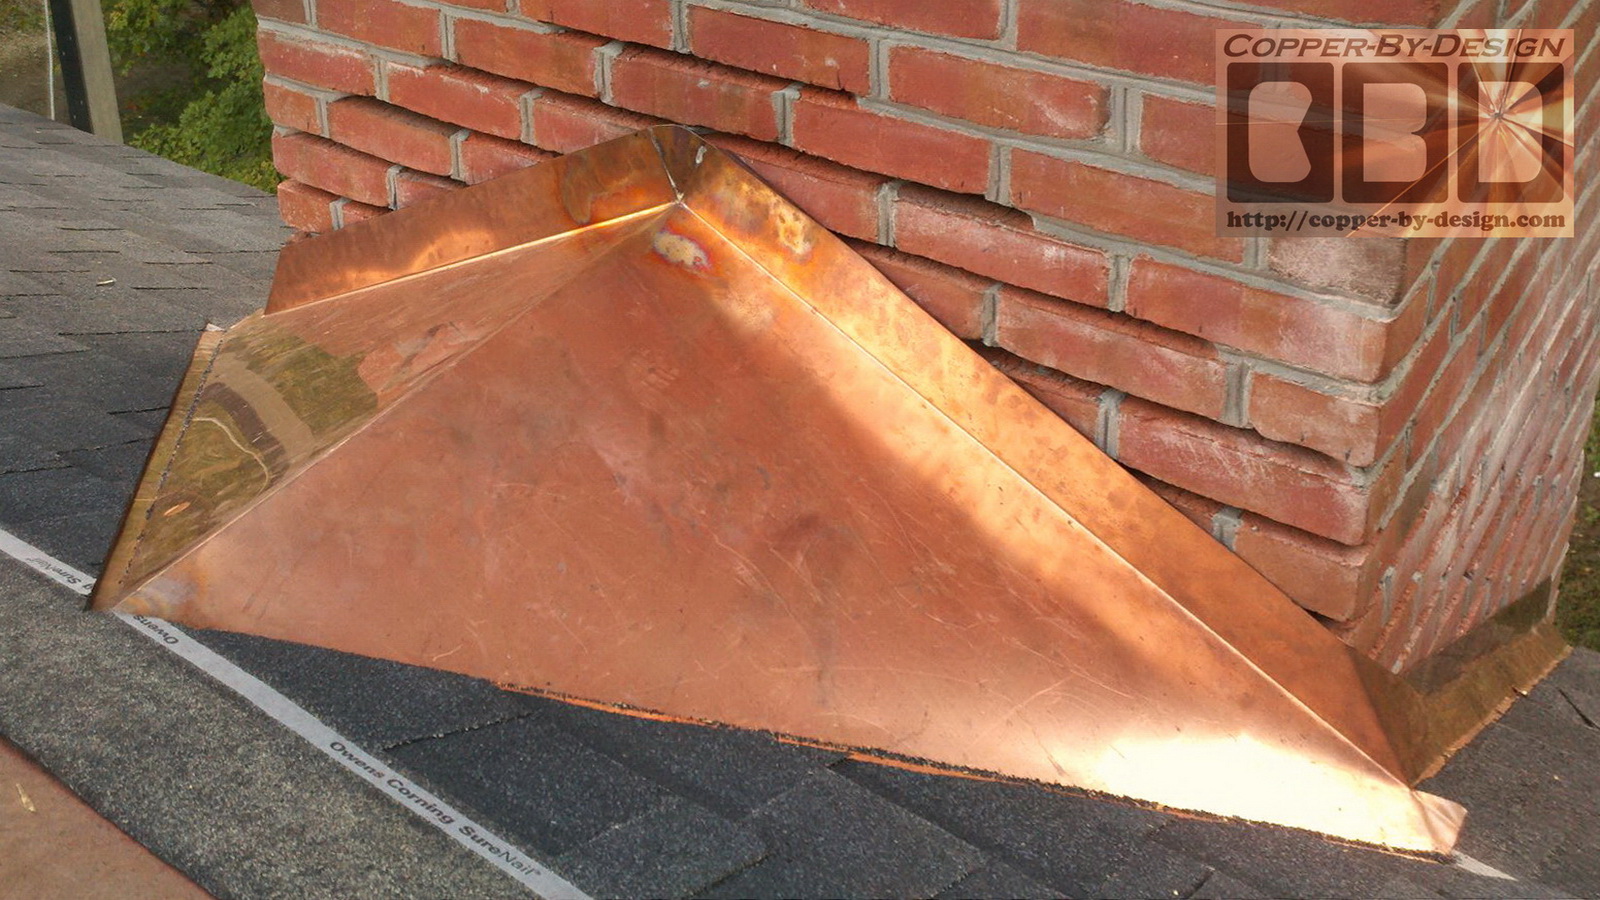
photos of a common chimney flashing kit custom made for our clients
Ralph and Media Druschel in Zelienople, Pennsylvania for the new
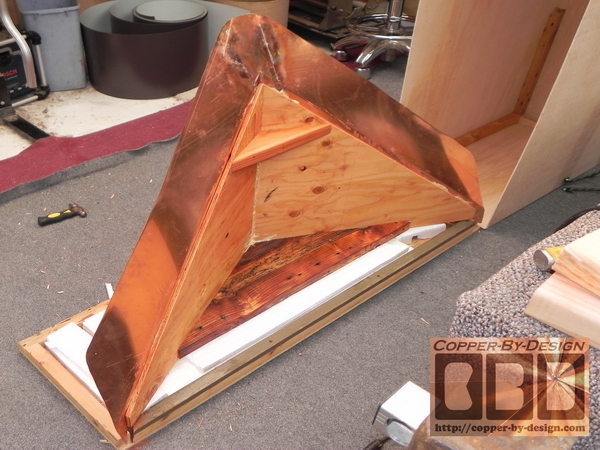
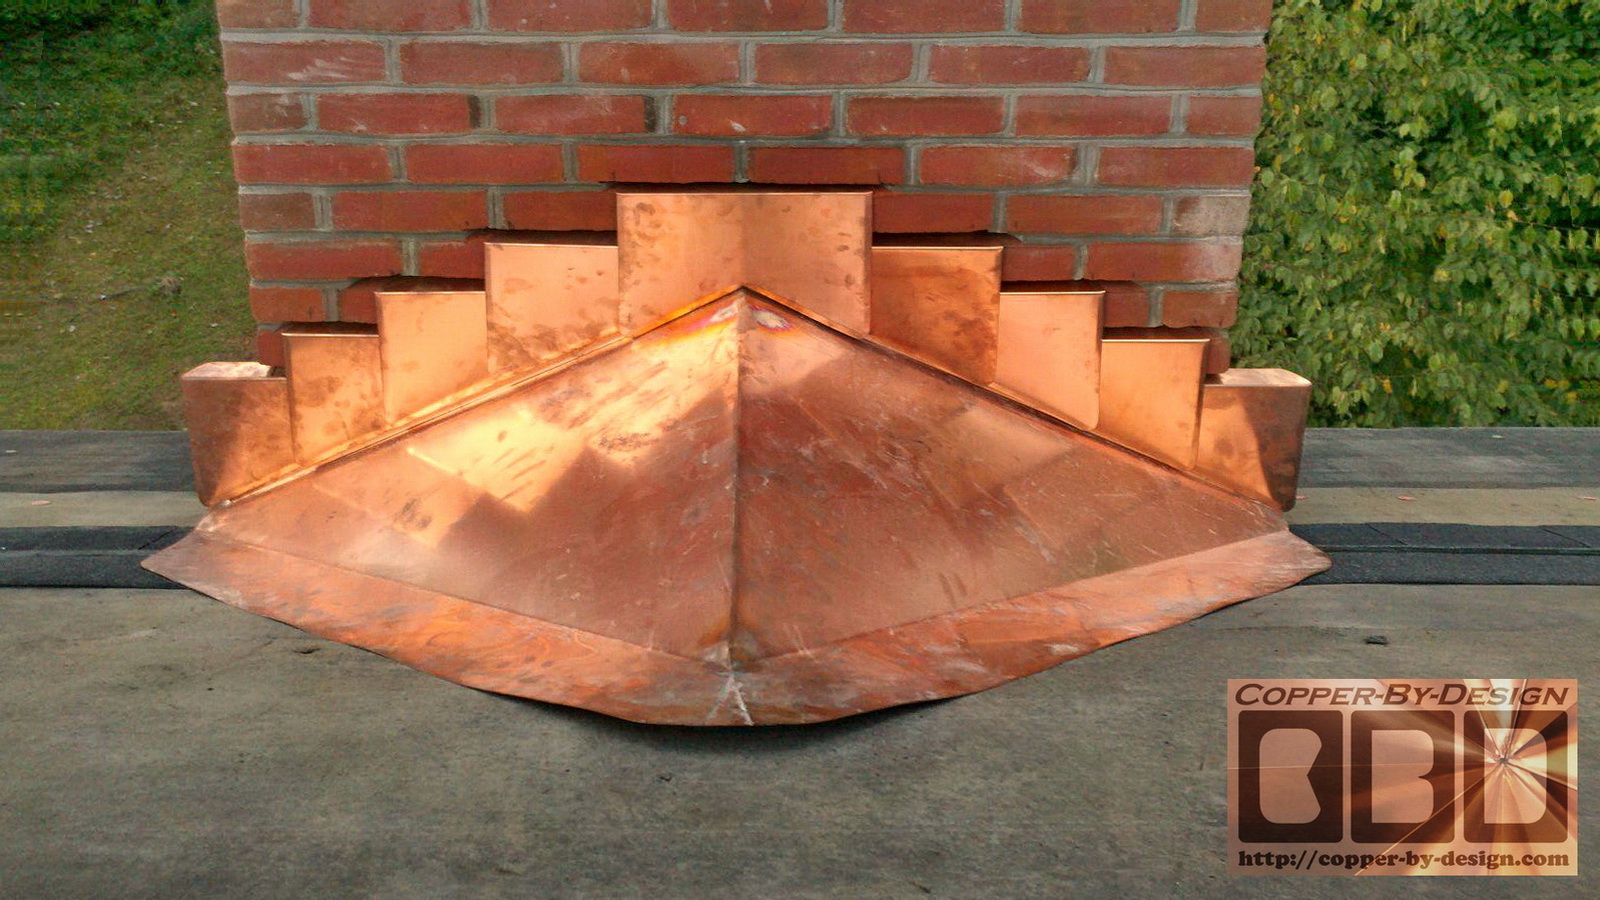
house they are building. This custom saddle has been designed to
have the same sideways slope as the roof and has been reinforced with
1/2" plywood to have the same strength under the copper as their
roof. This makes for a simple to install single piece design. I
could make a copper cover to go over an existing frame, but there's
a much higher chance it will not fit just right. This wood has been
glued up inside this copper cover.
The flashing kit
has been numbered and labeled to help the installer know how it is to
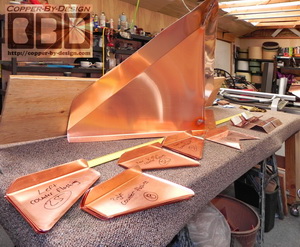
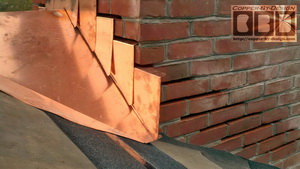
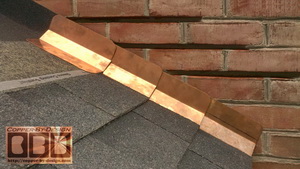
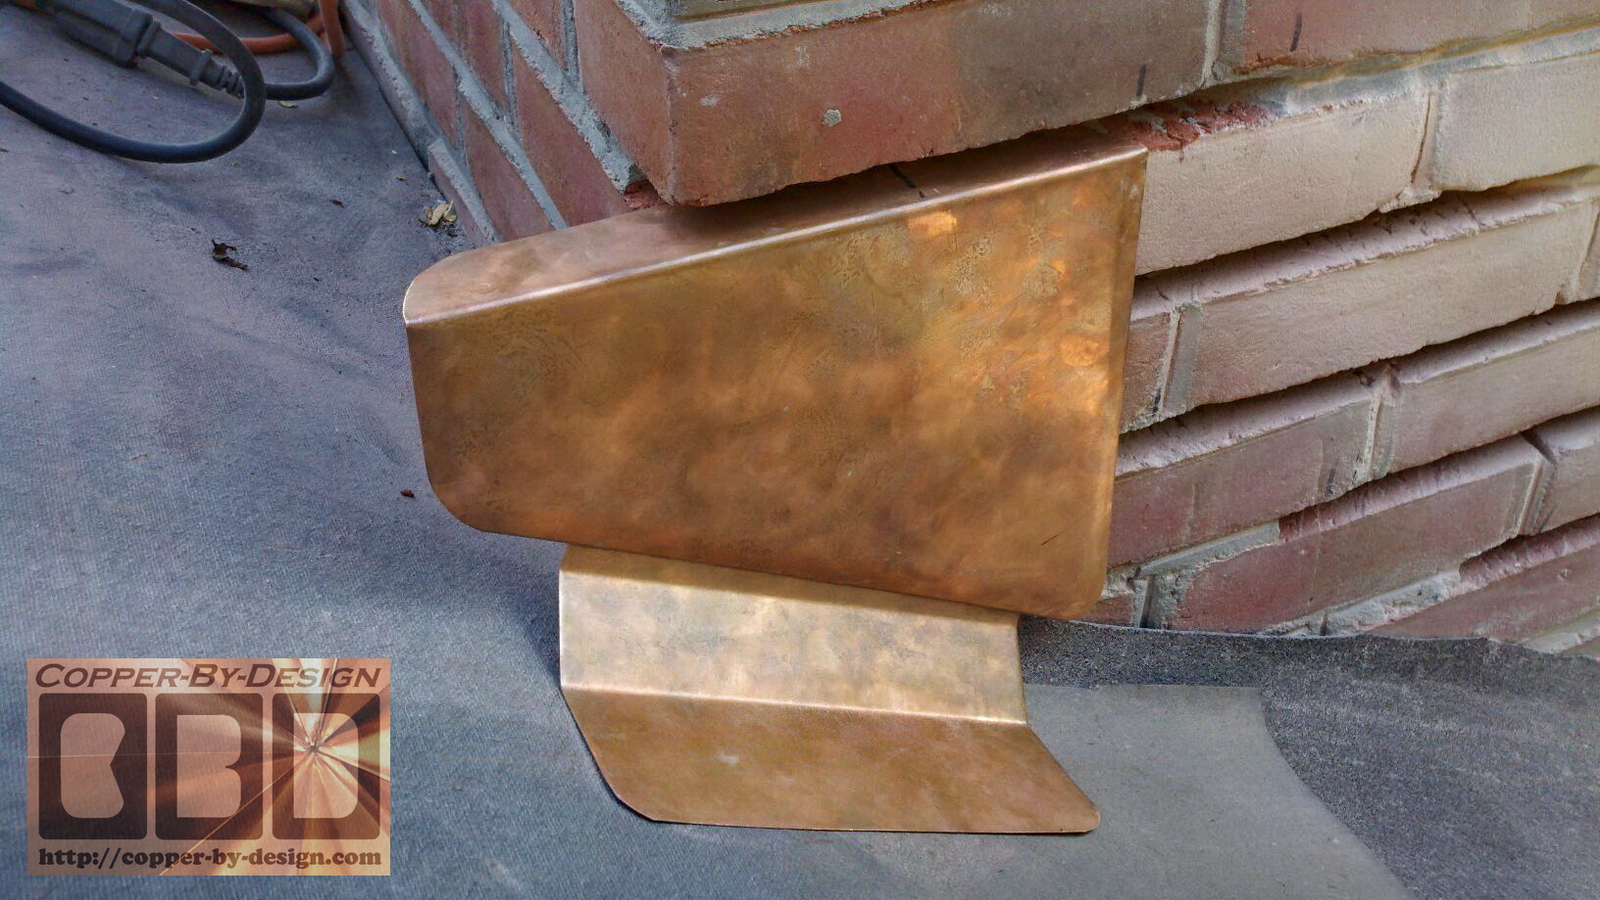
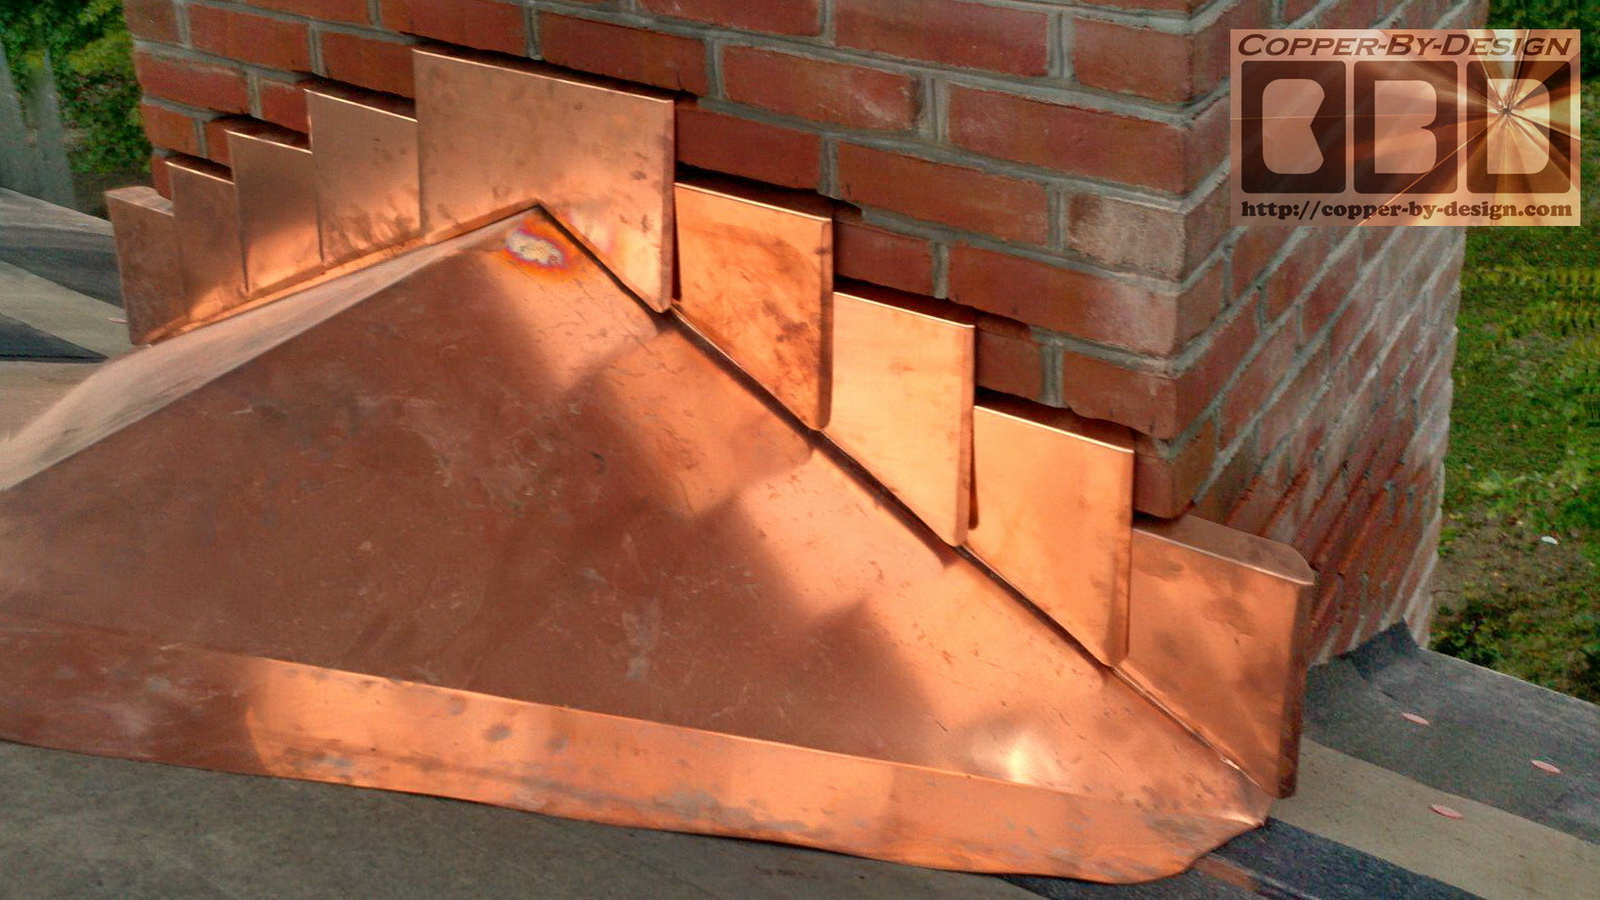
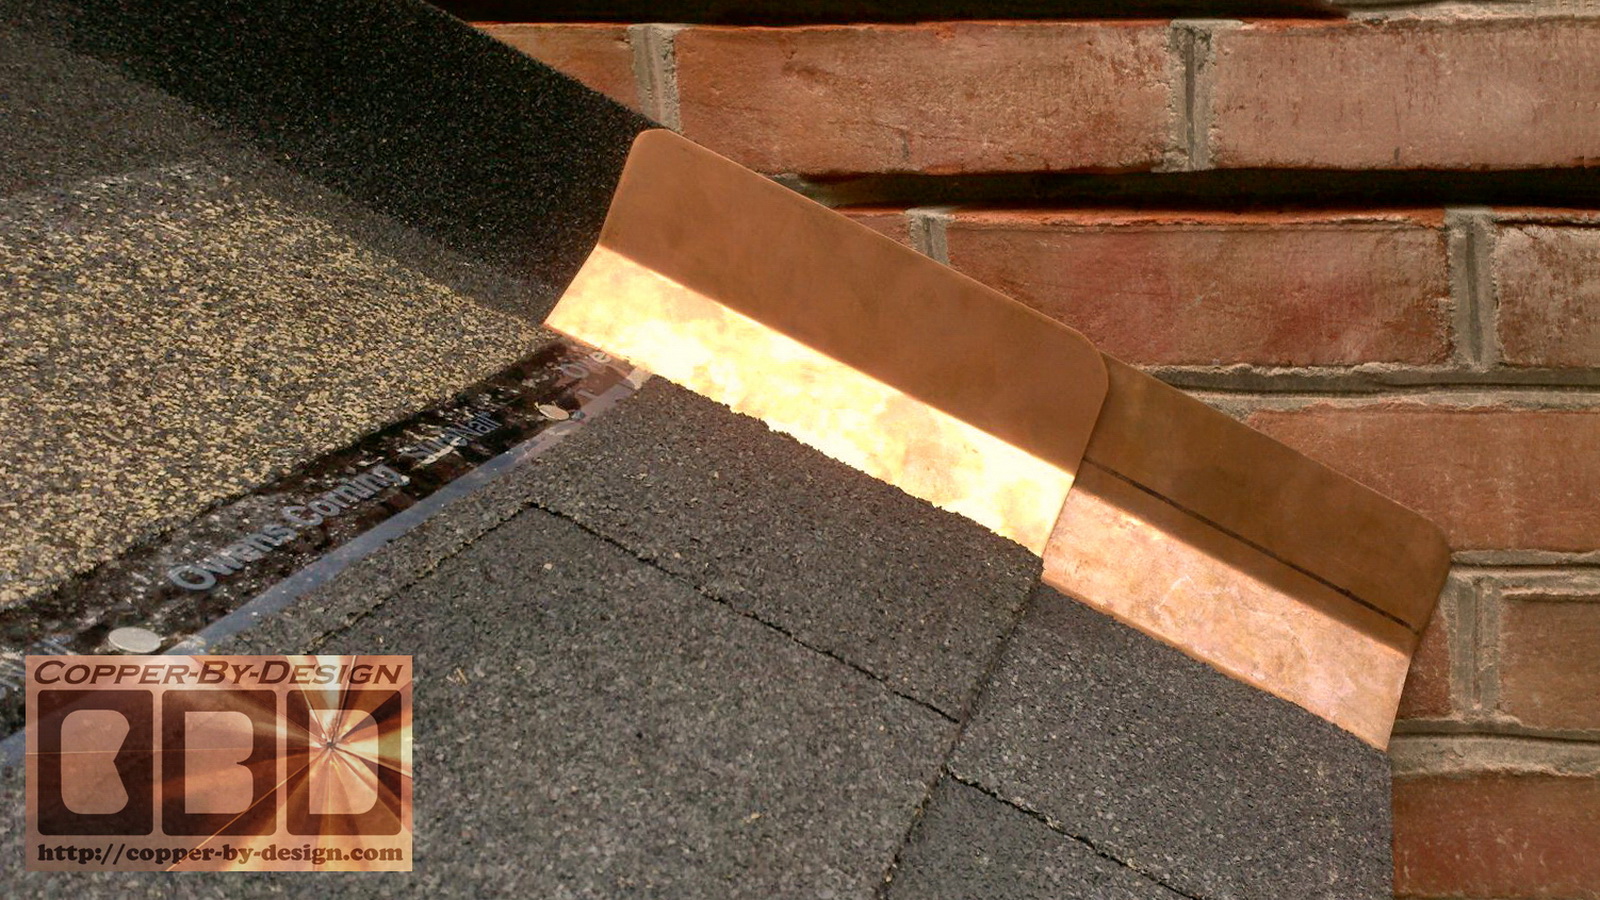
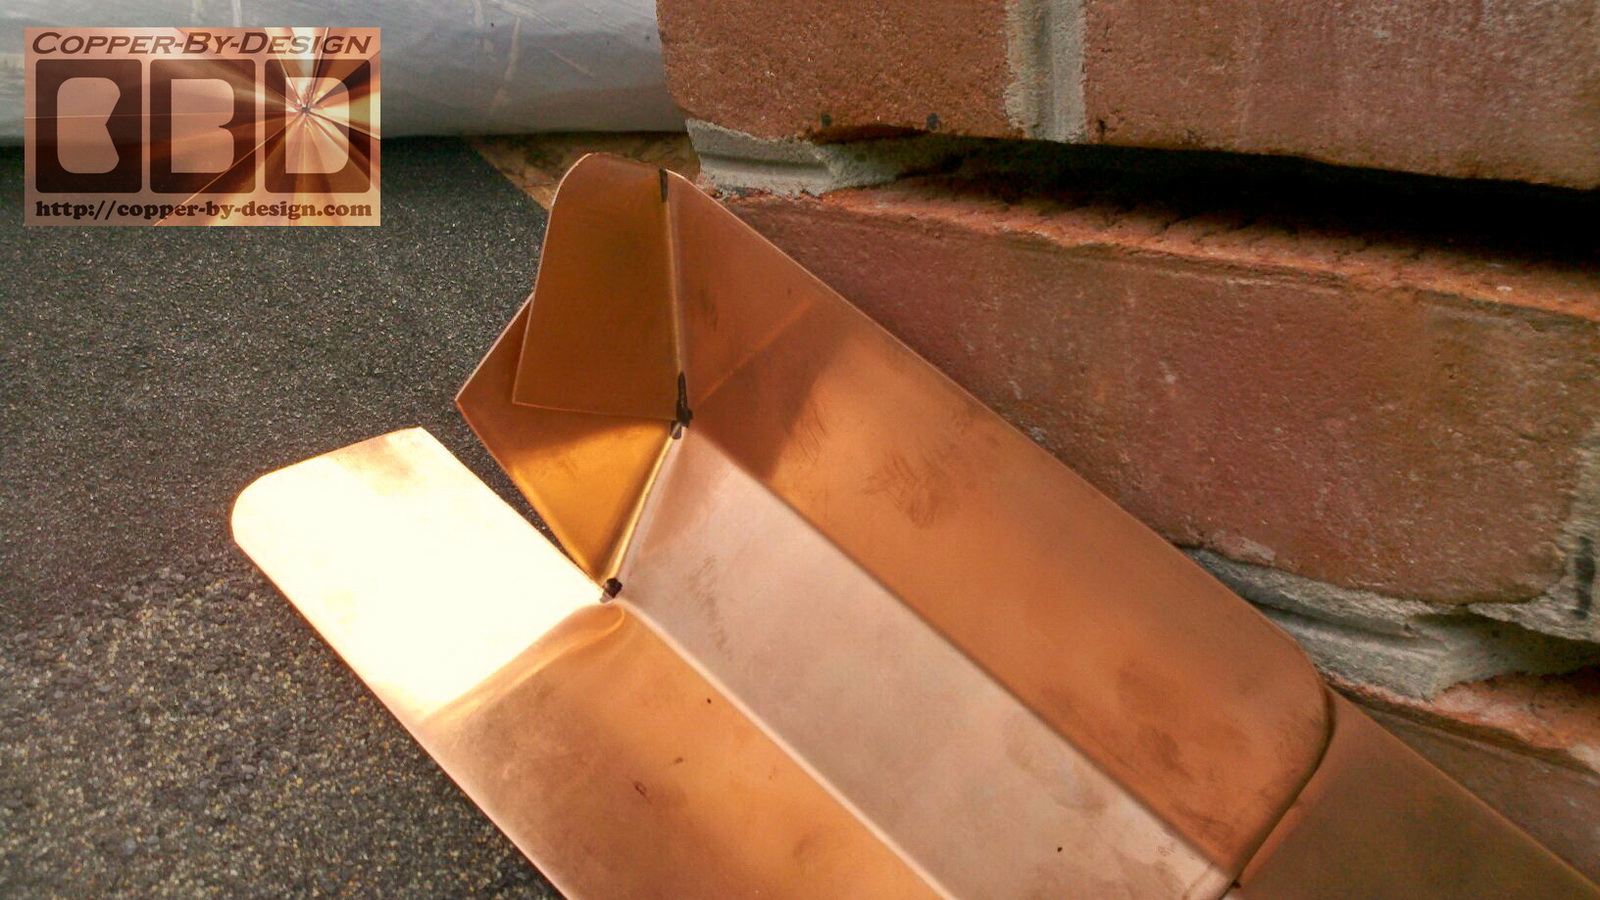
go in place and in what order. I wasn't satisfied
with the standard flashing configuration, so I recently designed a special type of
step-flashing with a pair of 45 degree bends instead of just a
simple 90
degree bend, which is an improvement over the standard right angle
bend configuration normally used. This has several advantages, yet
may be difficult to fit into some situations.
 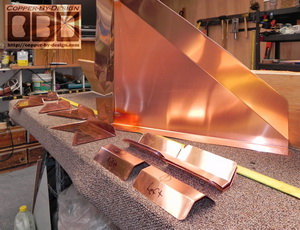
Sealing around the corners of a chimney has always
presented a problem to make sure it's water tight without the use of
a caulk, which could fail sooner than the lifespan of the roof. It
needs to maintain a seal even in the harshest wind storms. I have
found this alternative shape helps in several other ways as well:
(a) navigates the rain water out away
from the corners of the chimney a bit better.
(b) slows the water down and reduces
upward splattering under the counter flashing.
(c) helps trim off the commonly
compromised and damaged shingles nearest the chimney when replacing
the flashing without a full re-roofing project, thus reducing the shingles needing replaced around the chimney.
(d) helps reduce scraping needed
where the chimney meets the roof: old caulk or sloppy mortar work.
(e) makes it easier to cut the new
grooves without needing to grind so close the the roof.
(f) application of an underlayment resting
up against the chimney for added protection is also made possible;
without such risk of cracking that membrane needed with conventional
flashing.
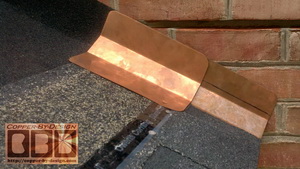
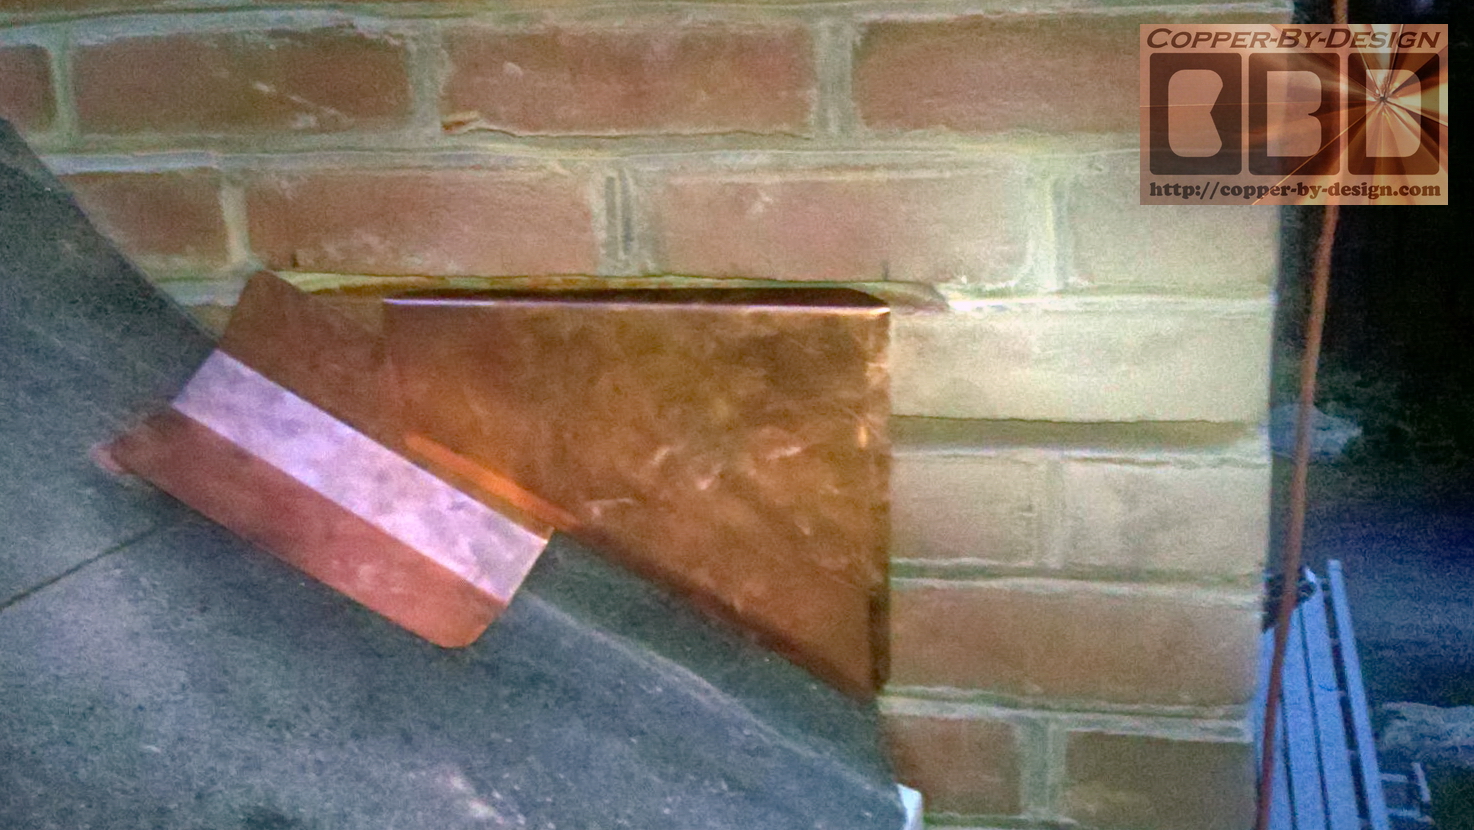
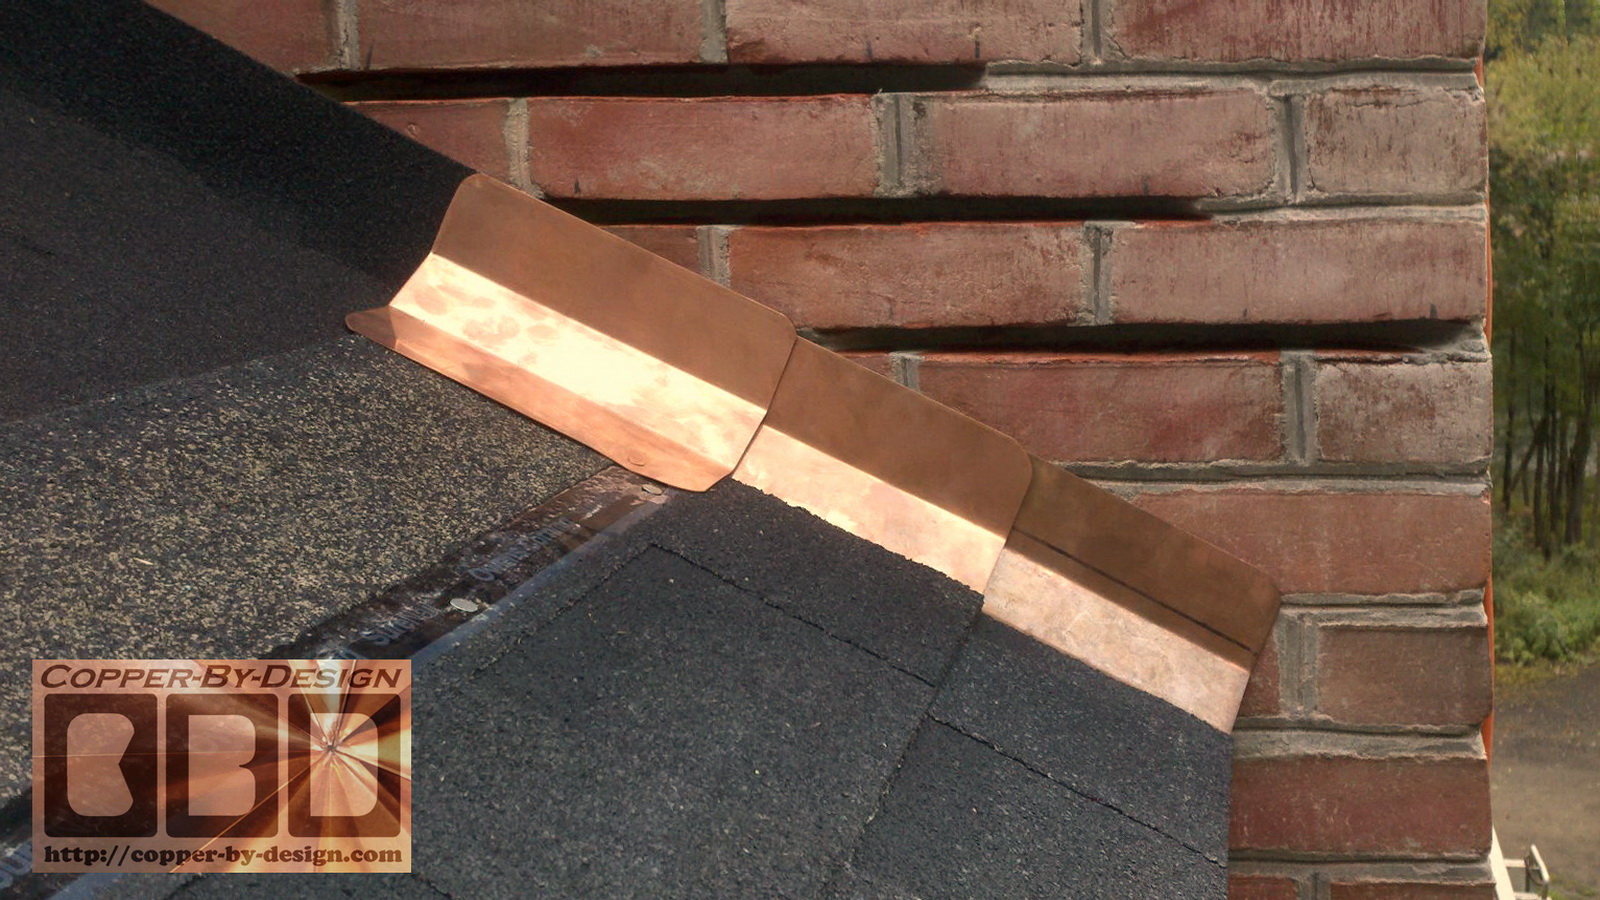
Here is a great set
of photos sent to me, taken with my client's cell phone while I
helped walk him through the process of installing this copper
flashing kit I made him. This shows him test fitting a few pieces first.
He loosely laid out shingles and
flashing in place to capture these images, so I could see if he was
on the right track.
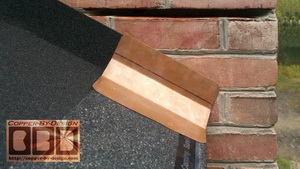
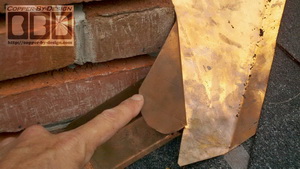
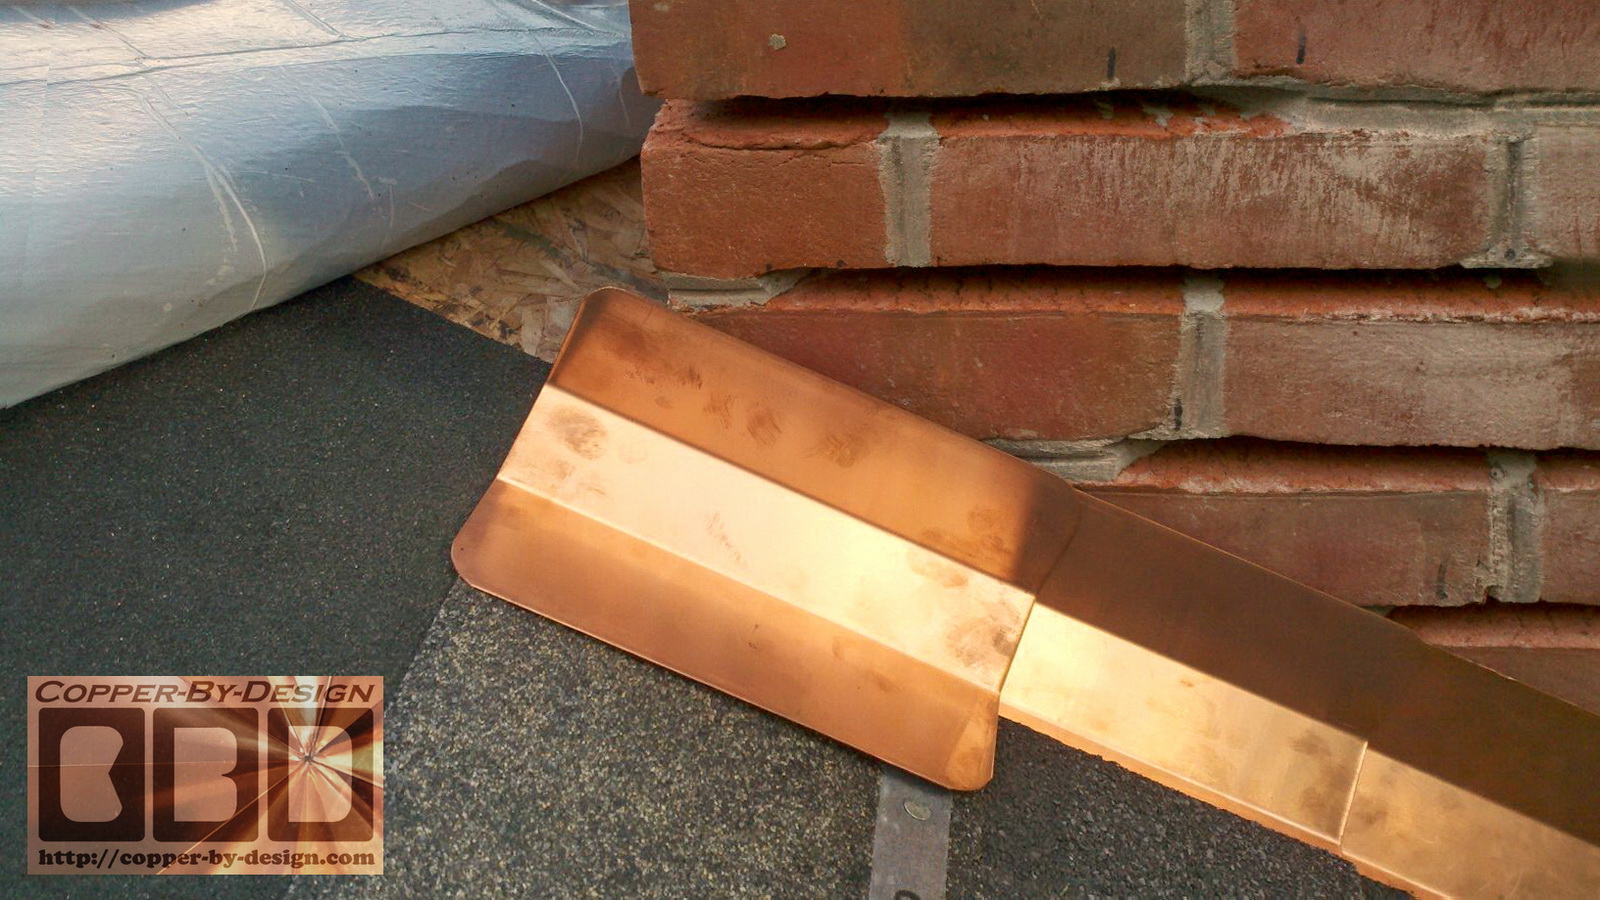
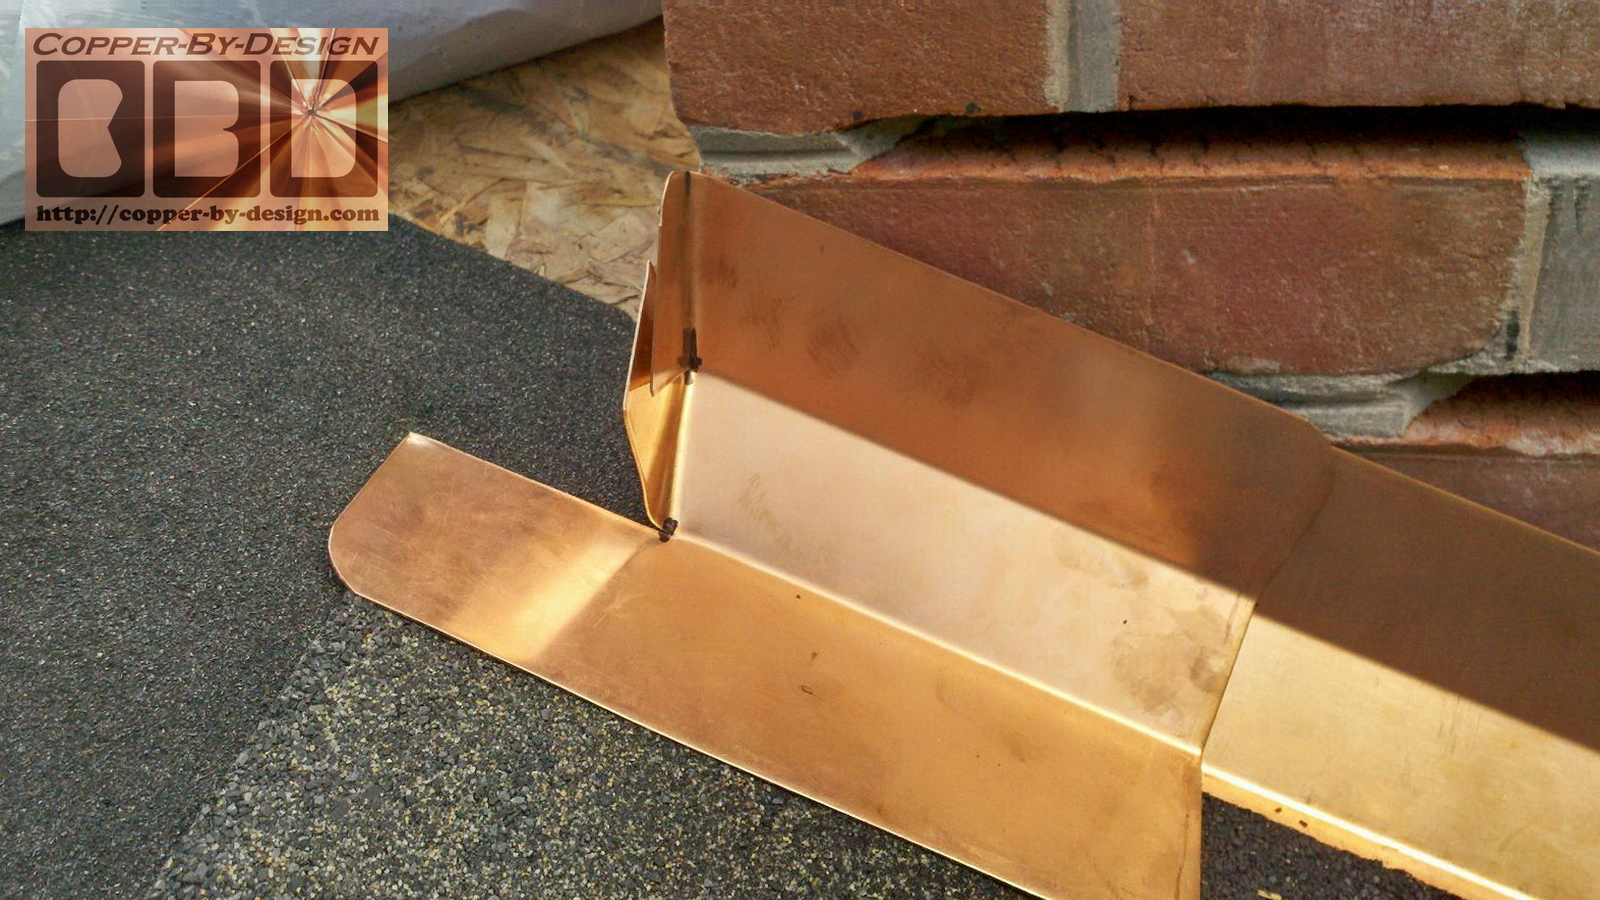
The saddle seen here had some minor
damage during shipping, but he was able to bend it back in shape. It
would have been too costly and time consuming to send it back to
have me fix it, or remake it. This is one of the advantages in using
a malleable metal like copper. He marked a line on this piece of
flashing as an indicator of how the counter-flashing will need to be
positioned over this flashing to allow for some movement as
temperatures change.
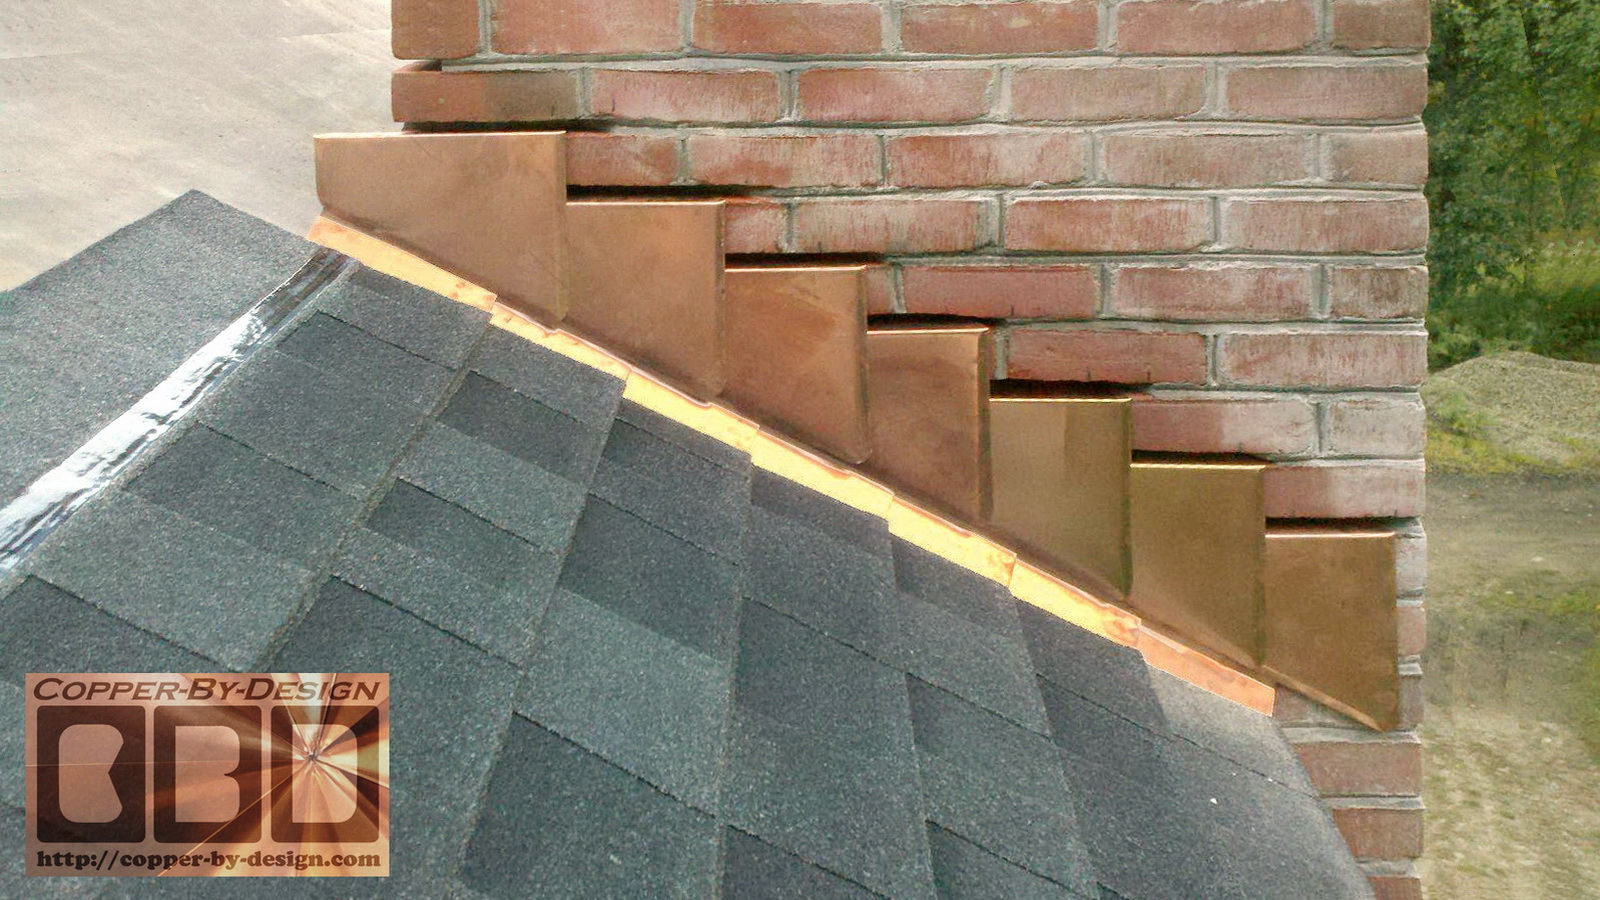
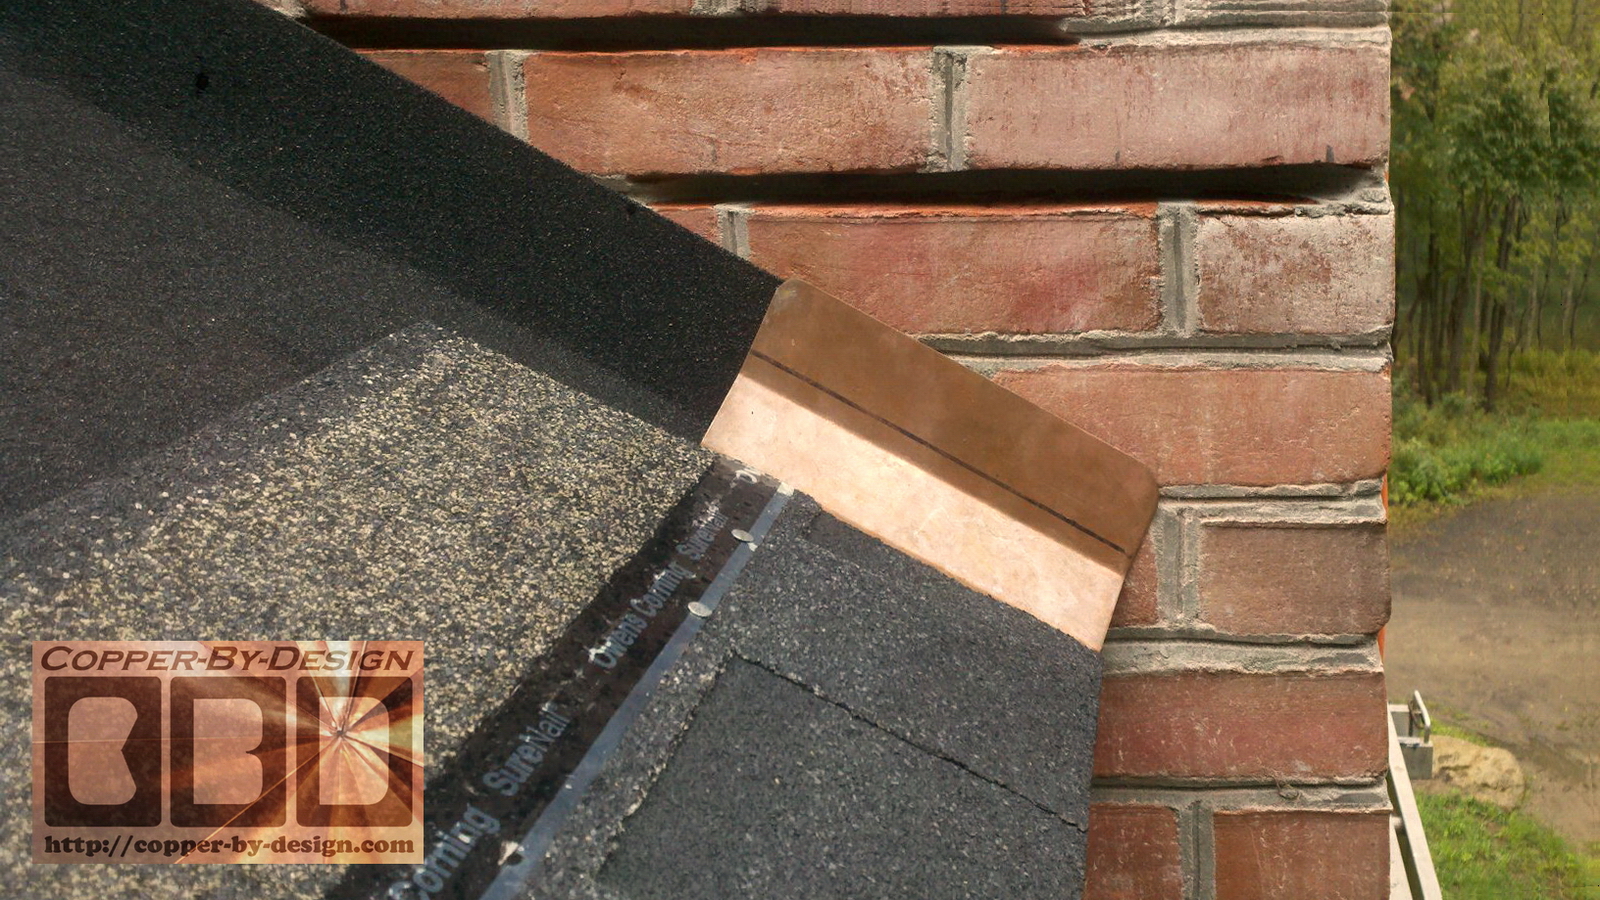
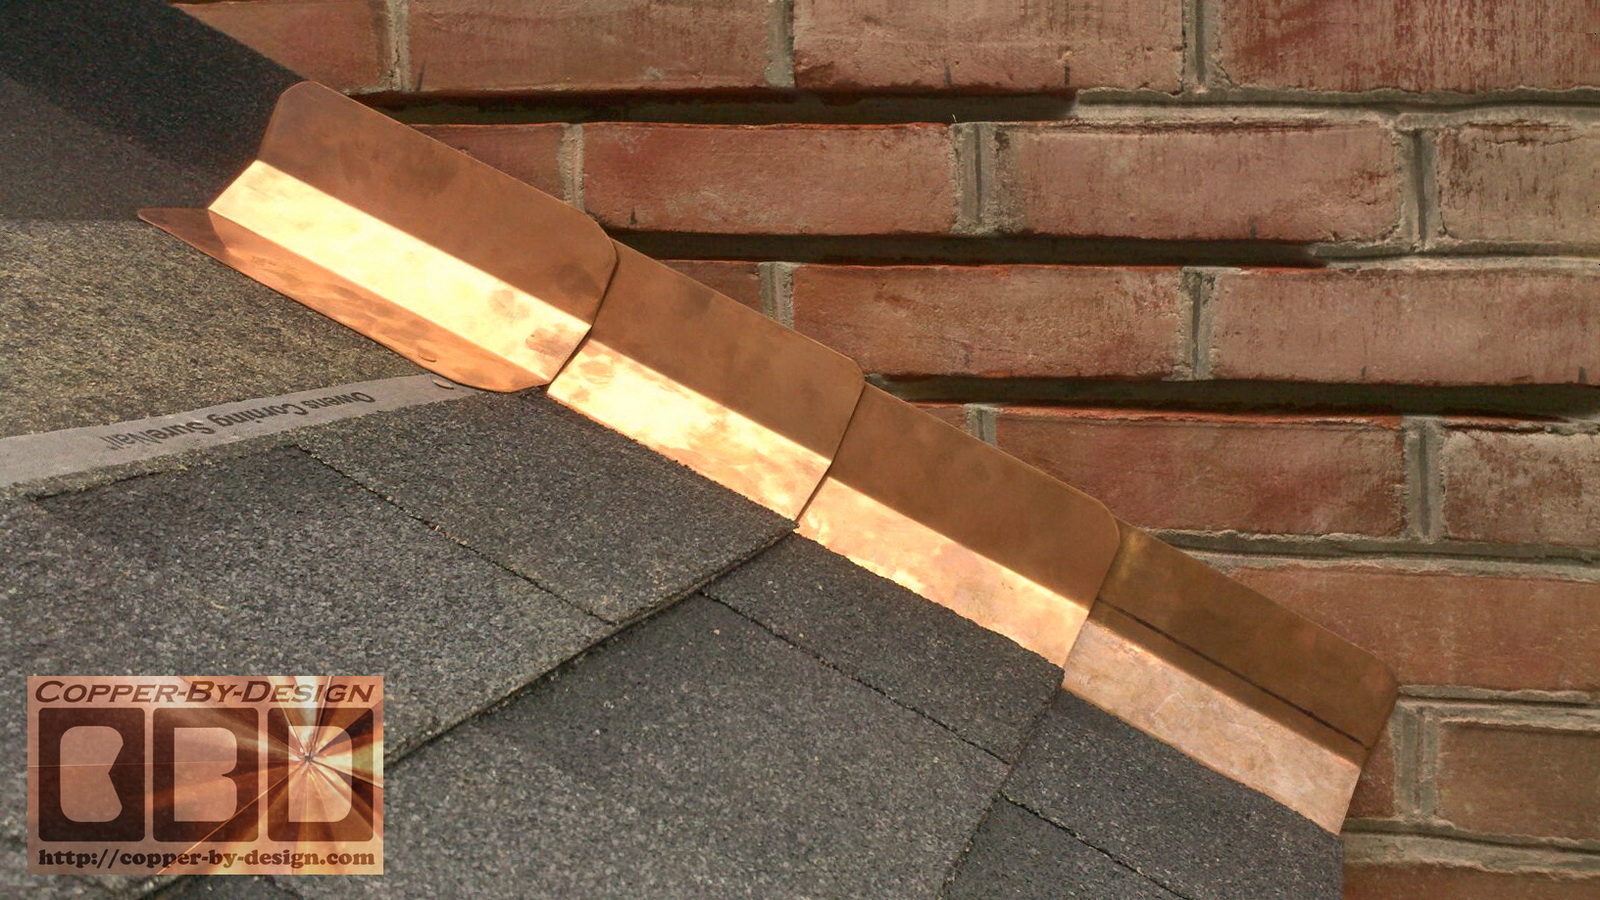
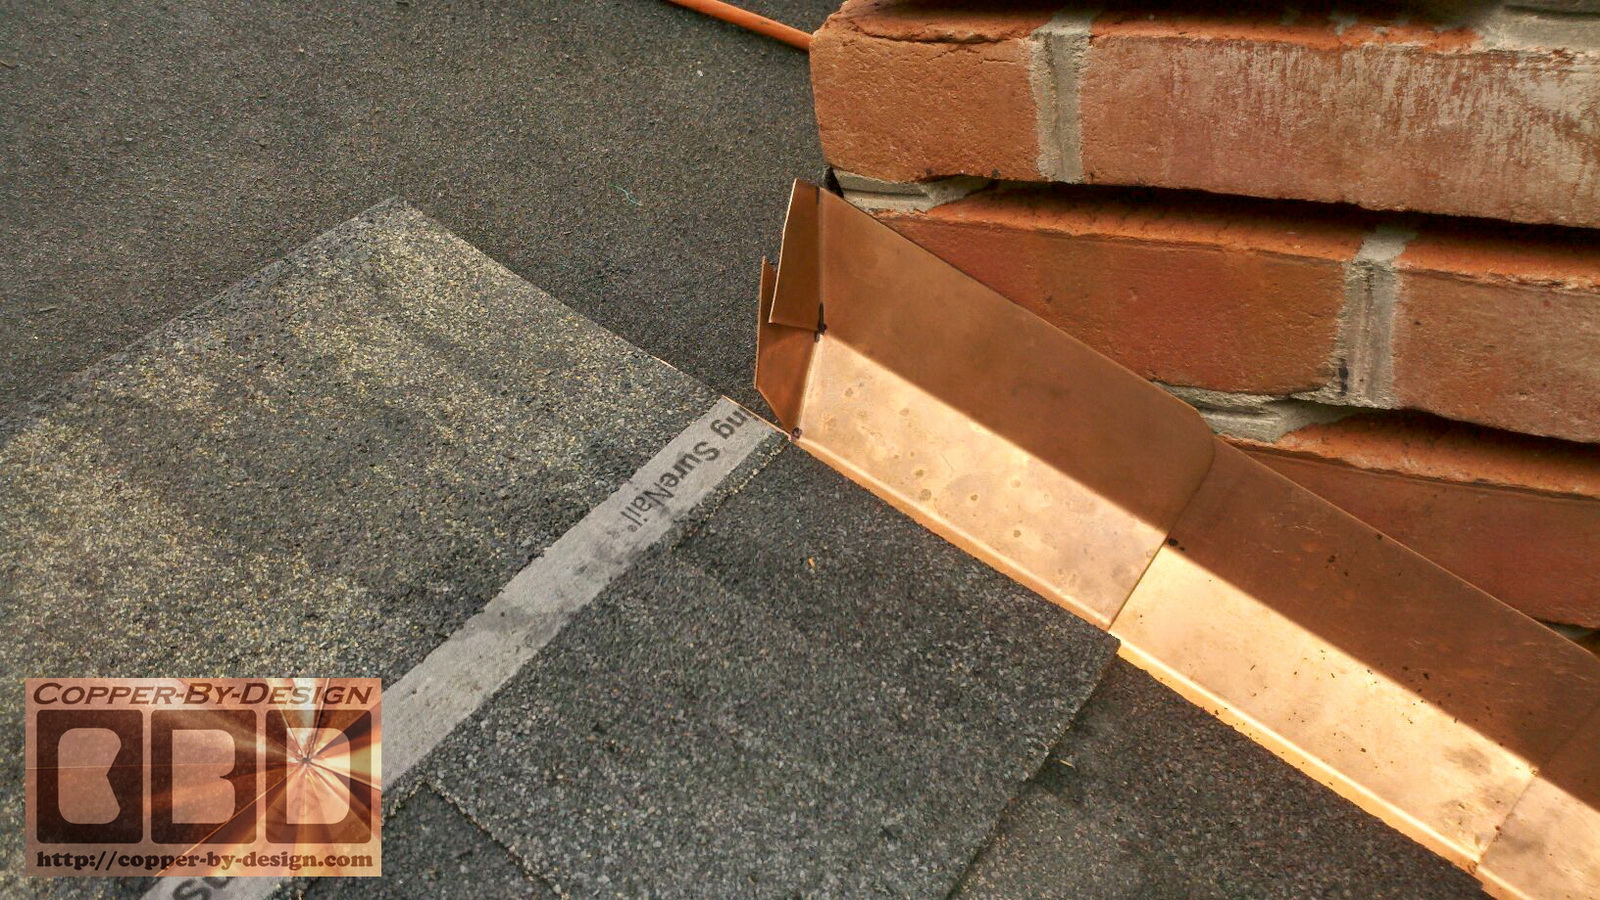
Here he has now gotten
the confidence to start nailing down shingles and flashing. It is
important to punch the nail hole through the copper flashing with an
ice pick or similar tool, or you could wind up bending a lot of
these copper roofing nails I include with each flashing kit.
 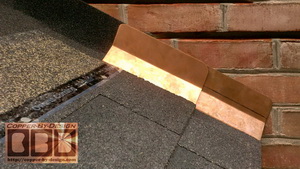
Most of these
copper roofing nails will be driven through 2 layers of shingles and
copper flashing. You could run the nail half way up each piece of
flashing, but then you would only have 1 nail holding each piece of
flashing in place. Set lower makes it go thorough the lower flashing
as well for a substantially more secure hold and less chance of any
movement.
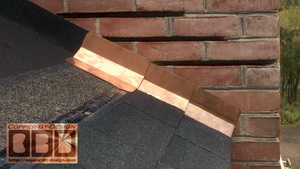 
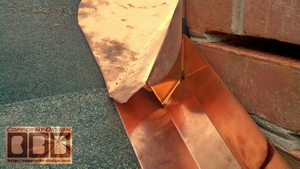
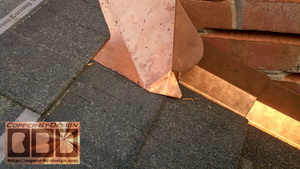
This layered
installation will provide a good water tight seal without the need
for any caulk. The tab of the flashing that lays flat on the roof
deck should be completely covered by the next row of shingles as
seen here. Remember you can click on each photo to get a better
look.
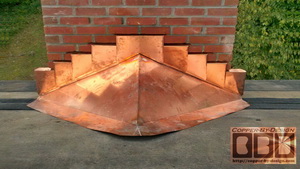
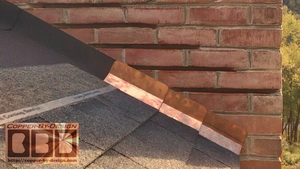
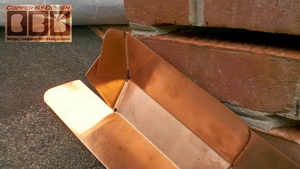
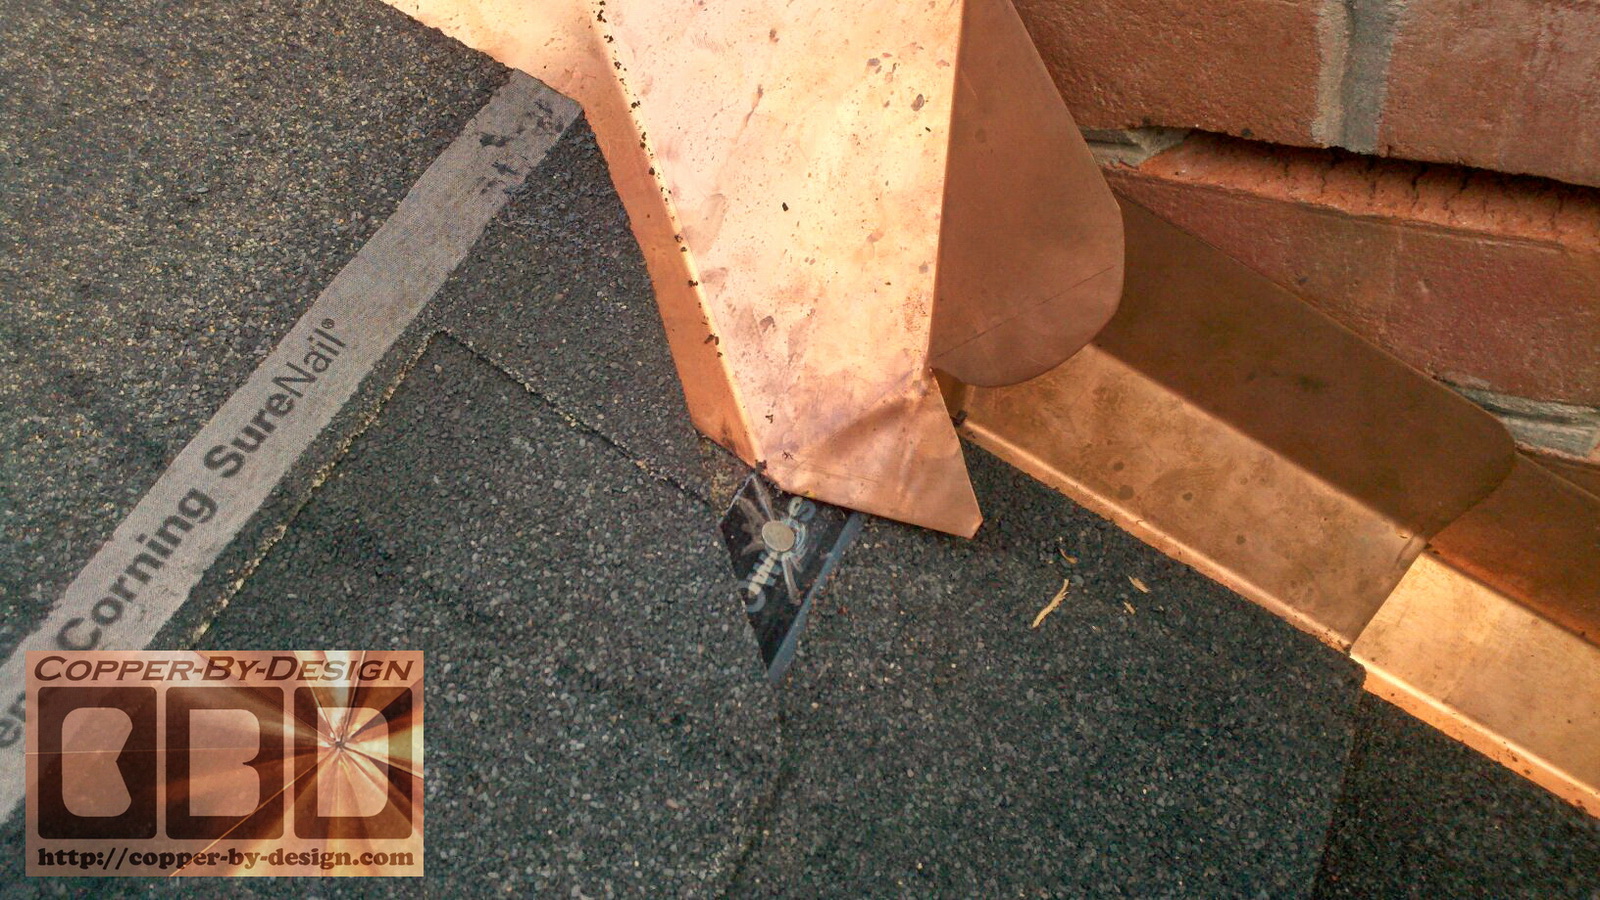
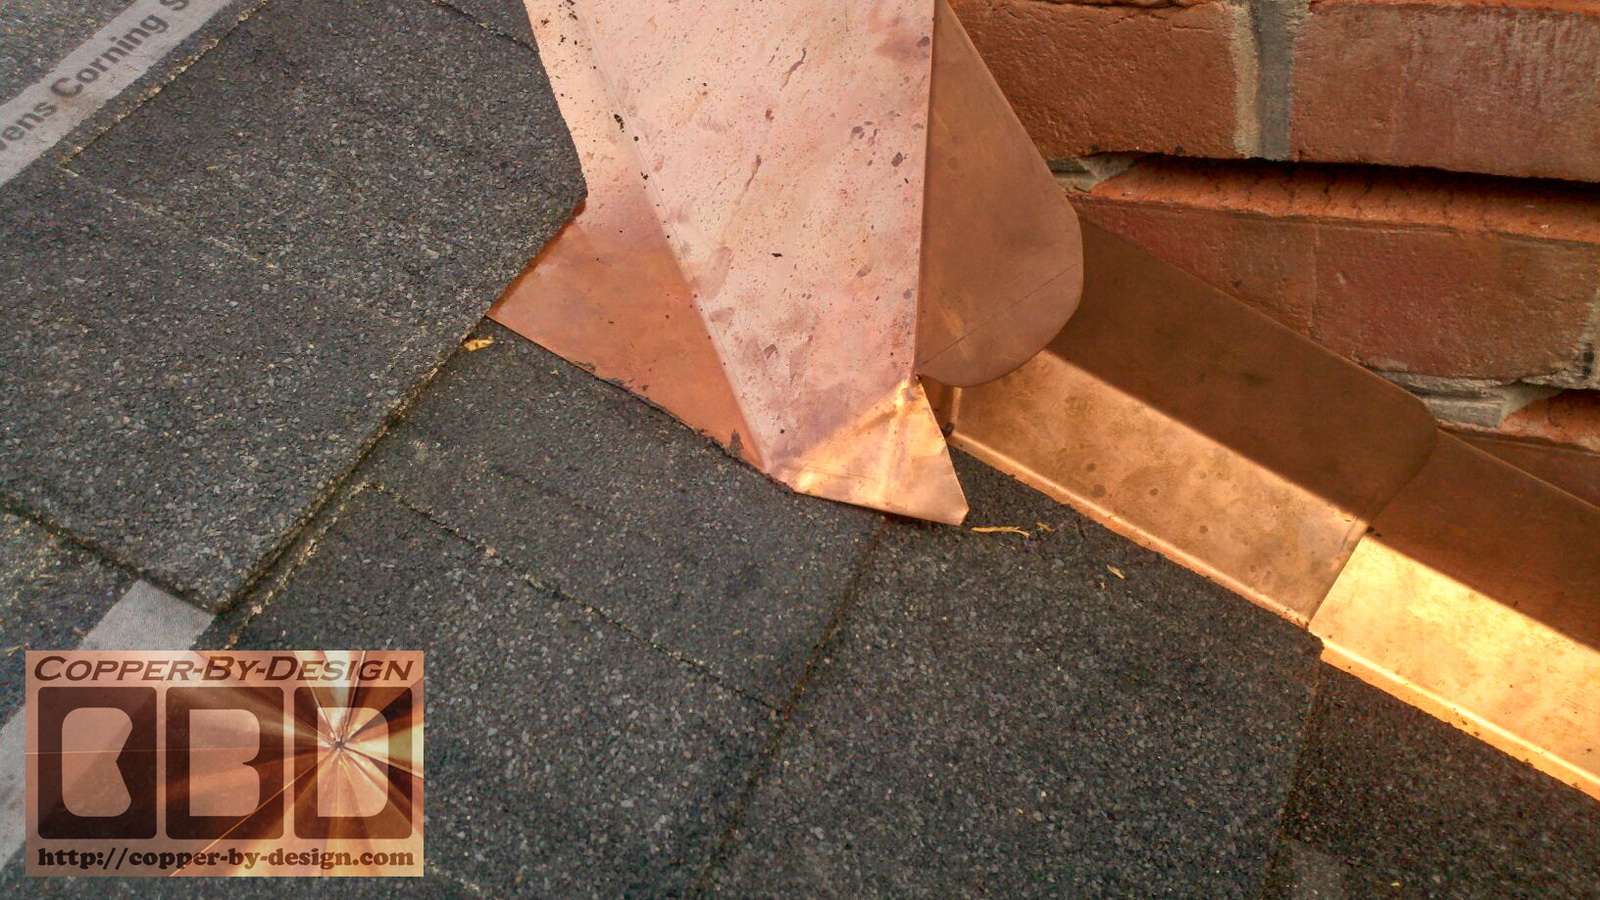
When you reach the
top corner this right angle bend has to be custom formed on site to
seal against the top flashing pan. Be it a full saddle with the same
sideways pitch as the roof, or just a simple horizontal tray to
divert the rain water off to the sides of the chimney.
 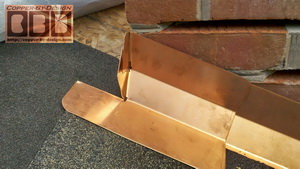
This top tray or
saddle needs to be made several inches wider than the chimney to
drain the water out past the sides a bit. It is also important this
has a wide outlet mouth on both ends, so there is less issue with
debris getting trapped in this area.
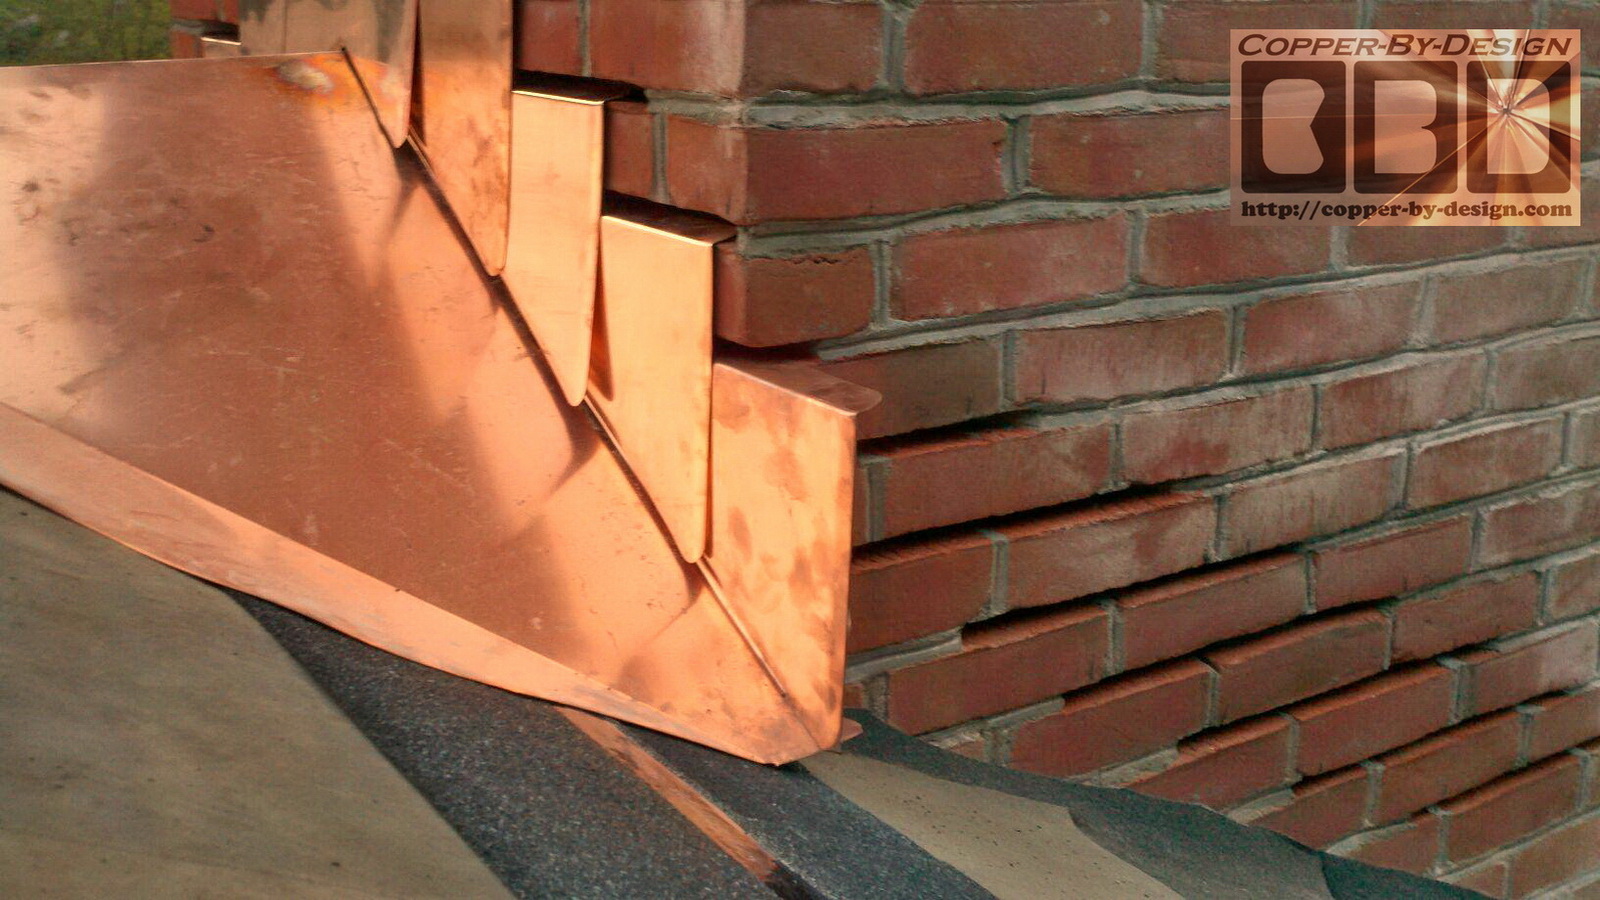
The extra ends of
this upper tray then need to be folded over the step flashing to
help seal it to the side flashing. The outlet drip edge flange is
also bent down to meet the shingles.
Now he's ready to
mortar in the counter-flashing pieces over the step flashing set
installed. It is imperative to have this 2 part flashing system, so
as temperatures change and the wood structure expands and contracts
differently than the clay structure of this chimney they will be
able to allow for this movement while maintaining a water tight seal.
With even a 1/4" movement any caulk used would be torn apart and
made irrelevant. The counter-flashing needs to be installed with
this in mind, so it is not mounted too low to the step-flashing
pieces and saddle.
To see more photos of this installation
follow this link:
http://copper-by-design.com/rf/Druschel.htm
Let me know if you need any special
configuration and we'll customize your kit.
|


