|
|
Custom Copper Curved Awning Photo & Description Page Part 2 of 2 |
|
|
Custom Copper Curved Awning Photo & Description Page Part 2 of 2 |
Updated 7-7-2004

|
The pictures below are linked to larger pictures of the same photo for a closer inspection. Just click on the pictures |
.
 Here
I had to cut into the siding to fit the awning frame solidly in place, as
well as to fit the copper sheet metal roof flashing up under the
siding, so it is sealed from the rain. Here
I had to cut into the siding to fit the awning frame solidly in place, as
well as to fit the copper sheet metal roof flashing up under the
siding, so it is sealed from the rain. |
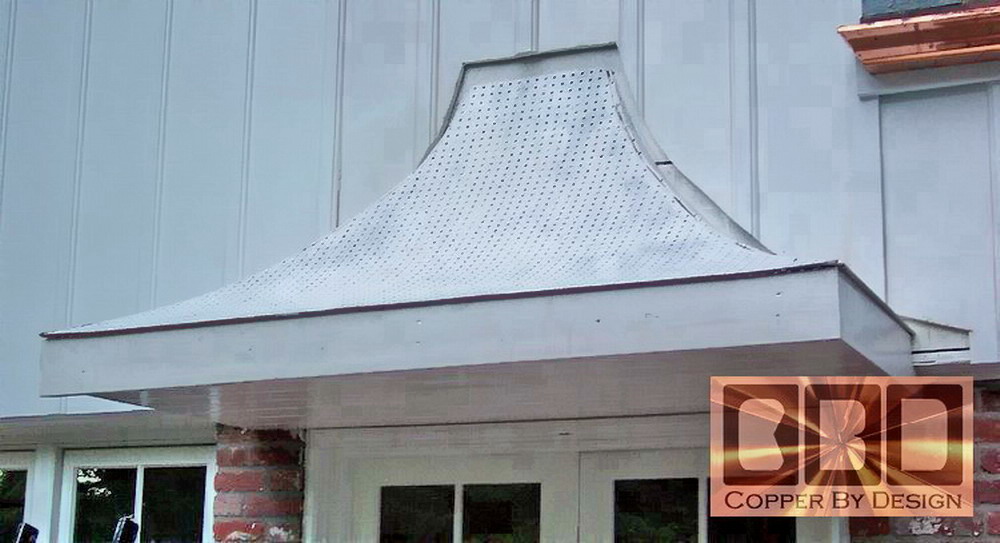
 Here
you
can see the sag of the roof panels. When I install the 5/4x6 fascia
boards on top of the 2x4s, it will push up the roof at the lower
edge. Here
you
can see the sag of the roof panels. When I install the 5/4x6 fascia
boards on top of the 2x4s, it will push up the roof at the lower
edge. |
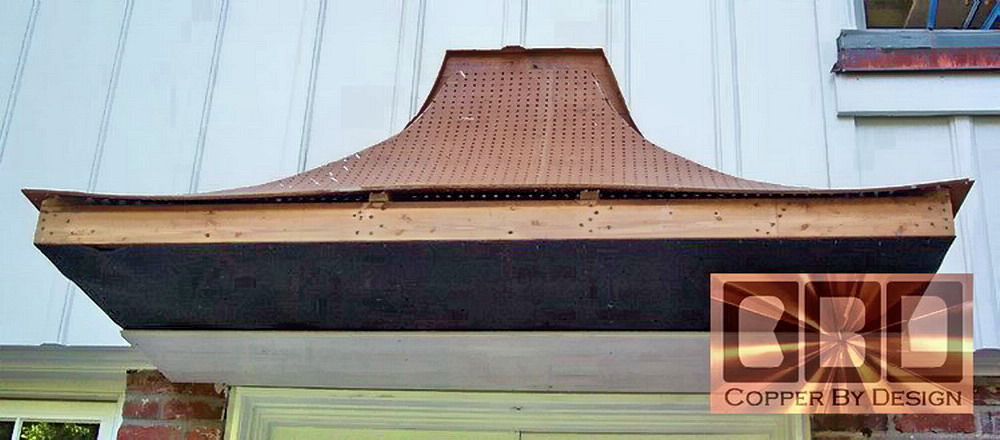 Here is the back half of the tongue-and-groove soffit going on after I stapled on the 30lb roofing felt under the roof frame. |
|
|
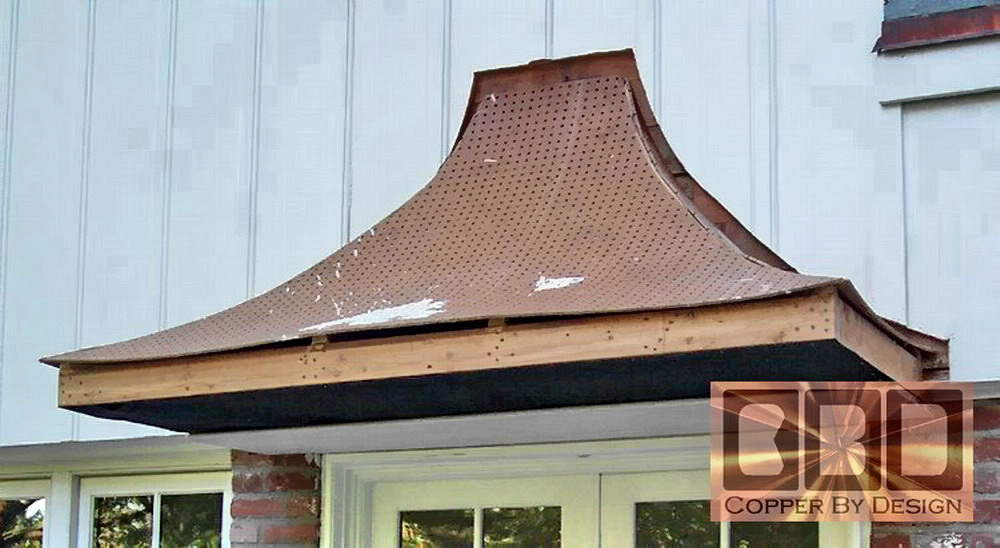
 Seen
left is the second layer of roof panels installed. The drip edge has also been installed
here. Seen
left is the second layer of roof panels installed. The drip edge has also been installed
here.
Below shows the Water & Ice Shield I stick to the
roof surface as an underlayment for the copper,
which ensures the screws
will not be touching the copper. |
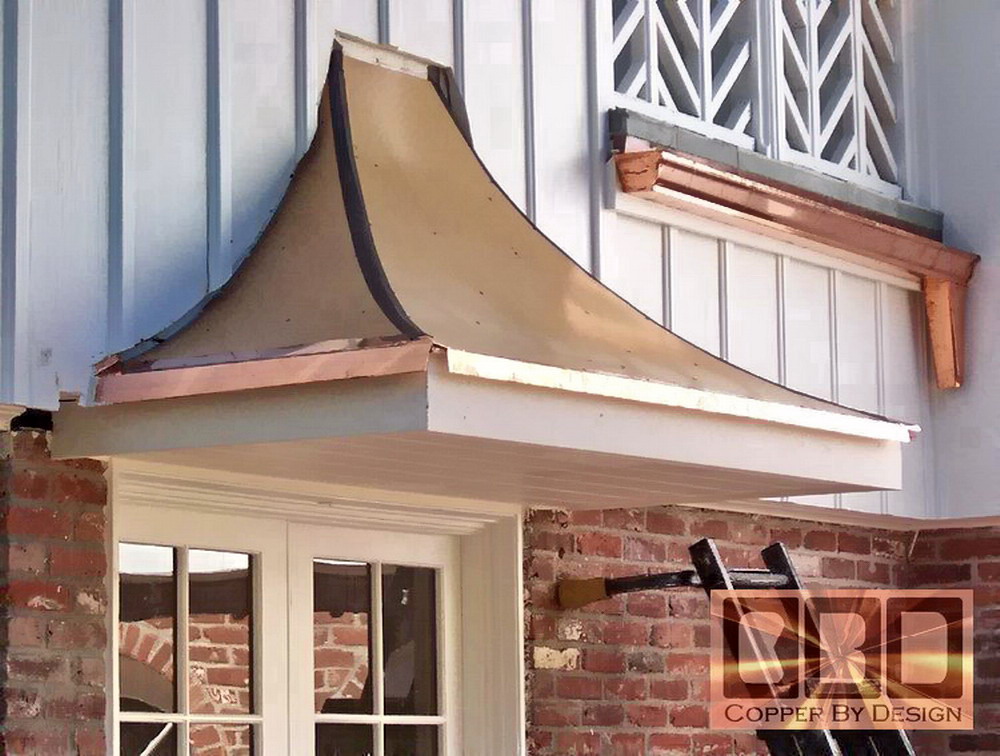
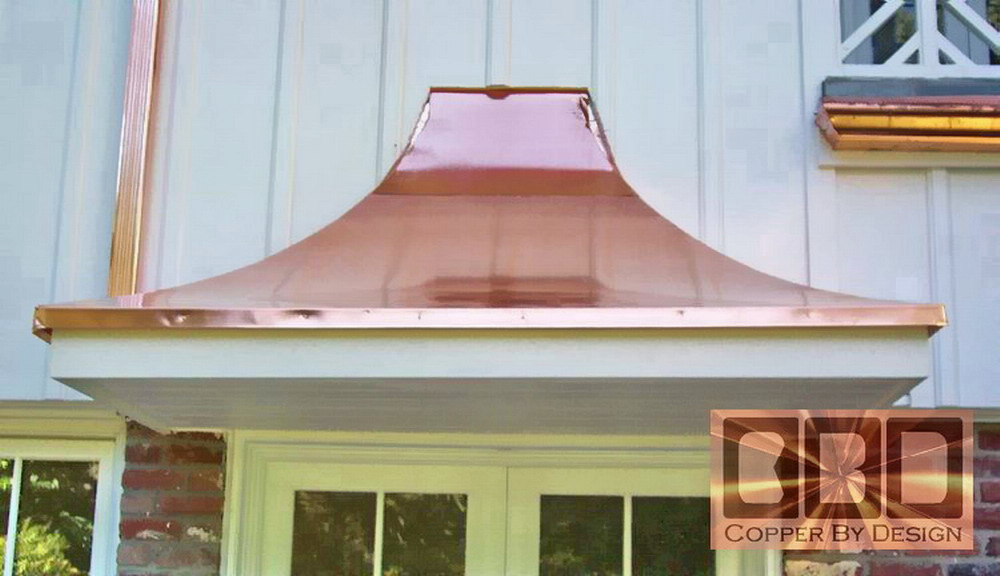 Here
is the copper sheet metal installed to seal the roof from the weather. Here
is the copper sheet metal installed to seal the roof from the weather.
|
 I decided
to make a raised edge metal
which would give the roof a little
more dynamic look. I decided
to make a raised edge metal
which would give the roof a little
more dynamic look.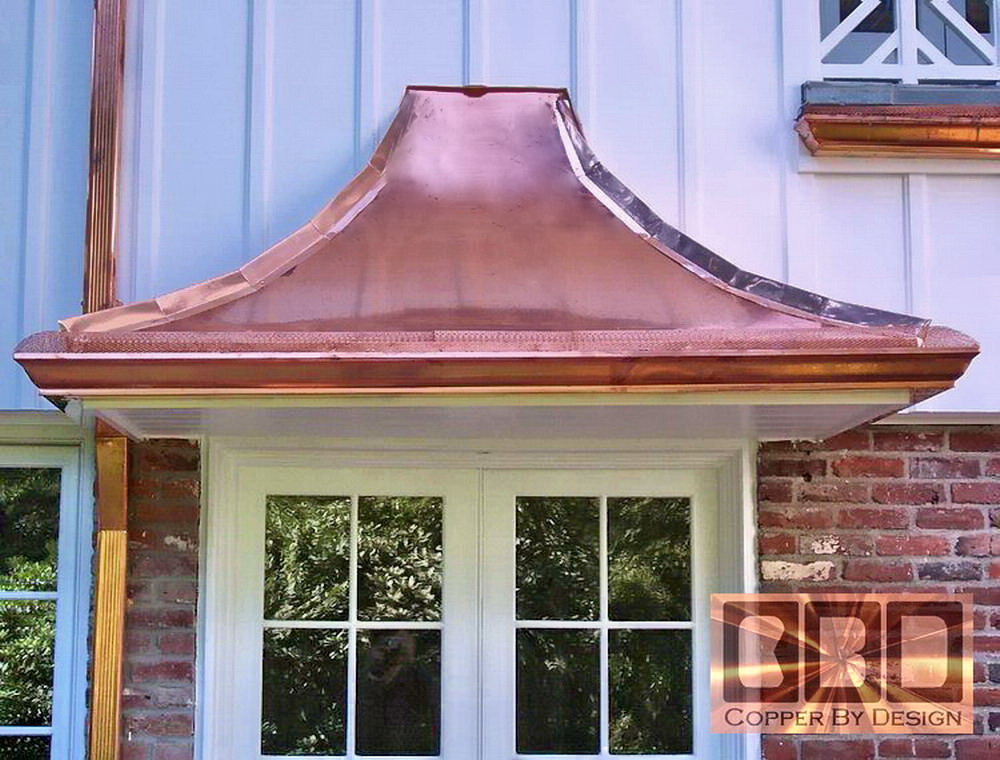 |
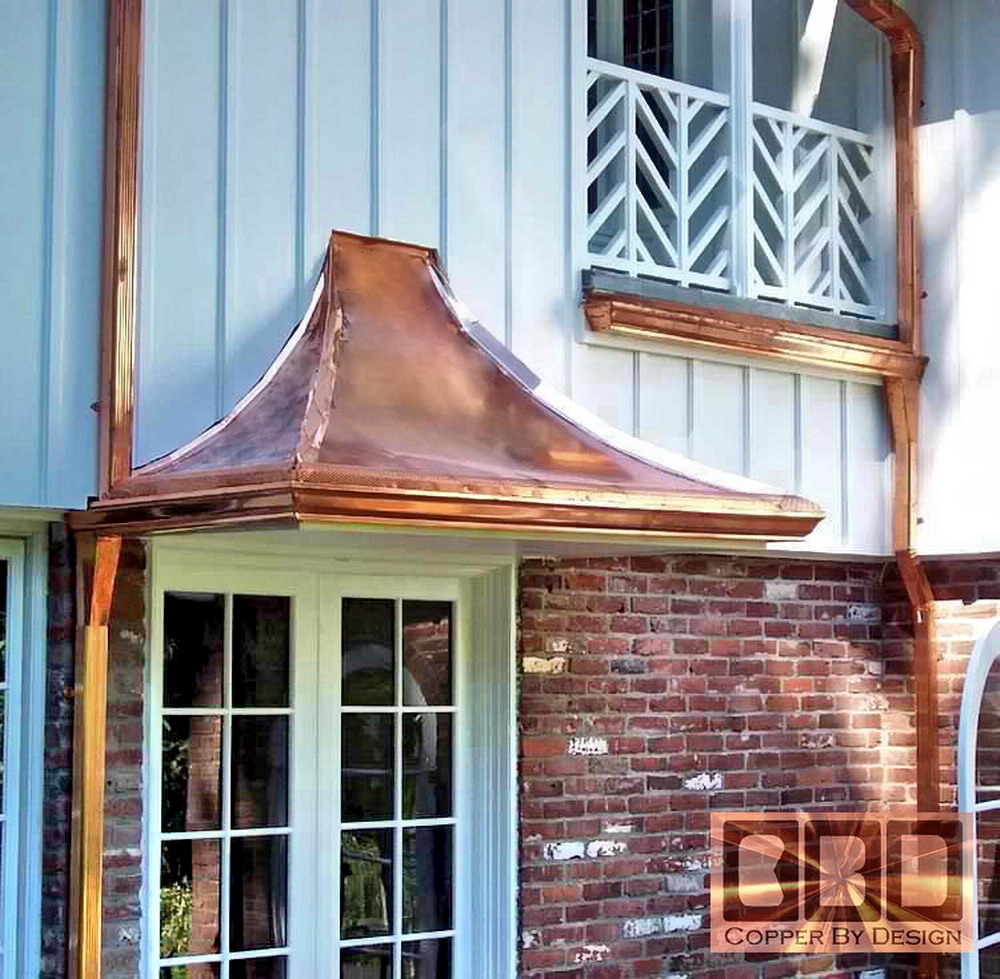
 Here
is the back side of the house with all
of the gutters installed. Here
is the back side of the house with all
of the gutters installed. |
Back to part #1 to see the creation of this awning
.
|
Below is a photo of our |
|
|
|
We were also a 1997 finalist for this same award. See our referral web page to see how we managed to be honored with this special award |
 Homepage |
|
|
Company Profile |
|
Roof Caps |
|
Chimney Caps |
|
Scuppers |
|
Gutters |
|
Shipping |
|
Contact Info |
.
.
.
.
.
.
.
.
.
.
.