|
This is the largest gable
style copper chimney cap project I had worked on to date. This is for
Mr. & Mrs. Fennern in Newberg, Oregon. Ron first contacted me
7/31/12 and we gradually worked out the details of this project
through 15 e-mails
and a visit out to his house to get the exact measurements.
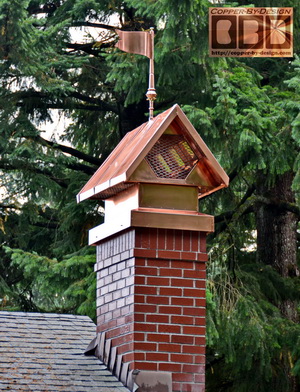
I designed the roof line to resemble the
house with the gable ends, but he liked the steeper 16/12 pitch
of the Graham project
I had done back in 2009. Although he wanted this to be lacquered
to retain this new copper look (even after I advised against
it). He also wanted this to have a
finial mount built into the roof with a copper flag weathervane
to rotate in the wind.
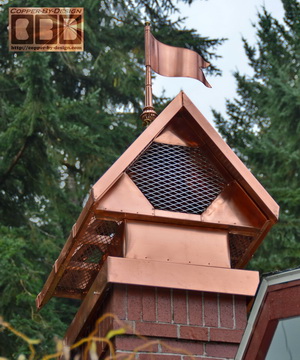
I had designed this chimney cap in an unusual way with a
horizontal side screen and the hexagon shaped screen on the
gable ends to cover the sides of the taller flue liner without
adding a lot of height to the chimney.
The client approved this
design and has been pleased with the results.
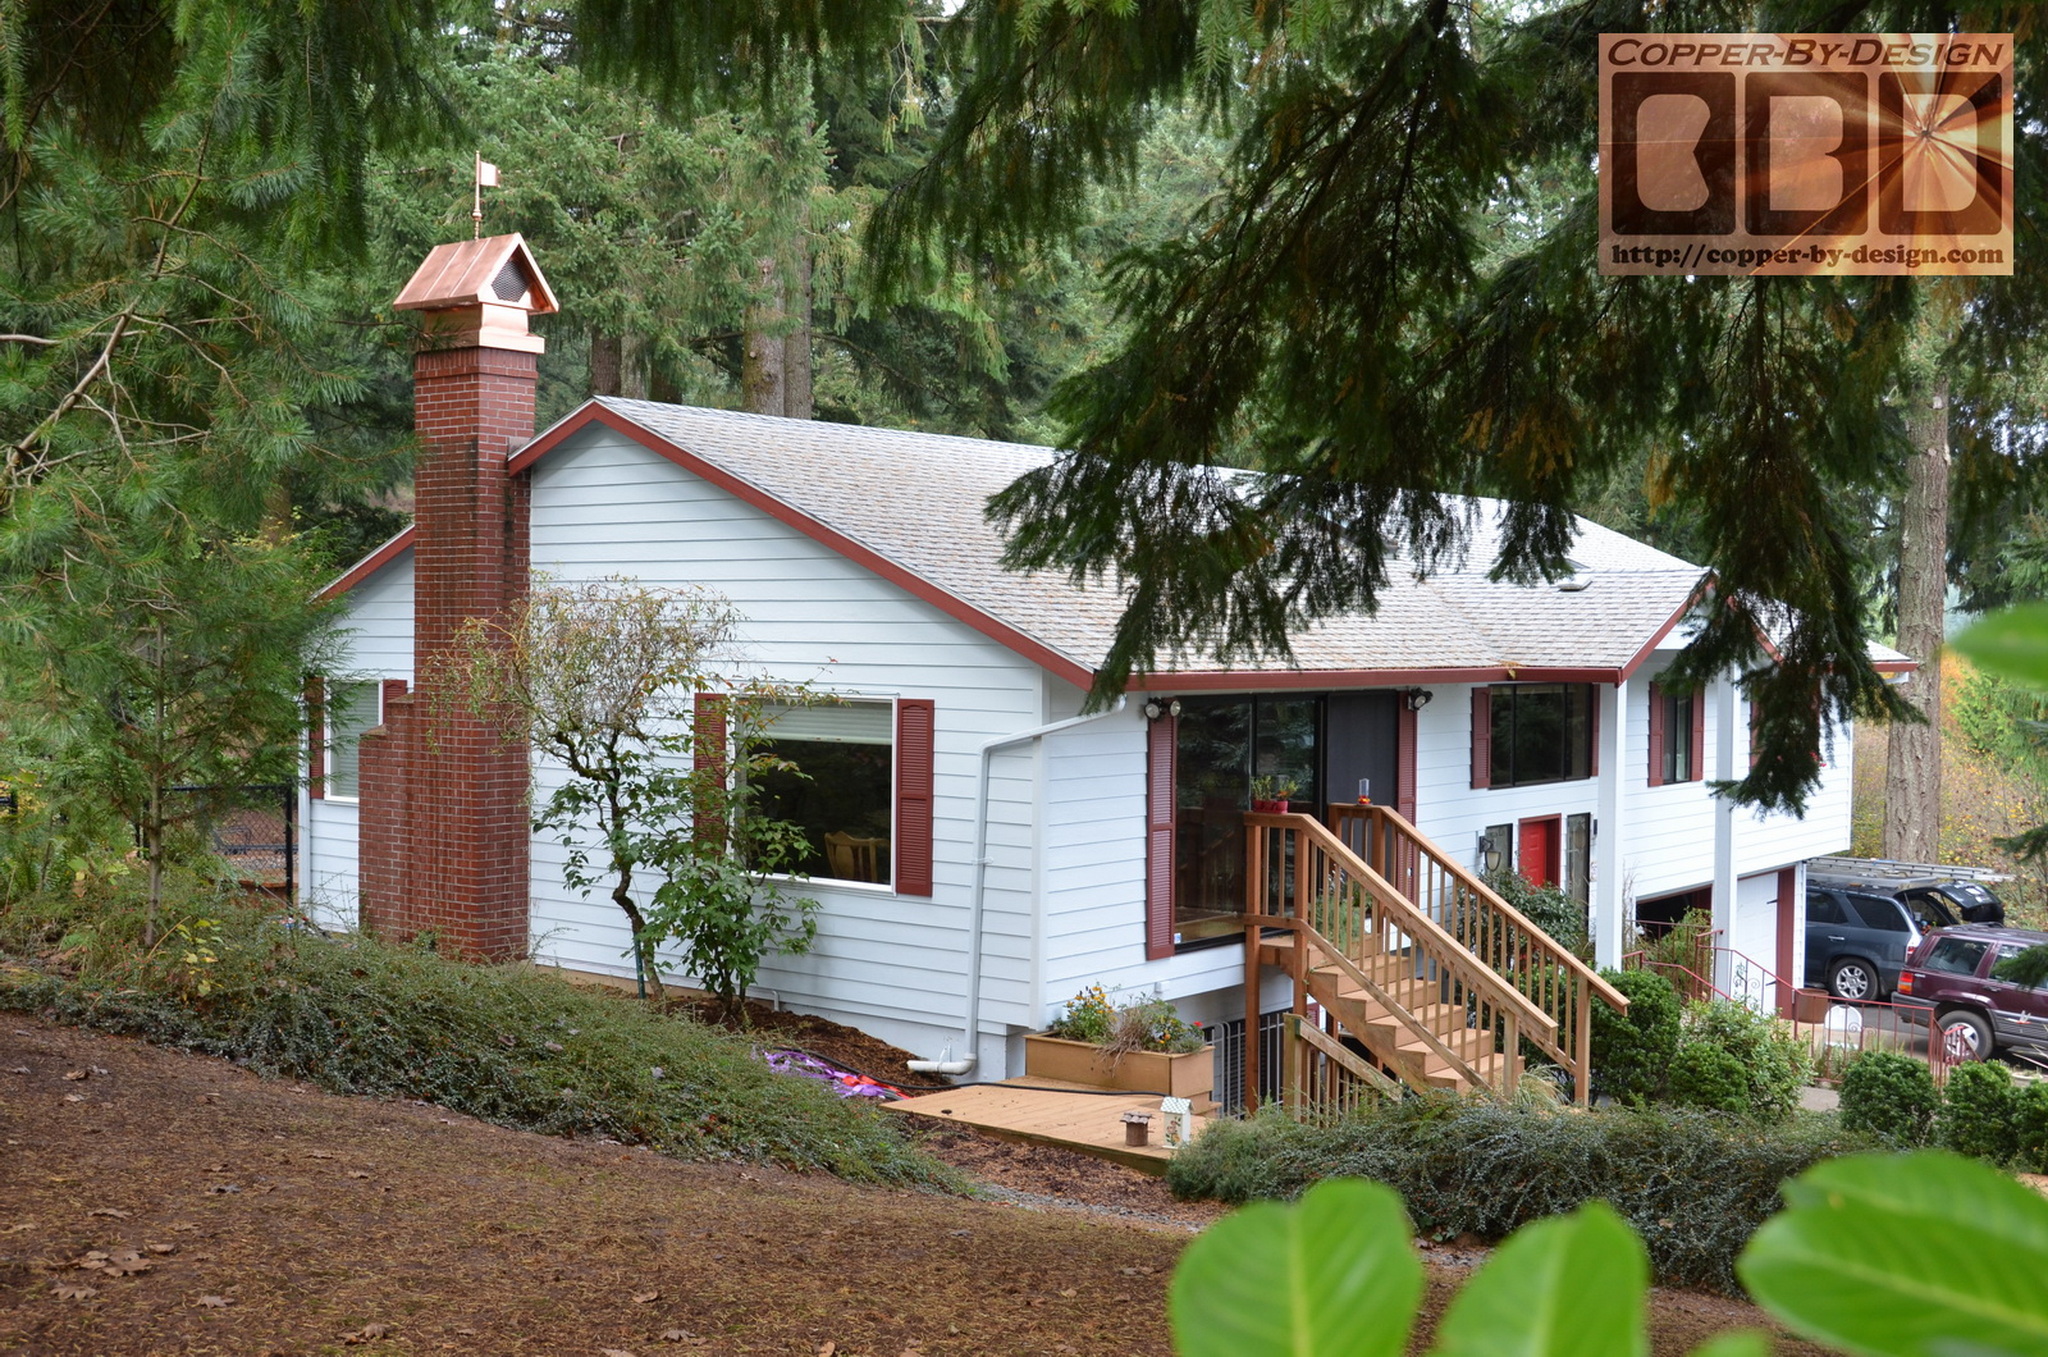
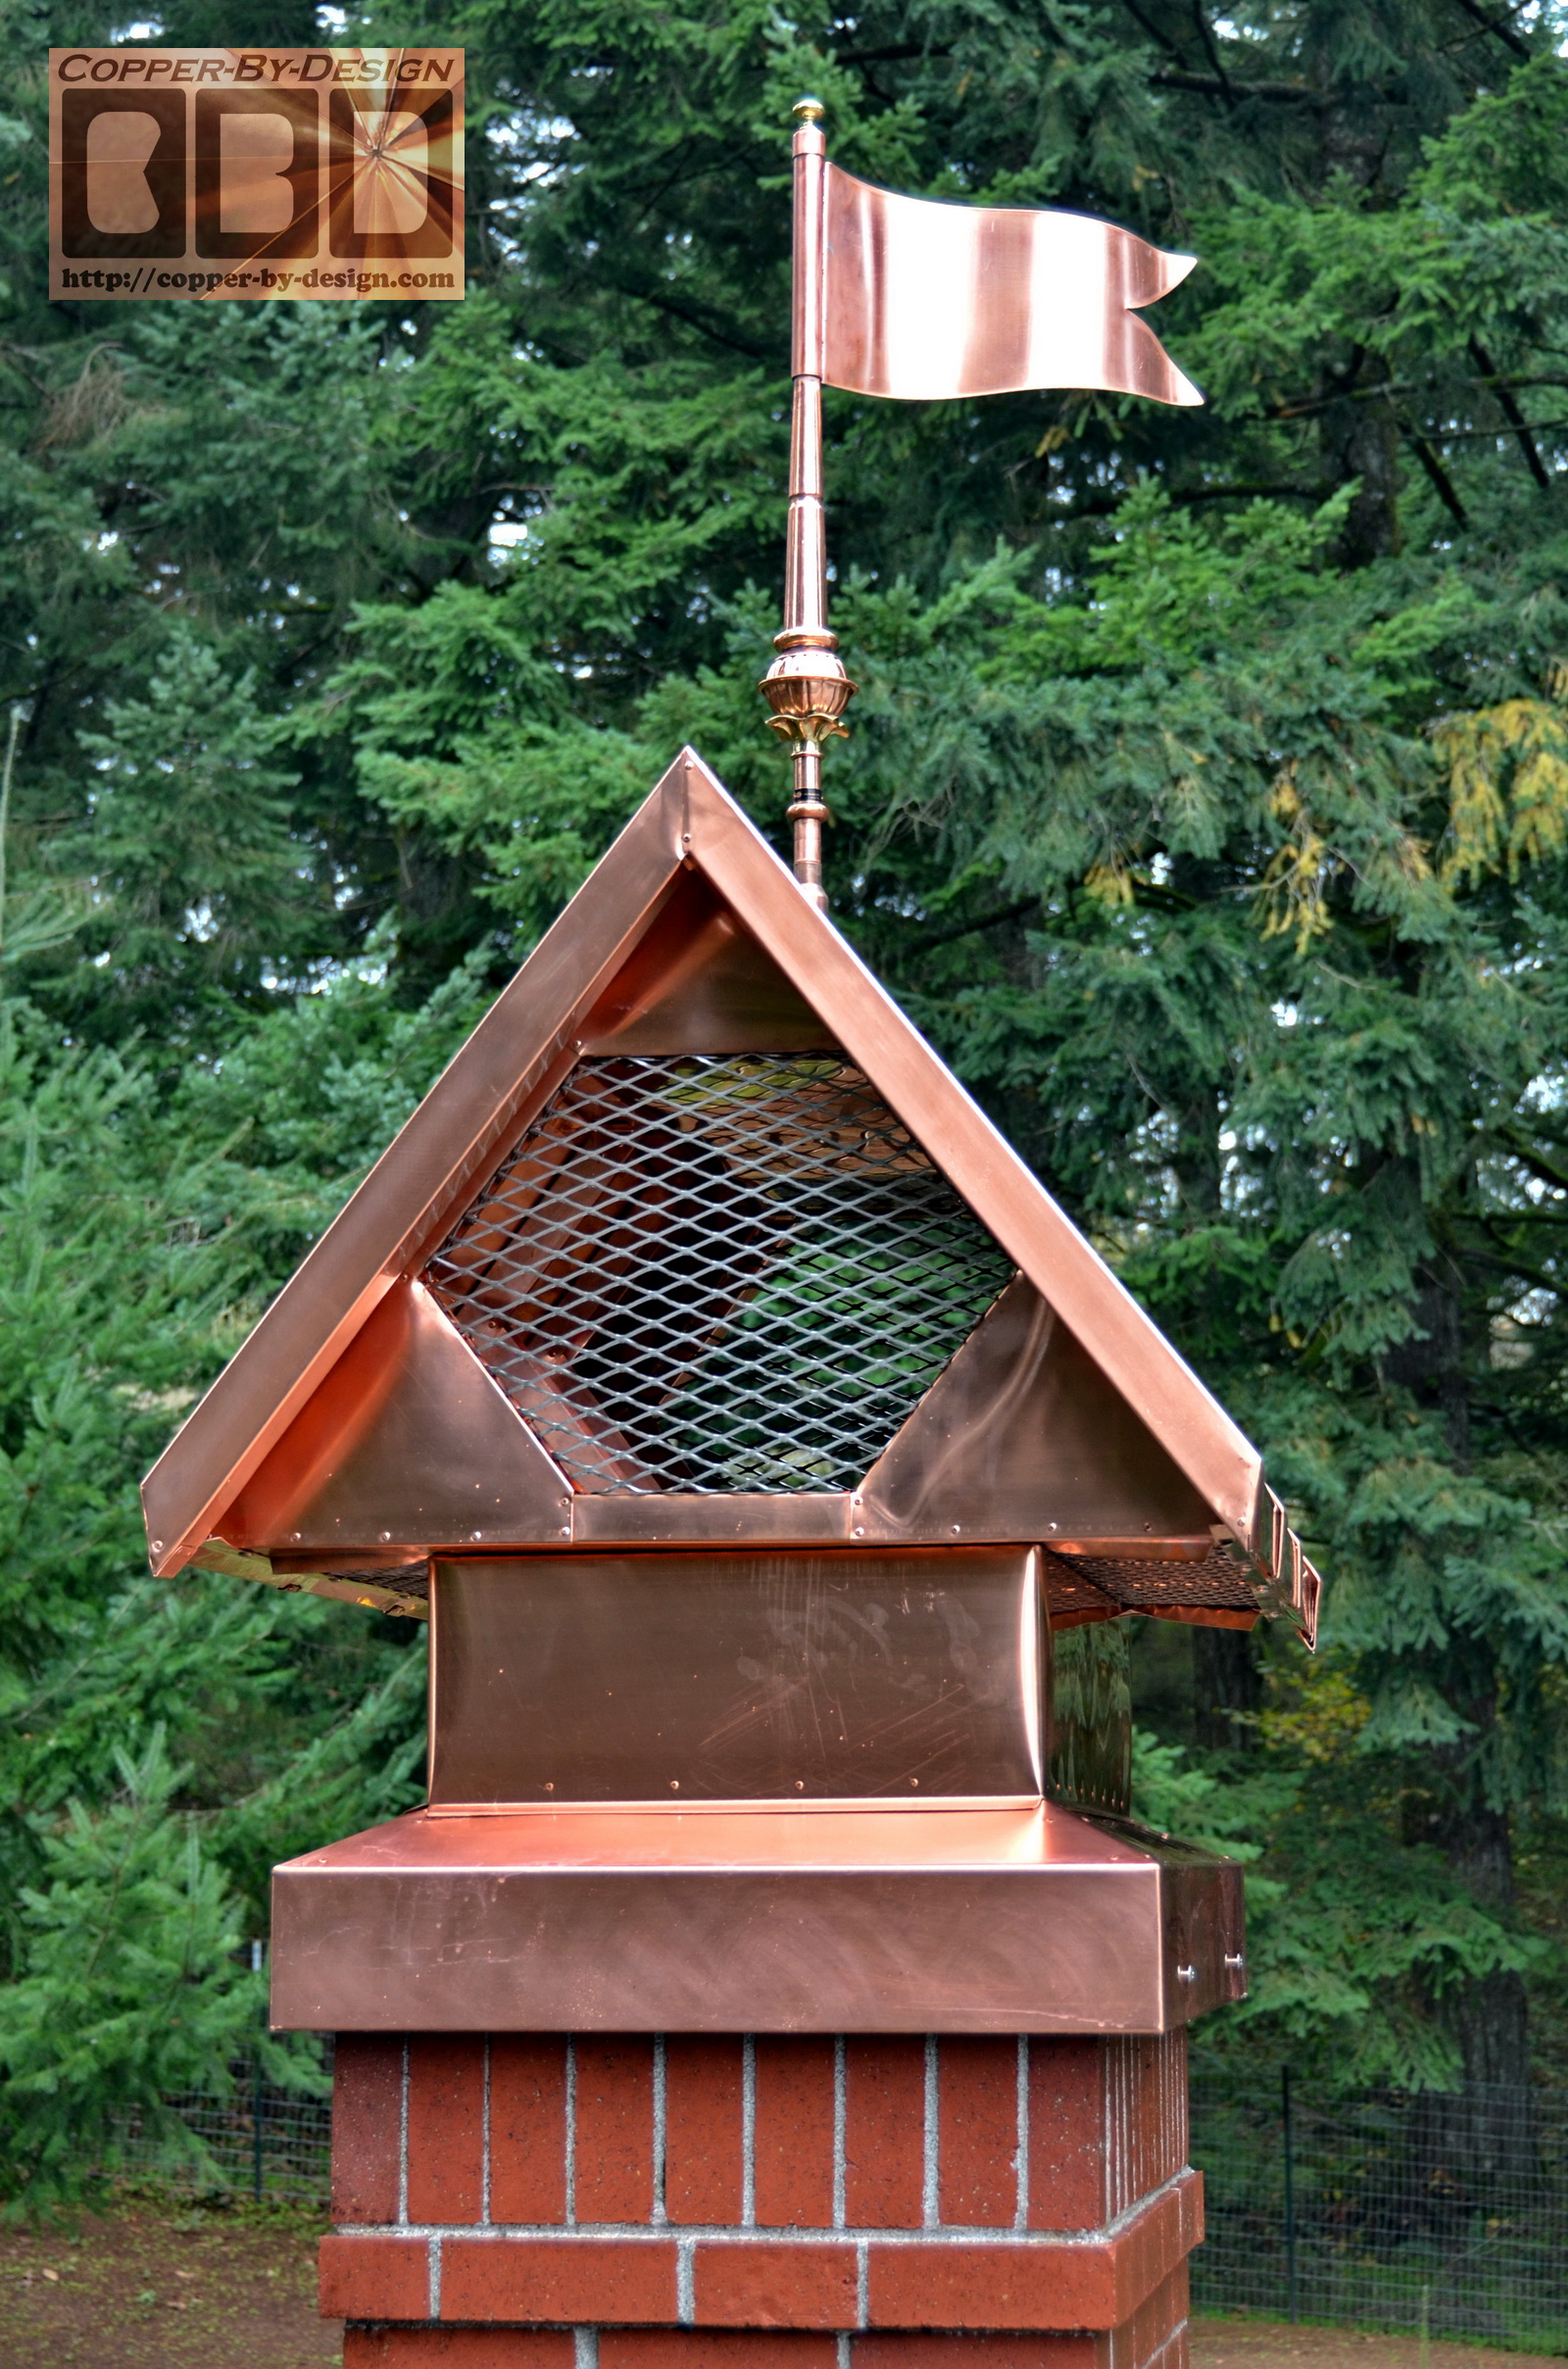
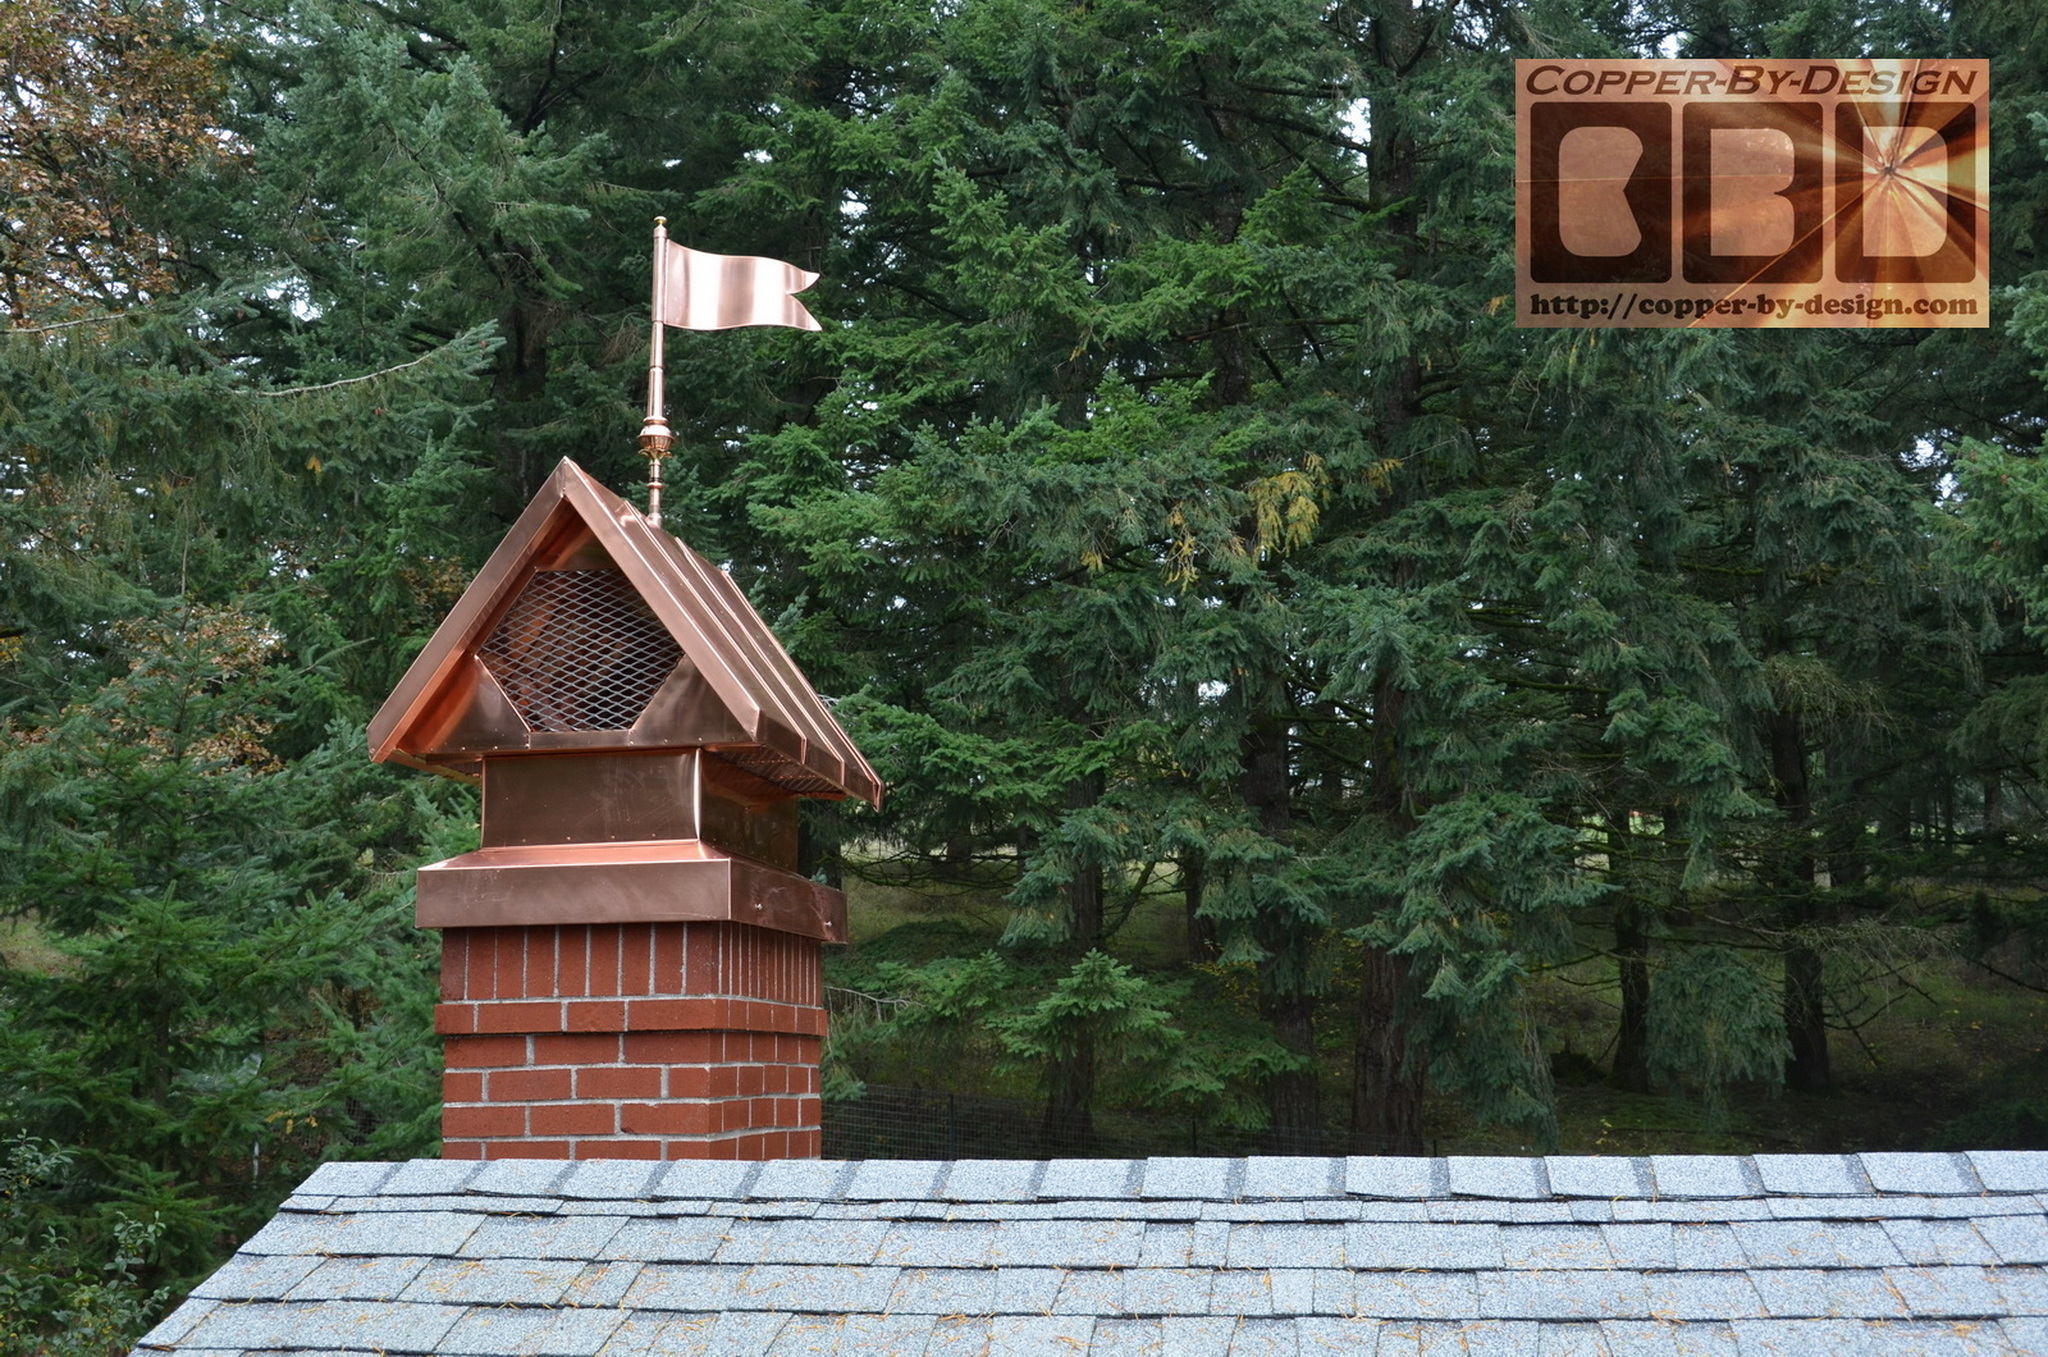
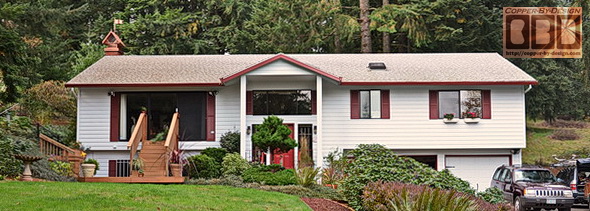
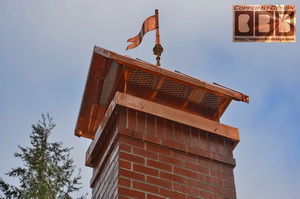
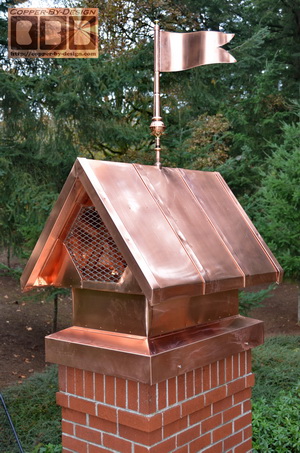
Below is the final product installed along
with the copper flag weathervane mounted:
|
|
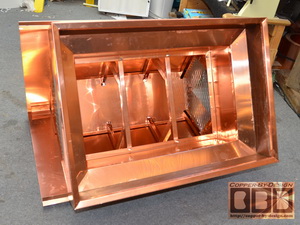
 Here is some shots of the Ipe hardwood support frame
we need to build
inside the copper base to help anchor this down in high
wind storms. It adds a good deal of strength, weight, and threads
for the stainless steel screws that will lock it down Here is some shots of the Ipe hardwood support frame
we need to build
inside the copper base to help anchor this down in high
wind storms. It adds a good deal of strength, weight, and threads
for the stainless steel screws that will lock it down
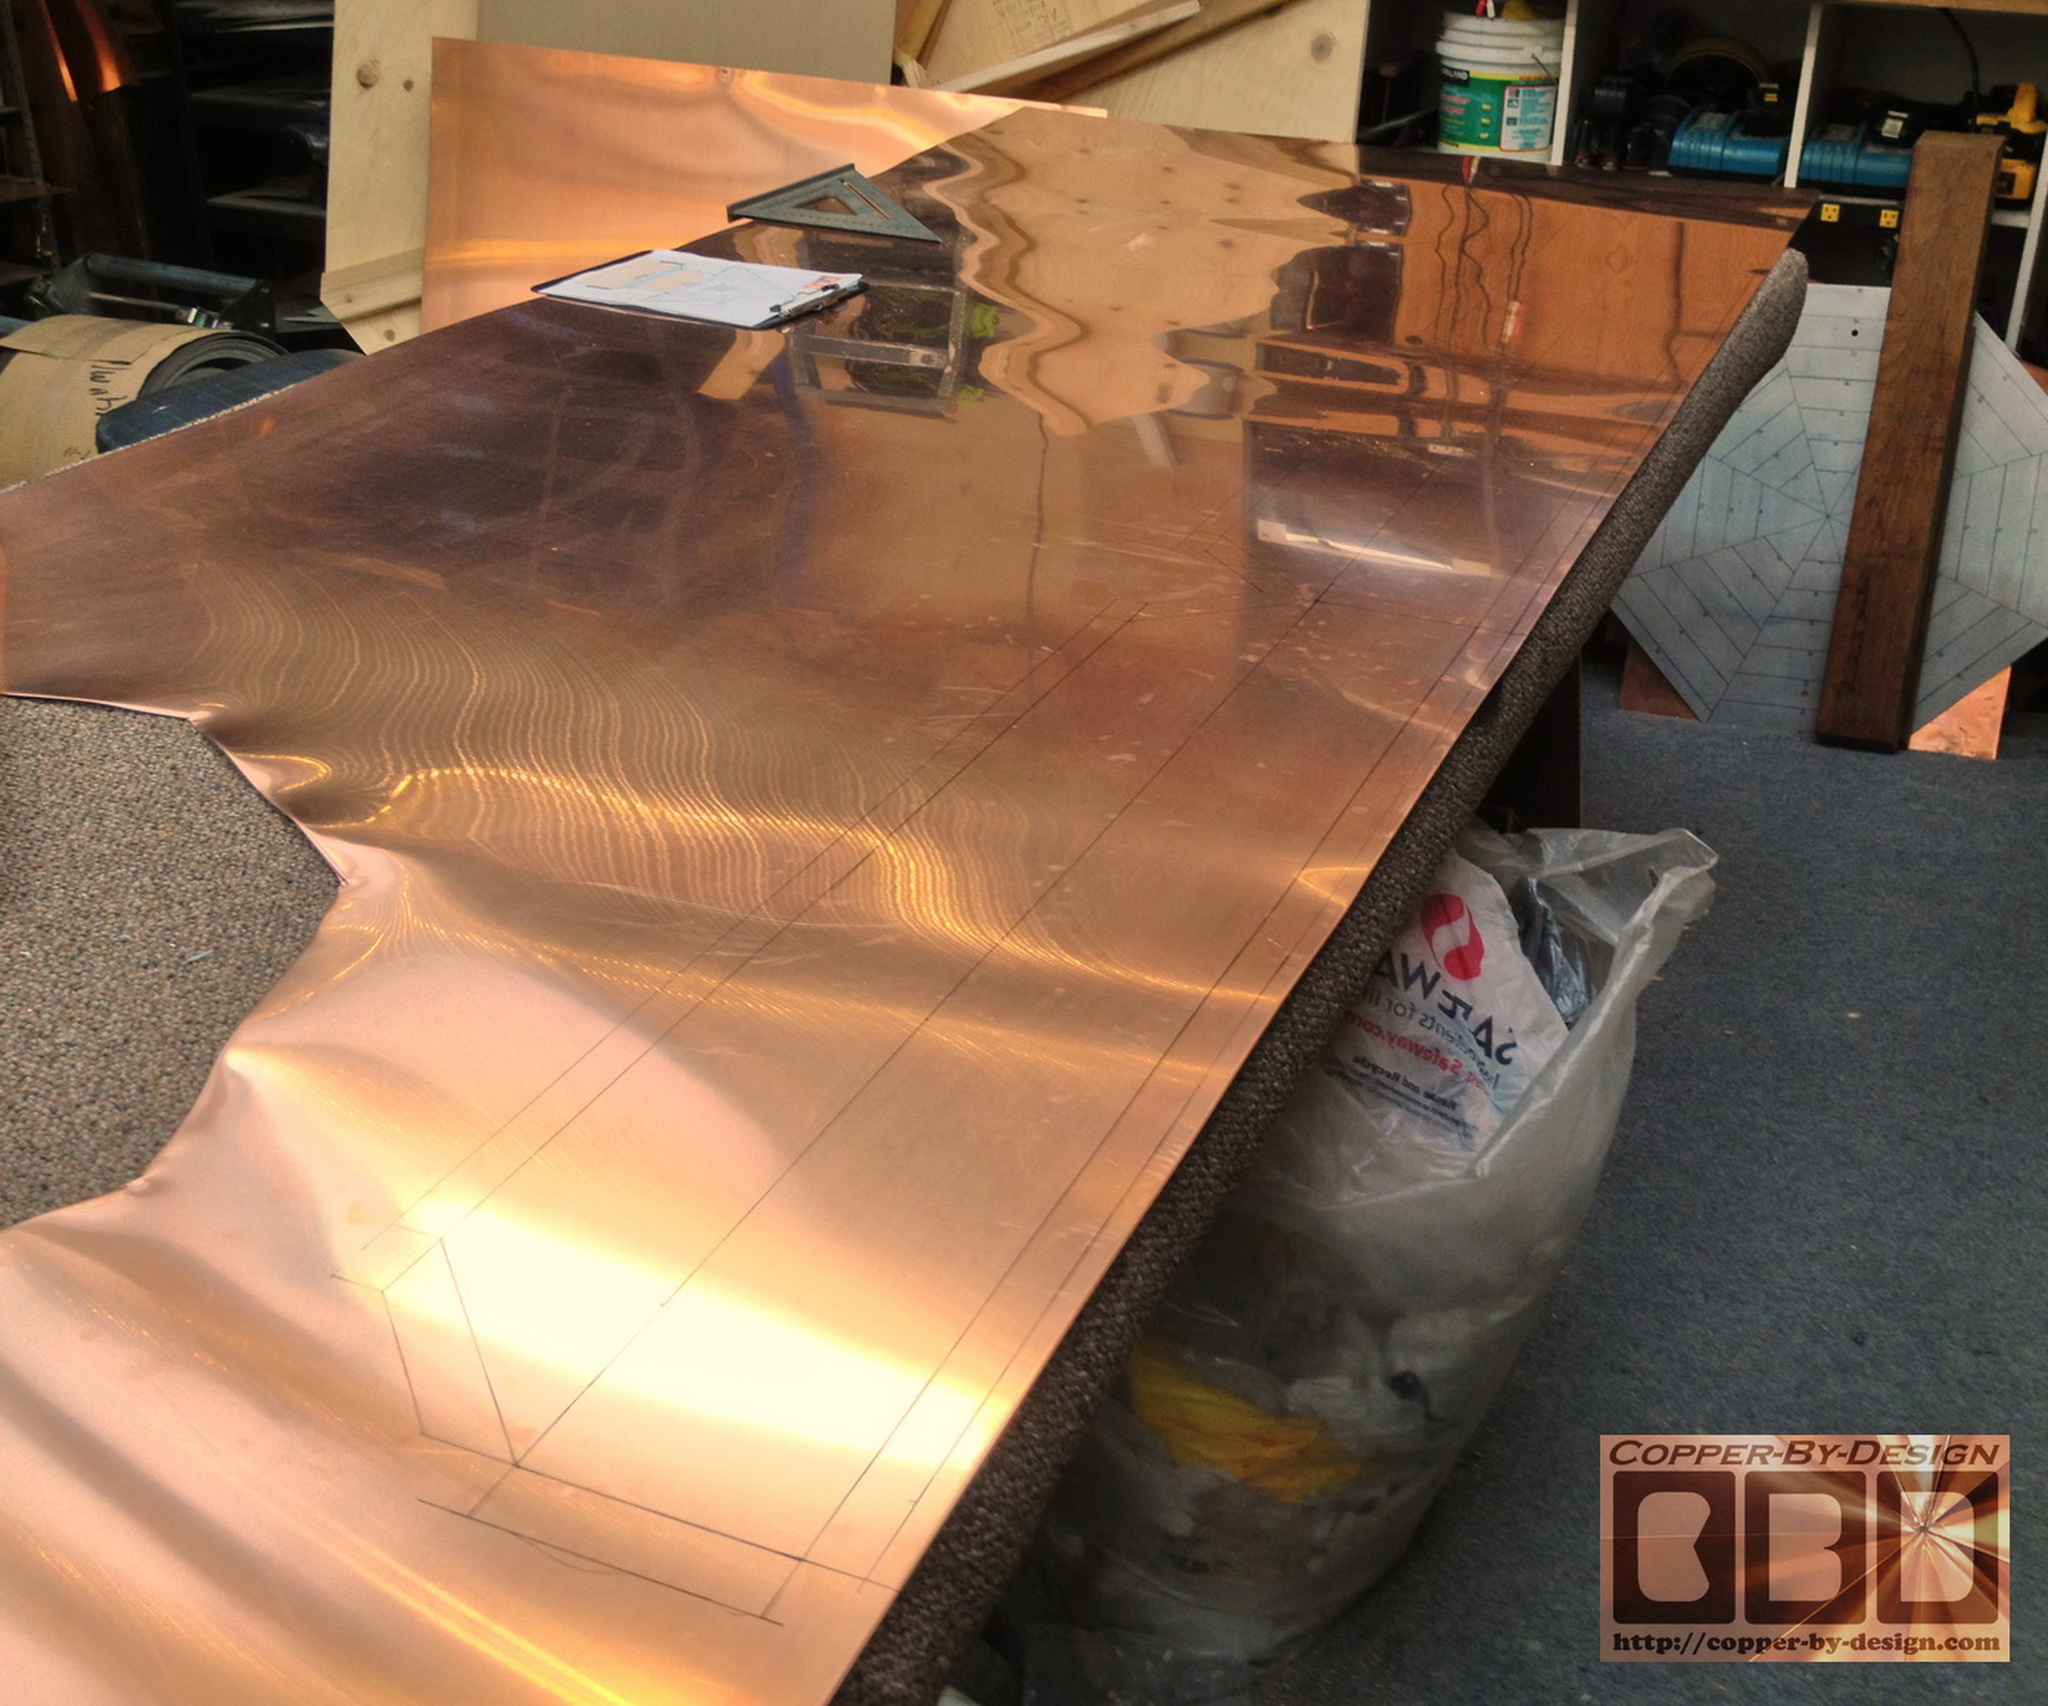
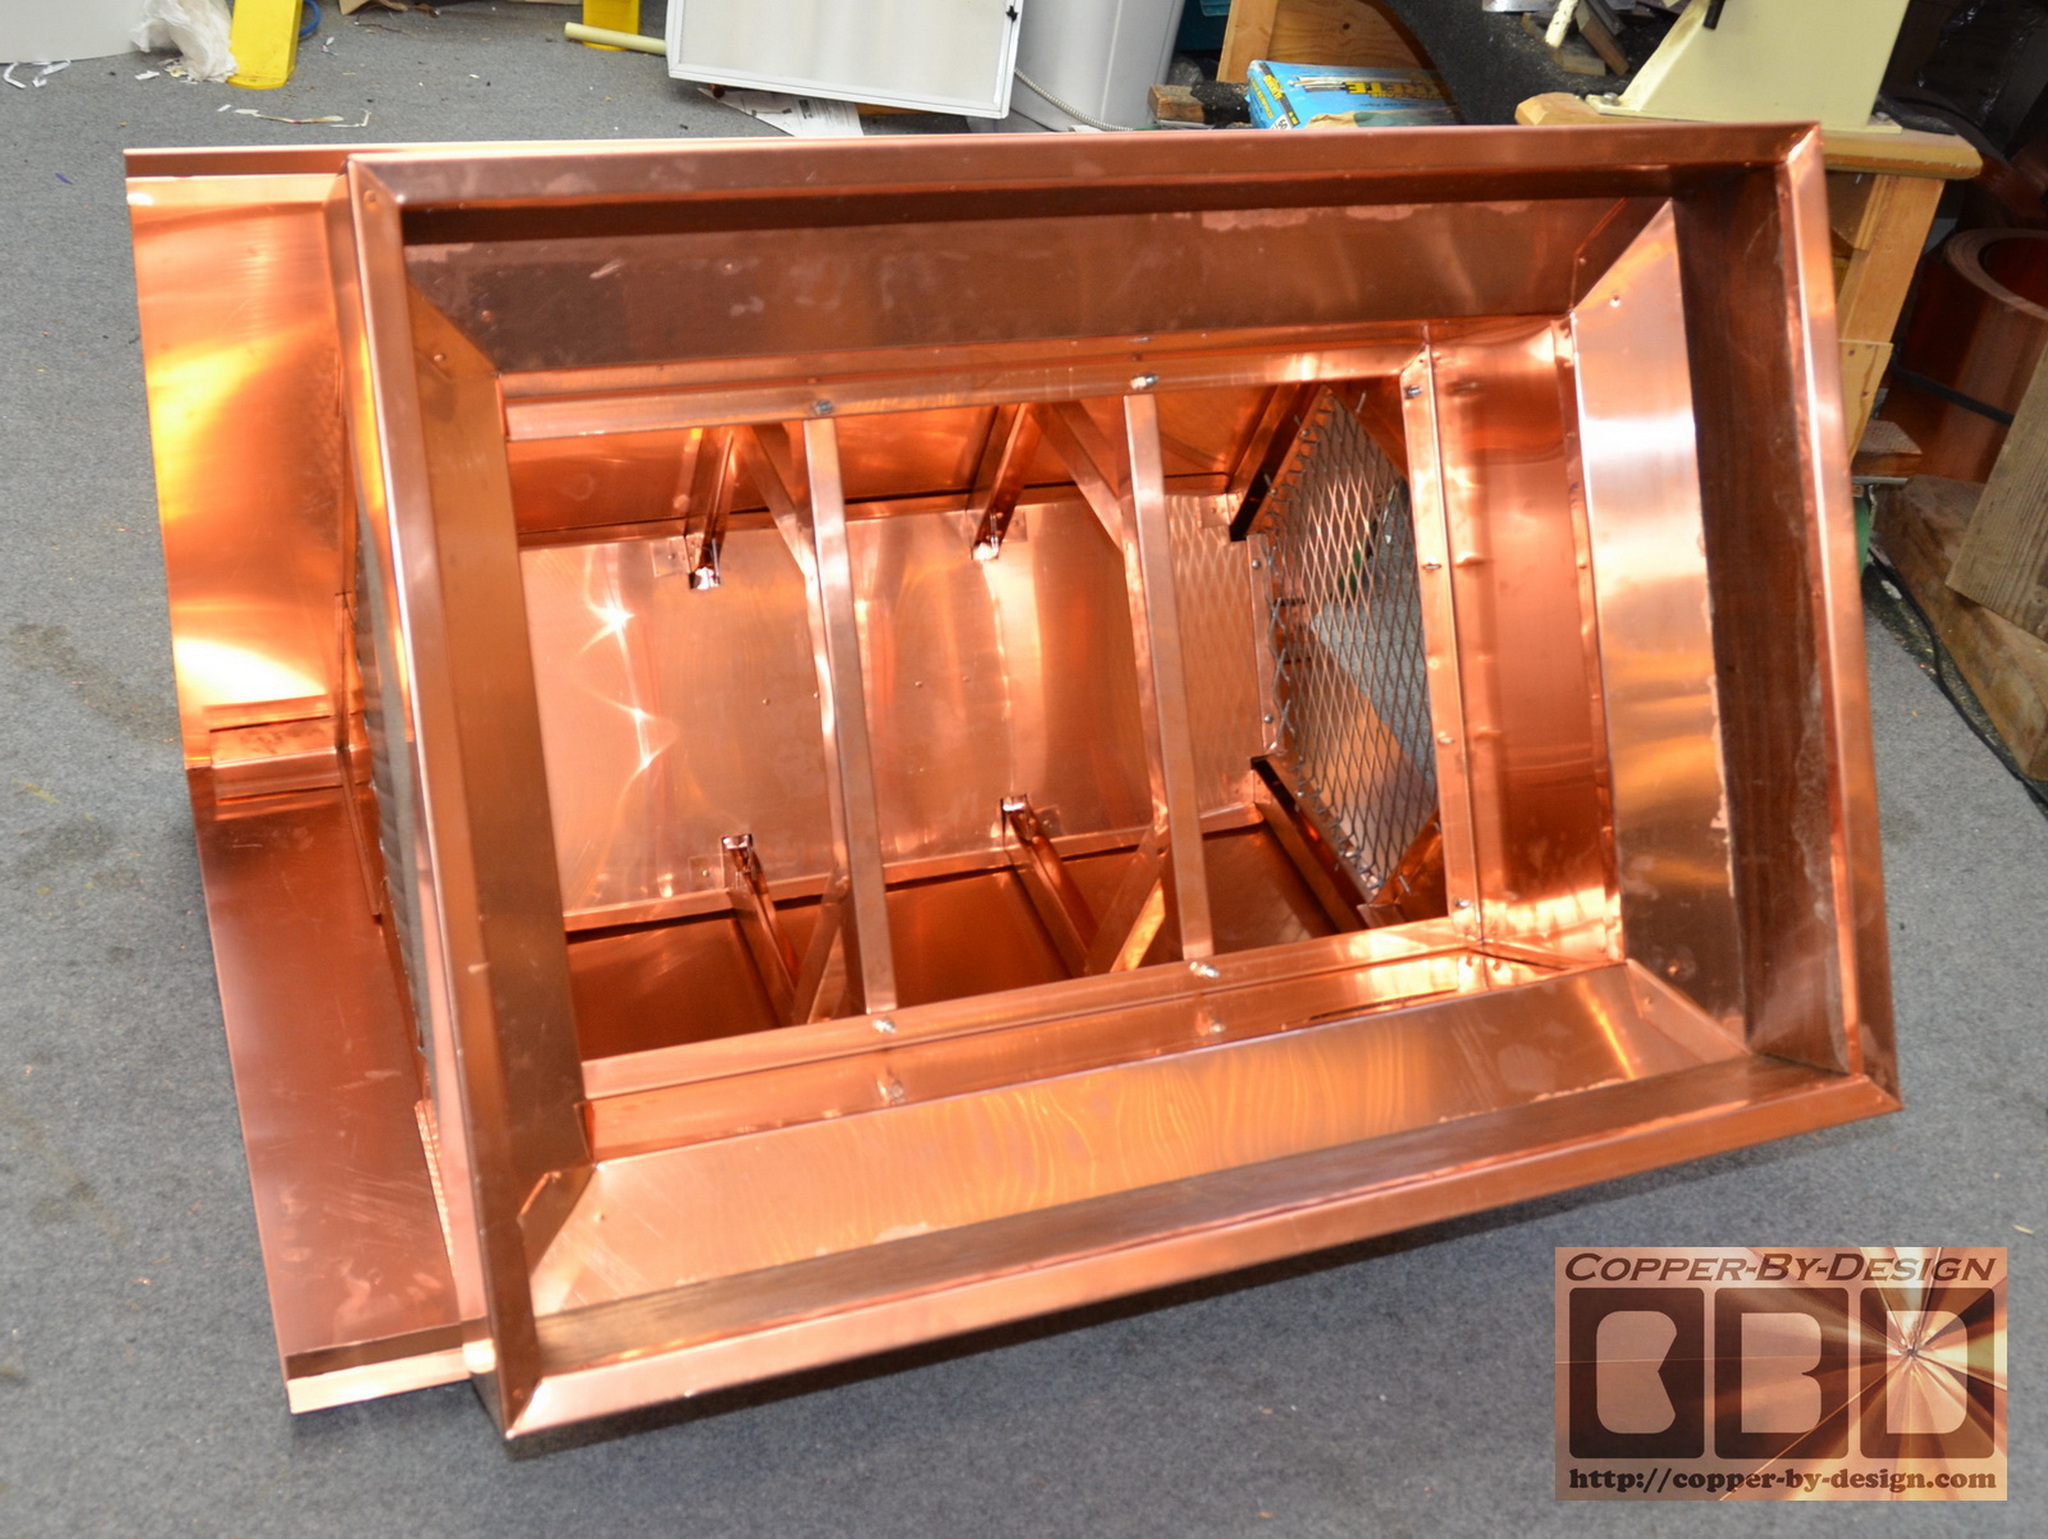
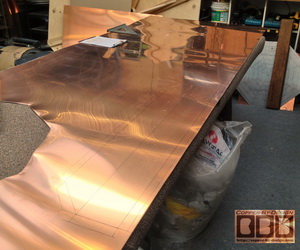
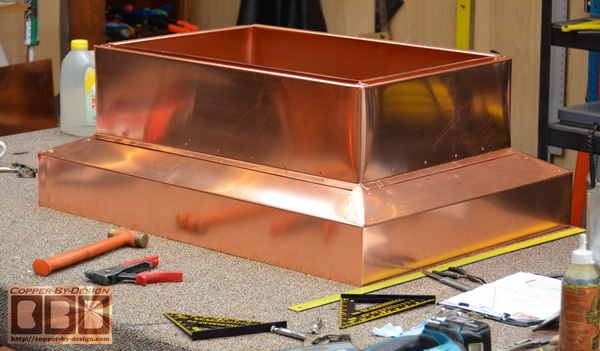
The base of this chimney cap measures 25-7/8" X 37.75" inside
diameter to fit comfortably over their brick chimney. This
brings the base out to 28" X 40" OSD. It then tapers at a 6/12
pitch in 4" from the outside frame to a 20" X 32" mid section
(shown below) to cover the flue liner that protrudes up from the
top of their chimney. The ipe hardwood has been cut on all 4
edges and glued in place, then treated with tung oil.
|
|
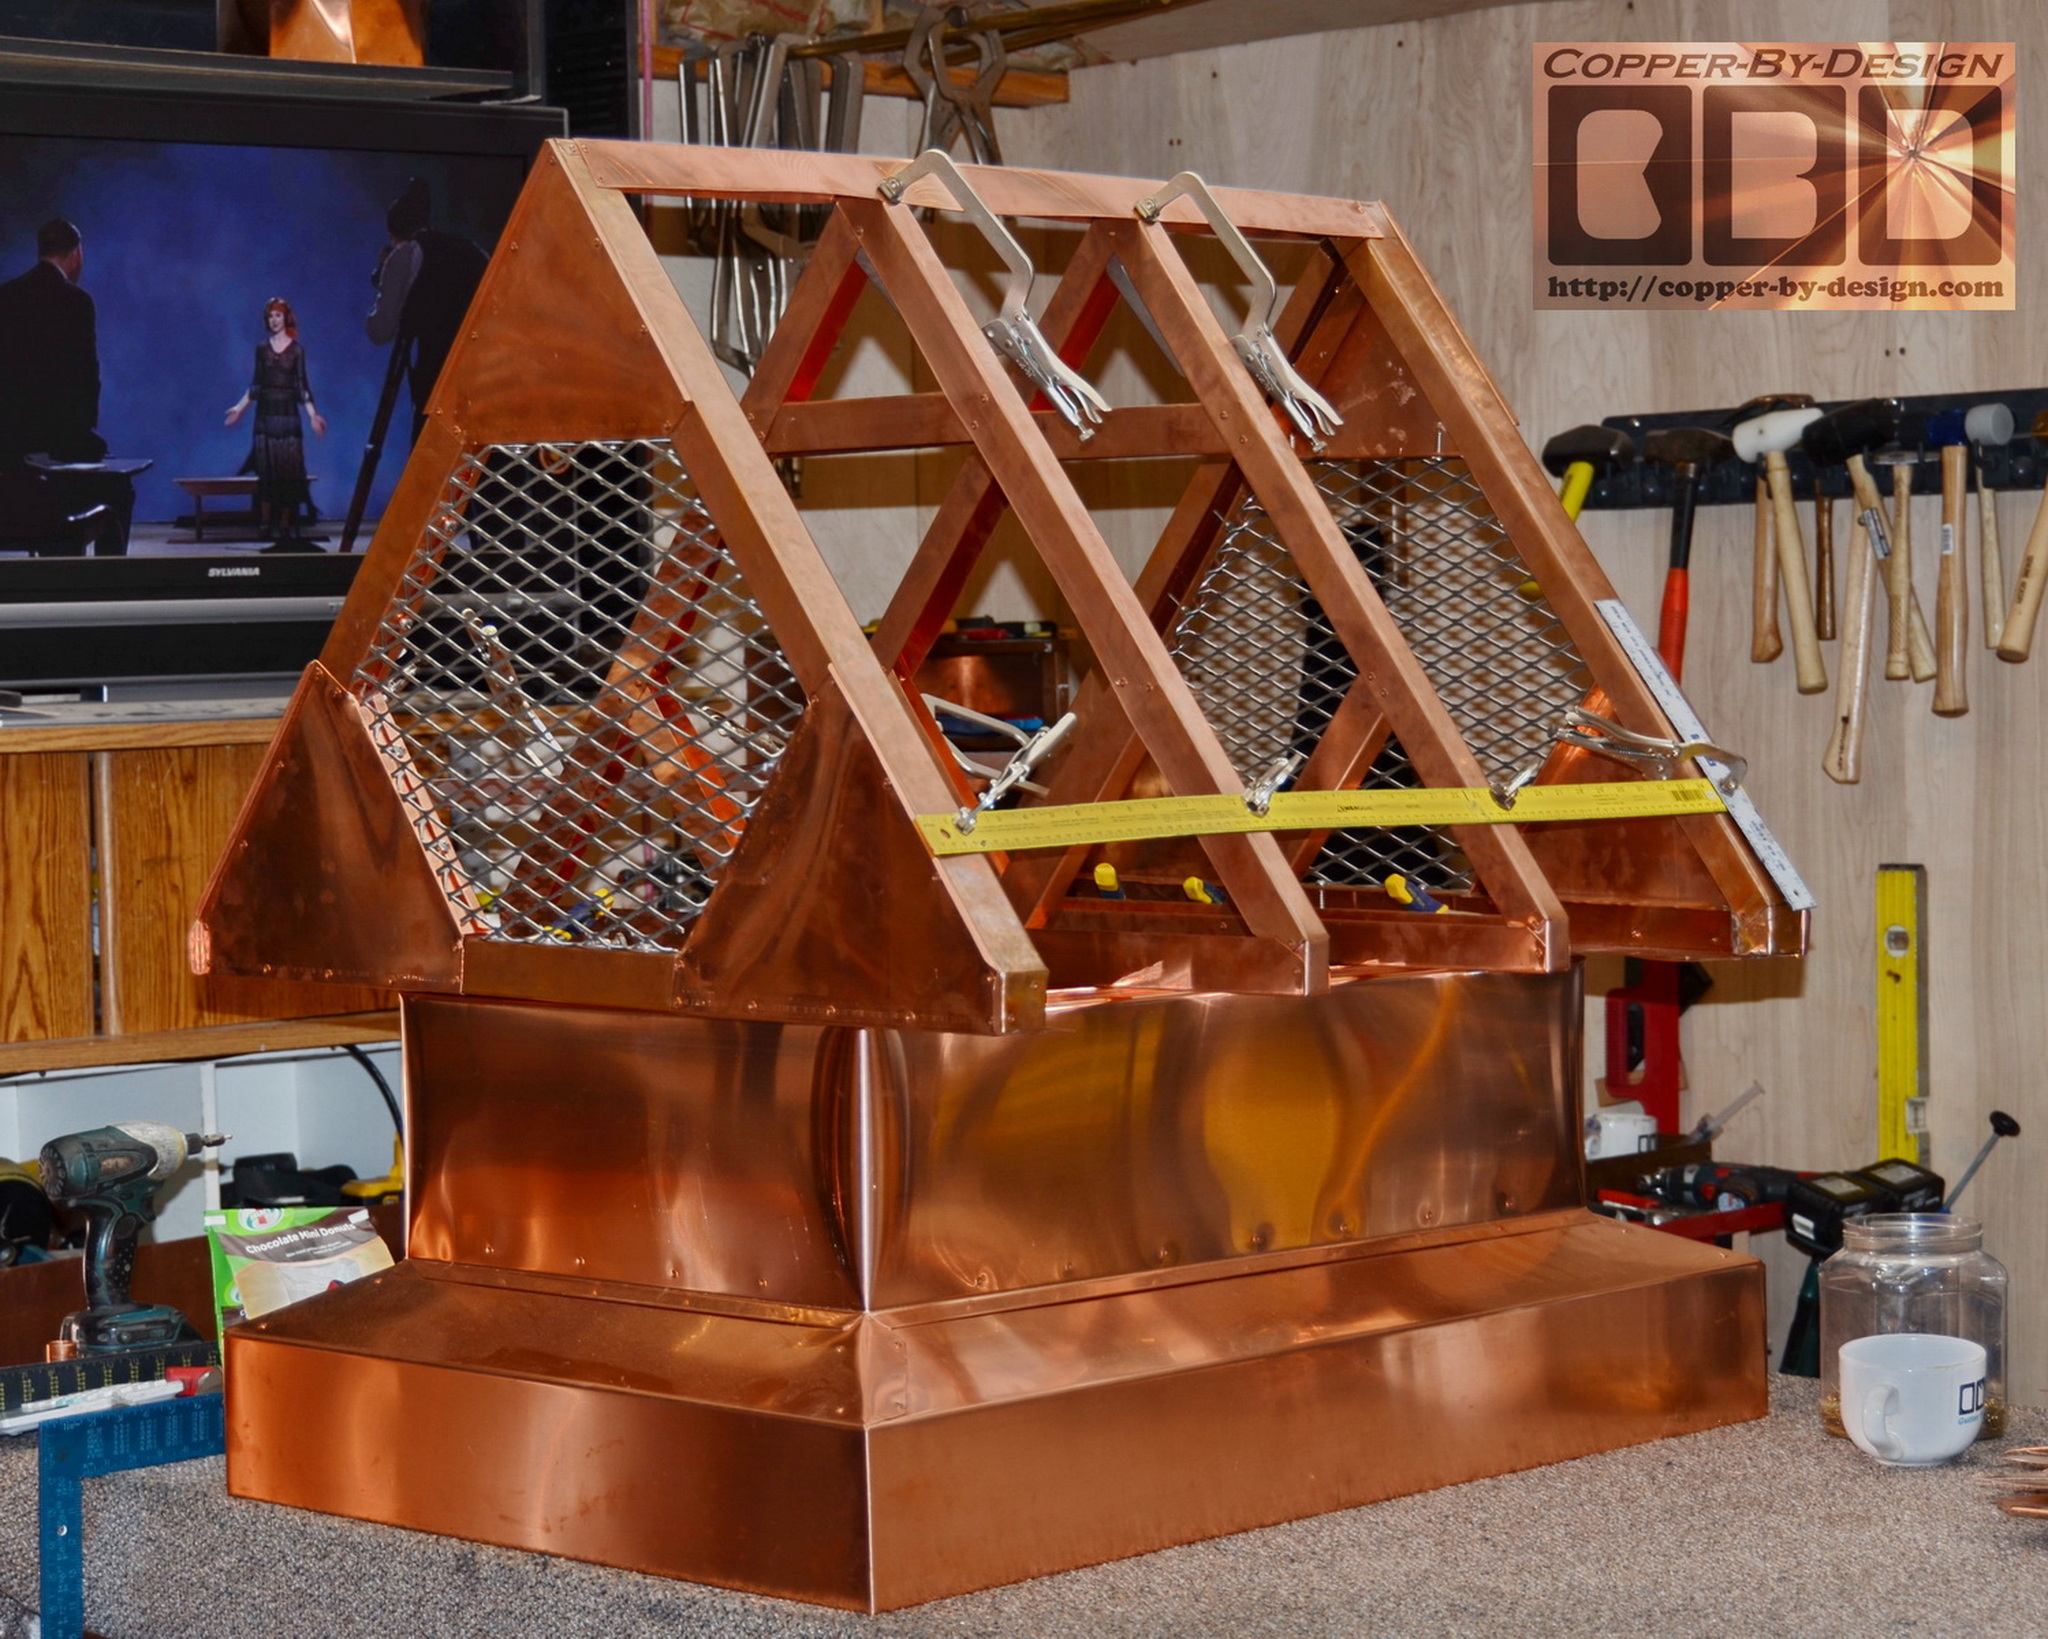
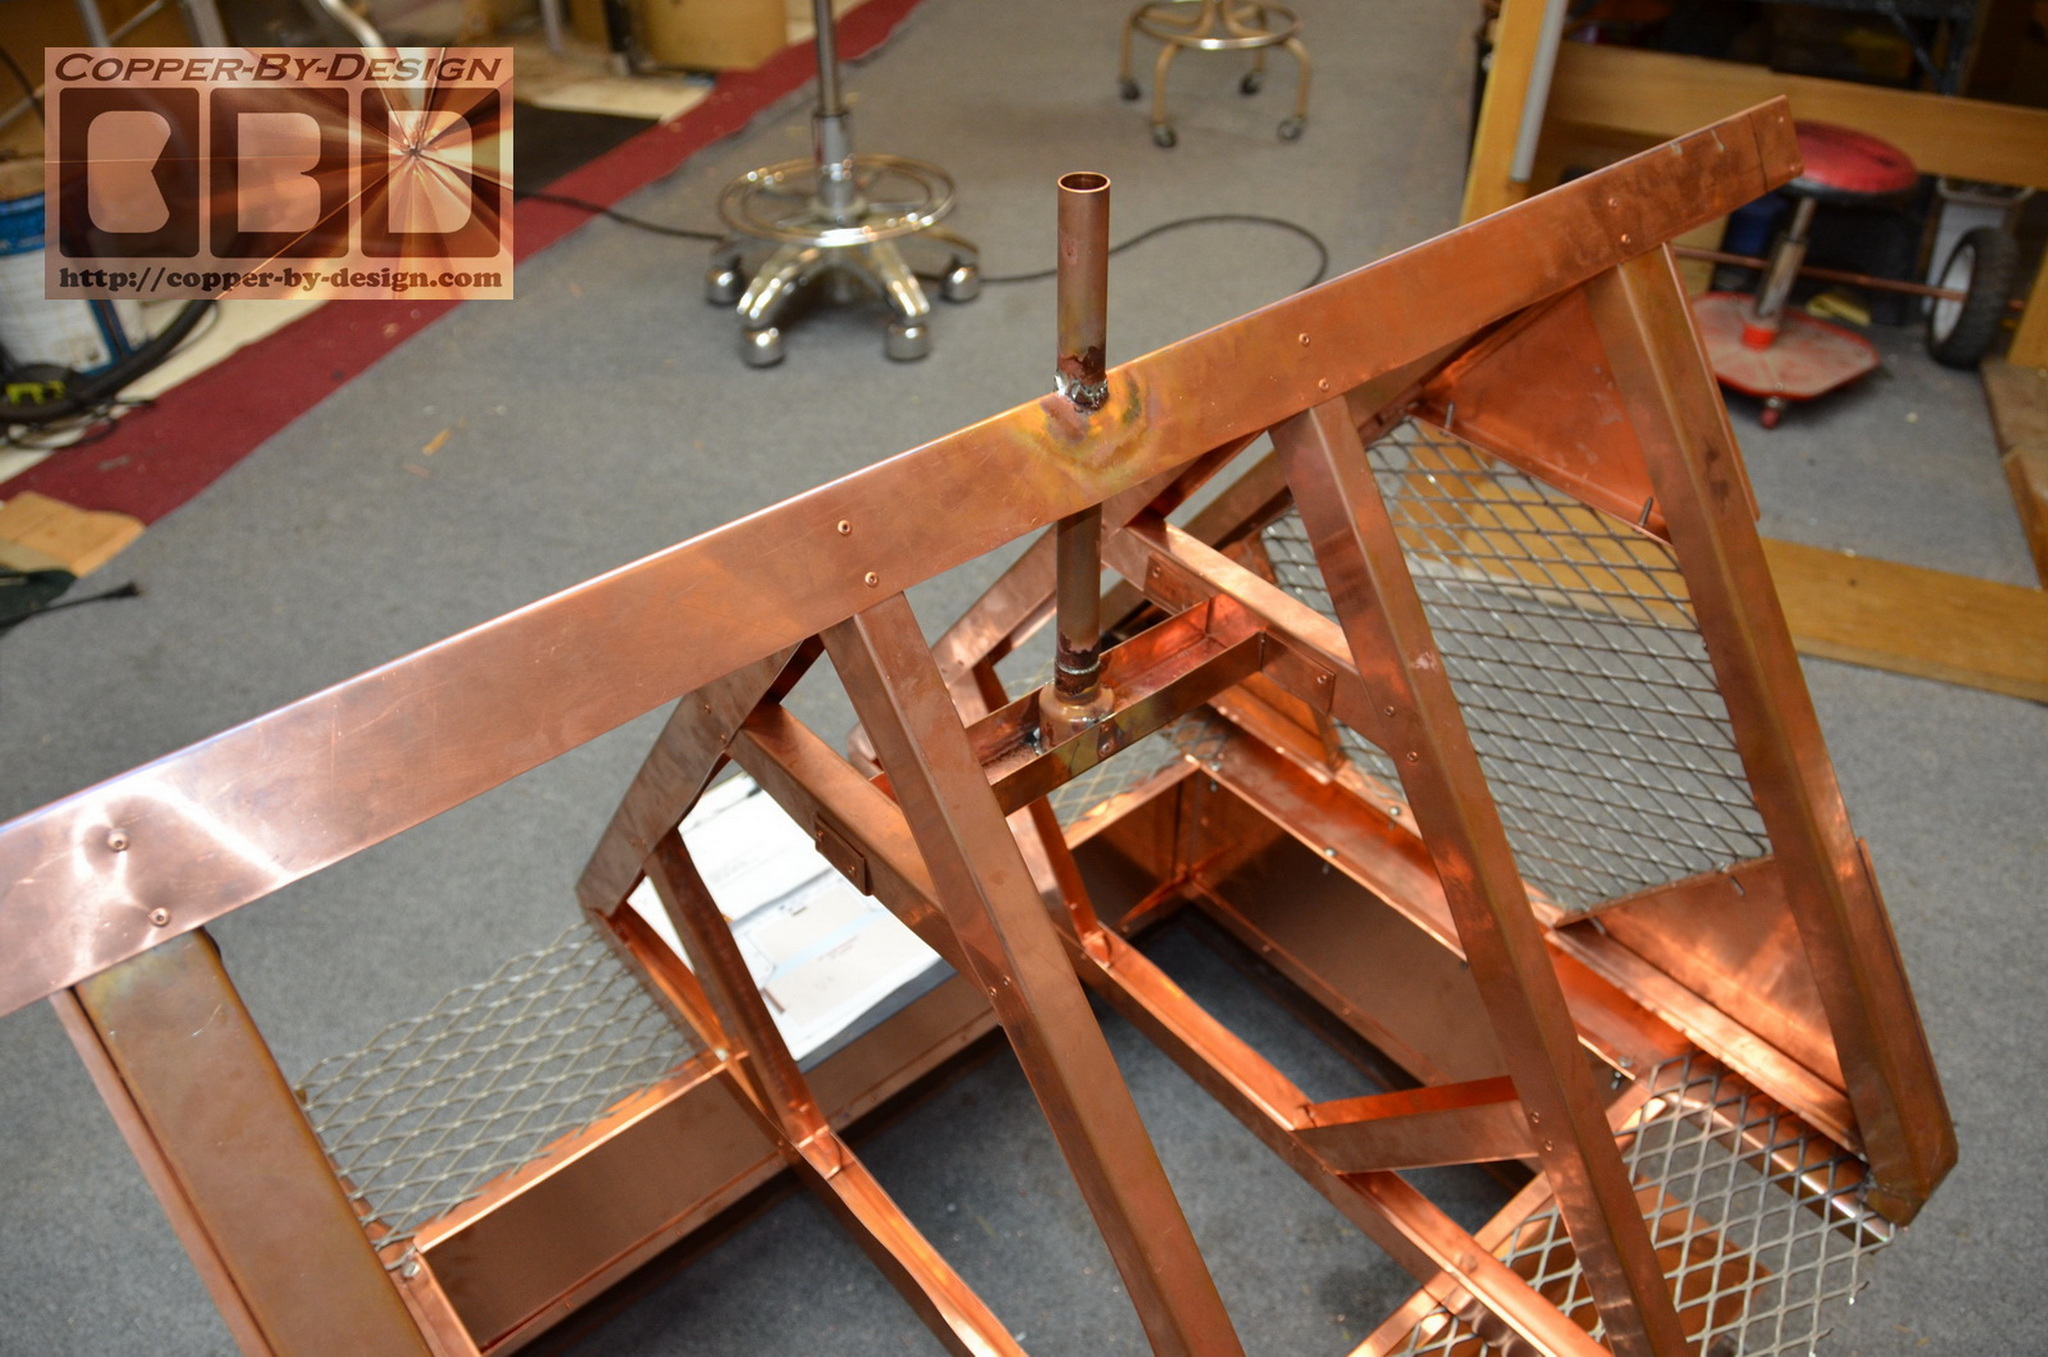
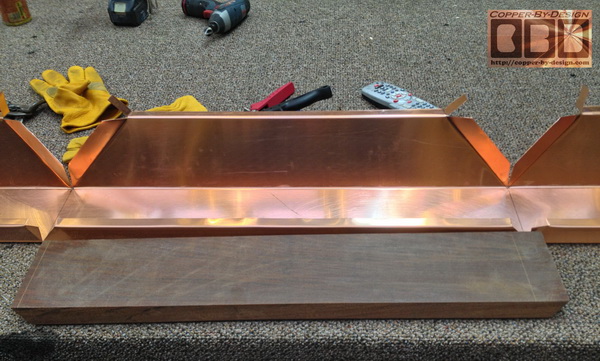
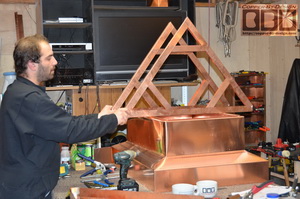
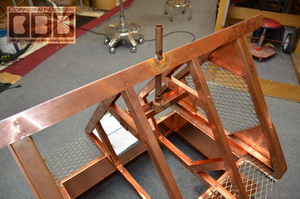
It took a few days just to build
these roof support frames and took 60 rivets for each frame. I
believe these
support should be placed no more than 12" apart, so these
were place less than 10" apart. We made the end pieces
with the 13 gauge stainless steel screen flush with the
sharp edges bent at a right angle to set into a channel. These
screens are what we get my hands lacerated on more than any
other aspect of our work, so it's important to cover all the edges of
this SS screen.
 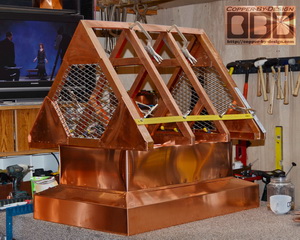
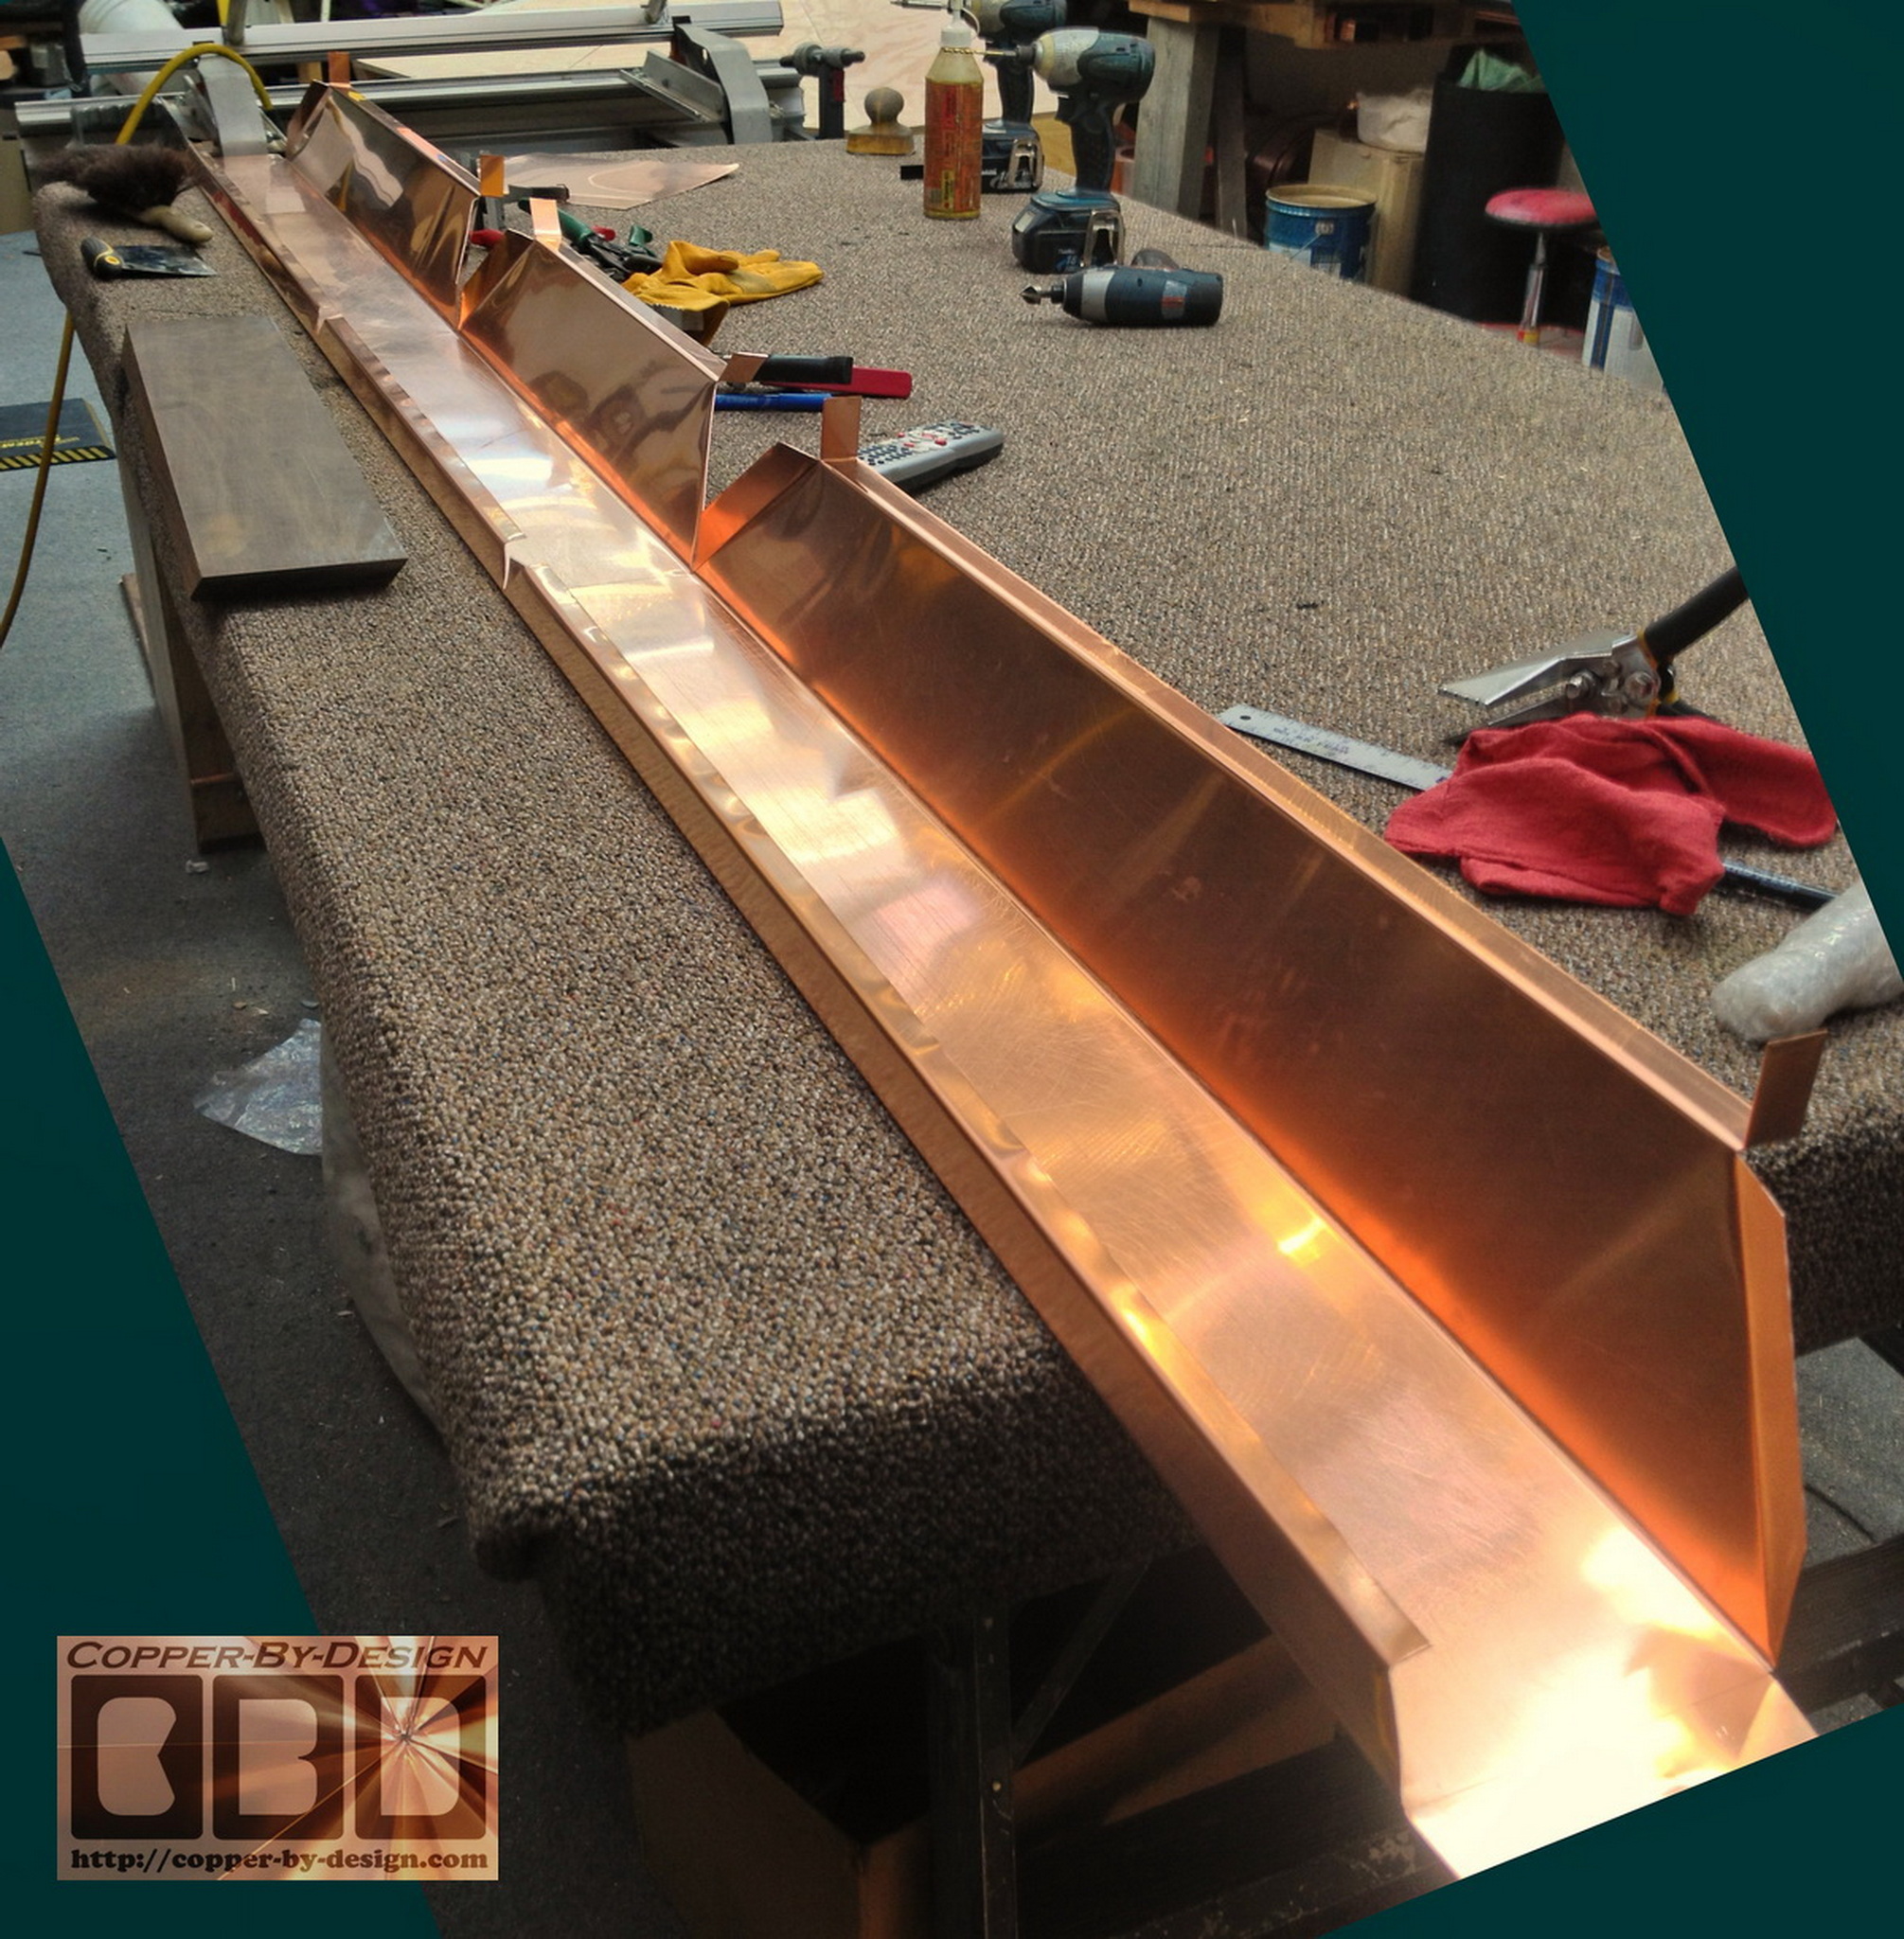
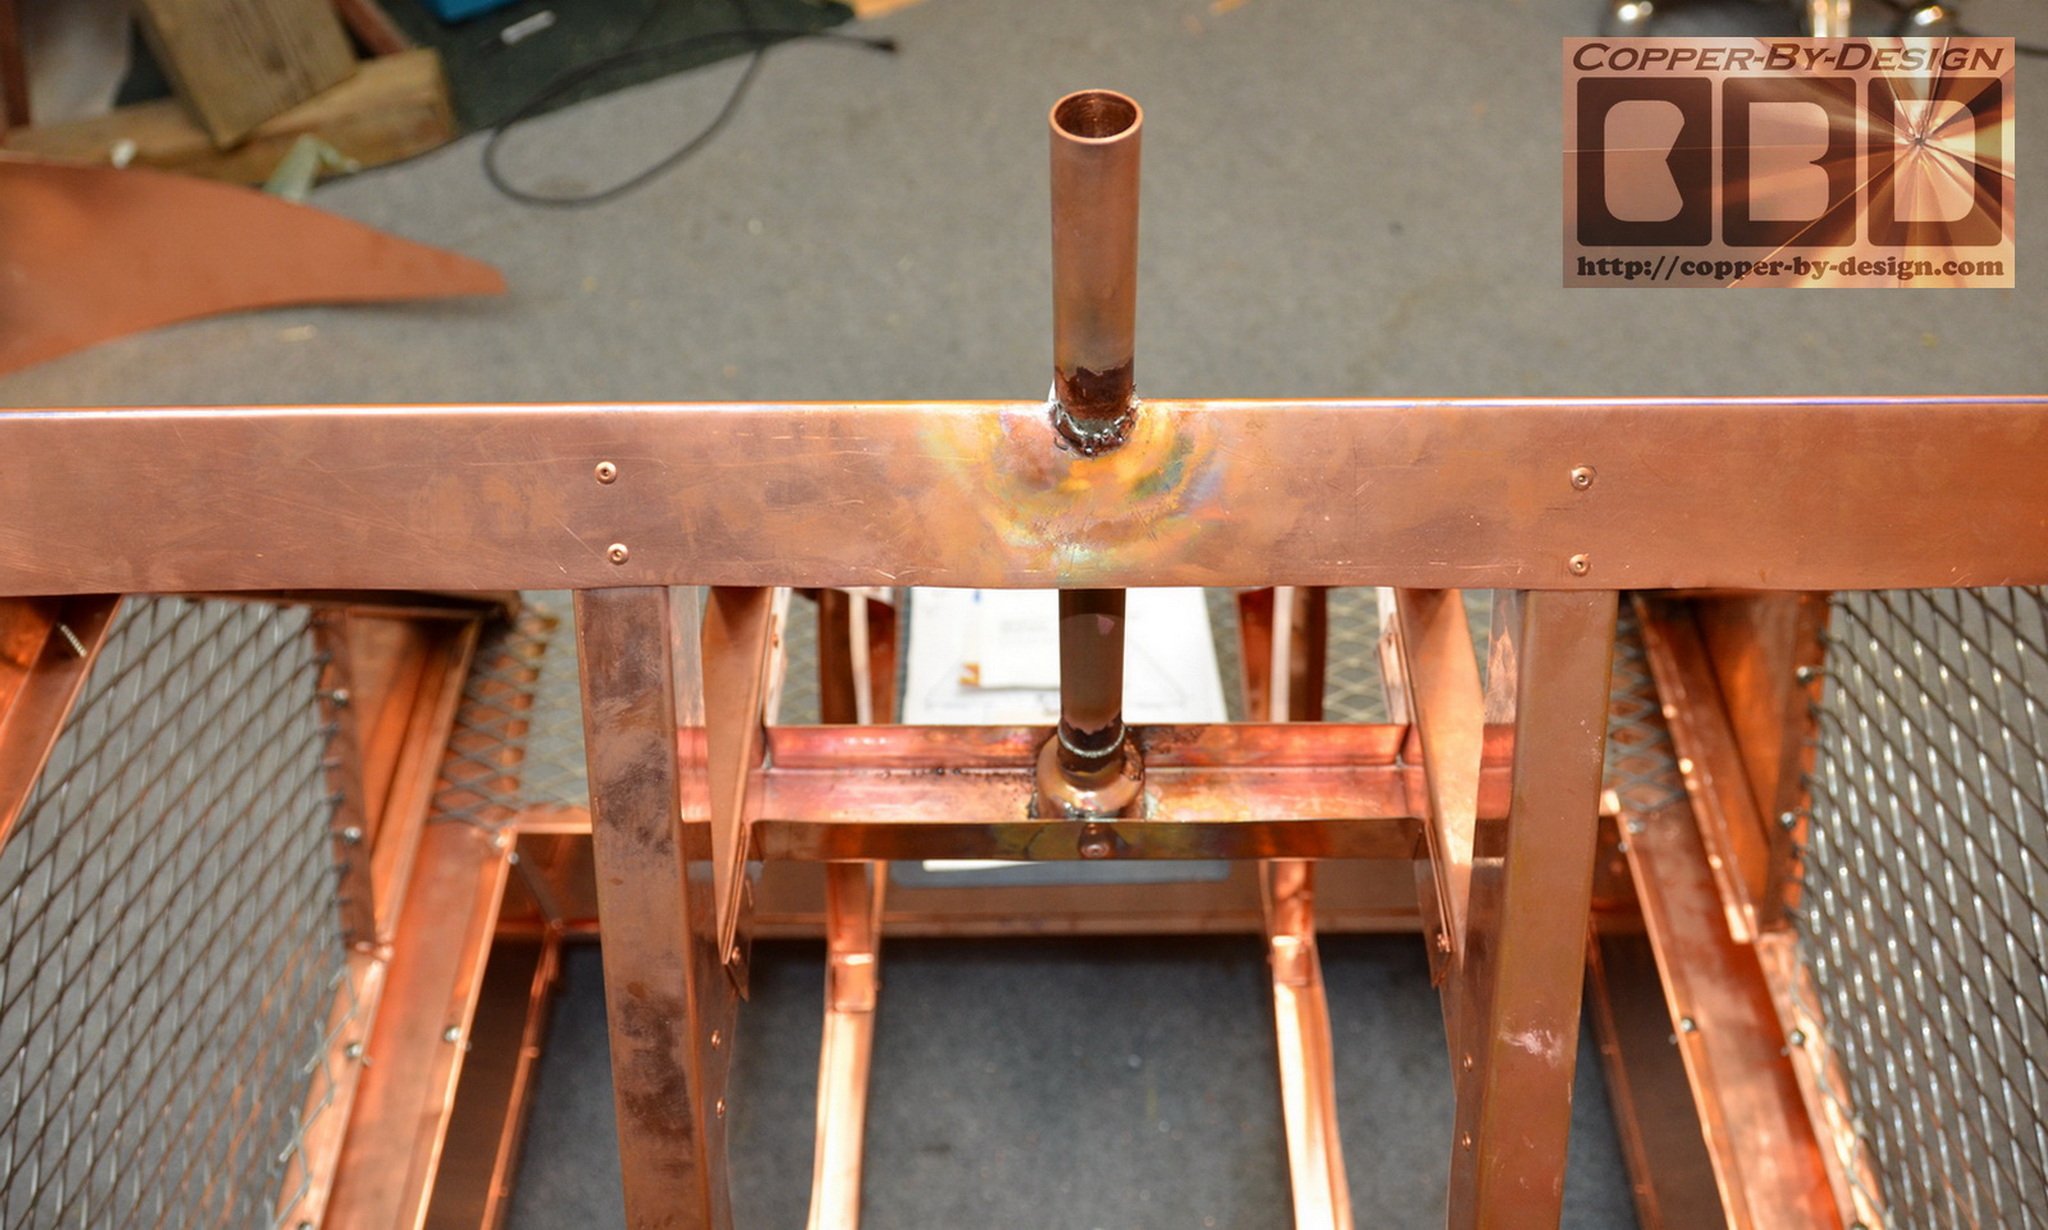
I designed this with the long side screens to
lay horizontally, as seen below. This shows the weathervane
mount being structurally built inside the roof of this chimney
cap for a 12" hidden support anchor.
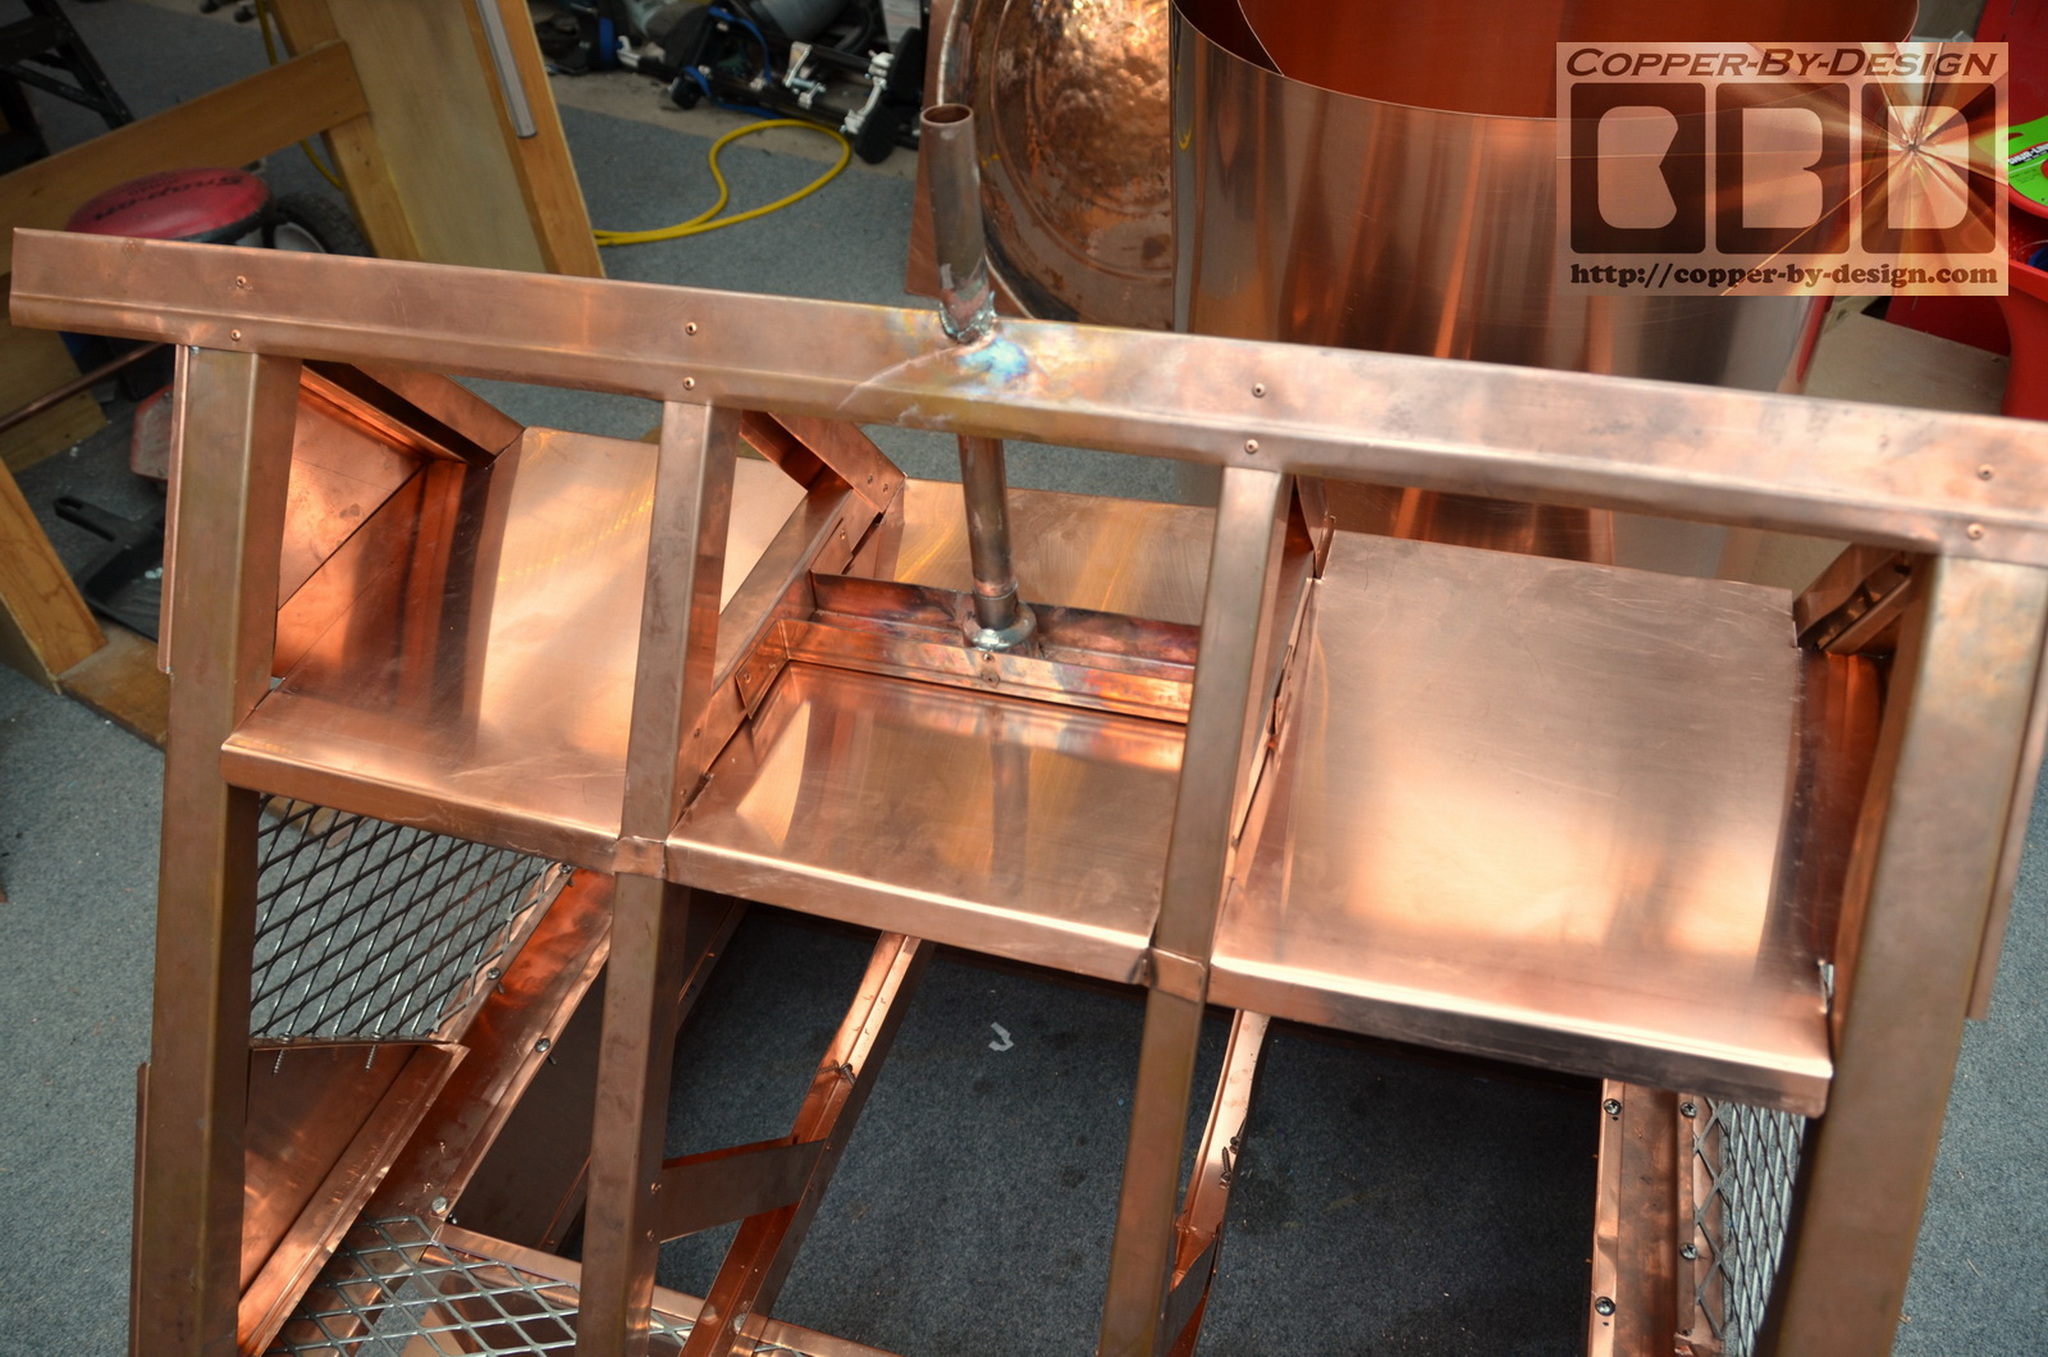
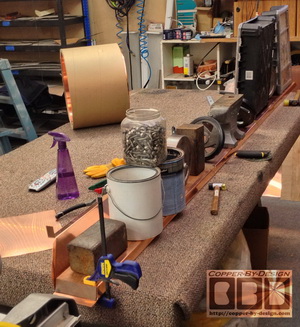
As all these pieces get fastened together it
gradually adds more and more strength to this structure. Then
the roof skin goes over these frames and holds everything
together quite well. I decided this should have a liner to seal
off the upper section of the roof structure and shield it from
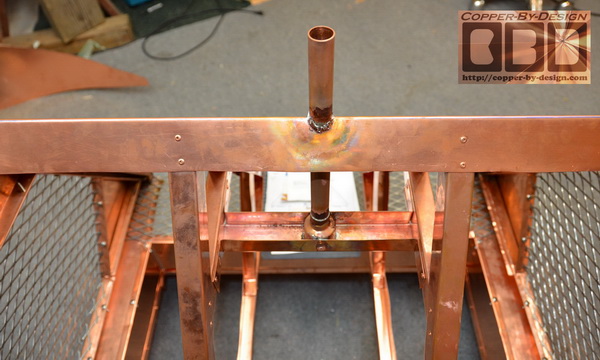
the heat that can be generated. The
base of the weathervane mount is also
riveted in place as well as soldered. The top of this pipe is
held in place with a sheet of copper bent over the top ridge.
Then the roof skin will also hold it as well for a combined
total of 44oz copper. I'm pretty sure it's not going anywhere
even if this got so hot the solder melted-off.

I used 7 separate pieces to add over the peak of this Segmented
Globe finial with 1/2" and 3/4" pipe parts. Then there is the 11
piece swiveling flag pole to slide down over the finial to
transform it into a weathervane (flag not shown in this image).
I also waxed the shaft, so it would rotate very easily.
Including the solid brass mast rod this was assembled from 22
pieces to end up being just 3 basic parts to add above their new
chimney cap.
|
|
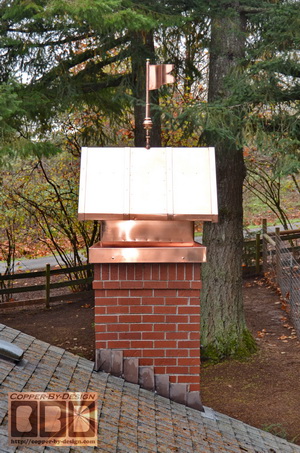
Here is the completed chimney cap before and after I added the decorative
copper strips. We
discussed aesthetic options like adding strips of metal over the
roof to make it look more like a standing seam construction. After
some discussion and sharing photos from another project
they decided that adding the same sort of 4 flat bands 2" wide
instead of just 1.5" wide over
the roof skin would be best, so it was not just a large flat sheet.
|
|
Dimensions: base/skirt ISD 25-7/8" X 37.75", OSD 28" X
40", roof OSD 34" X 46.5"
This was 133# in all
Weights and cost breakdown of these pieces are as follows:
-
28.4# - wood frame inside the base/skirt
-
8.8# - SS screen
-
95.8# of copper sheet metal
-
$1,916 - 76.64 sq' of copper X $25
-
+ $169.35 for 5/4 x 6 hardwood boards
-
+ $146.80 for SS screens
-
$125 for weathervane support pipe built
into the roof
-
$170 for 24" tall Segmented Globe
-
$175 for custom 32oz copper rotating flag
-
+ $400 to buff and lacquer the outside of this copper
project
-
+ $300 for pre-measure, delivery, pressure
wash upper bricks, and installation
-
= $3,502.15 sub total
-
- $470.67 saved for more copper and wood used
than estimated & forgotten charge
-
= $3,031.48 Grand Total installed
|
|

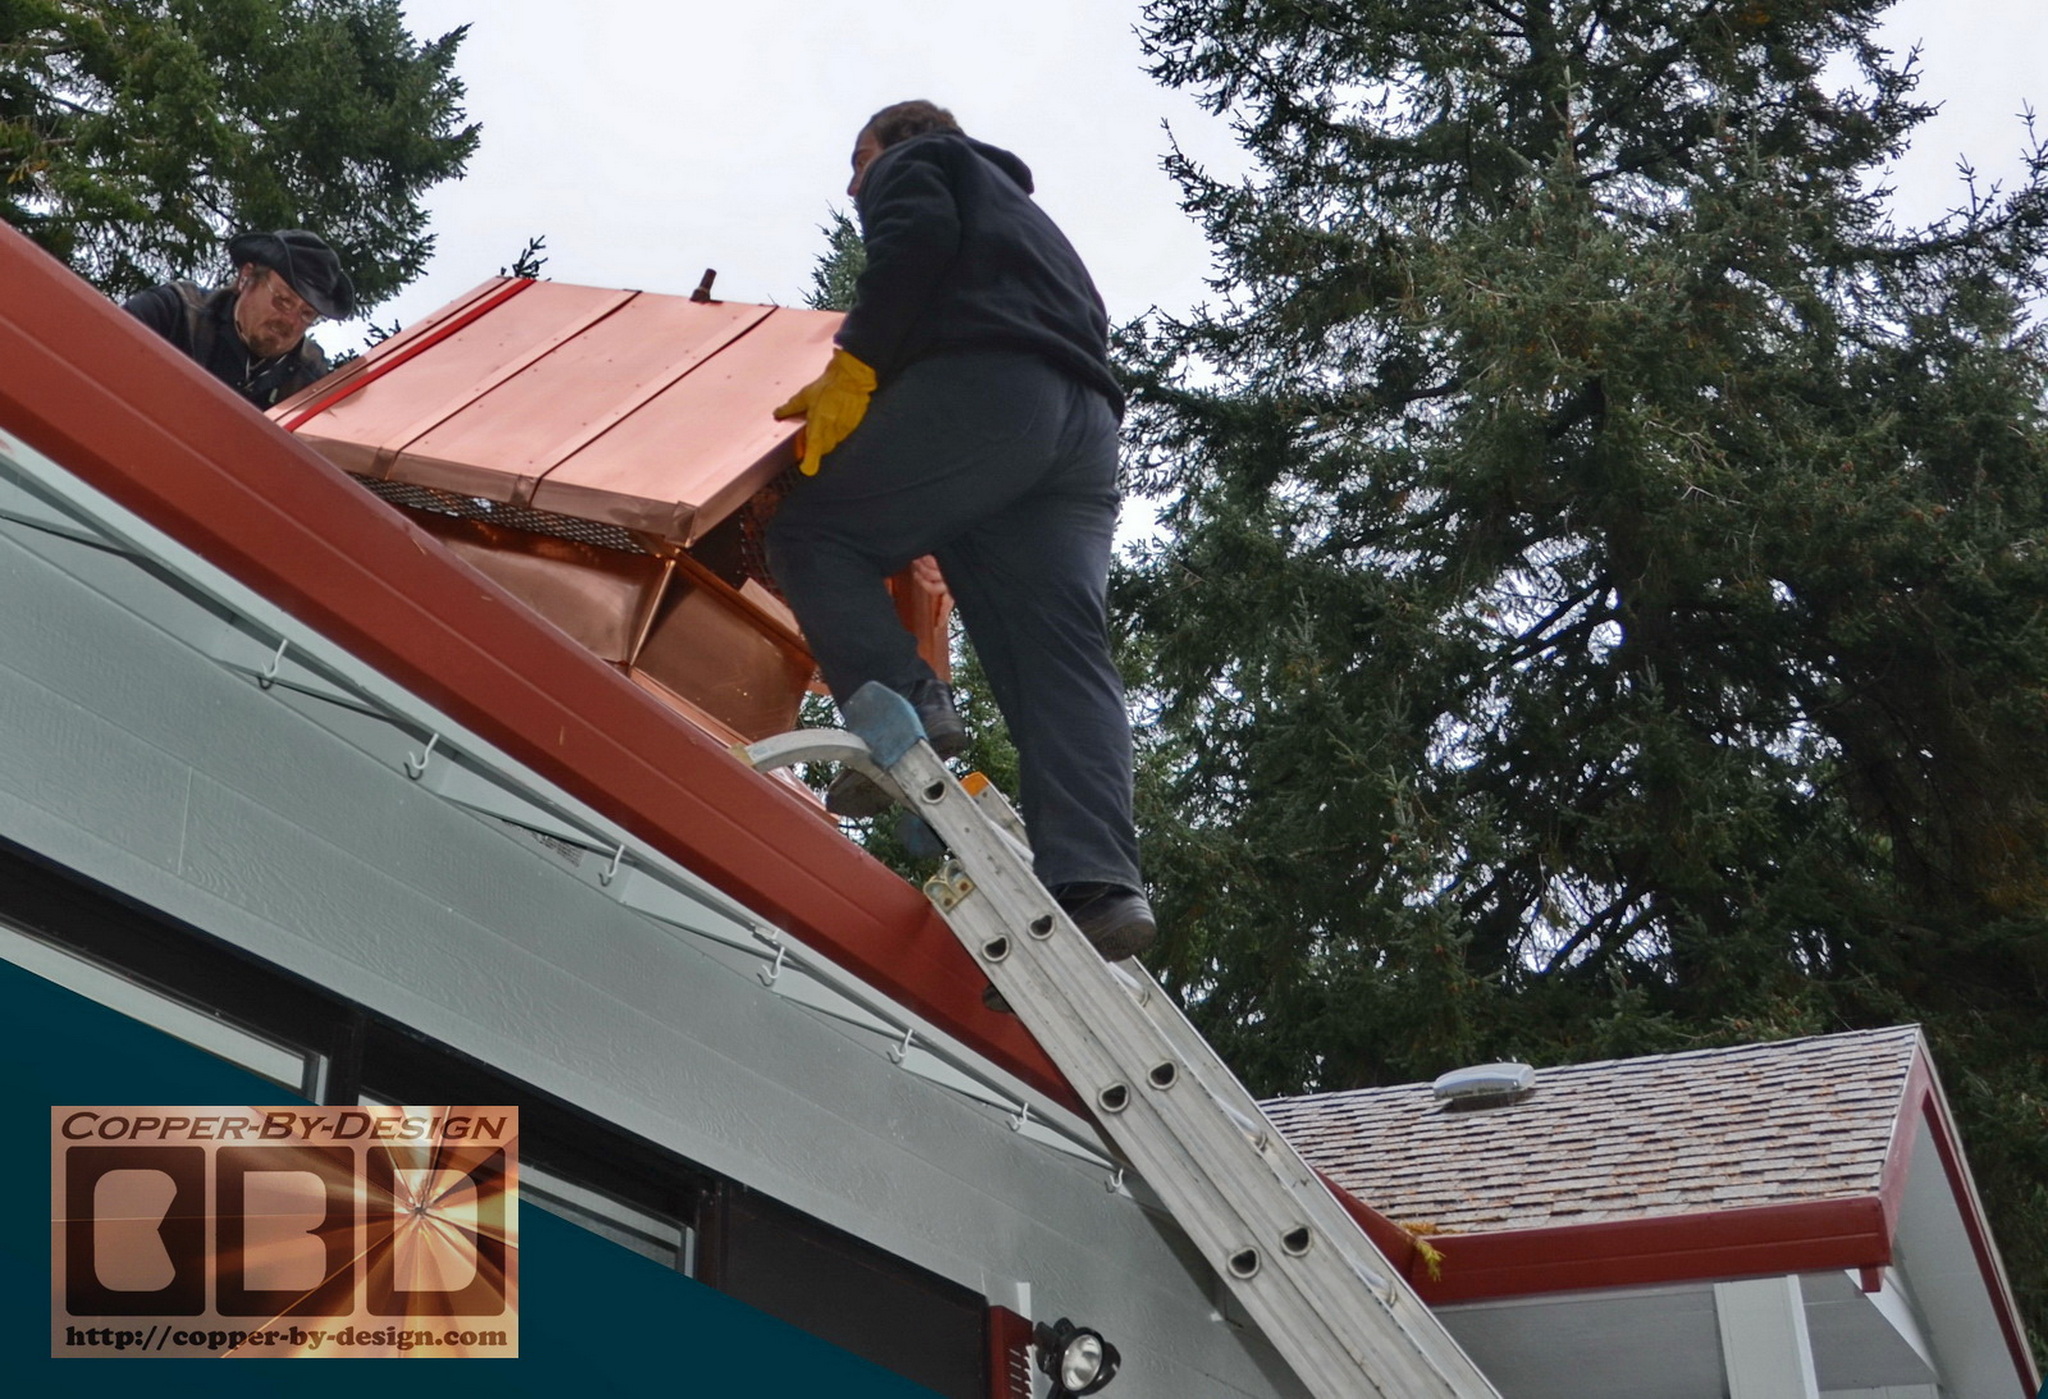
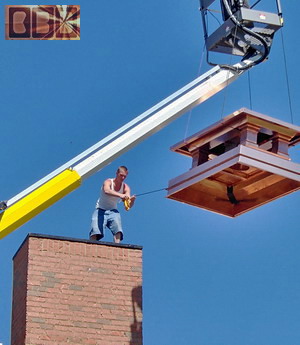
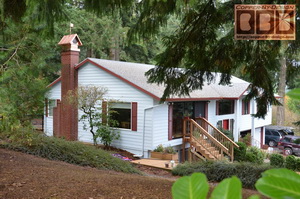
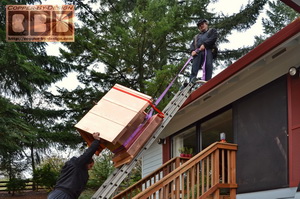
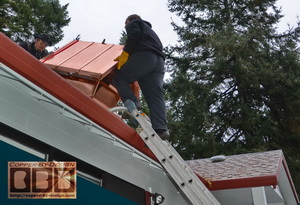
Here is the installation. It was
an interesting feat to come up with a safe way to get this up on
the roof with a maximum weight limit of 300# ladder strength. I
made a wood sled w/side rails to set the chimney cap on. I was
at the top pulling and Chris was below pushing up.
 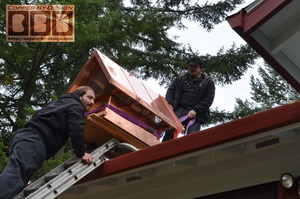
 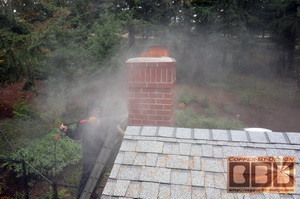
We used the client's pressure washer to clean
off the top and upper sides of this chimney before installation. Once it was in
place it was easy to just tighten the SS screws after checking
the vertical level of the weathervane mount.
By request, I also had polished and
lacquered his Blue Herron weathervane mounted on his shed, shown
here:

|