|
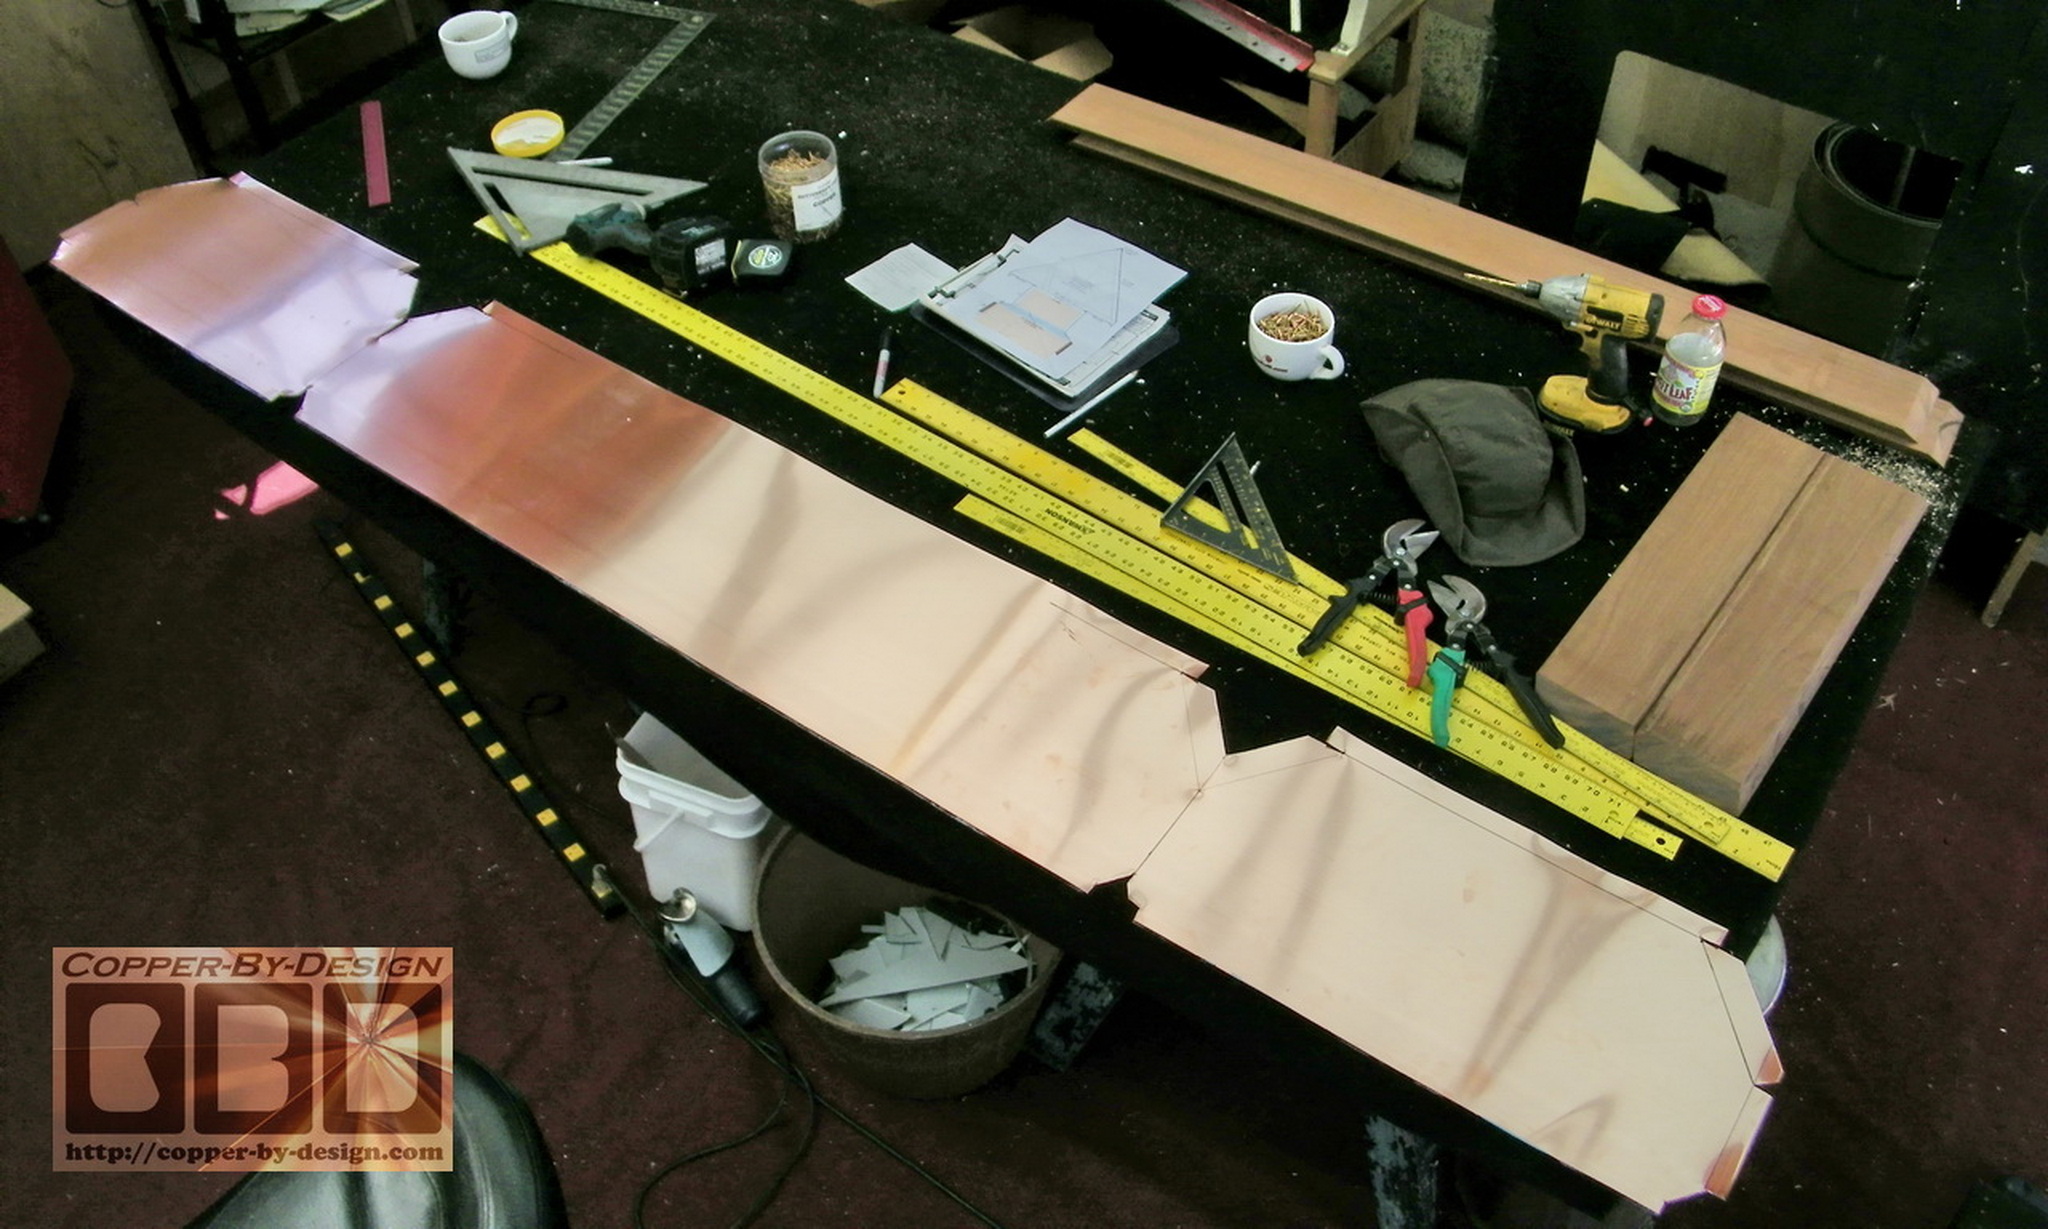
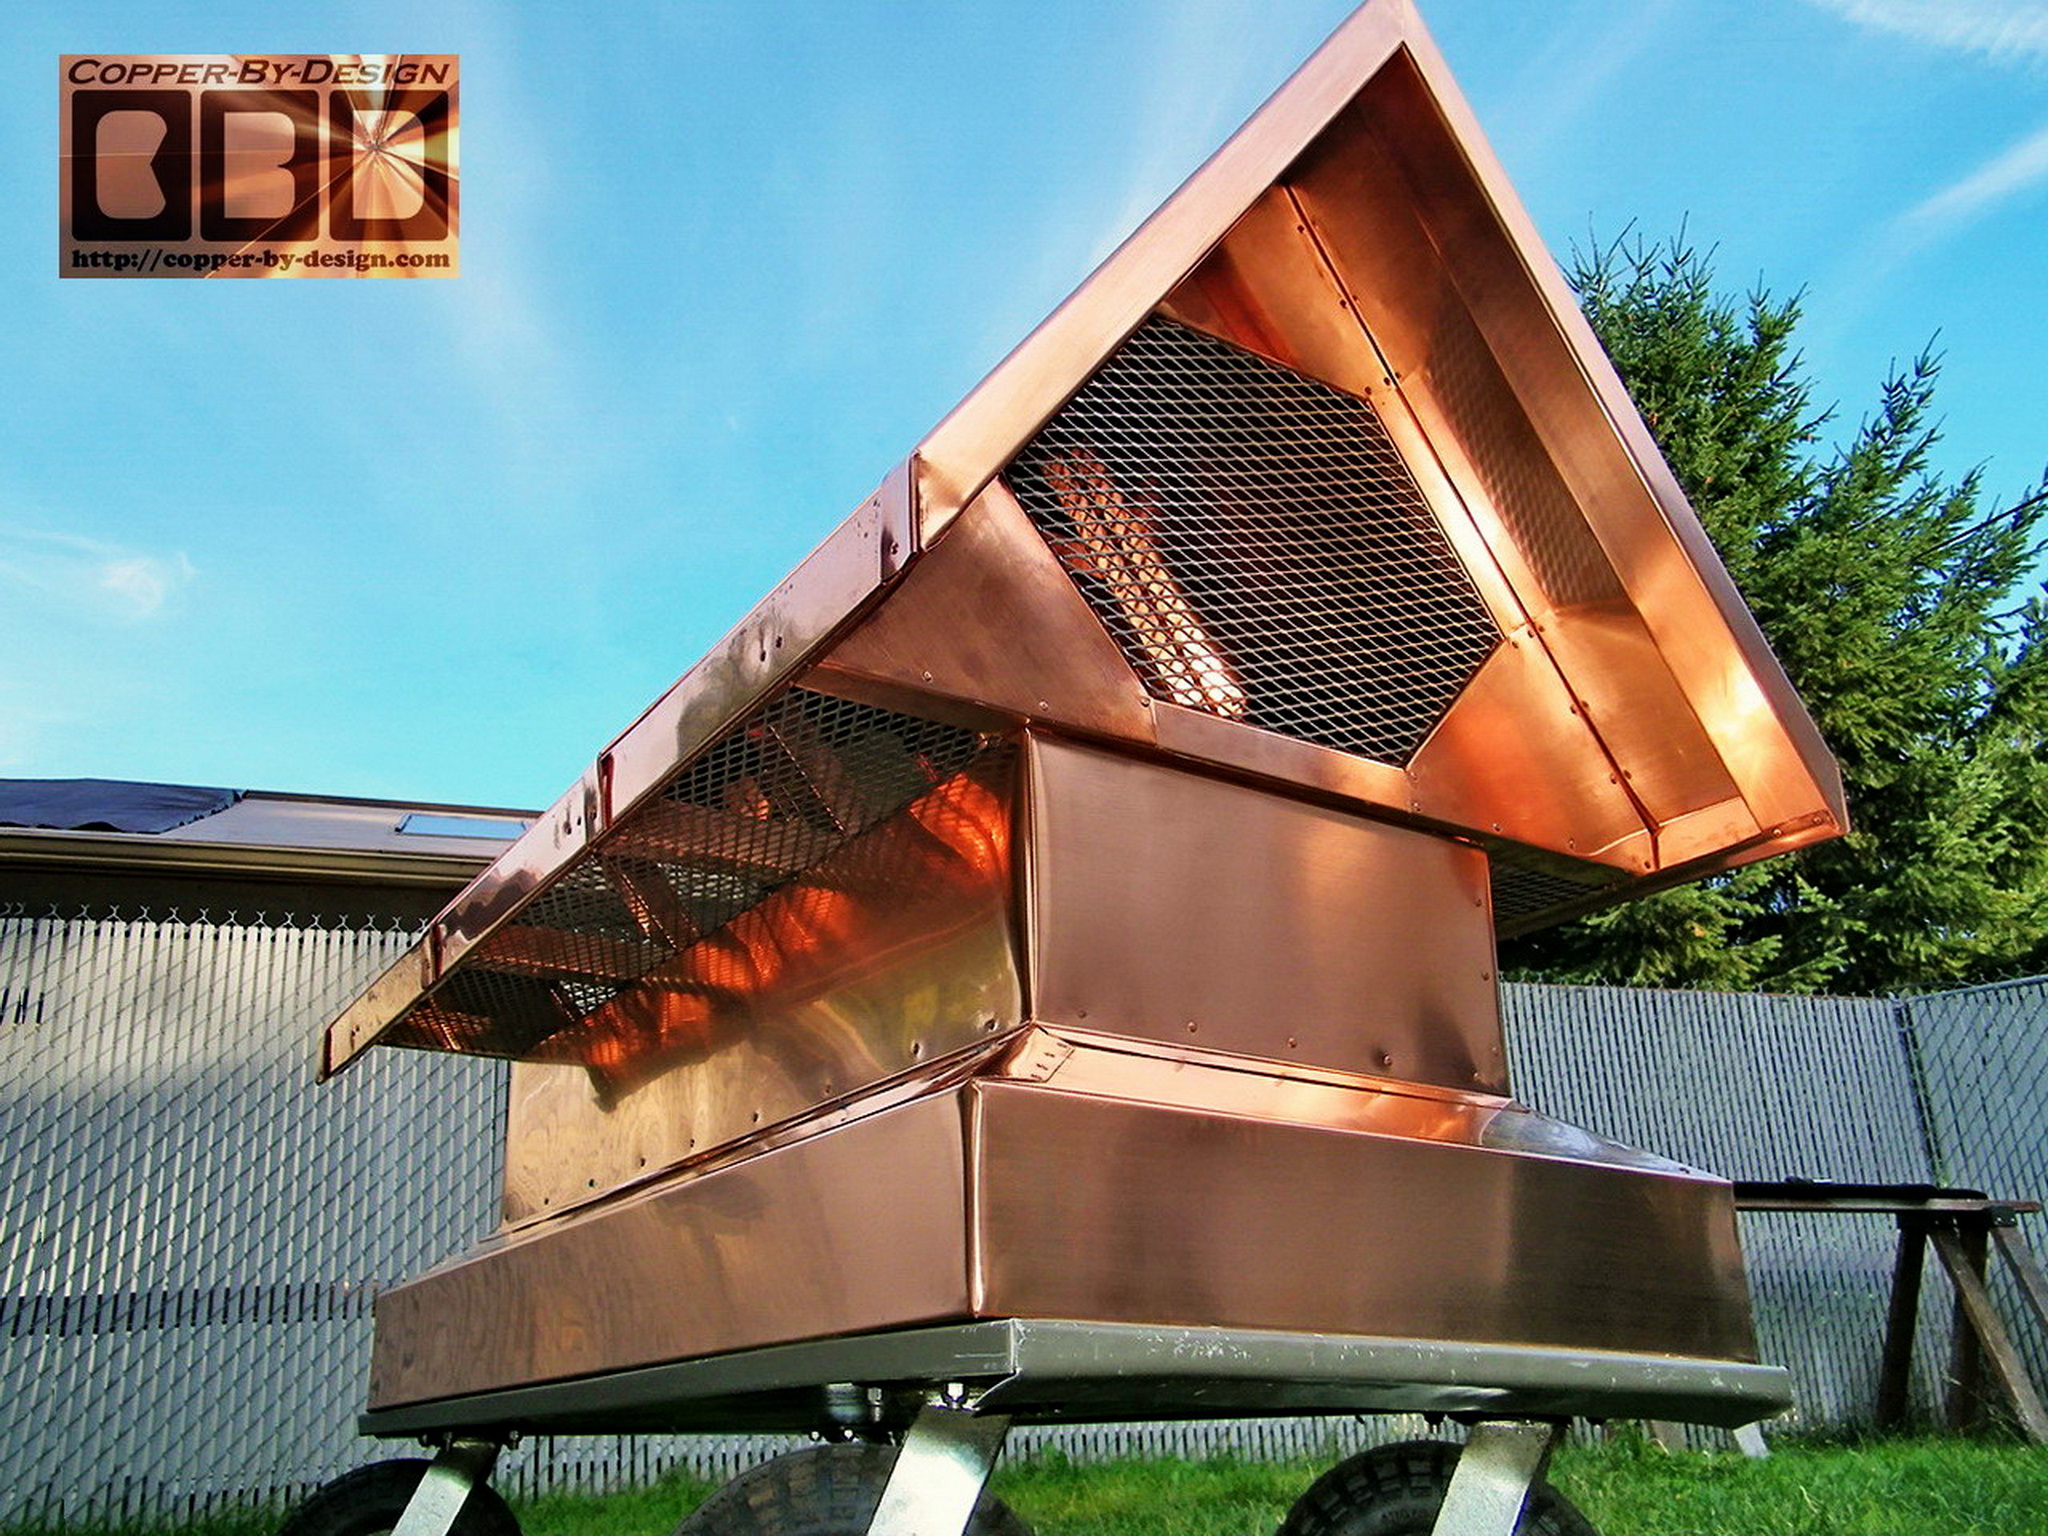
 This is the largest gable style
copper chimney cap project I've worked on to date. This is for
Mr. & Mrs. Graham in Portland, Oregon. I replaced their
gutters as well with 20oz copper. They first contacted me 1/13/09
and we gradually worked out this project through 39 e-mails
along with several photos and finally to this diagram. This is the largest gable style
copper chimney cap project I've worked on to date. This is for
Mr. & Mrs. Graham in Portland, Oregon. I replaced their
gutters as well with 20oz copper. They first contacted me 1/13/09
and we gradually worked out this project through 39 e-mails
along with several photos and finally to this diagram.
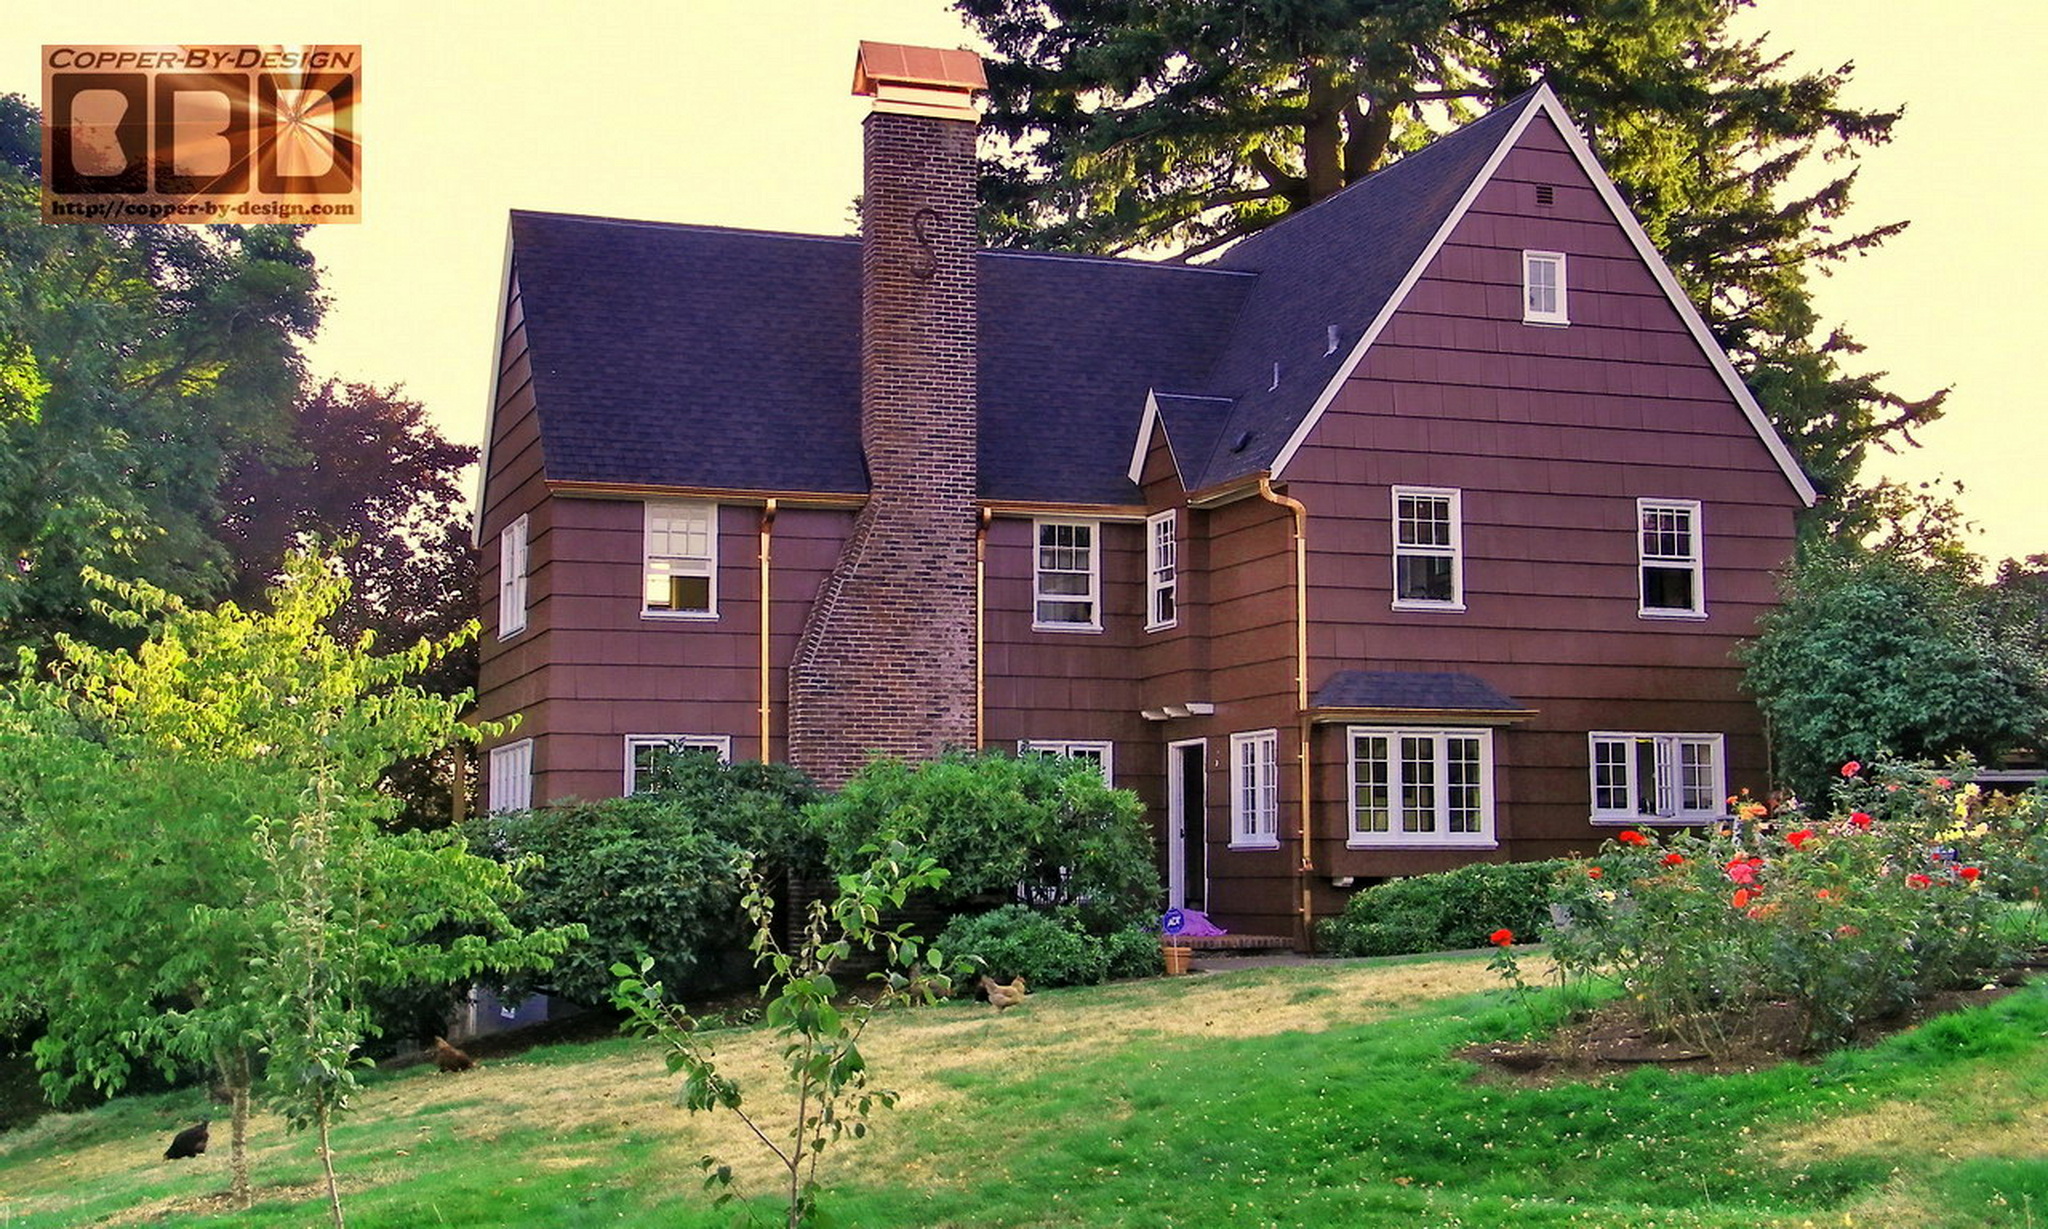
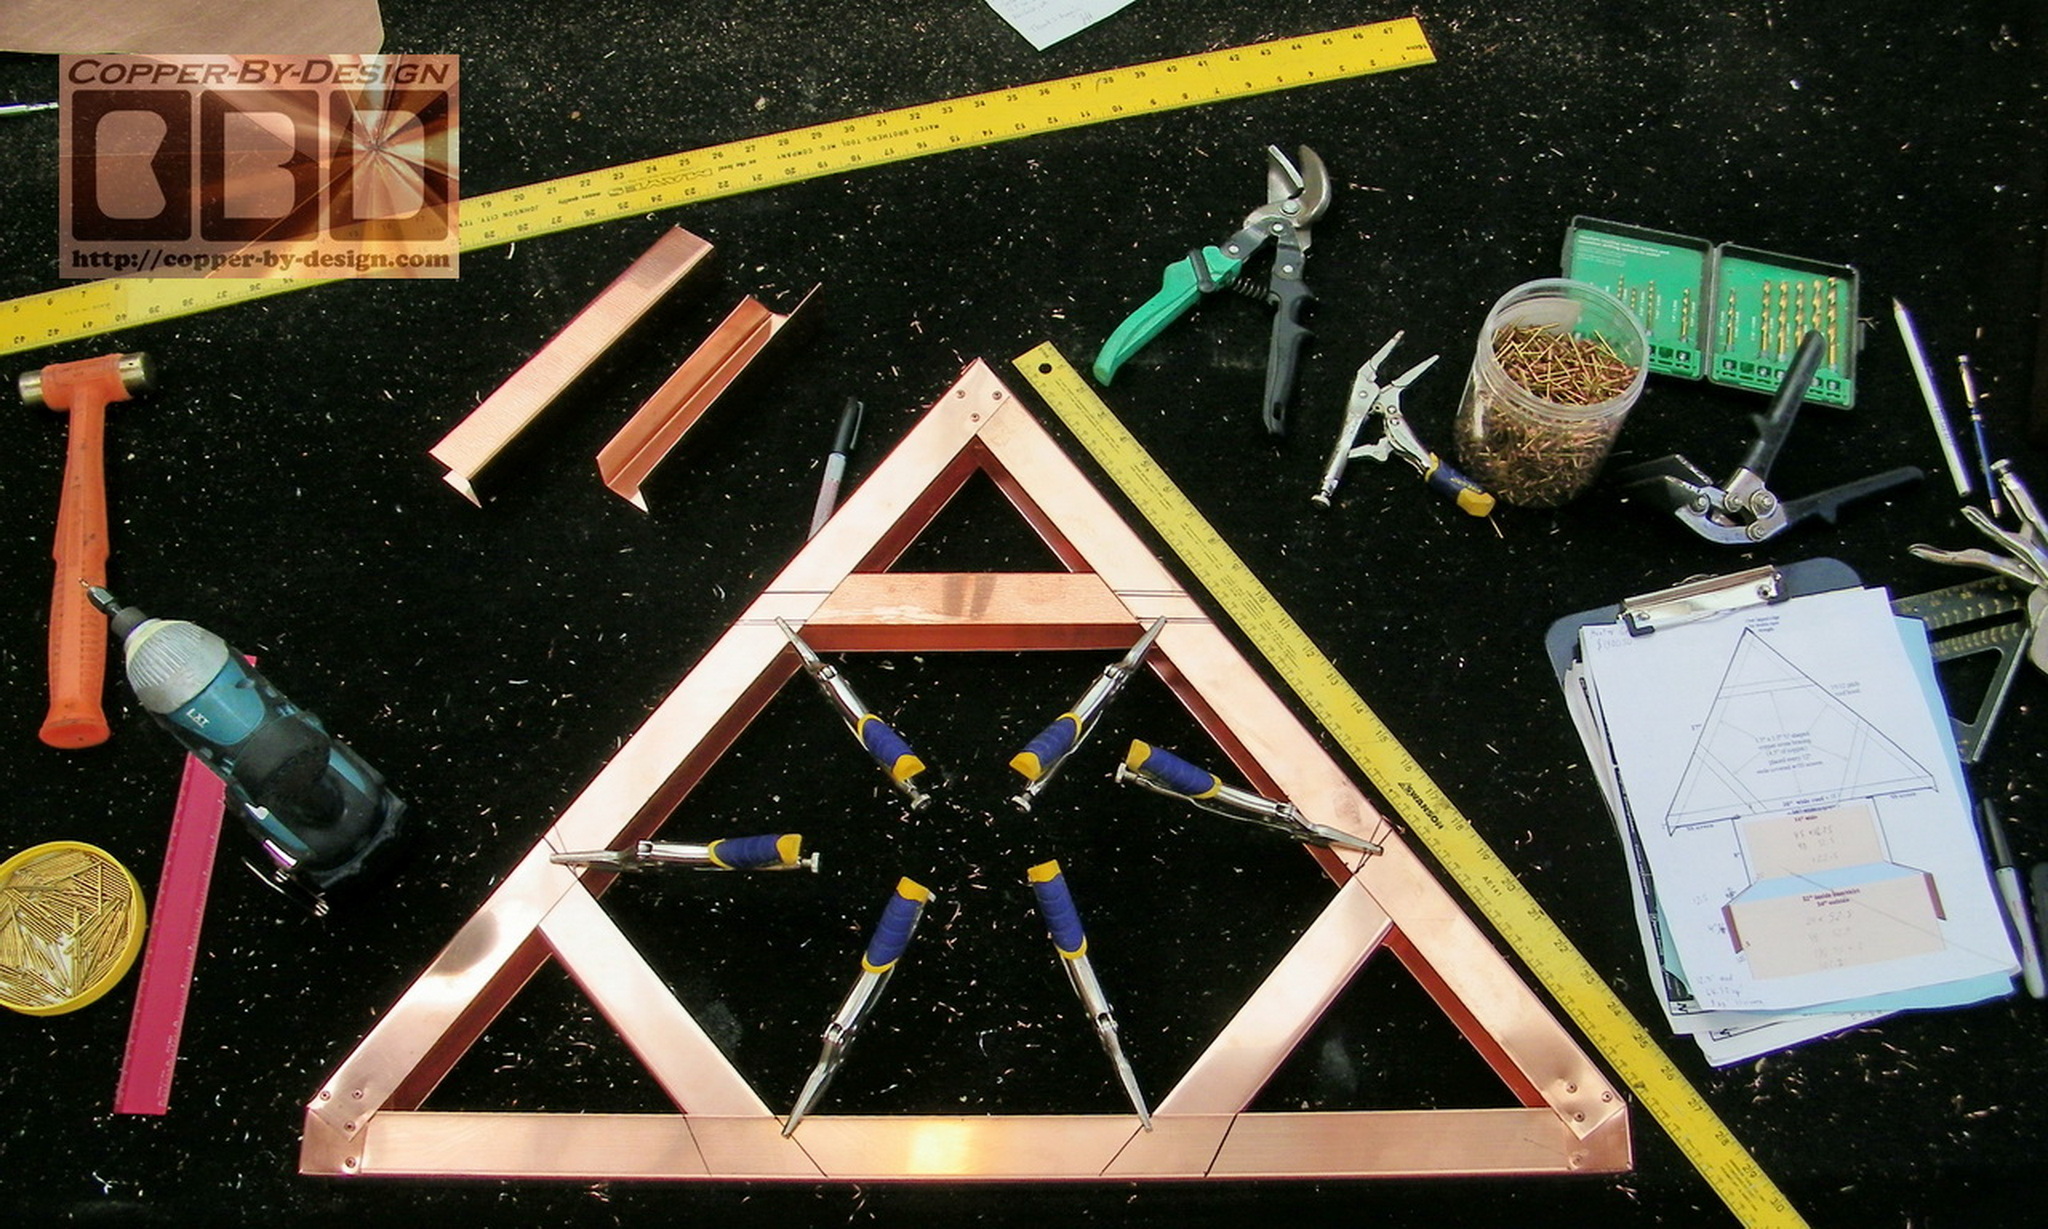
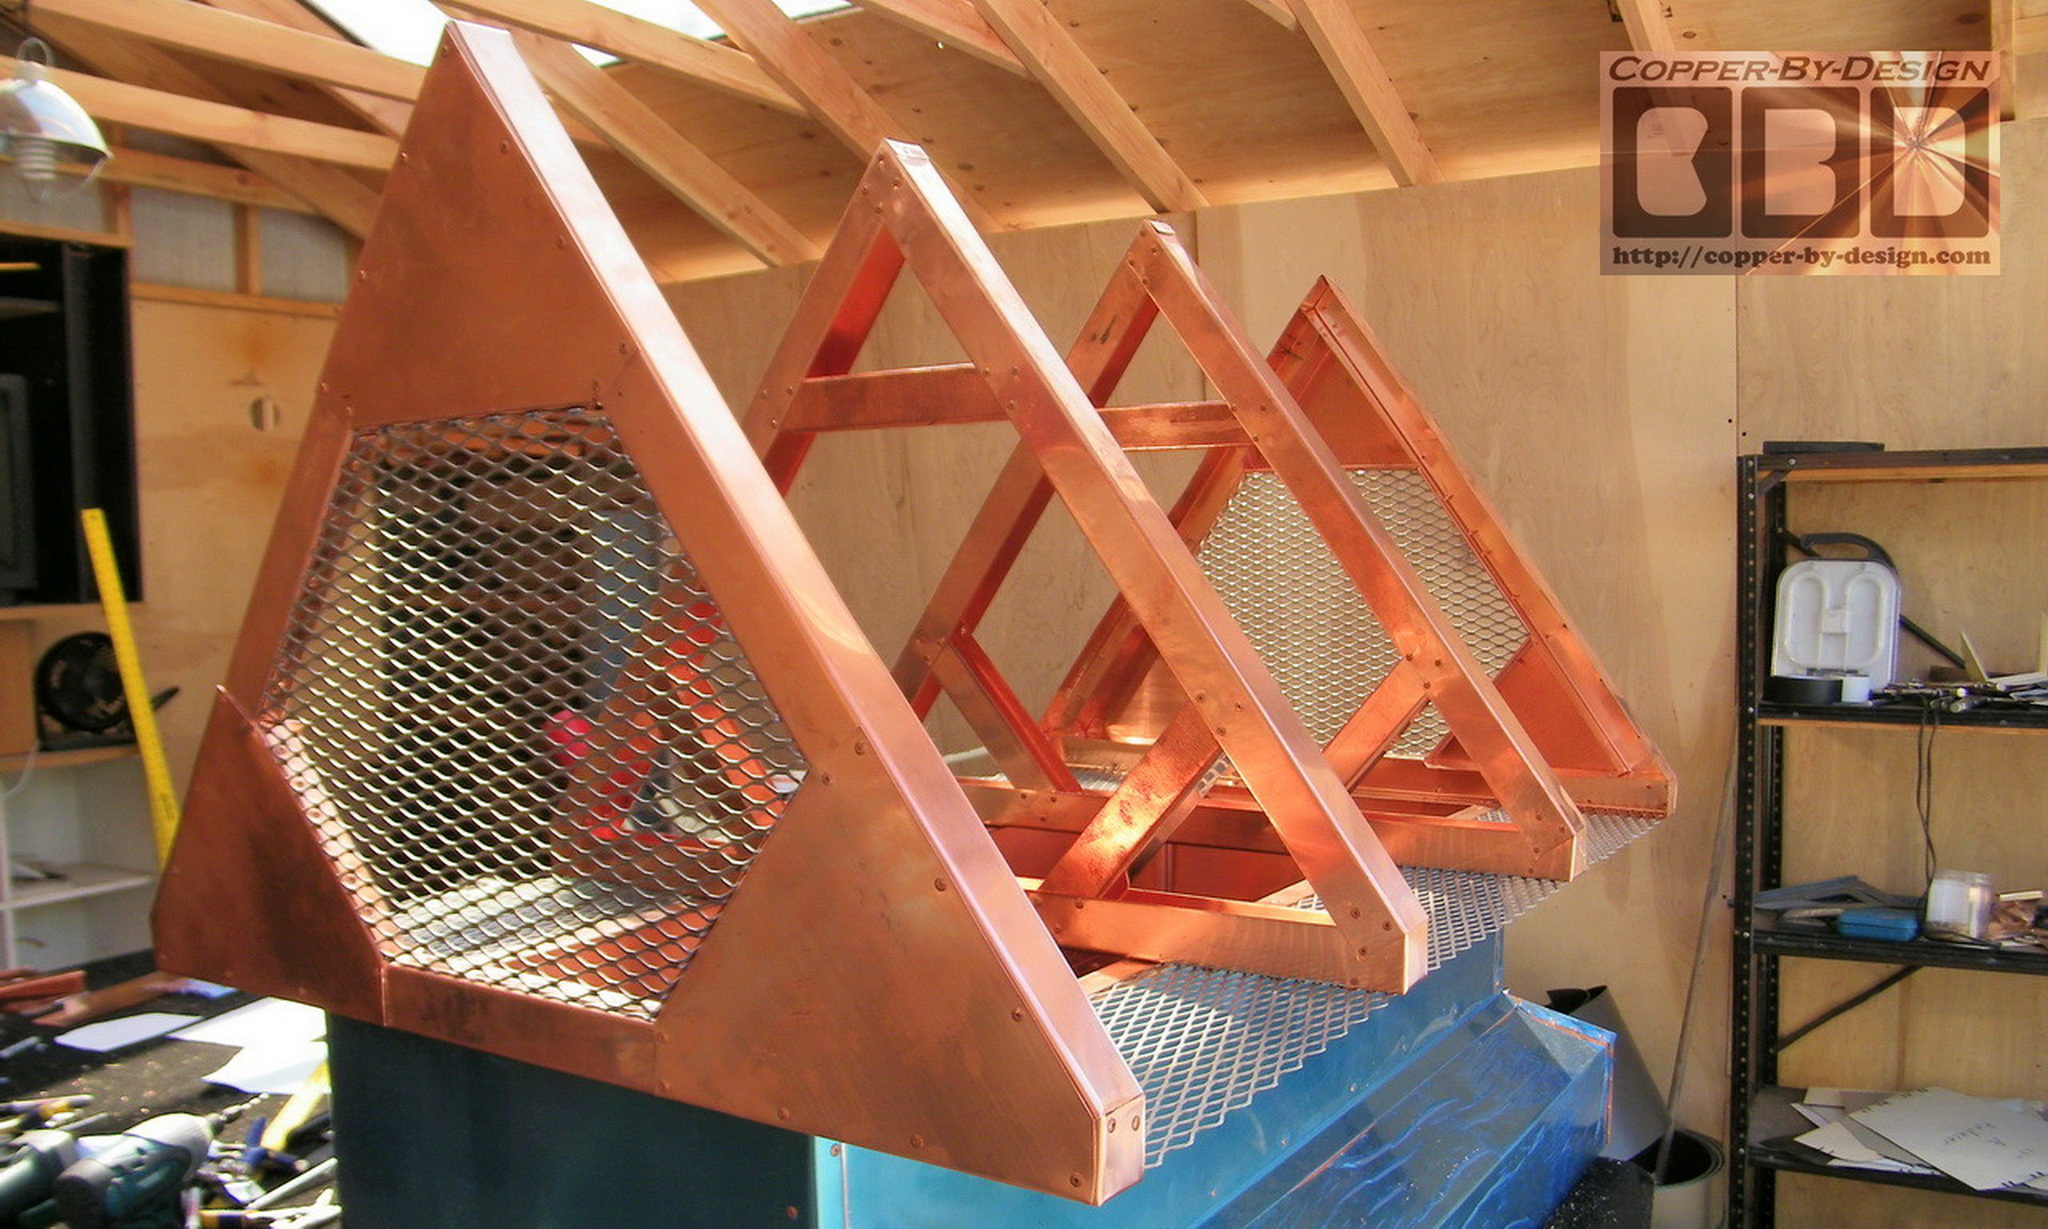
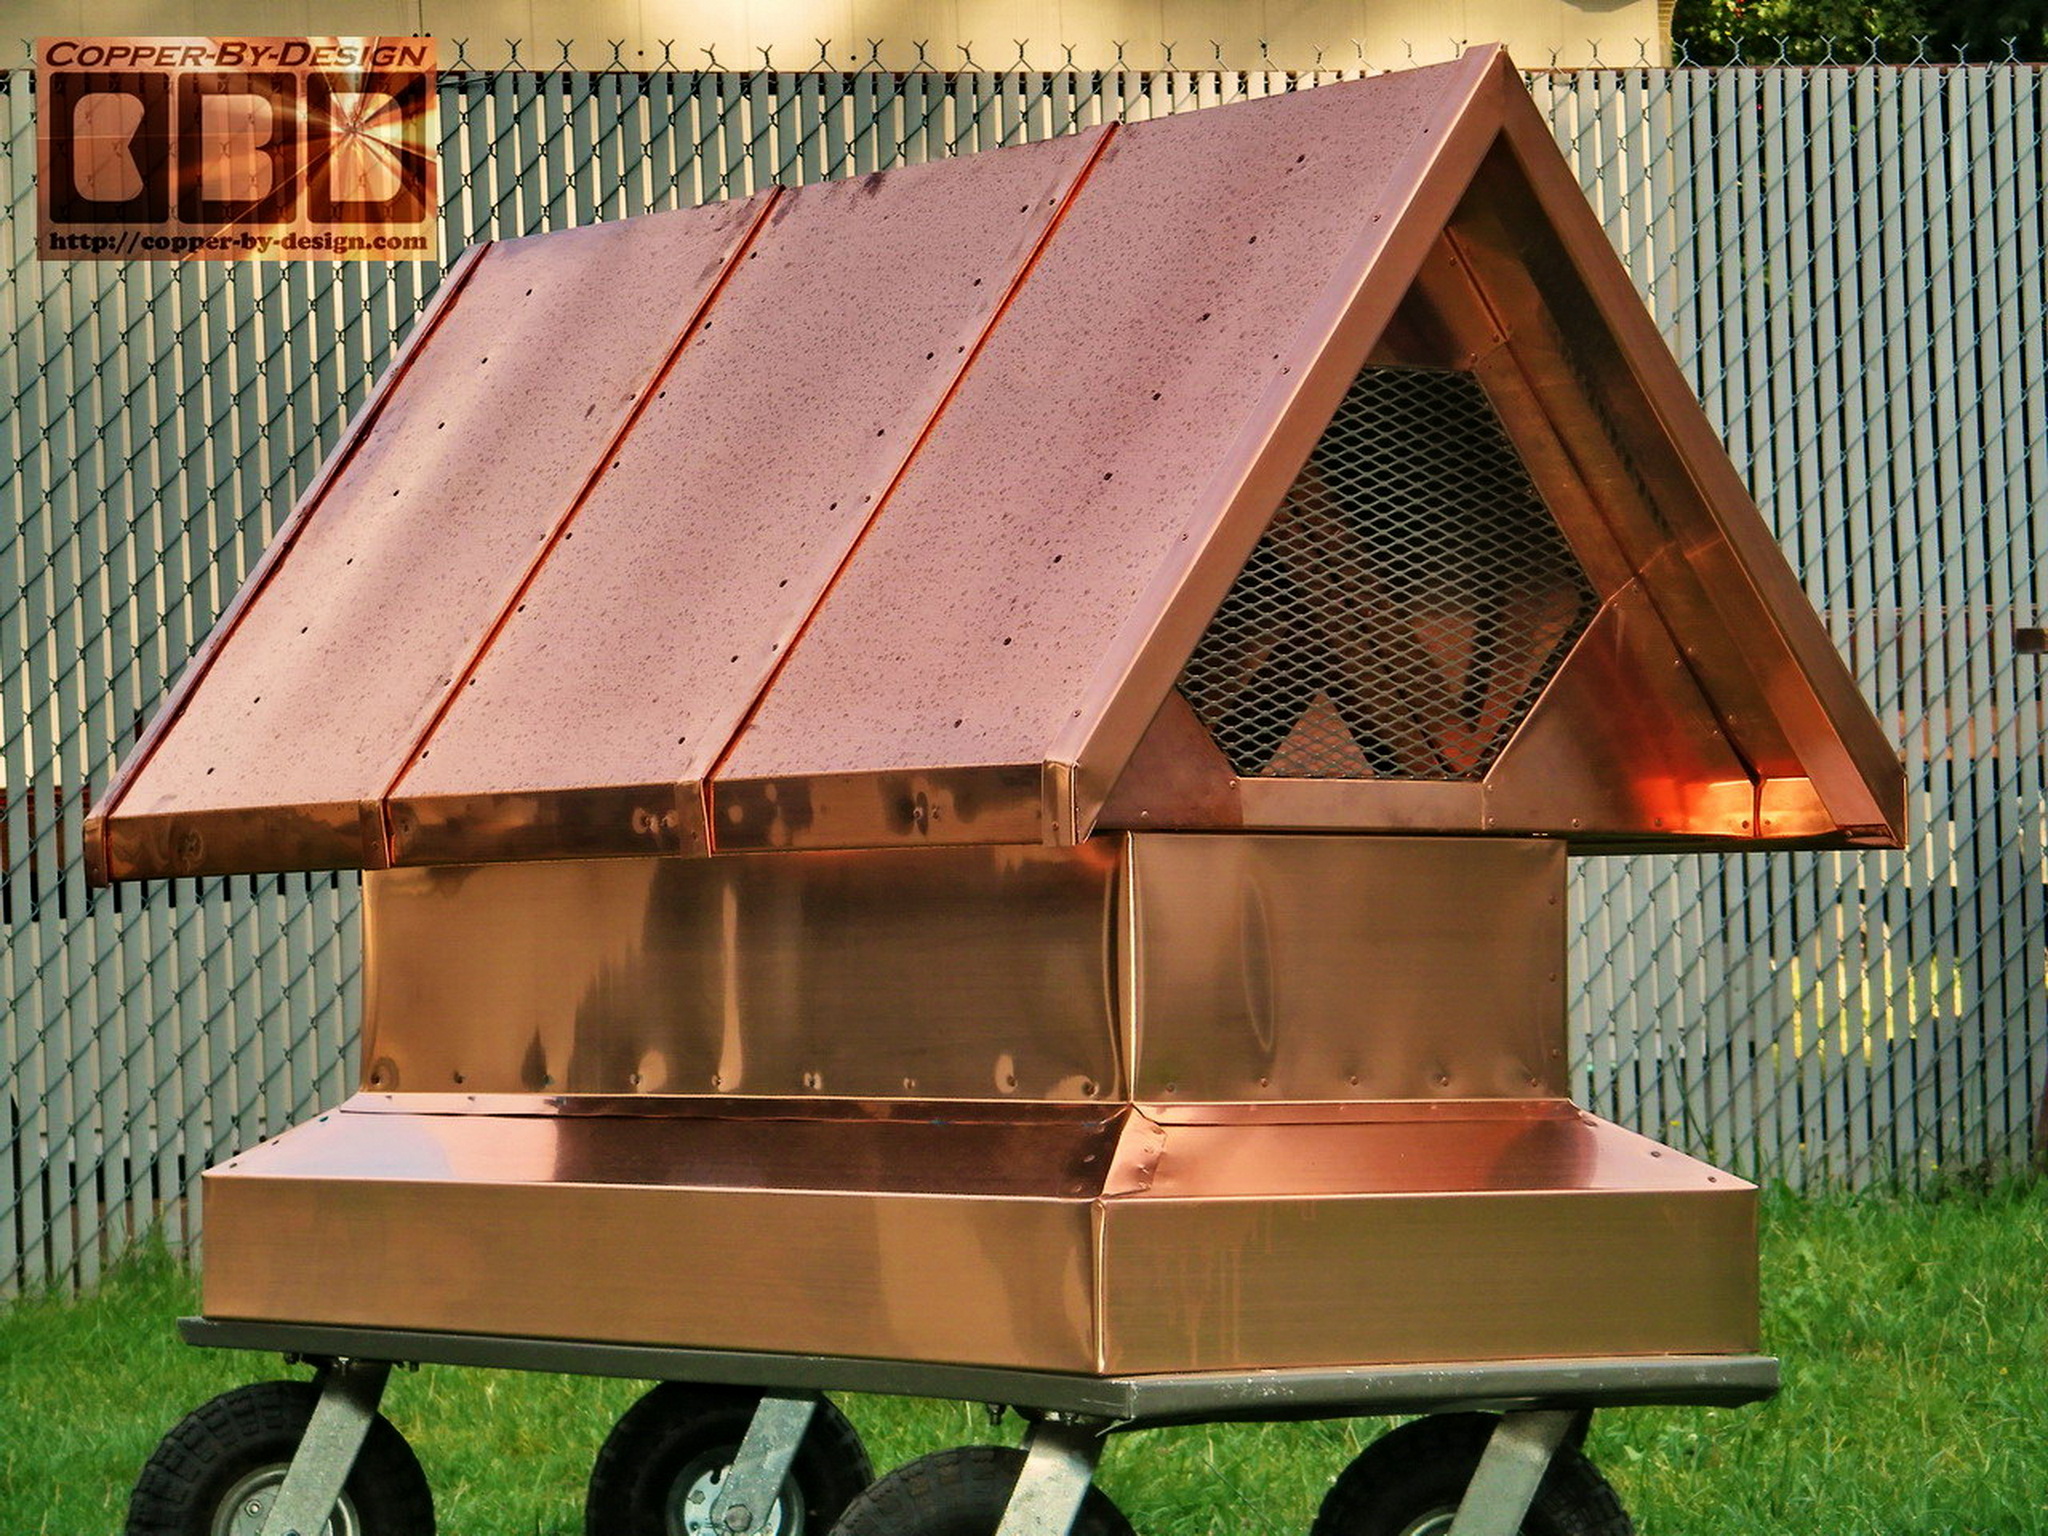
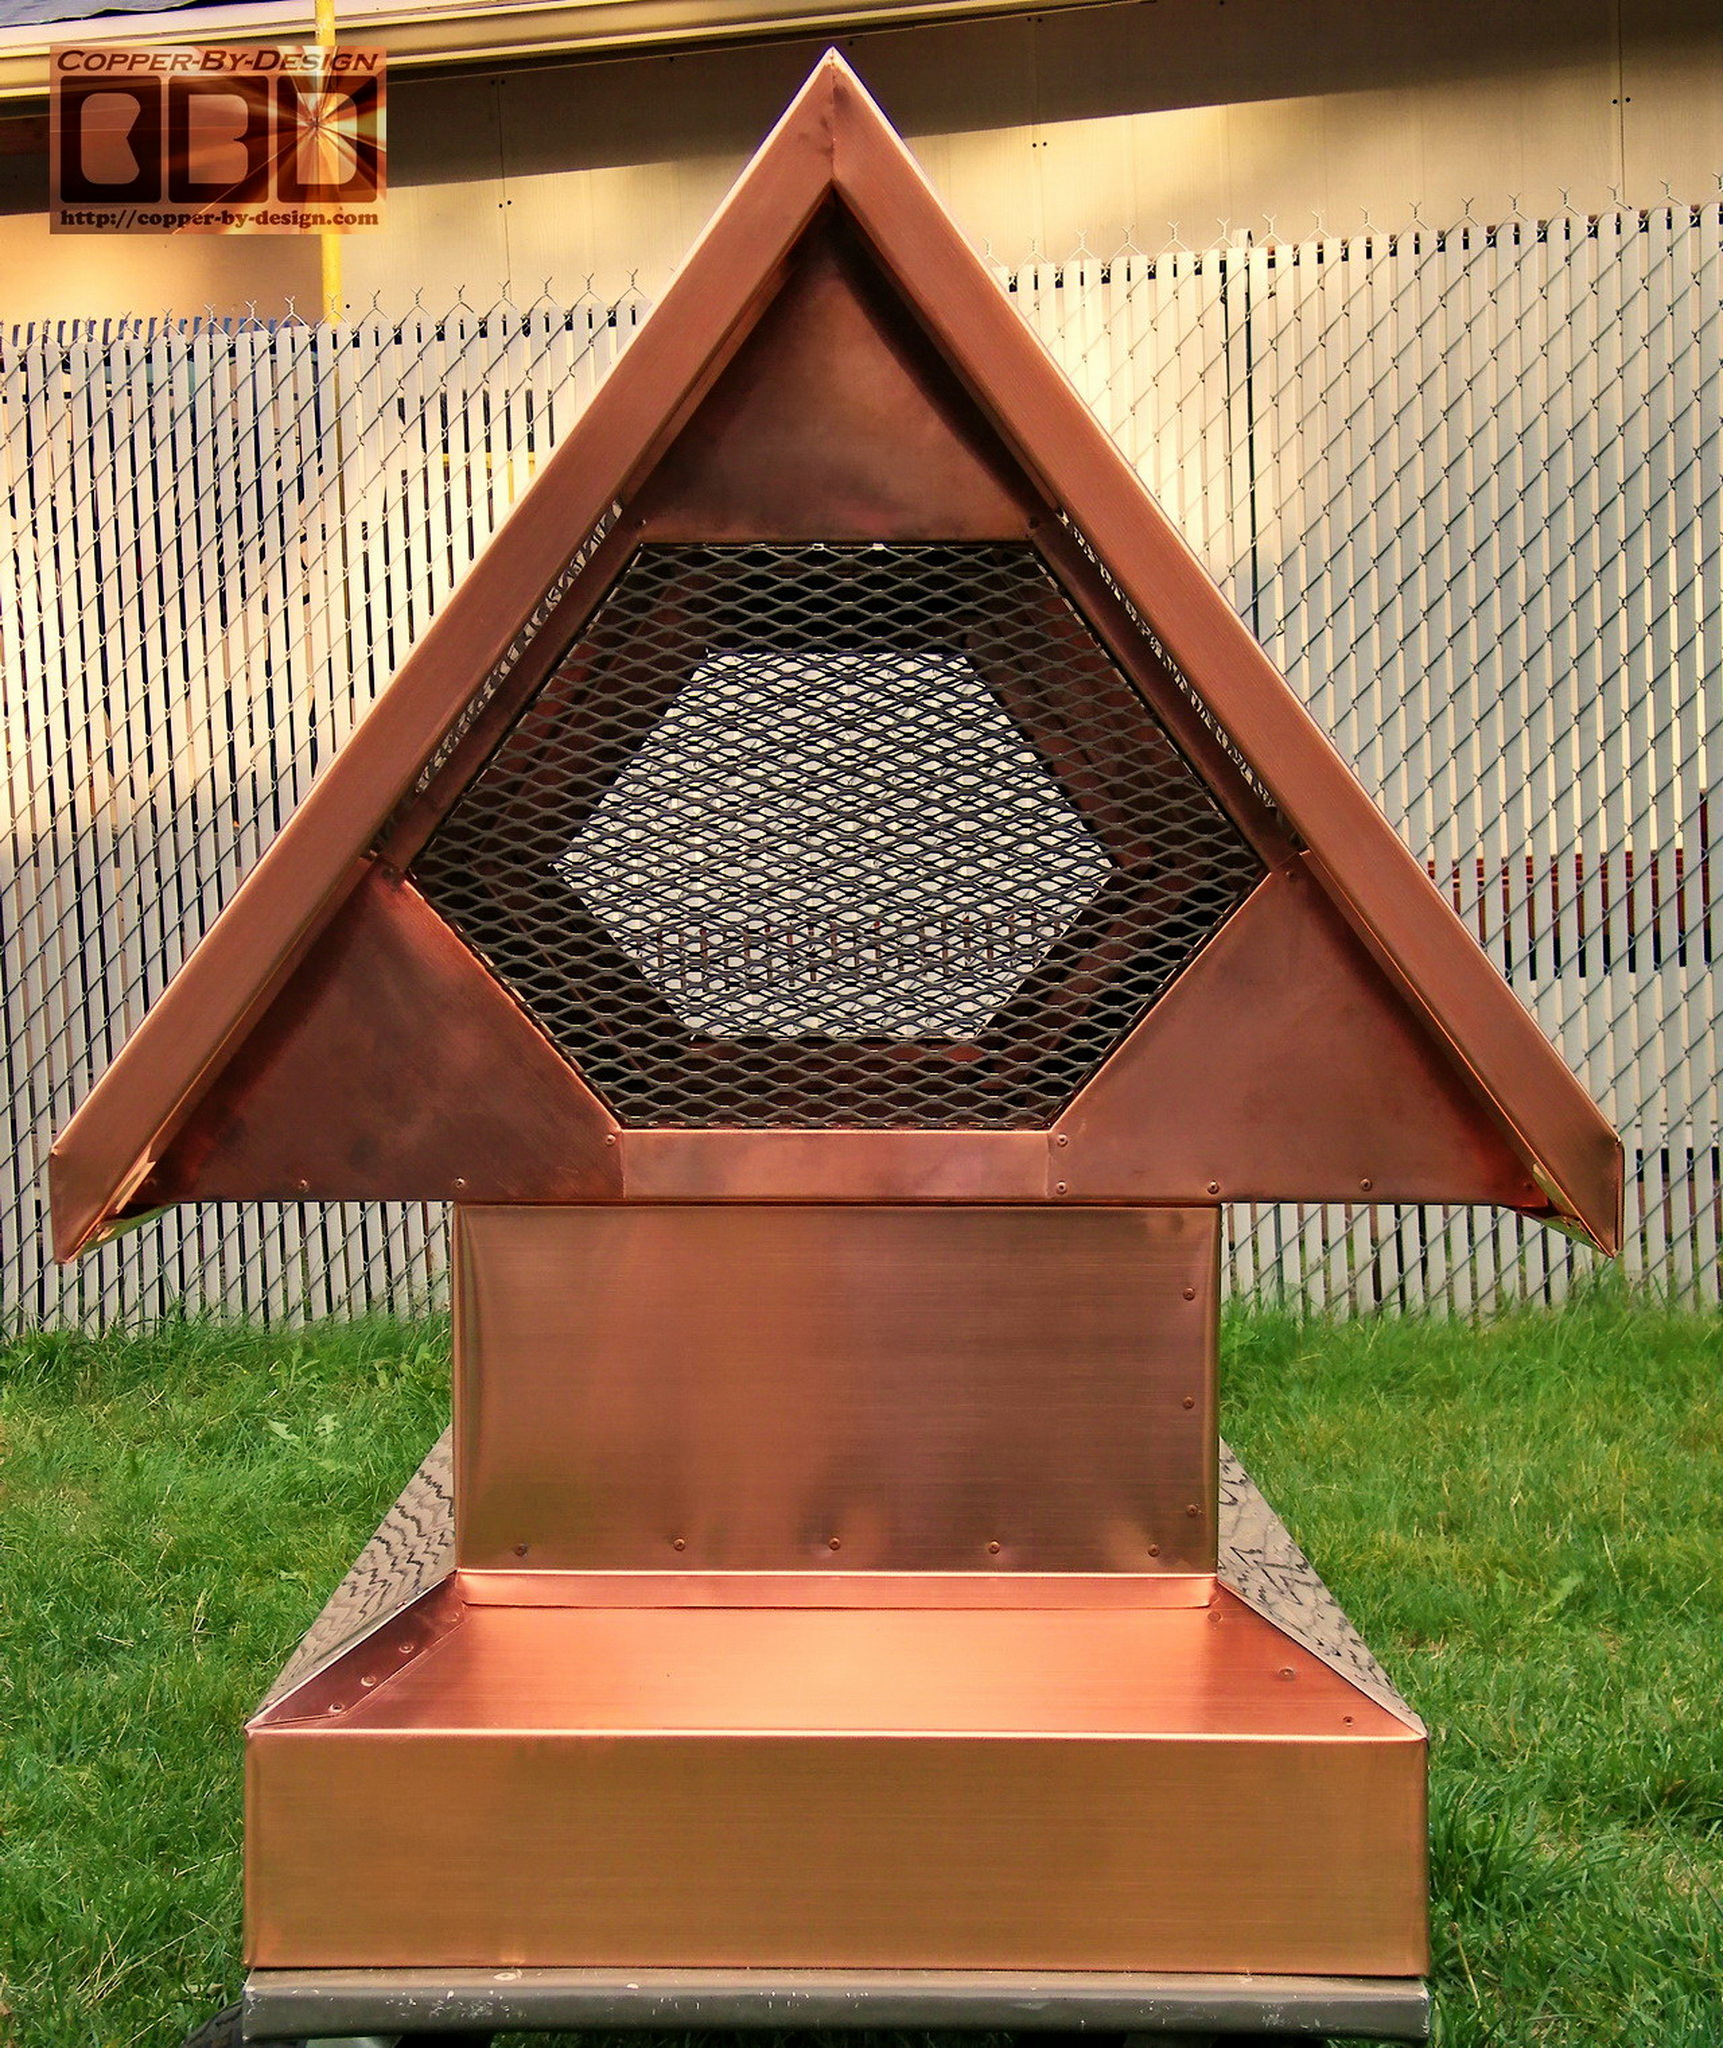
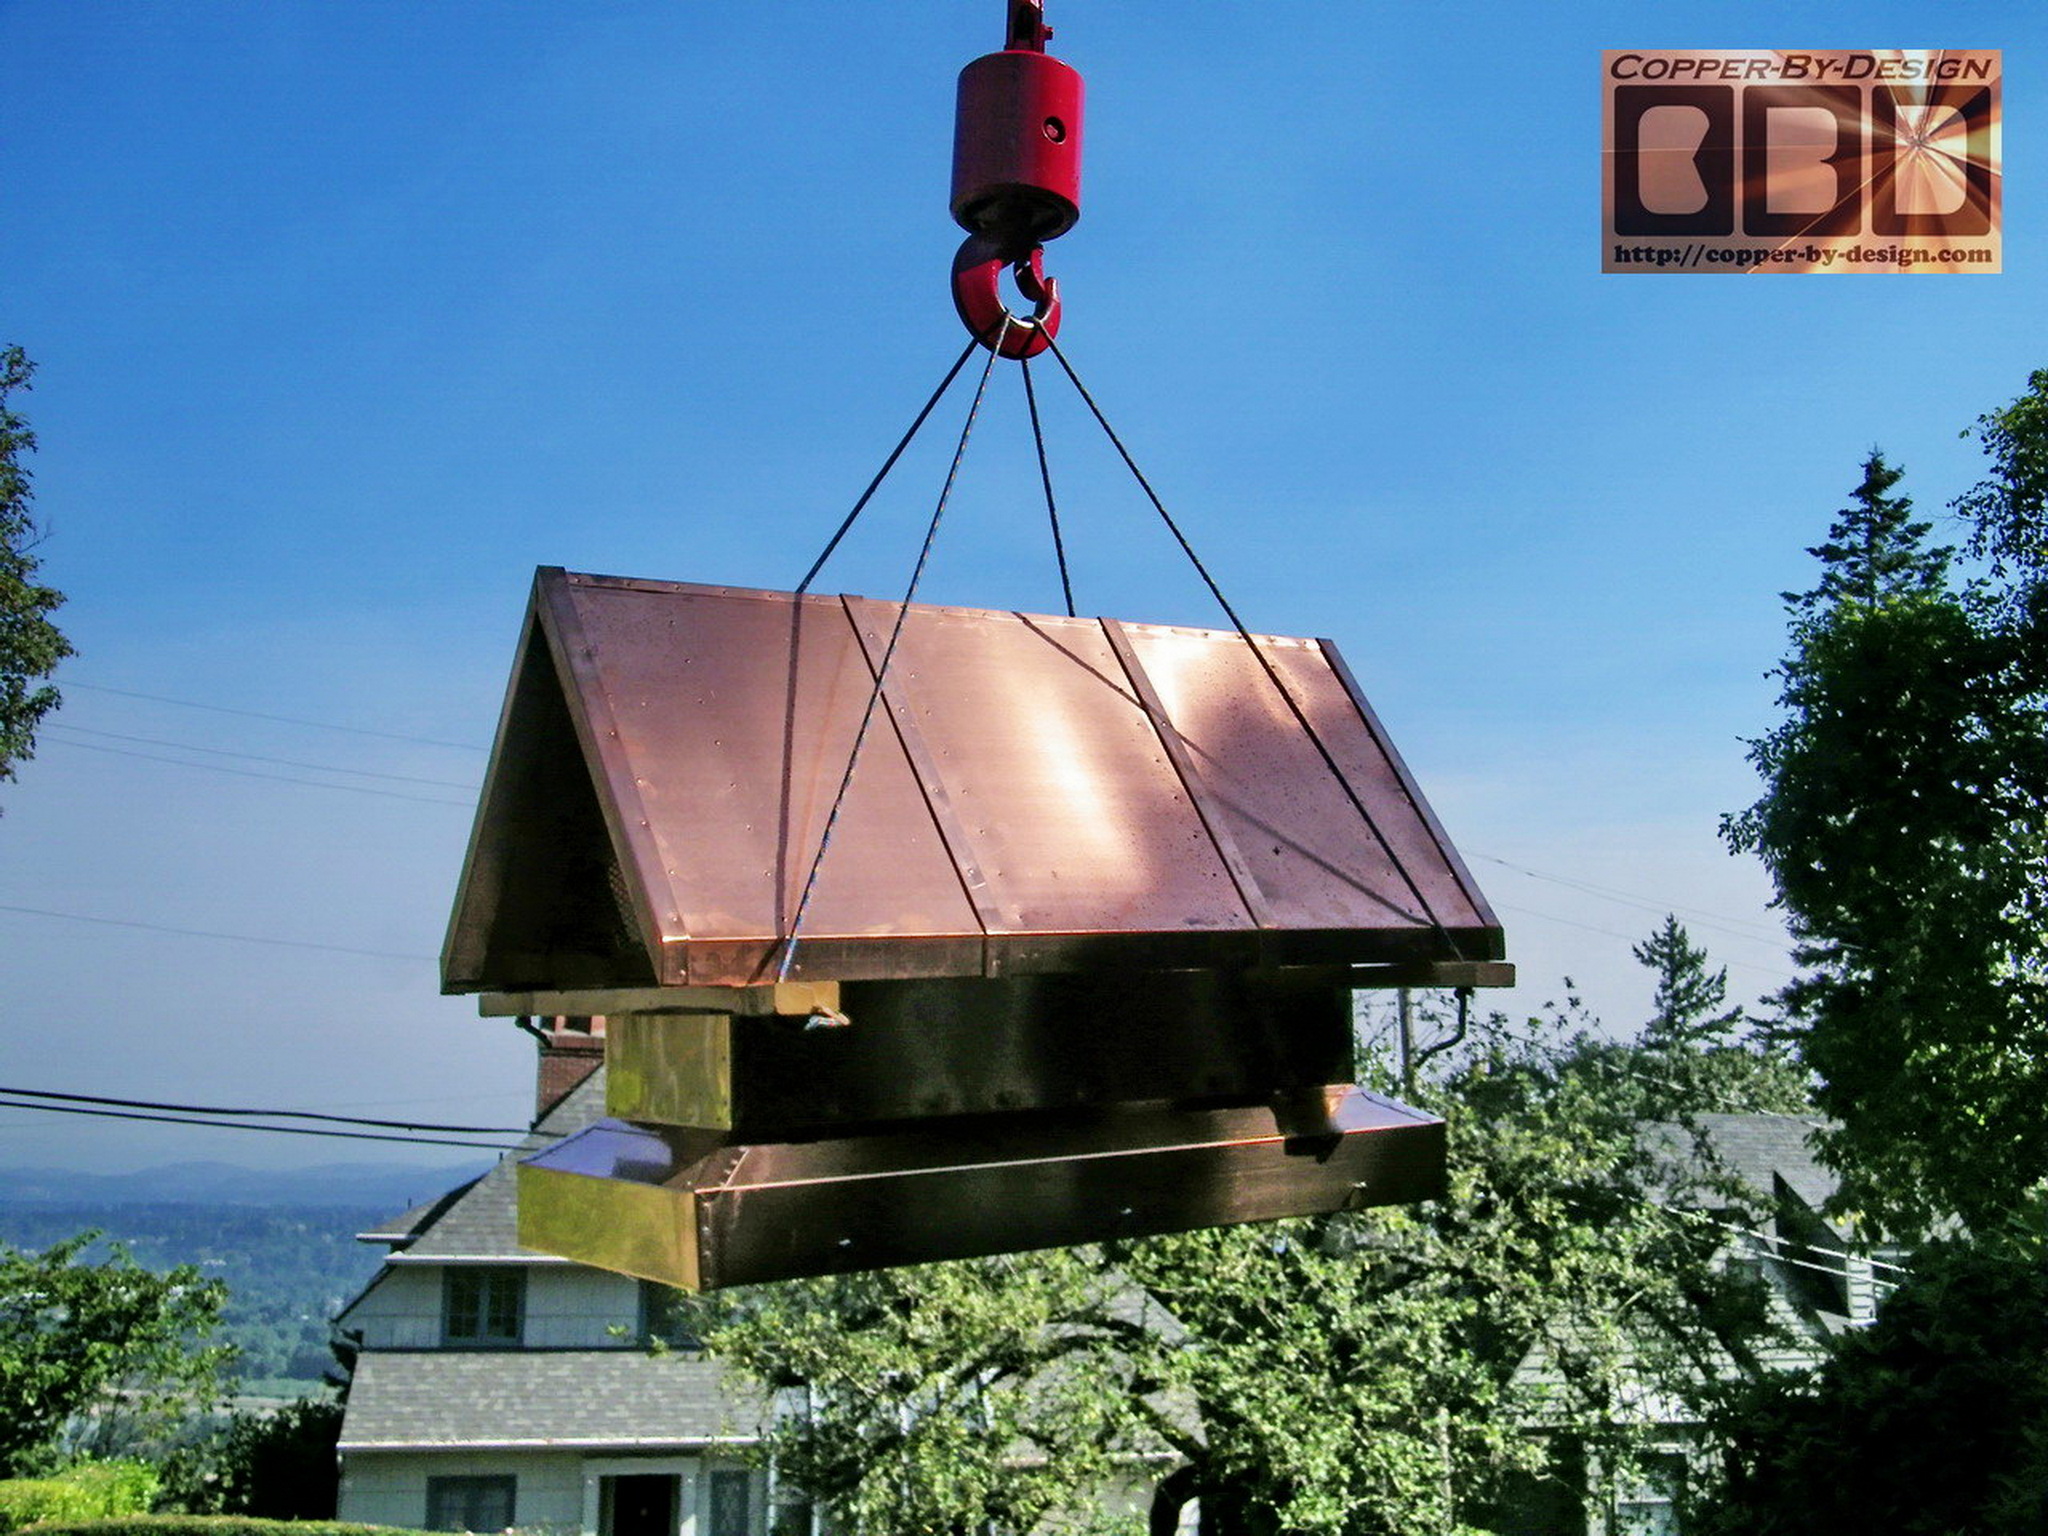
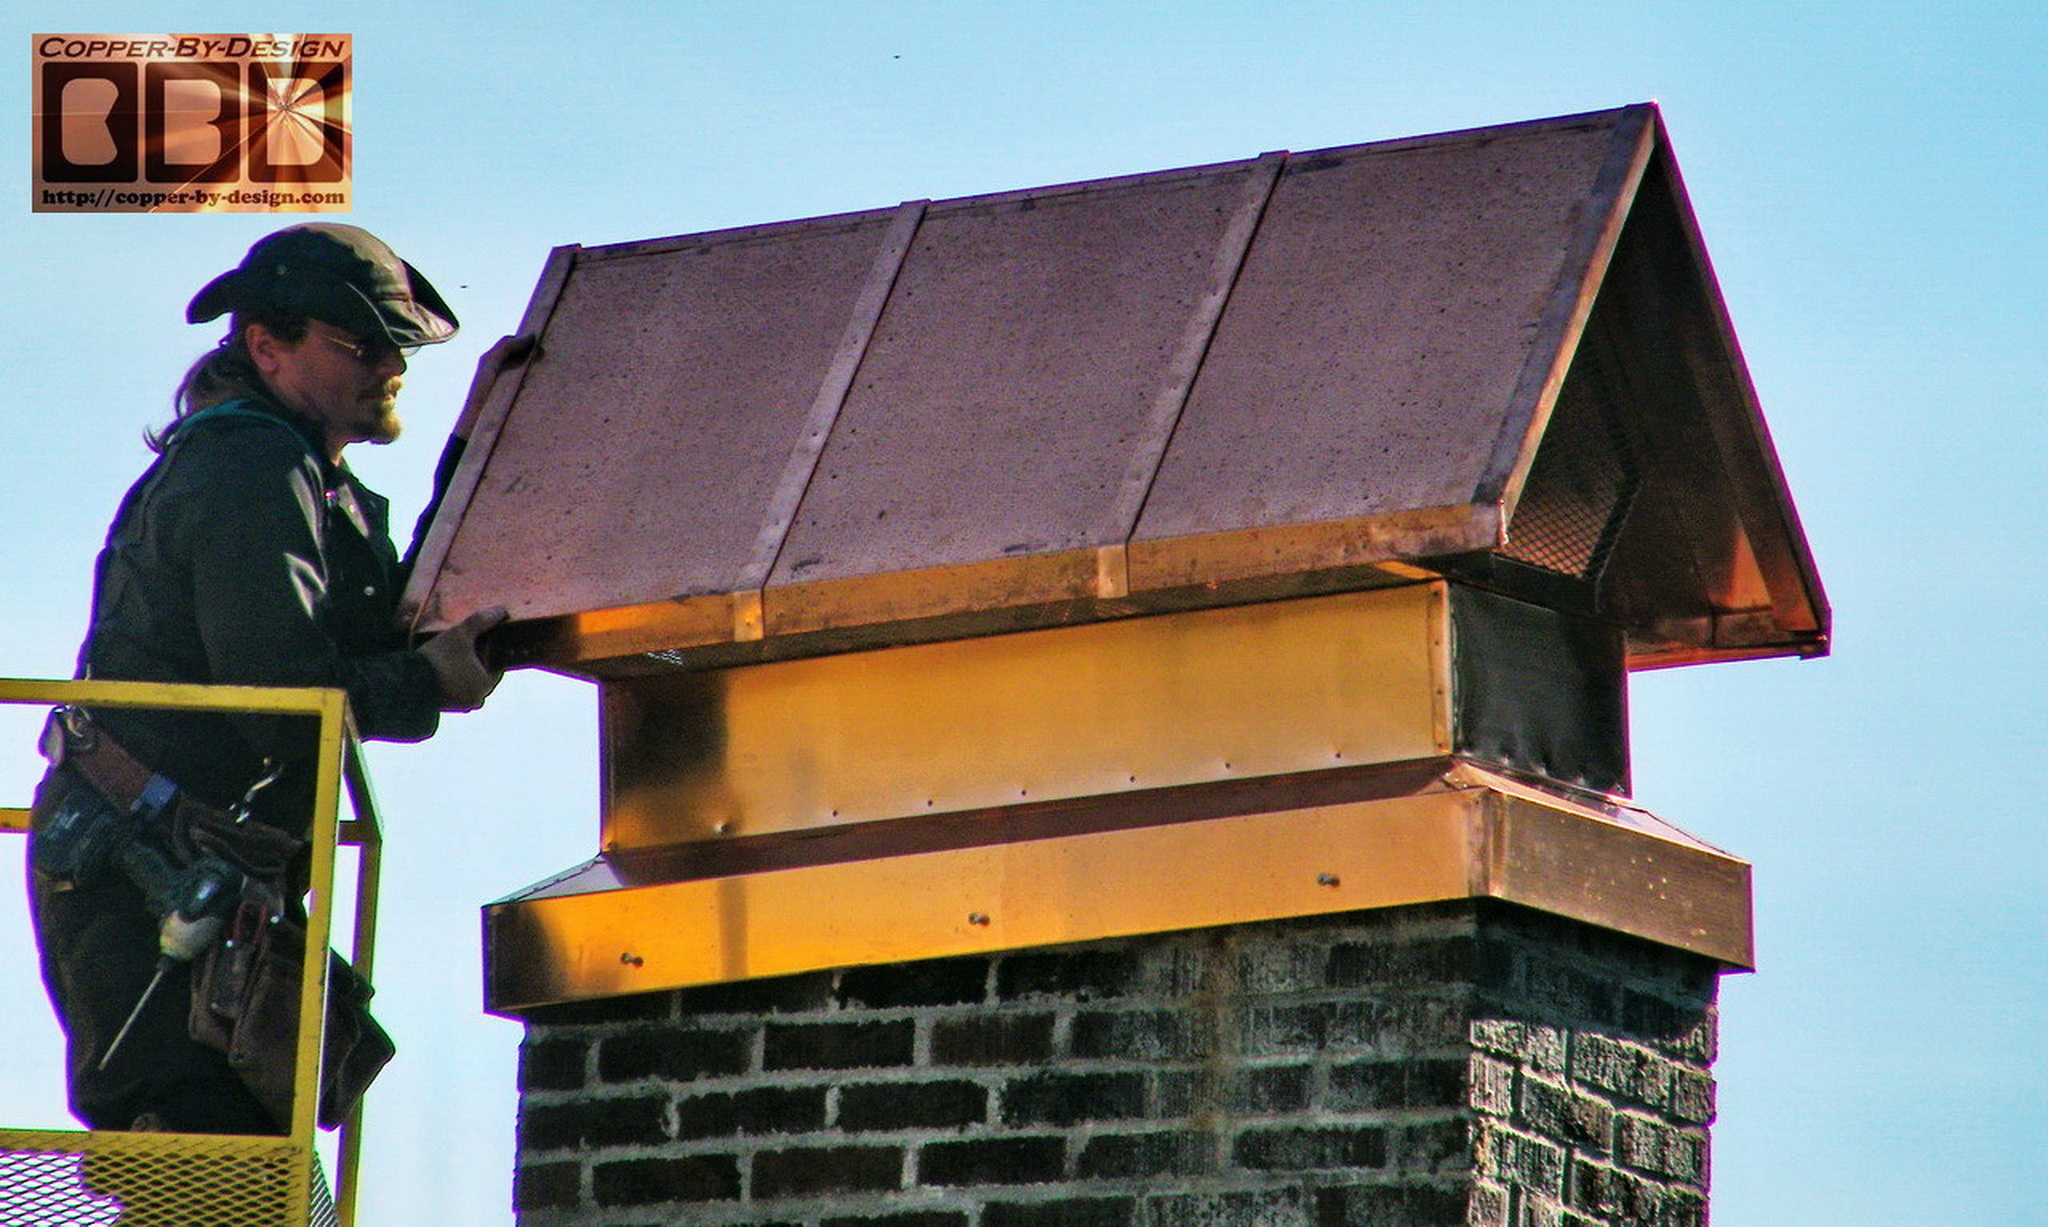
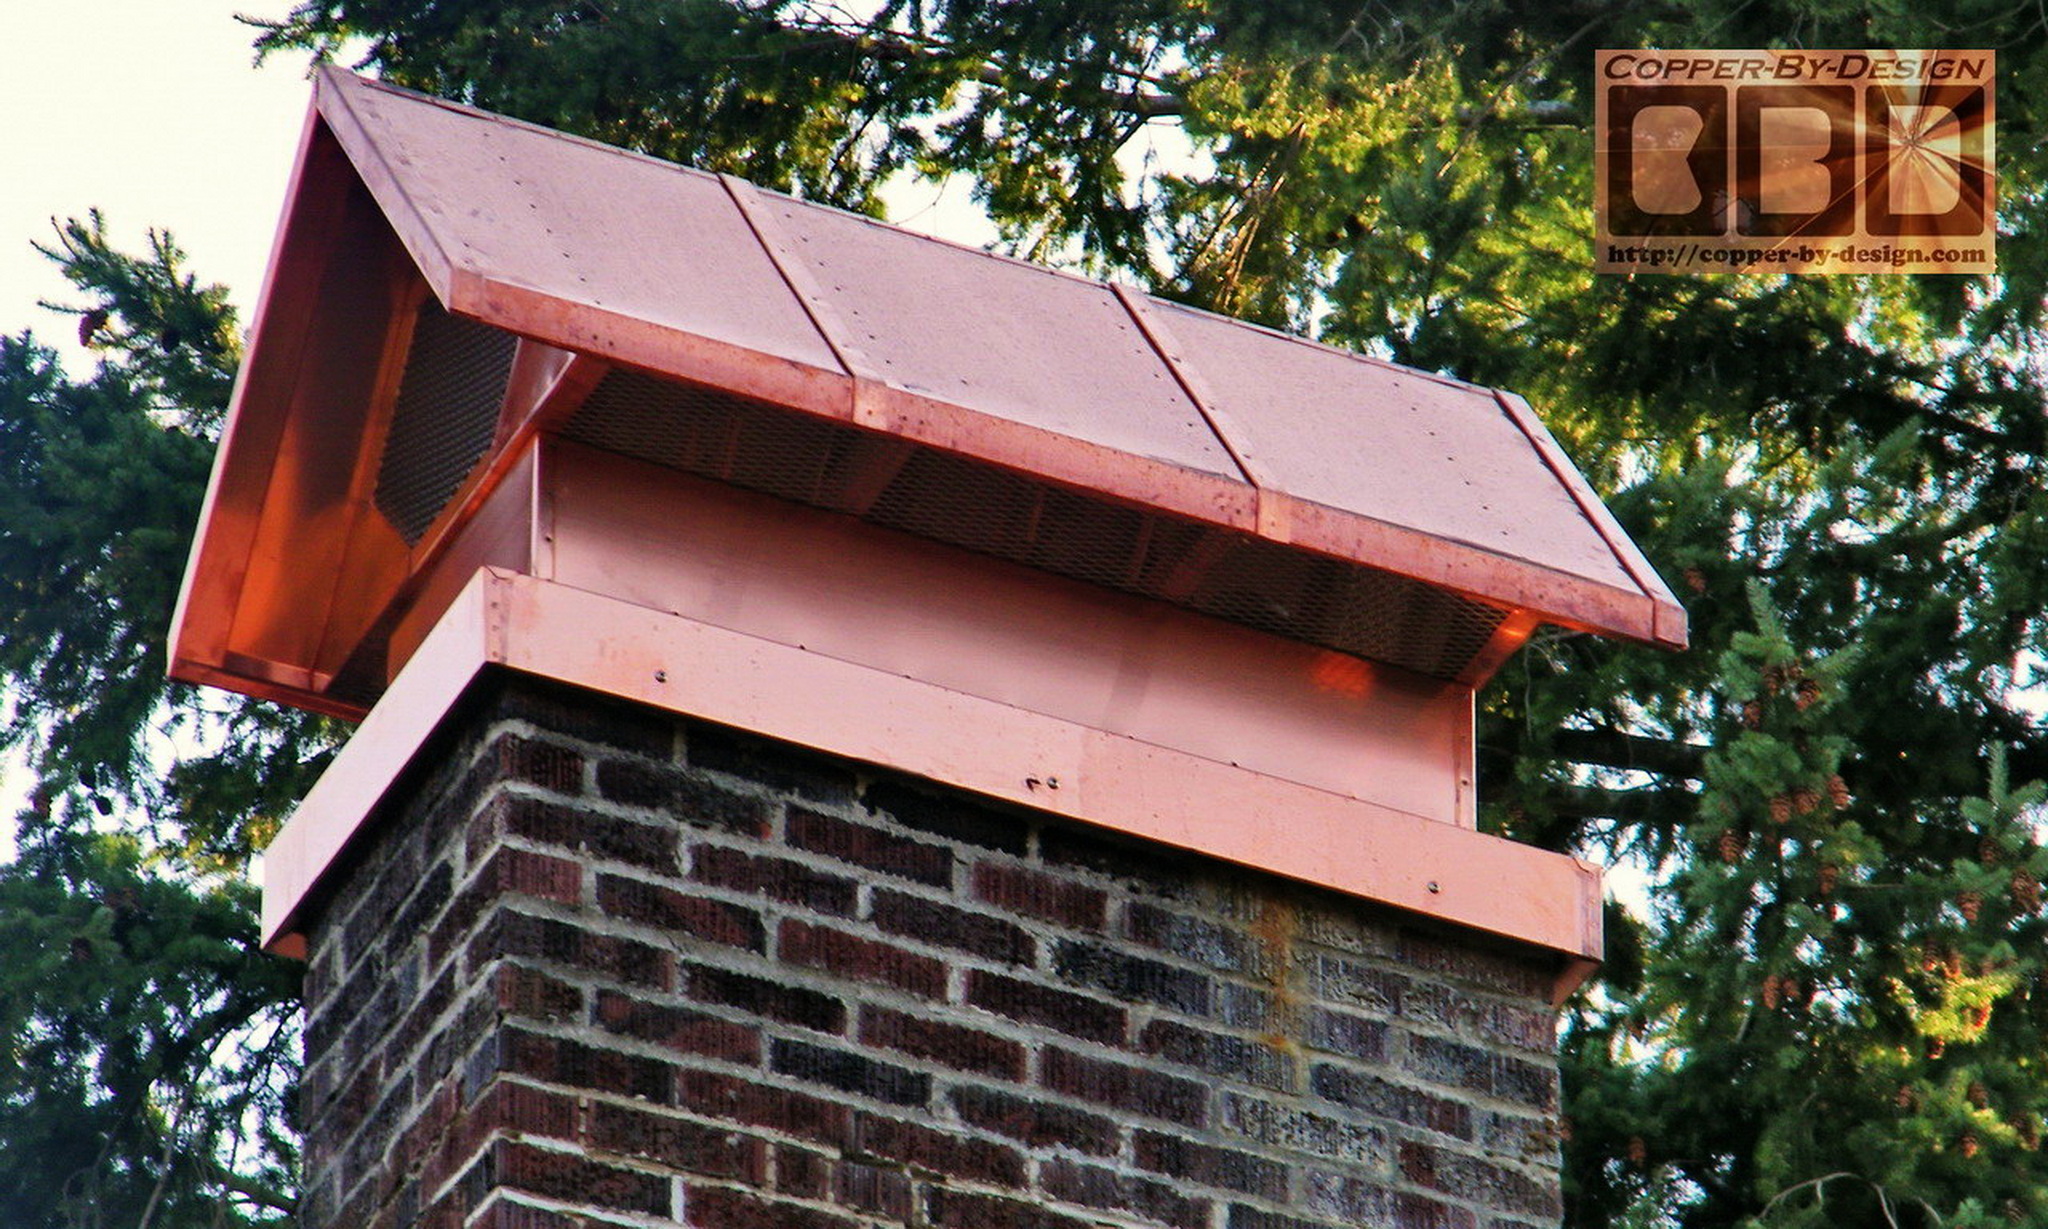
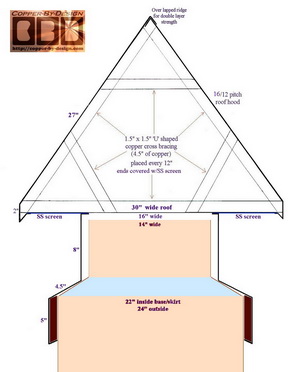
I designed the roof line to resemble the
house with the gable ends and a 16/12 pitch, so this will look
more like what the architect might have designed for this house.
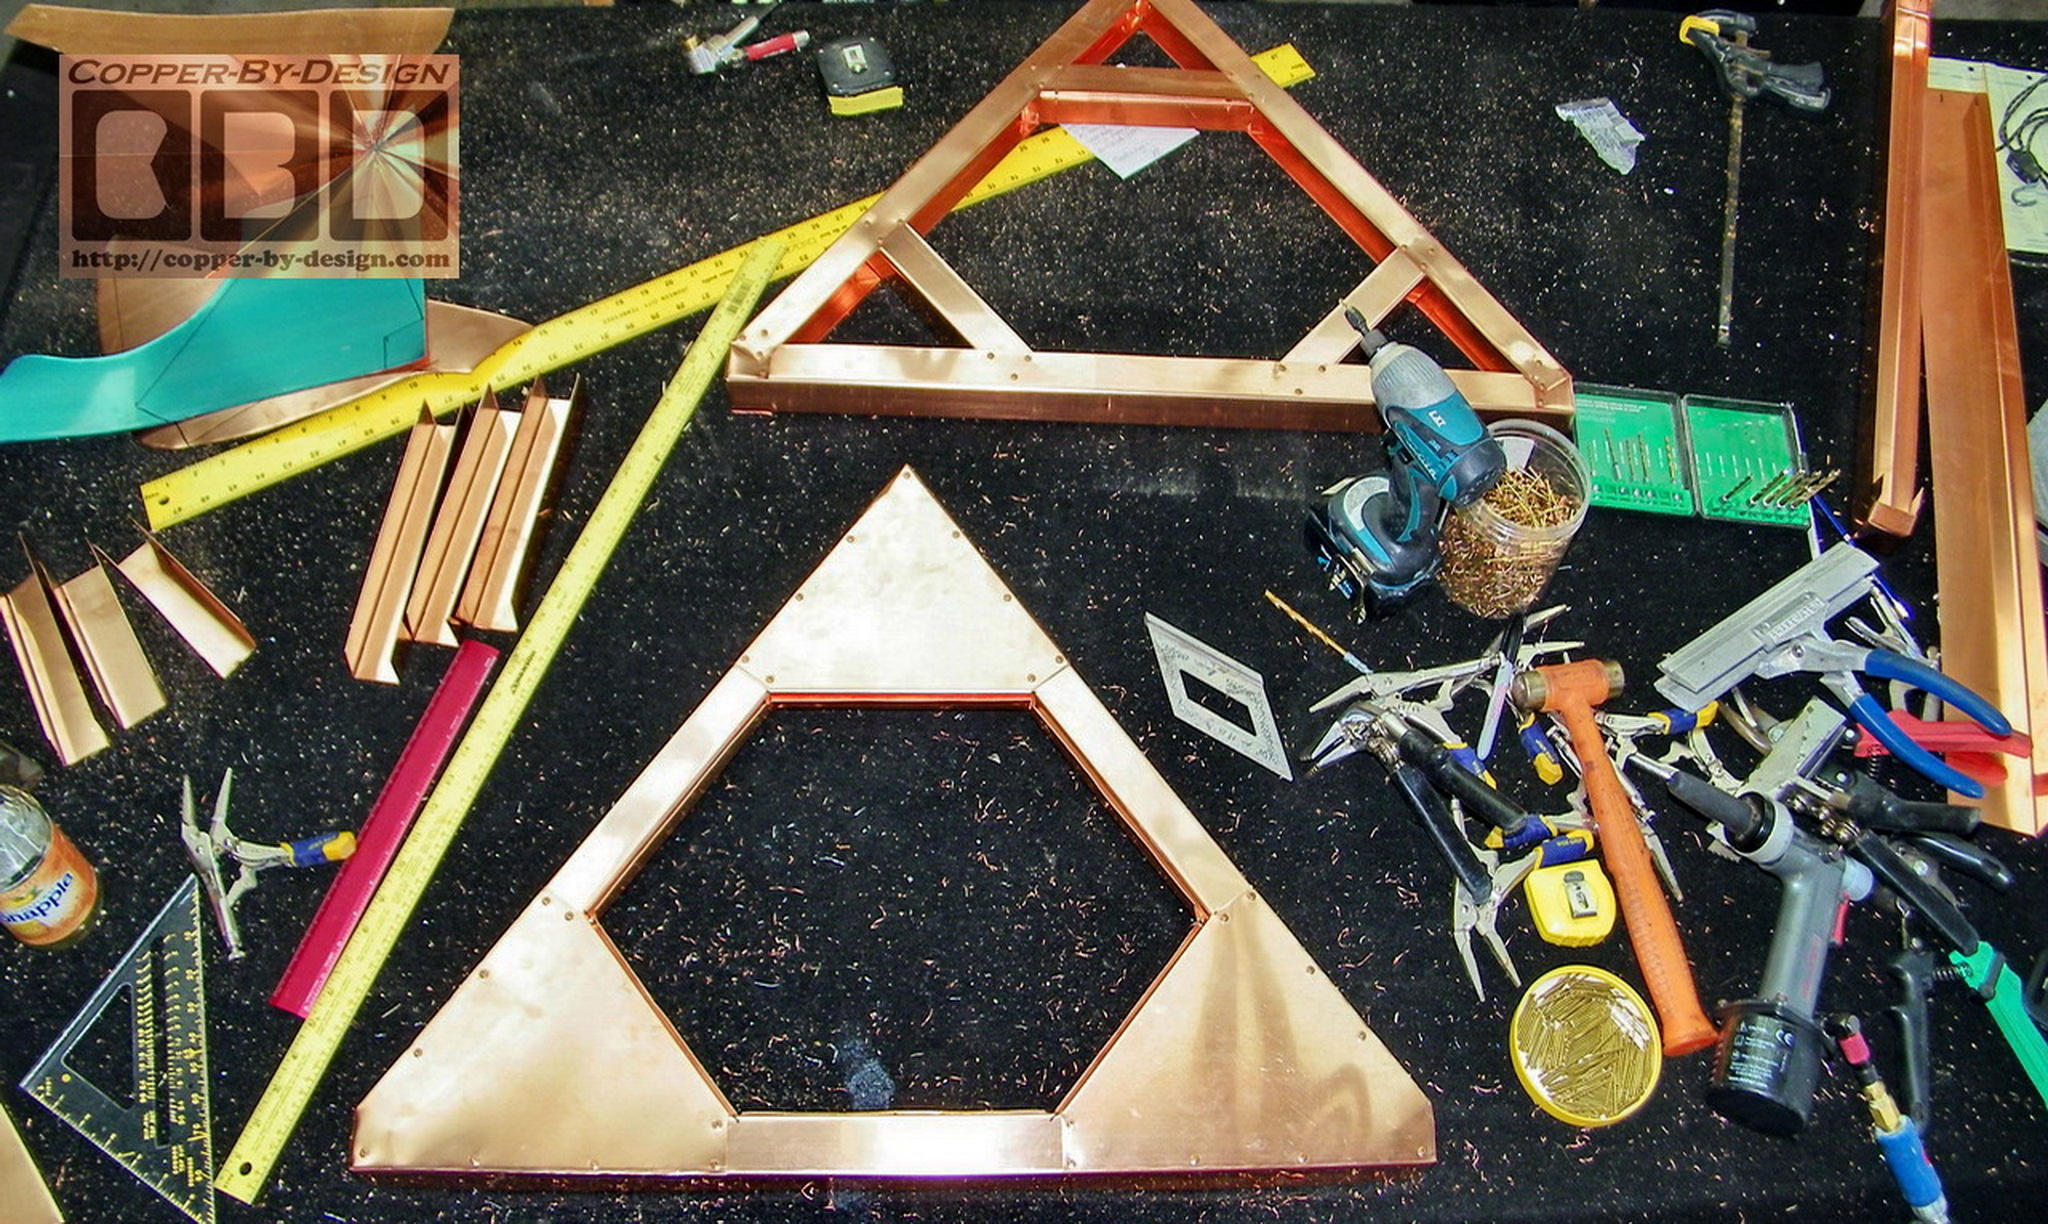
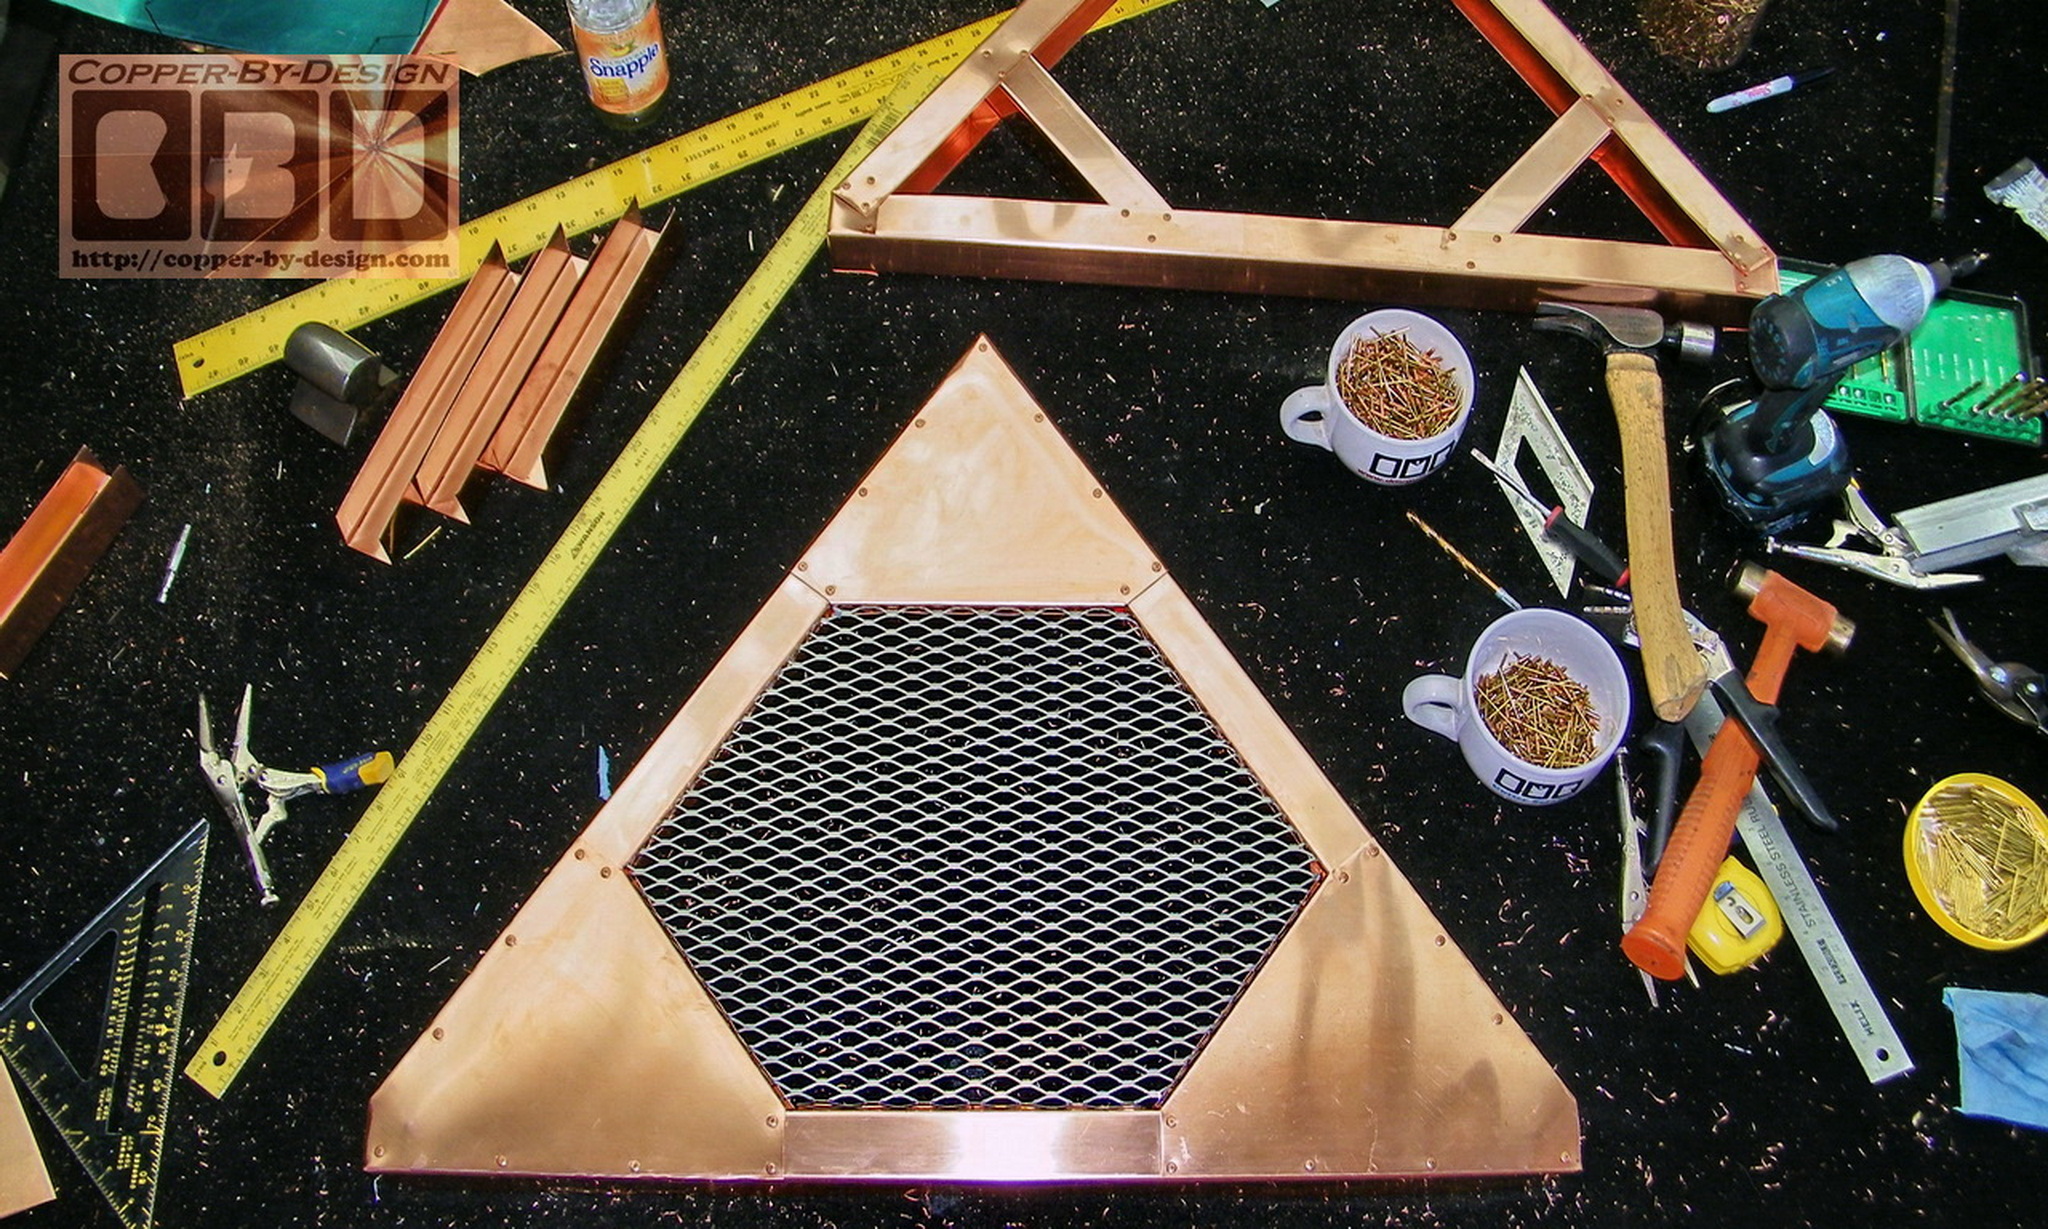
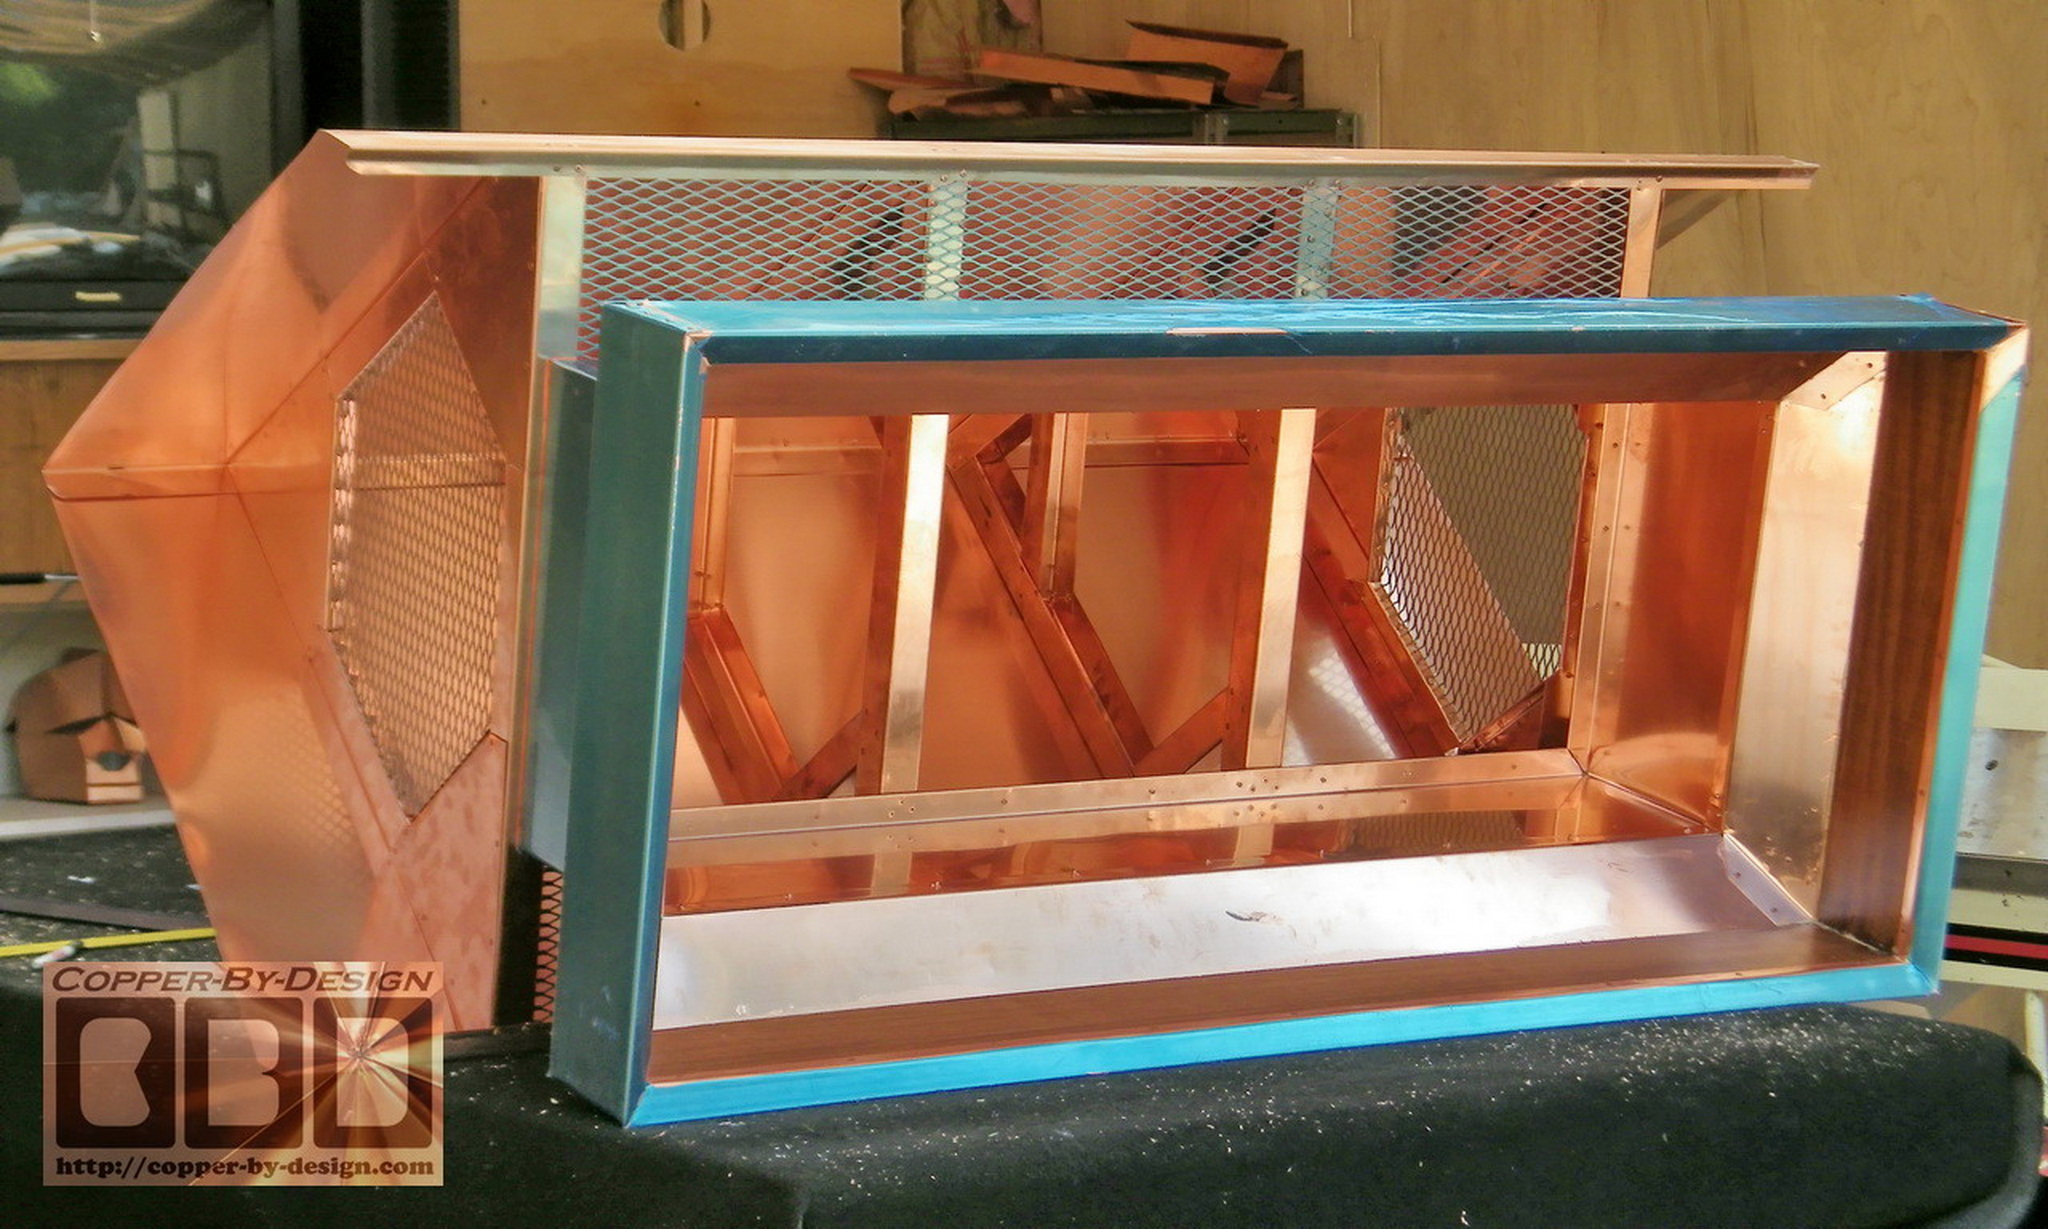
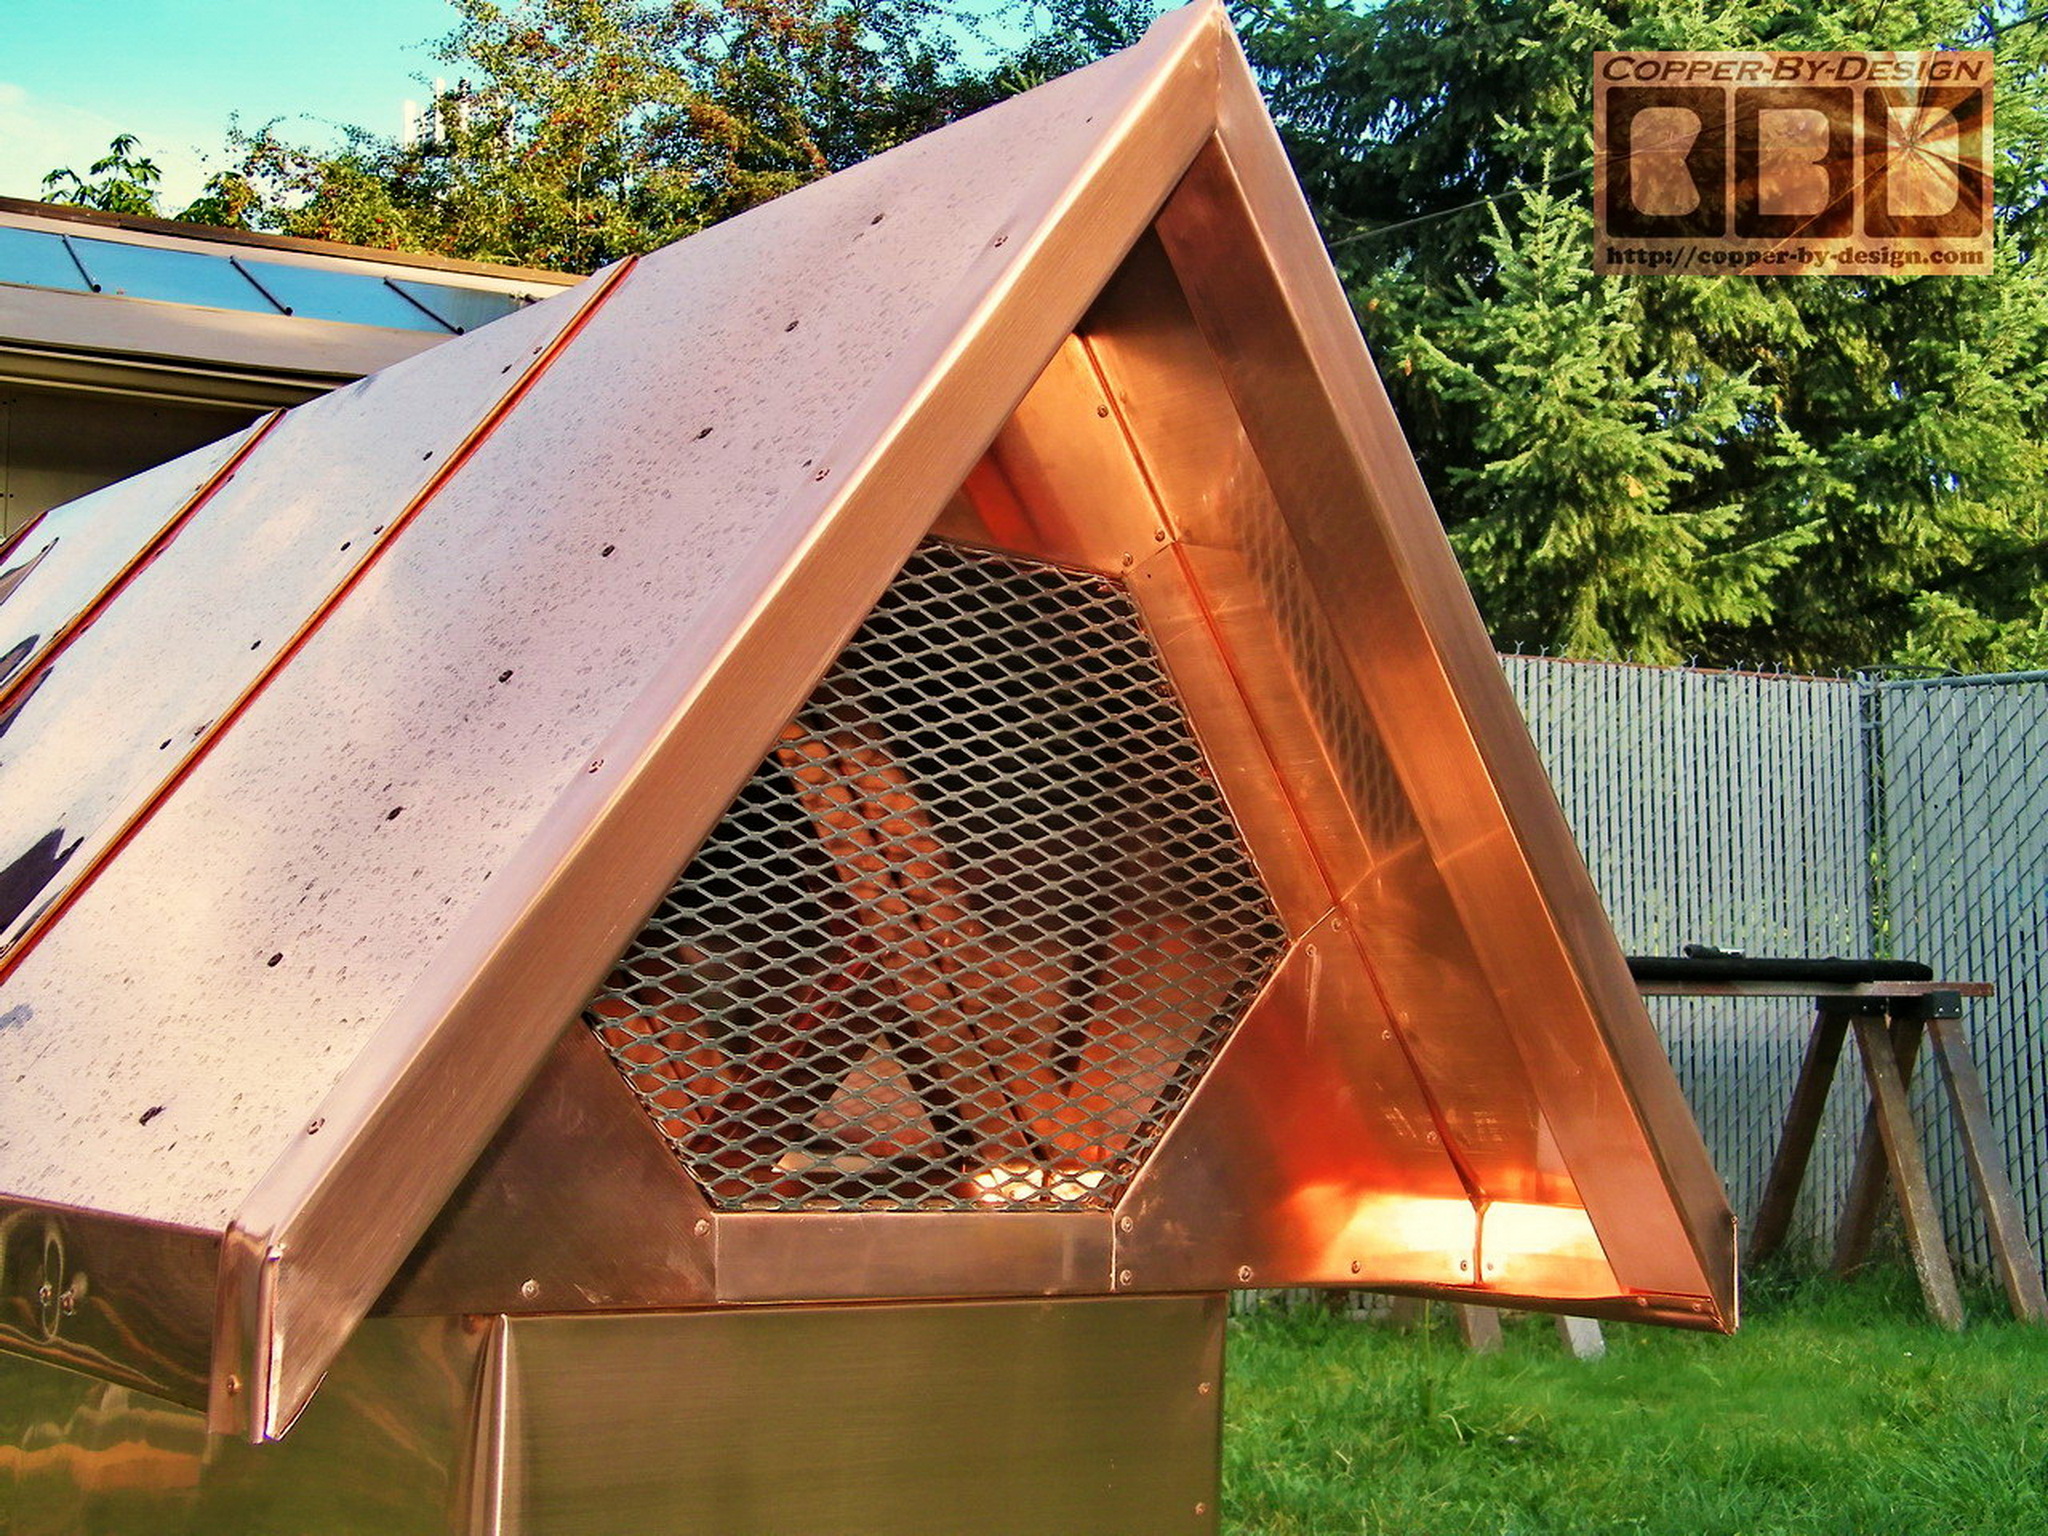
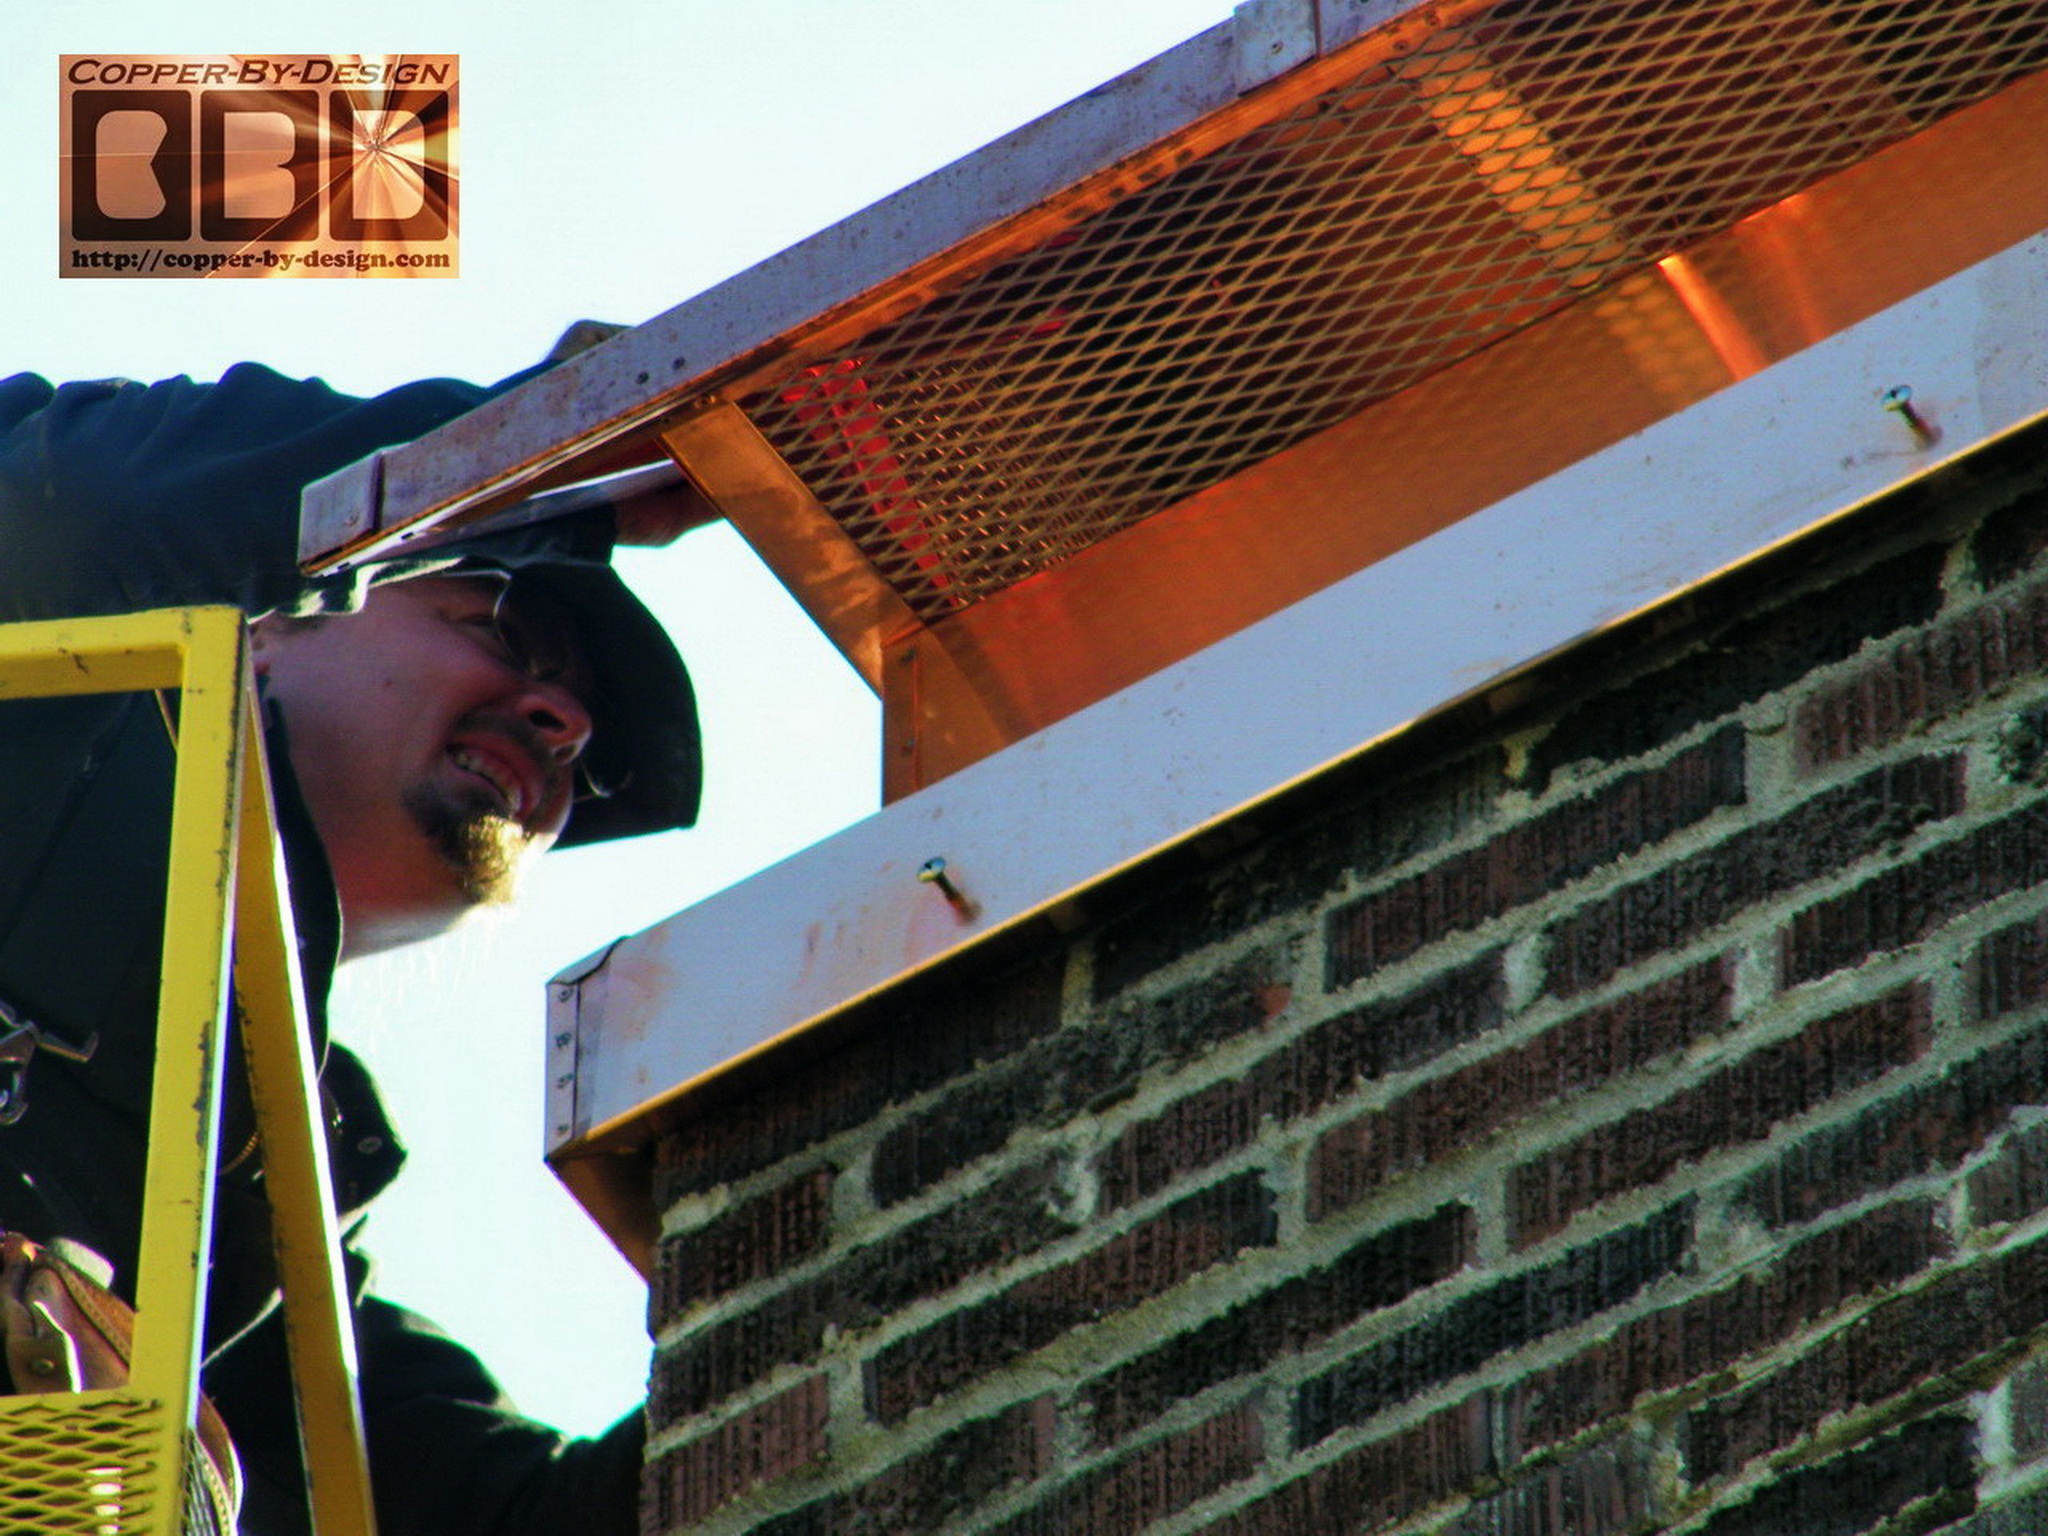
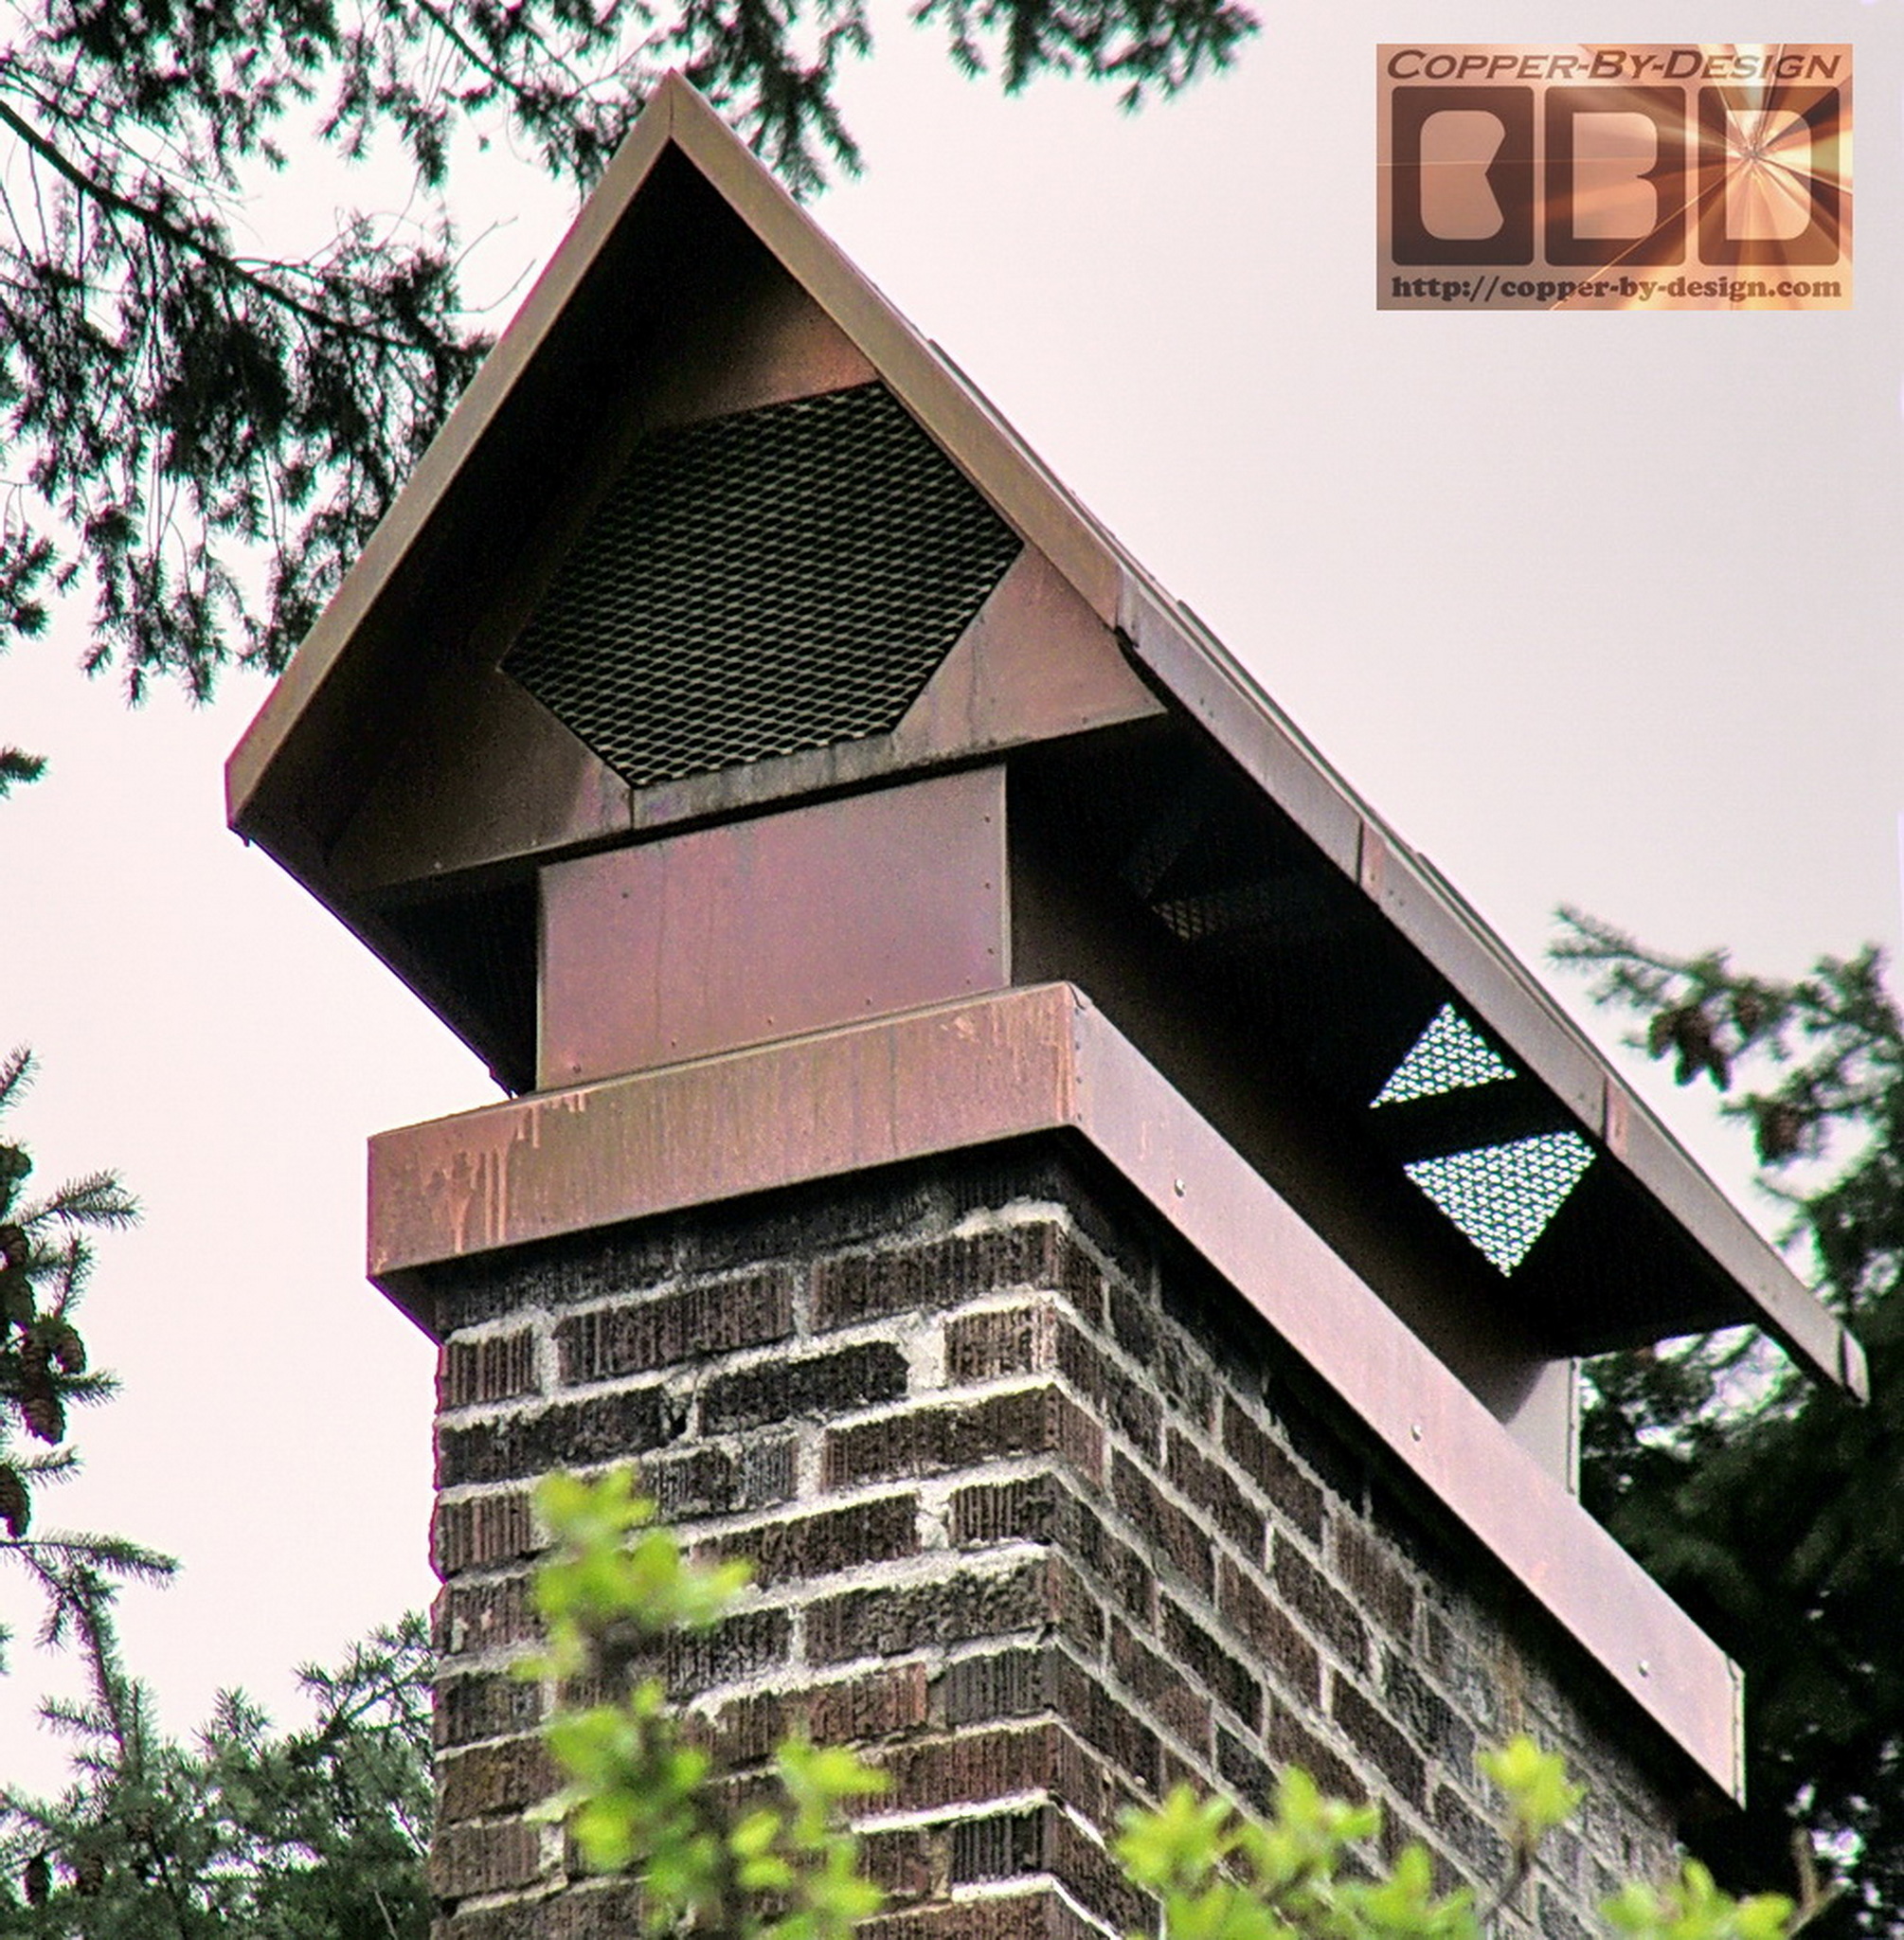
I designed this chimney cap in this unusual way with a
horizontal side screen and the hexagon shaped screen on the
gable ends to cover the sides of the tall flue liners without
adding a lot of height to the chimney that is already very tall.
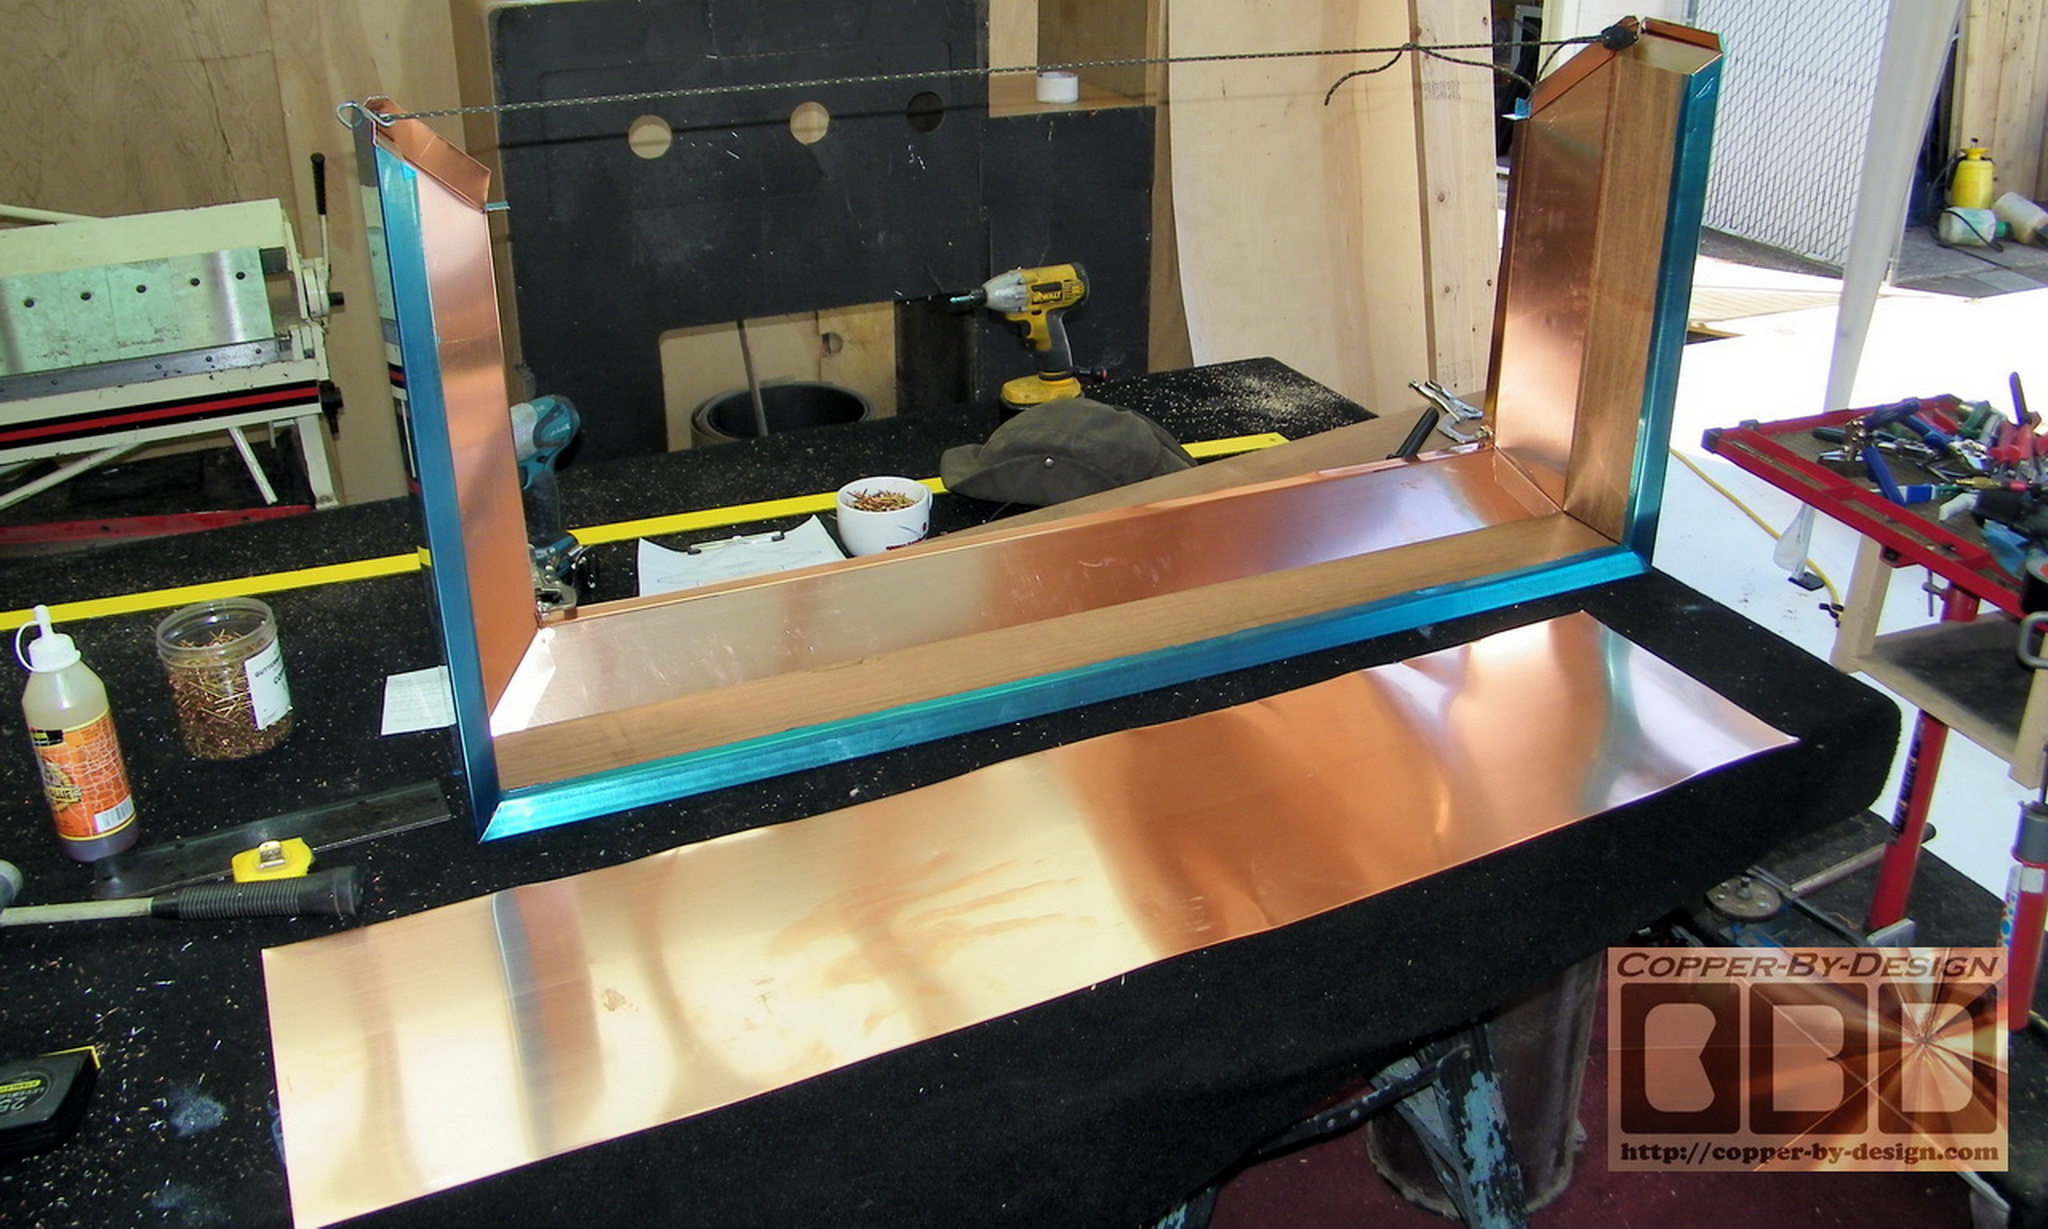
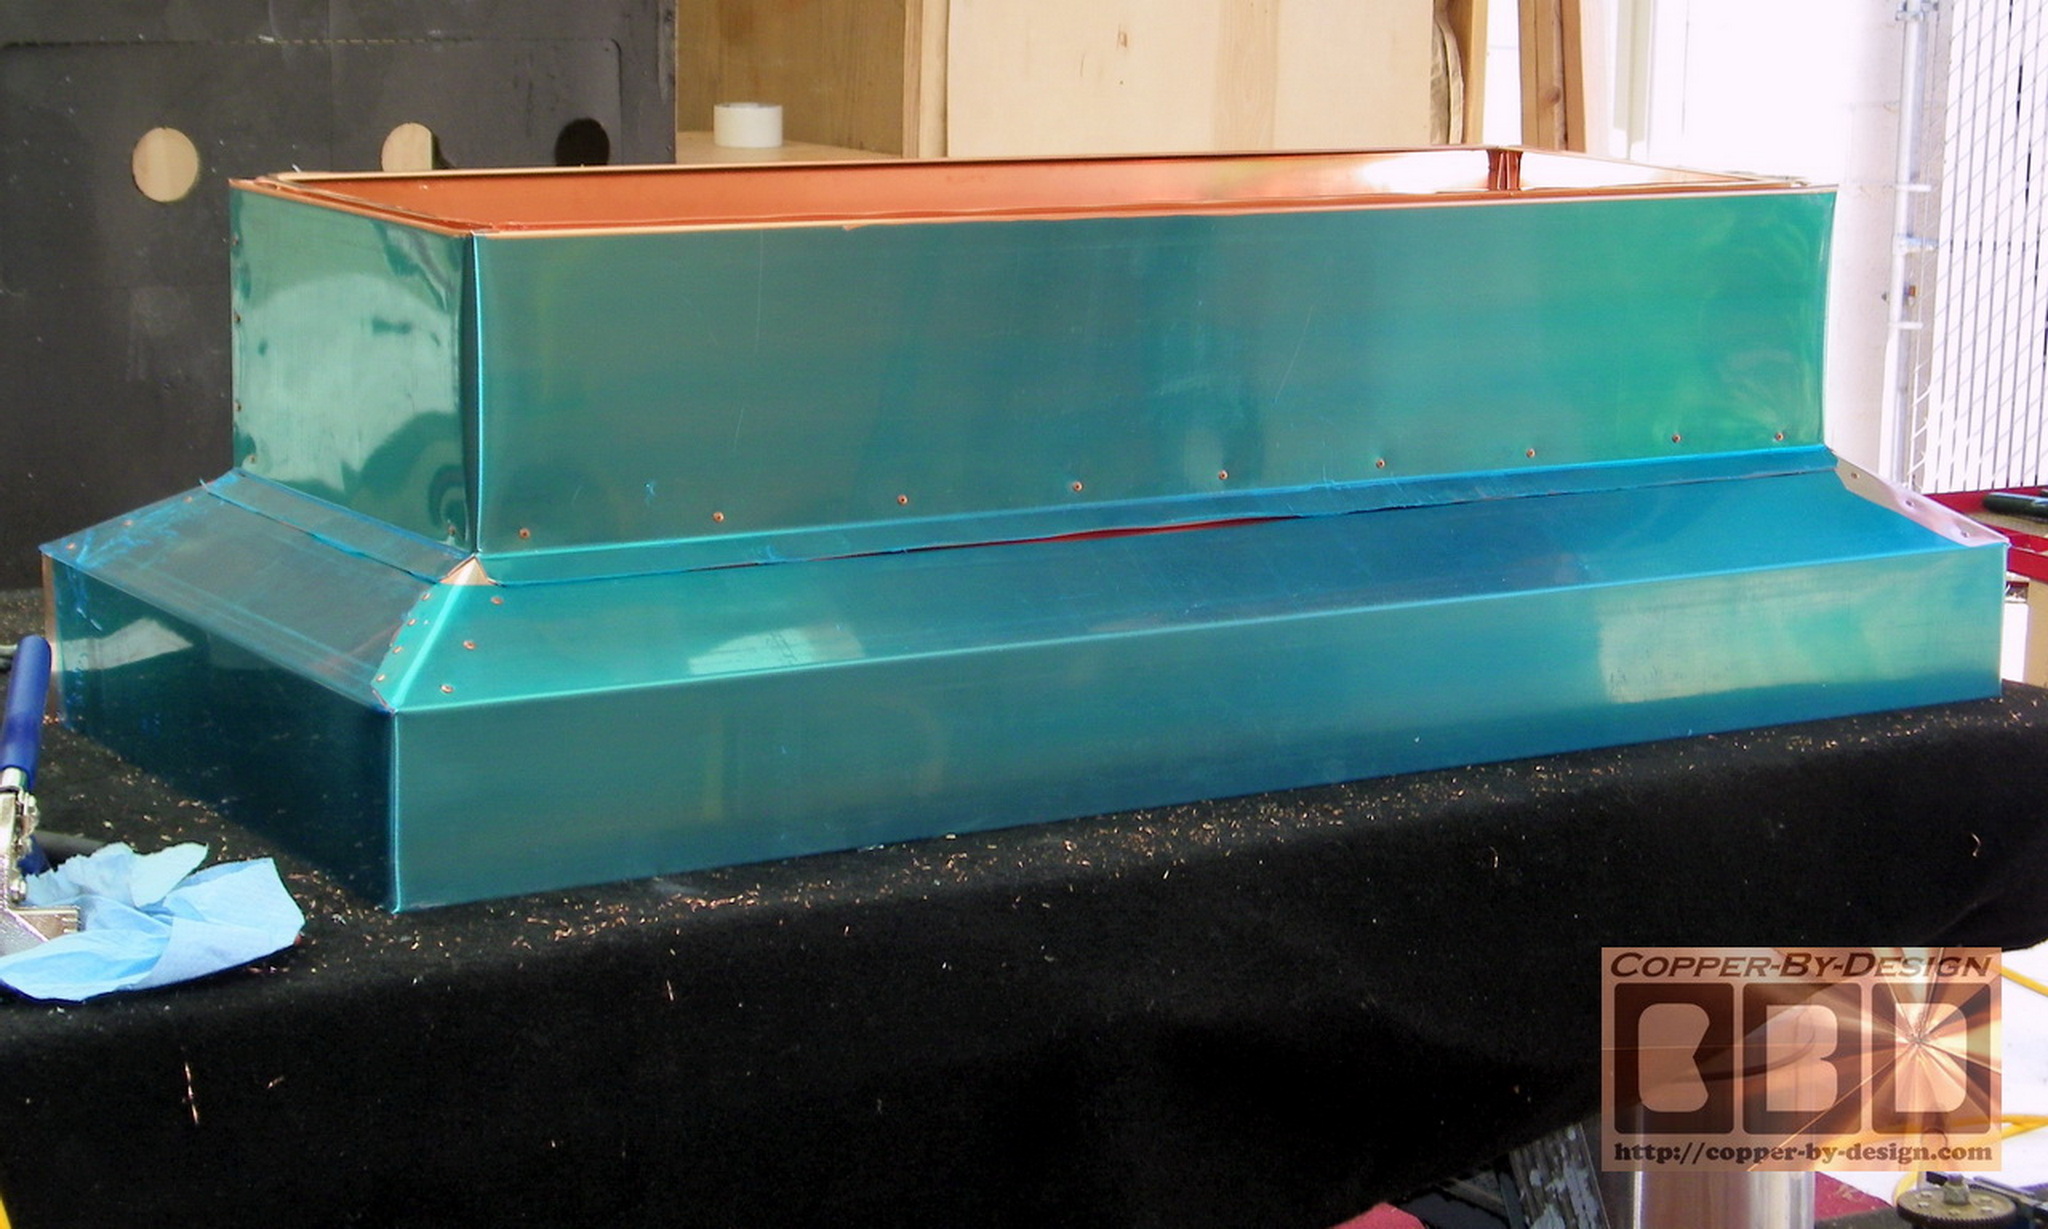
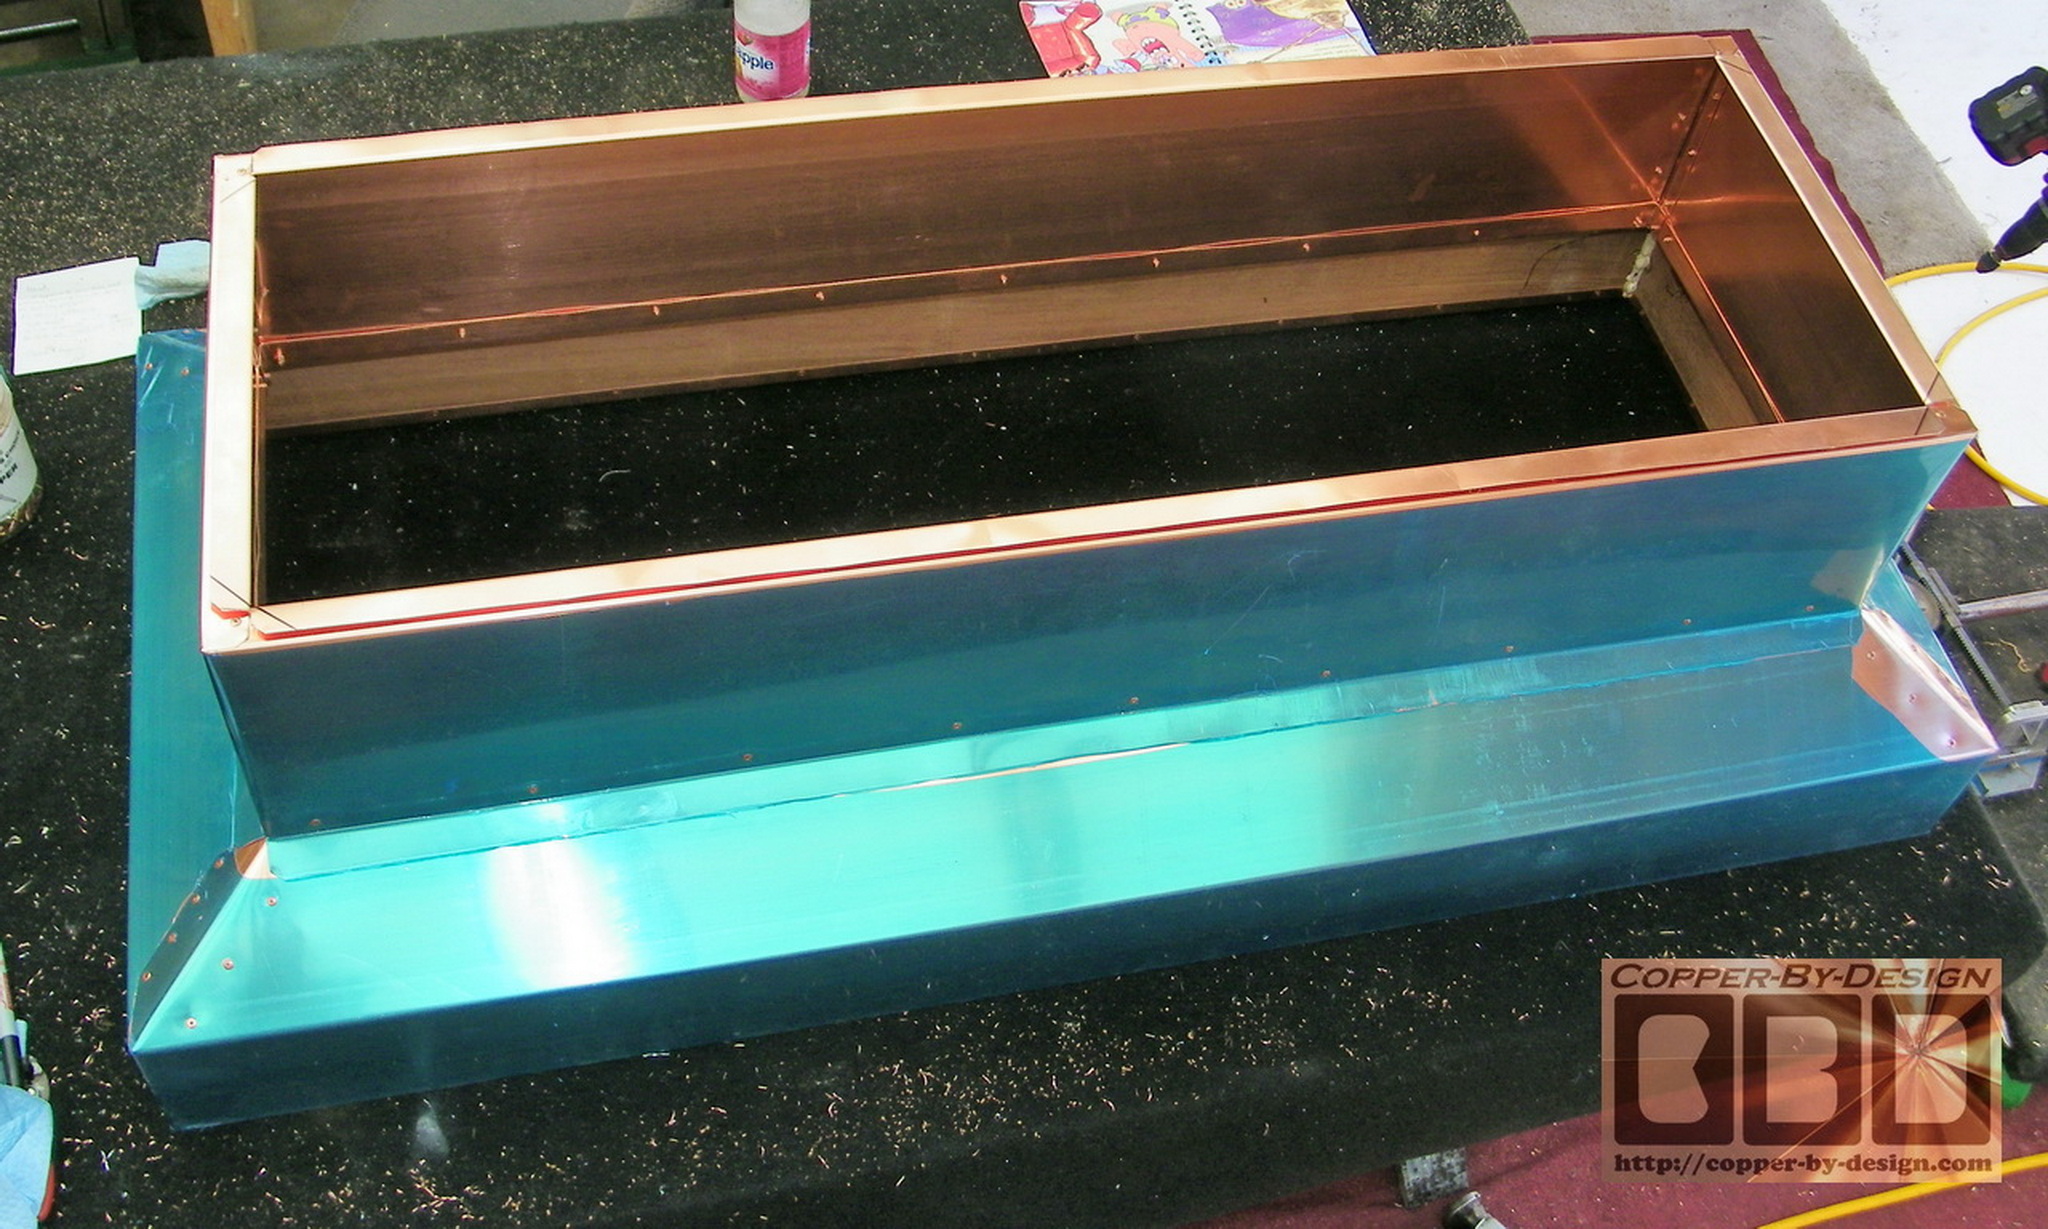
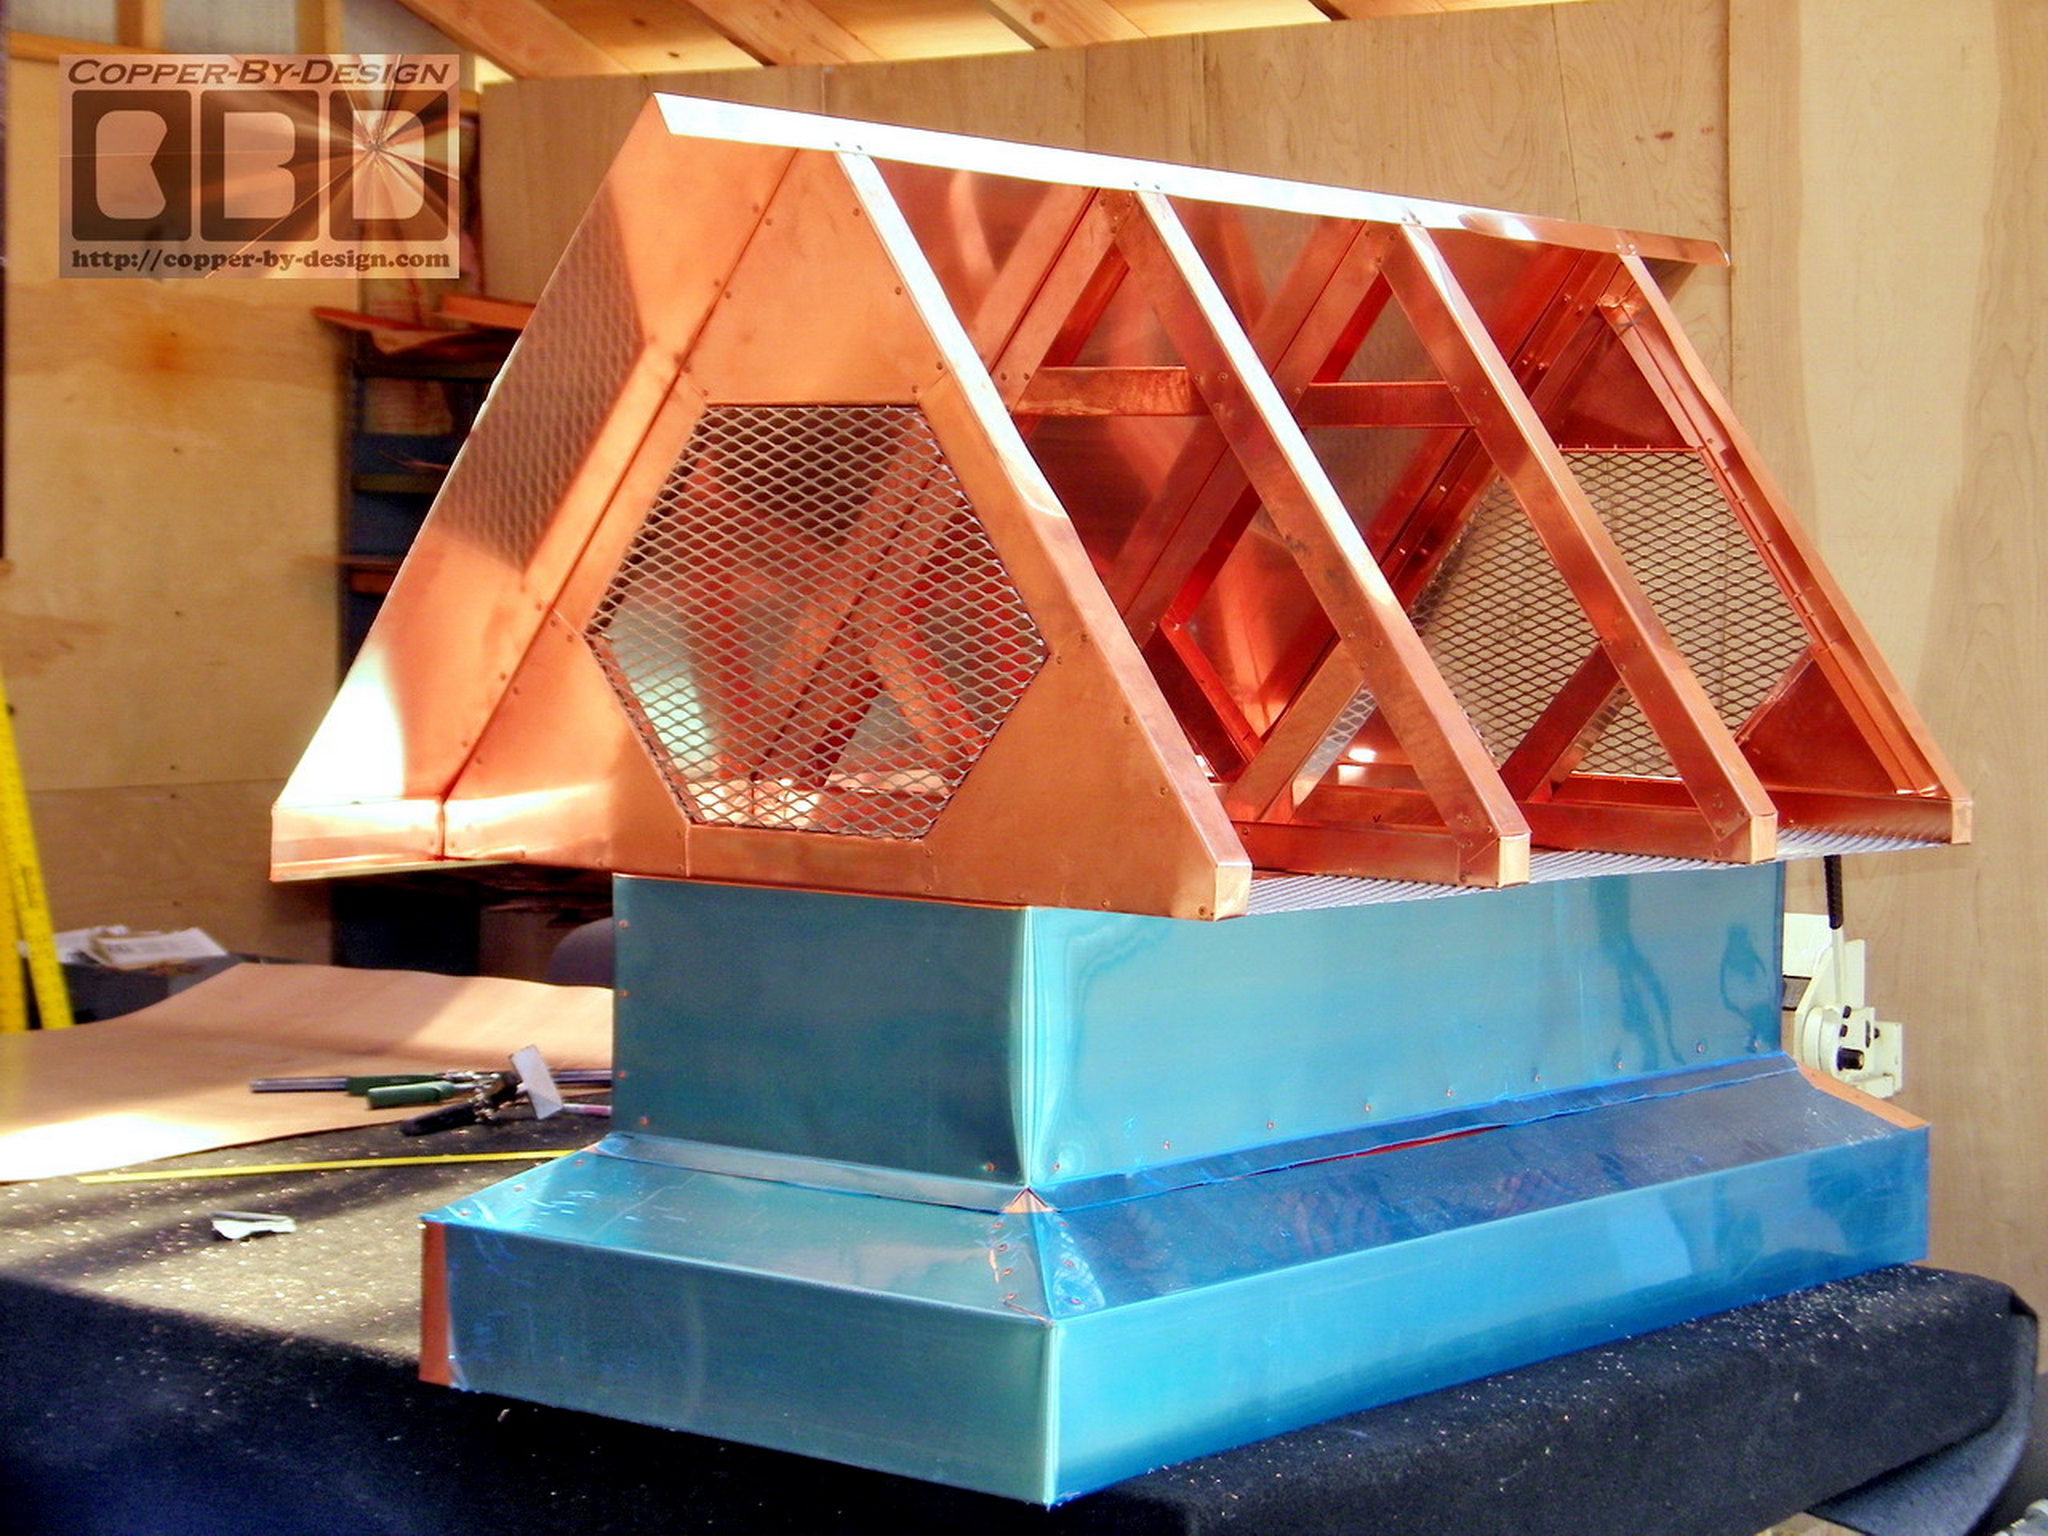
The base of this chimney cap measures 22" X 51" inside diameter
to fit comfortably over their brick chimney.
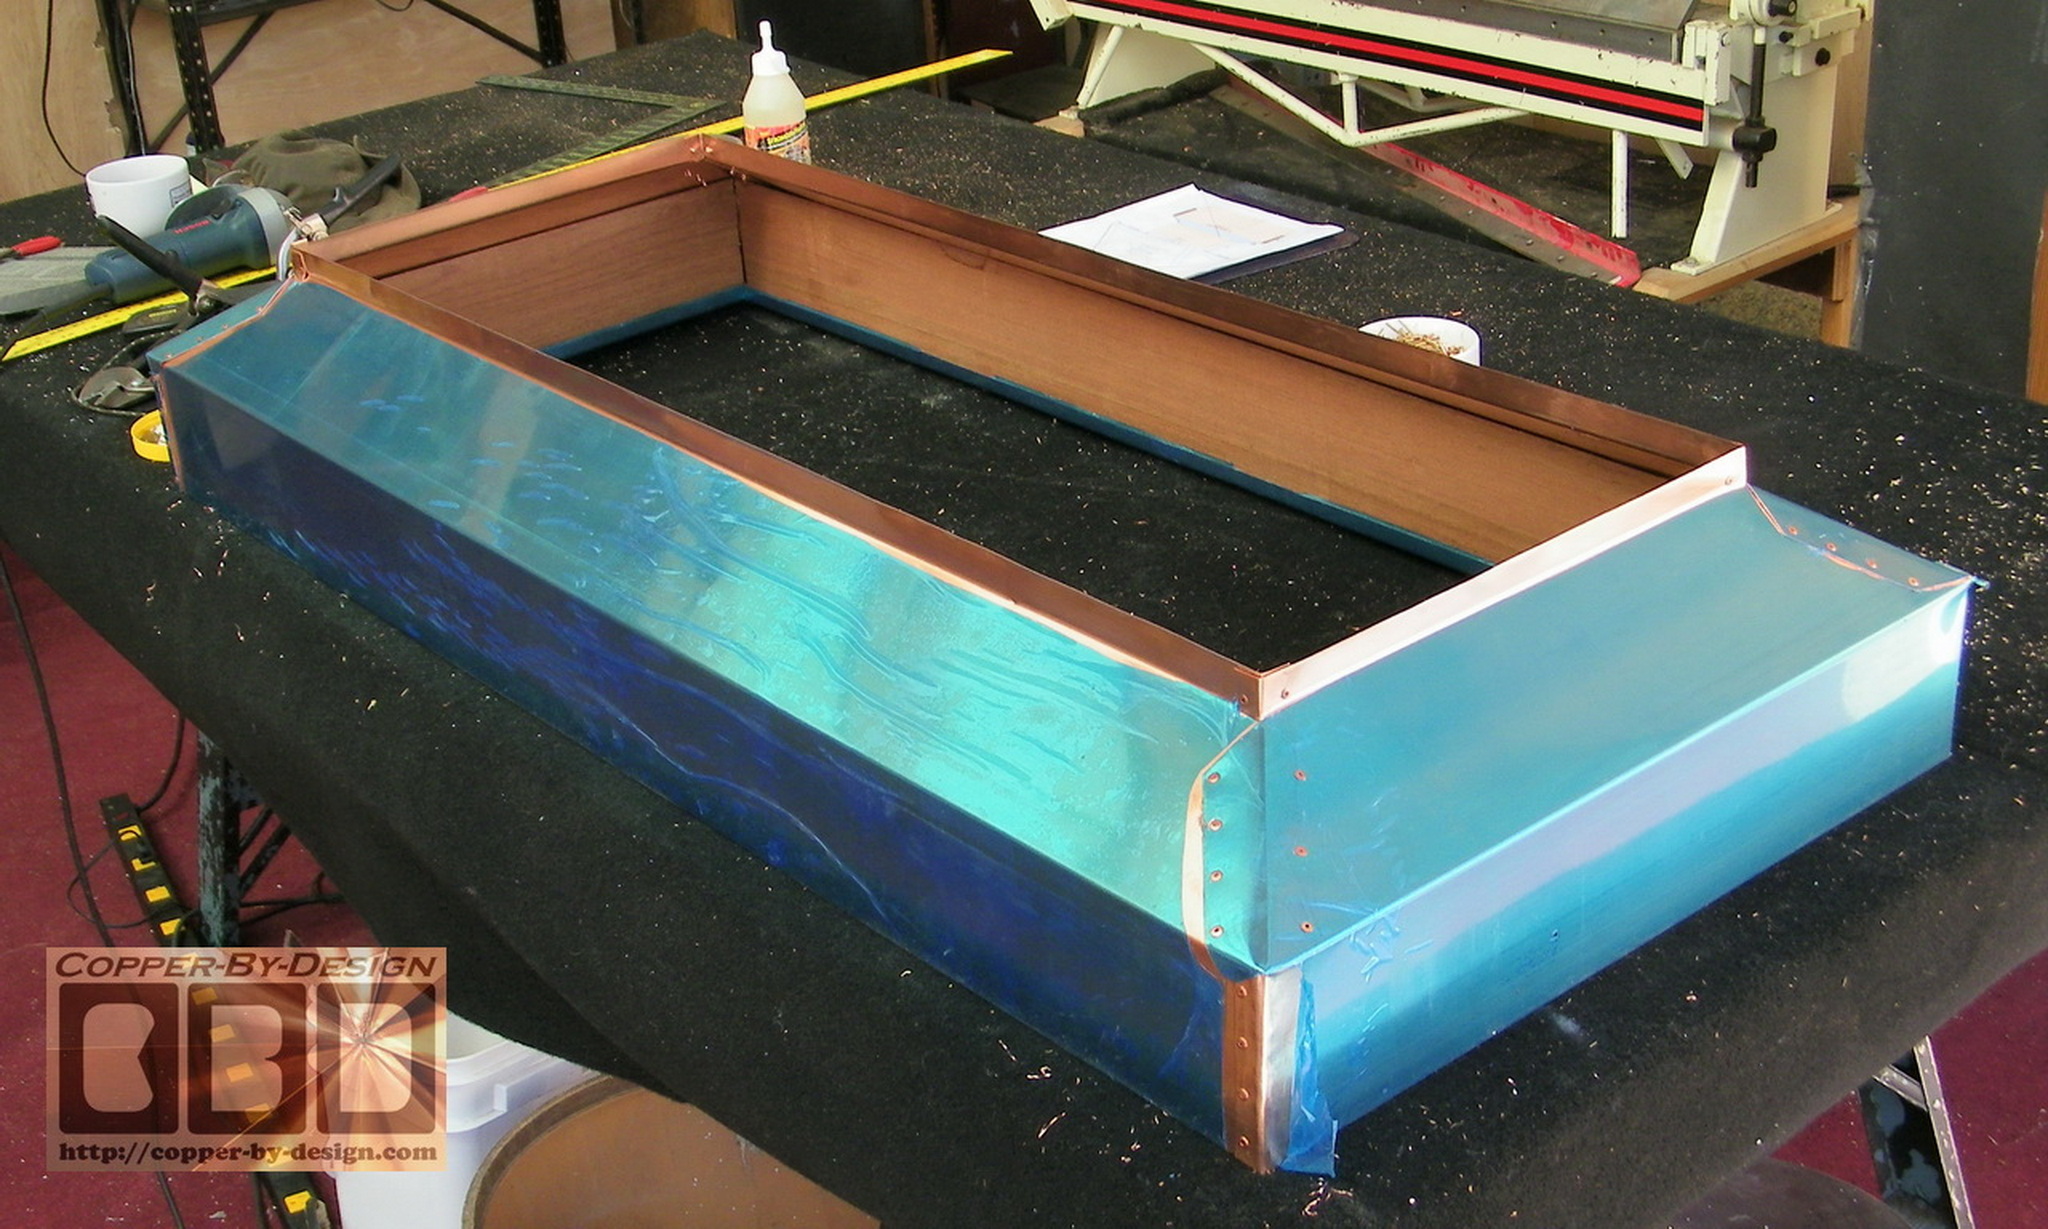
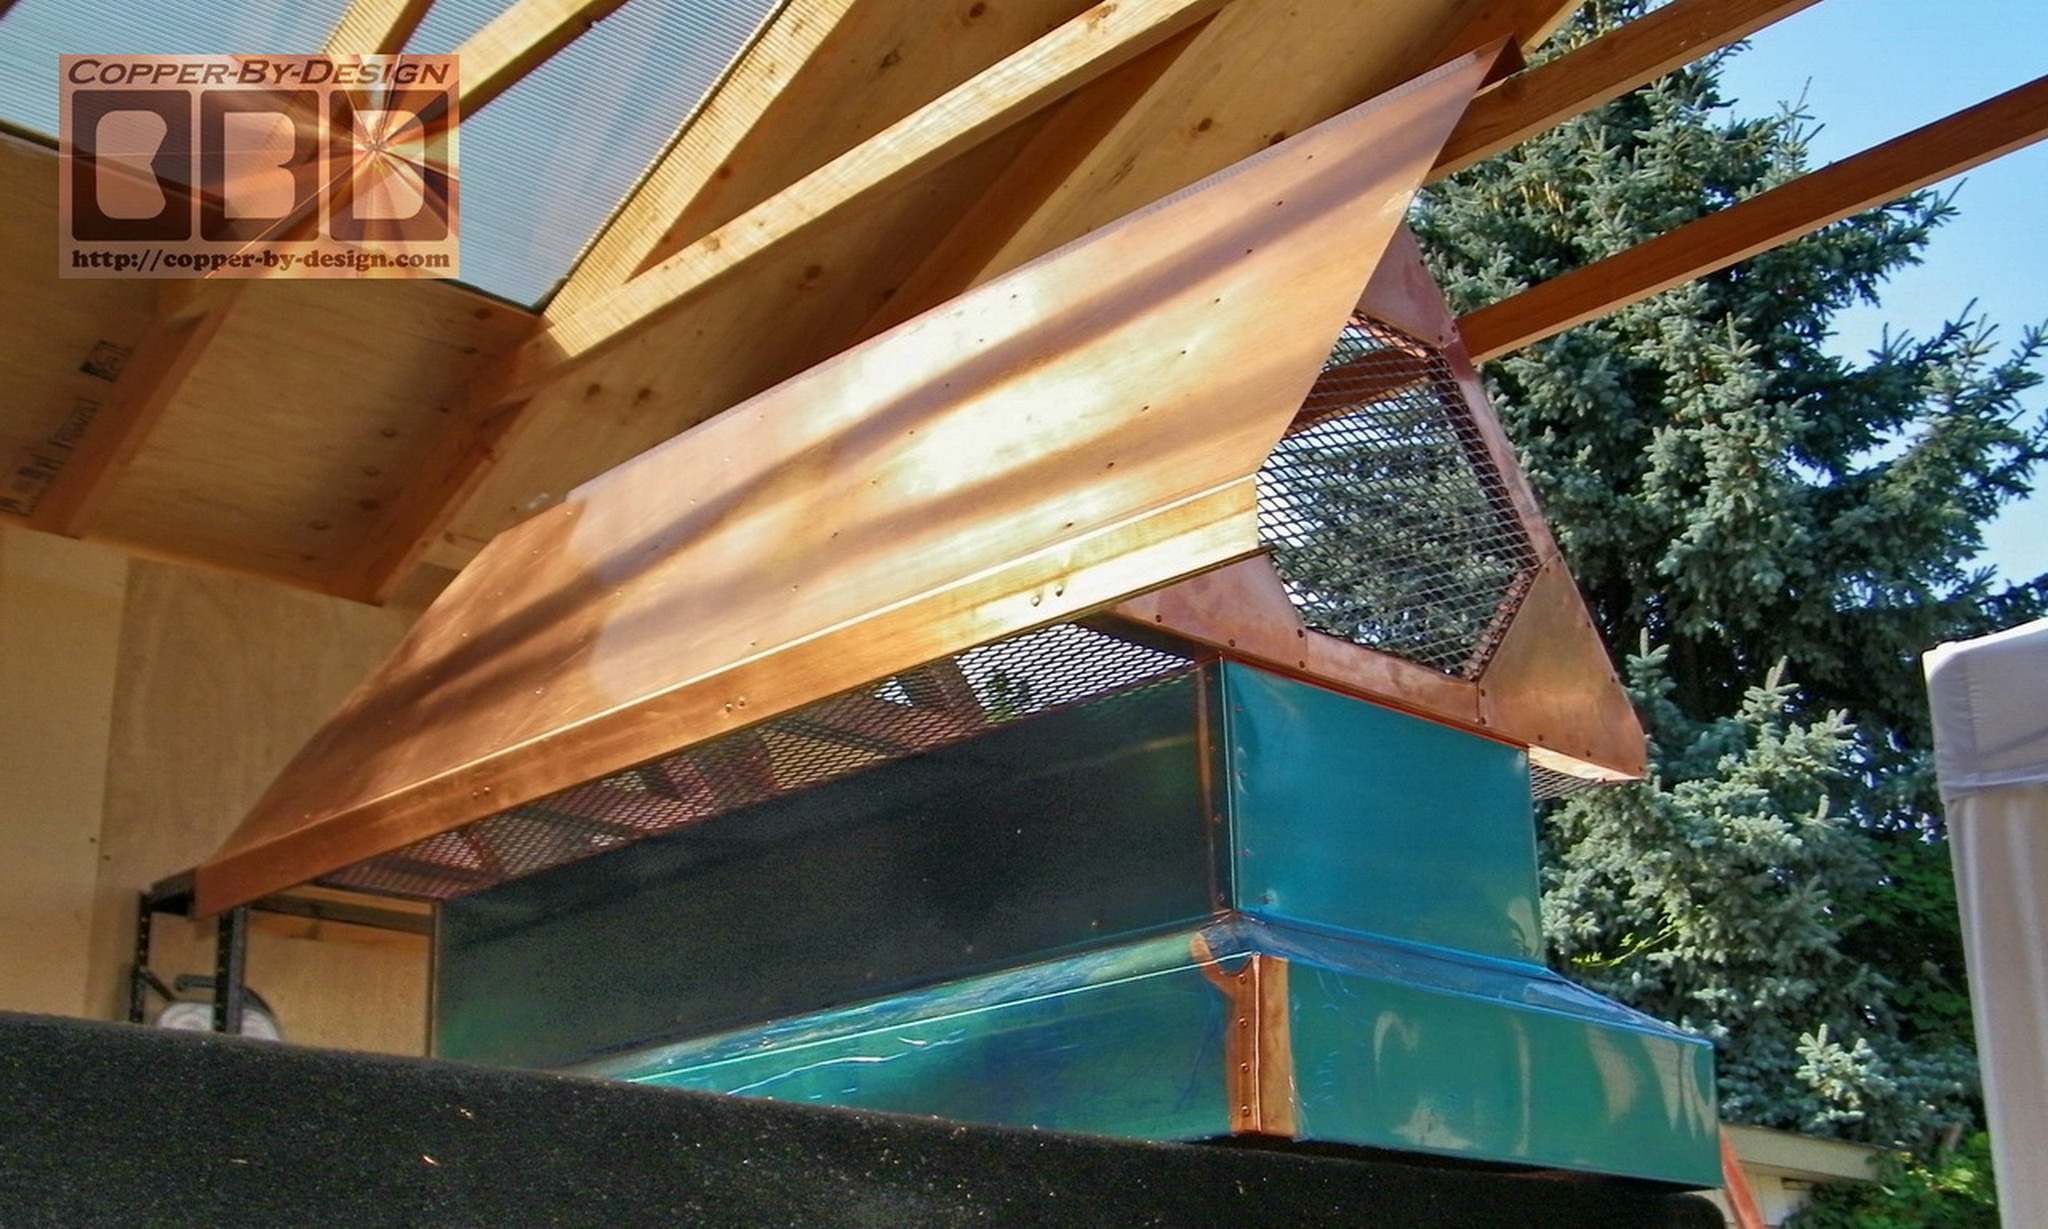
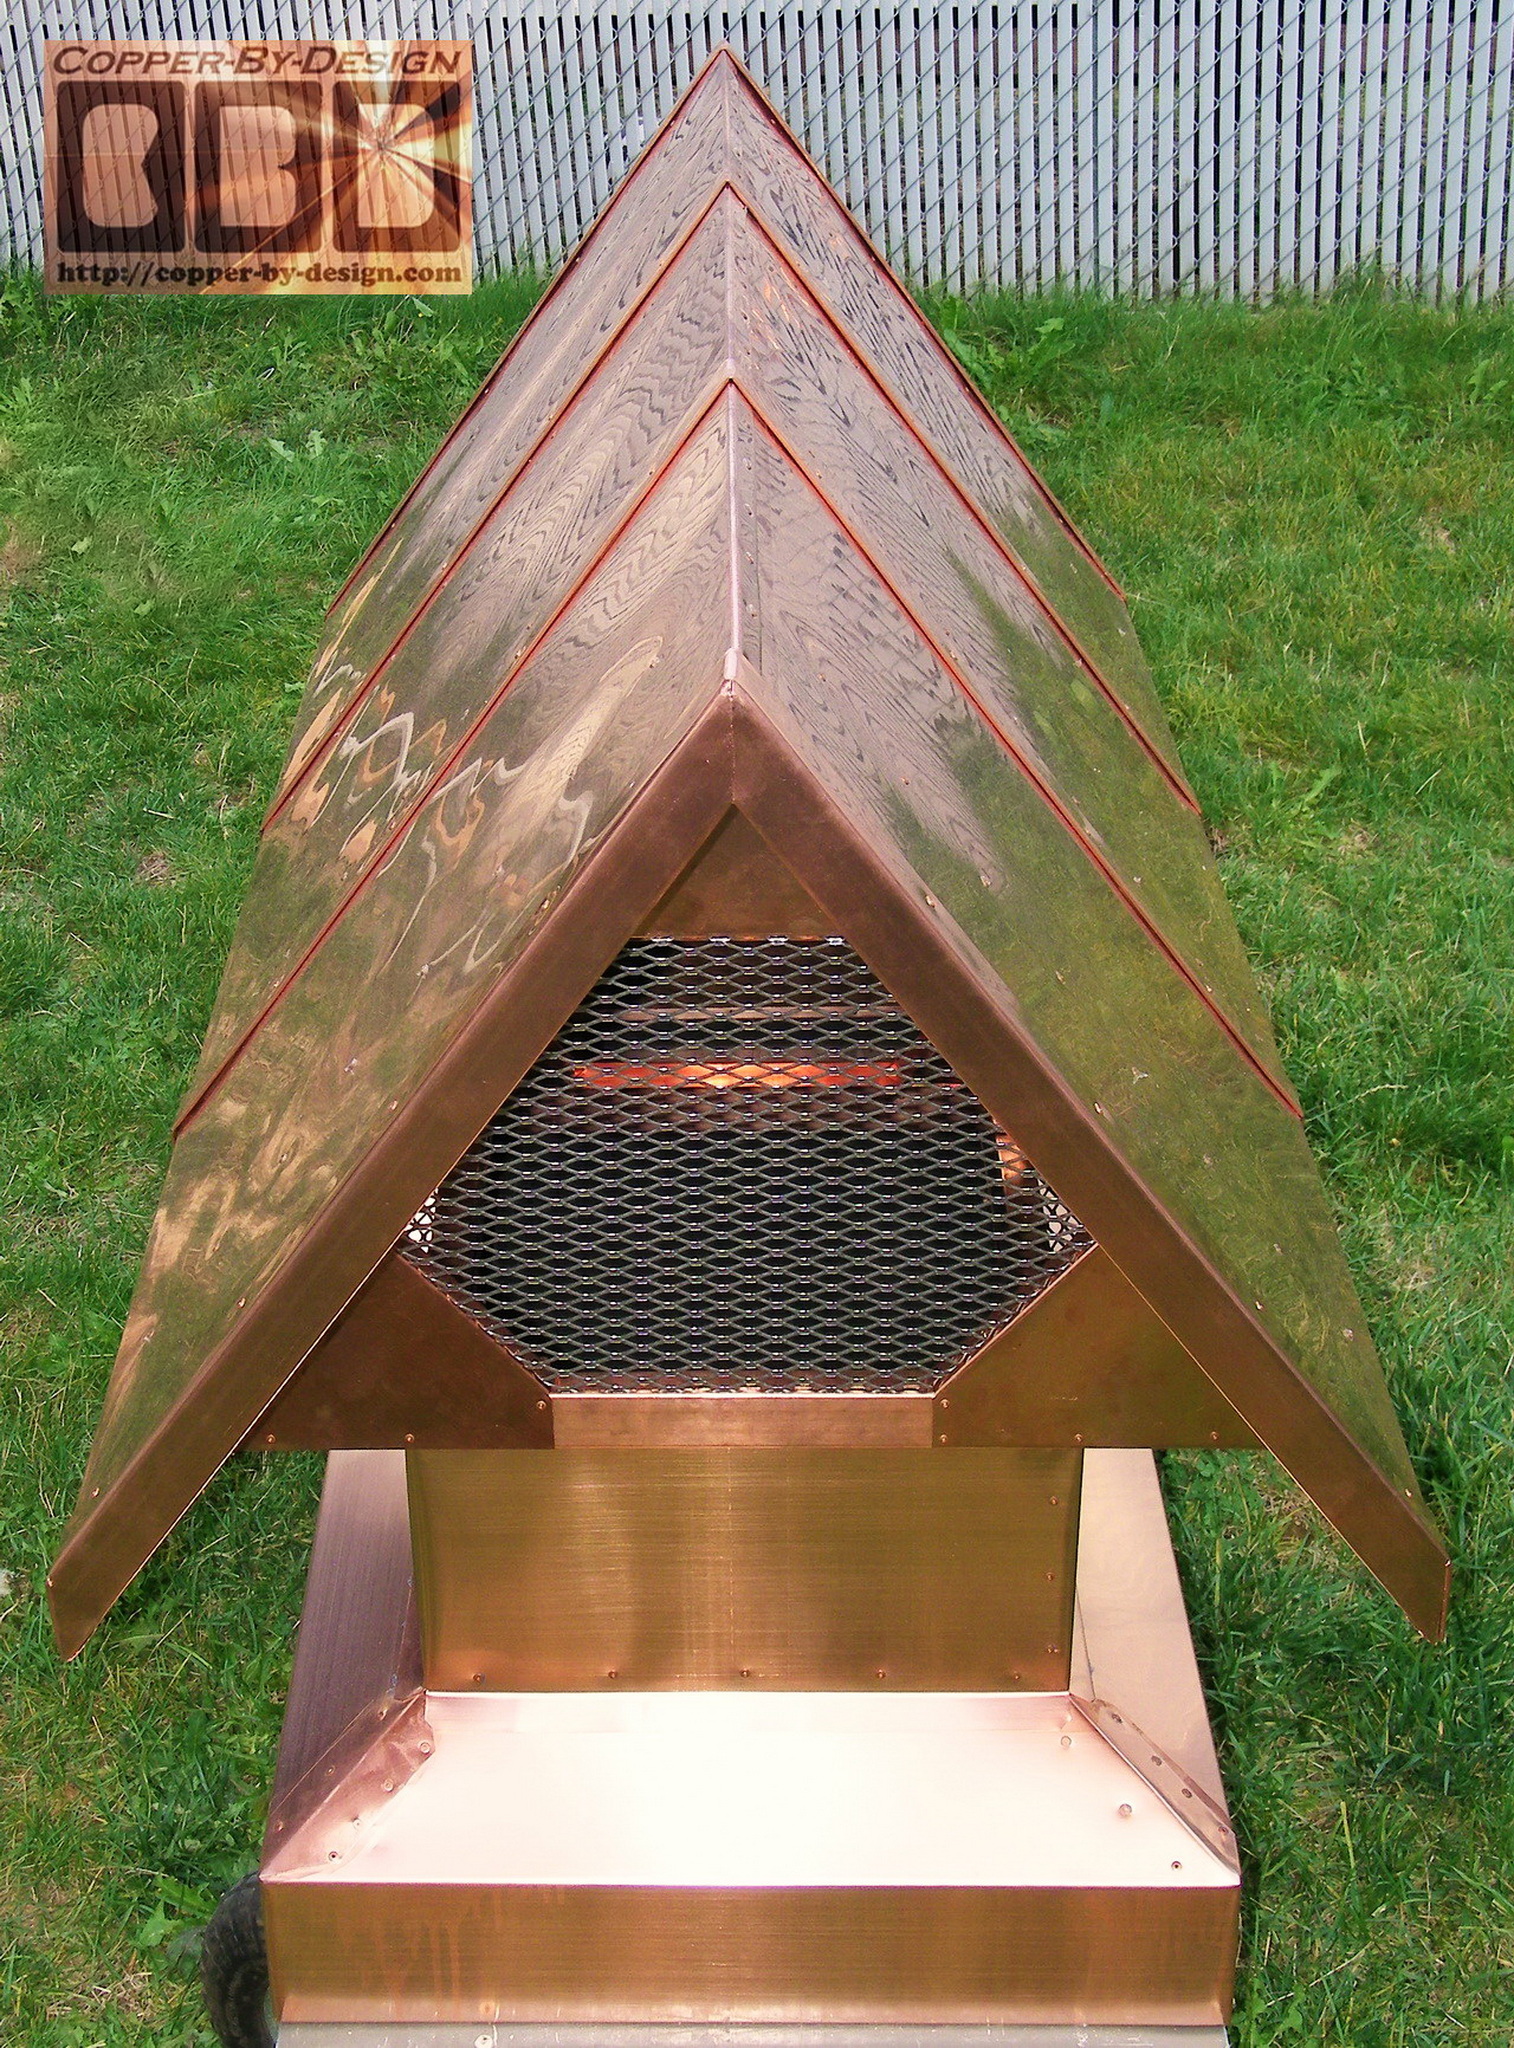
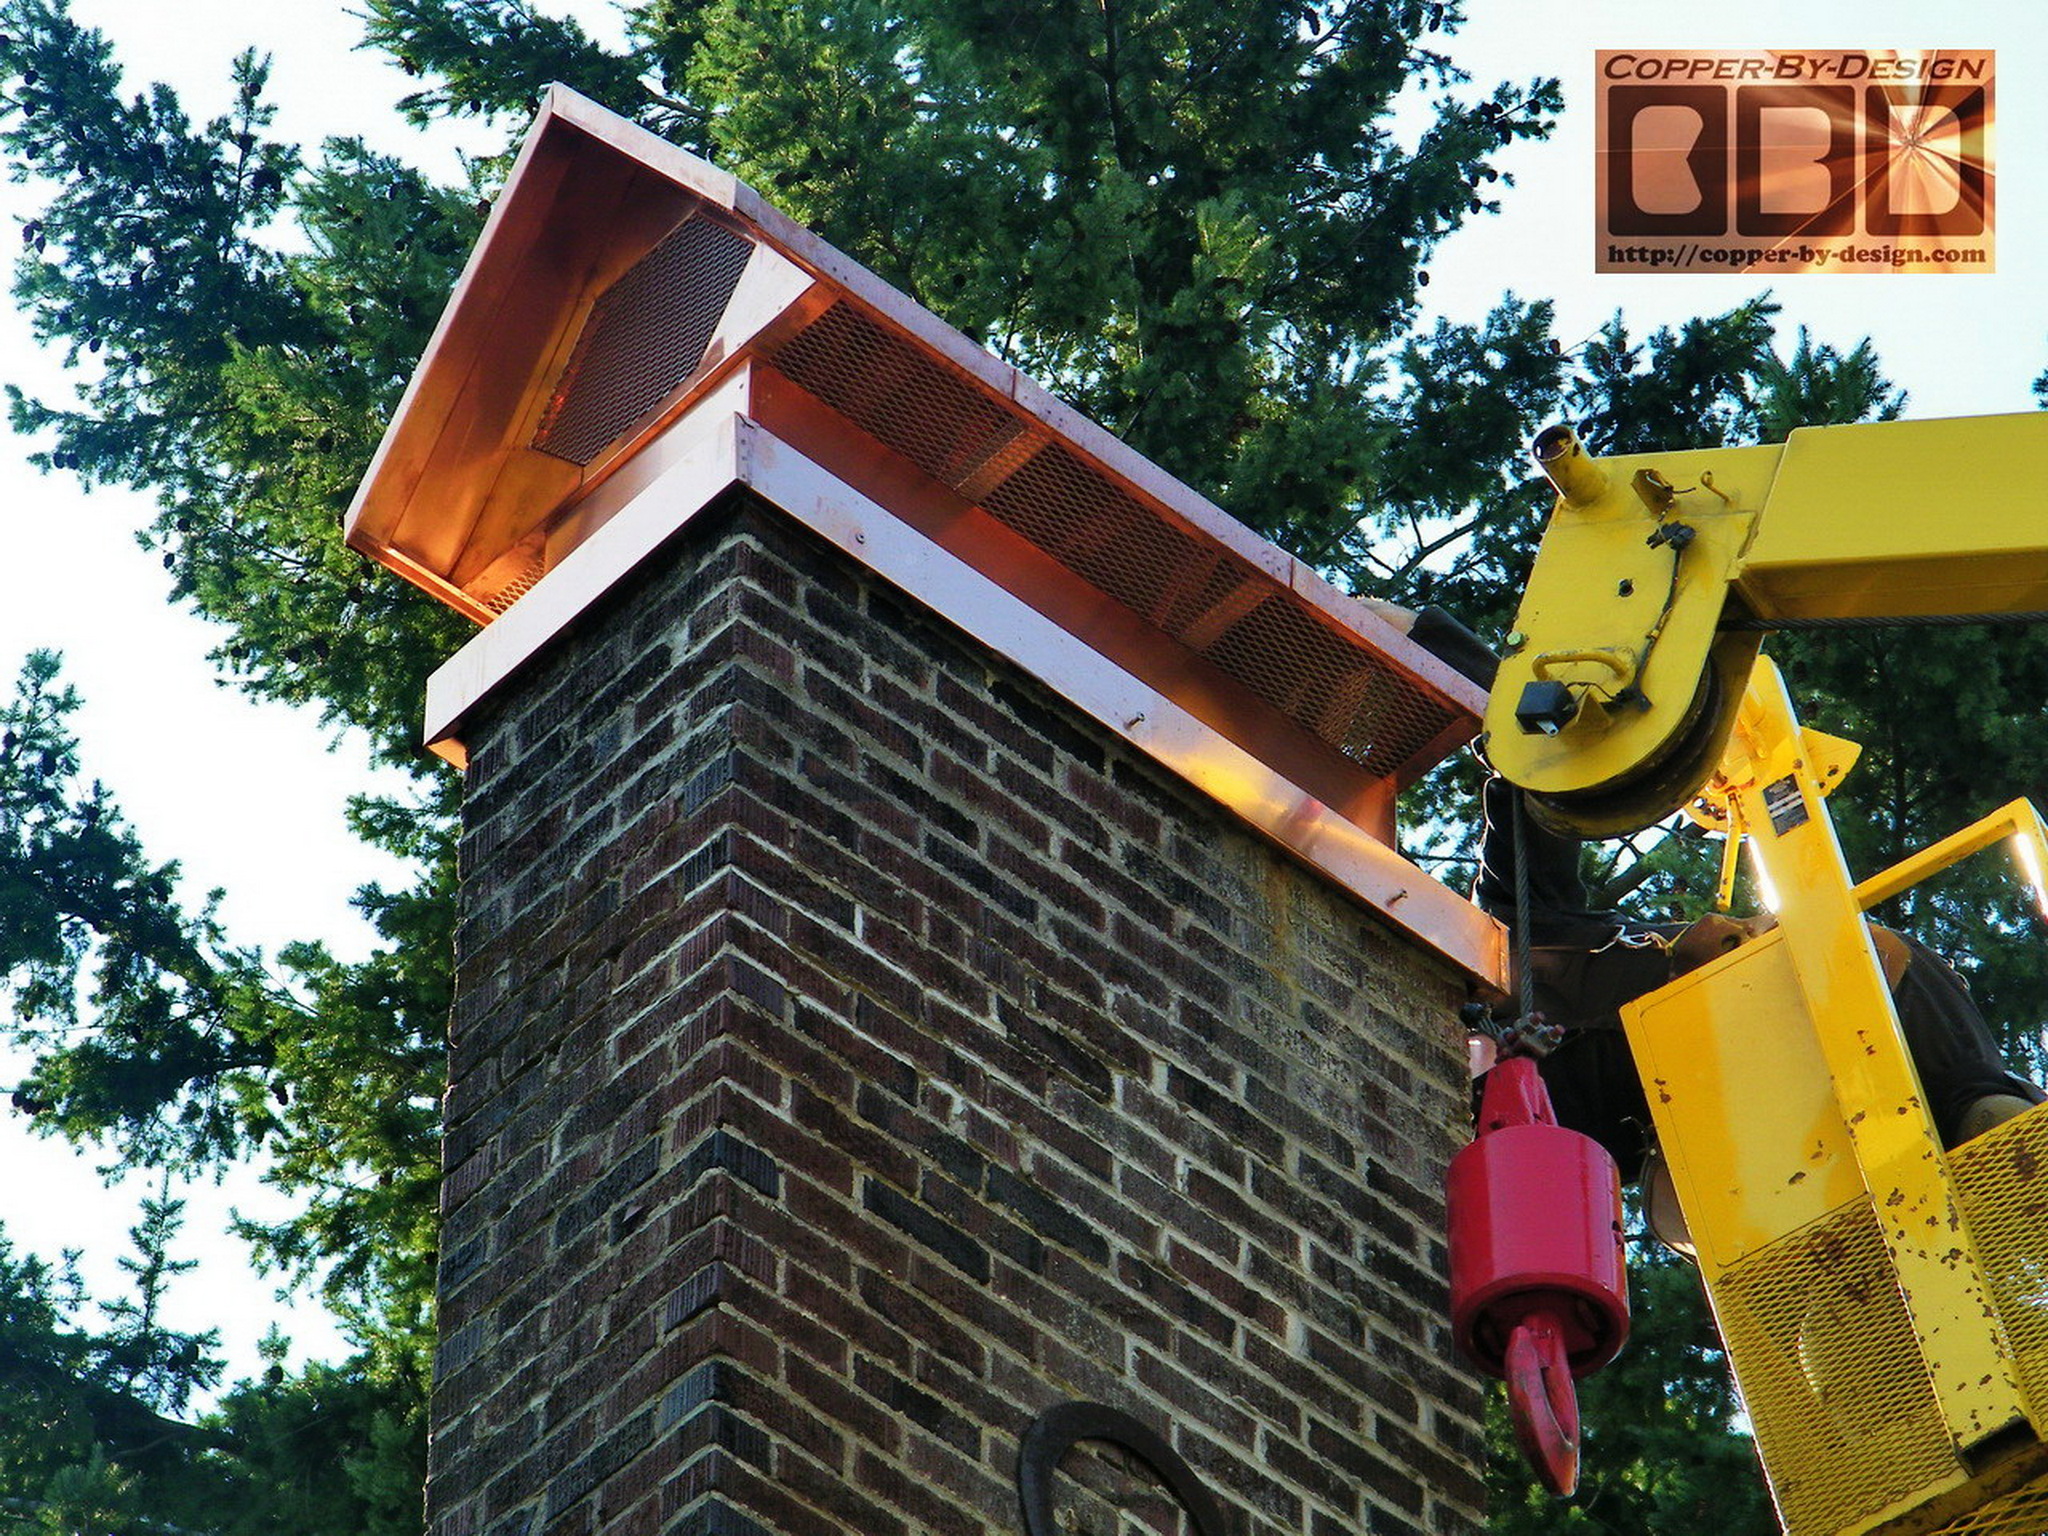
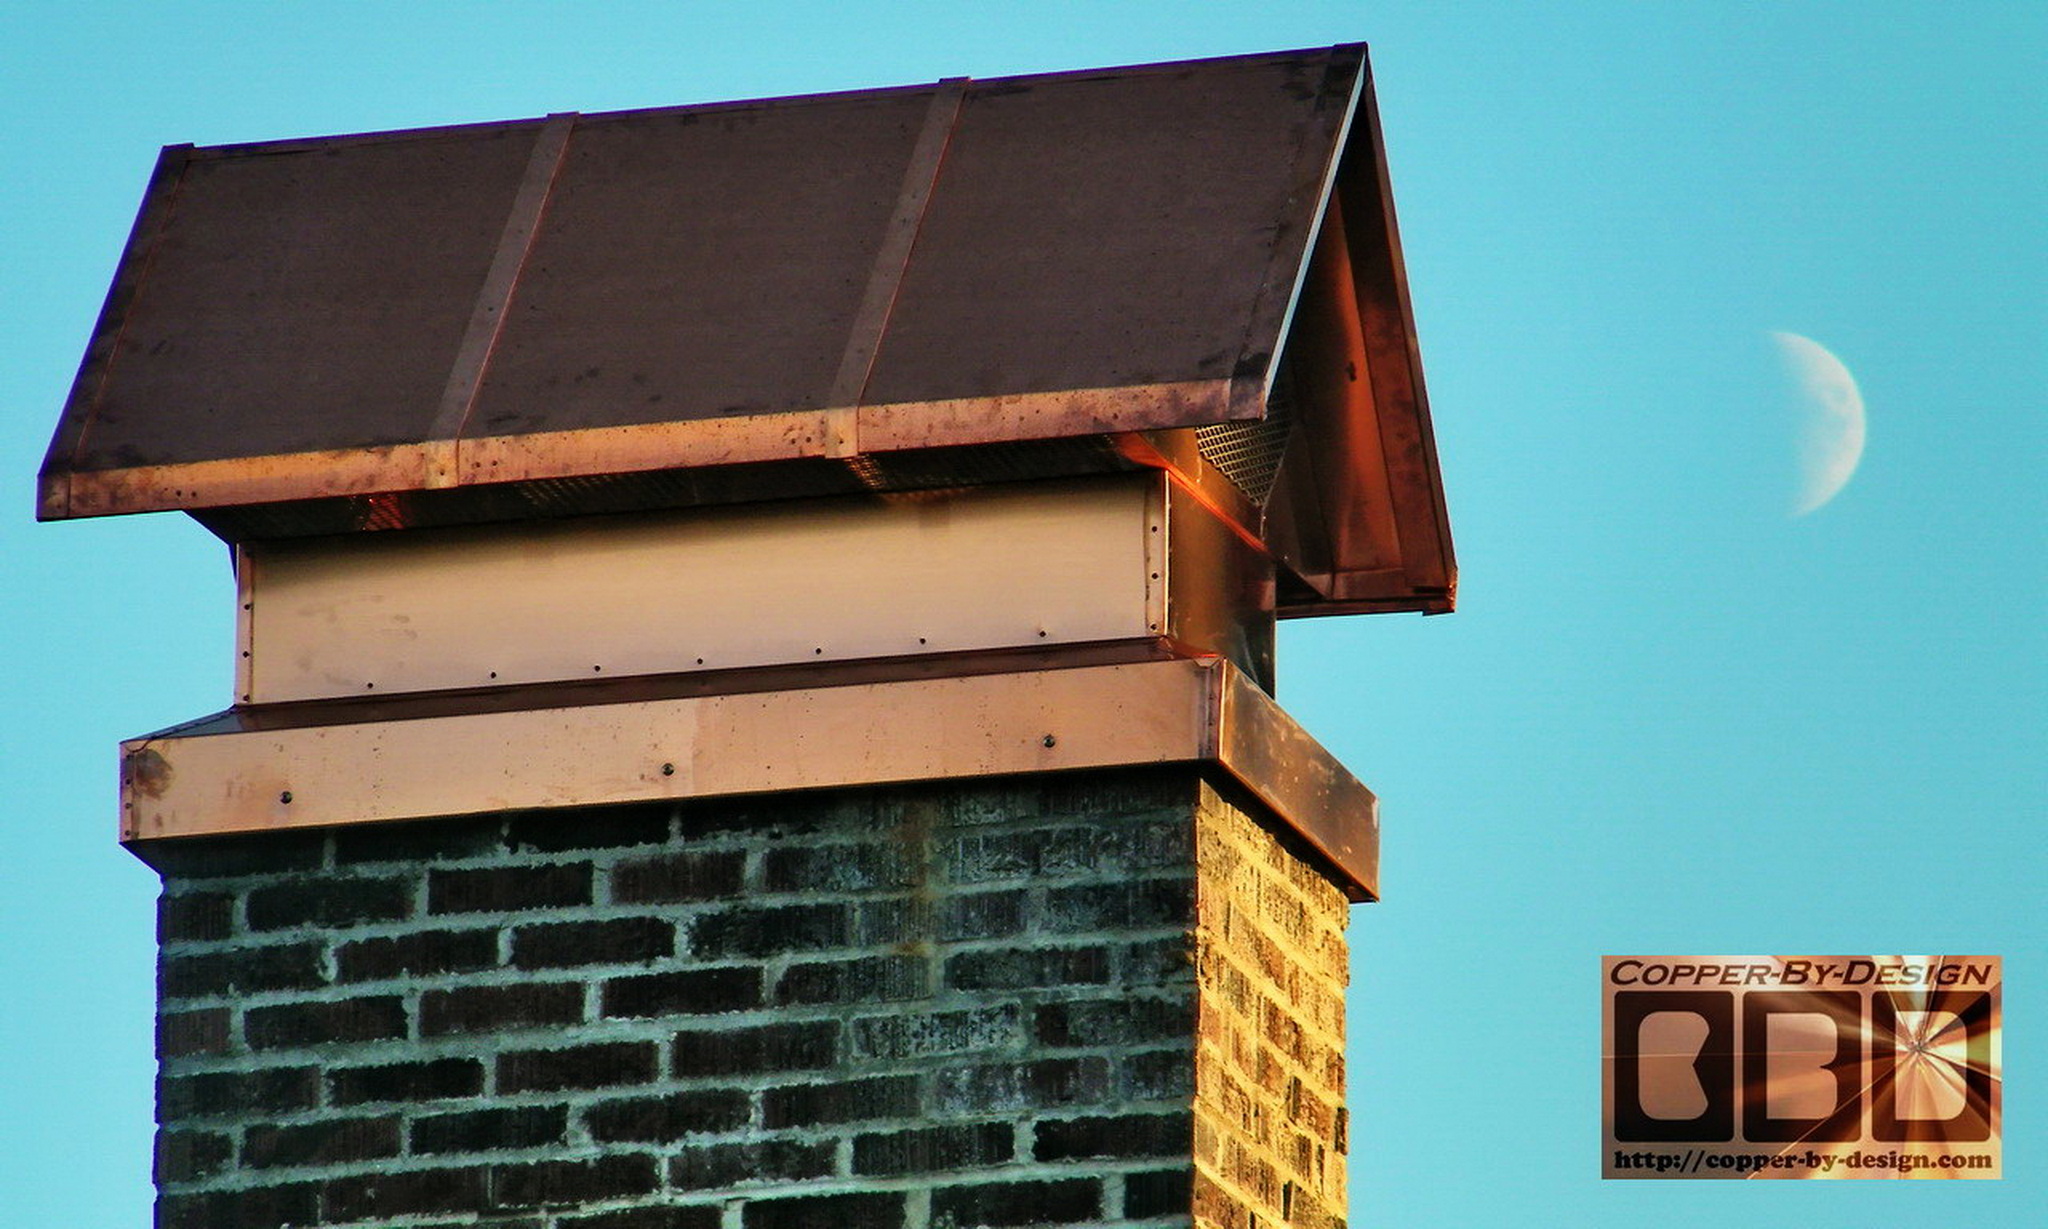
The client approved this design and has been pleased with the
results seeing it in person here in my shop close up. We
discussed aesthetic options like adding strips of metal over the
roof to make it look more like a standing seam construction. After
some discussion and sharing photos from another resent project
they decided that adding 4 flat bands 1.5" wide over
the roof would be best, so it was not just a large flat sheet.
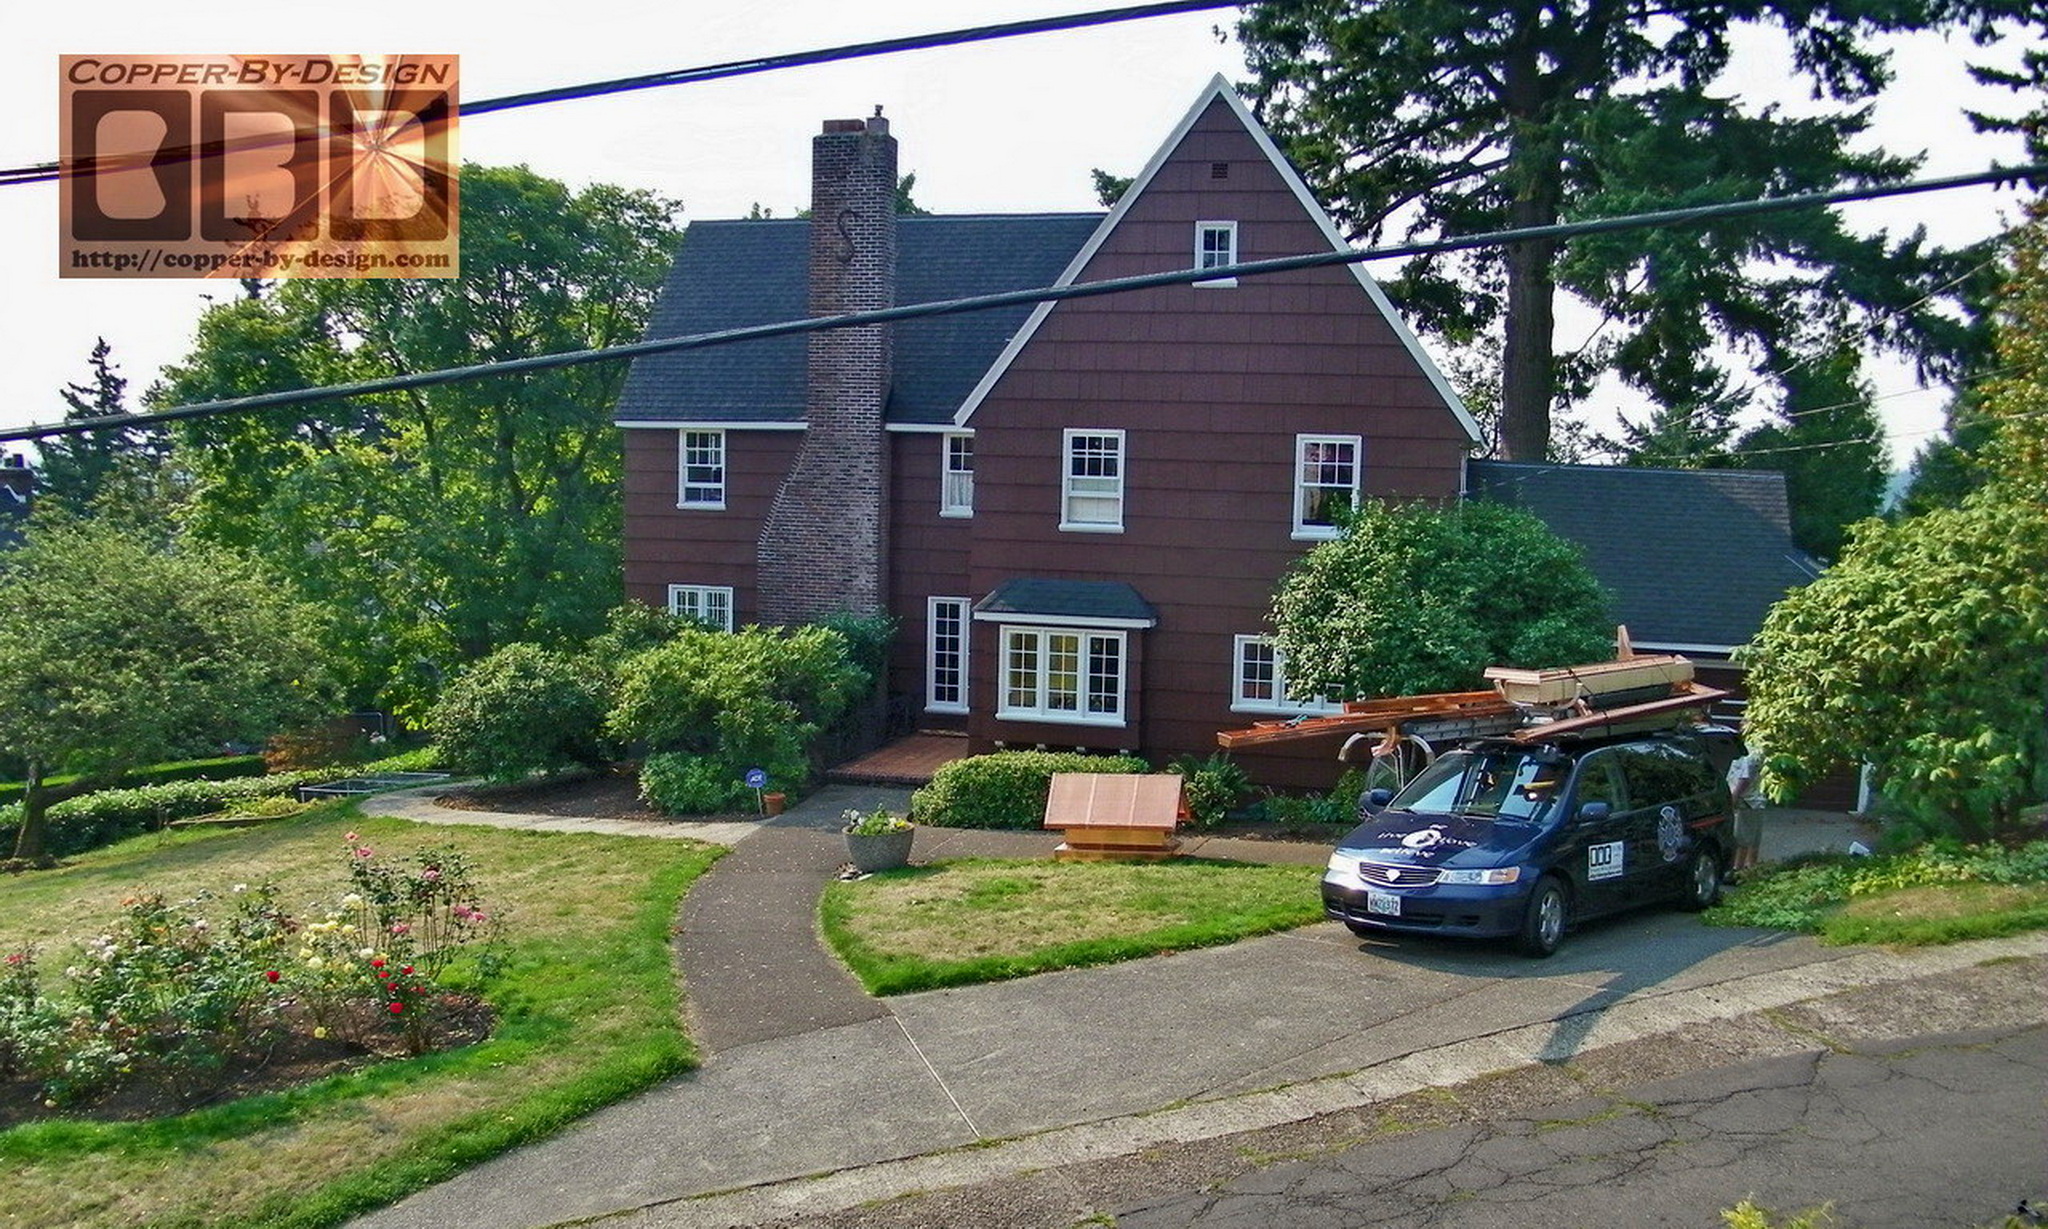
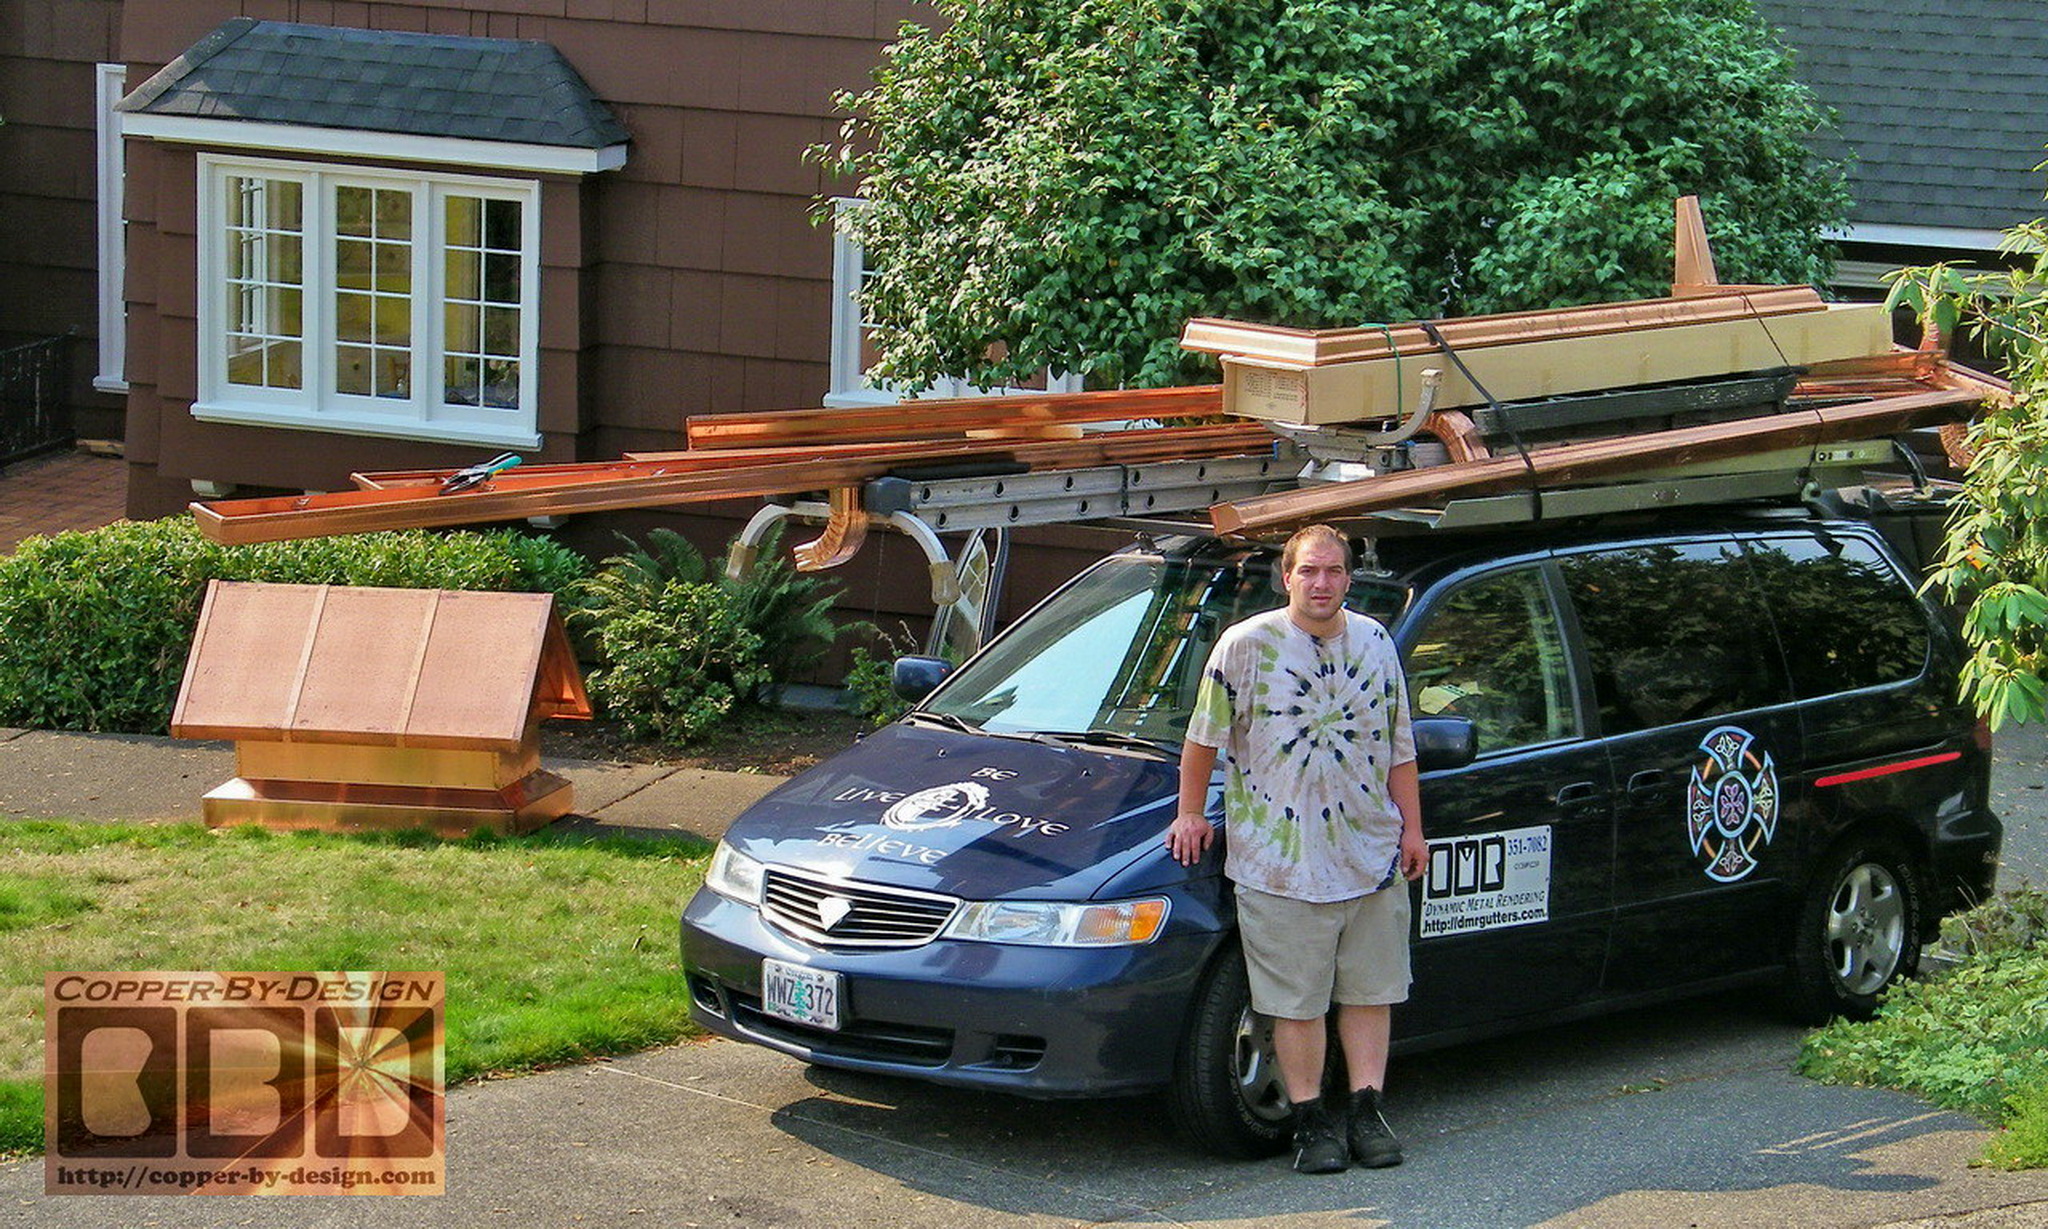
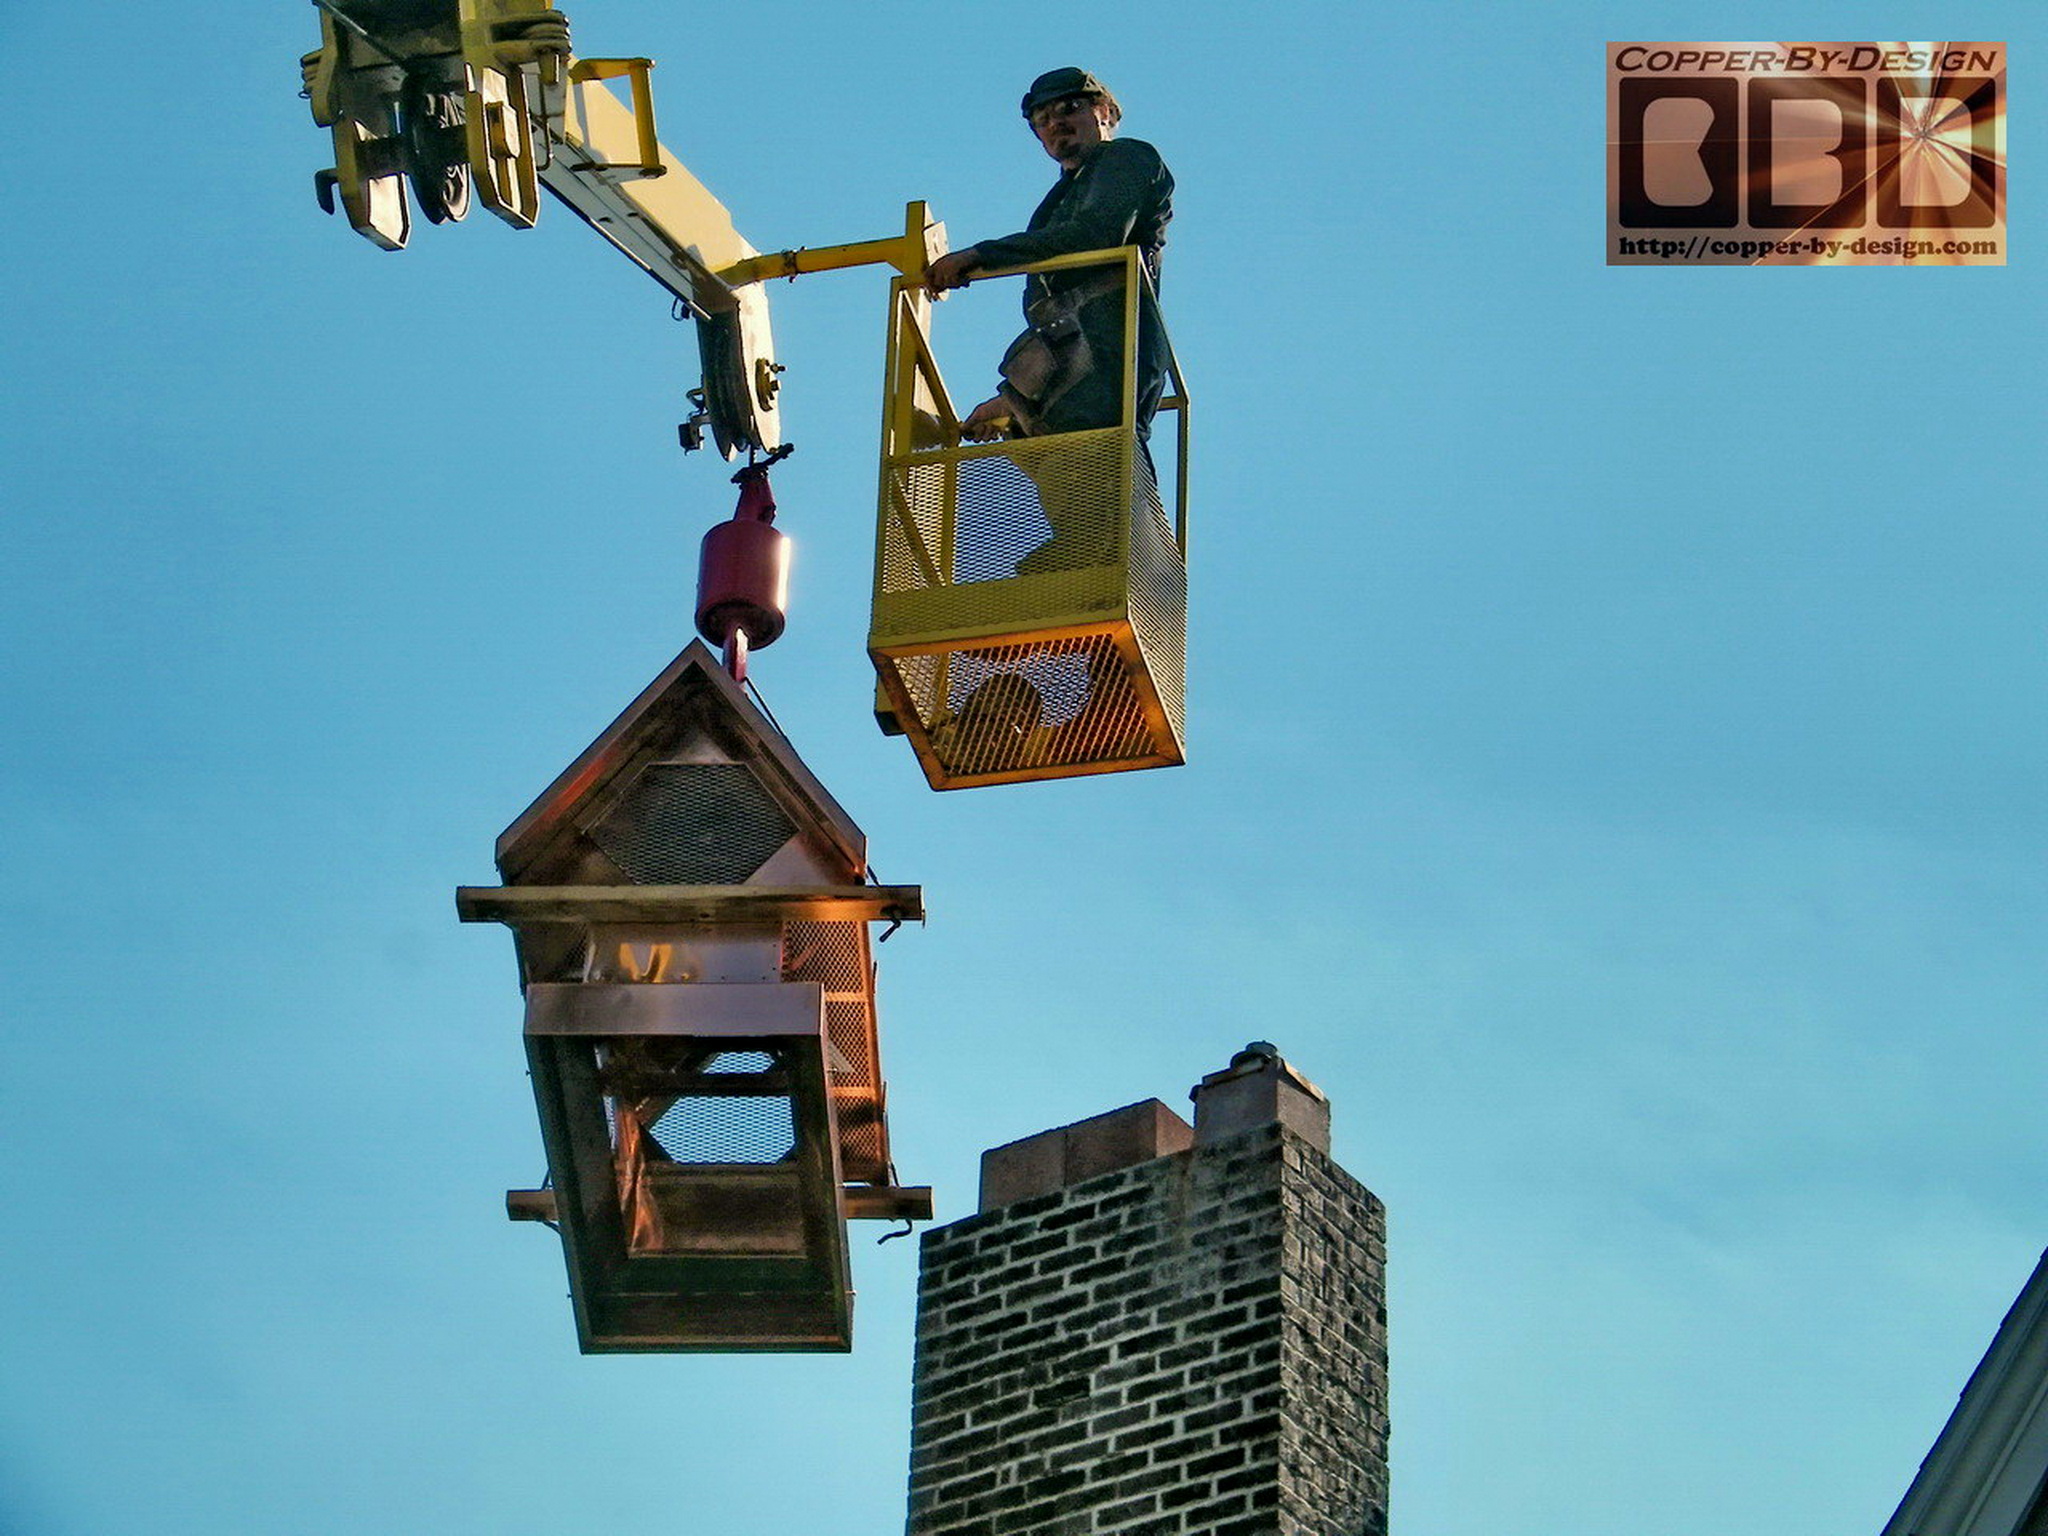
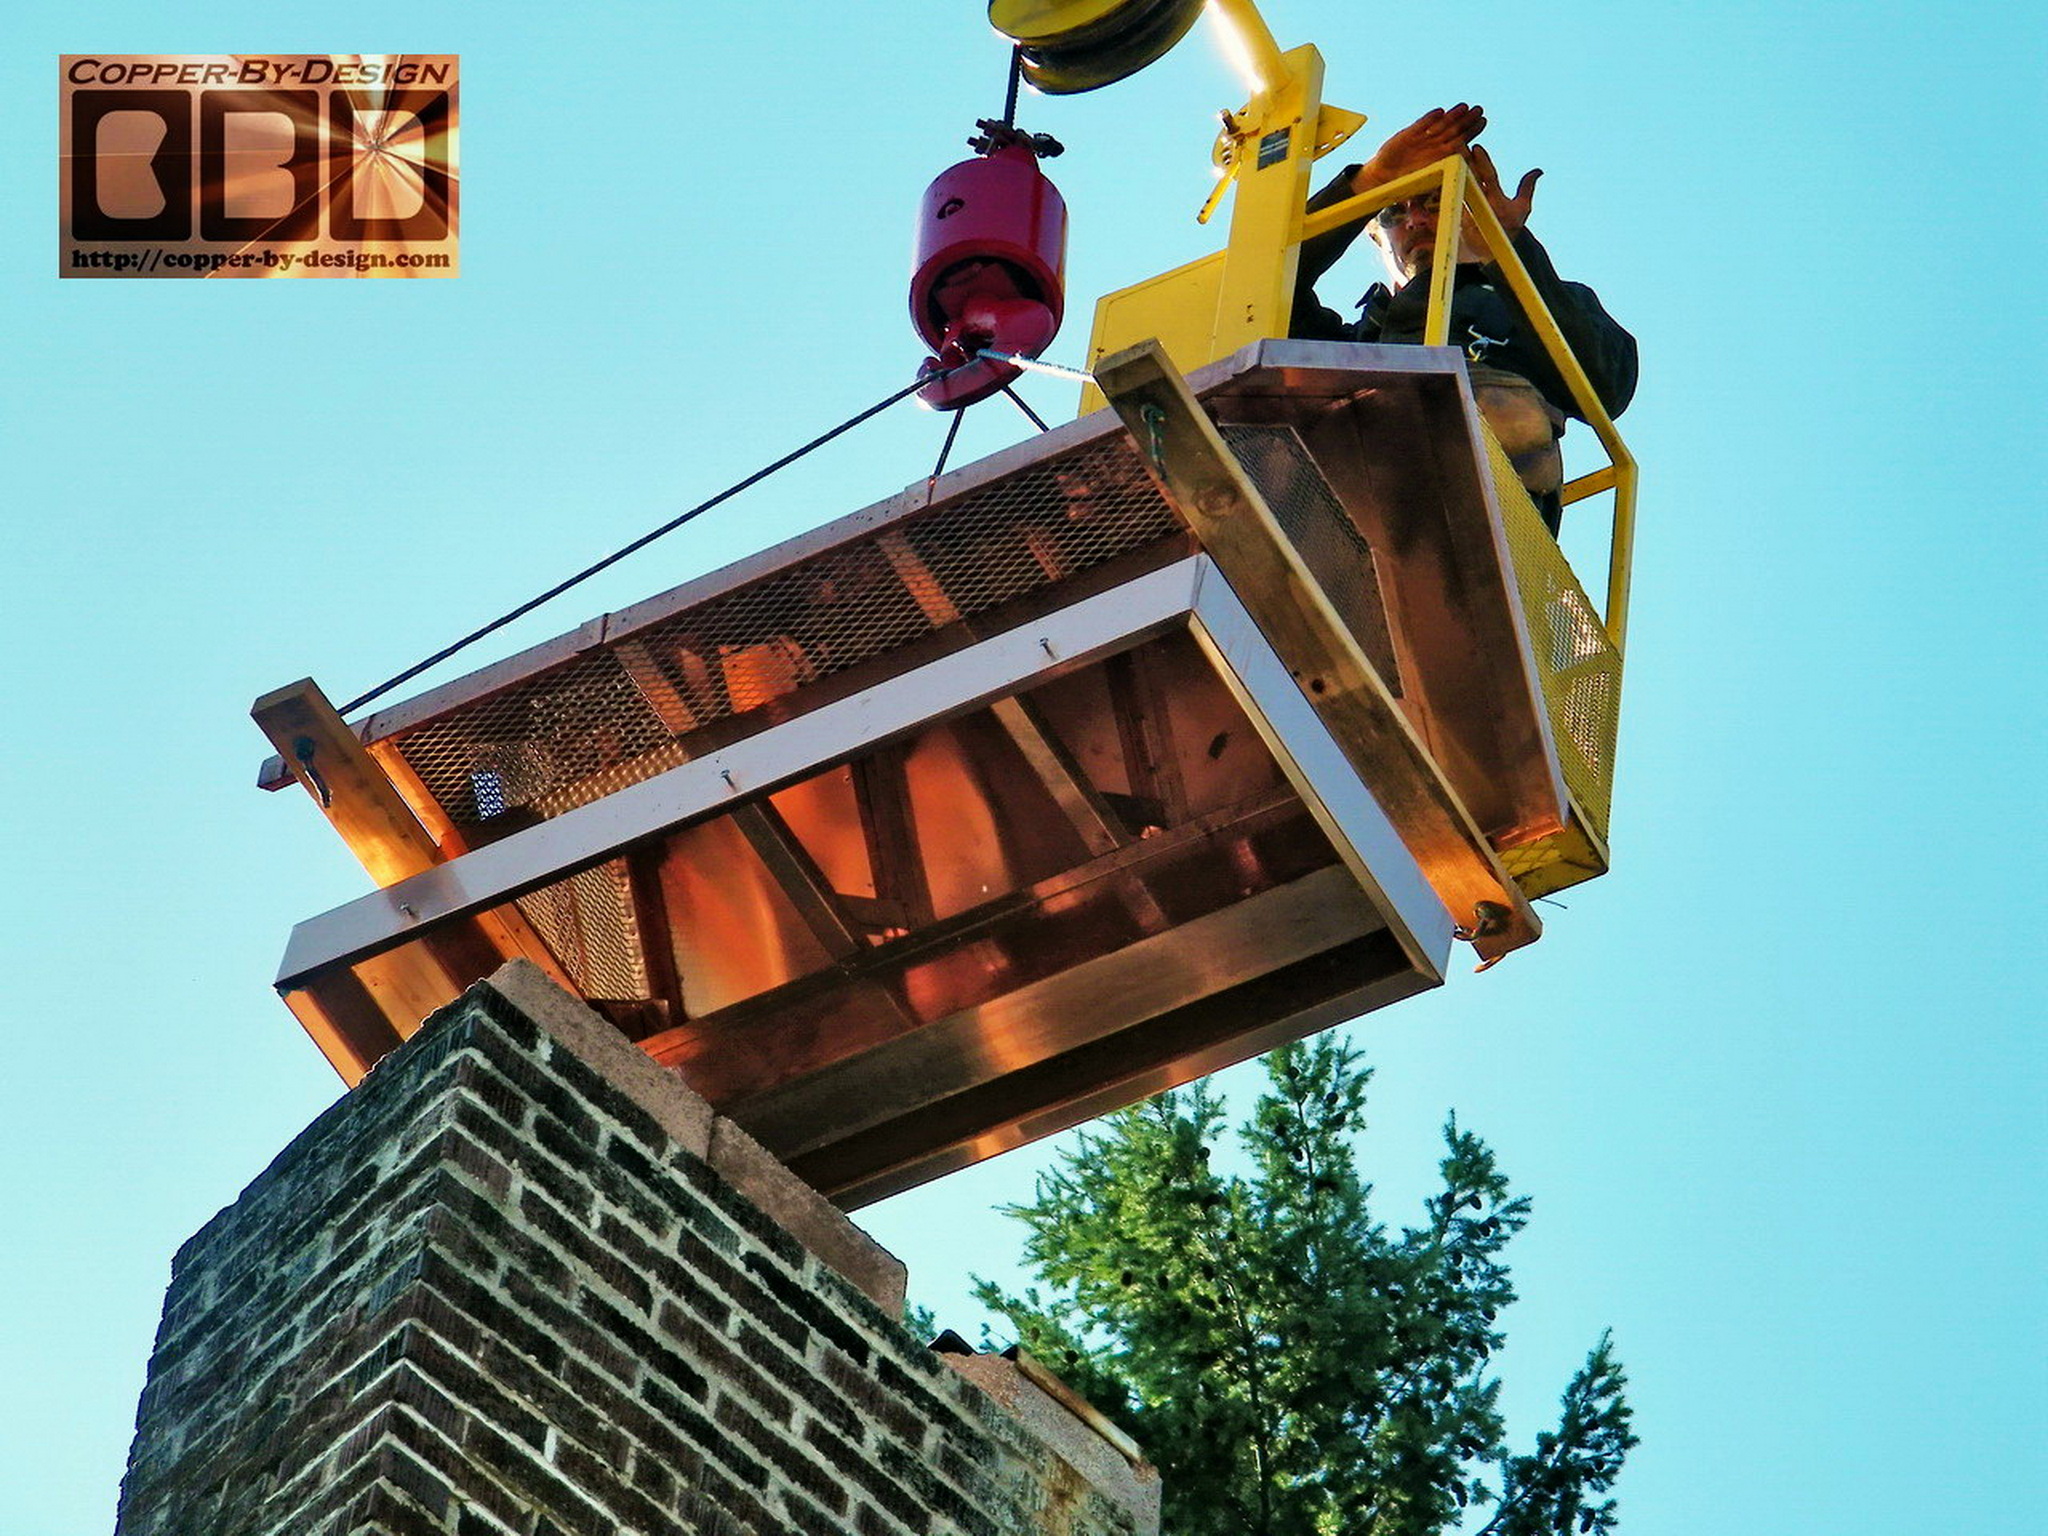
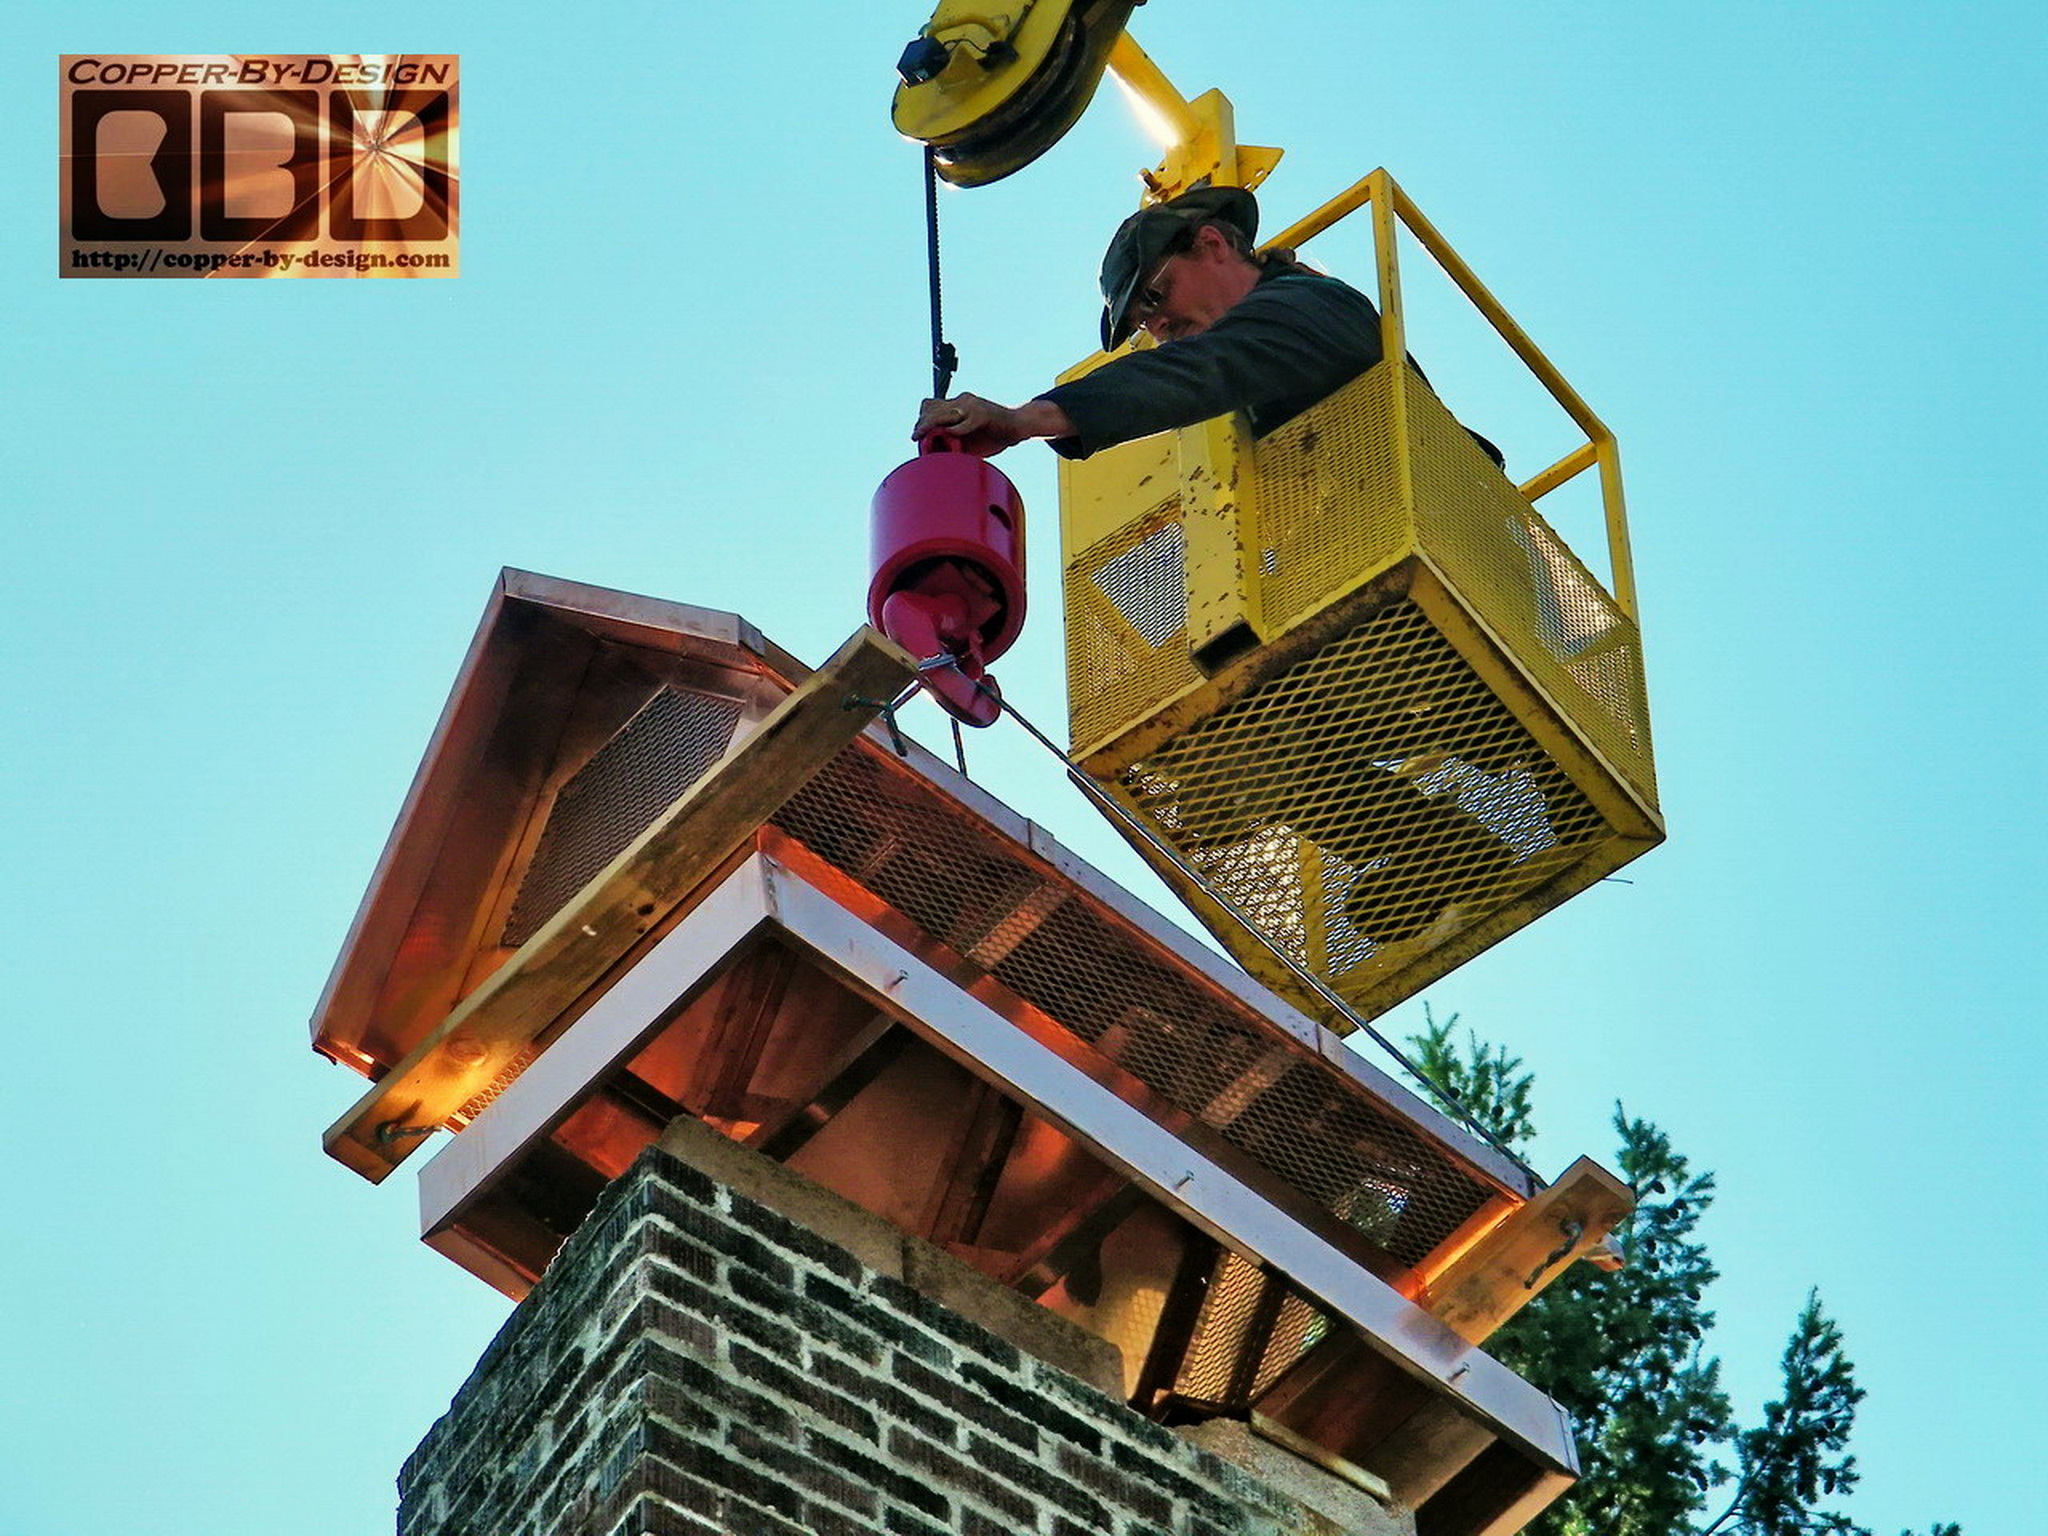
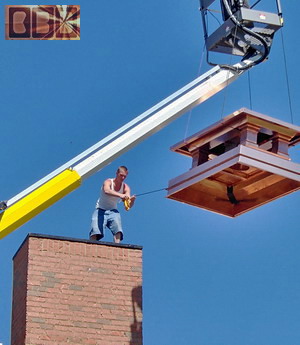
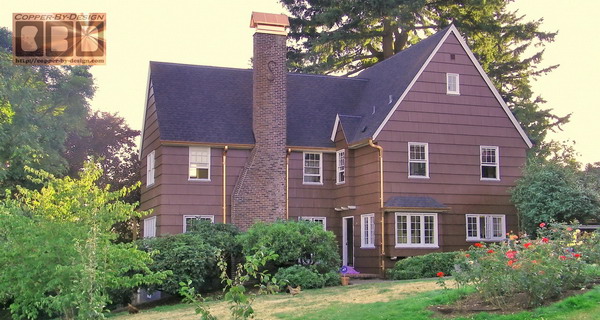
Below is the final product installed along
with the copper gutters. After this they had me make a gable end
mount just to the right of this chimney cap to support a medium
size Roster styled weathervane I got for them.
|