|
There are extra stainless steel screws, alignment nails, and a new
#3 Phillips tip to fasten the new cap to the roof included in a small
zip-lock bag.
1.
Safety & Preparation:
Even if the roof is not steep accessing any roof is dangerous.
A high-lift boom may help get the cap safely up there, but they are
expensive to rent and may not help to actually position the cap and
fasten it to the roof if you are not able to reach out over the
basket. If the roof is less than a 10/12 pitch one thing that
will greatly help you (or the installer) up there is to have some
foam cushion pads to place on the roof. Just like couch cushions w/o
the cloth cover, or camping pads. Just raw foam cushion. In this
case thicker is not better. Just 2" to 3" thick is plenty. It will
also help keep the roofing shingles from getting scuffed up.
You'll be amazed how it helps your footing up there.
If the roof is
steeper than a 10/12 pitch or a 45 degree angle the installer will
need to remain on the ladder at all times, since there is no place
to tie off above where they will be working. A large diameter rope
slung around the roof connected to a safety harness may help for
safety in case of a misstep, but should not be relied on for support
and can damage the shingles. A ladder stabilizer 'U' shaped brace
w/rubber pads on the ends should be attached to the top of the
ladder and you will need to work on the ladder. They are only about
$25 at your local hardware store. You should get one even if you are
not doing the installation to make sure the installer uses it. Then
have return it to you when done, or sell it to them and get another
one.
2.
Sealing out Insects:
If you are not installing the wood support Blocks for a hidden roof
vent just before installation you may want to add some foam weather
stripping near the bottom edge of the cap to seal out insects from
nesting inside the cap. You should not use any caulk, as this will
make it very difficult to remove the roof cap w/o
damage decades later when the roofing has to be replaced. That's why
I provide you with the sealing stainless steel screws that have a rubber
washer under the screw head to seal it to the copper metal. Roofing
is all about hiding the fastener from the elements as well as from
sight, but in this case that is simply not an option, so any exposed
fastener should be no less than stainless steel screws w/rubber
washers to hold steady pressure.
 3.
Test Fitting & Roof Preparation: 3.
Test Fitting & Roof Preparation:
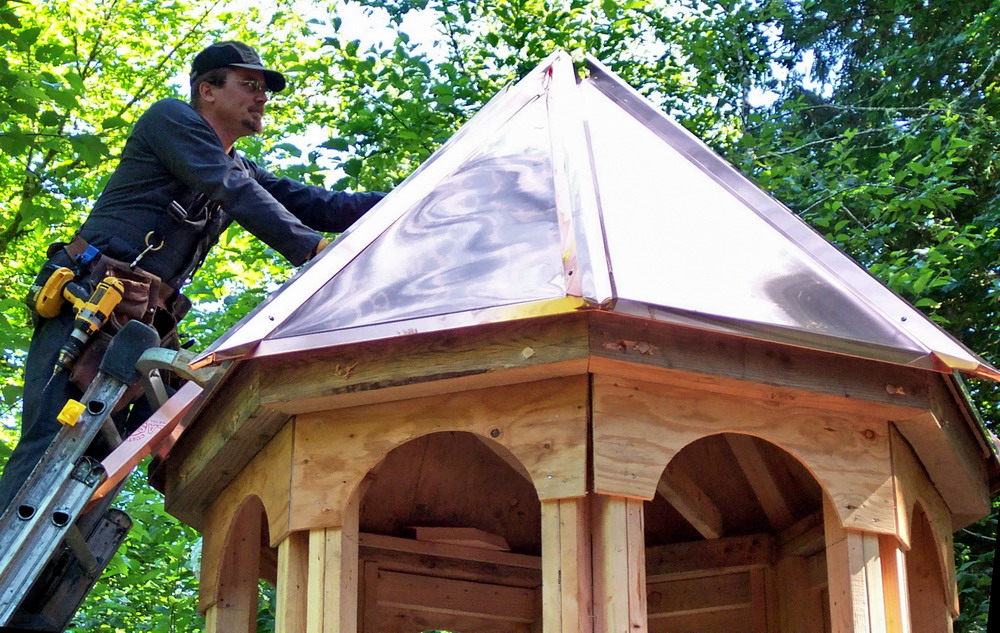
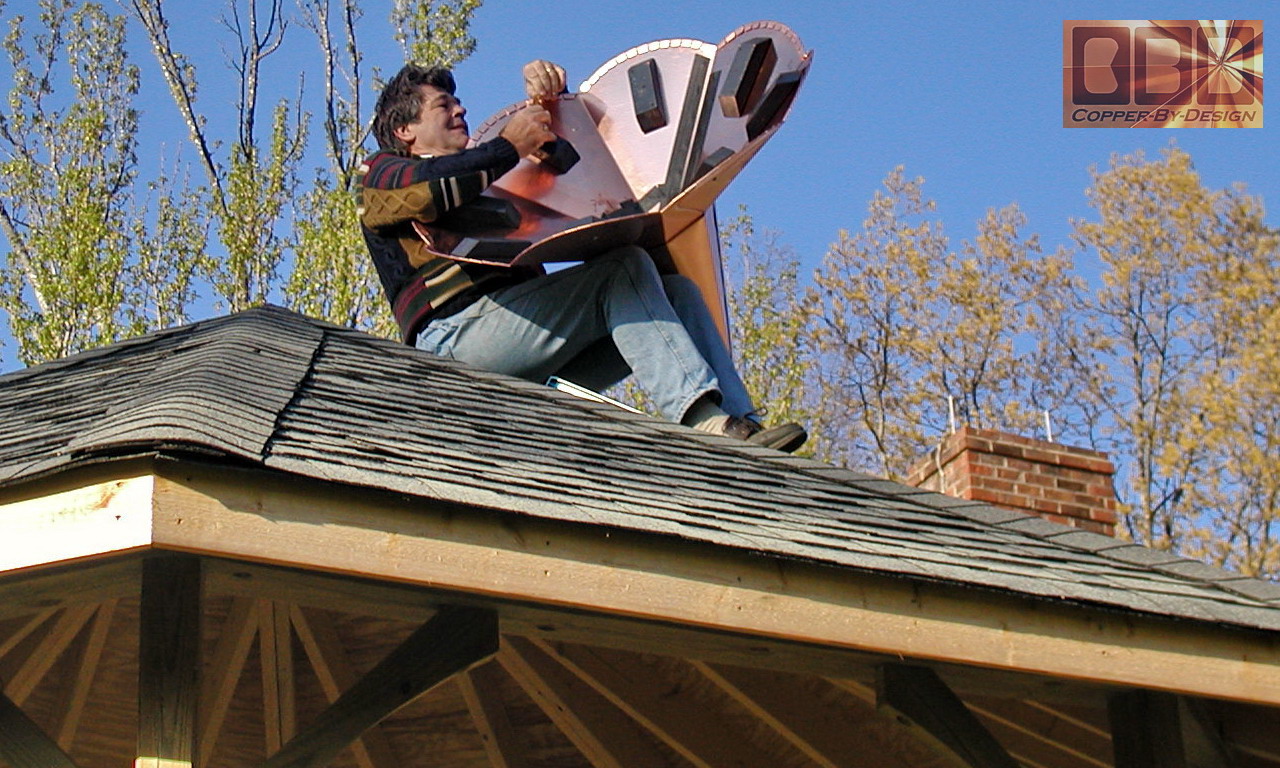
When you are able to access the roof peak safely, carefully raise the
cap up there to the peak and place it on the roof top with the seams
of the cap to the back side of the roof, where it will be less
noticeable. Test fit the cap to make sure it seems to go on
without a problem. Press the cap down firmly and look how it closes
on the shingles along the bottom edges. You may want to remove some
of the hip shingle under the cap so it fits down better. Some of the hip
shingles will need to remain to cover the roof under the cap about
4" to 6", so be careful not to take off too many hip
shingles.
Wood Shake roofs:
If you have
a wood shake roof they are so thick, especially for the hips of the roof that it is best to attach a wood block to the roof over the shakes between the hips in order to use that to attach the roof cap onto. That way it will not sink in as you tighten down
the screws and tweak the copper. I cannot tell you just how thick that block will need to be. You will need to test fit the cap and then see what thickness you will need to span the gap. Even after you do this you may find it still was not the right thickness and have to start over with a new set of block that are thicker or perhaps thinner.
4.
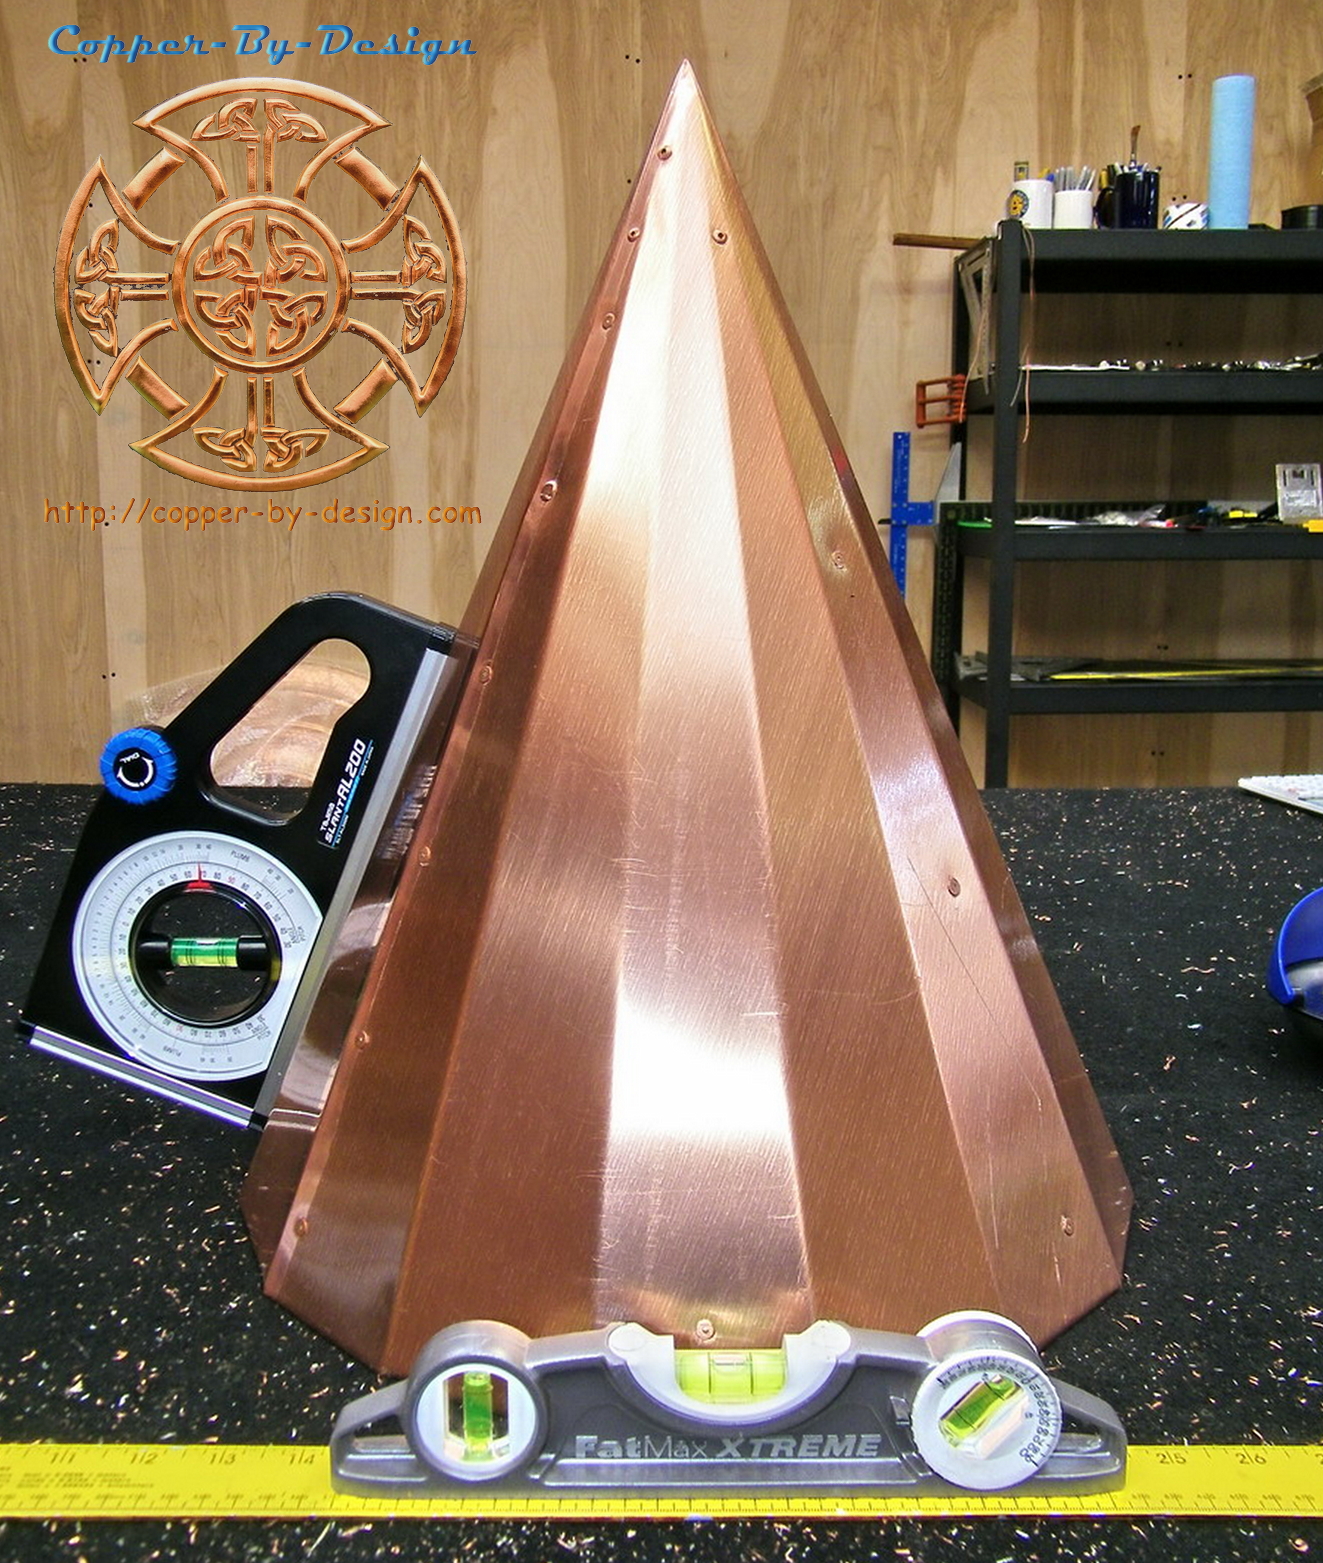
Leveling:
If there is no finial/weathervane support pipe built into this cap you can use a special dial level device to compare the opposing sides
to make sure it is straight, or at least have someone with a good eye
for this down there on the ground to direct the placement.
5.
Installation:
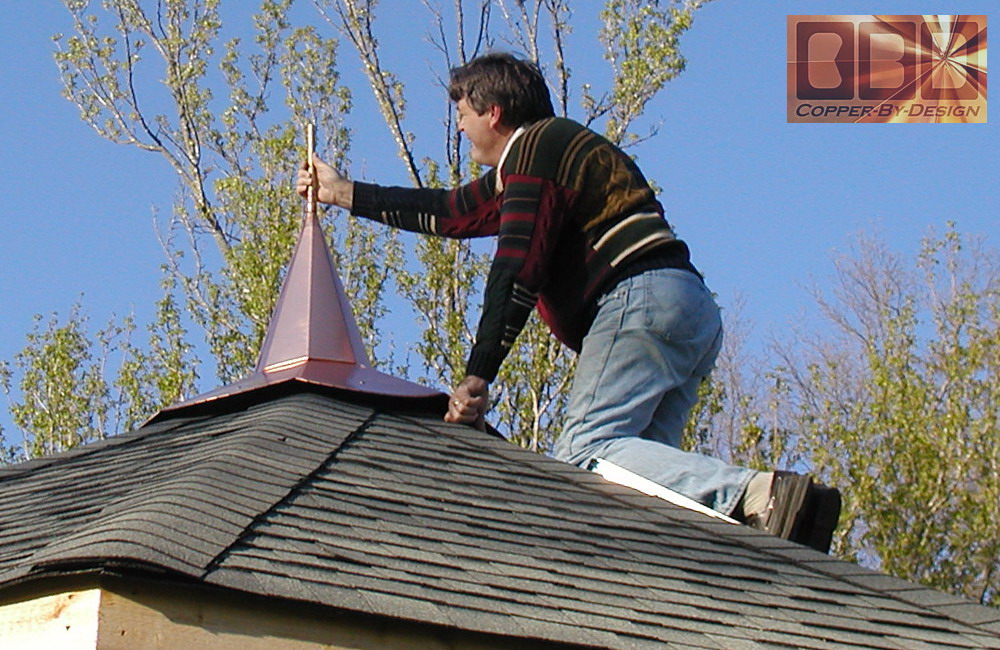
If your cap has a finial or weathervane support pipe in it leave the
pipe cap over the pipe to keep it clean and dry. You will
need to set the cap level with the straight 3/4" shaft inserted in the
pipe and check that for vertical level on at least 2 different sides
90 degrees apart. The shaft may fit too loosely to get a good reading,
so you can add a band of electrical tape on the bottom of the shaft.
Just enough to have it not move much side to side, but still slide down
into the pipe freely. Another band of tape on the shaft near the top
of the pipe, so you can get a good reading with the level.
6.
Pre-drilling the Screw Holes:
When you feel that you have the cap set in place continue holding firm pressure
down on the top as you pre-drill your first holes with an 5/32" drill bit
and insert one of the nails (provided) in that hole to hold the
alignment of that hole. The nail should slide in and out easily with
your fingers. Pre-drilling the holes
will also allow the stainless steel screws go in easier and less likely
move or to
strip out the screw head slot. The
cap may shift, messing up your alignment during this process, so
recheck the level between drilling holes and setting the alignment
nails. You may want to have an ice pick type tool
handy to re-find the hole if the cap does shift during this process.
7.
Securing Your New Copper Cap:
Use the wide dome head #3 Phillips stainless steel screws provided
with the new #3 tip
also provided. These
stainless steel screws will not stick to a magnetized screw tip. You
will lose a lot of screws that way if you try to place the screw on
the drill tip and drive it in. Do one screw hole at a time. Remove
a nail and start the screw in the hole with your fingers before you
go to drive the screw in with your drill. Turn the head of the screw
clockwise looking straight down on it in order to get it started, and
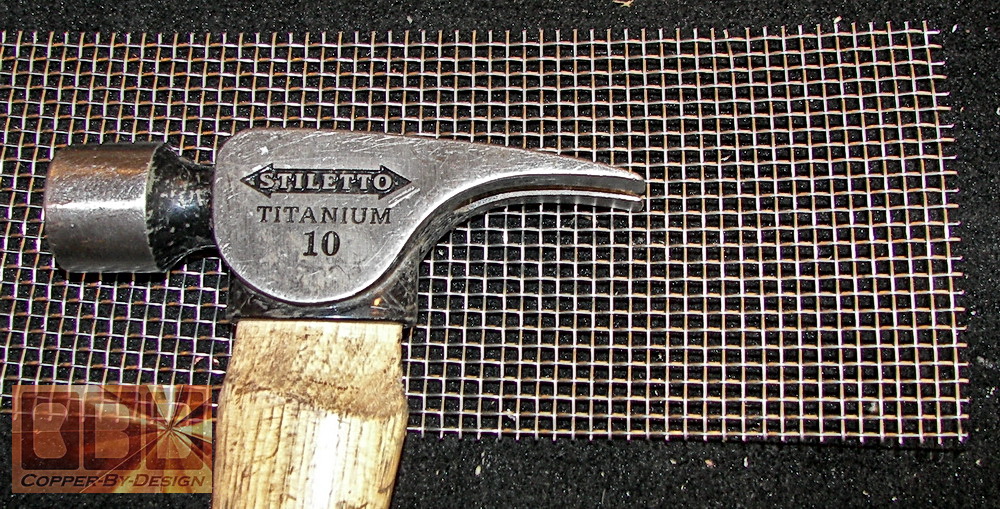
then use the drill to screw it into the roof, but not so tight it dimples the copper. With all these thick shaft screws there is no need to cinch it down tight, as these are more, larger, and stronger screws than what holds your front door hinges to the door frame. As I listed above we strongly advise that you set the screws using a special cordless impact driver.
8.
Installing a Weathervane:
The
weathervane will have a set of instruction for assembling it. When you are ready to place the weathervane in the support
pipe you will need a good compass up there to set the directionals,
like you have on your IPhone.
Set the shaft in the pipe and mark the shaft at the top of the
pipe. Lift it up an inch or so and slide the copper shims beside the
shaft and ease it back down until it seems tight. Tap in the copper shims
down further with a small flat blade screw driver to lock
the shaft in and keep the directionals from rotating in the wind.
It's OK if the shaft can still turn with some pressure applied. It
just needs to not rotate freely. You can add a band of electrical
tape around the top of the pipe and over the shaft to help seal out
the rain water. Freezing water inside the pipe could possibly expand
and burst the pipe, but so far I have not heard of this happening.
Caulk could be used, but would make this difficult to ever swap it
out for a finial or a different weathervane you may find that you
like better.
Installing a Finial:
For a finial just slide it over the solid brass mast rod and the
coupling will seal to the top of the pipe w/o the need for any sealer. You will want
to be able to remove it easily if it were to get damage or you find
a decoration you like better some day.
9.
Clean up:
Then of course get yourself
and tools safely to the ground and admire your work. It should be
trouble free until the roofing shingles need replaced. It should not
even need to be cleaned. The copper should actually help reduce
mildew and moss growth on the roofing below.
10.
Acknowledgement:
Please send us photos
of the installation, so I know it went OK and you are safe. Also, we can display
those photos on our web site, so others
can have a better idea of how is would look on their roof before deciding
what cap details to order from us, such as what you had benefitted
from. We would also like to hear your thoughts on how the
installation went, so we can better advise clients in the future.
That kind of feedback has helped us refine this set of instructions
over the years.
|