|
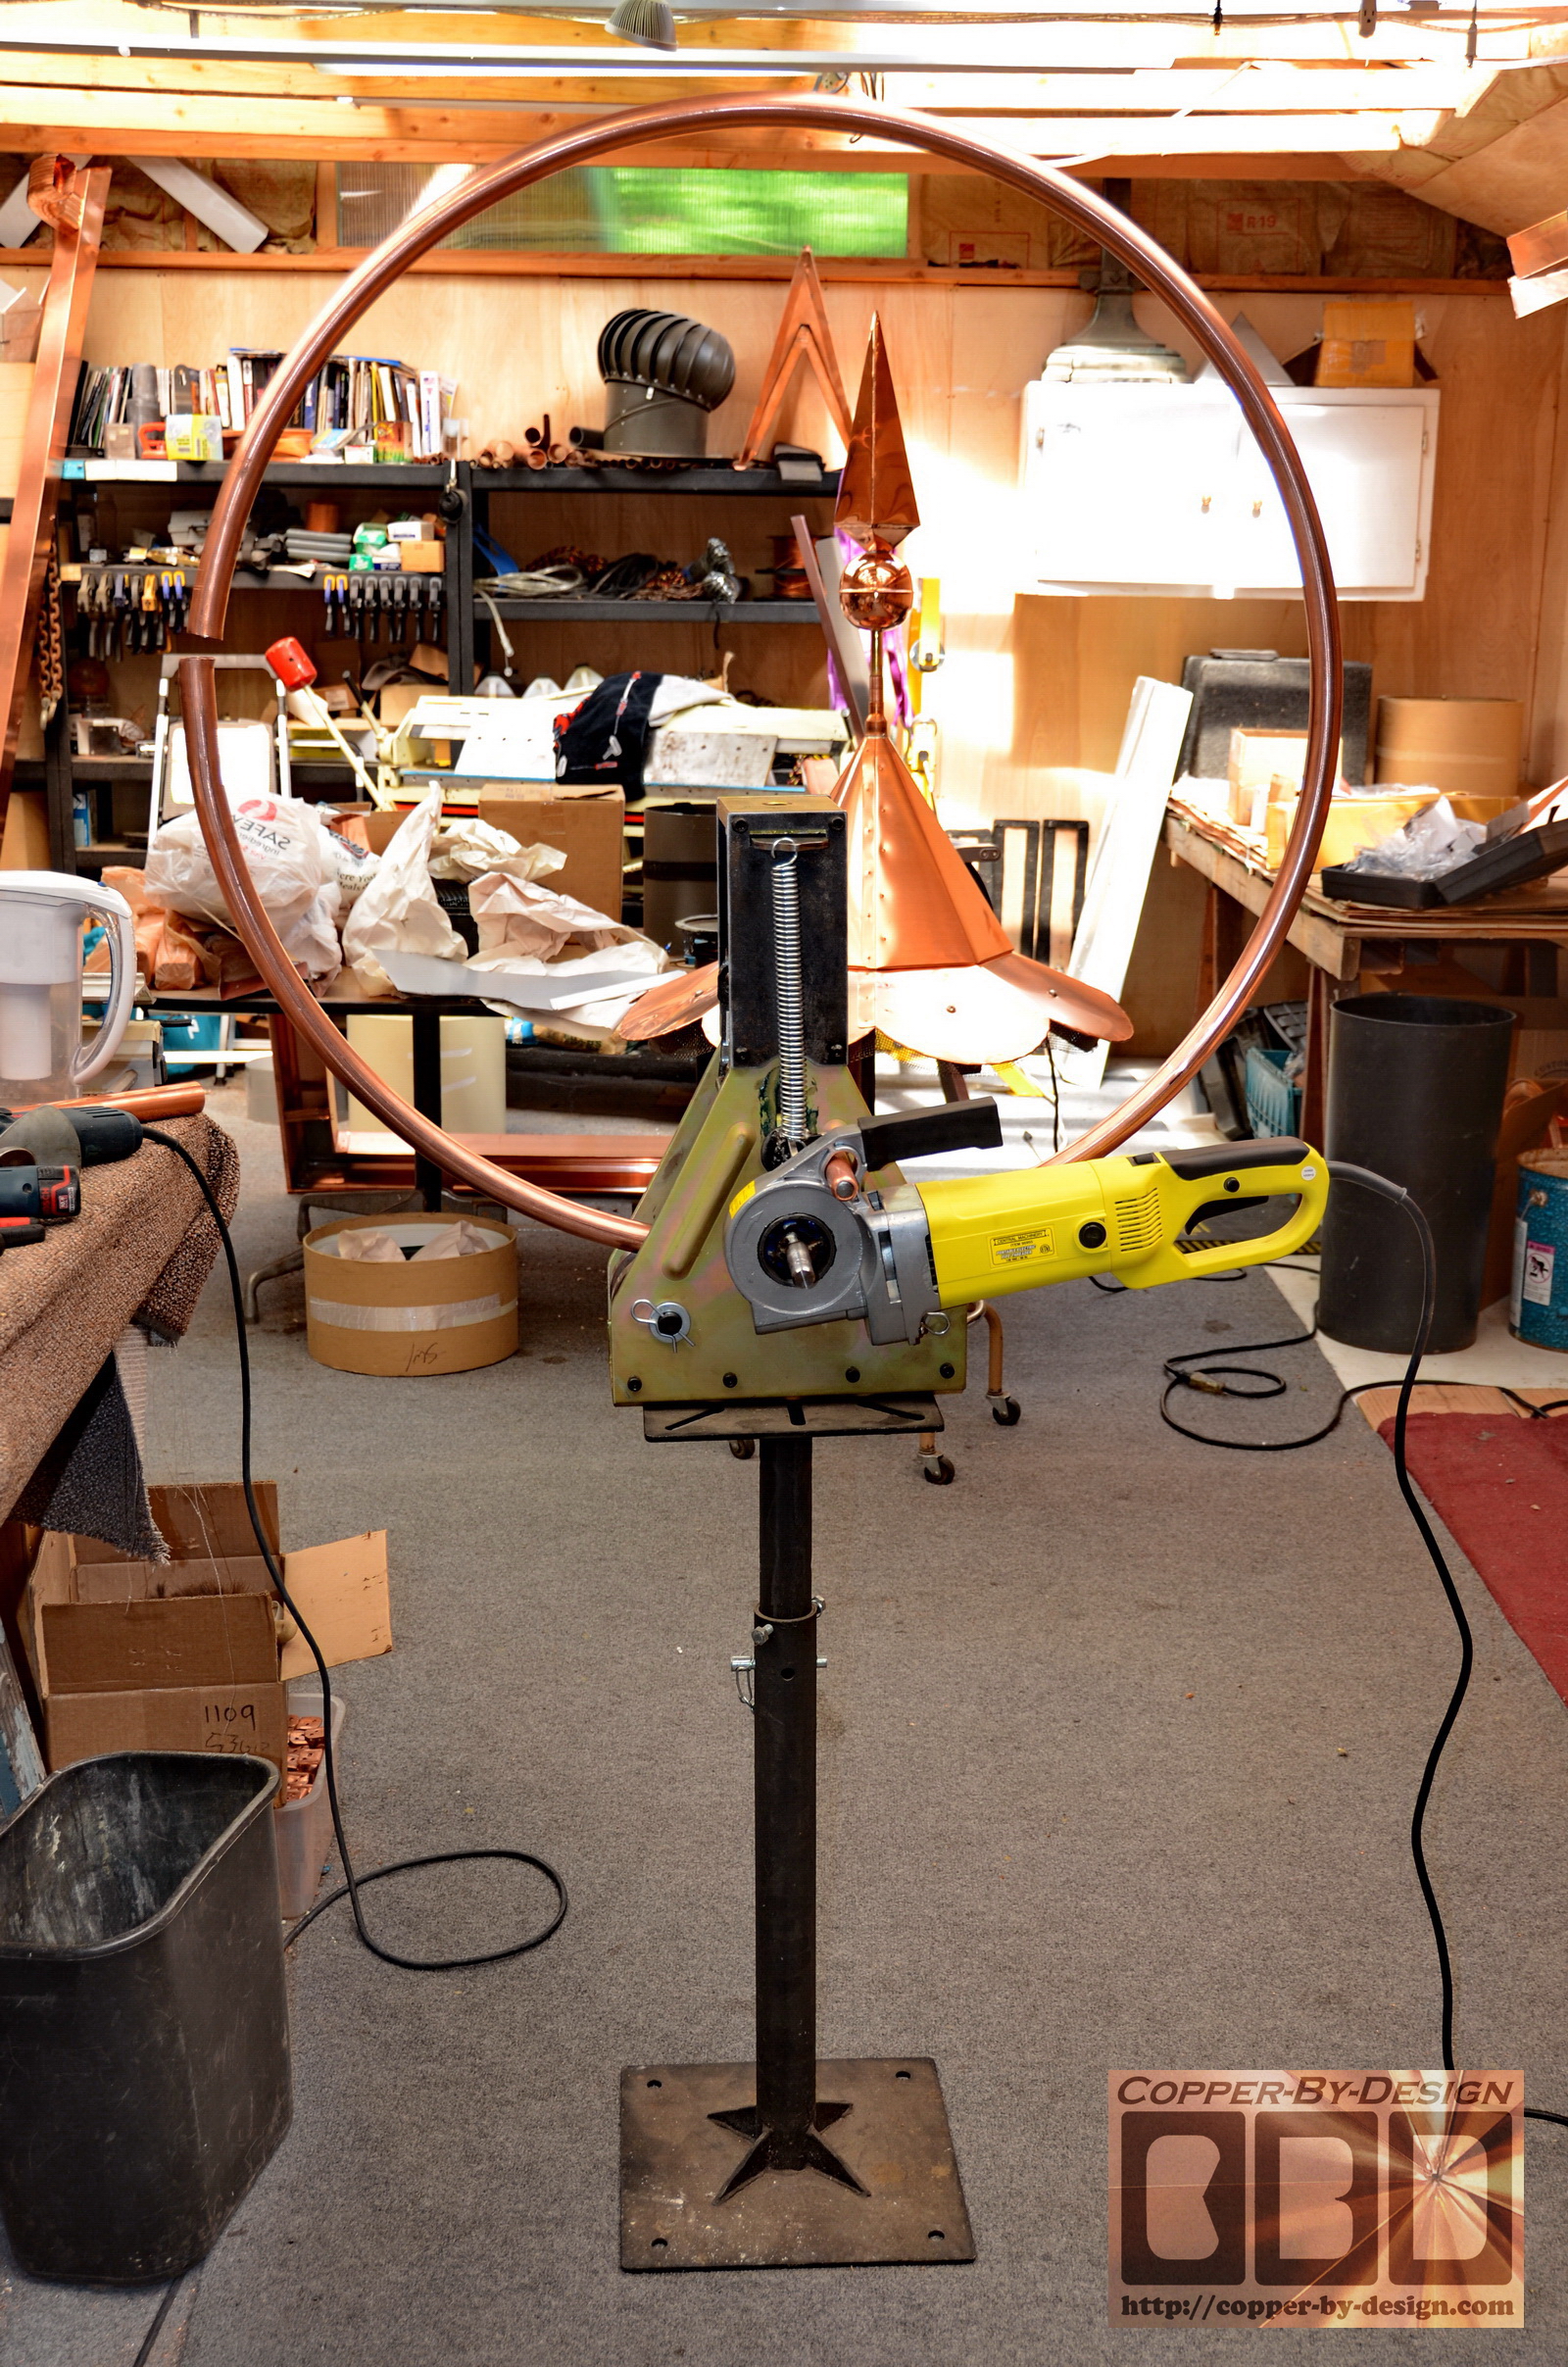
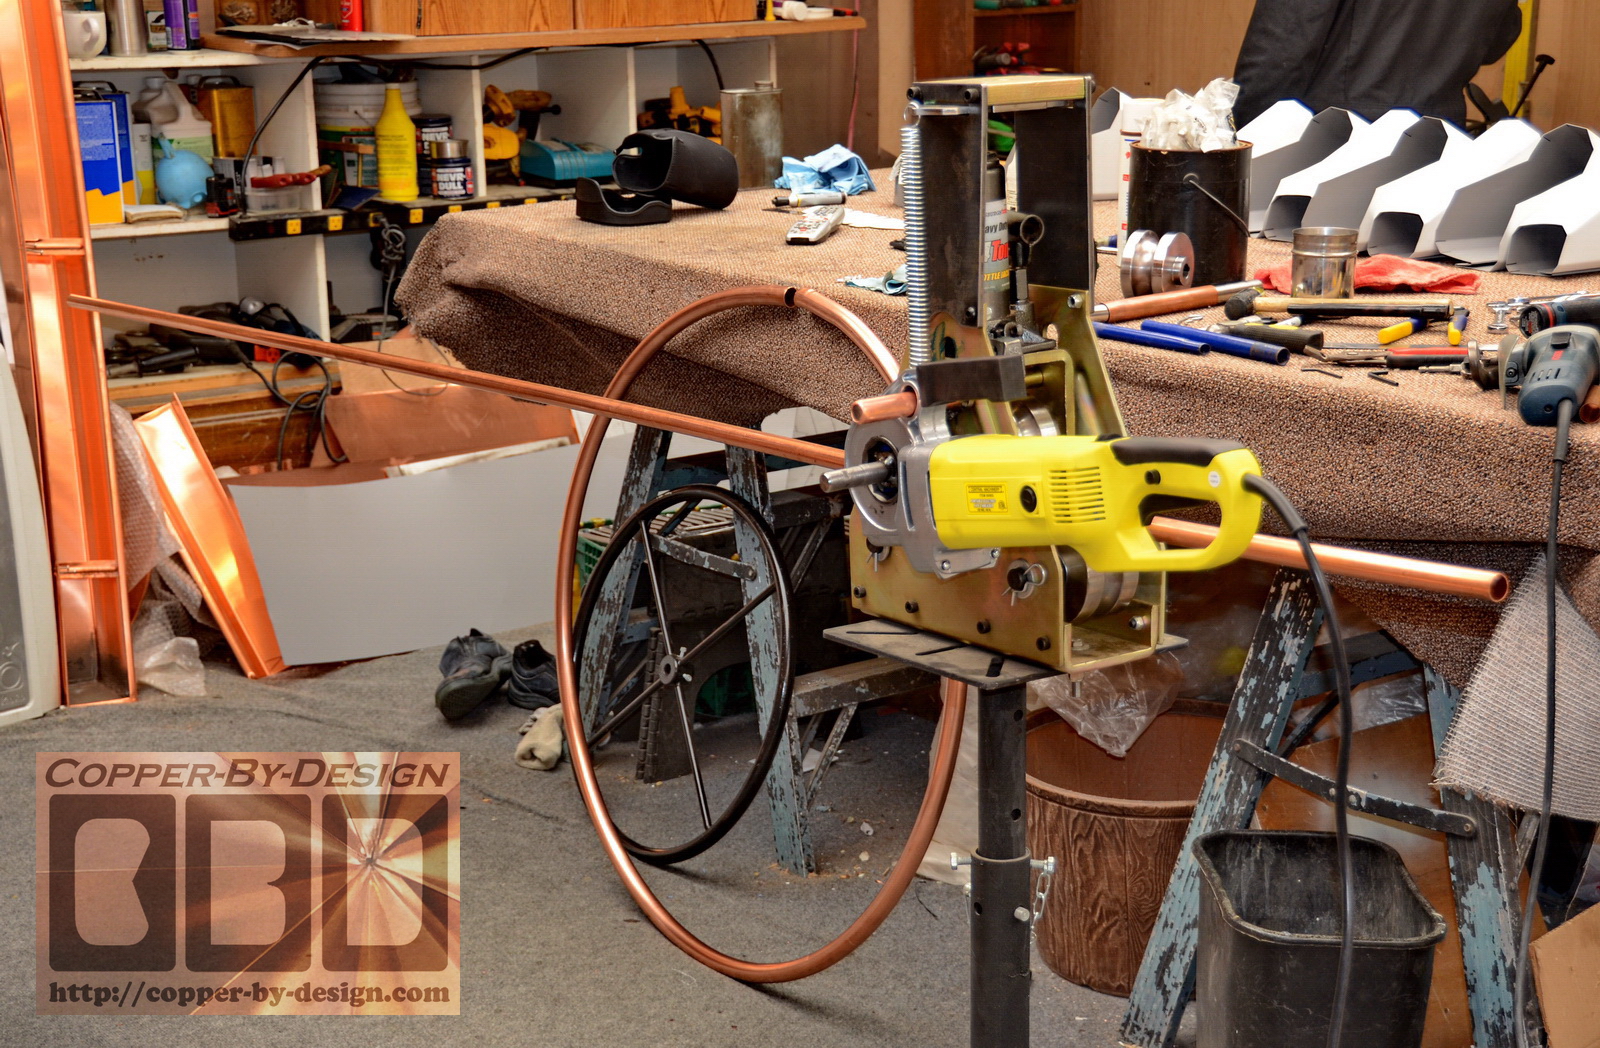
 I just spent $737.35 on new rollers and a
kit to motorize my pipe bender through Swag Off Road. Then spent
another $140 for the reversible drive motor and hydraulic ram,
but it took me several days to get this kit prepped and
installed. I just spent $737.35 on new rollers and a
kit to motorize my pipe bender through Swag Off Road. Then spent
another $140 for the reversible drive motor and hydraulic ram,
but it took me several days to get this kit prepped and
installed.
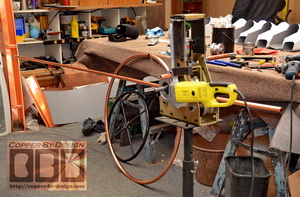
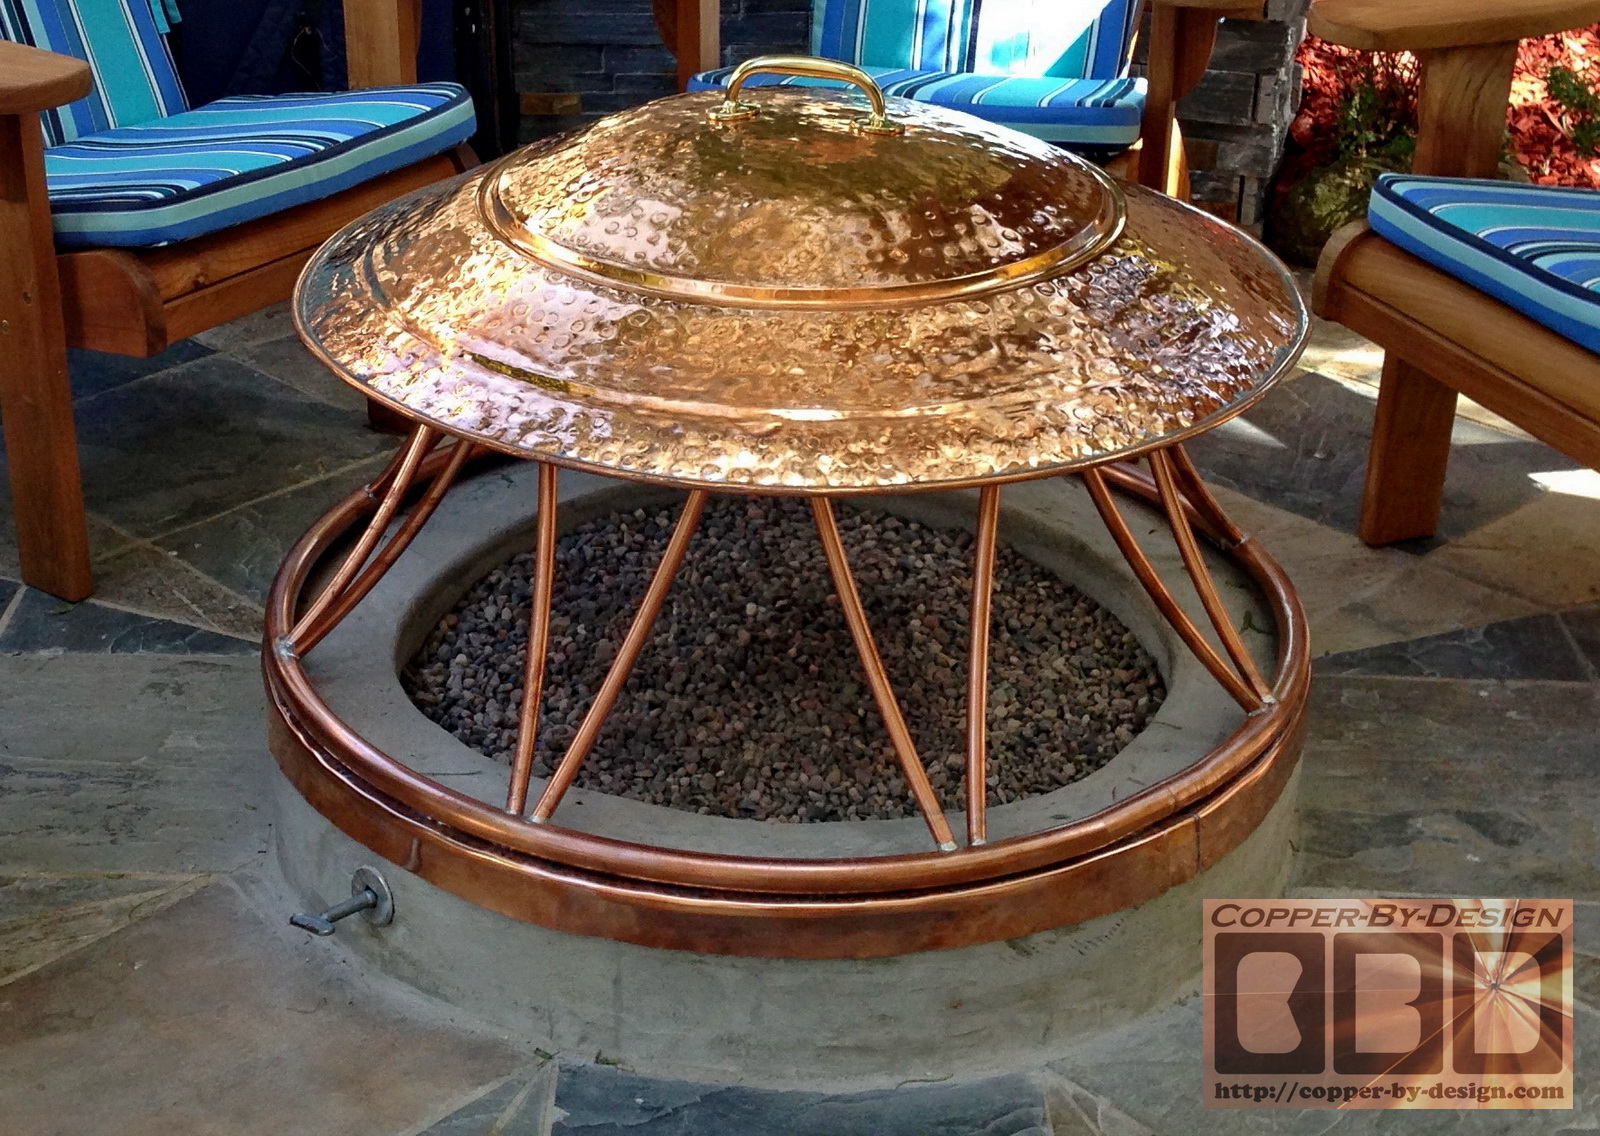
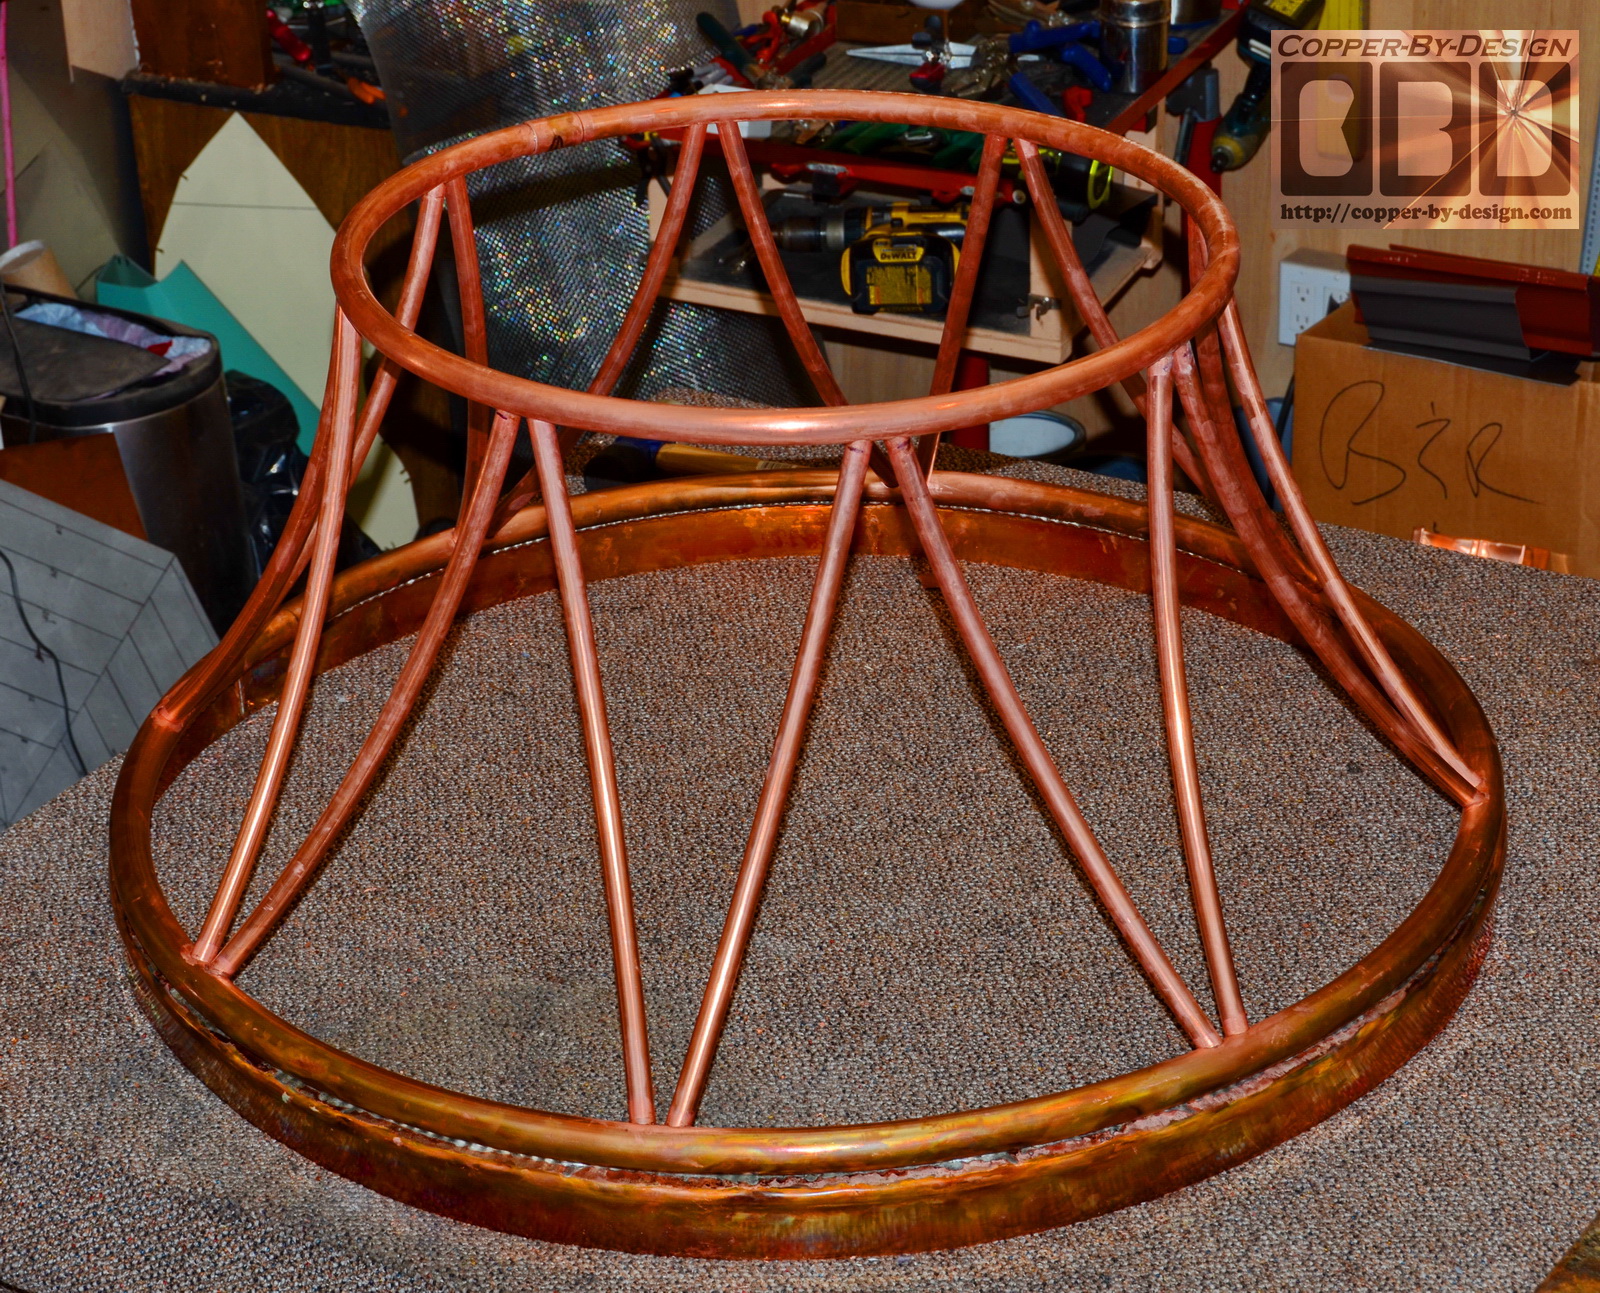
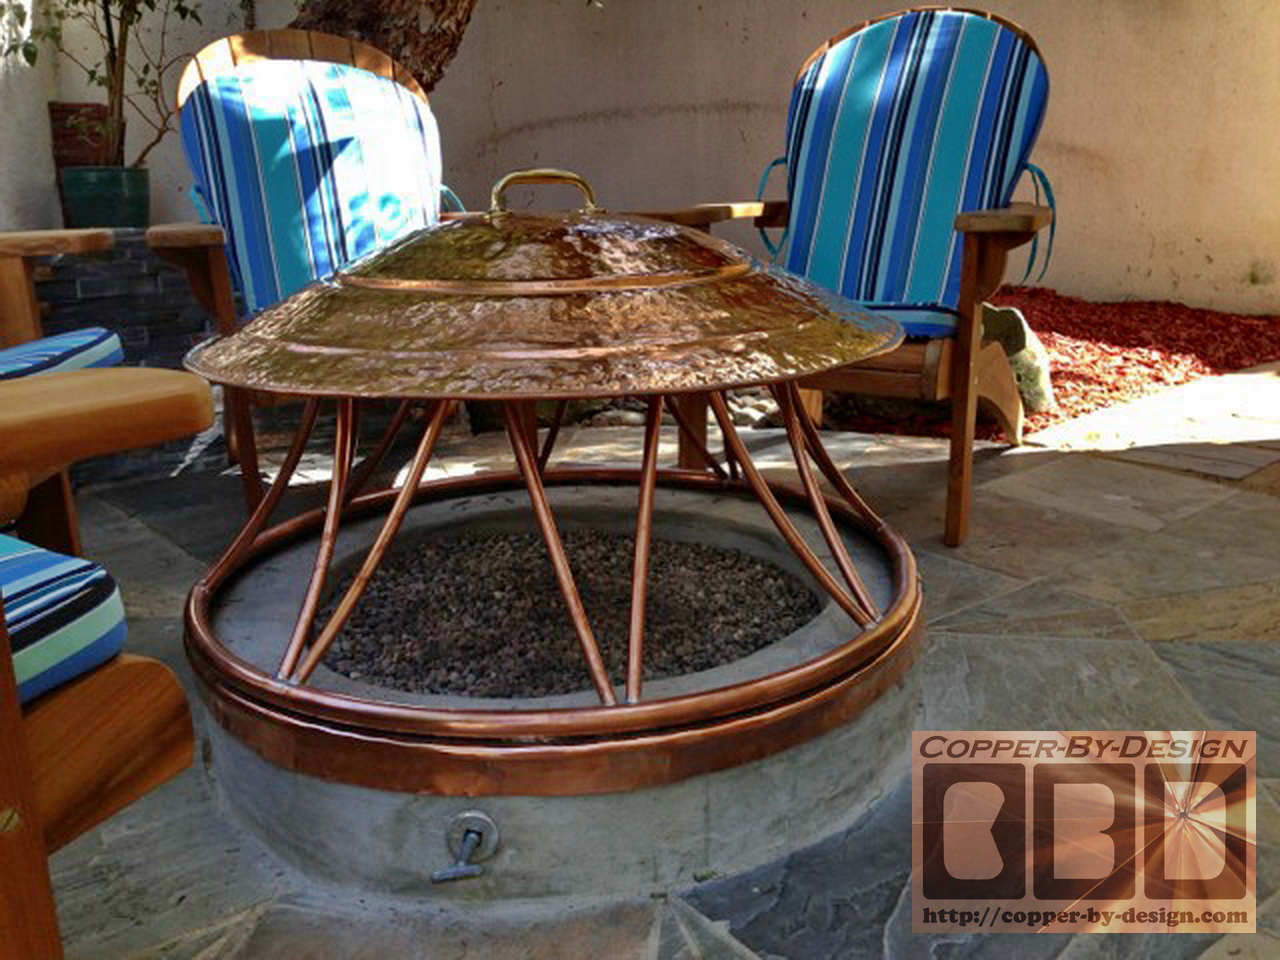
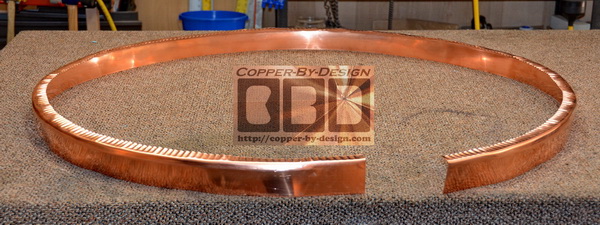
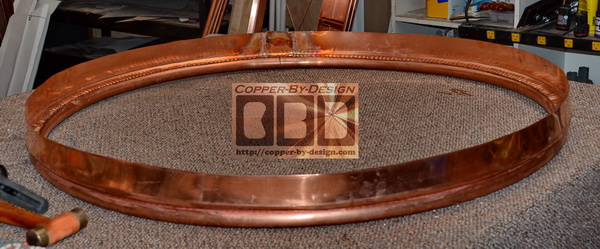
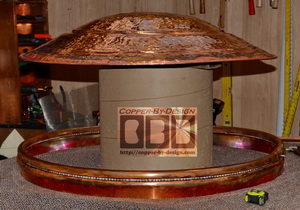
I was able to get the larger 1" copper pipe bent
in a uniform circle to go on top his fire pit hearth.
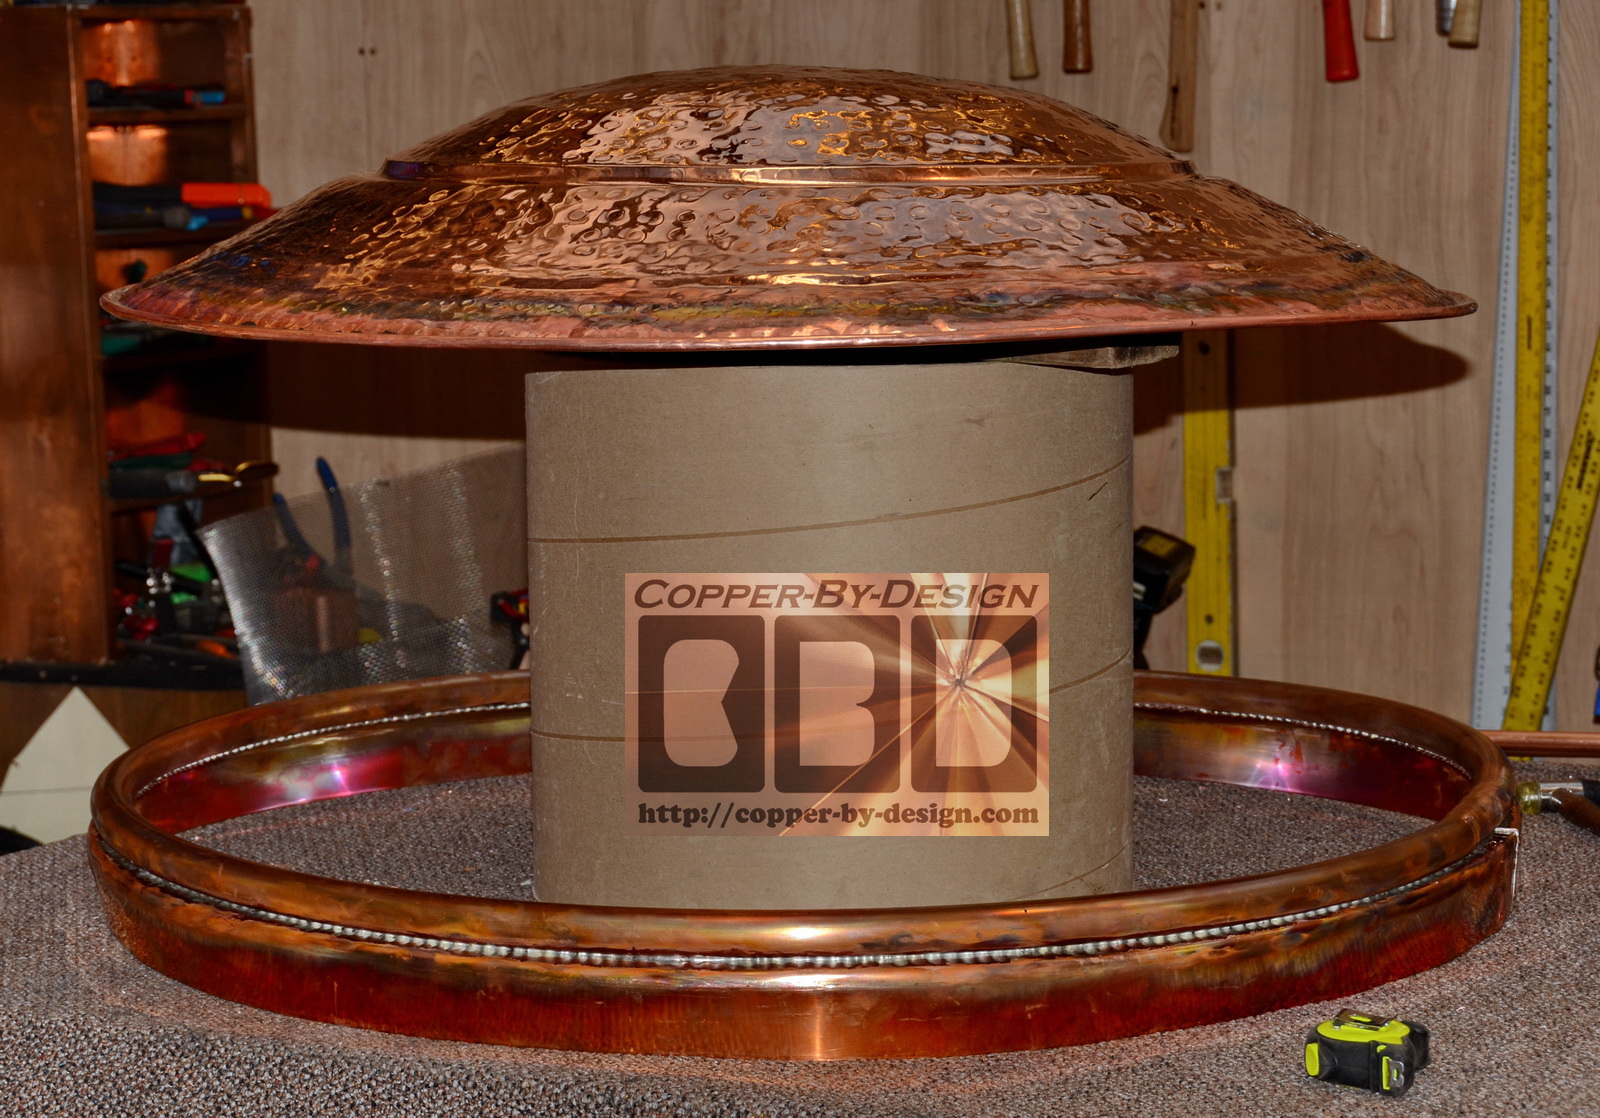
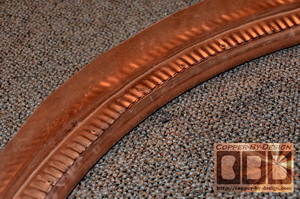
This flange was made with 32oz copper and curved to hug the
outside of his hearth. Then attached to the larger pipe ring
with rivets and solder.
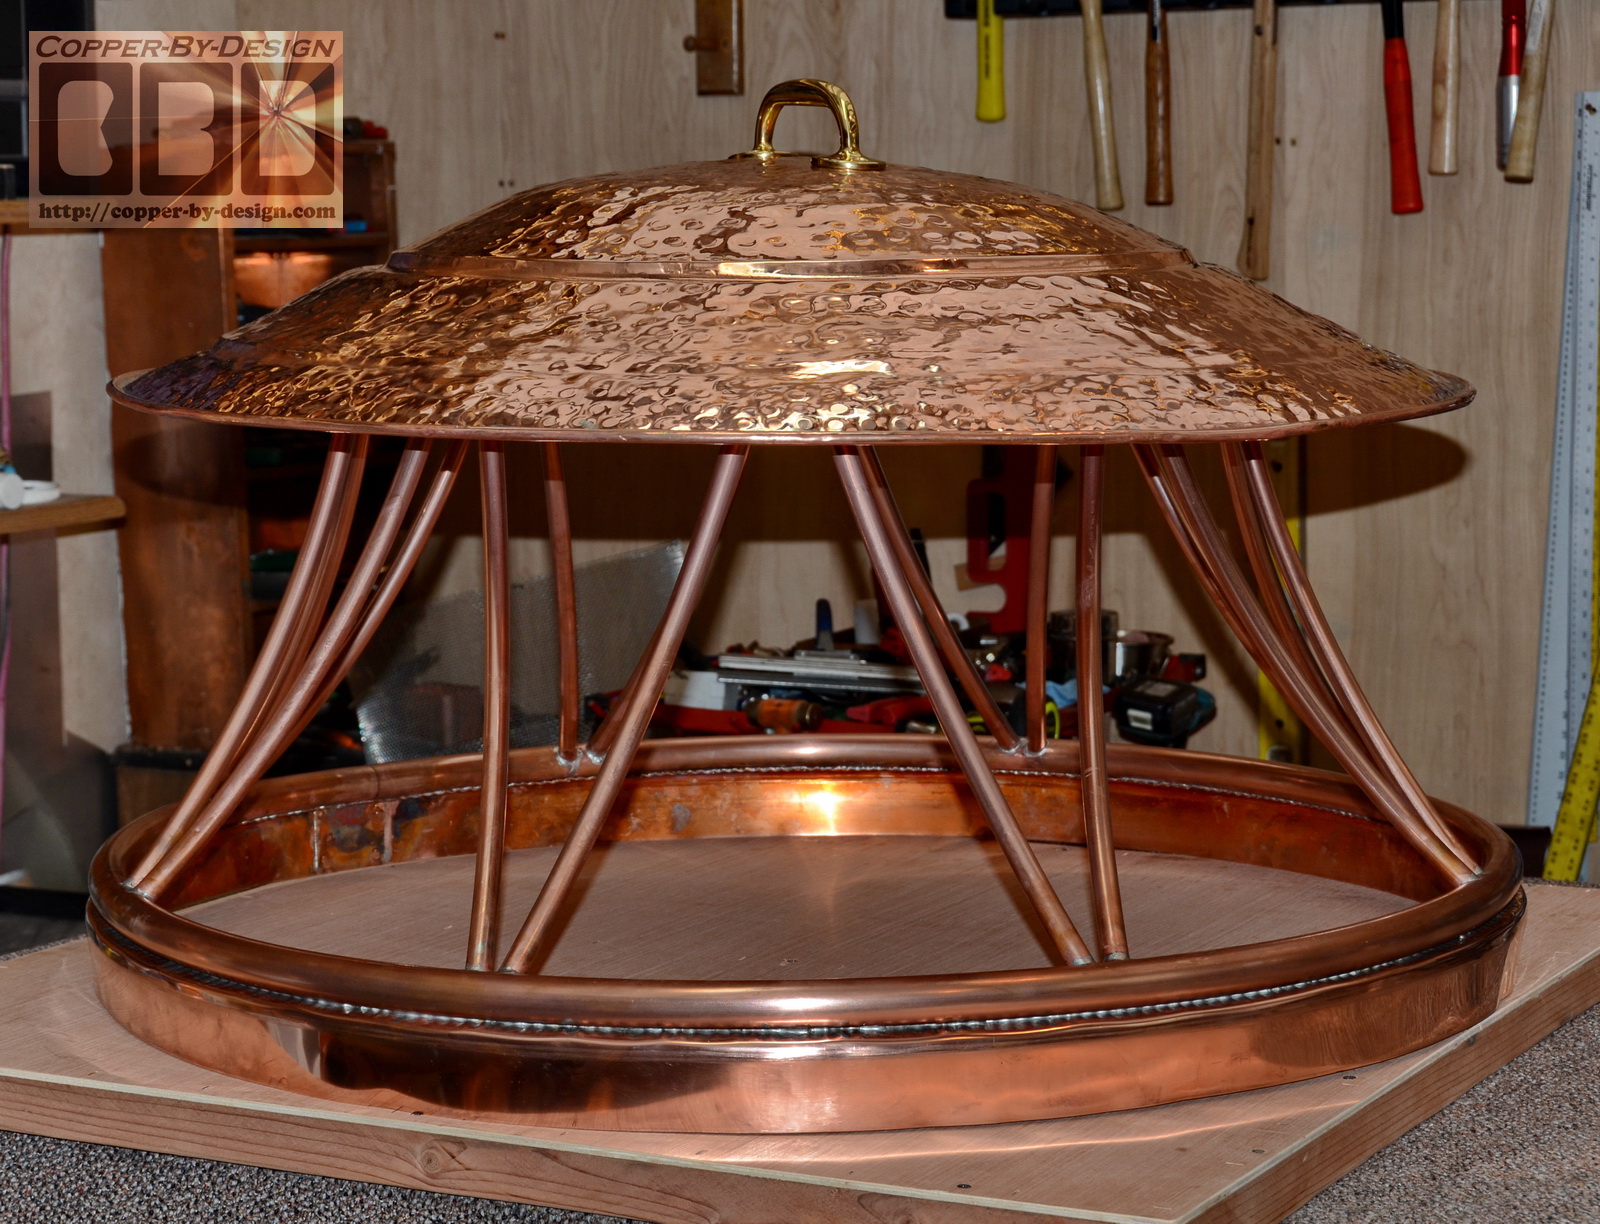
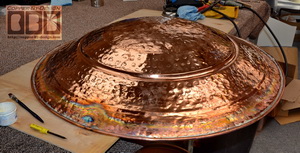
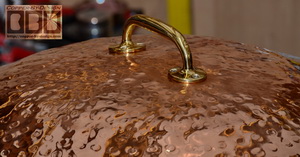
The cover got hammered
out to dome the middle, pitched the outer rim,
sealed the outer rim with solder, which discolors the copper
from the heat.
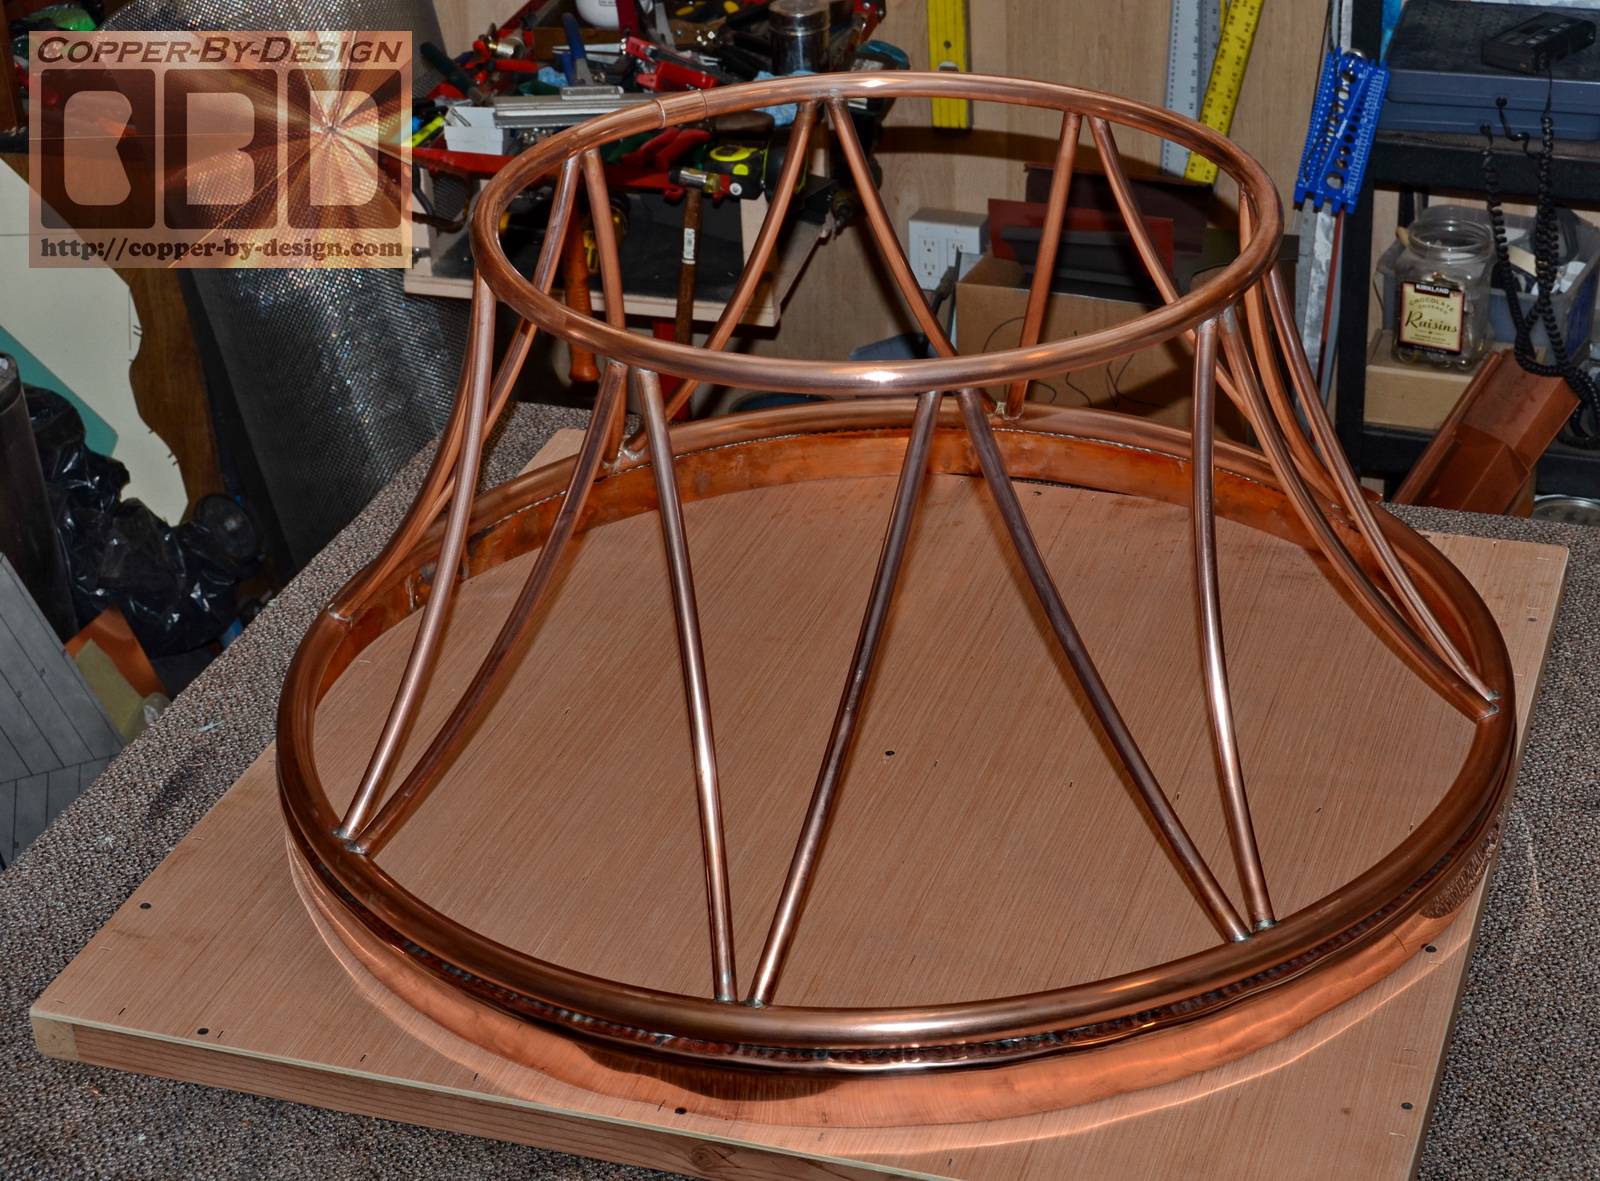
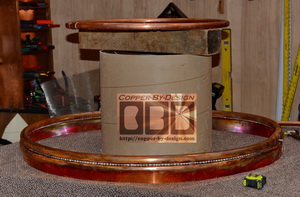
Now that we had the
cover prepped I was able to determine the width of the upper
ring at just under 24" wide to rest under the mid rim in the
cover, so it is fairly stable and self centering.
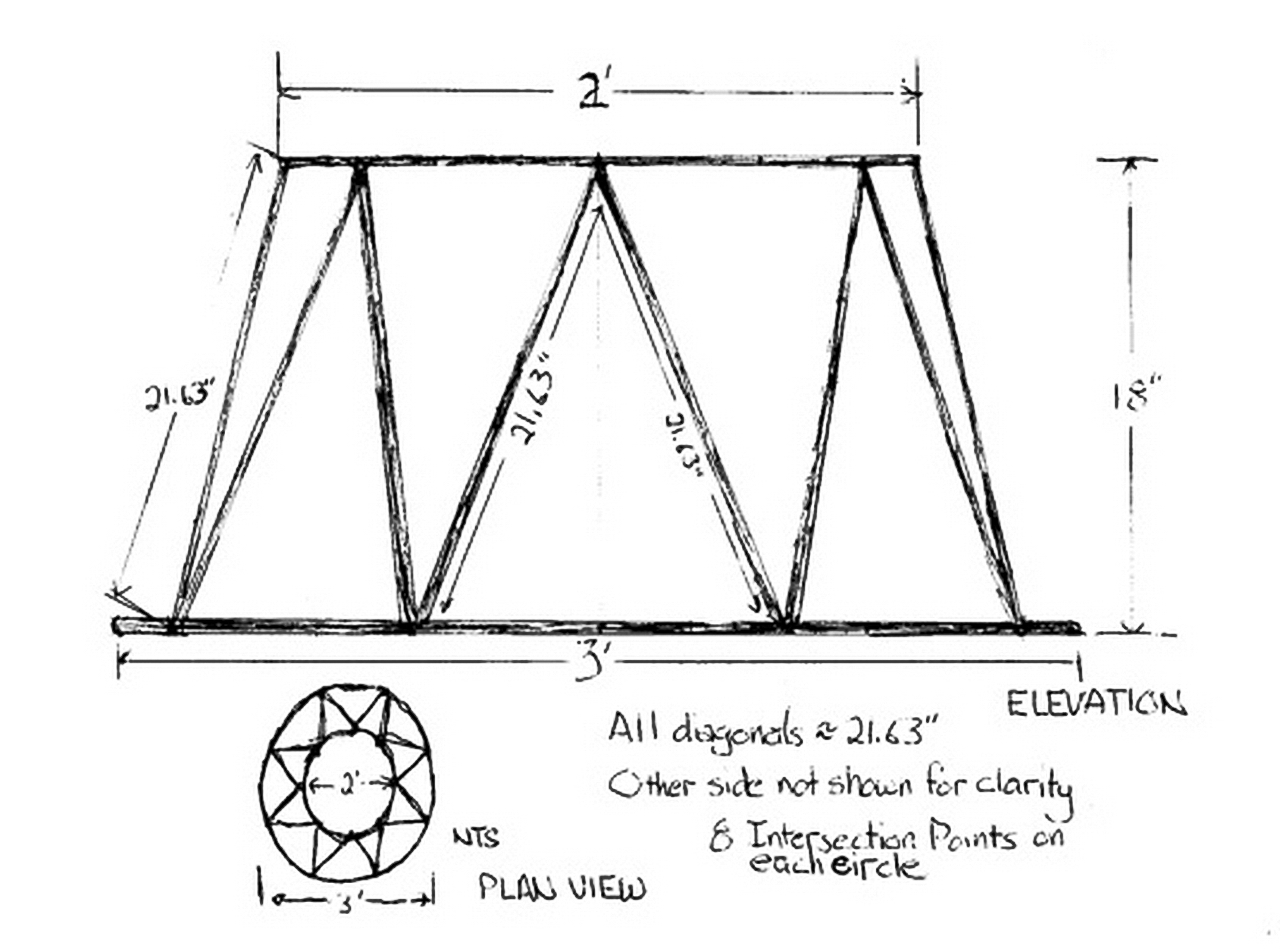
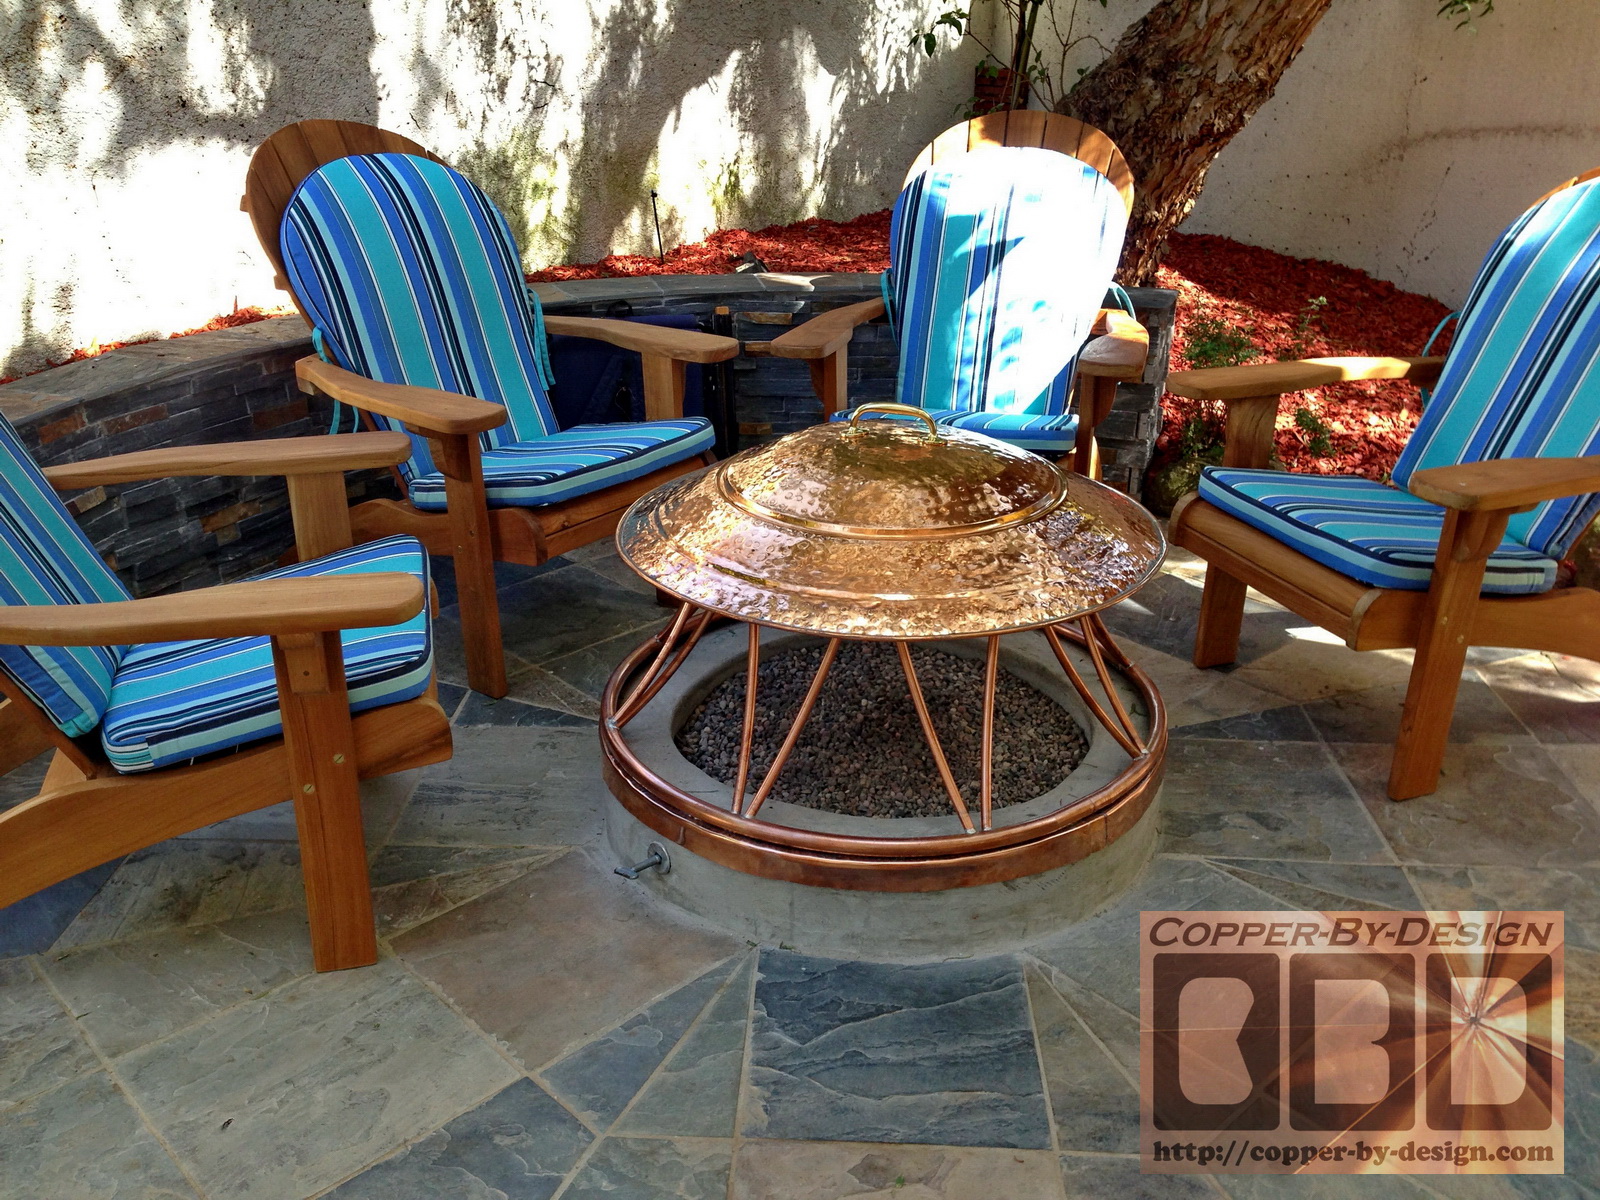
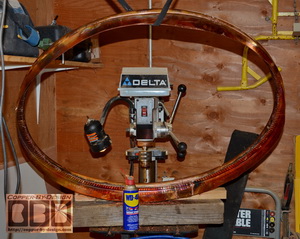
The upper ring was formed with a smaller 3/4" copper pipe.
Then I was able to position it 18" above the base to figure out
the lengths of the smaller 1/2" cross pipes.
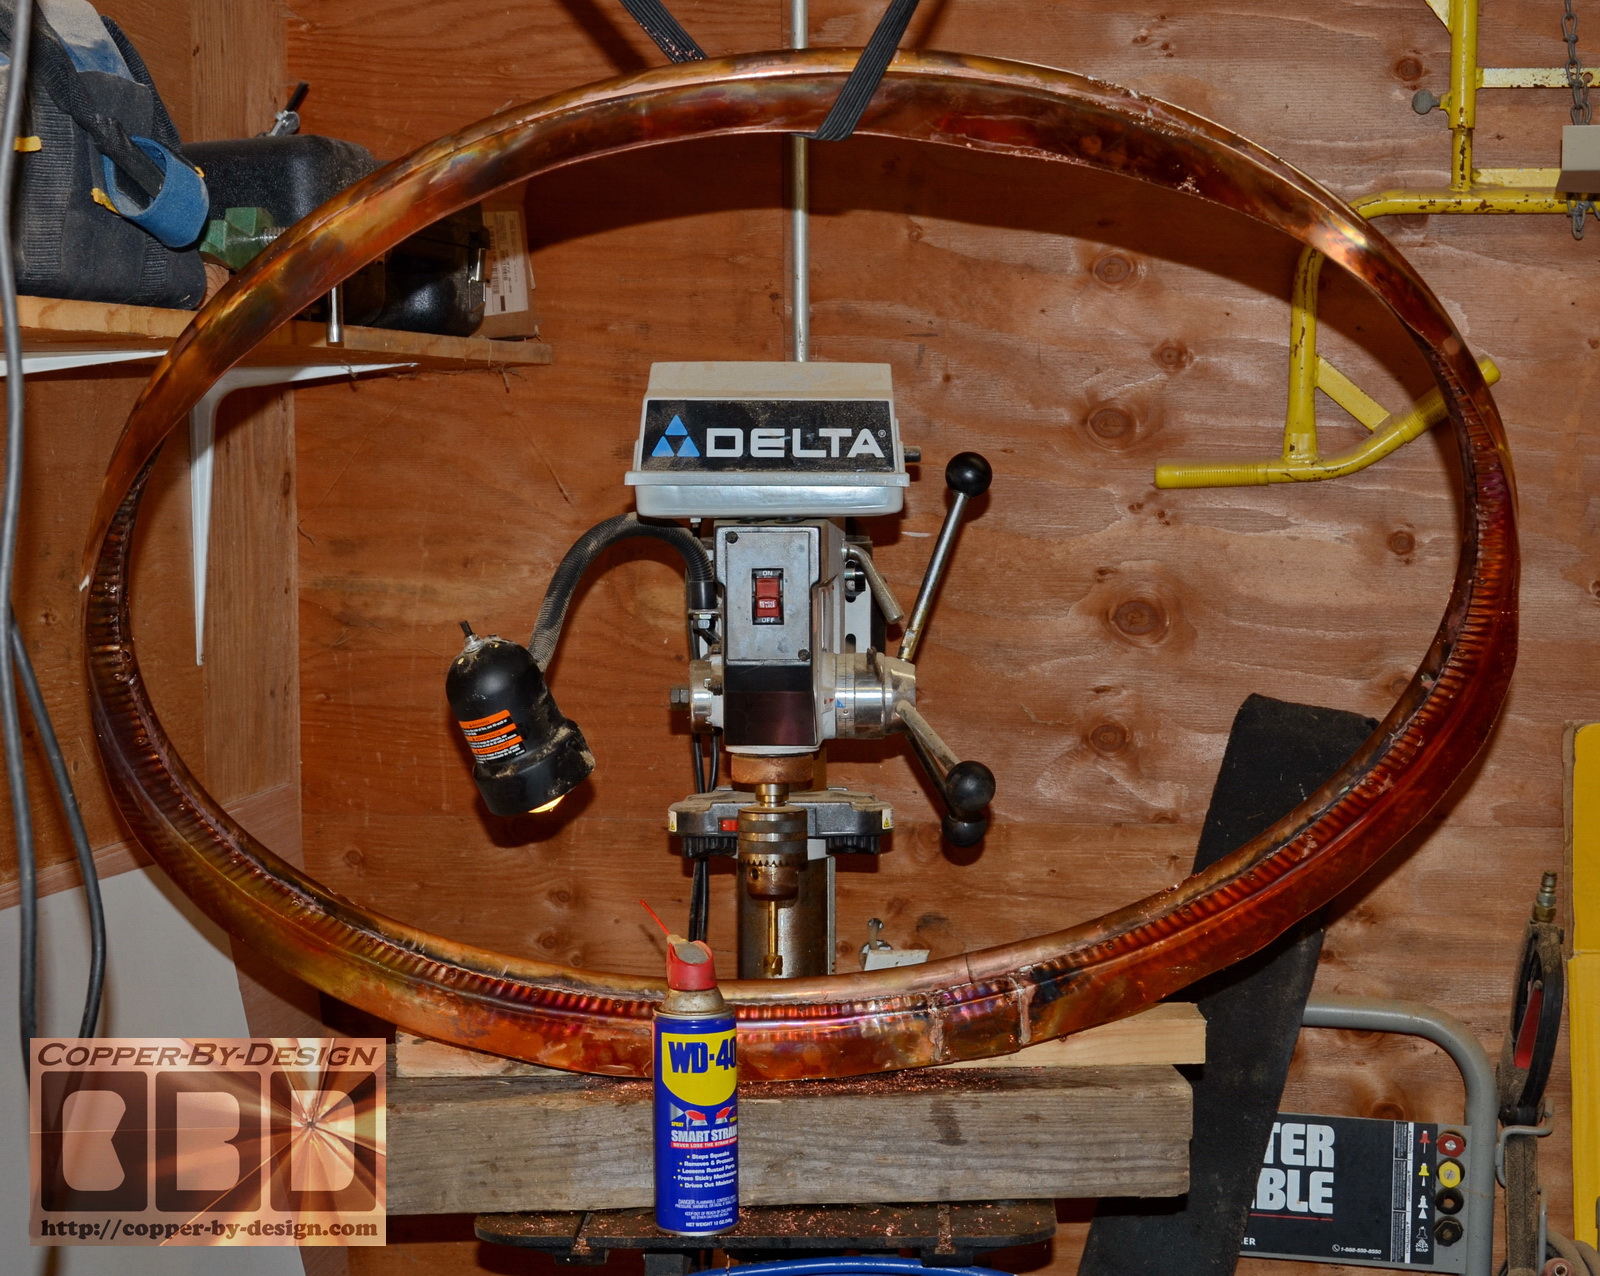
I then I had to drill out 16
holes in it for the smaller 1/2" cross member pipes. It was
rather tricky to get the 16 holes drilled in the lower ring at
that odd angle.
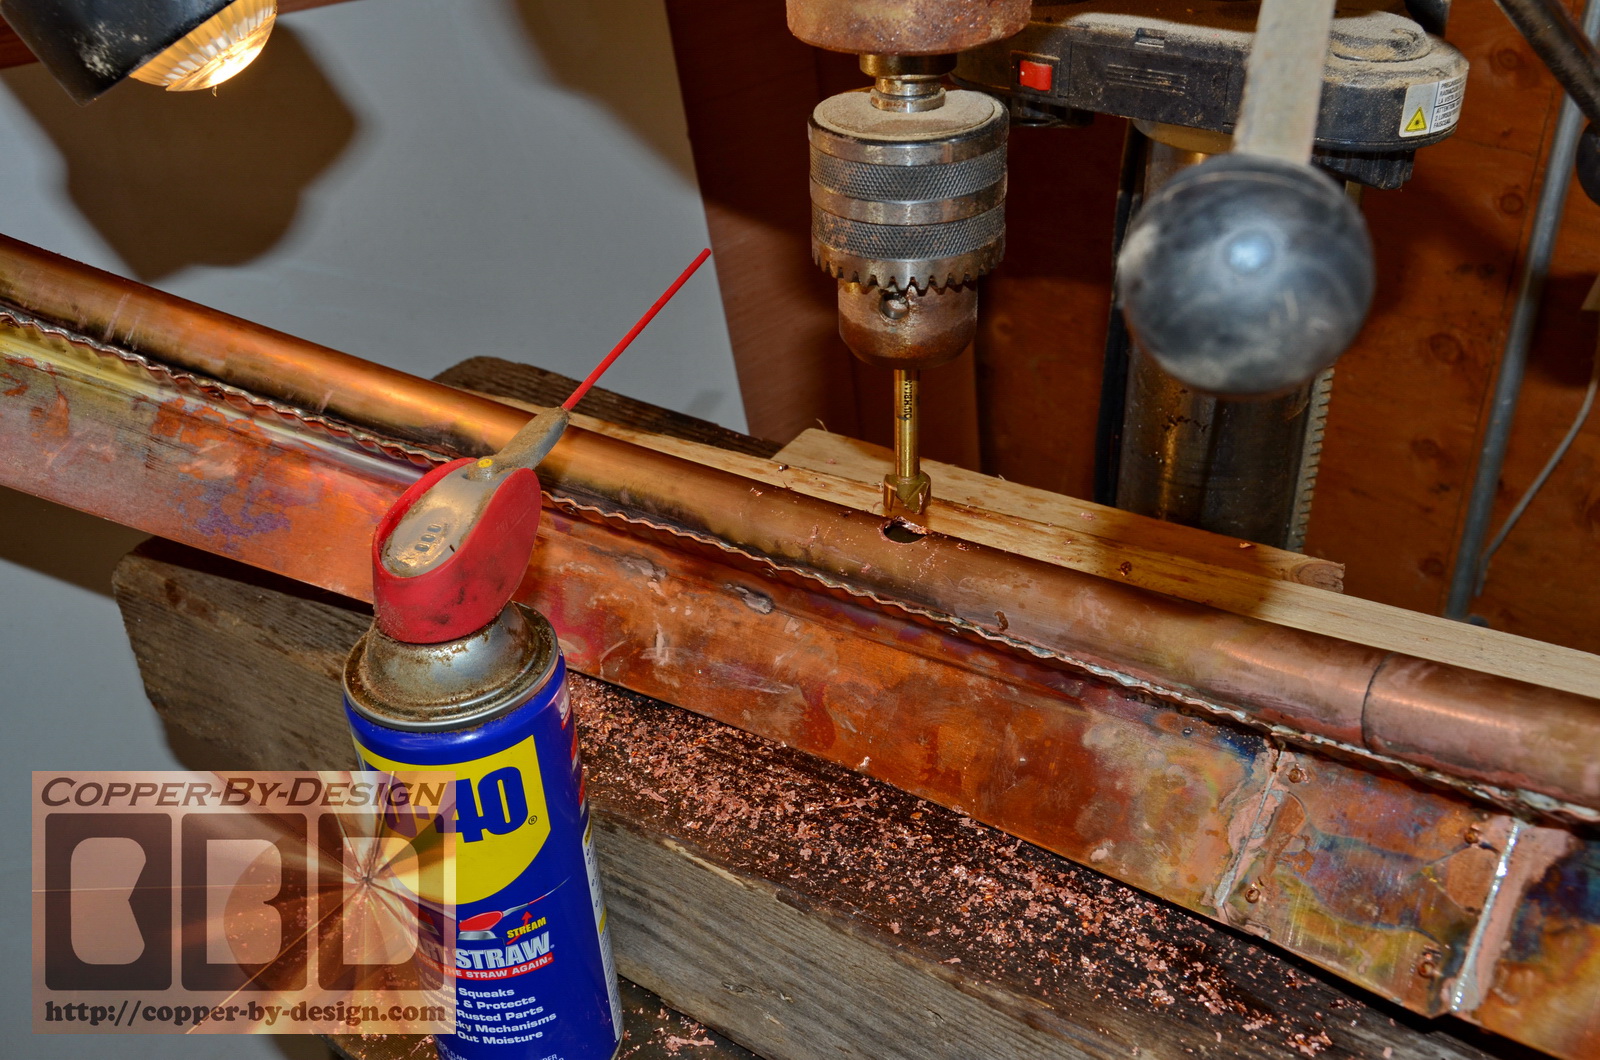
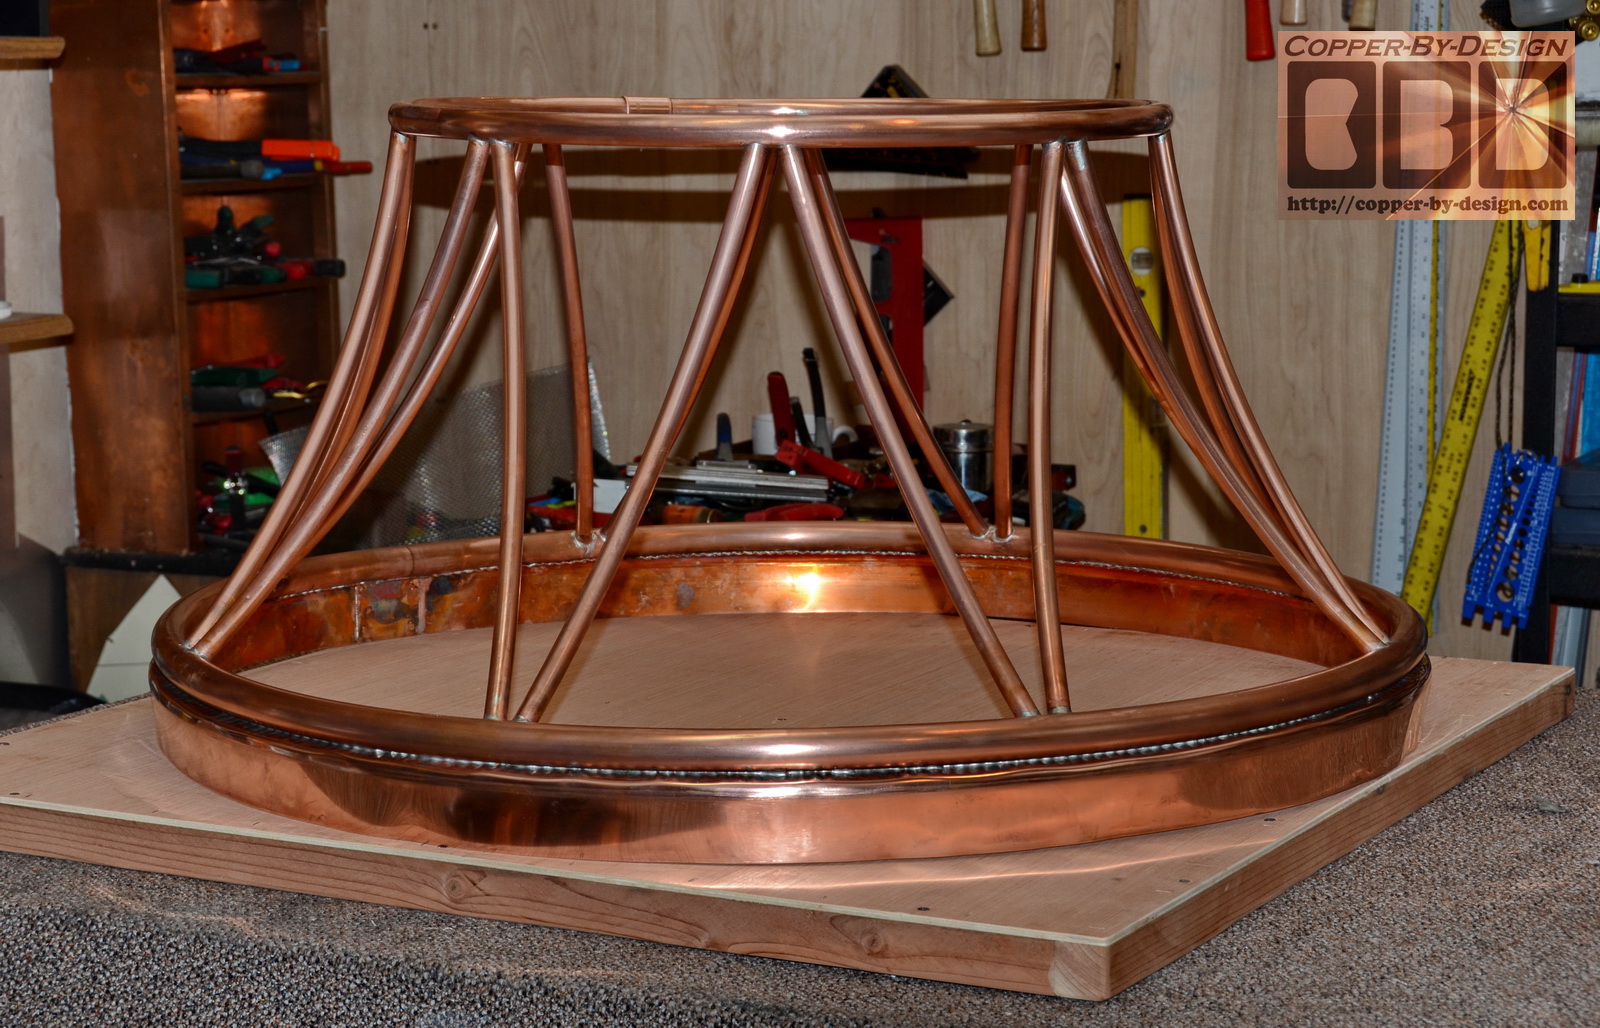
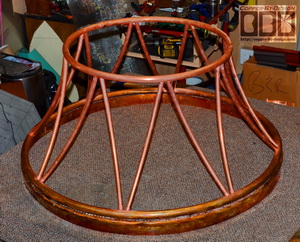
I finished drilling the
holed in the lower ring, filing the rough edges of the holes,
sanding, and fluxed. I got the 1/2" pipes cut at 19" after
bending 2 - 10' long pipes and one 7' pipe. It was then very
tricky to get this all to come together after the pieces were
made. I had to grind the edges of the pipes, so they could
spread apart more where they met inside the pipe rings.
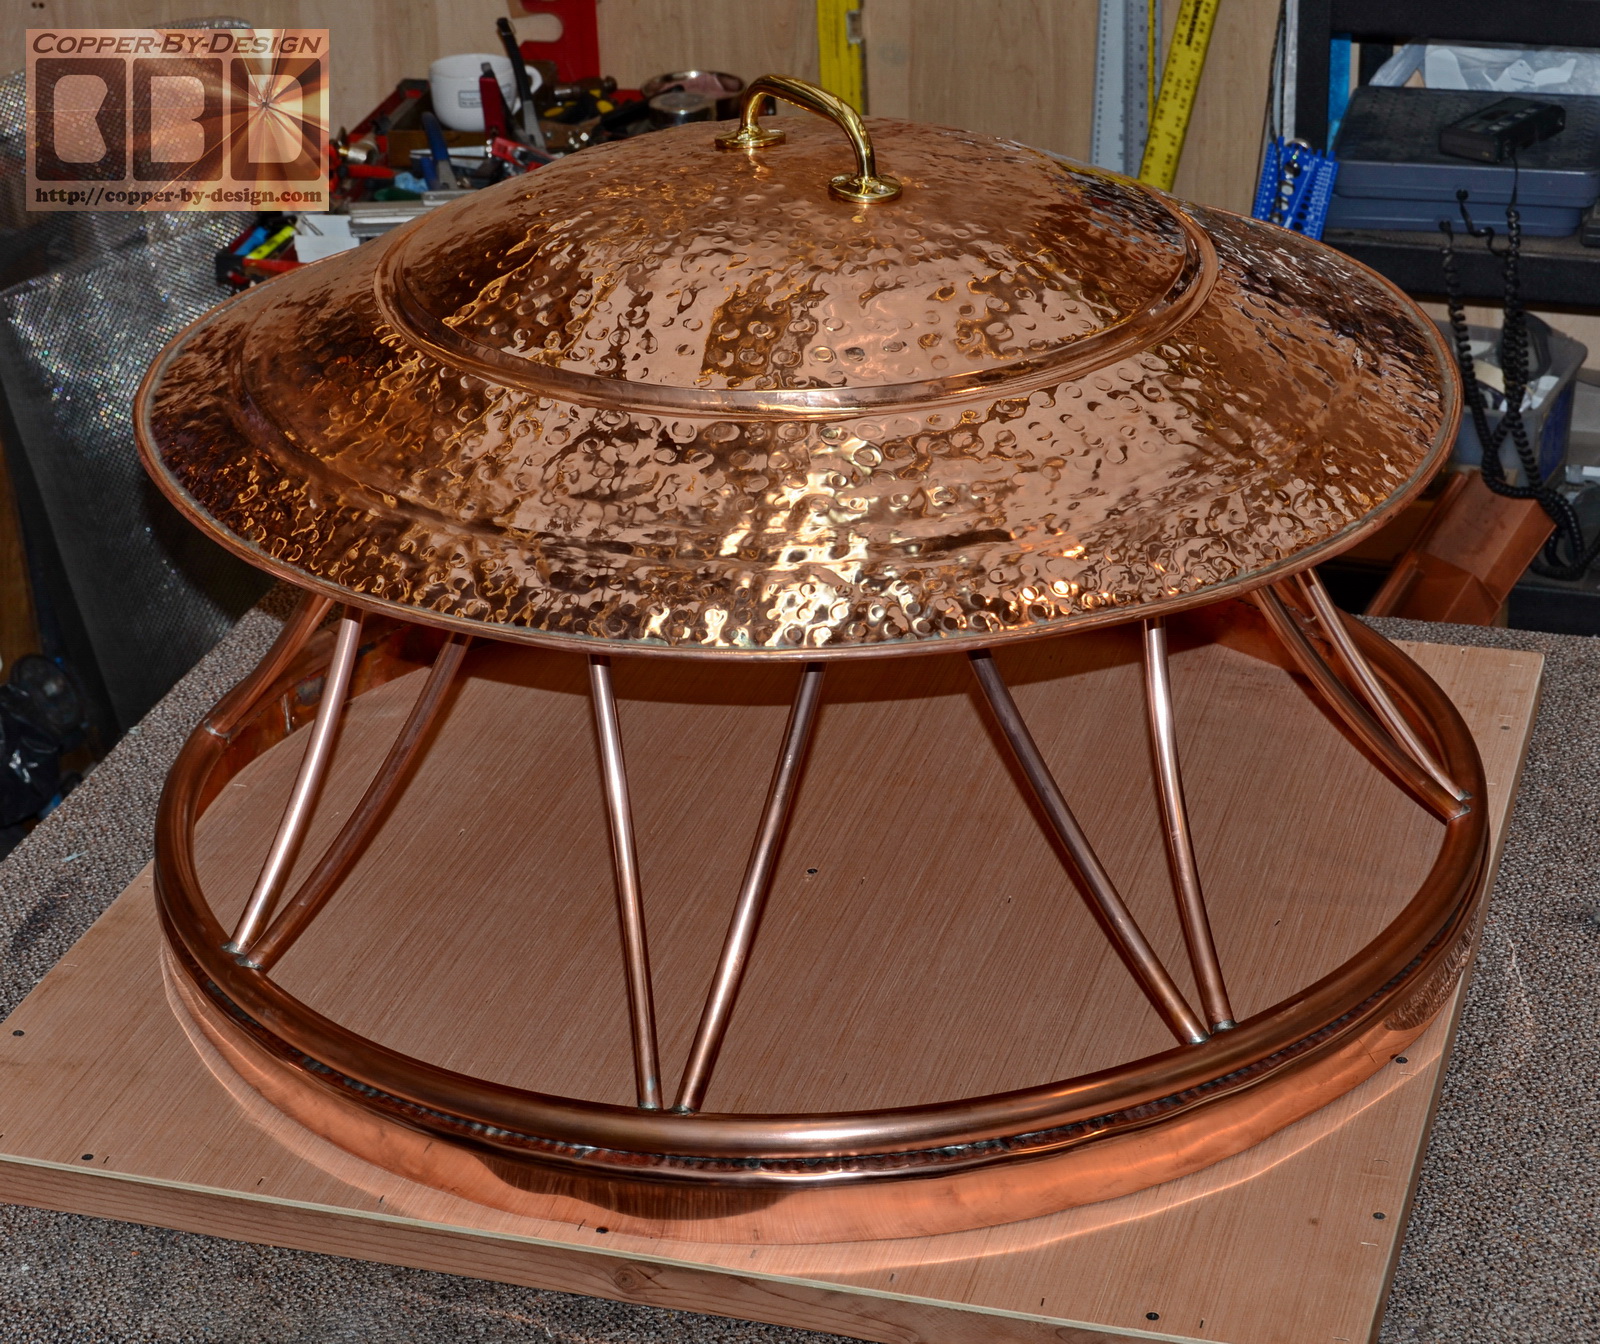
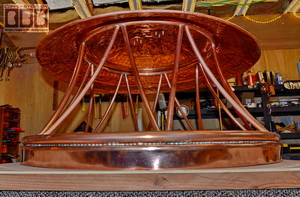
We got the copper
cleaned up with polish to get these images. What do you think?
 
|