|
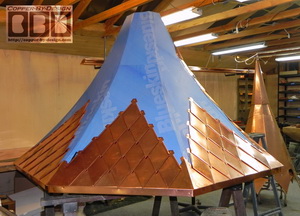
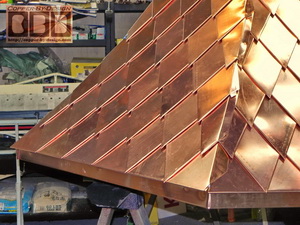
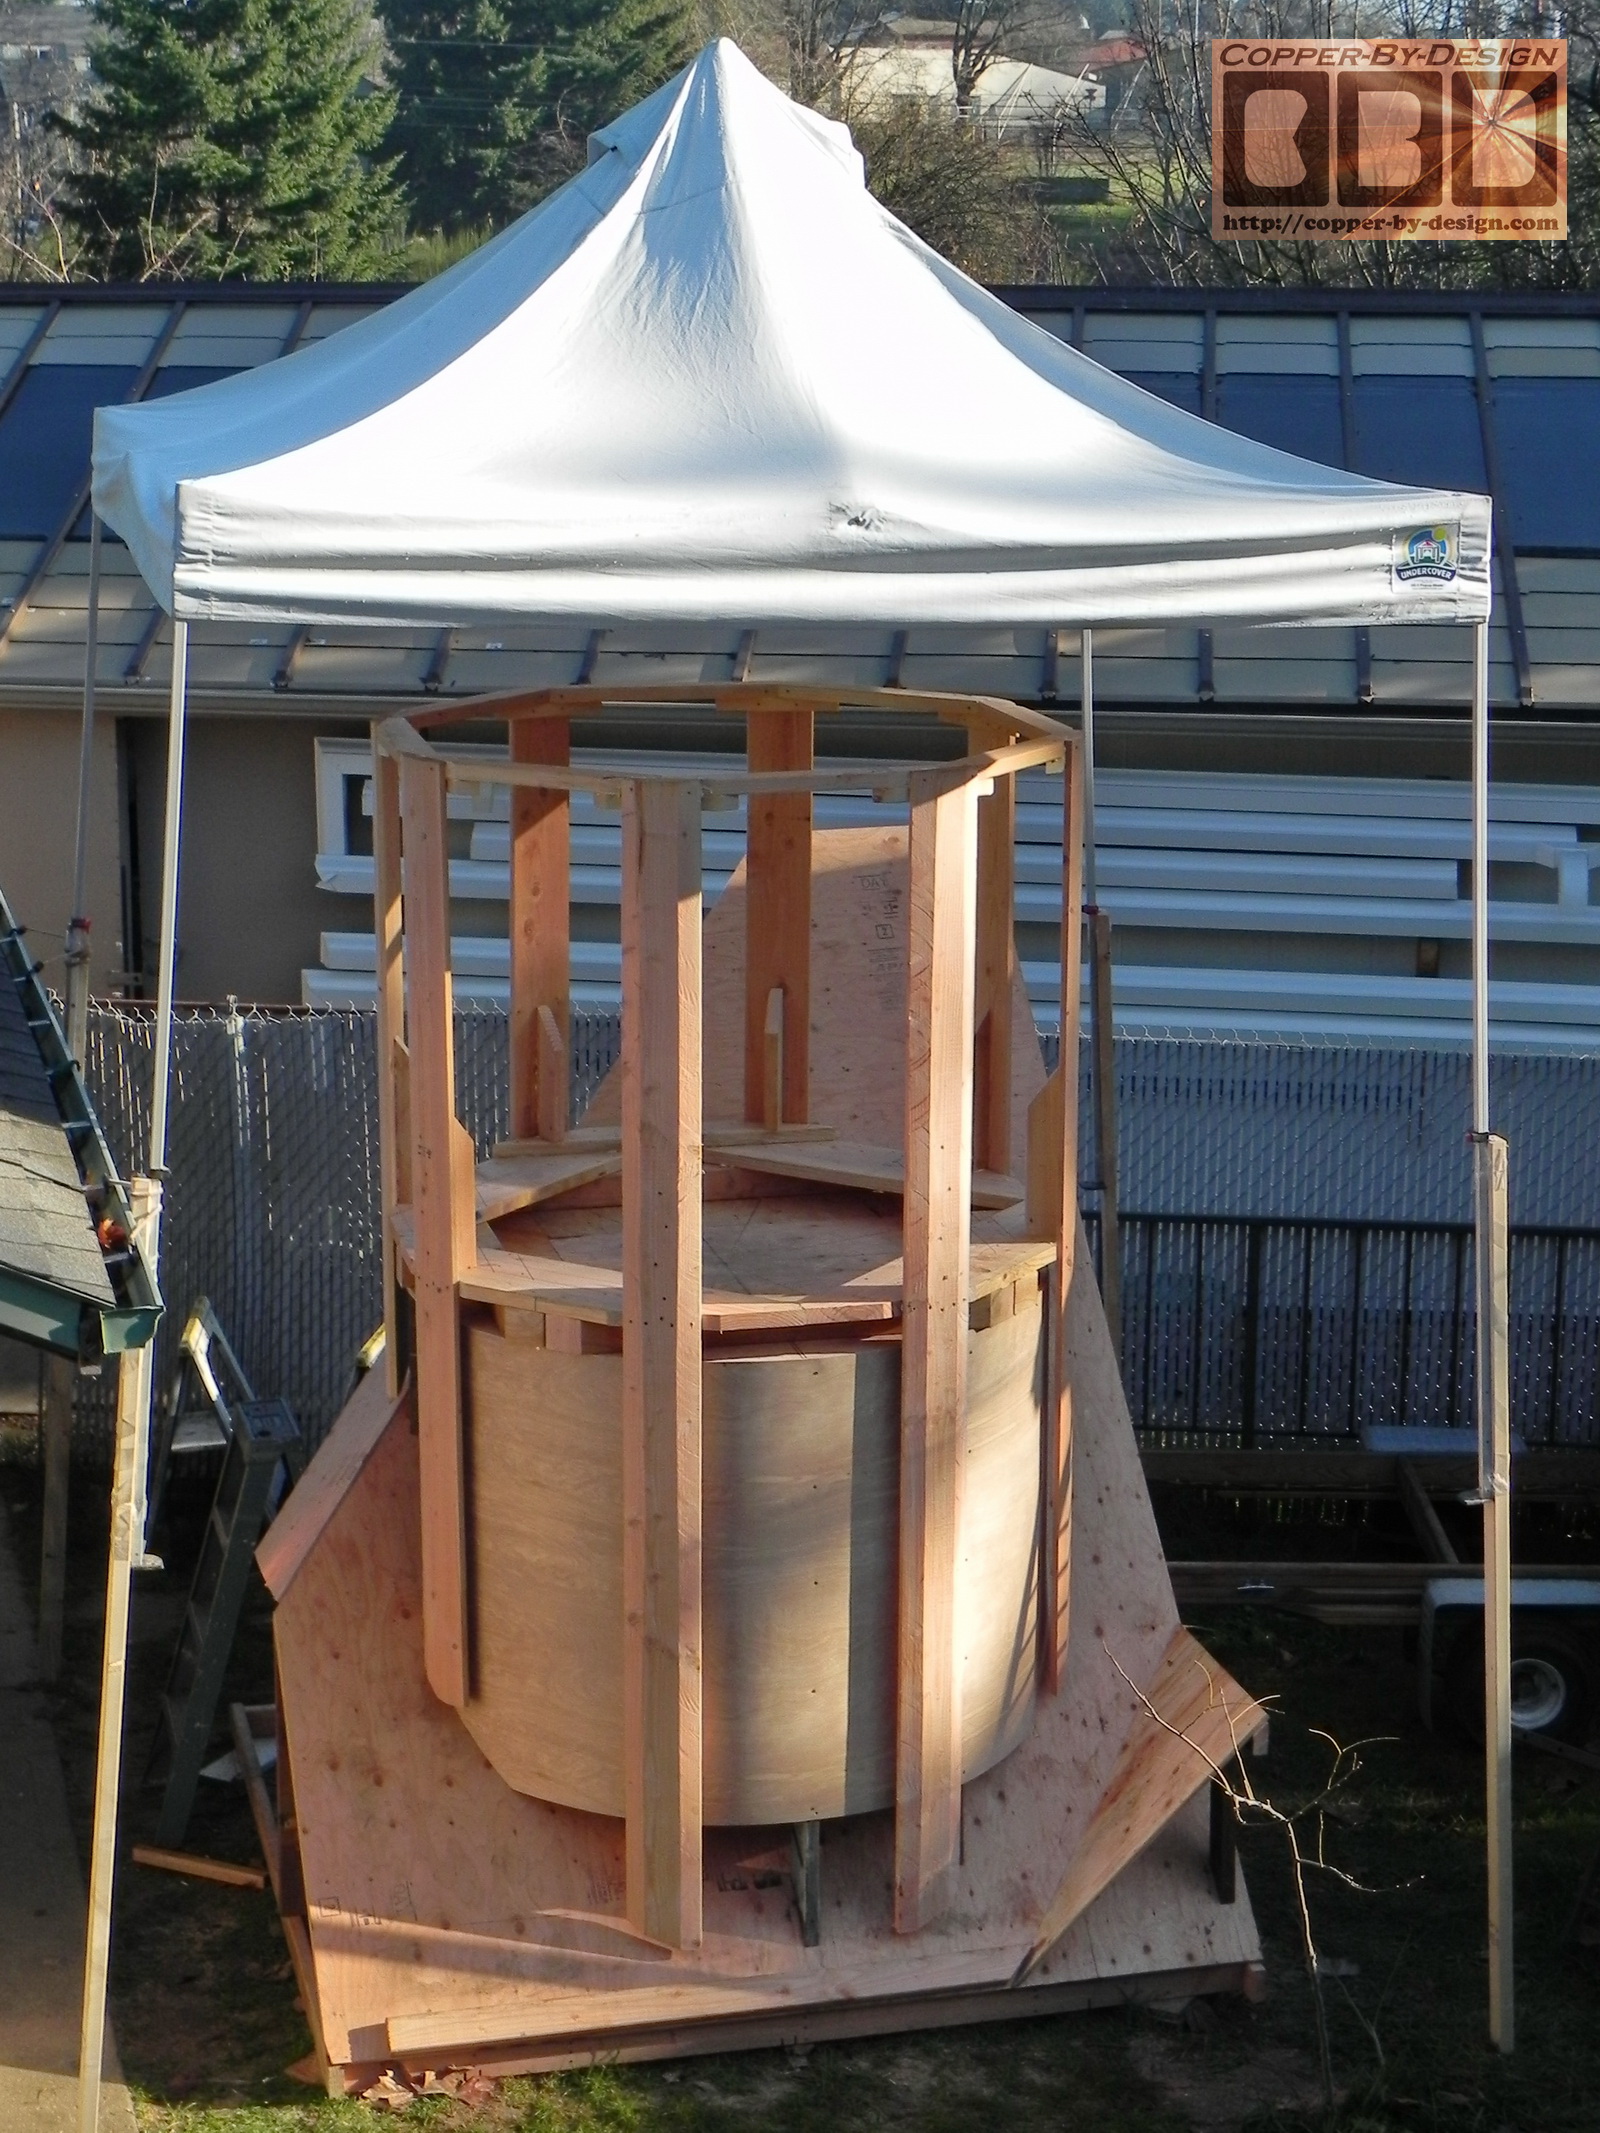
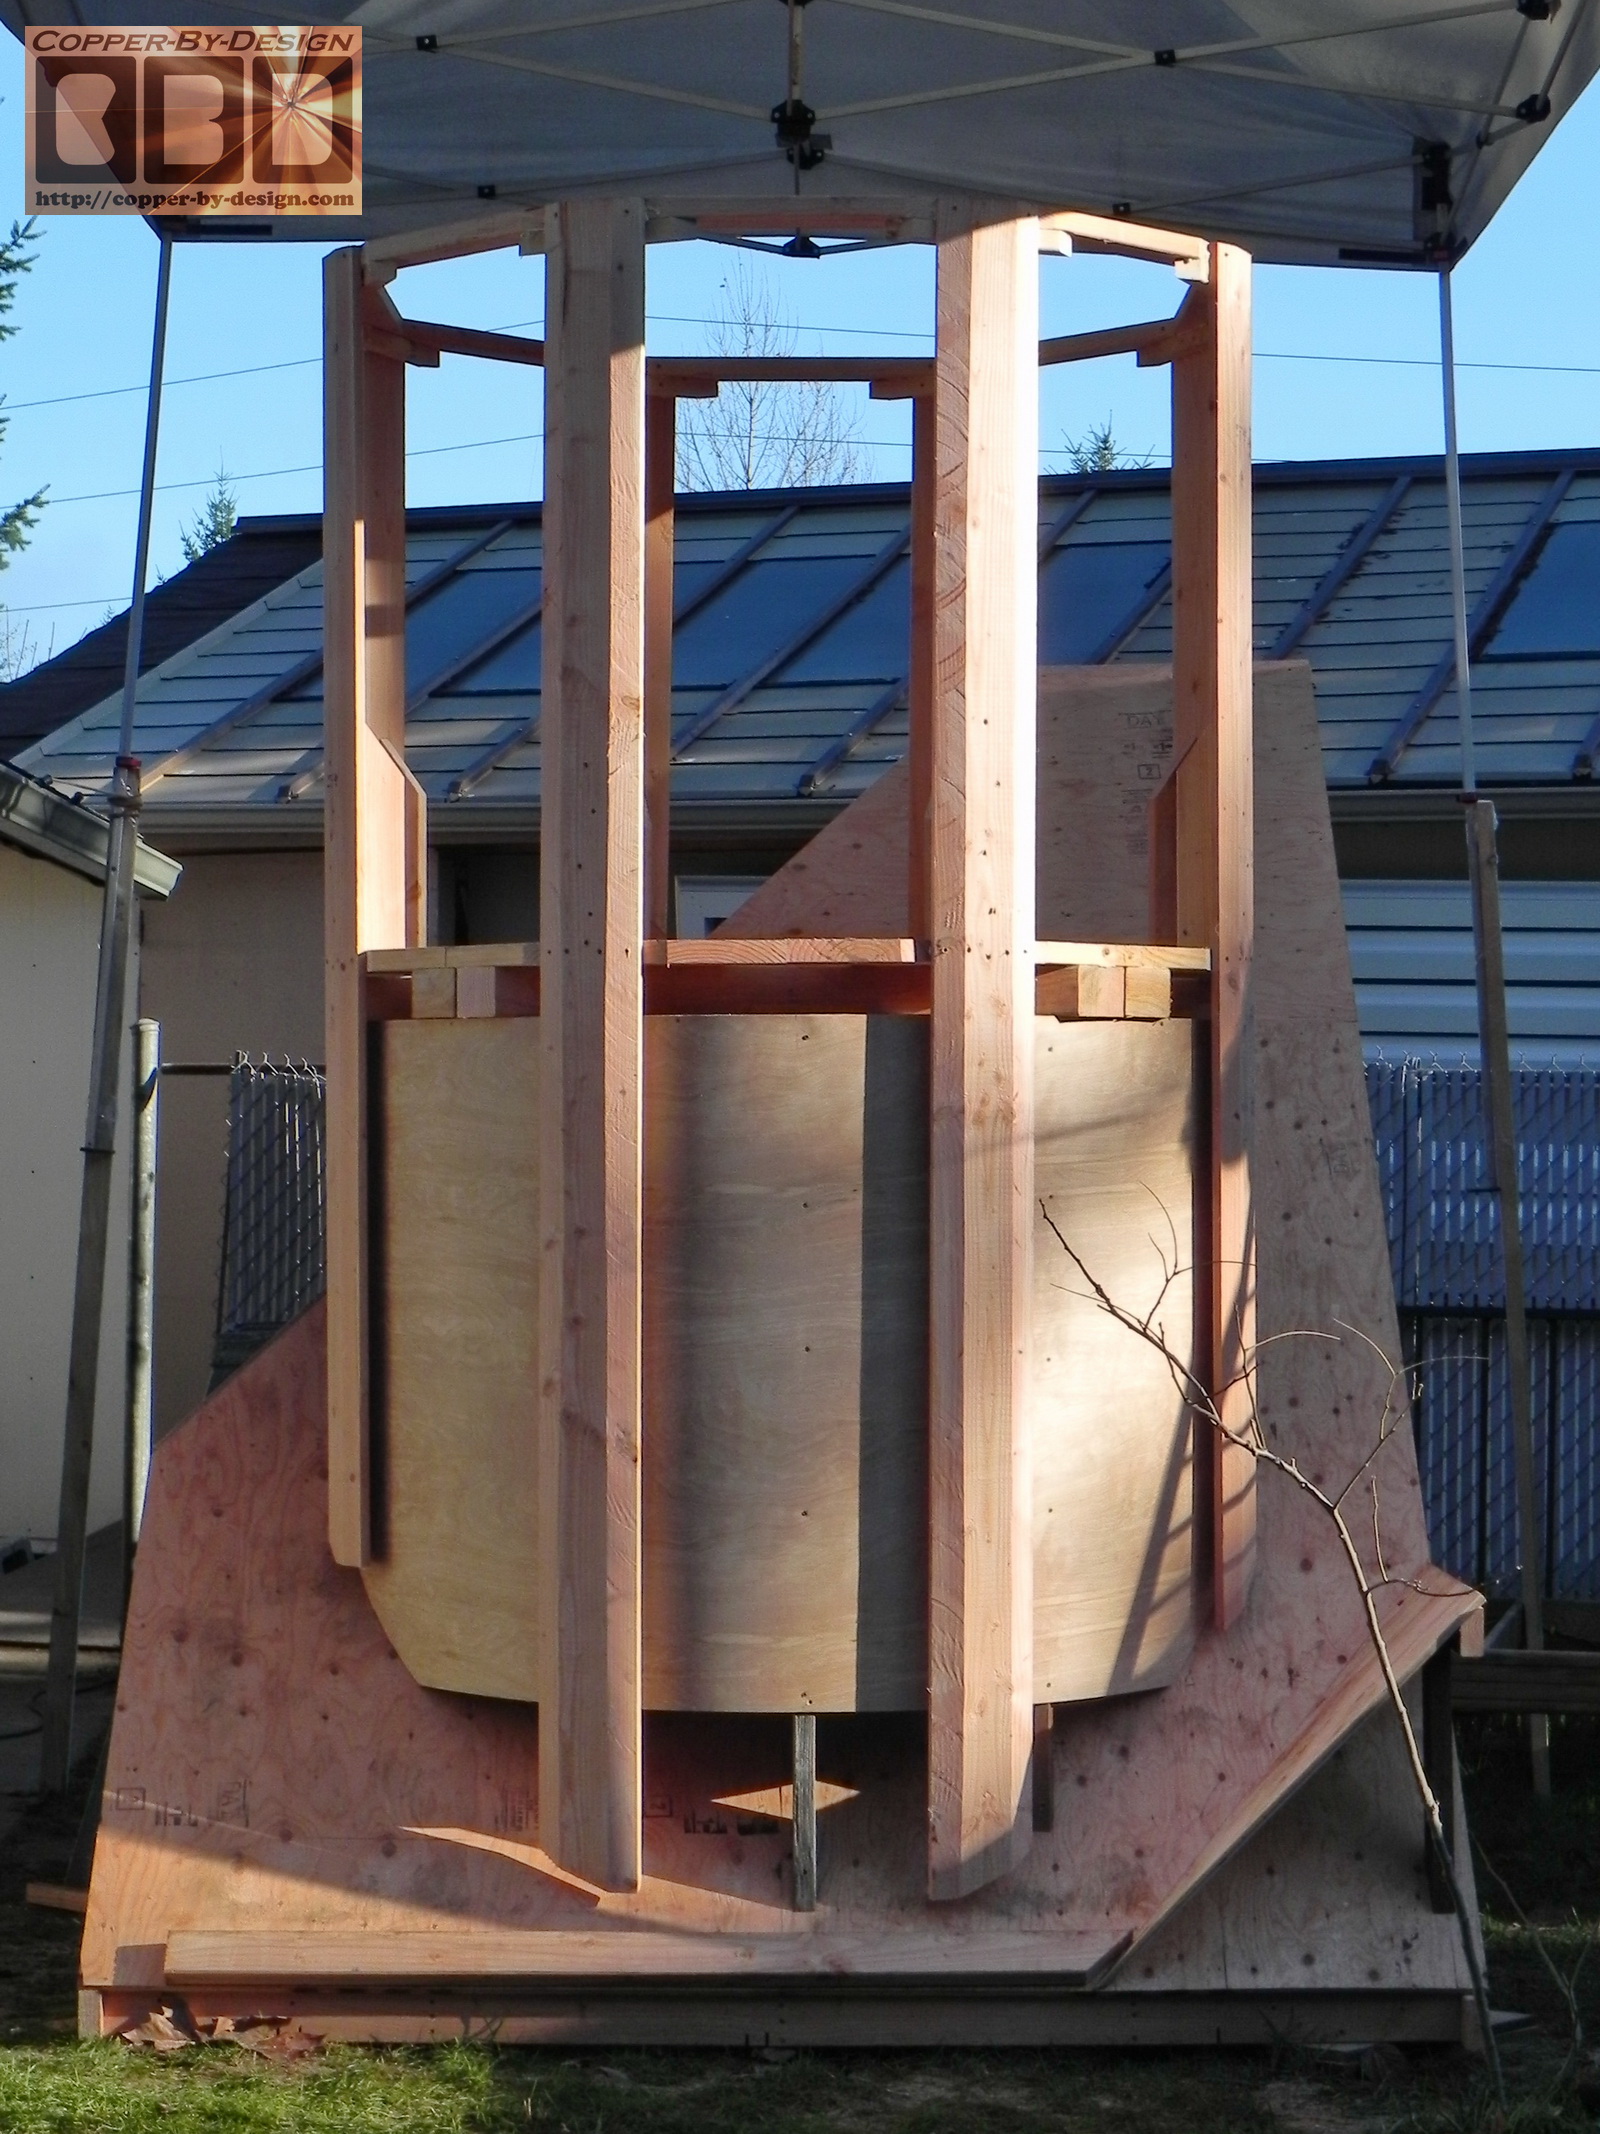
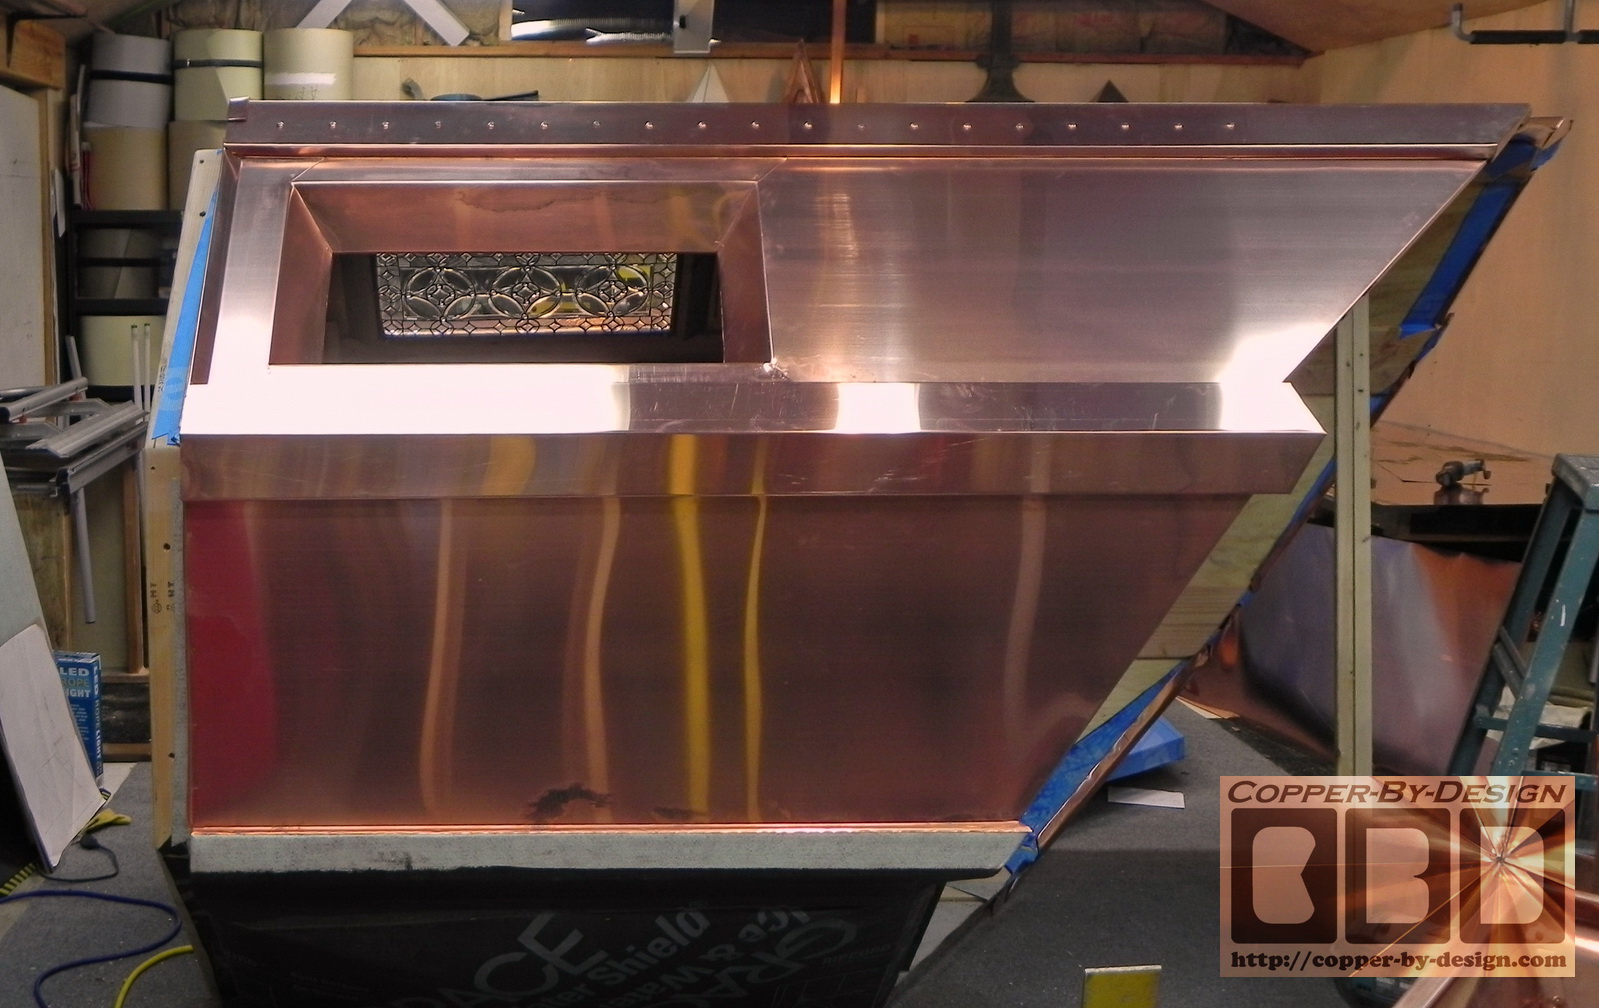
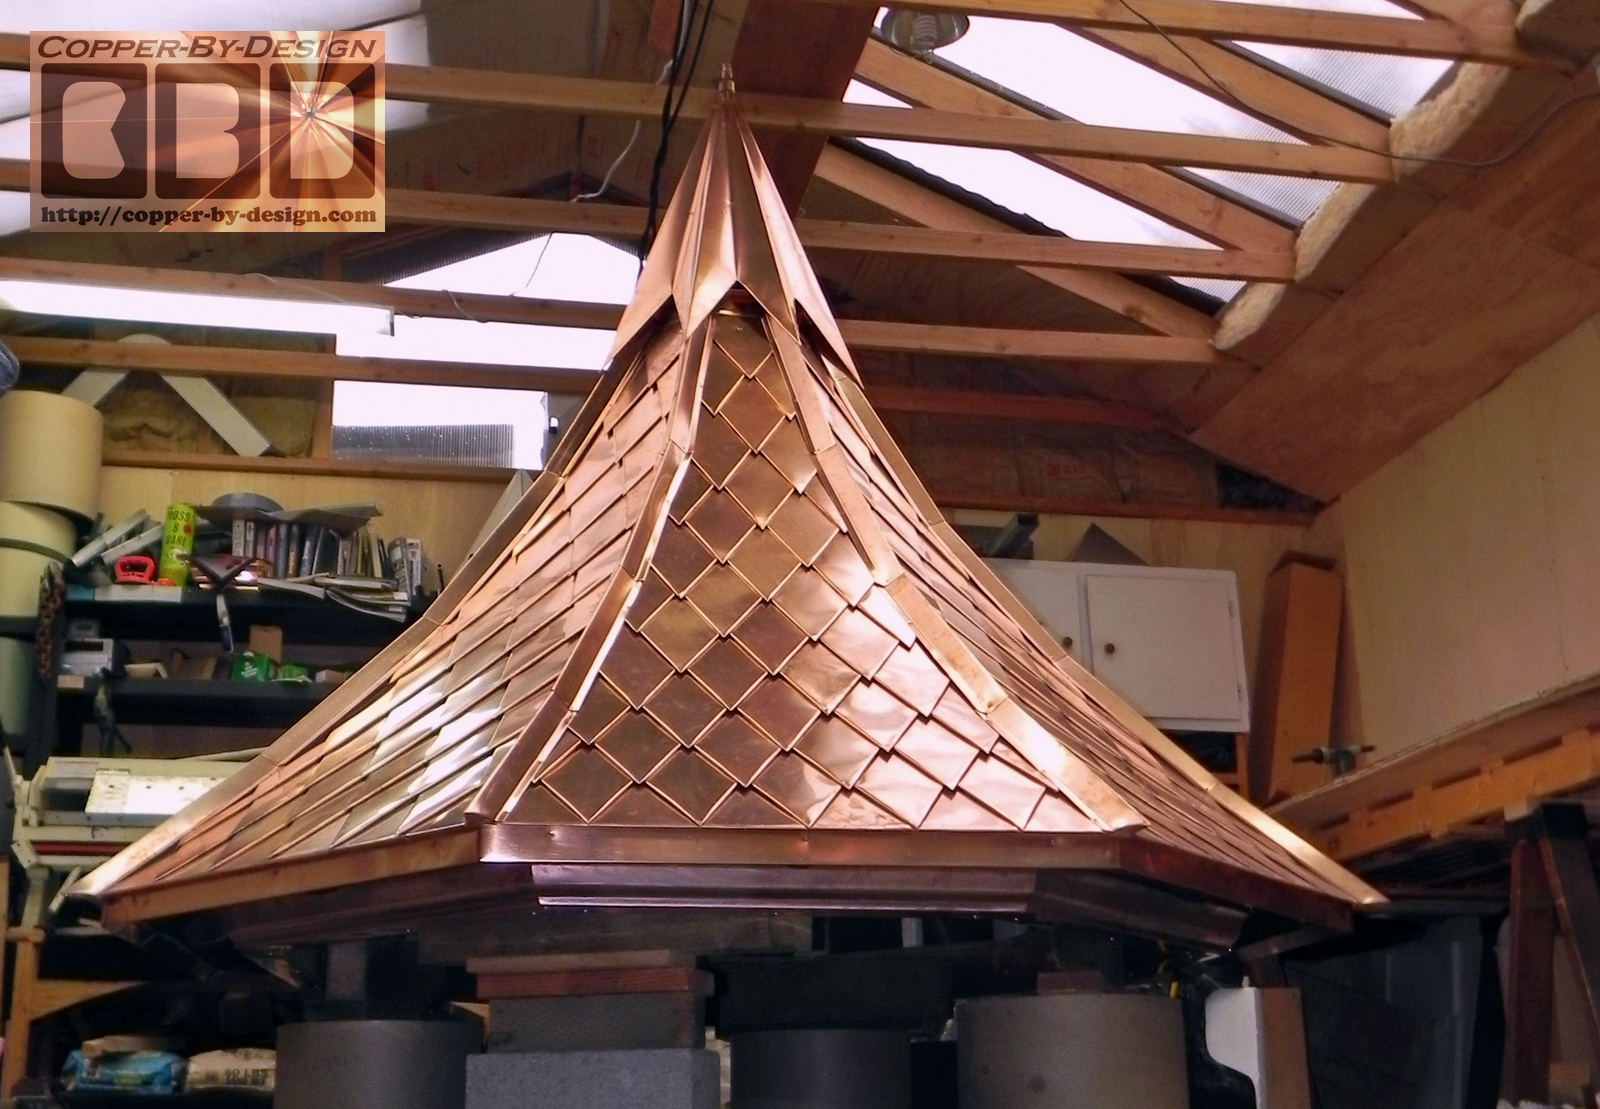
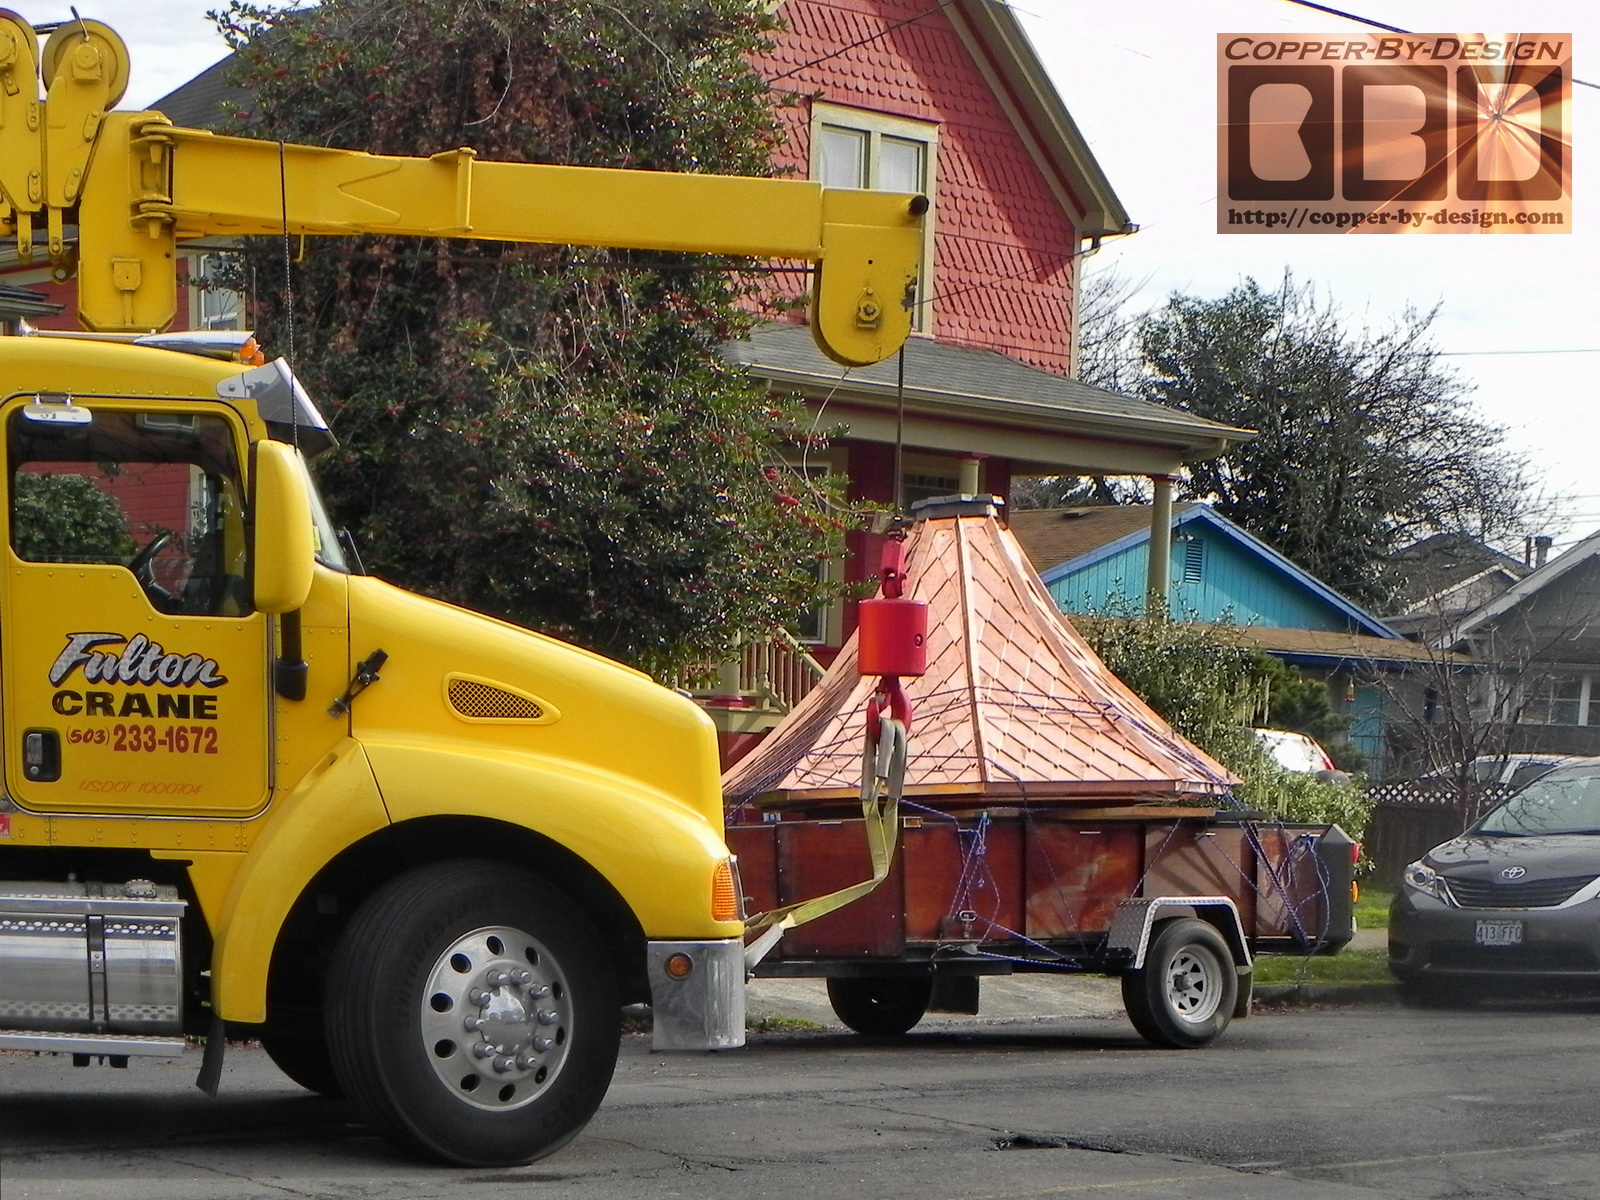
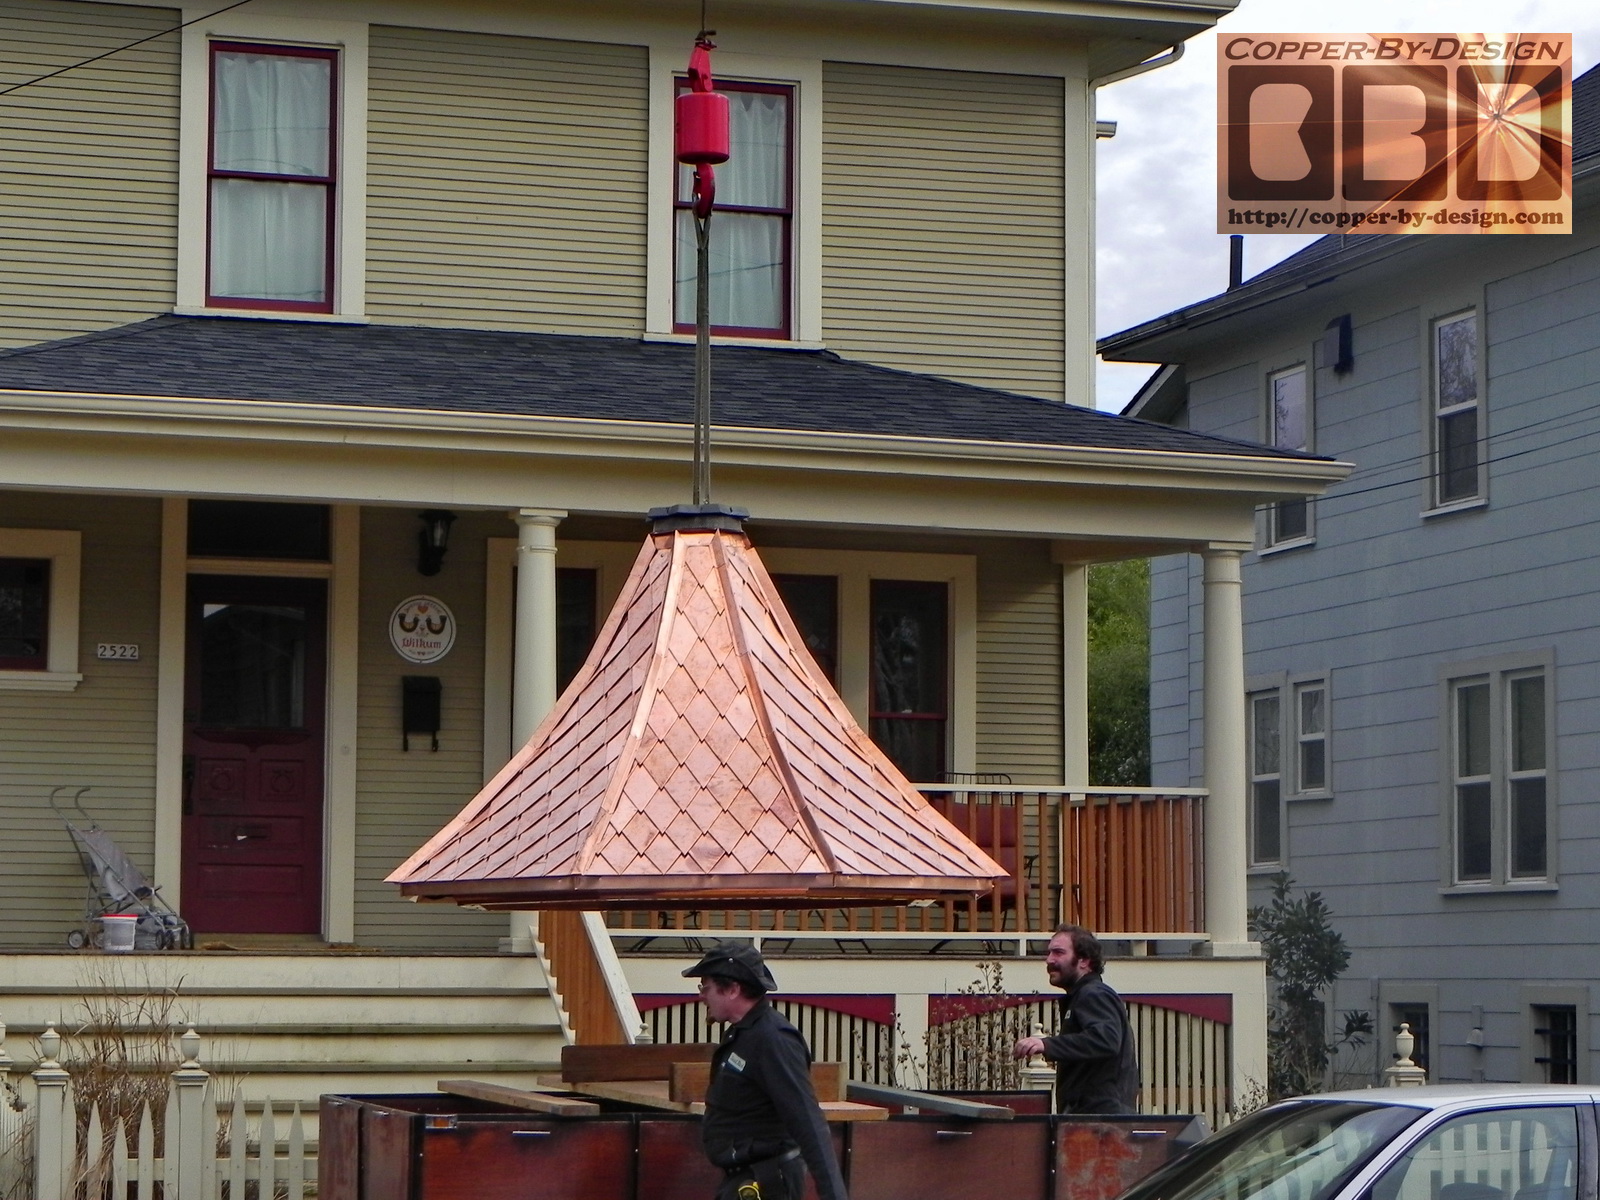
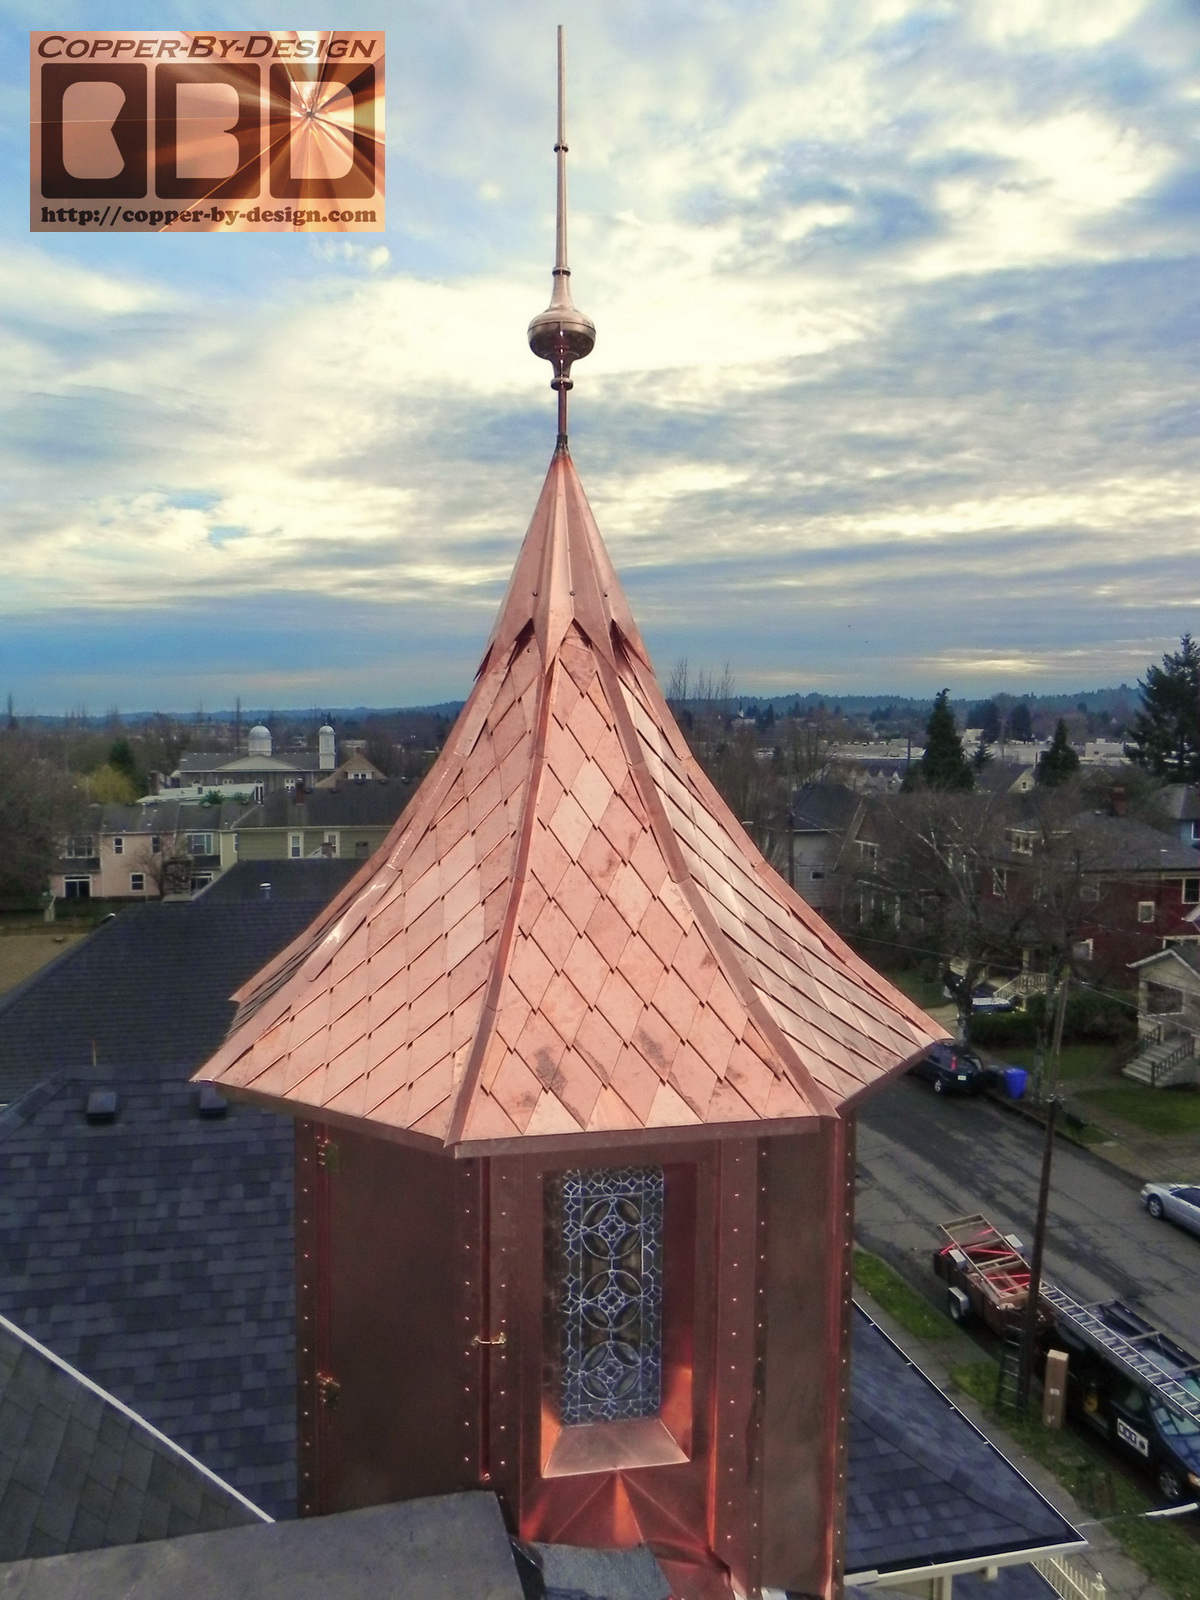
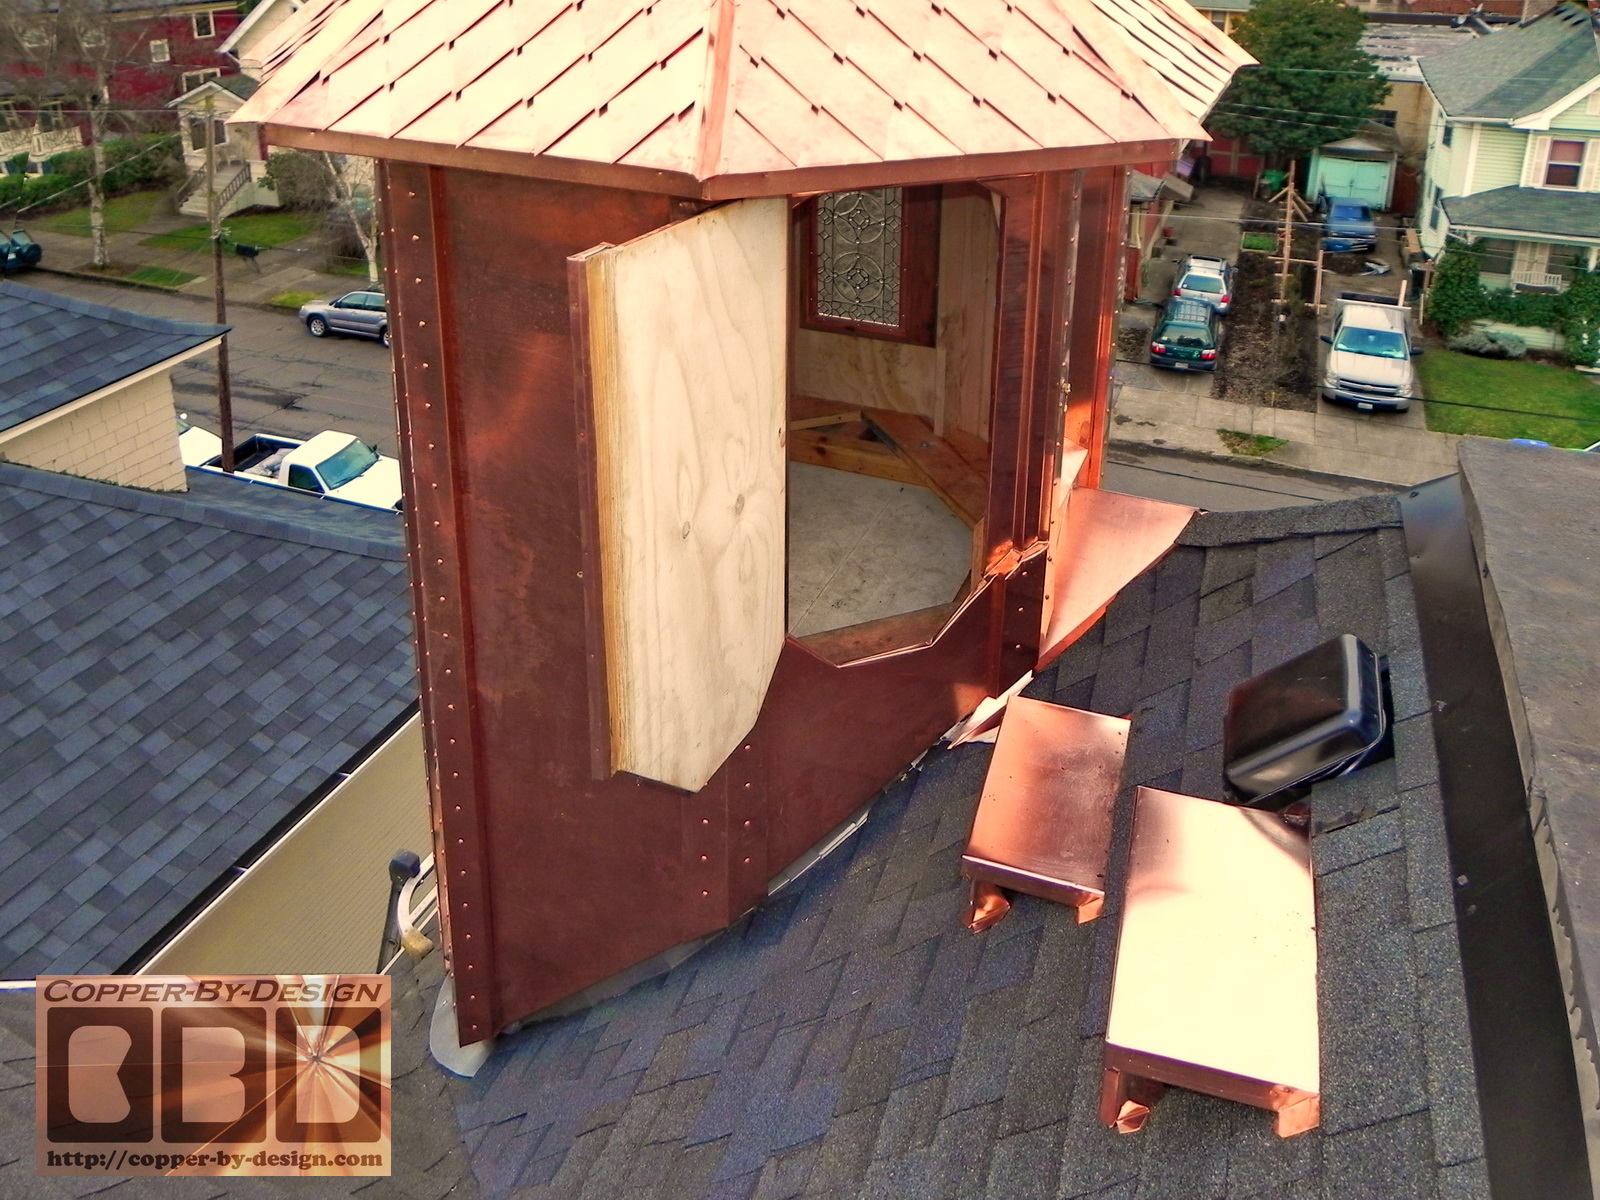
Covering the roof of this turret w/450 piece of copper
1/26:
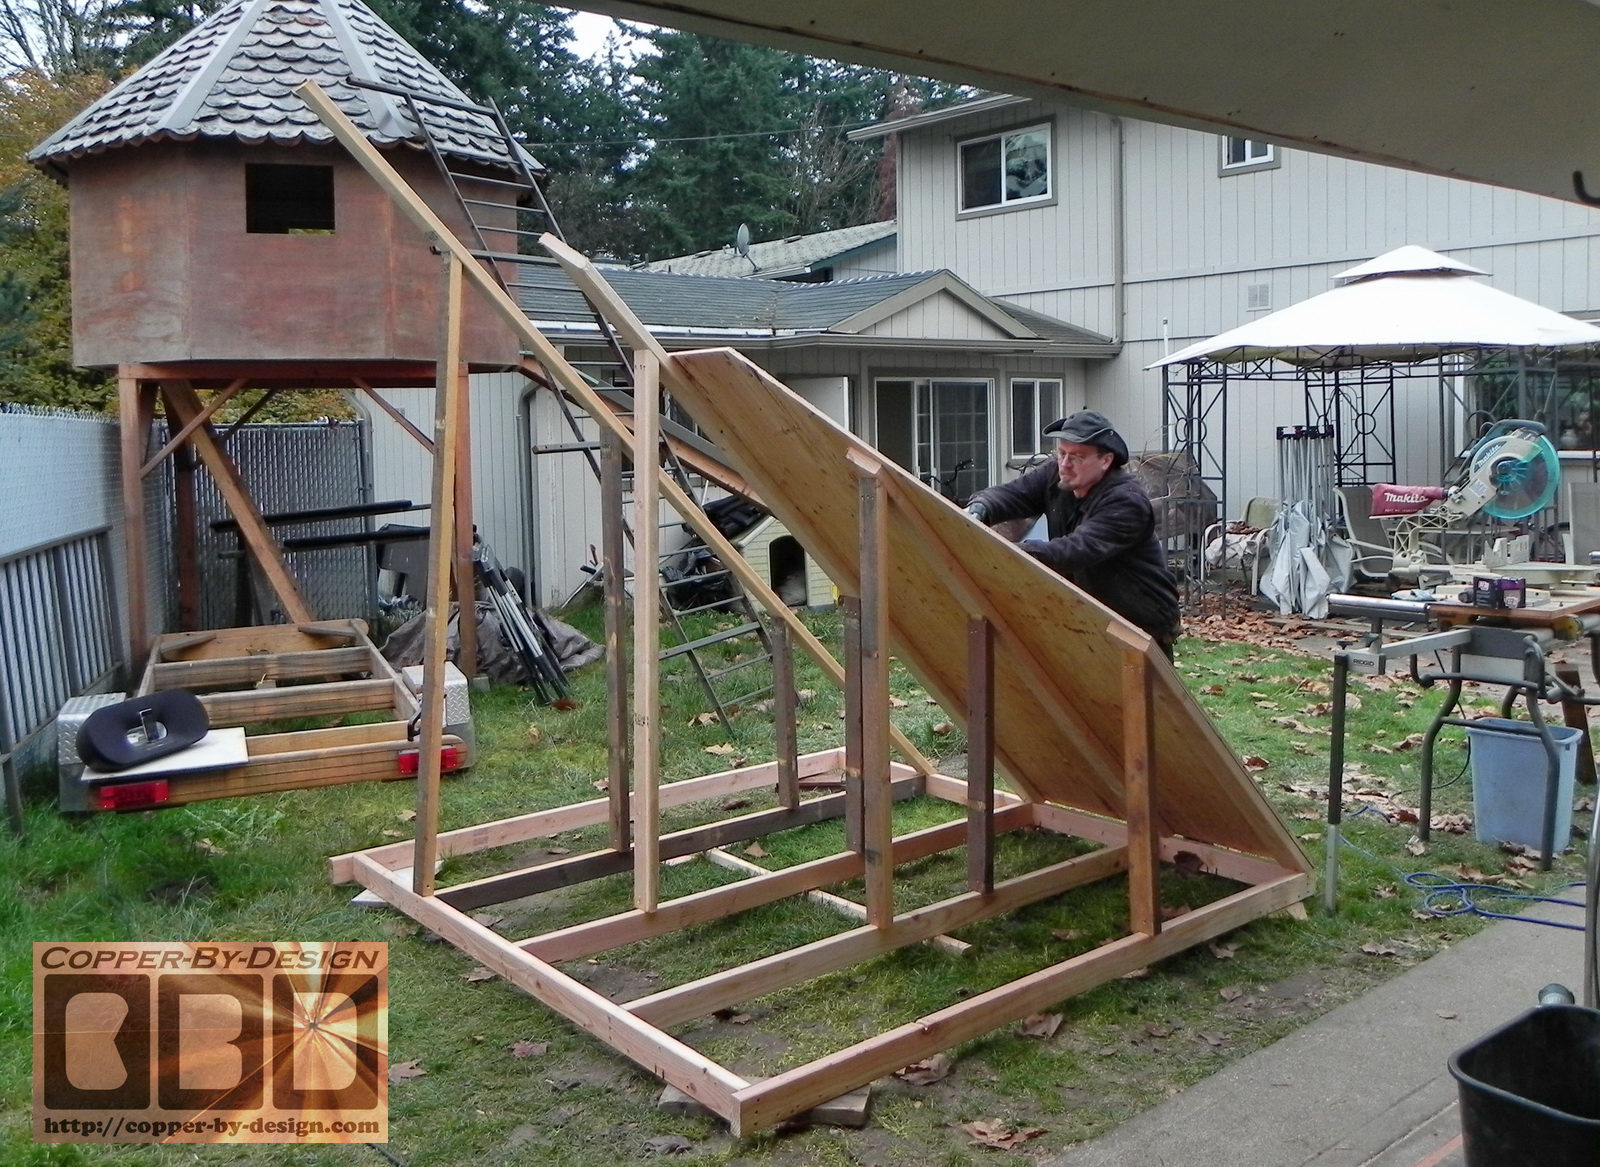
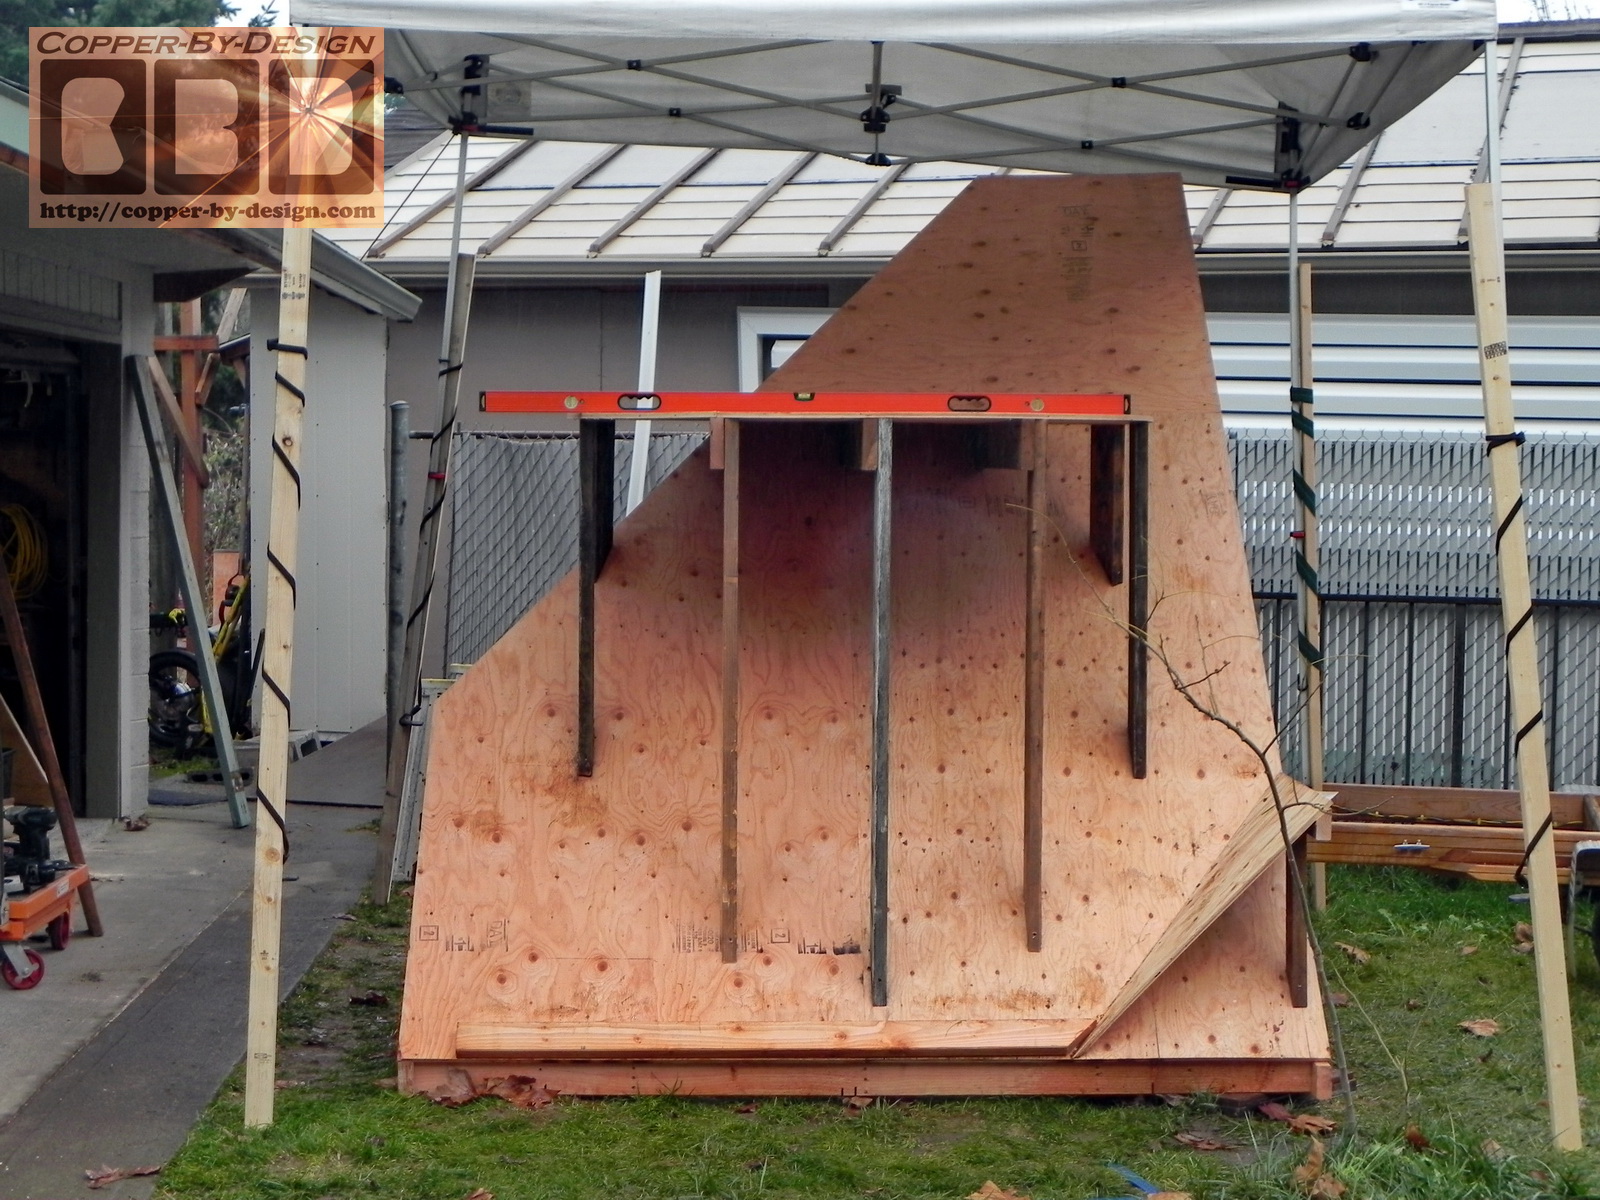
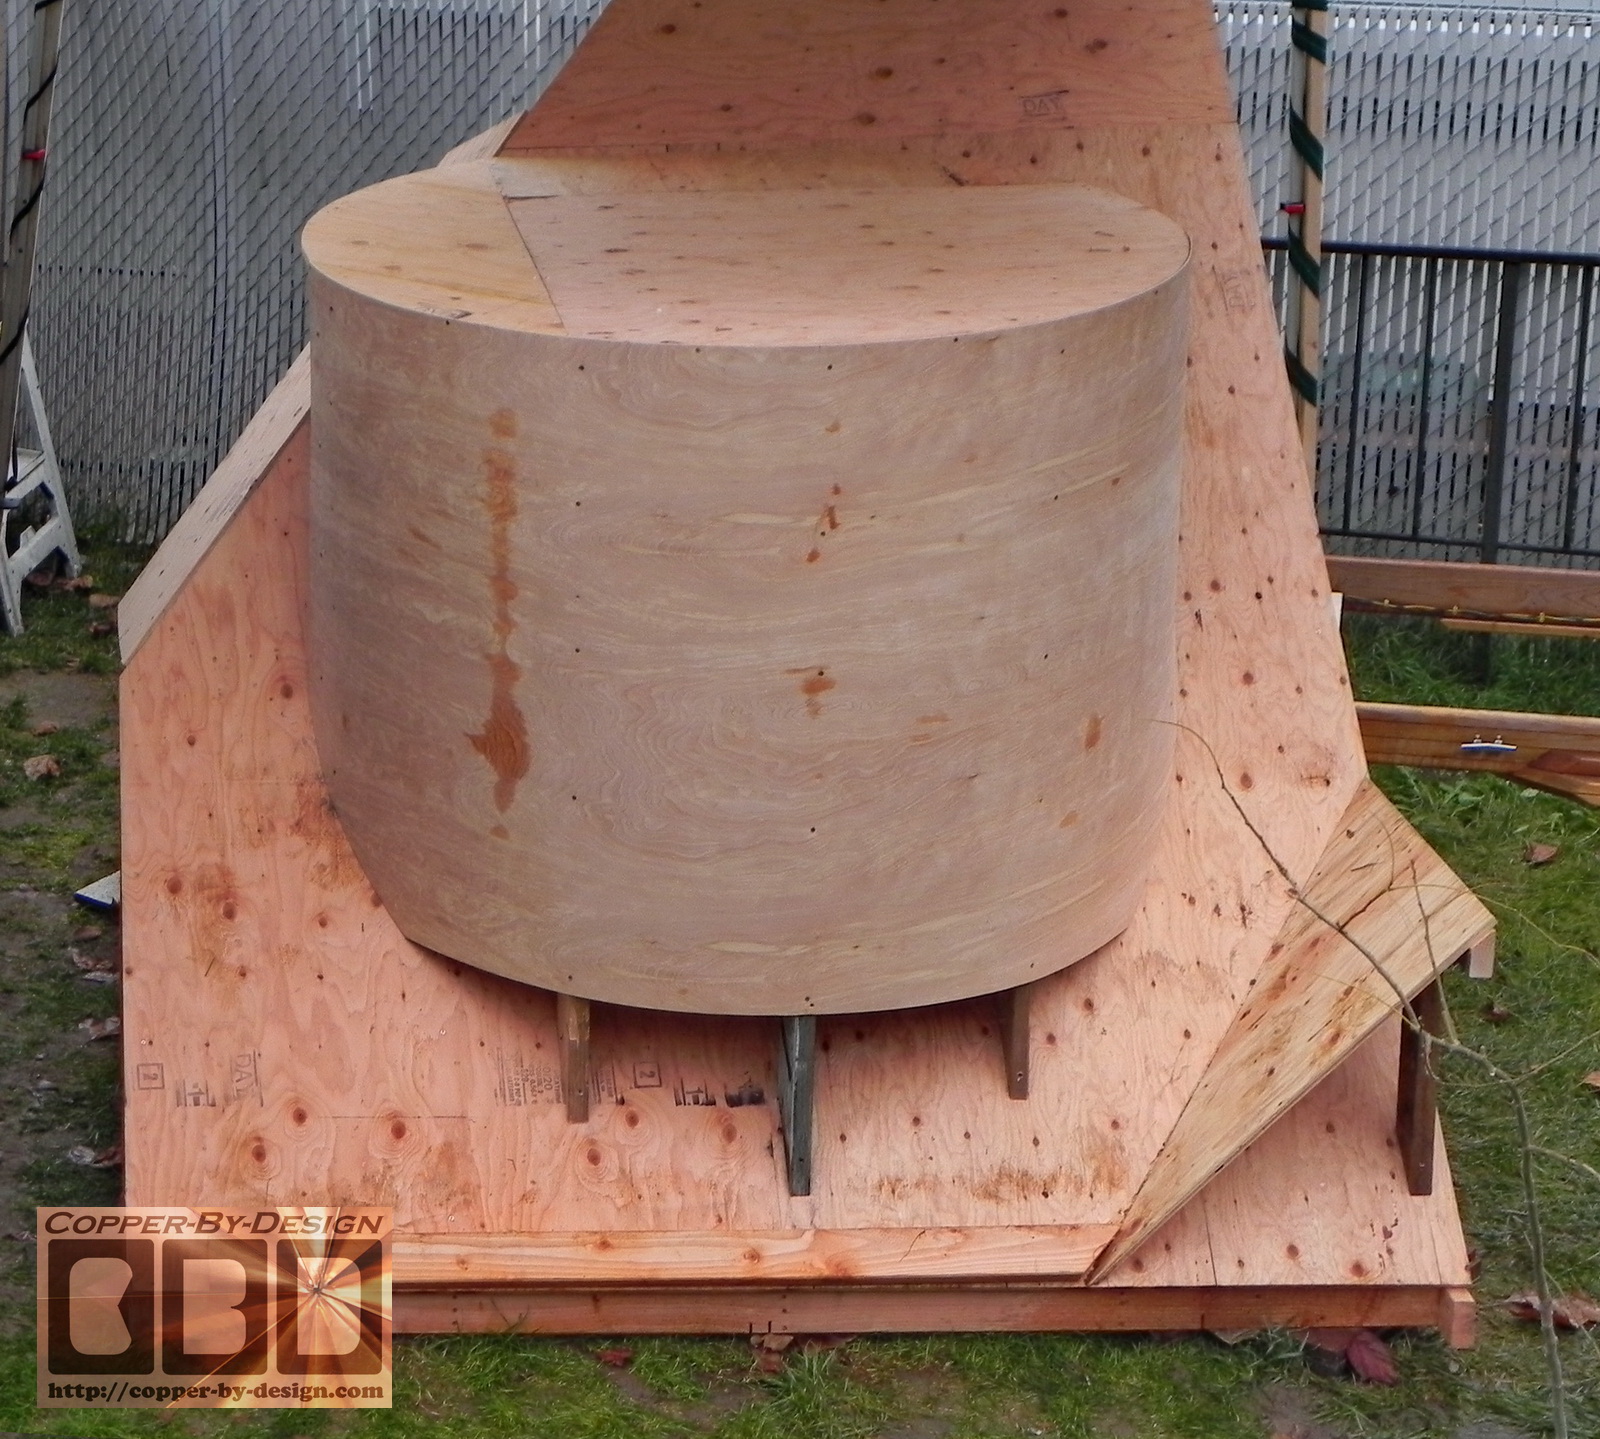
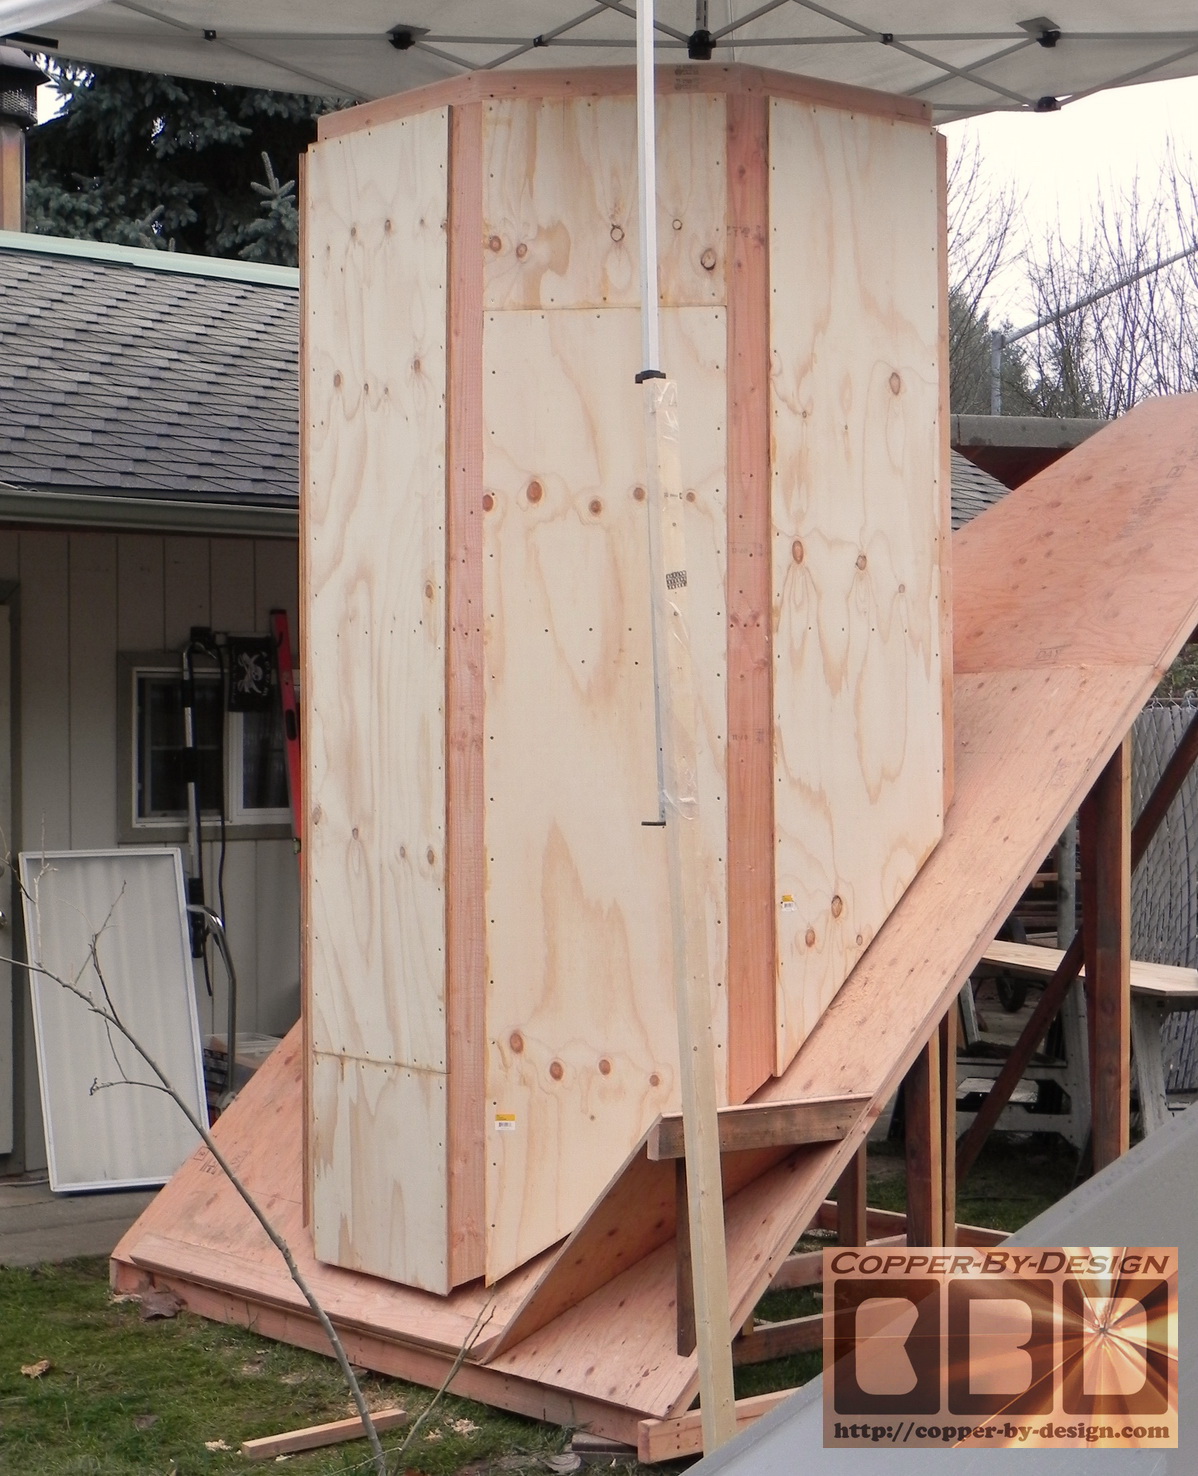
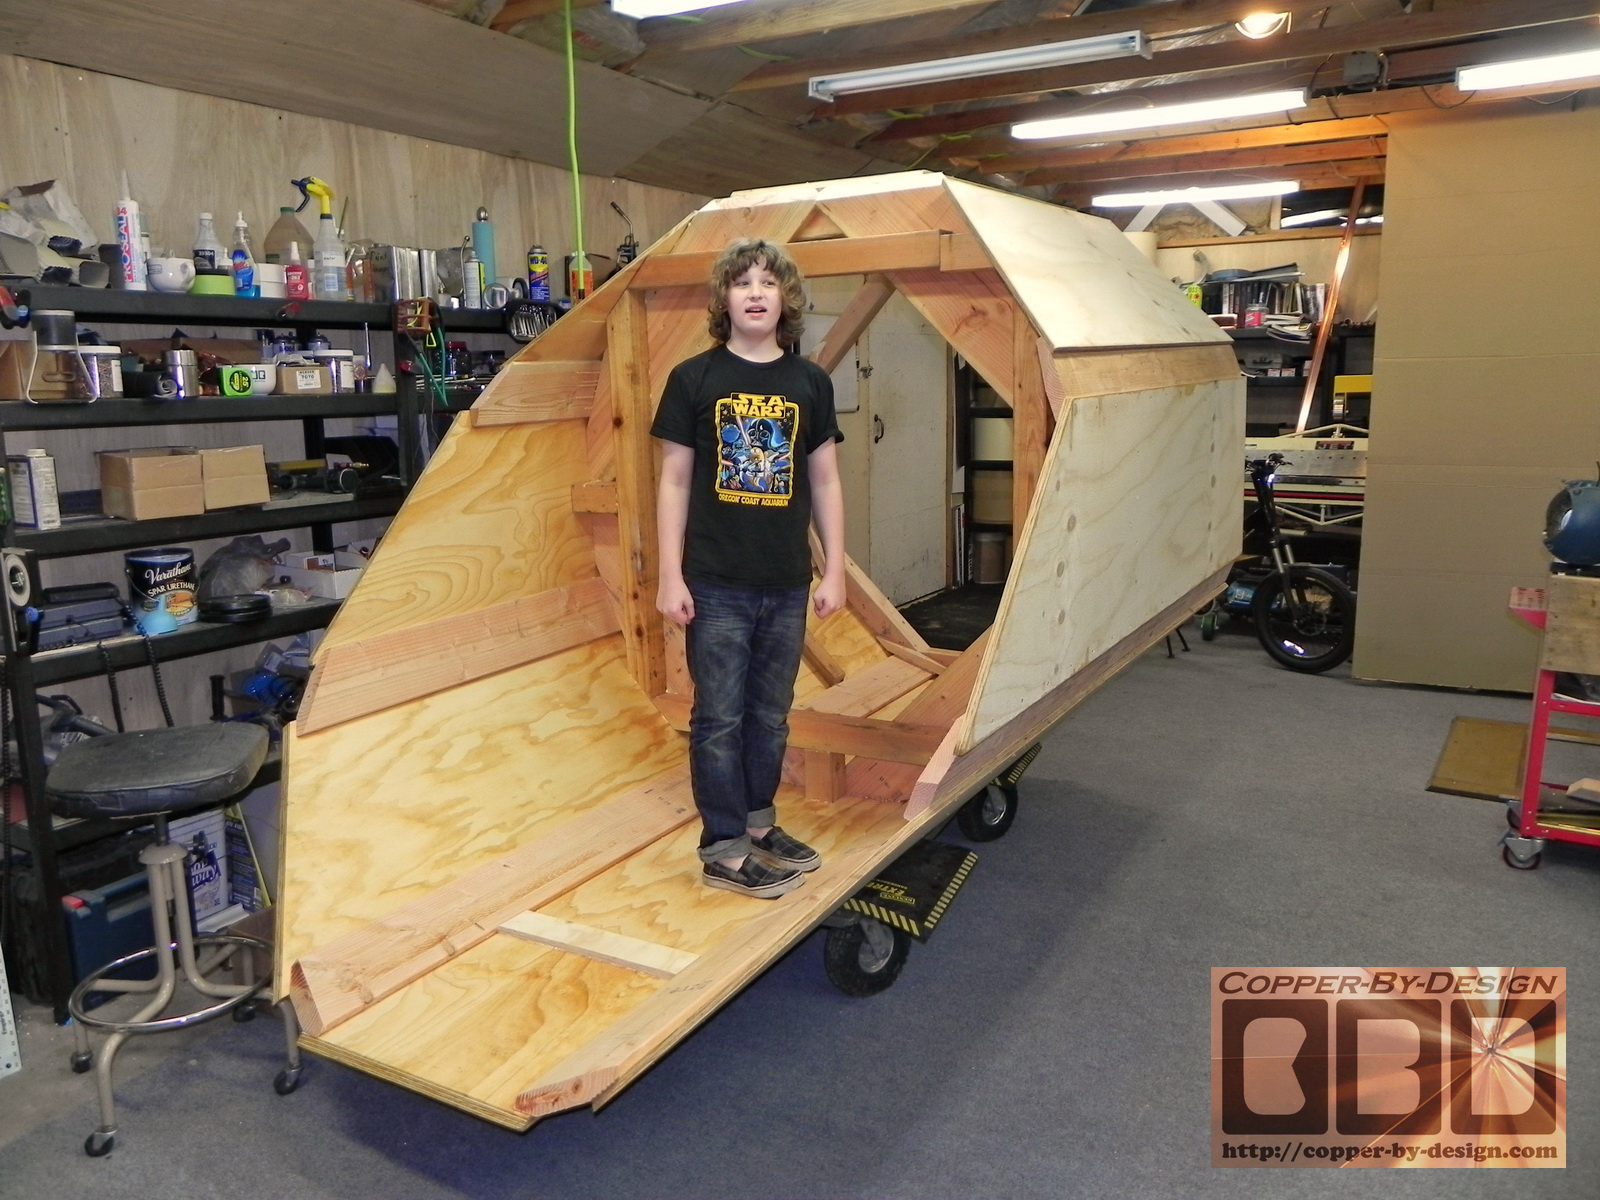
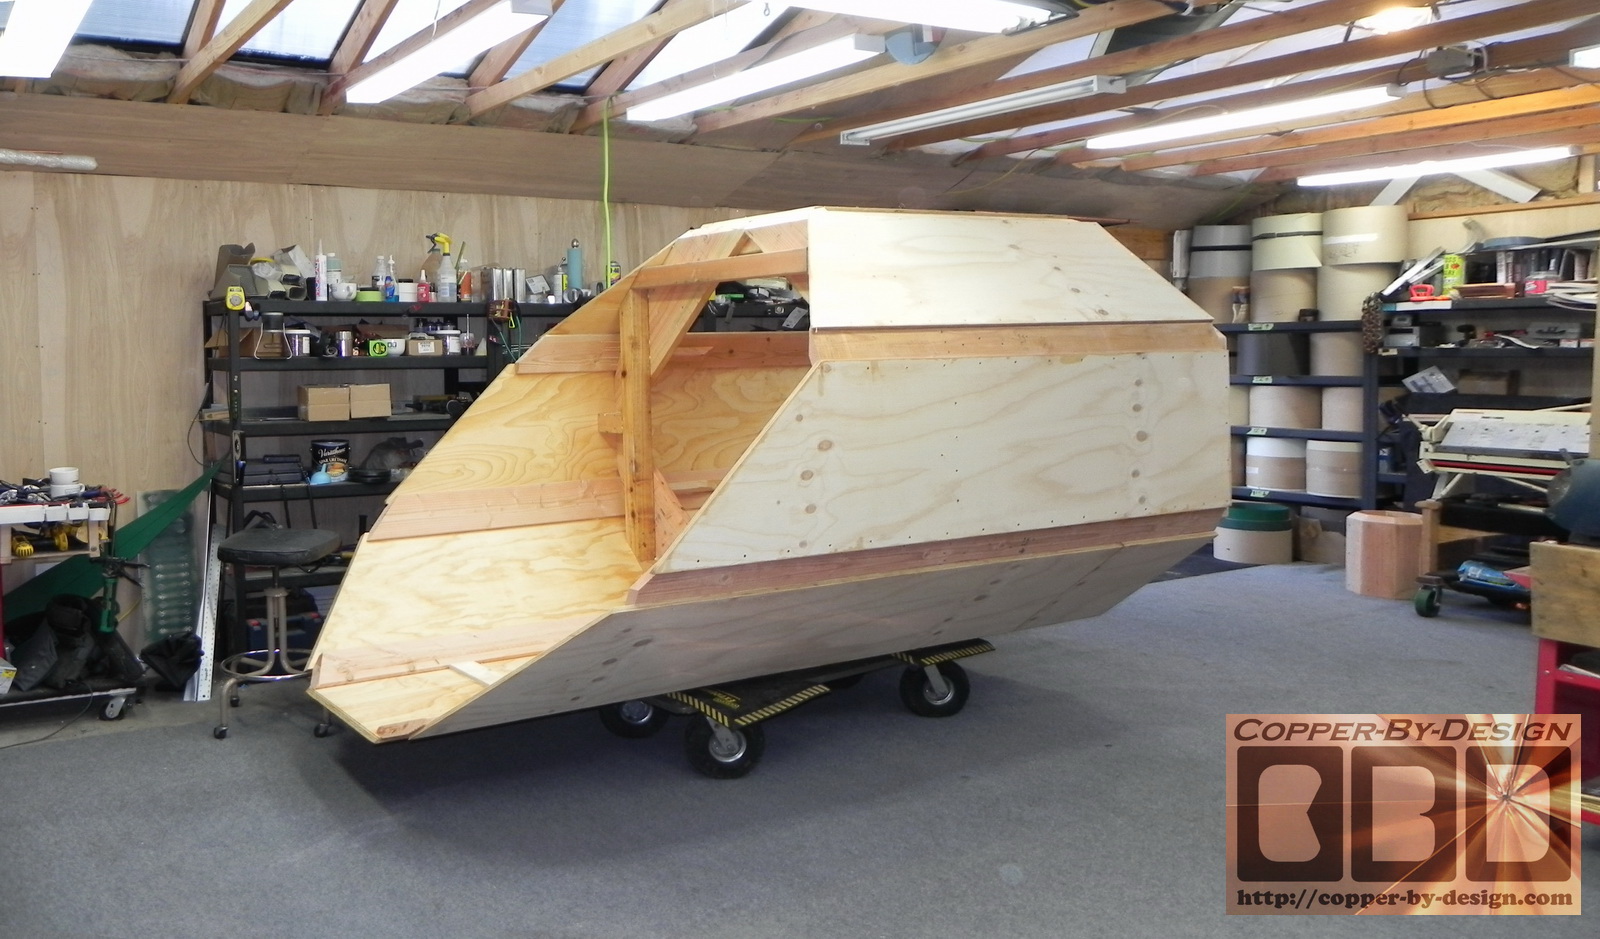
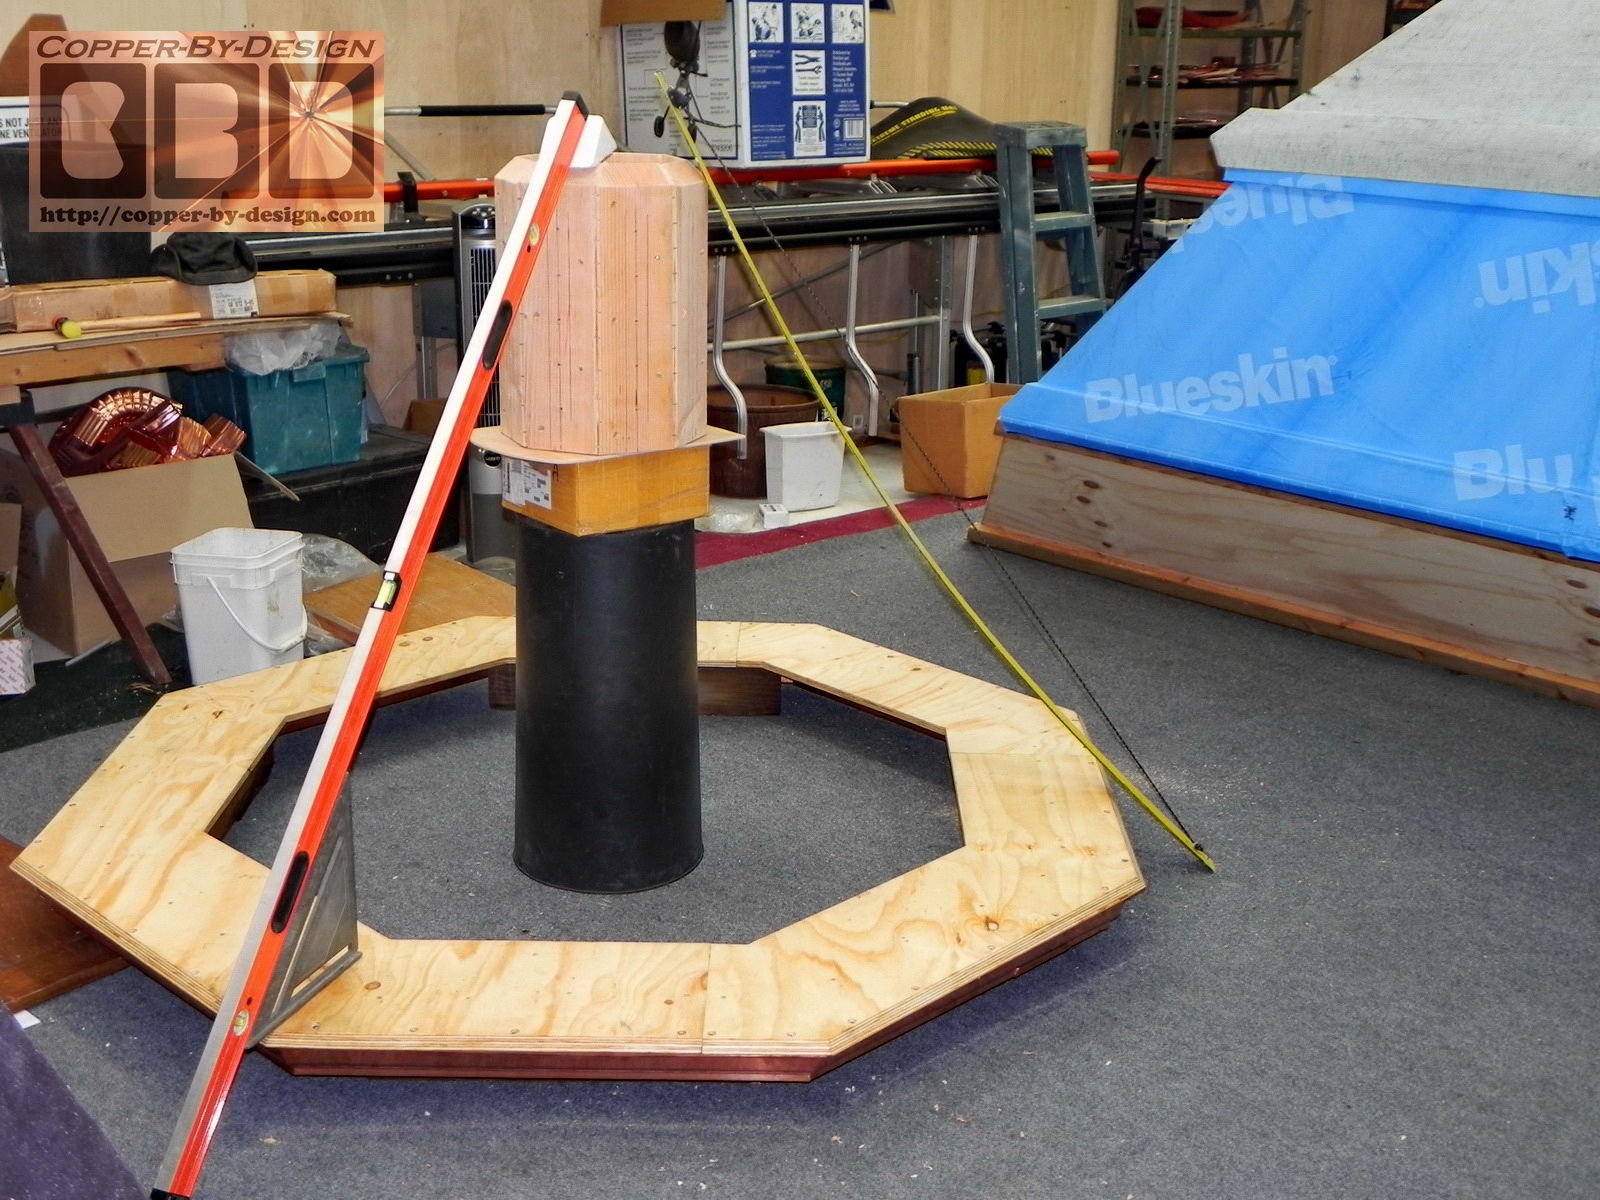
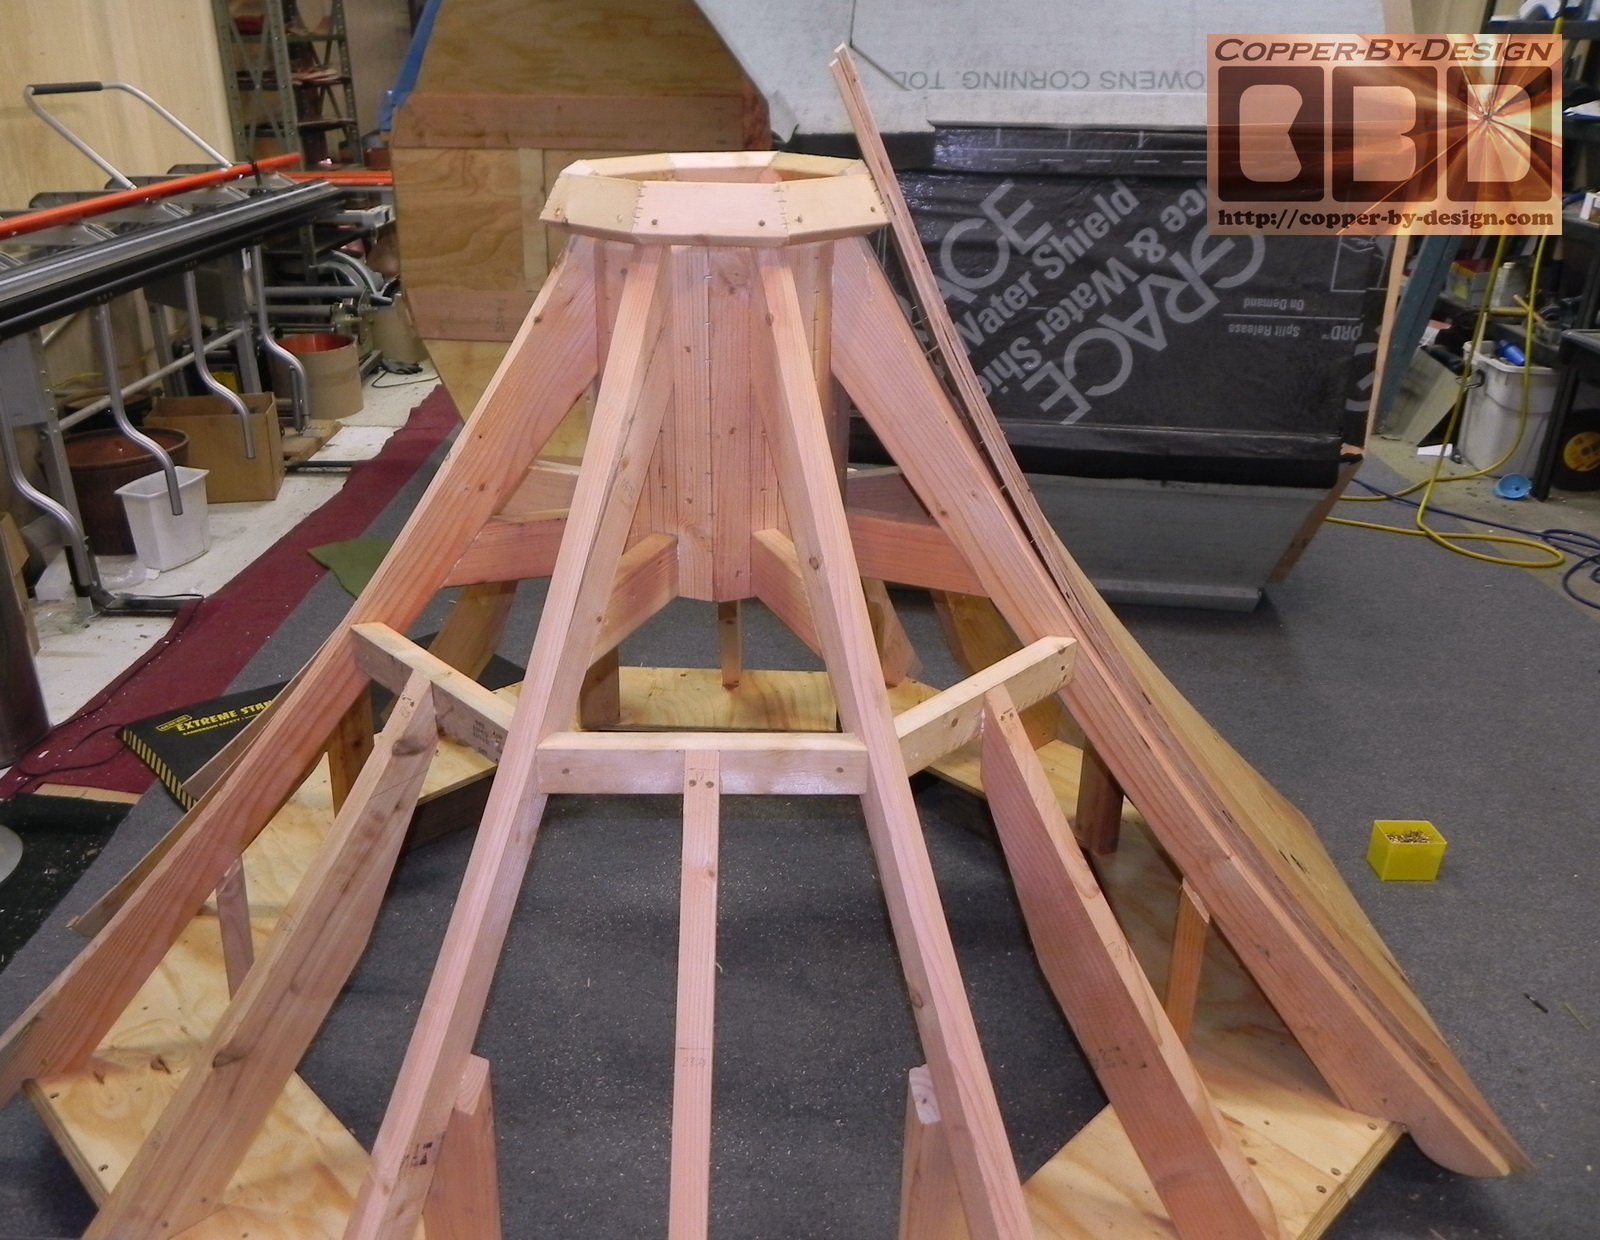
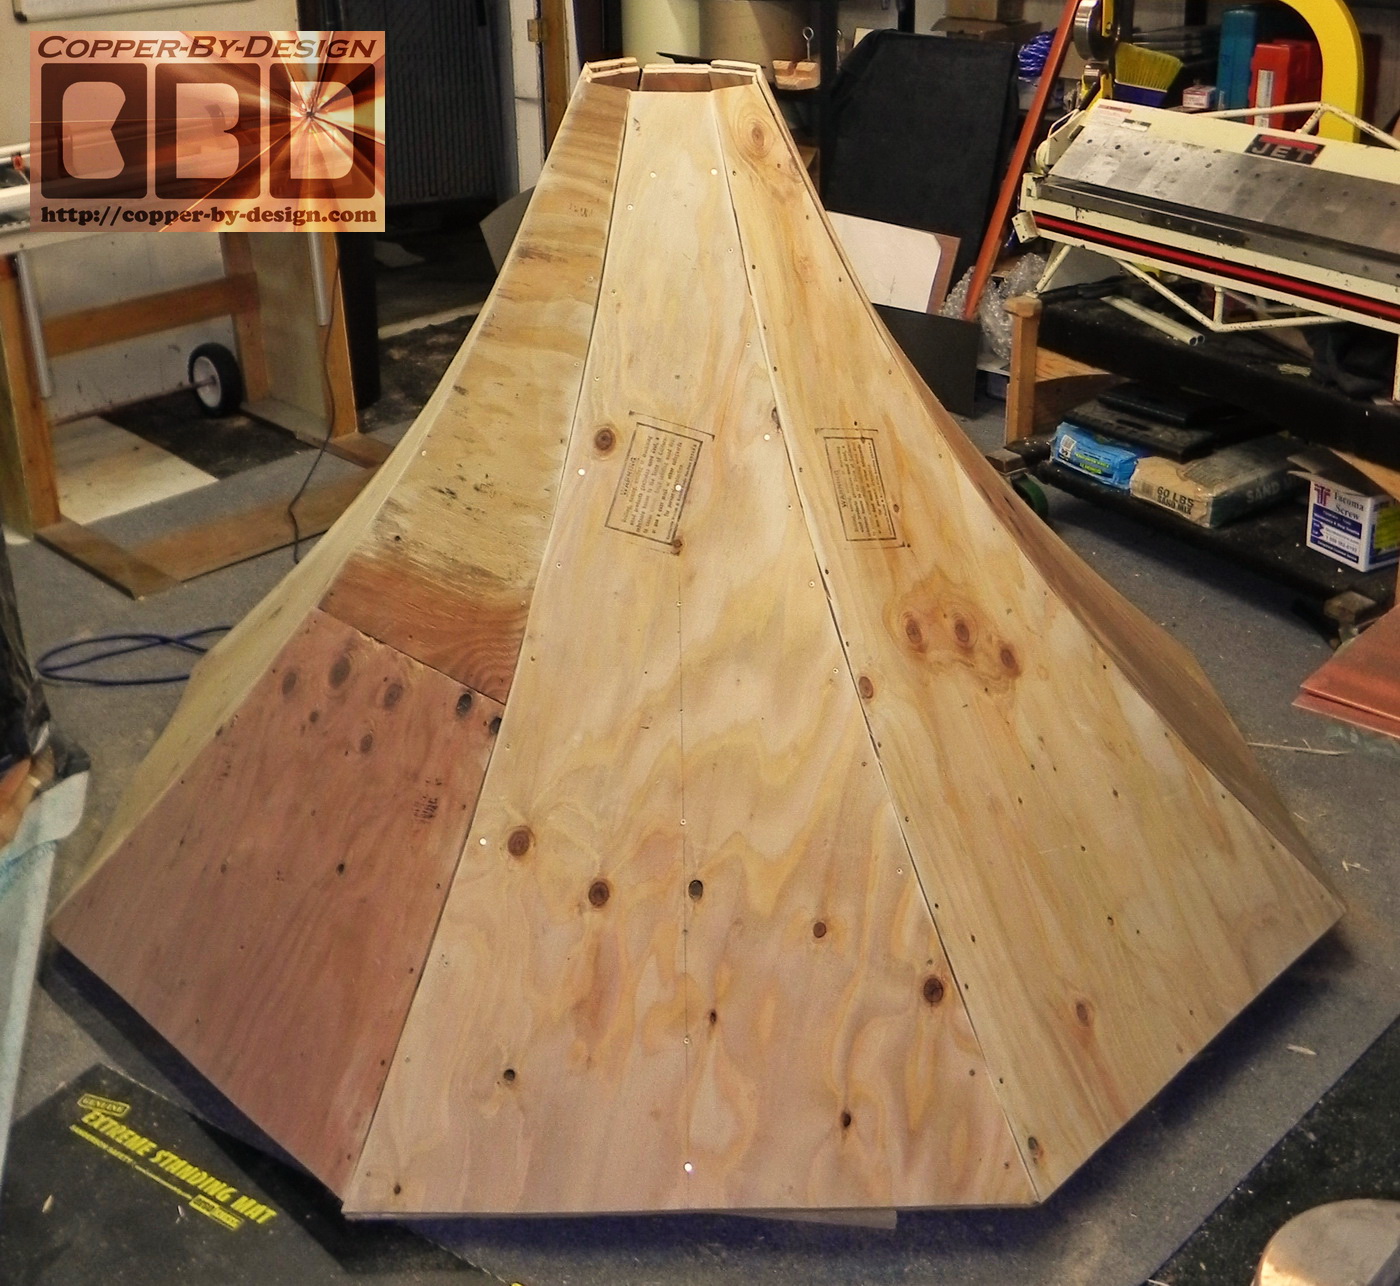
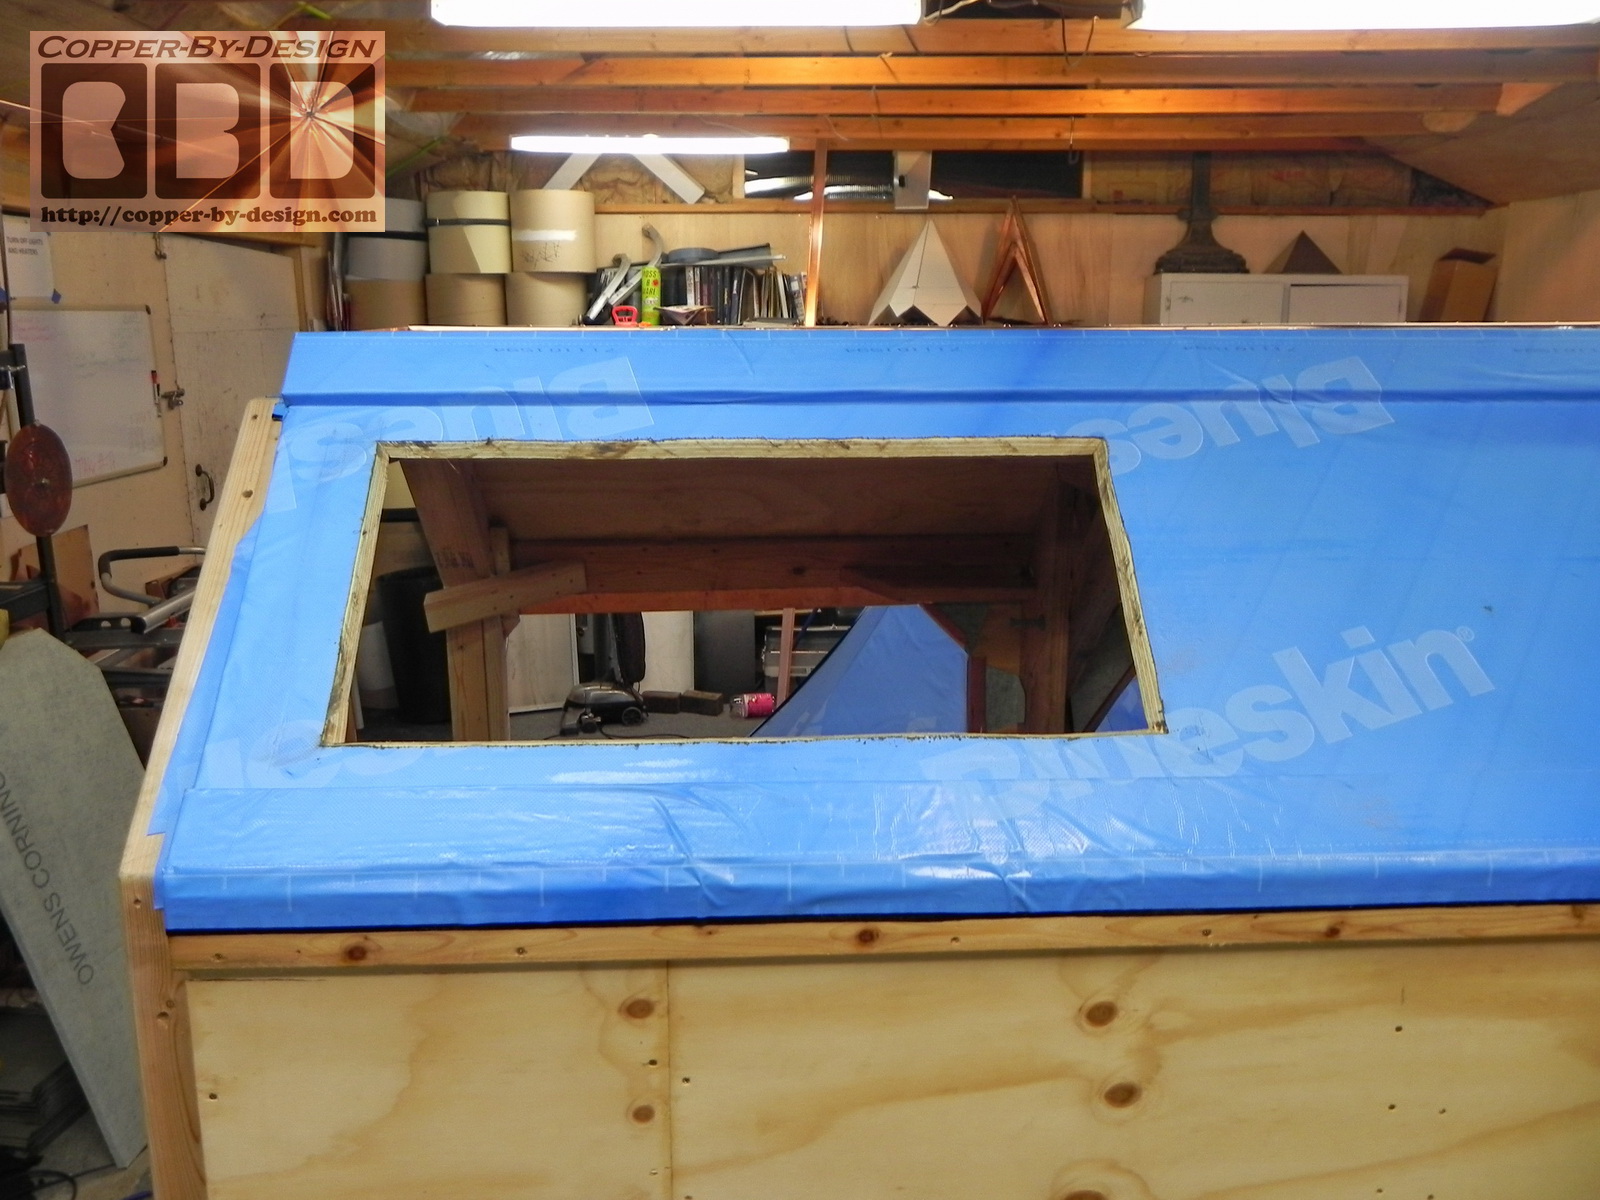
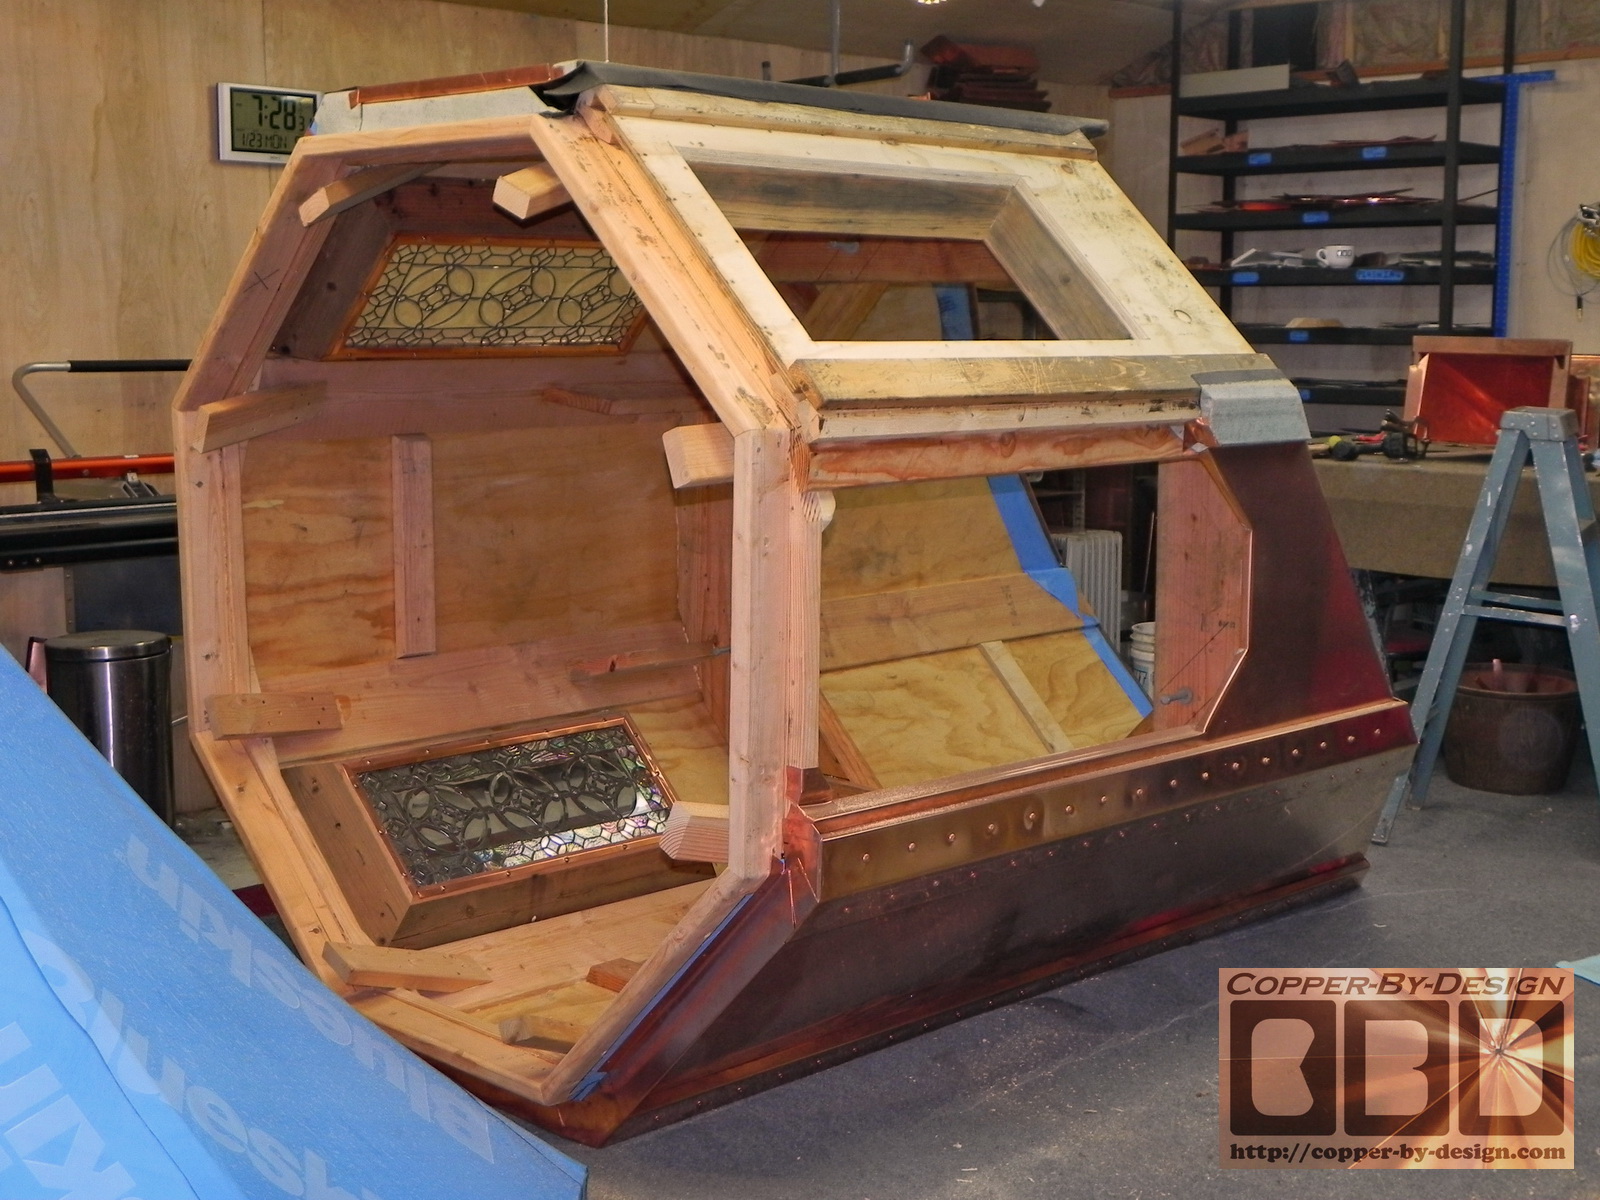
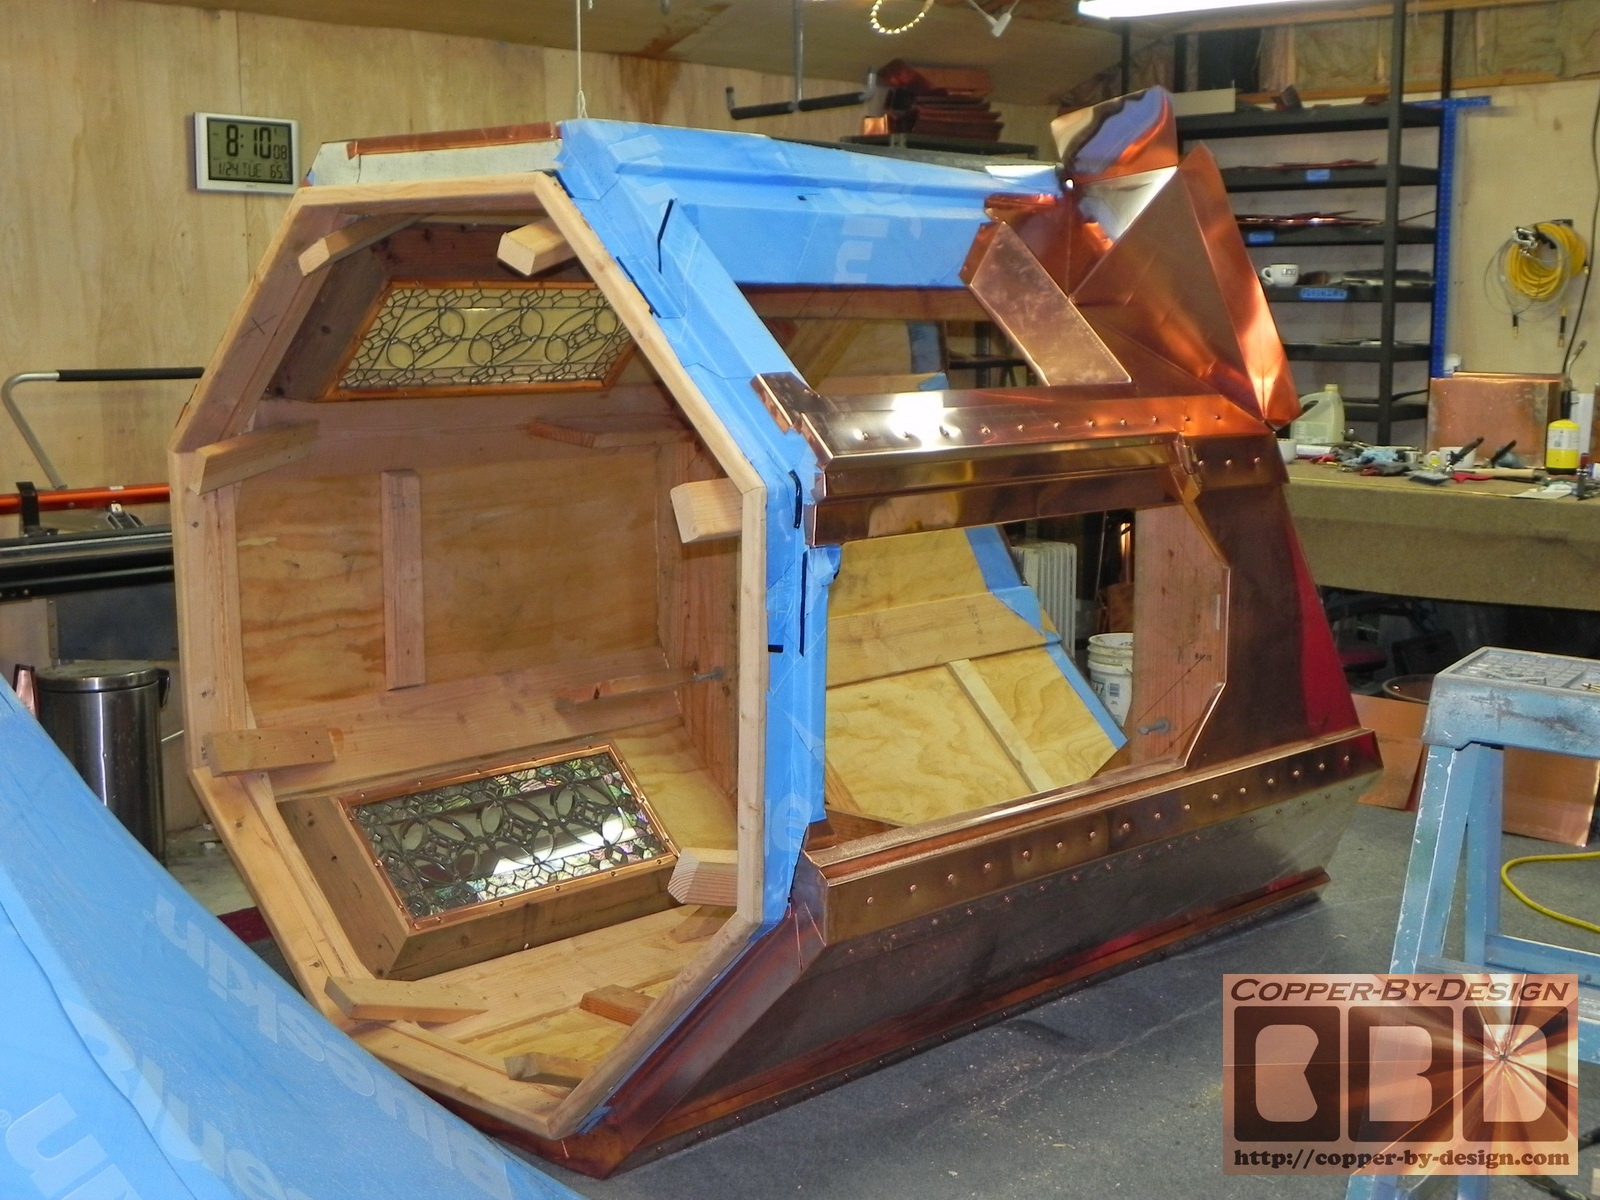
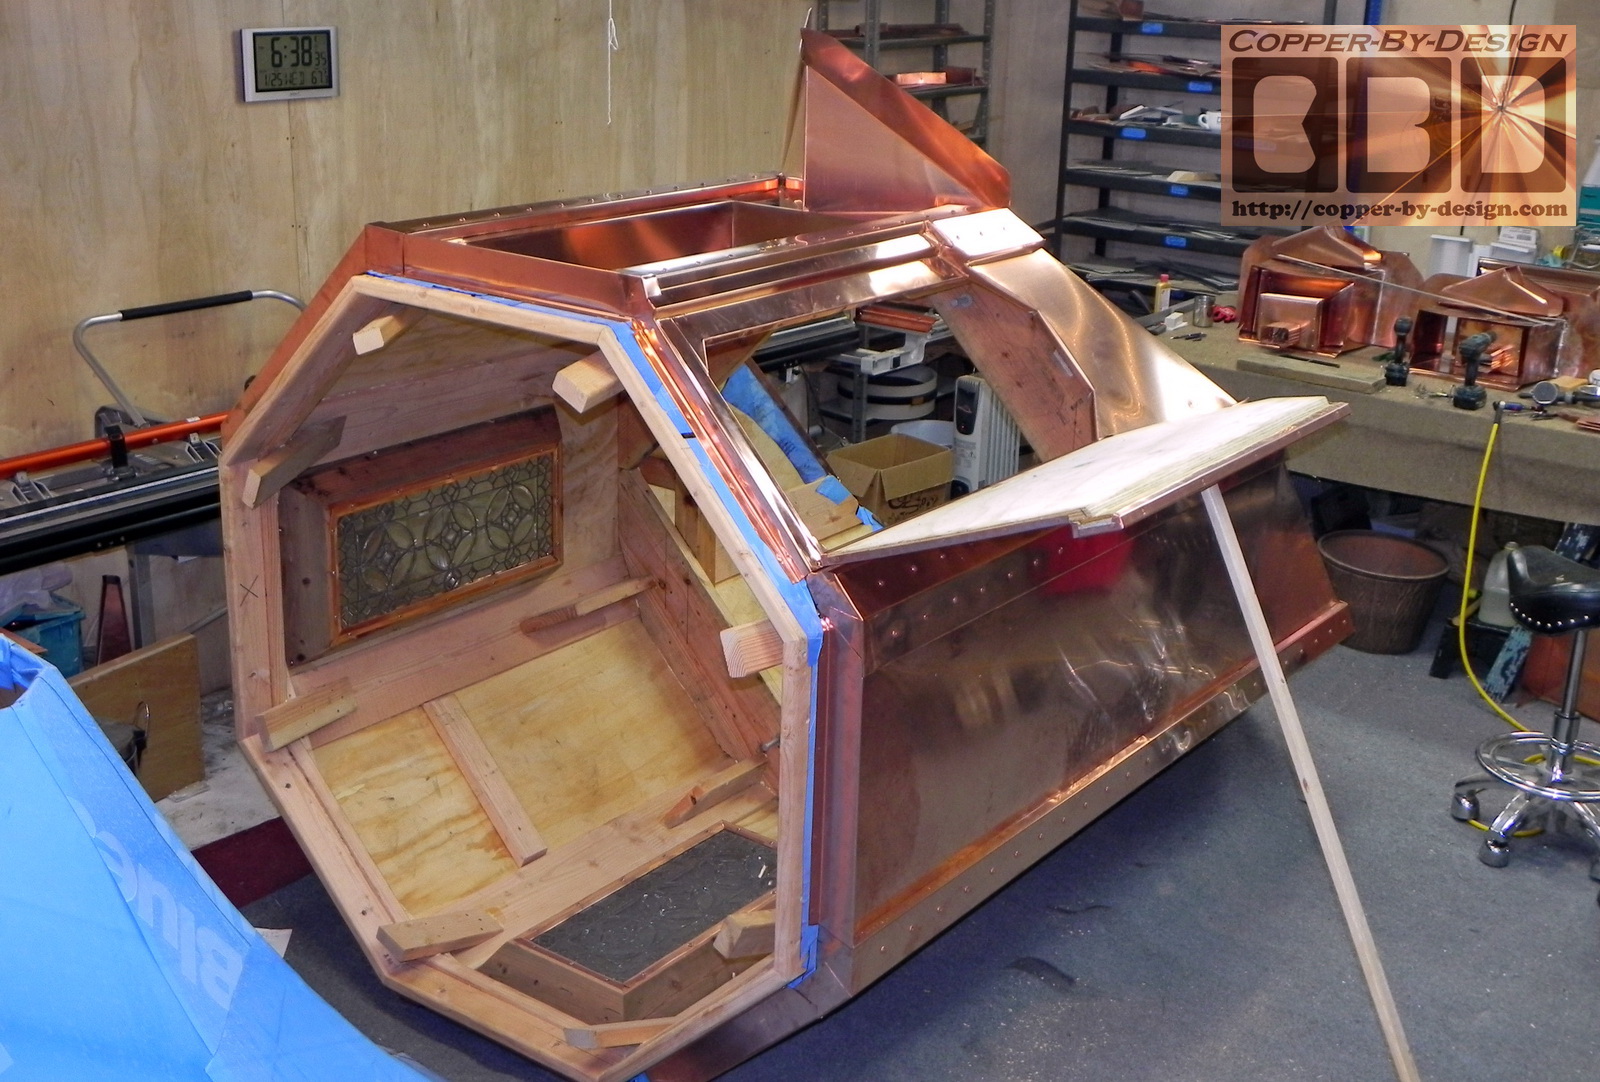
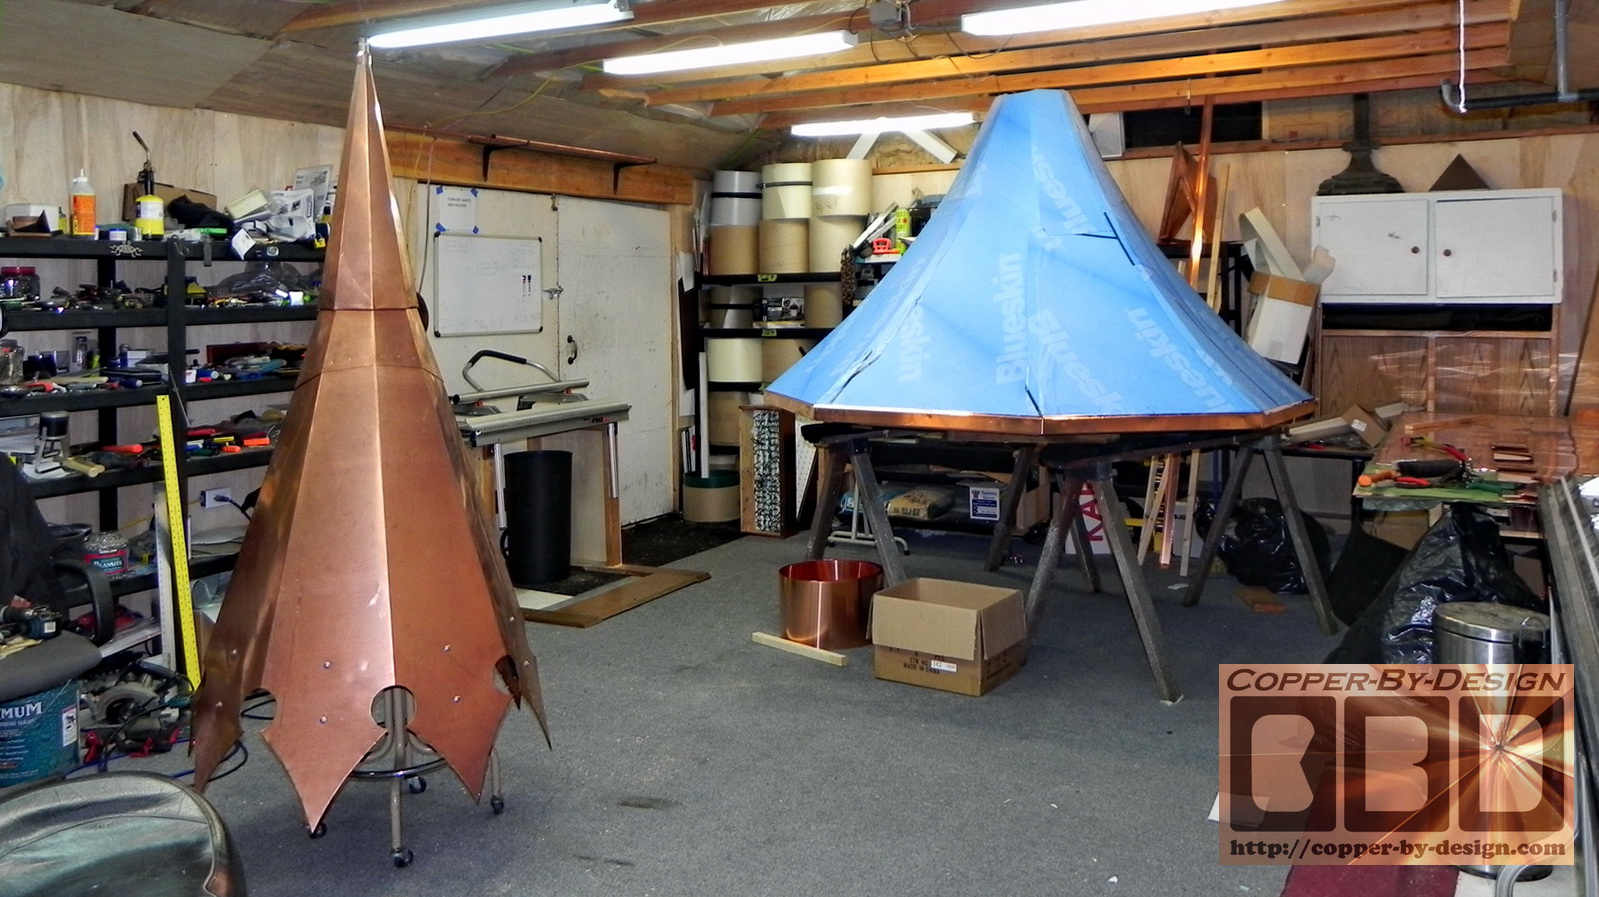
We had moved the mid-section outside to make more
room for working on the roof. We tried to set this roof structure up on a pair of
shorter saw horses, but they collapsed under the weight and smashed
Chris's hand, taking him out for the rest of the week. With Tia's
help we got this up on a stronger set of padded saw horses.

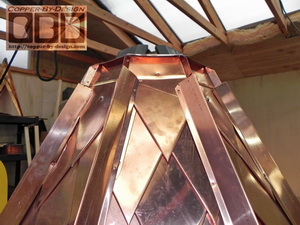
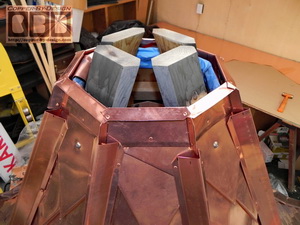
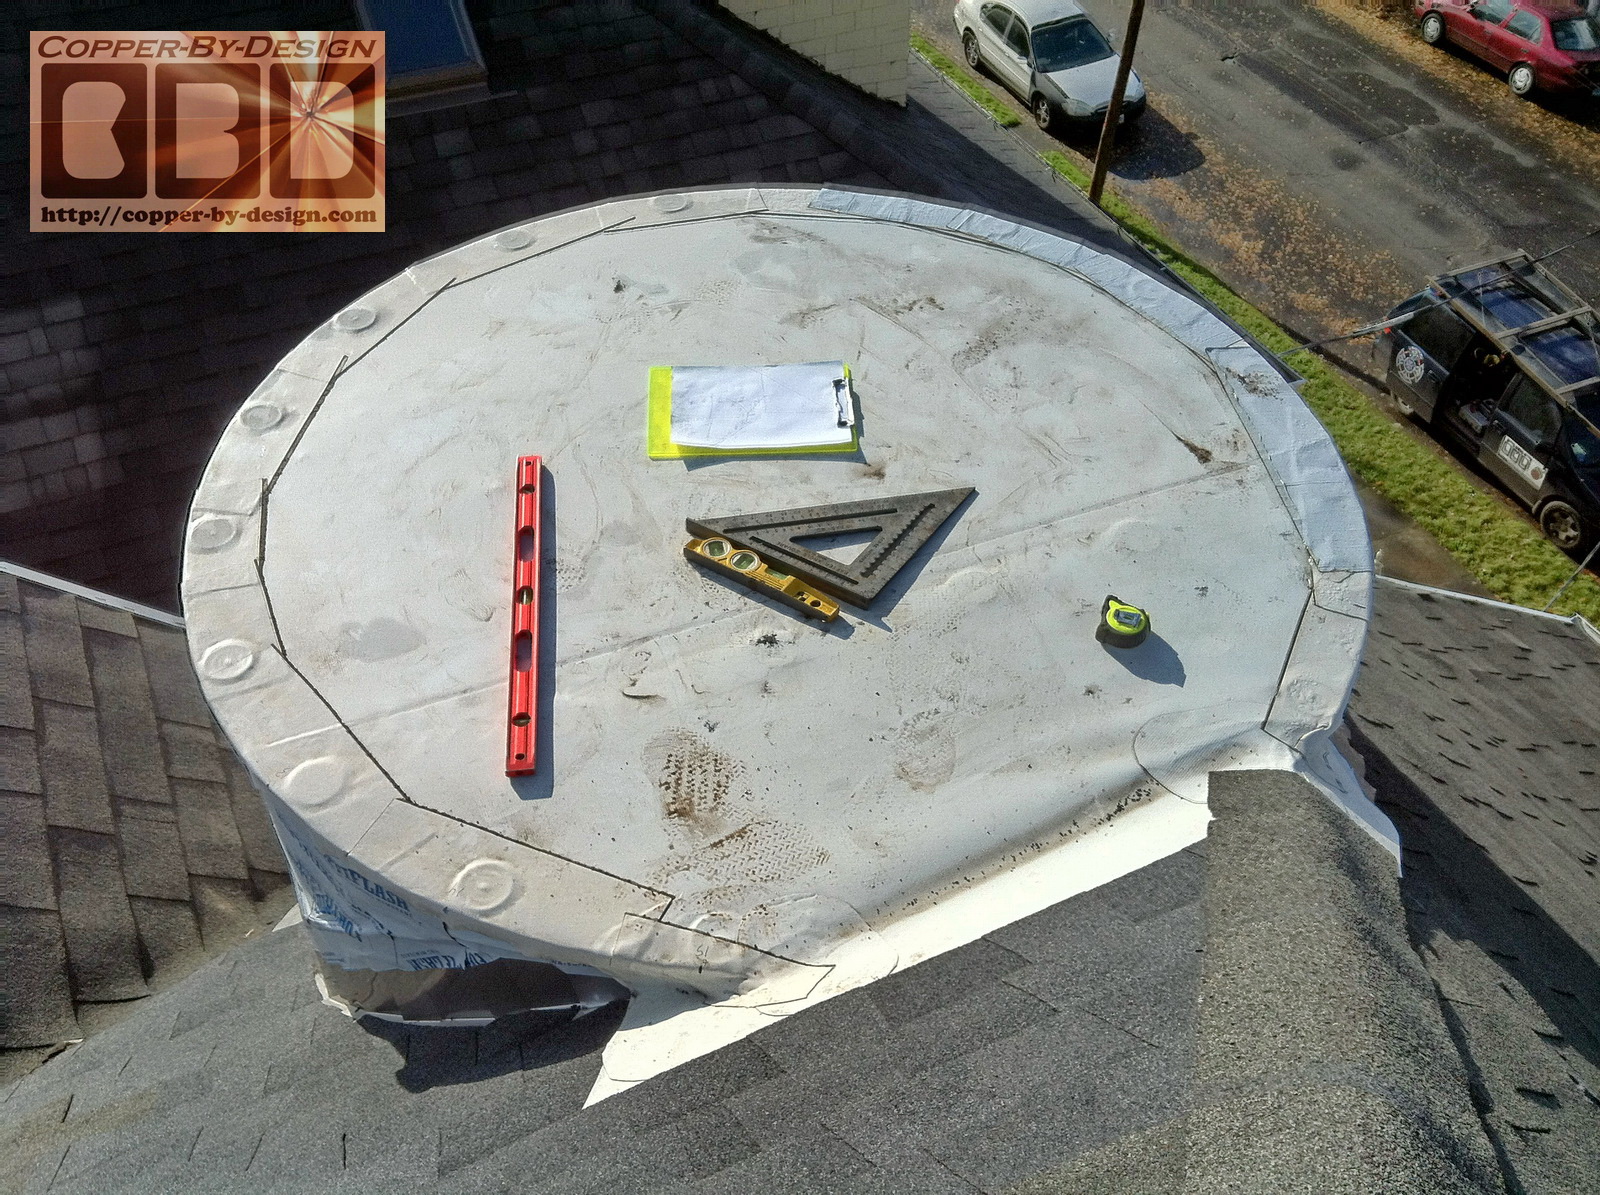
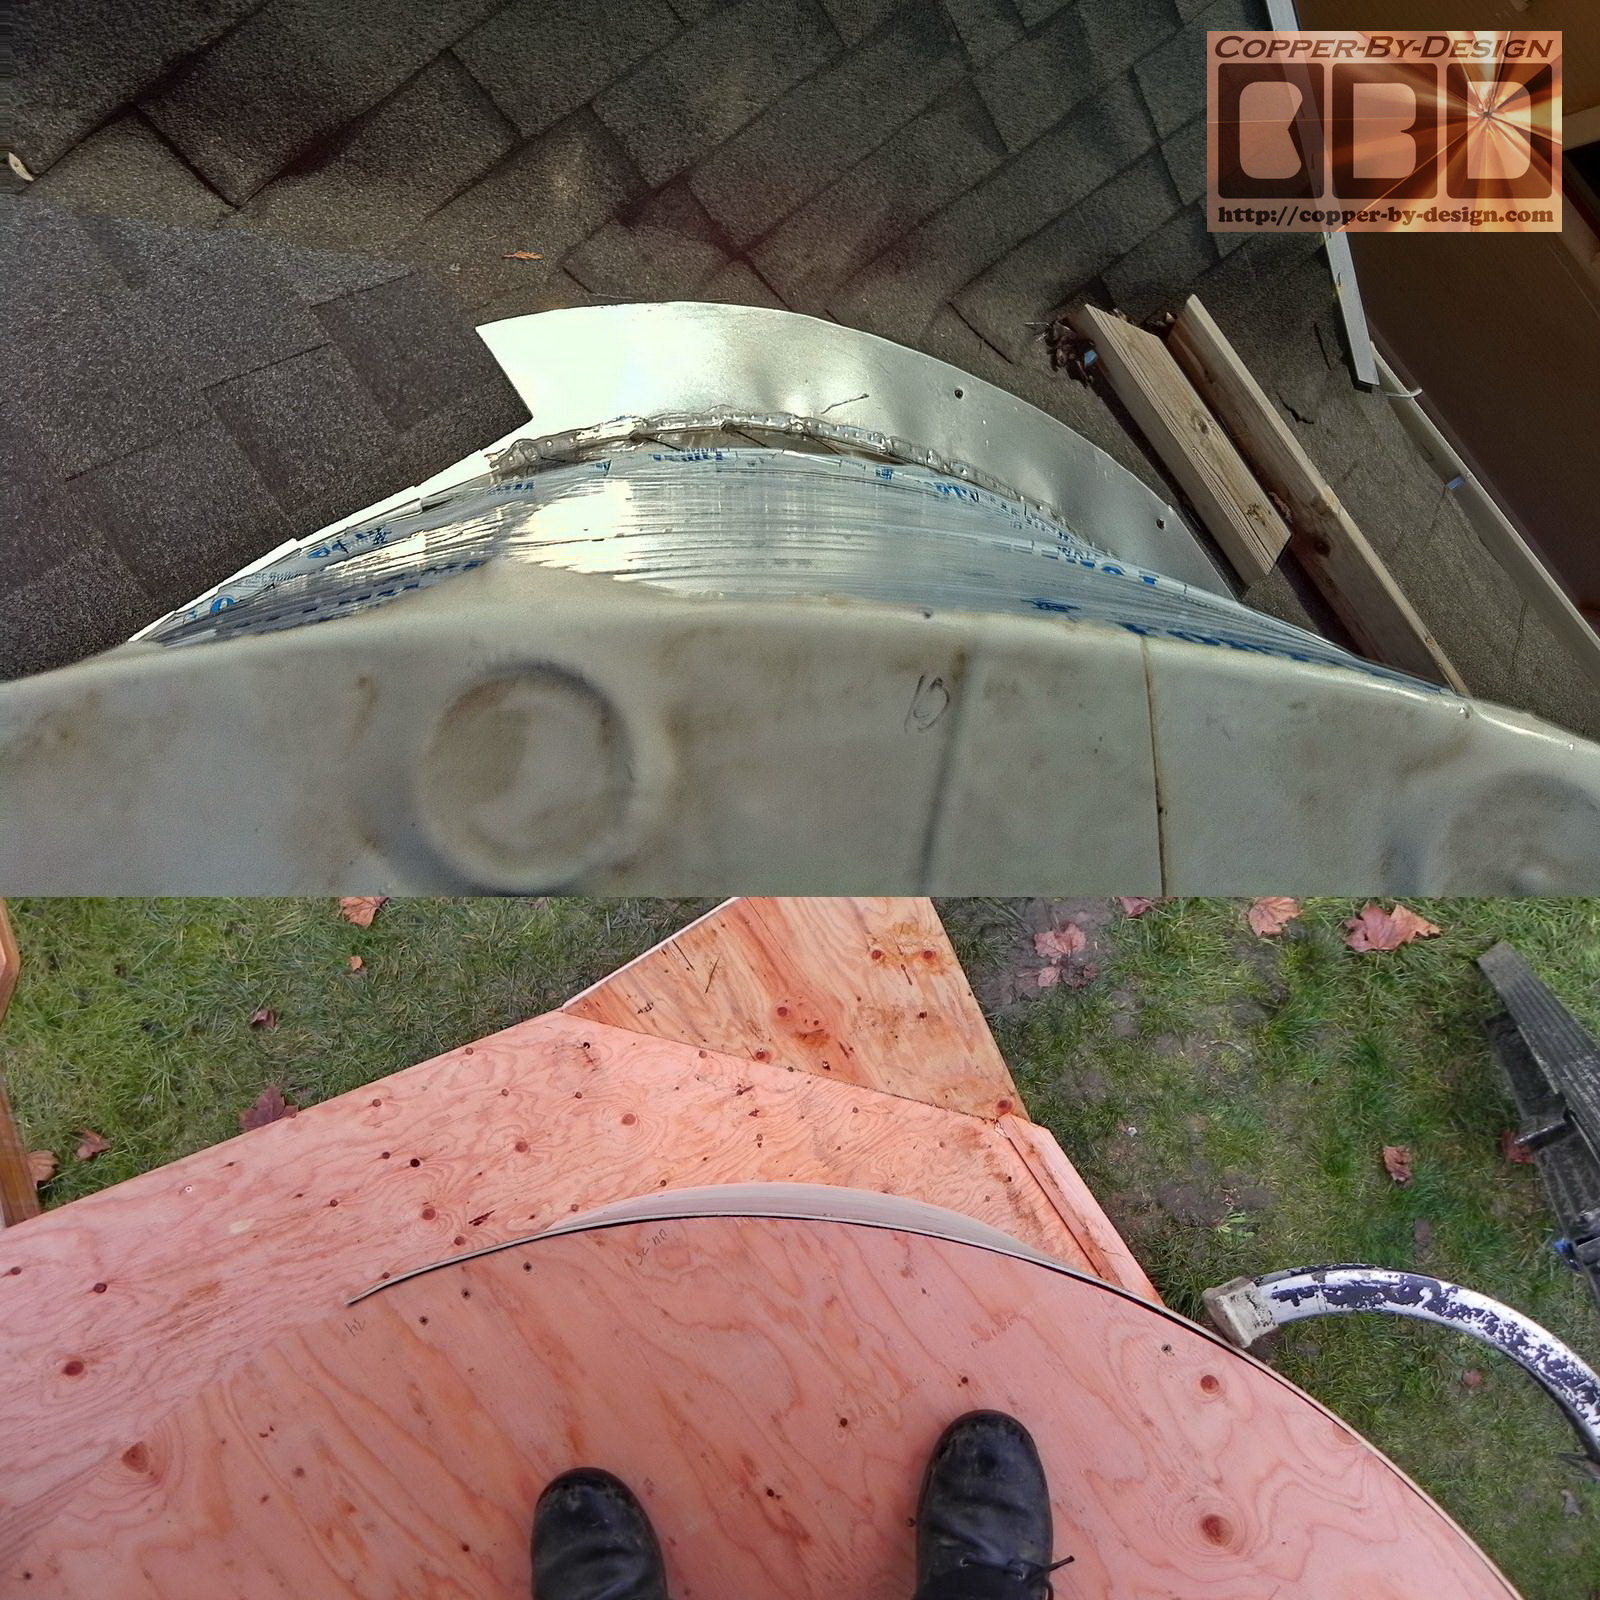
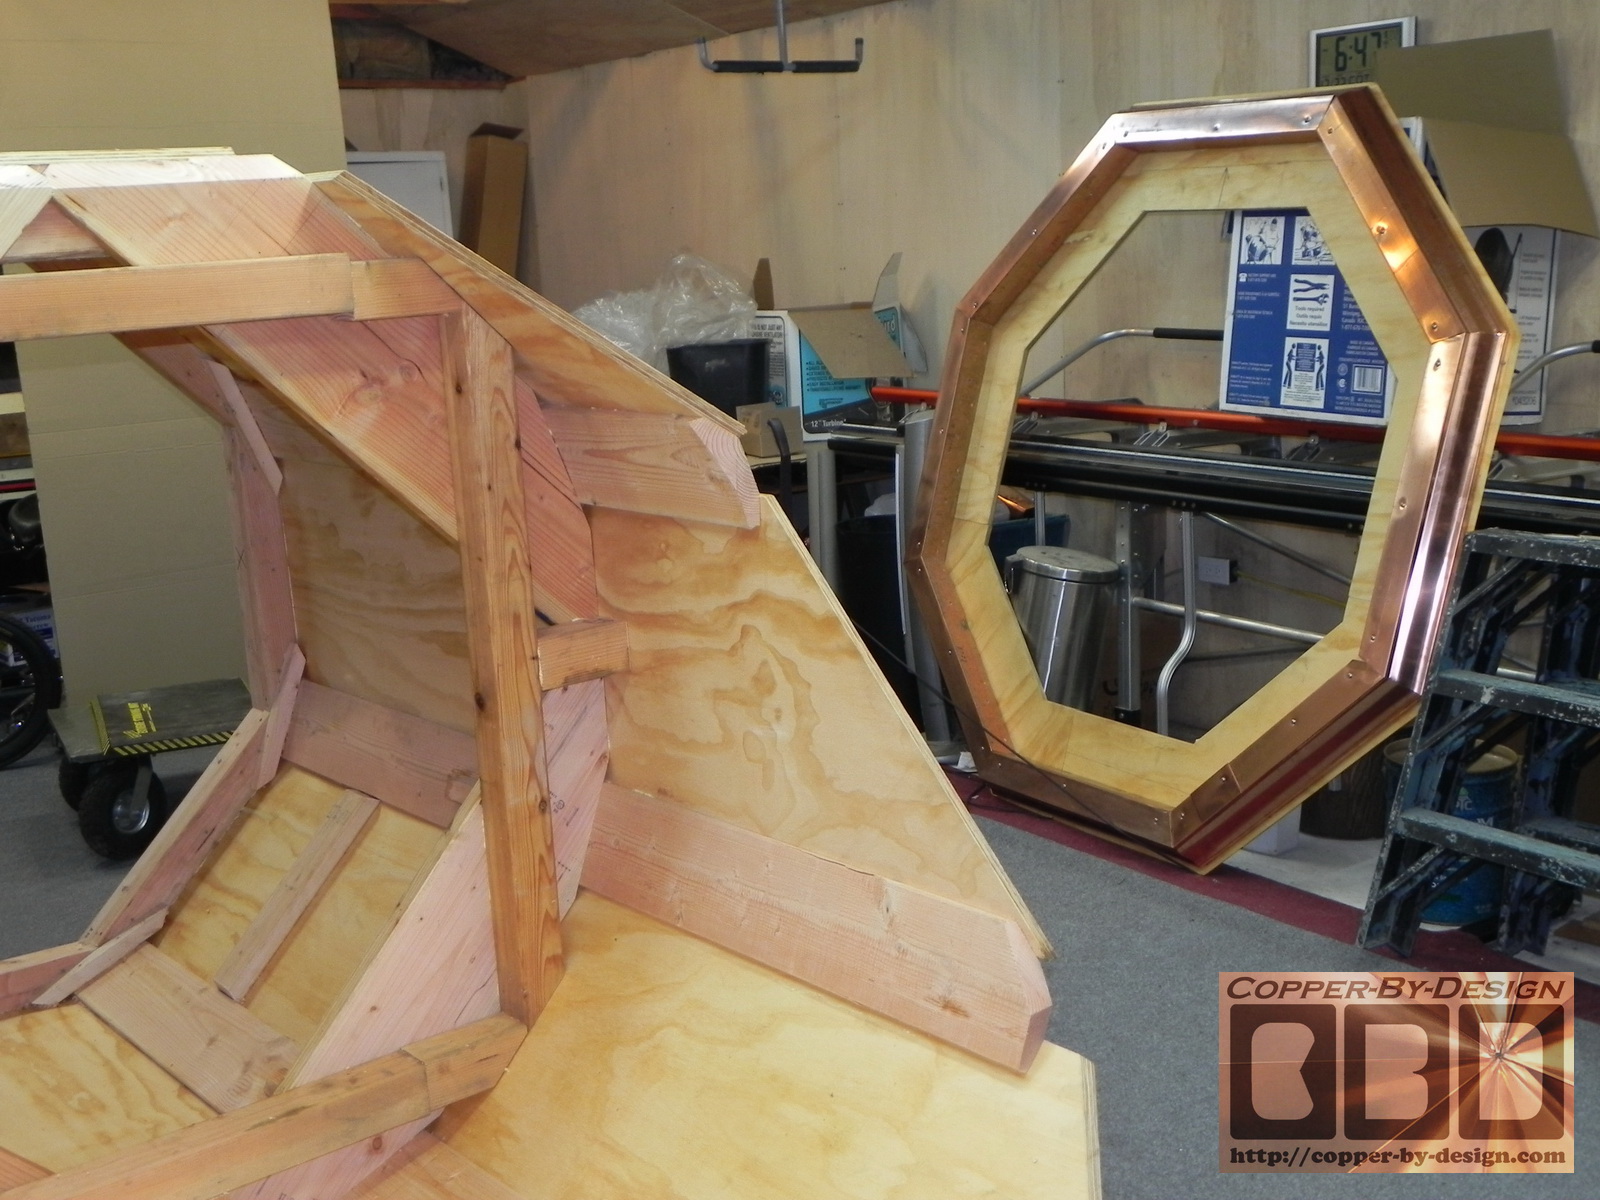
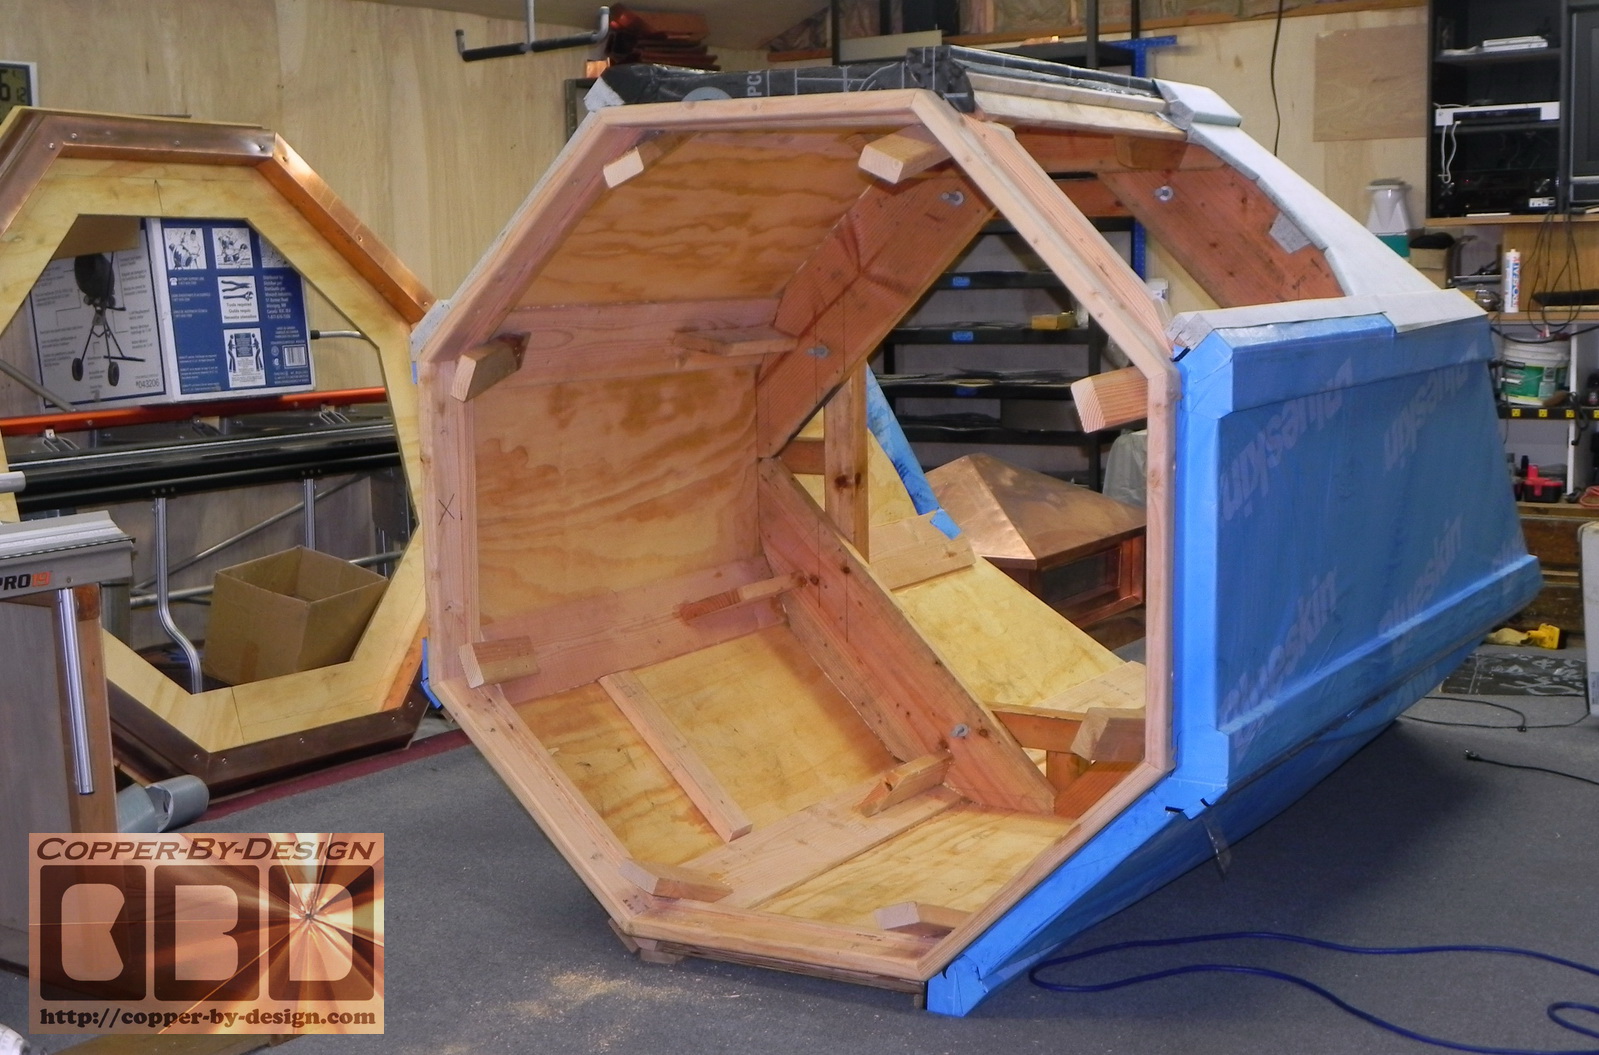
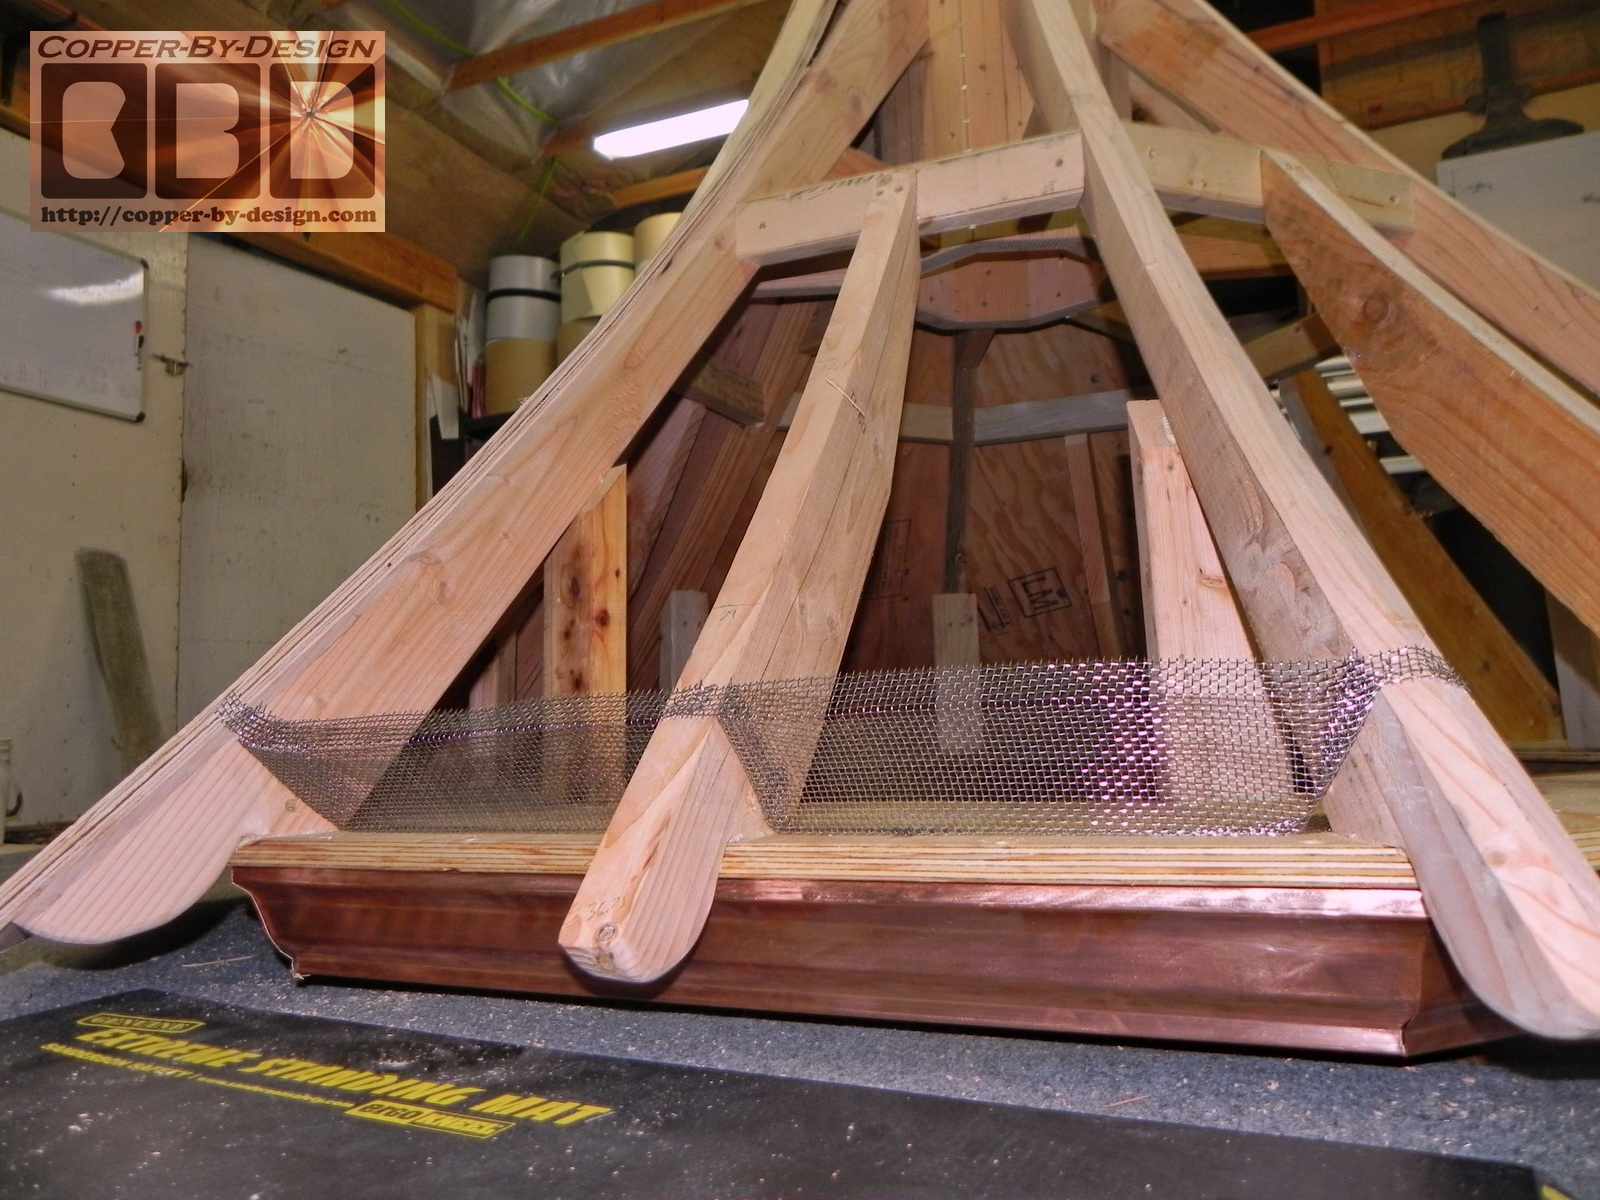
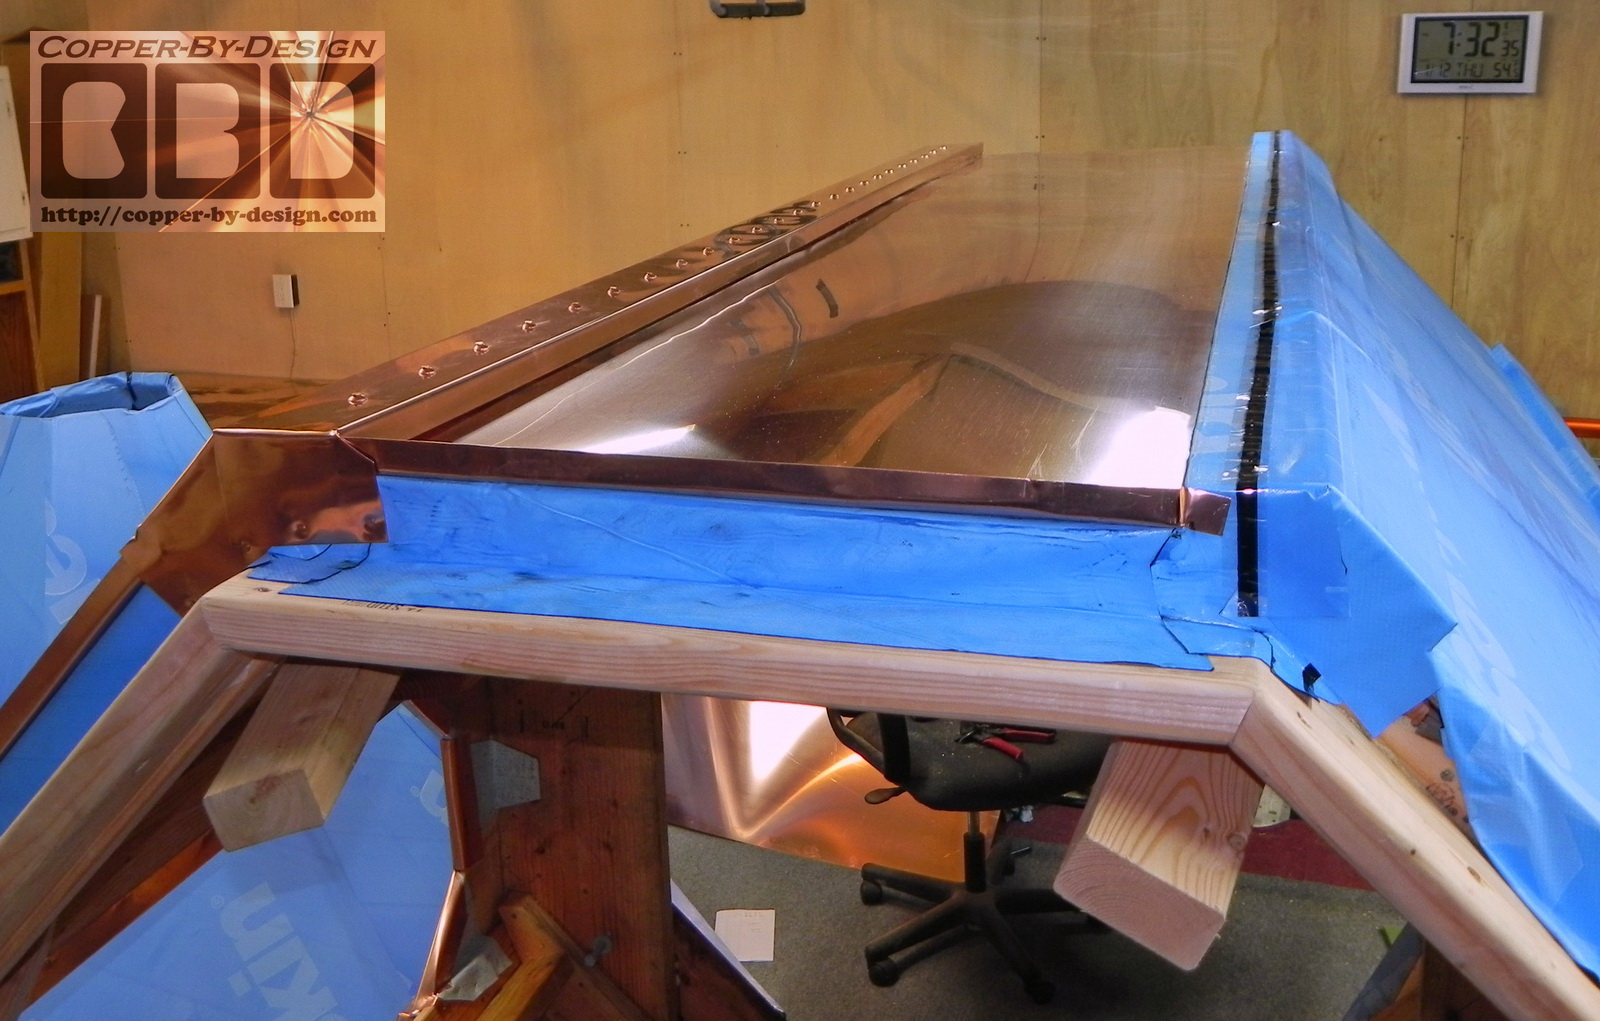
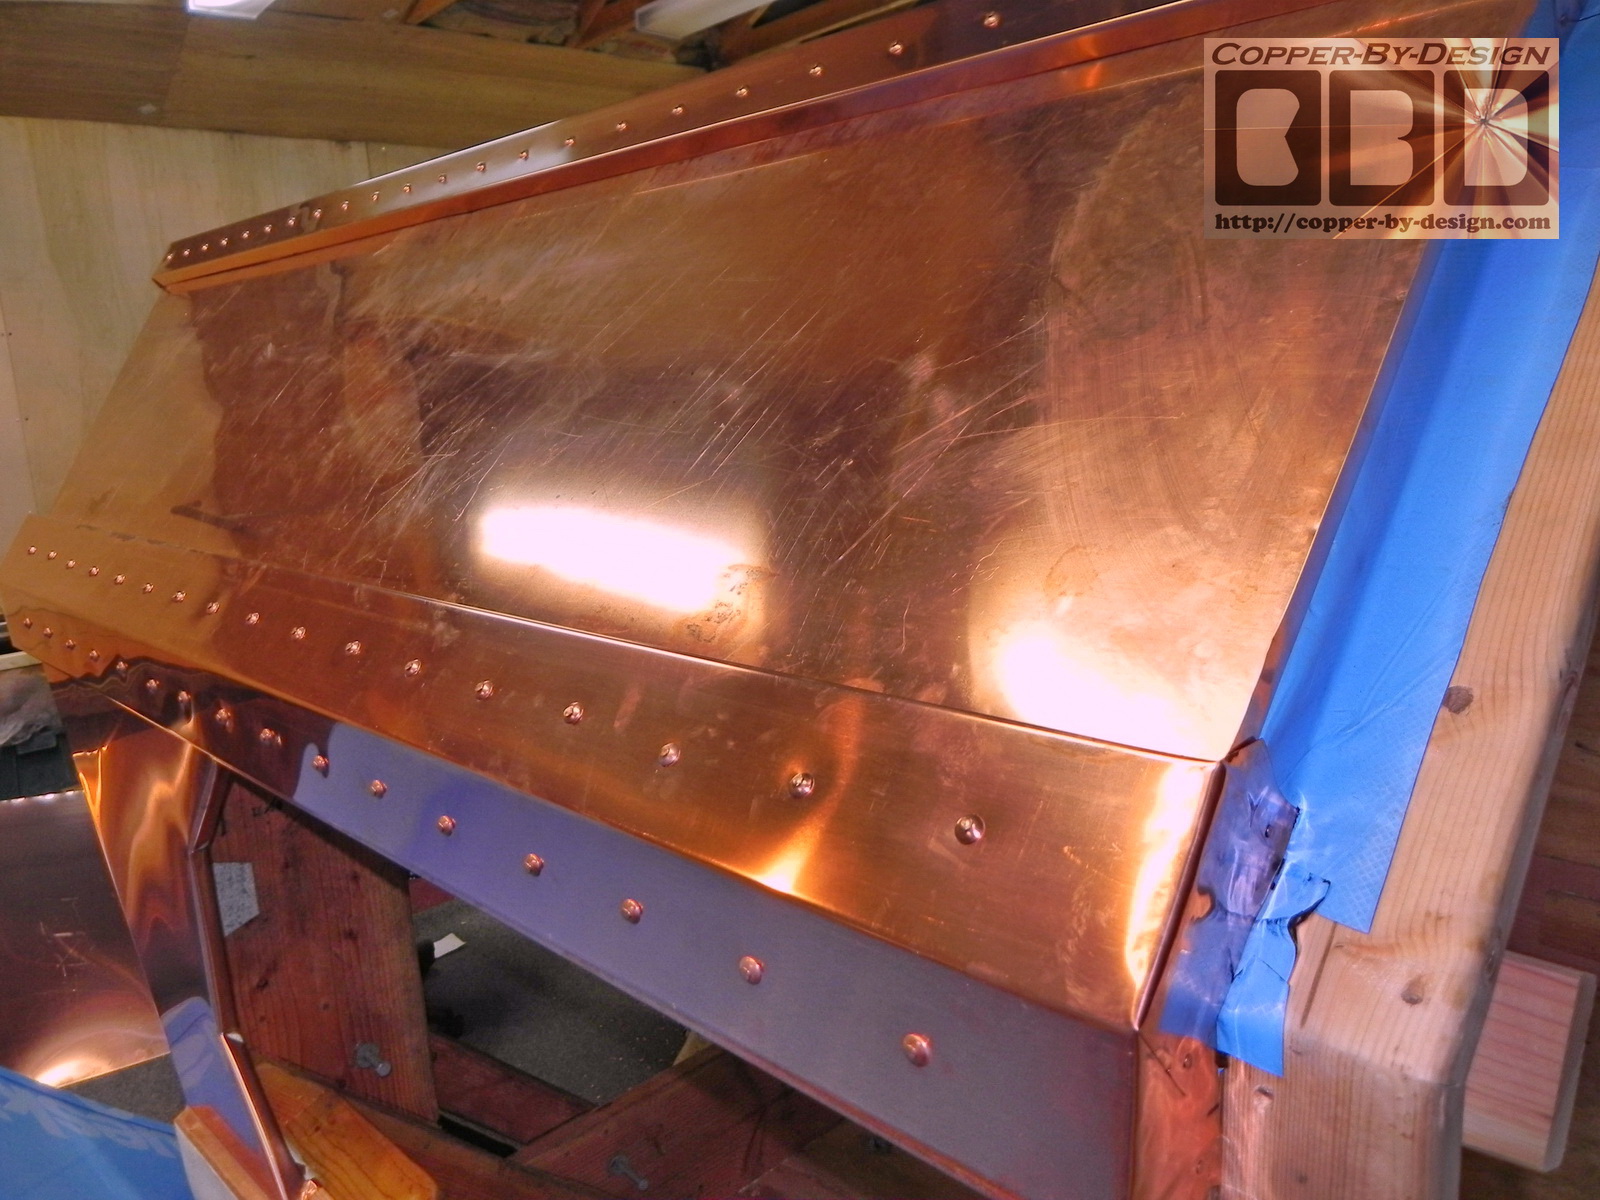
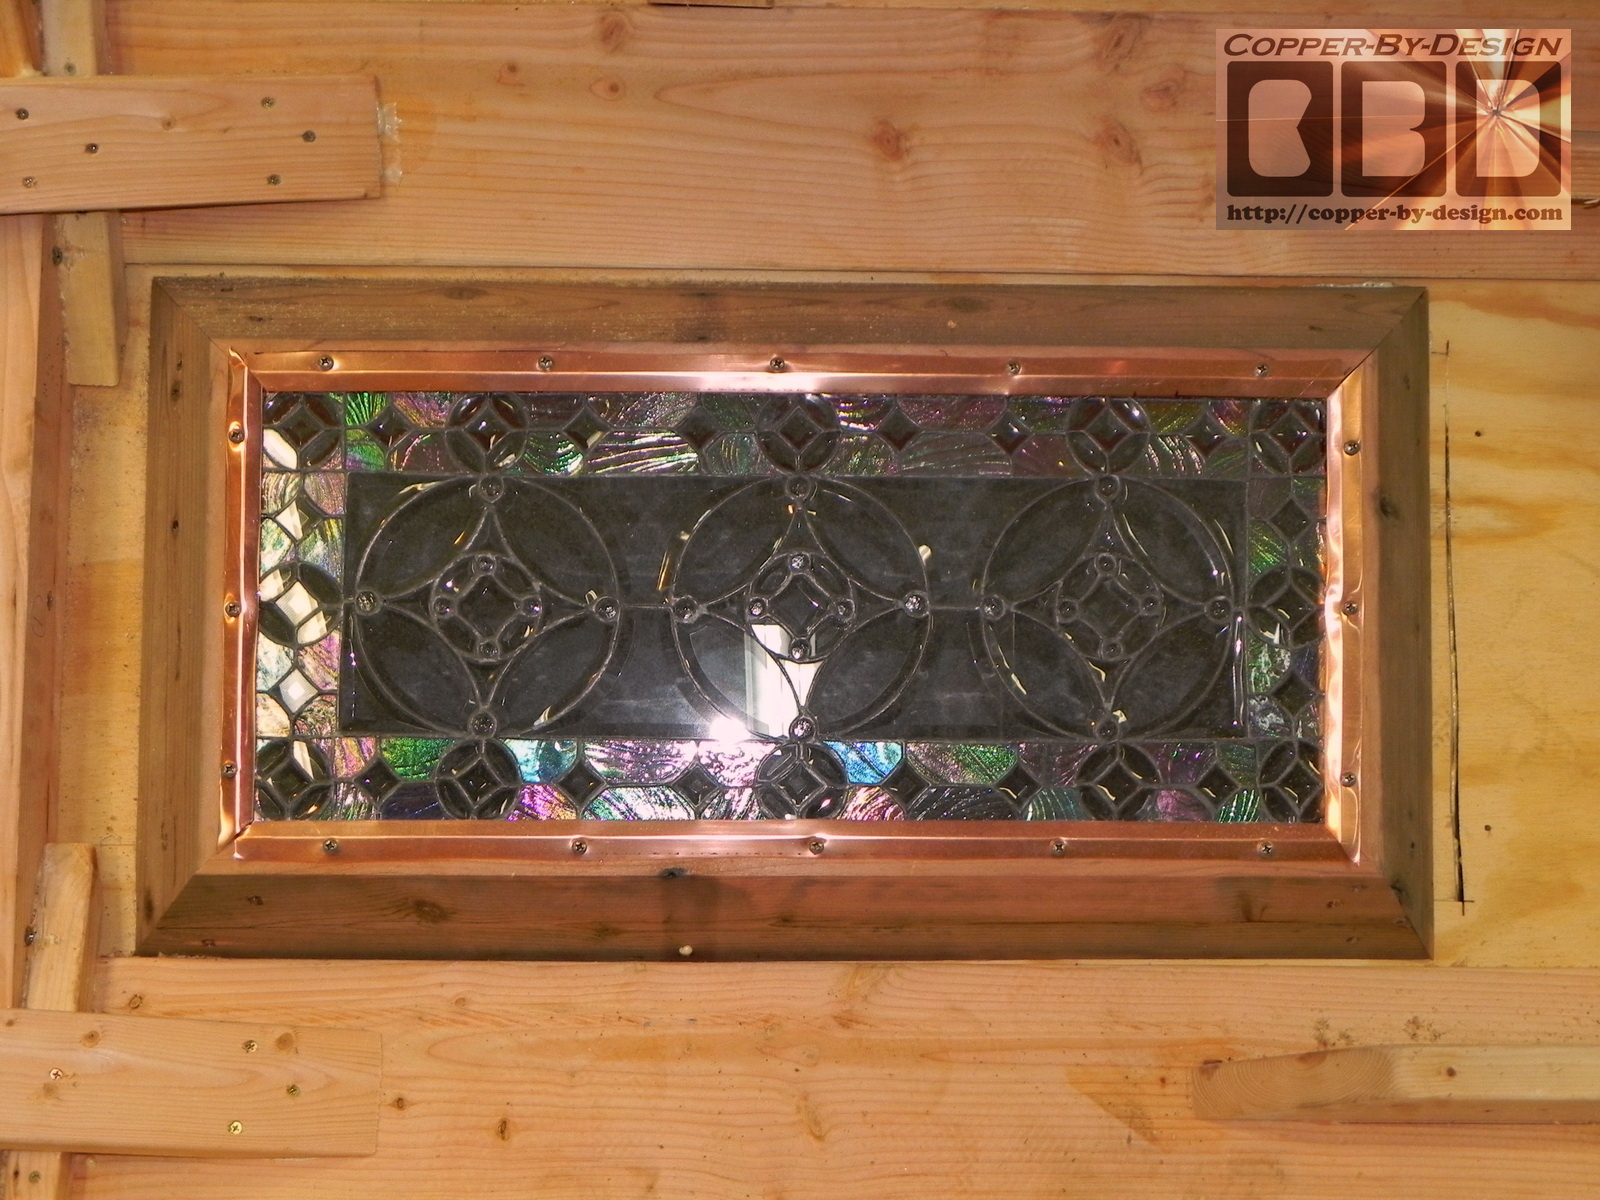
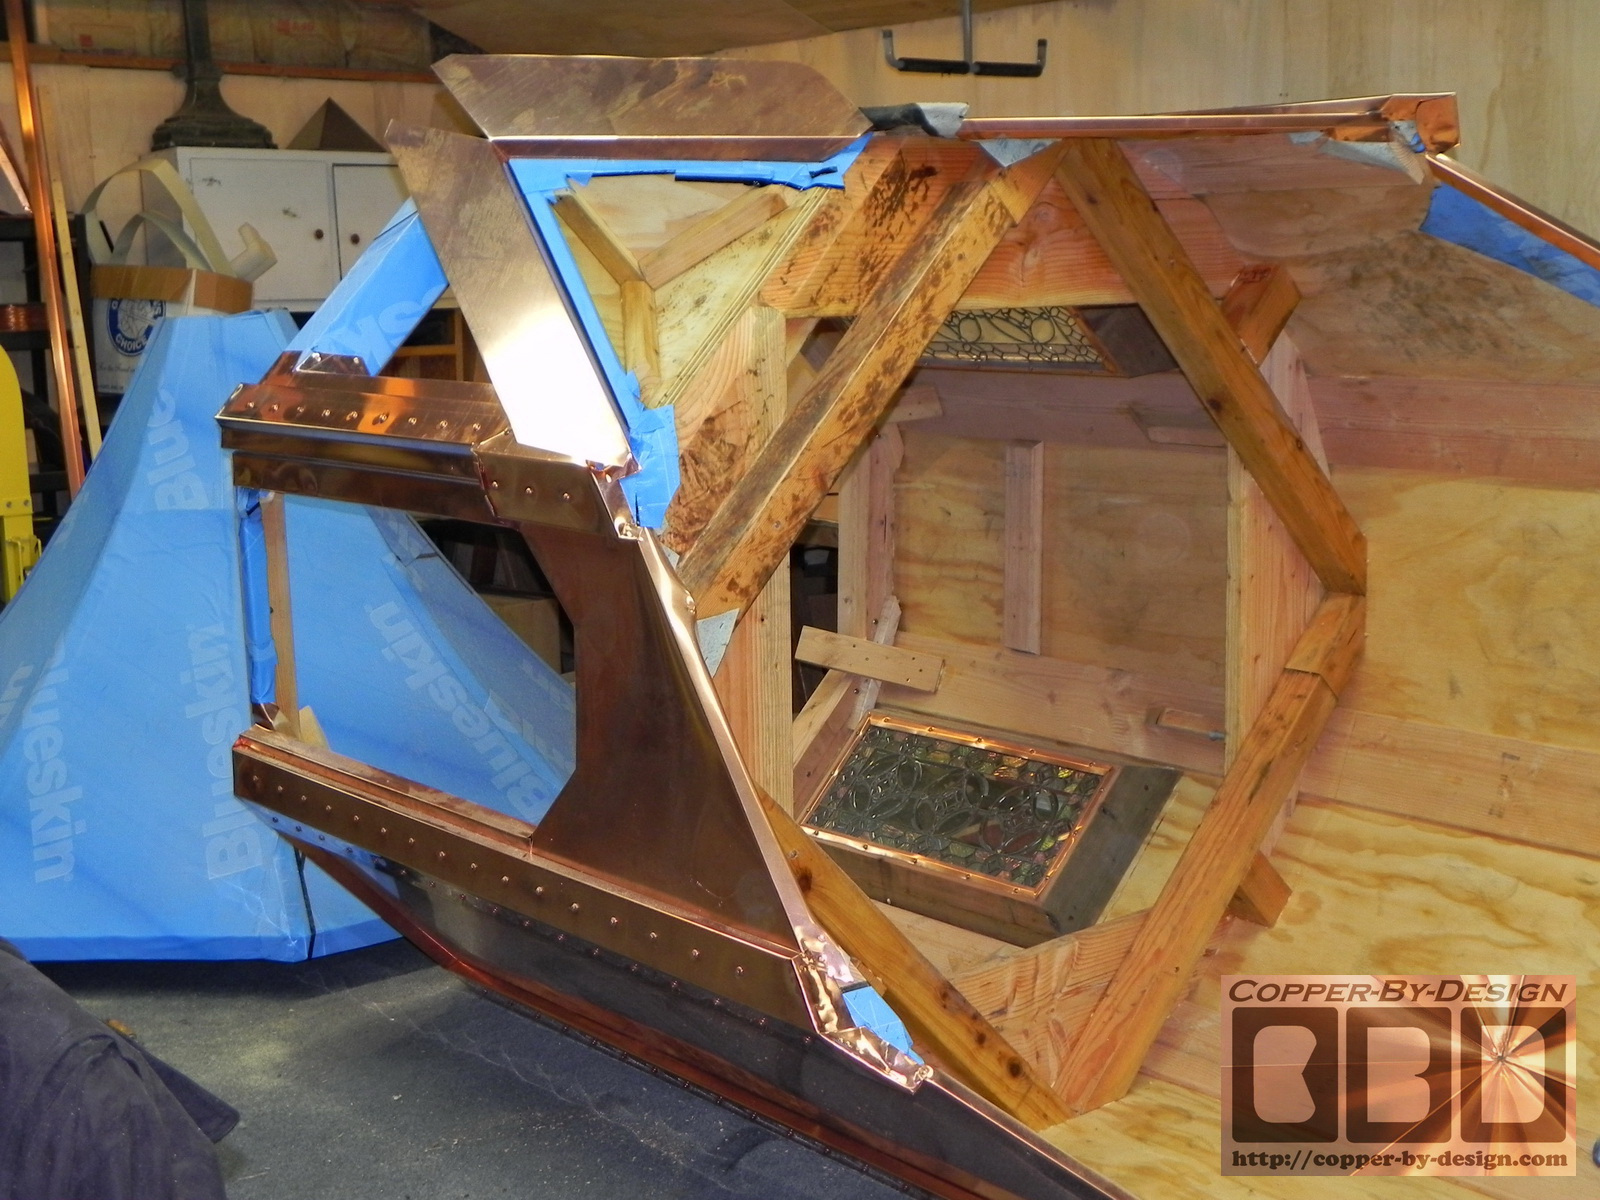
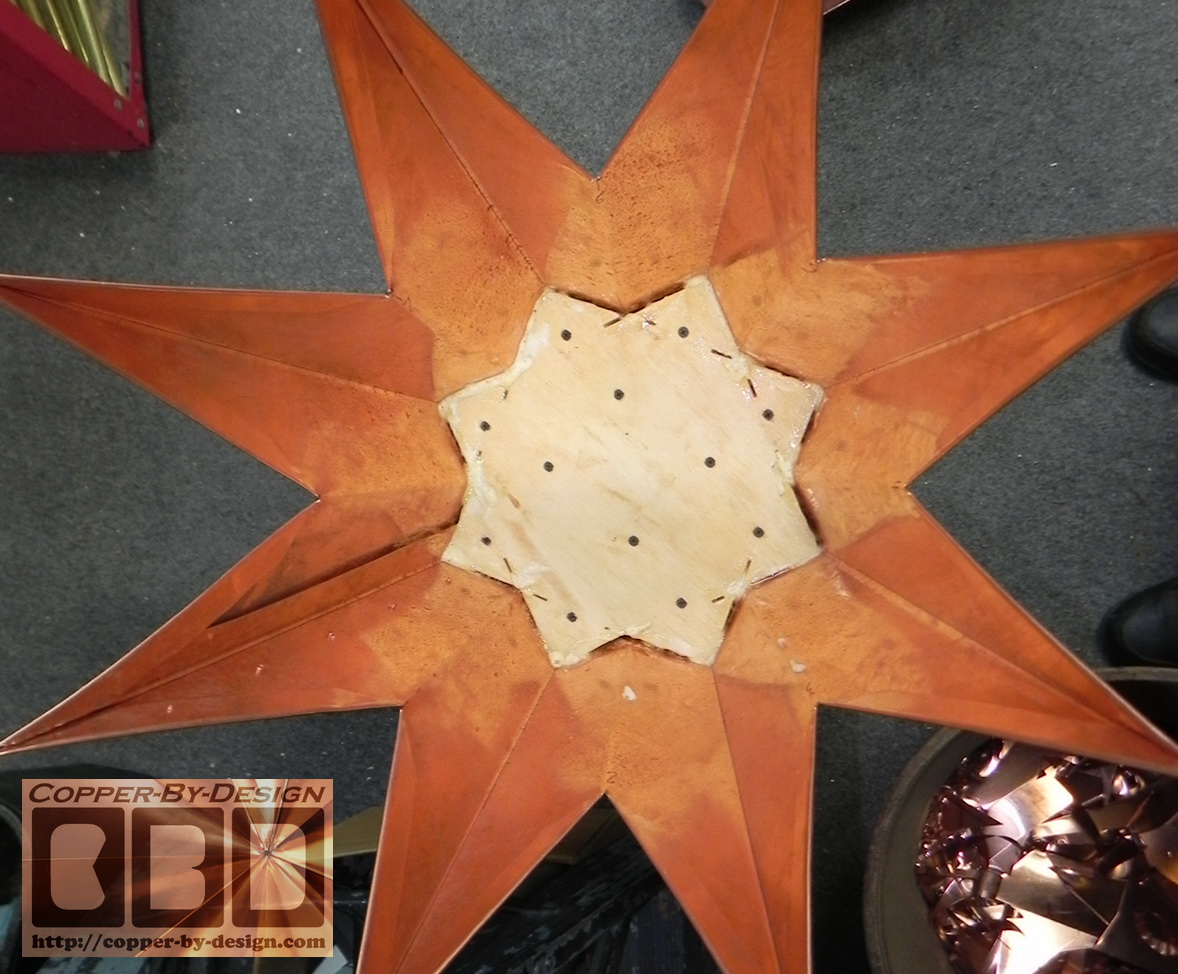
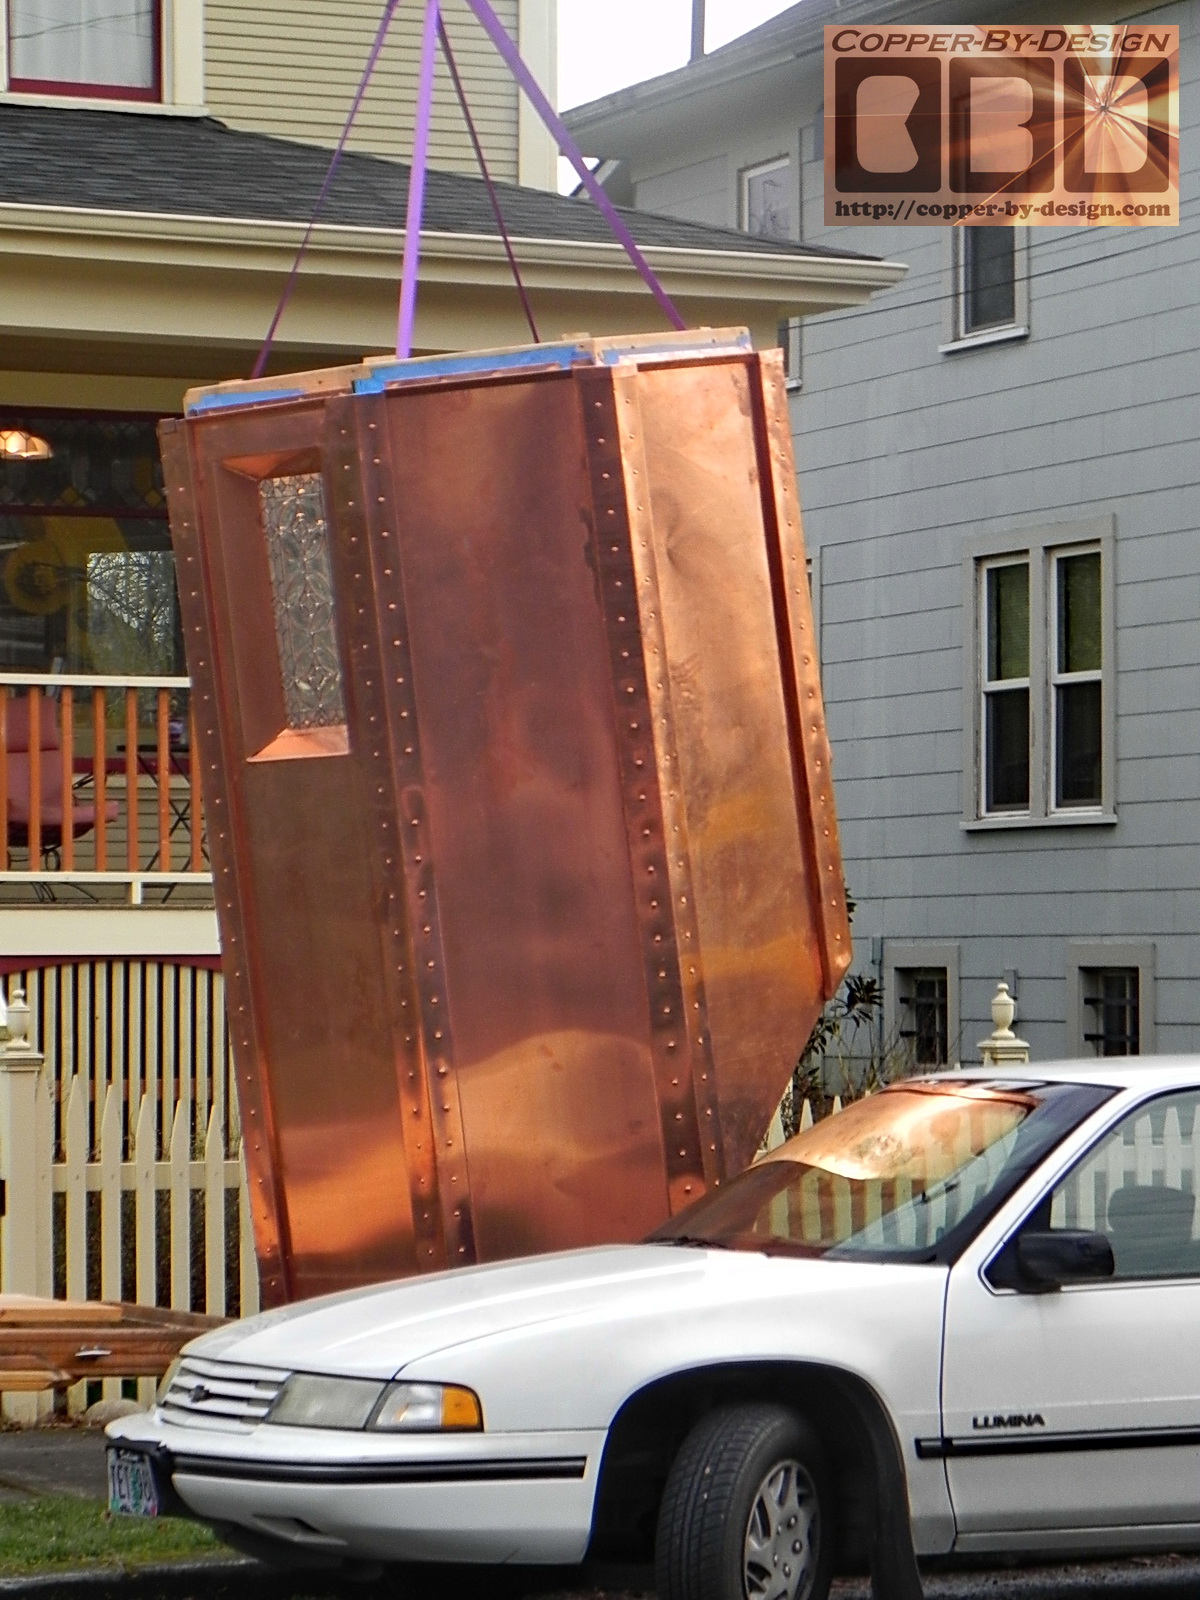
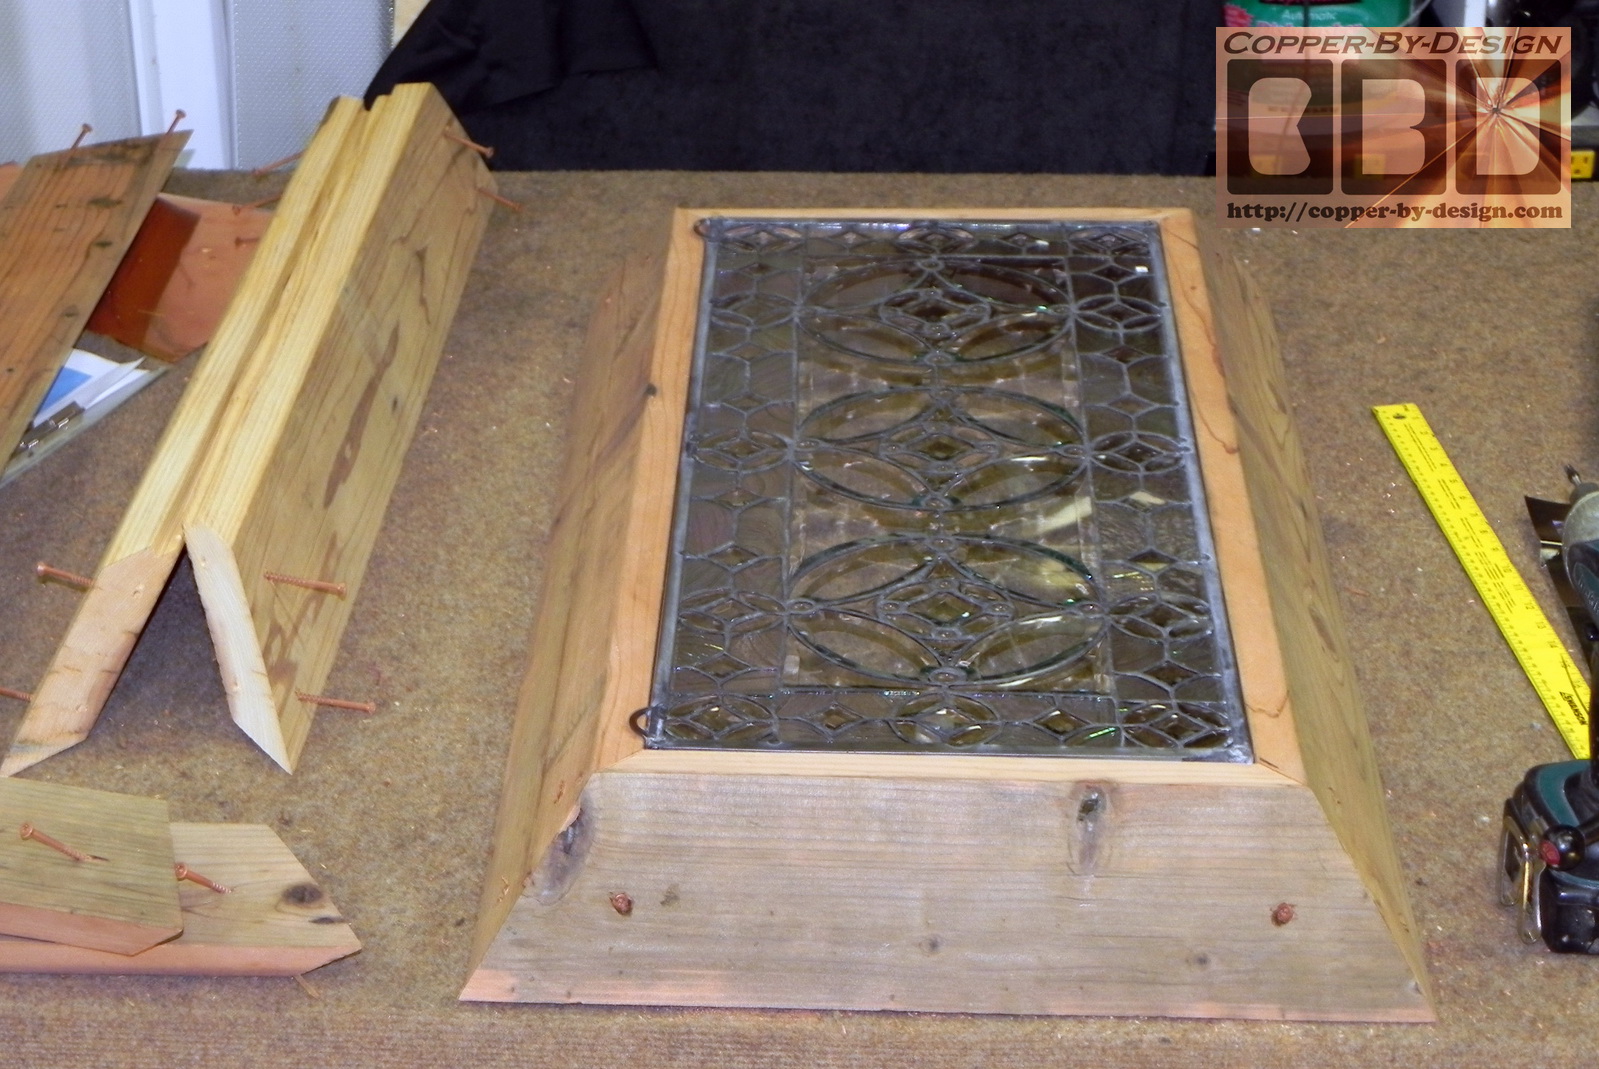
I got this
lower rim attached on 4 sides with a single strip of copper 5.5"
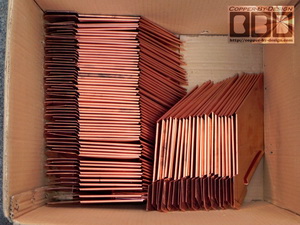
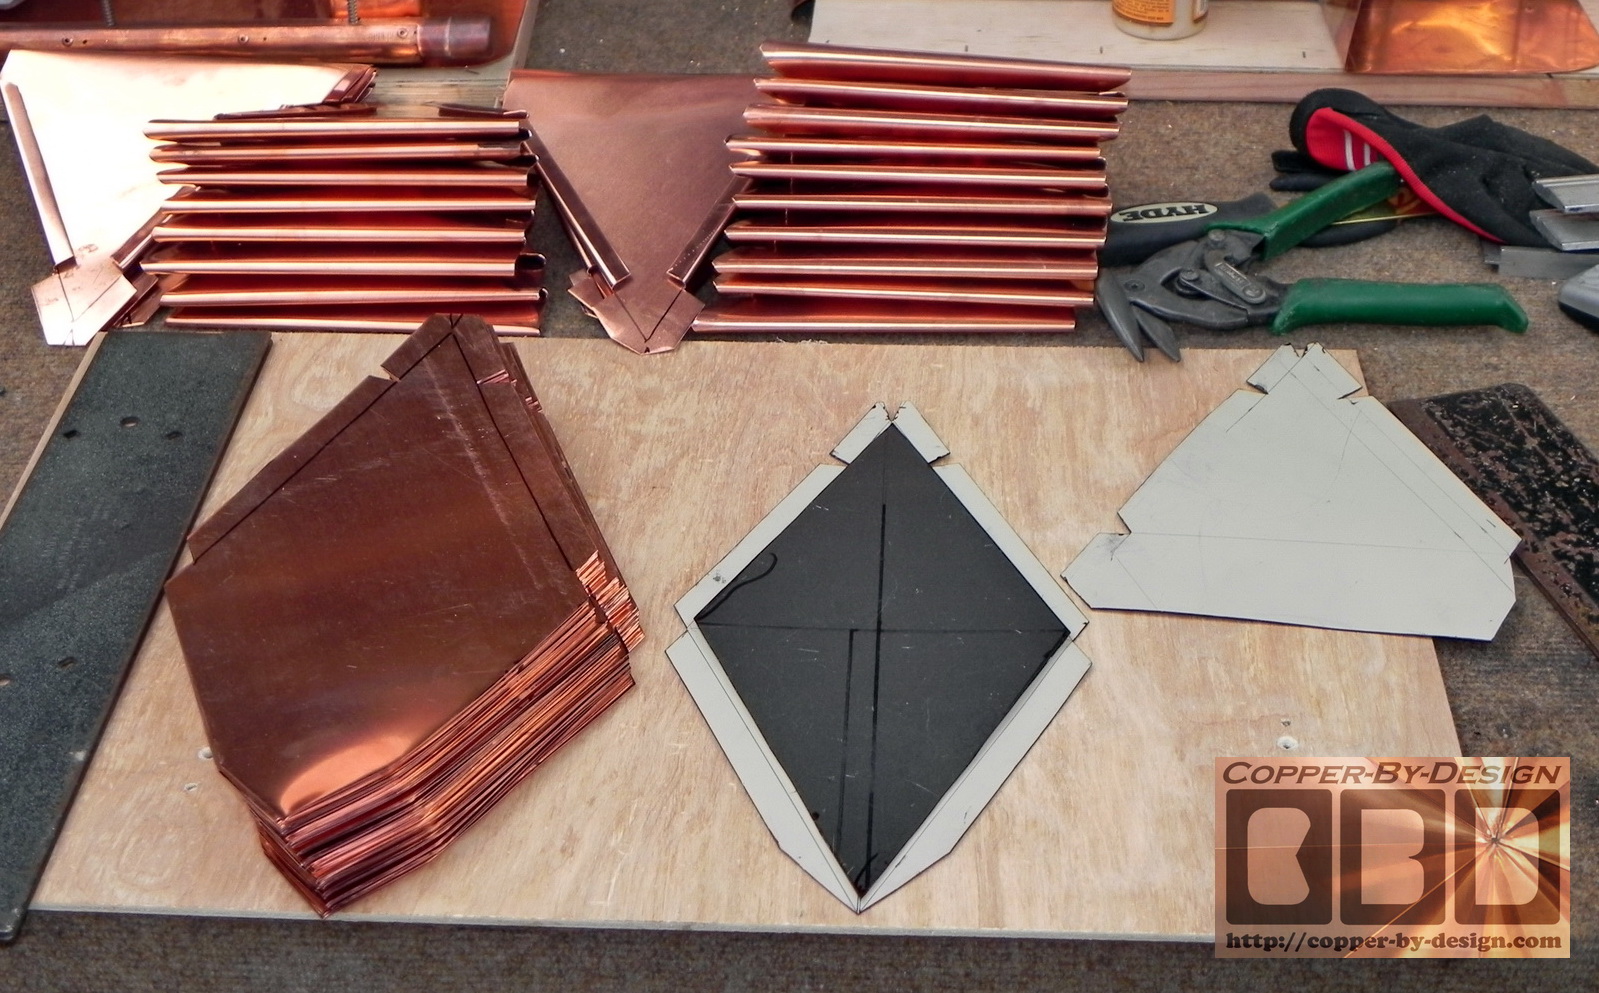
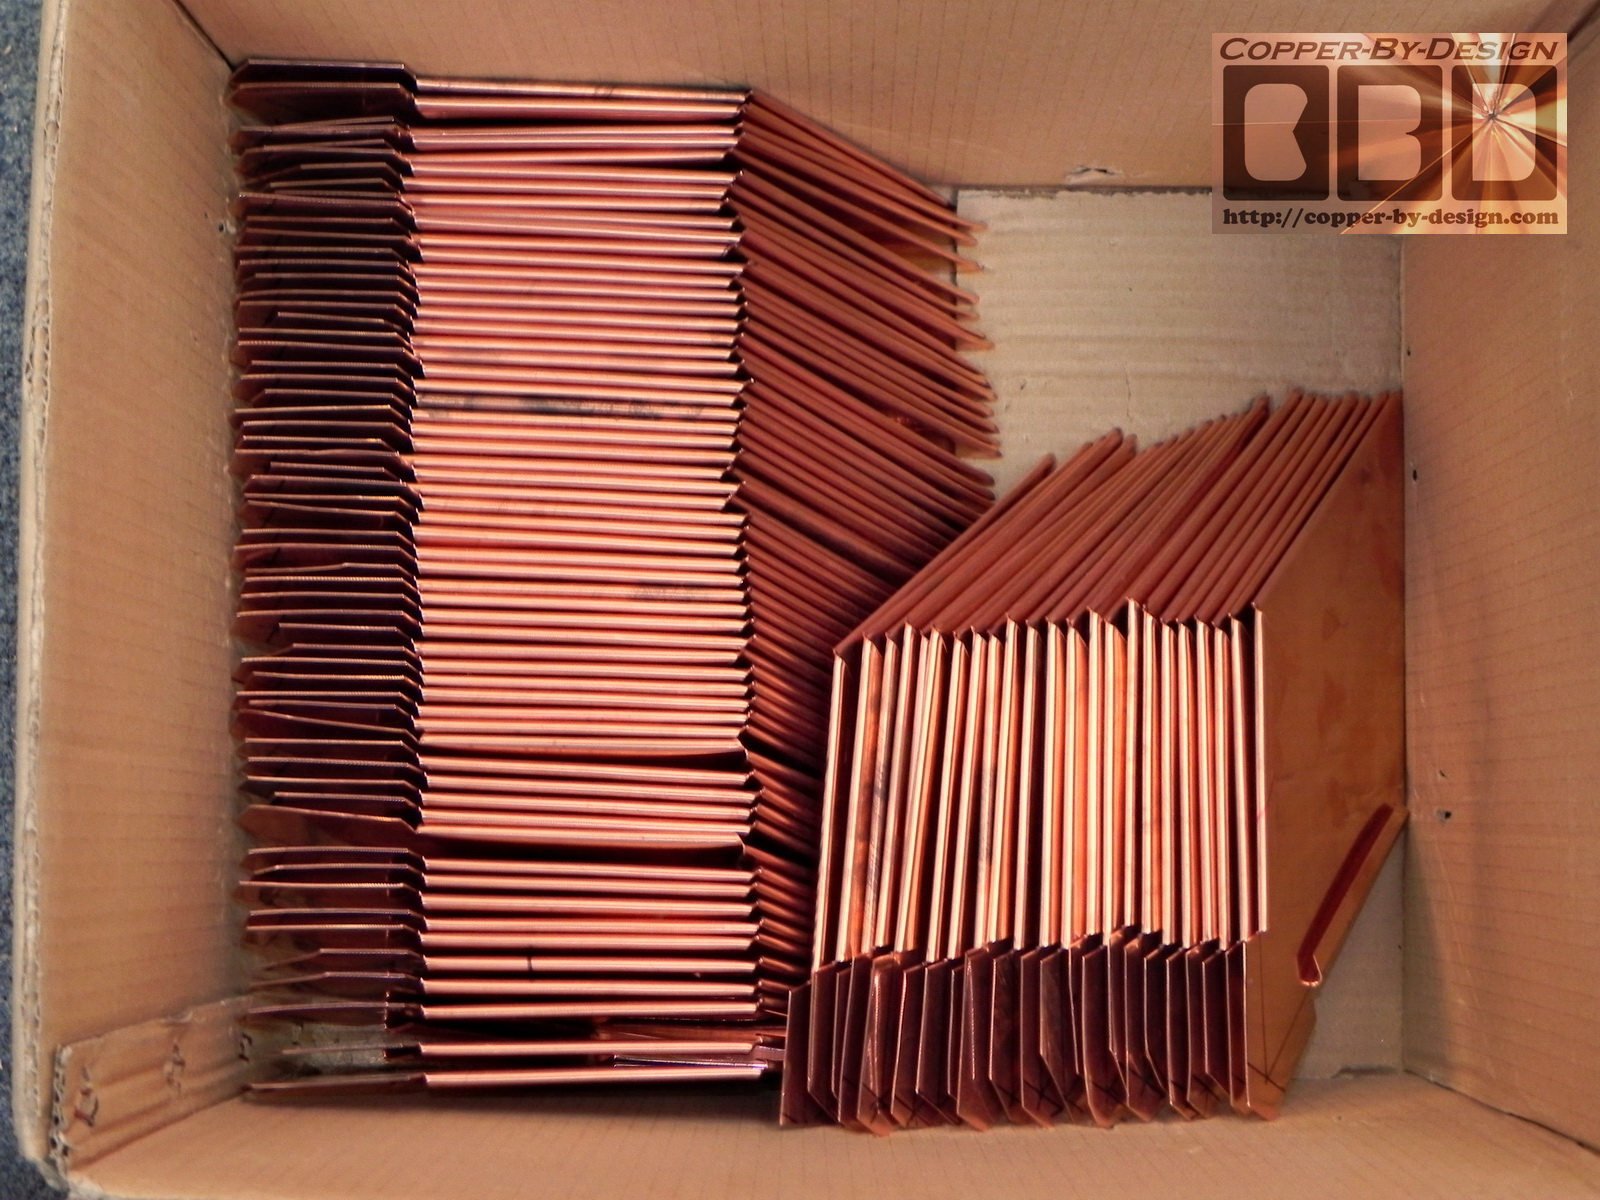
wide and 148" long. Then I worked for the next day and a half cutting
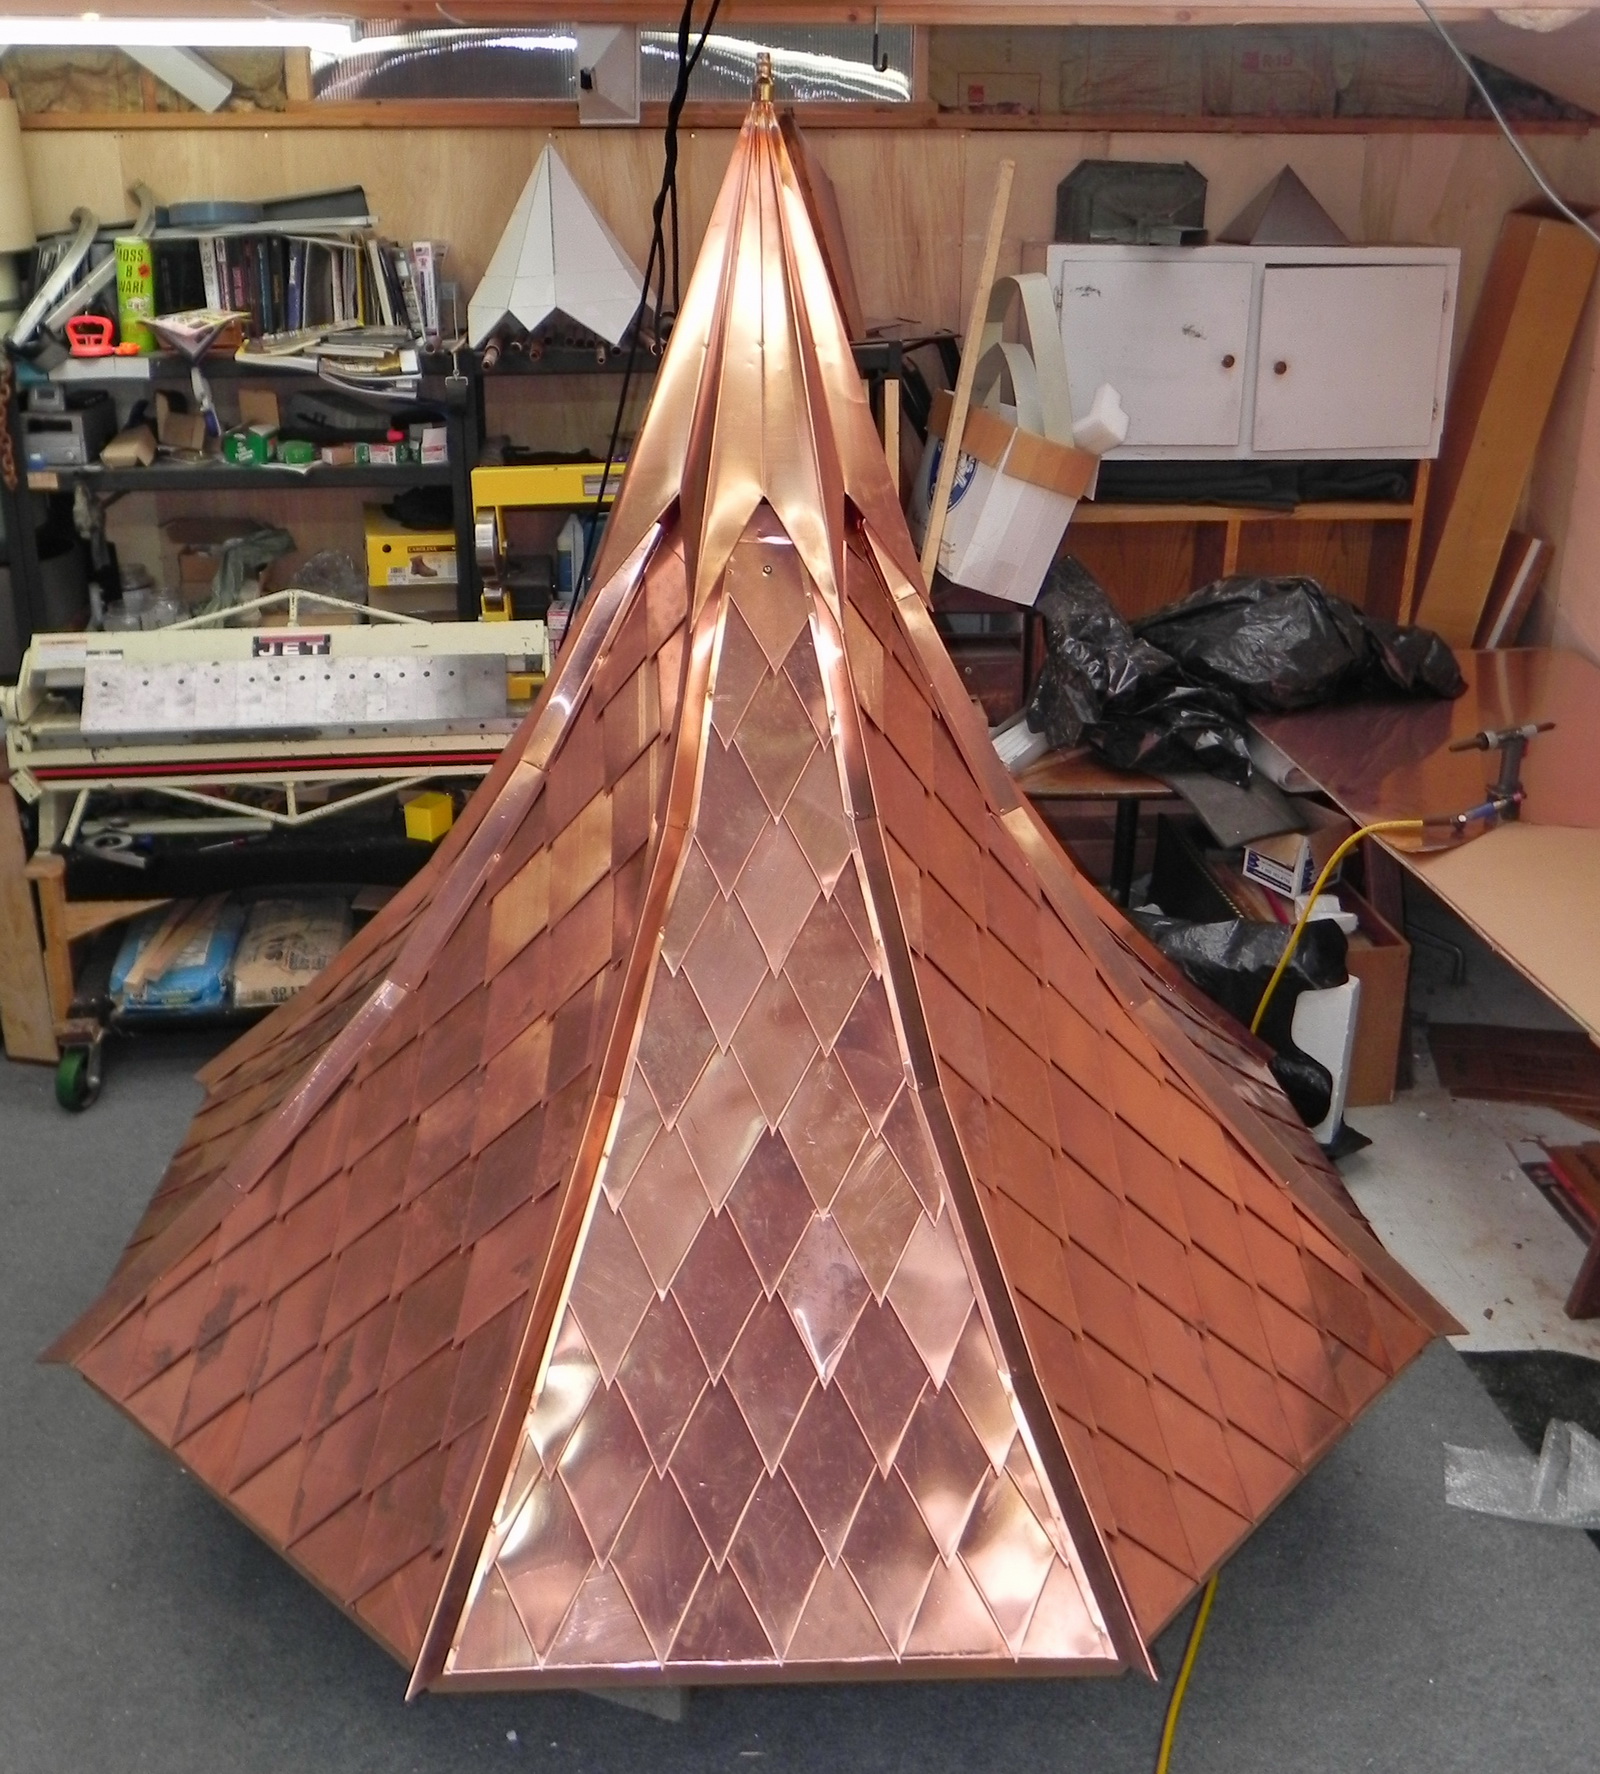
out 156 diamond shaped roofing pieces from small scrap pieces before
cutting the big sheets of copper for the rest of these. That set
weighed 62# which equals 51.6 sq' of copper to cover about 30 sq' of
this roof surface, but I'm going to need 3X that many pieces
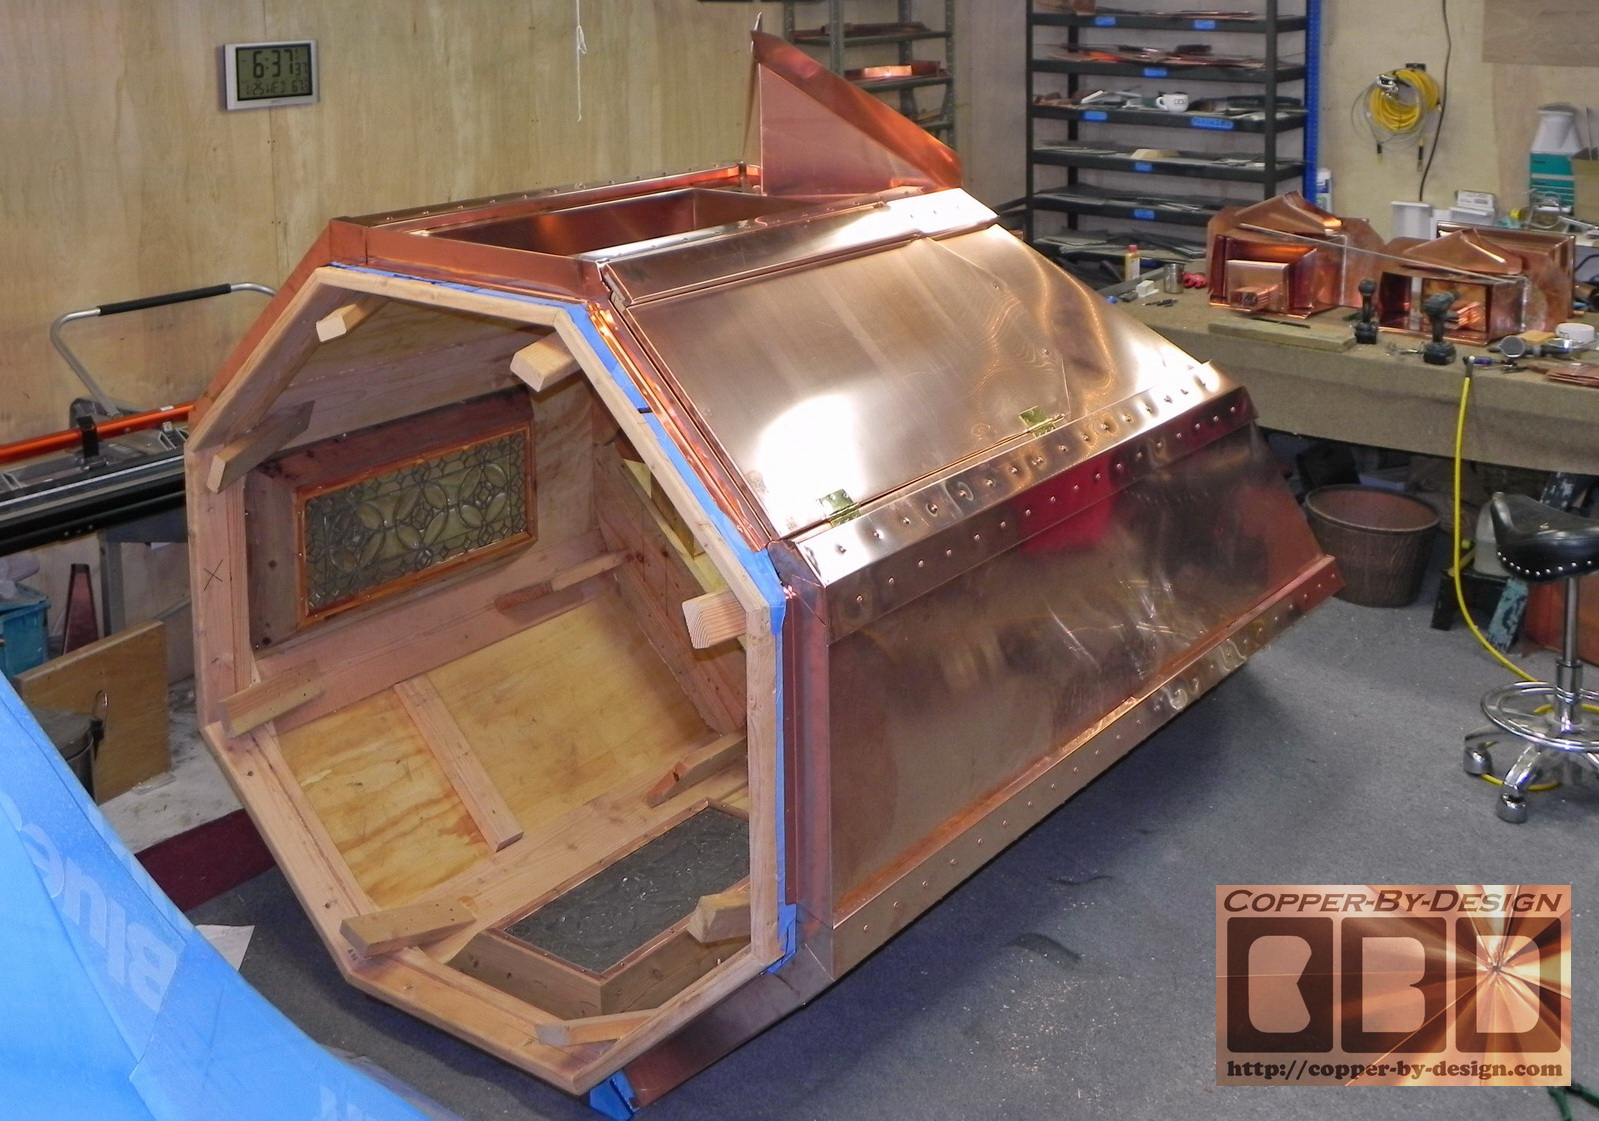
before I'm done. This is very tedious work at an average of 40
shingles a day, but I watched 4 seasons of
Dexter to help pass the time. Thank goodness for On Demand.
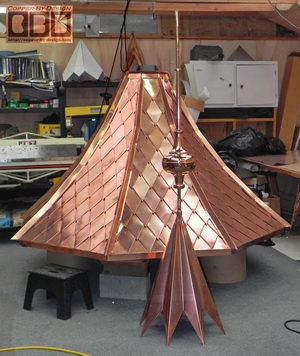
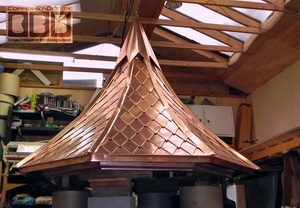
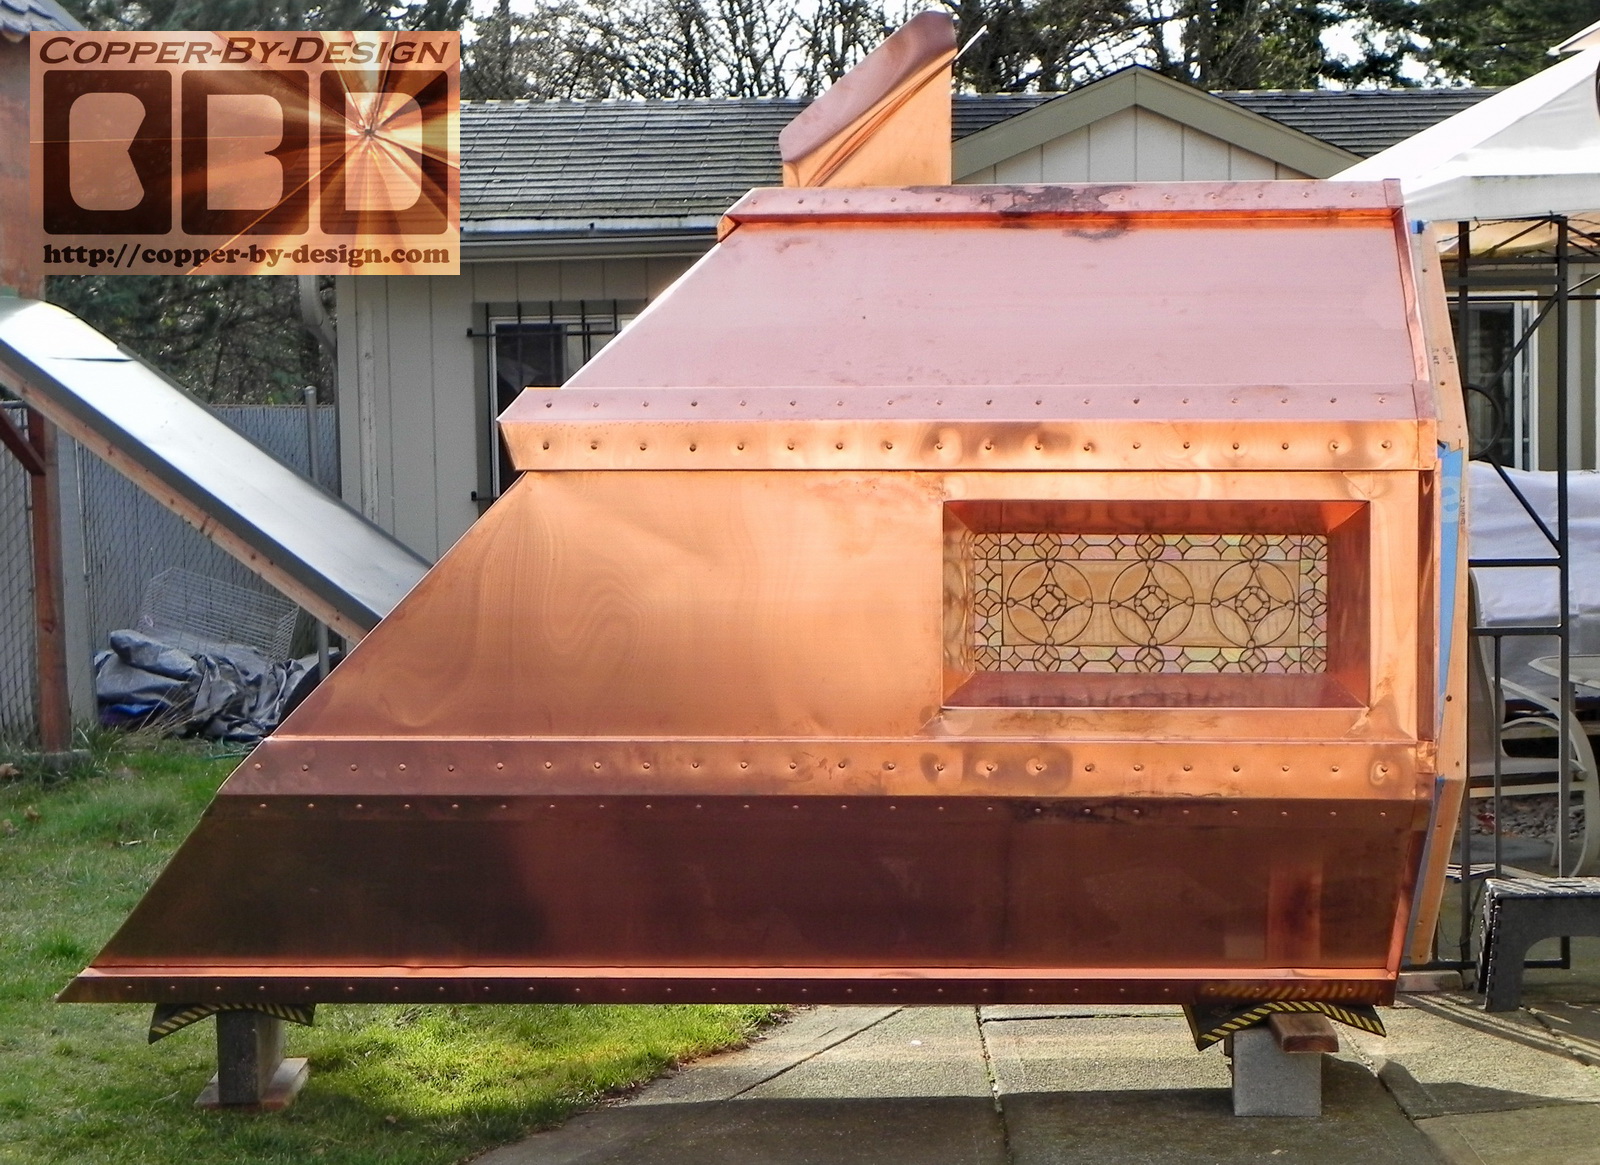
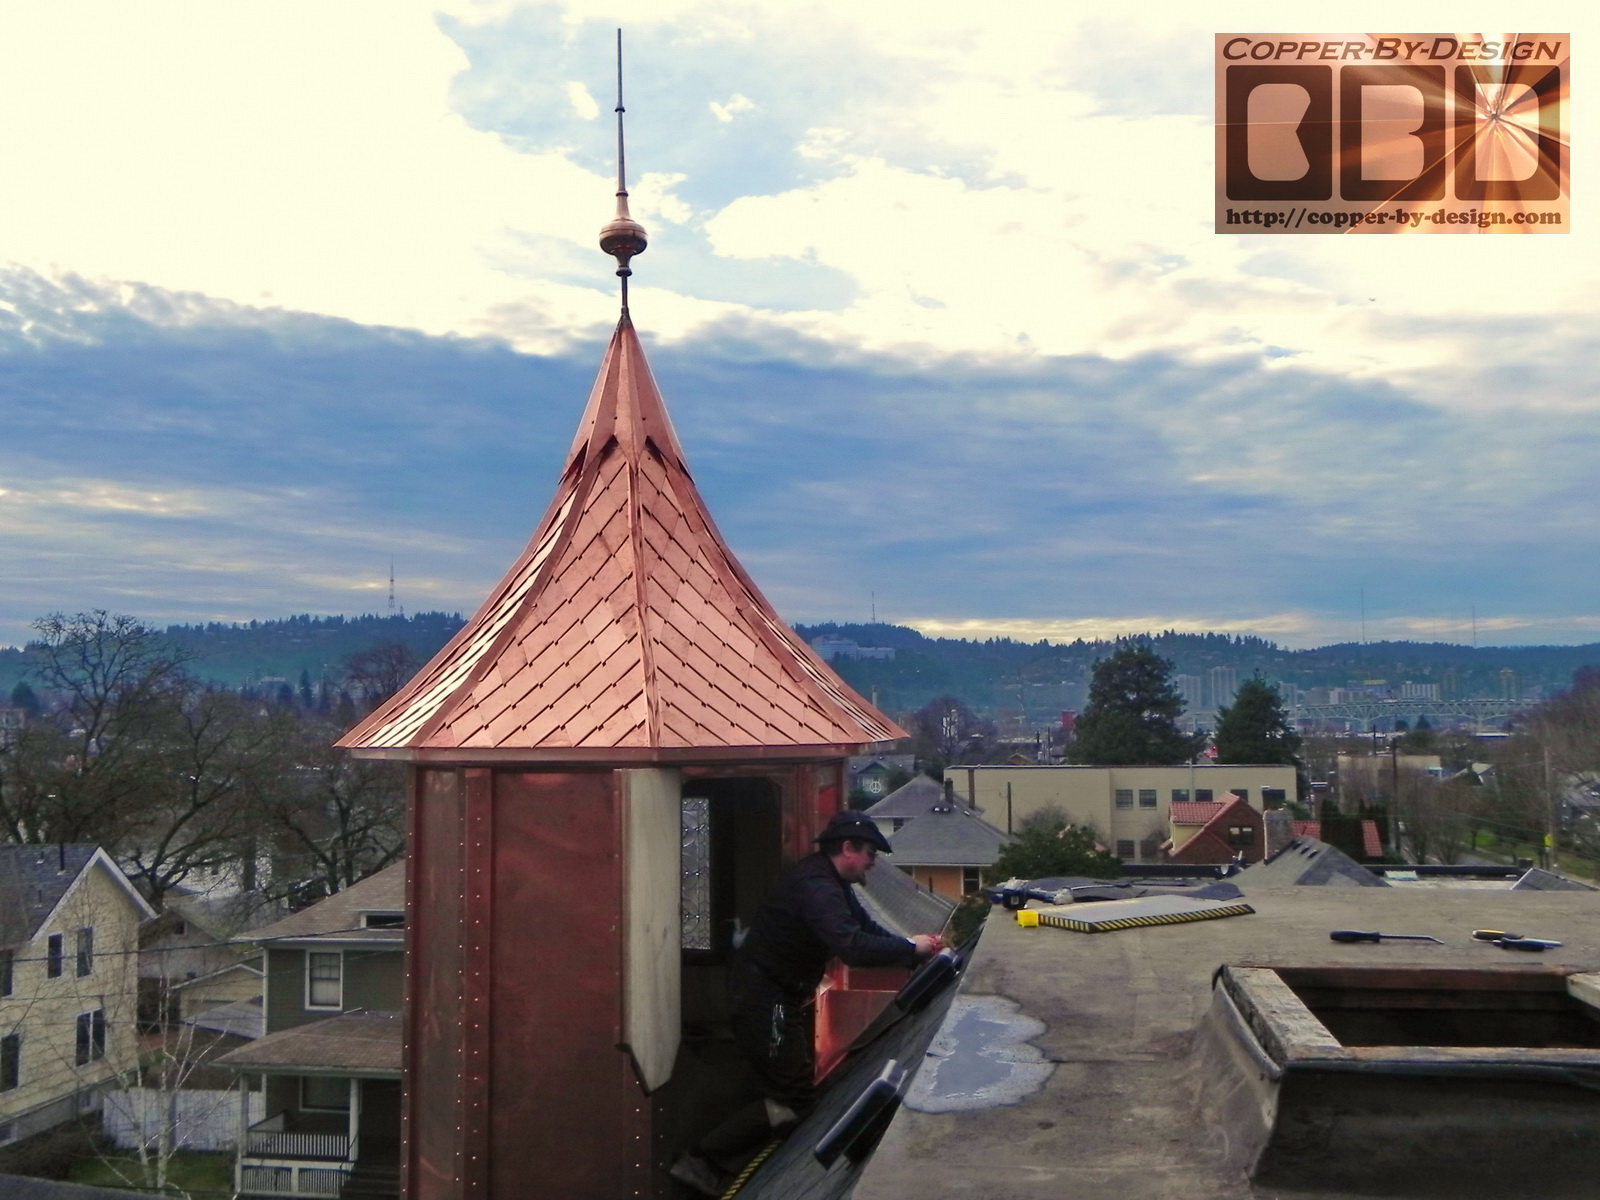
I got this much covered Saturday before the
clients came over that evening for my B-Day party, and were able to
see it in person. Helen was very excited to see my progress and show
it off to a few of her friends at the party that night!
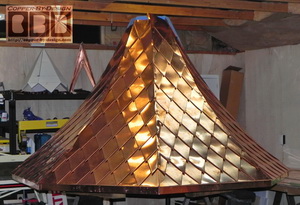
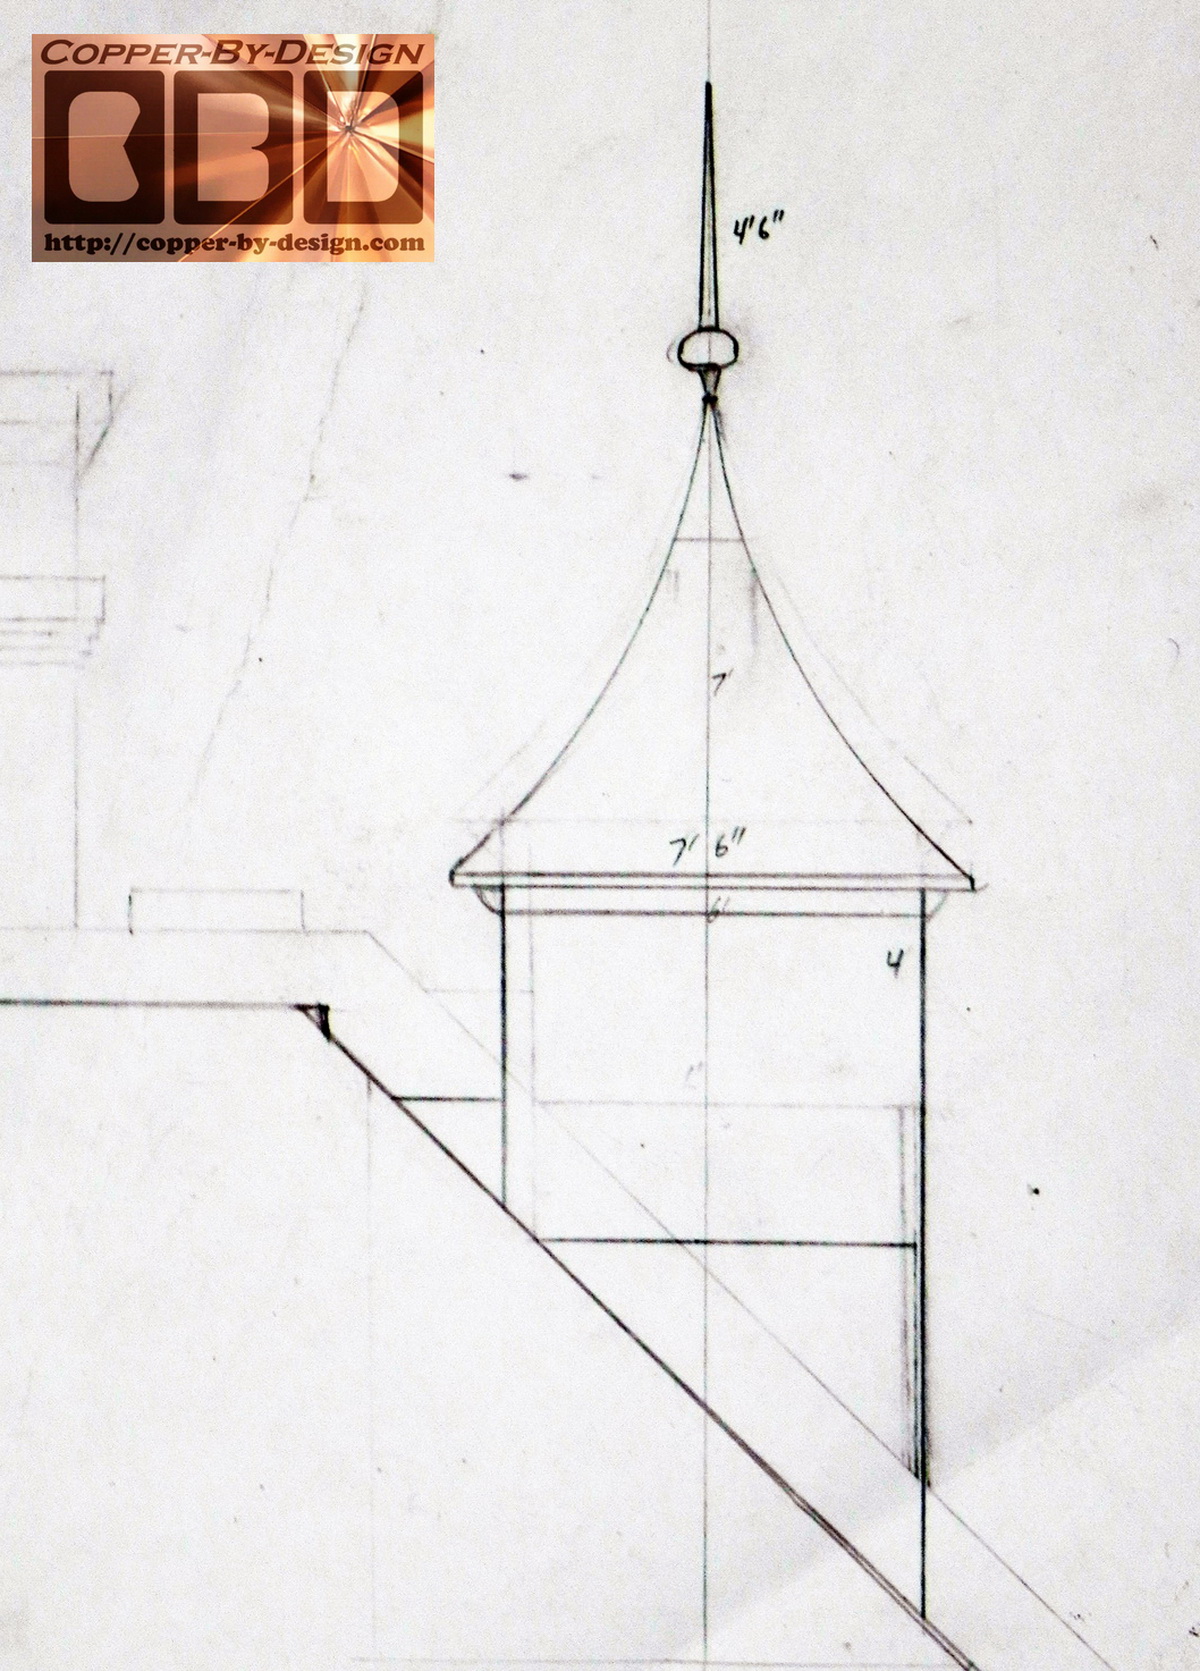
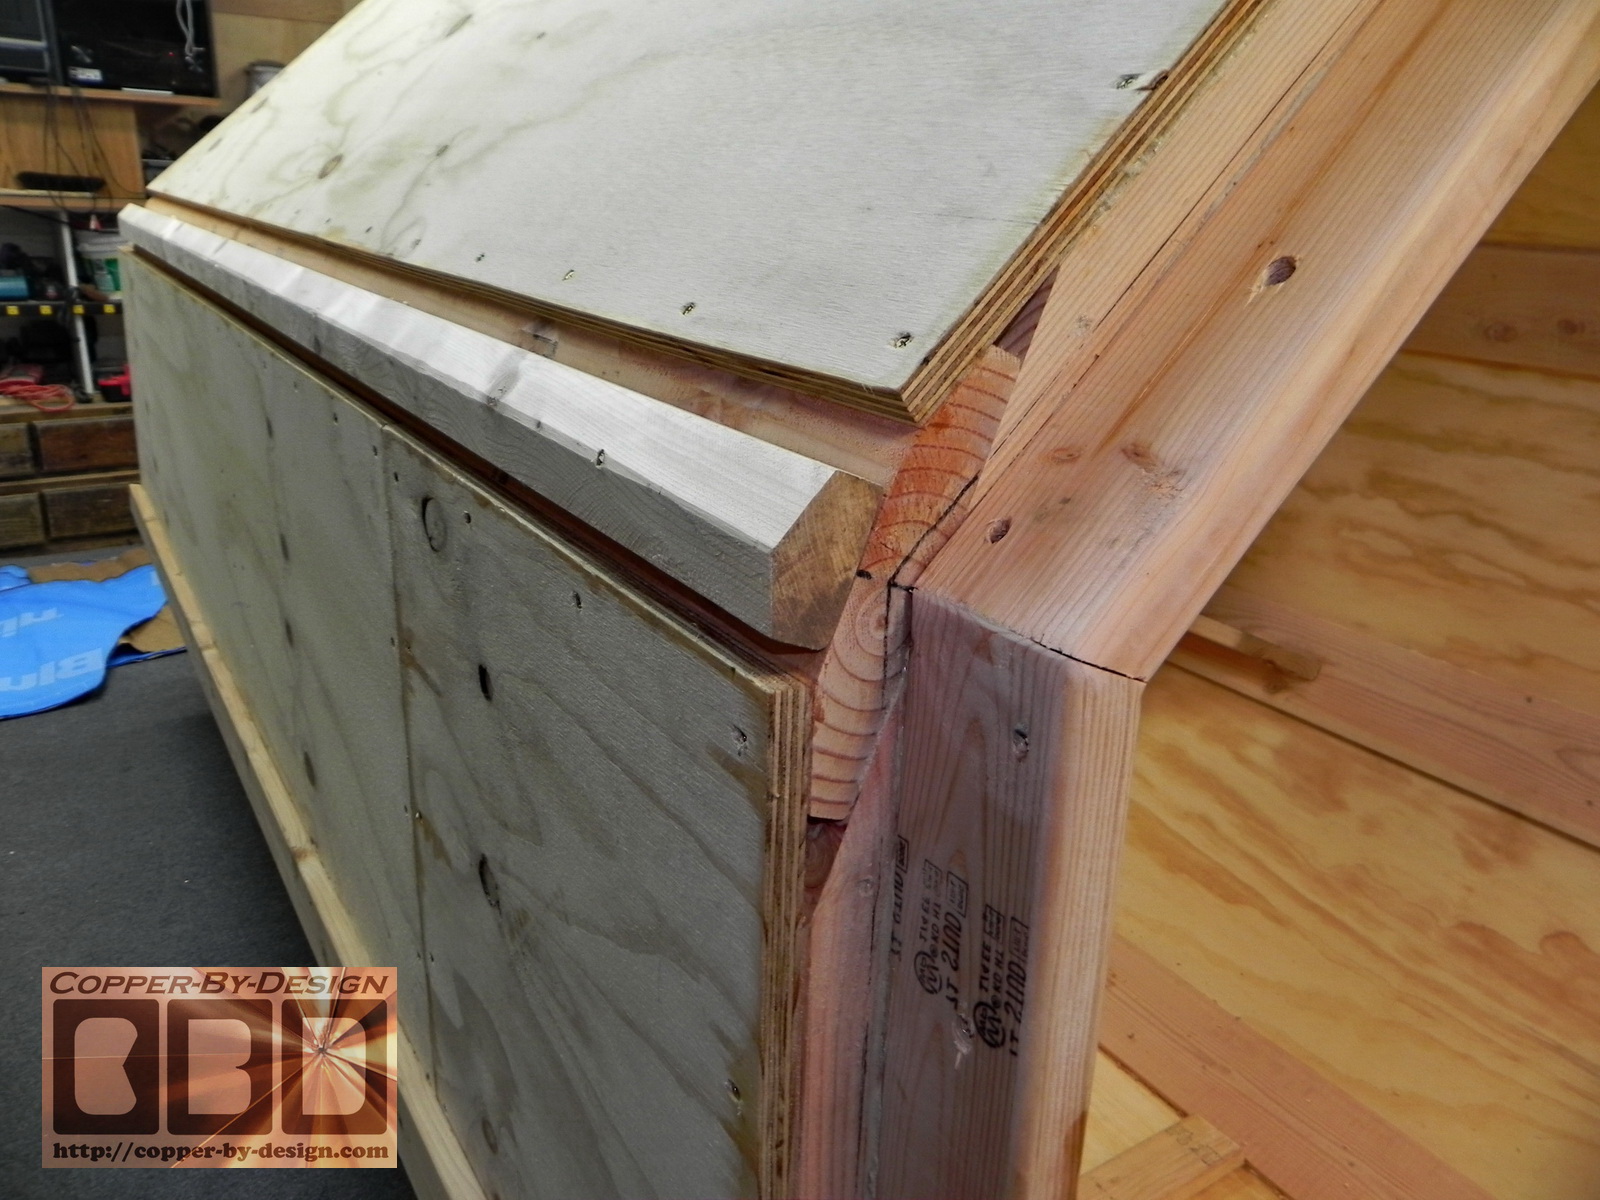
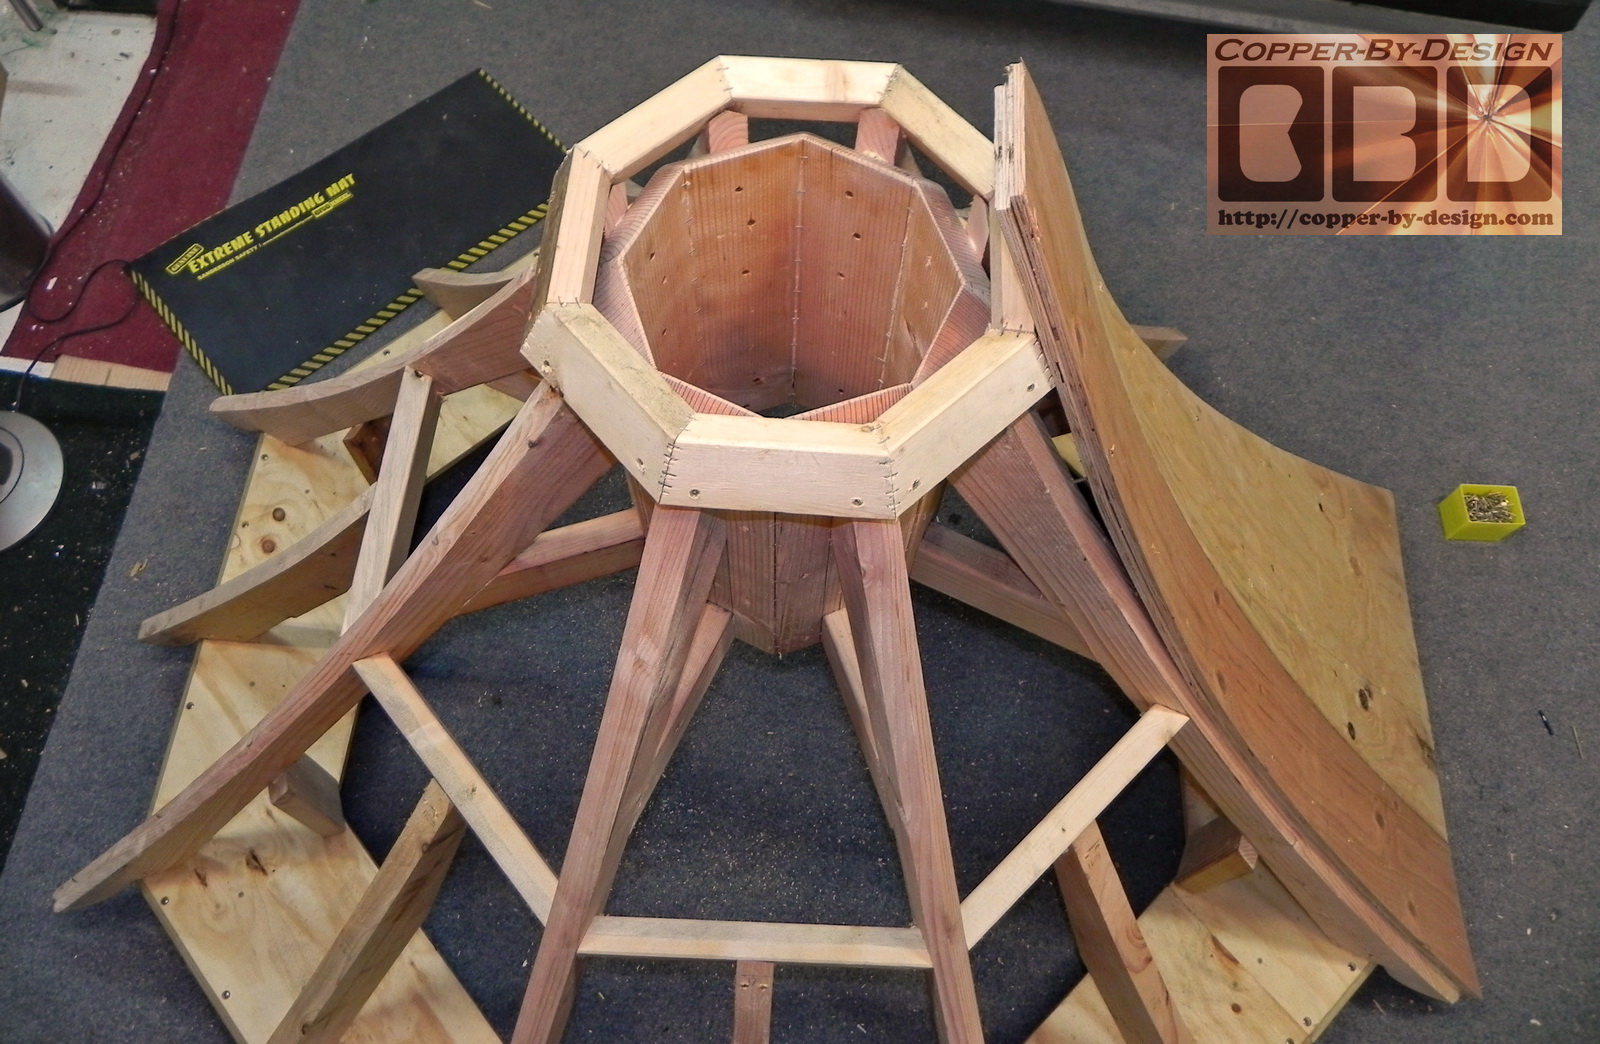
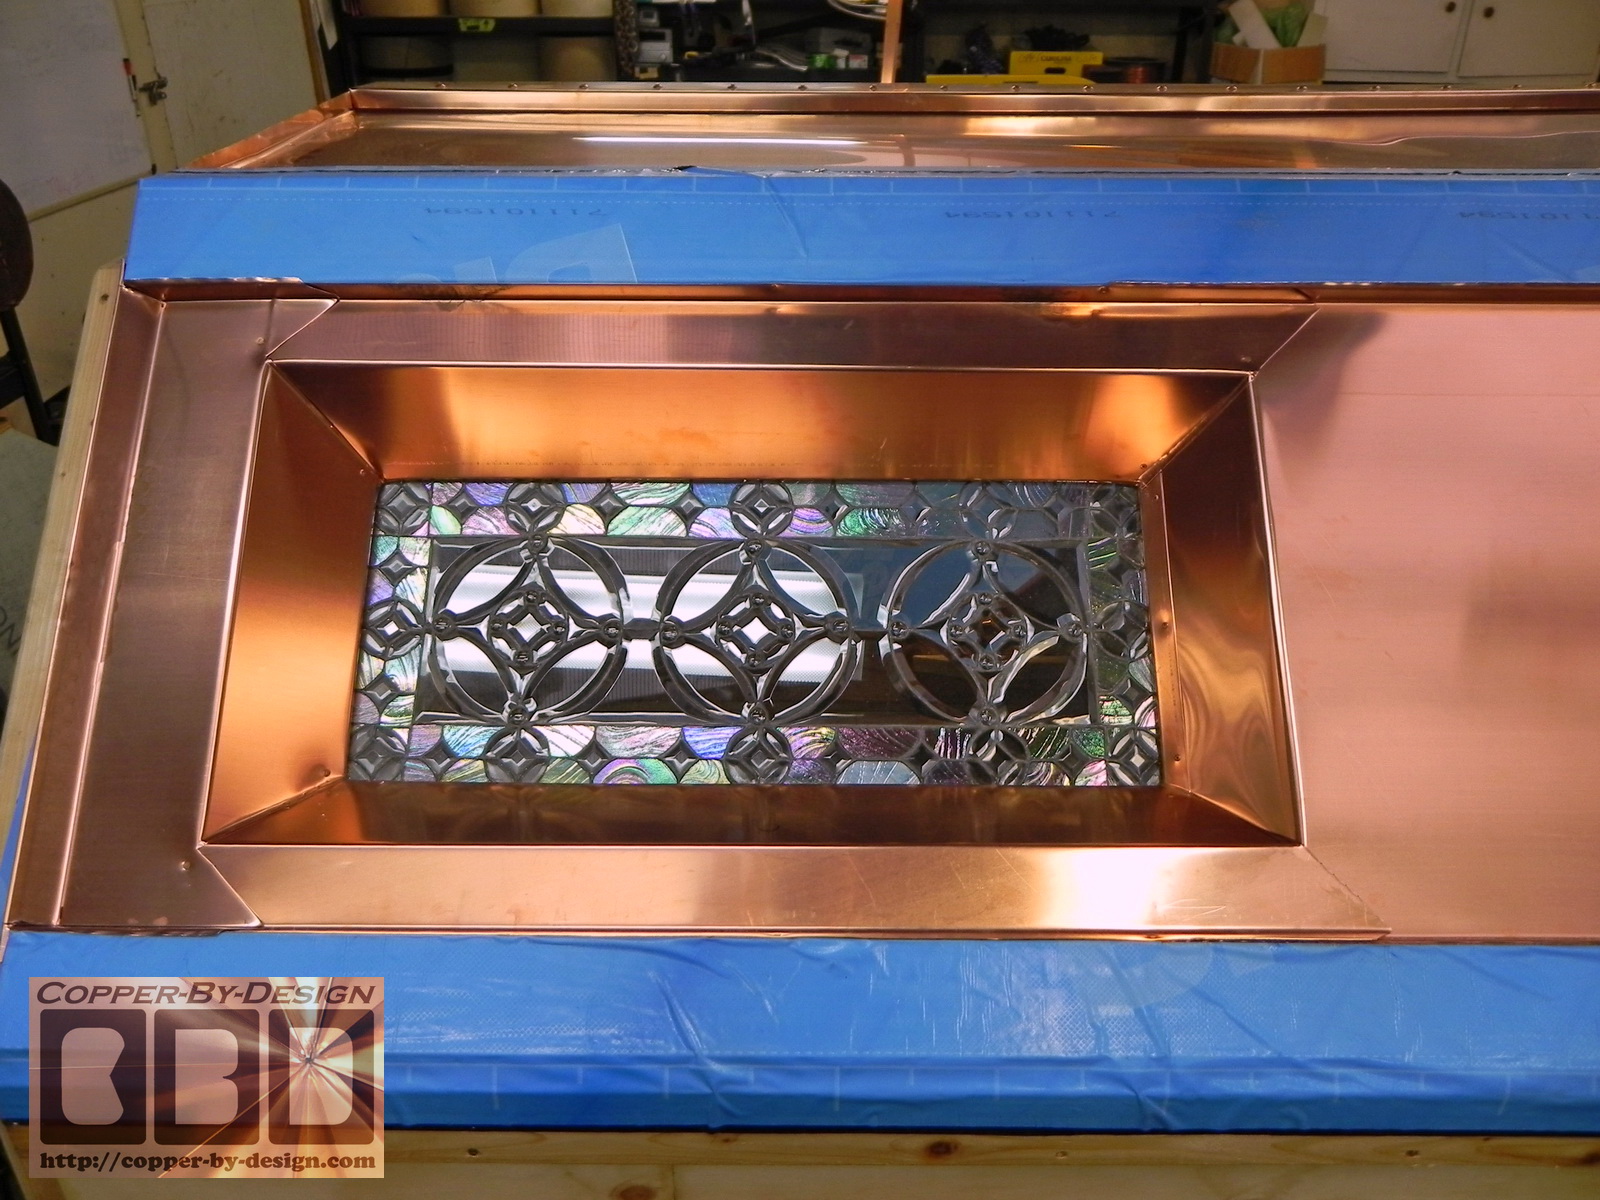
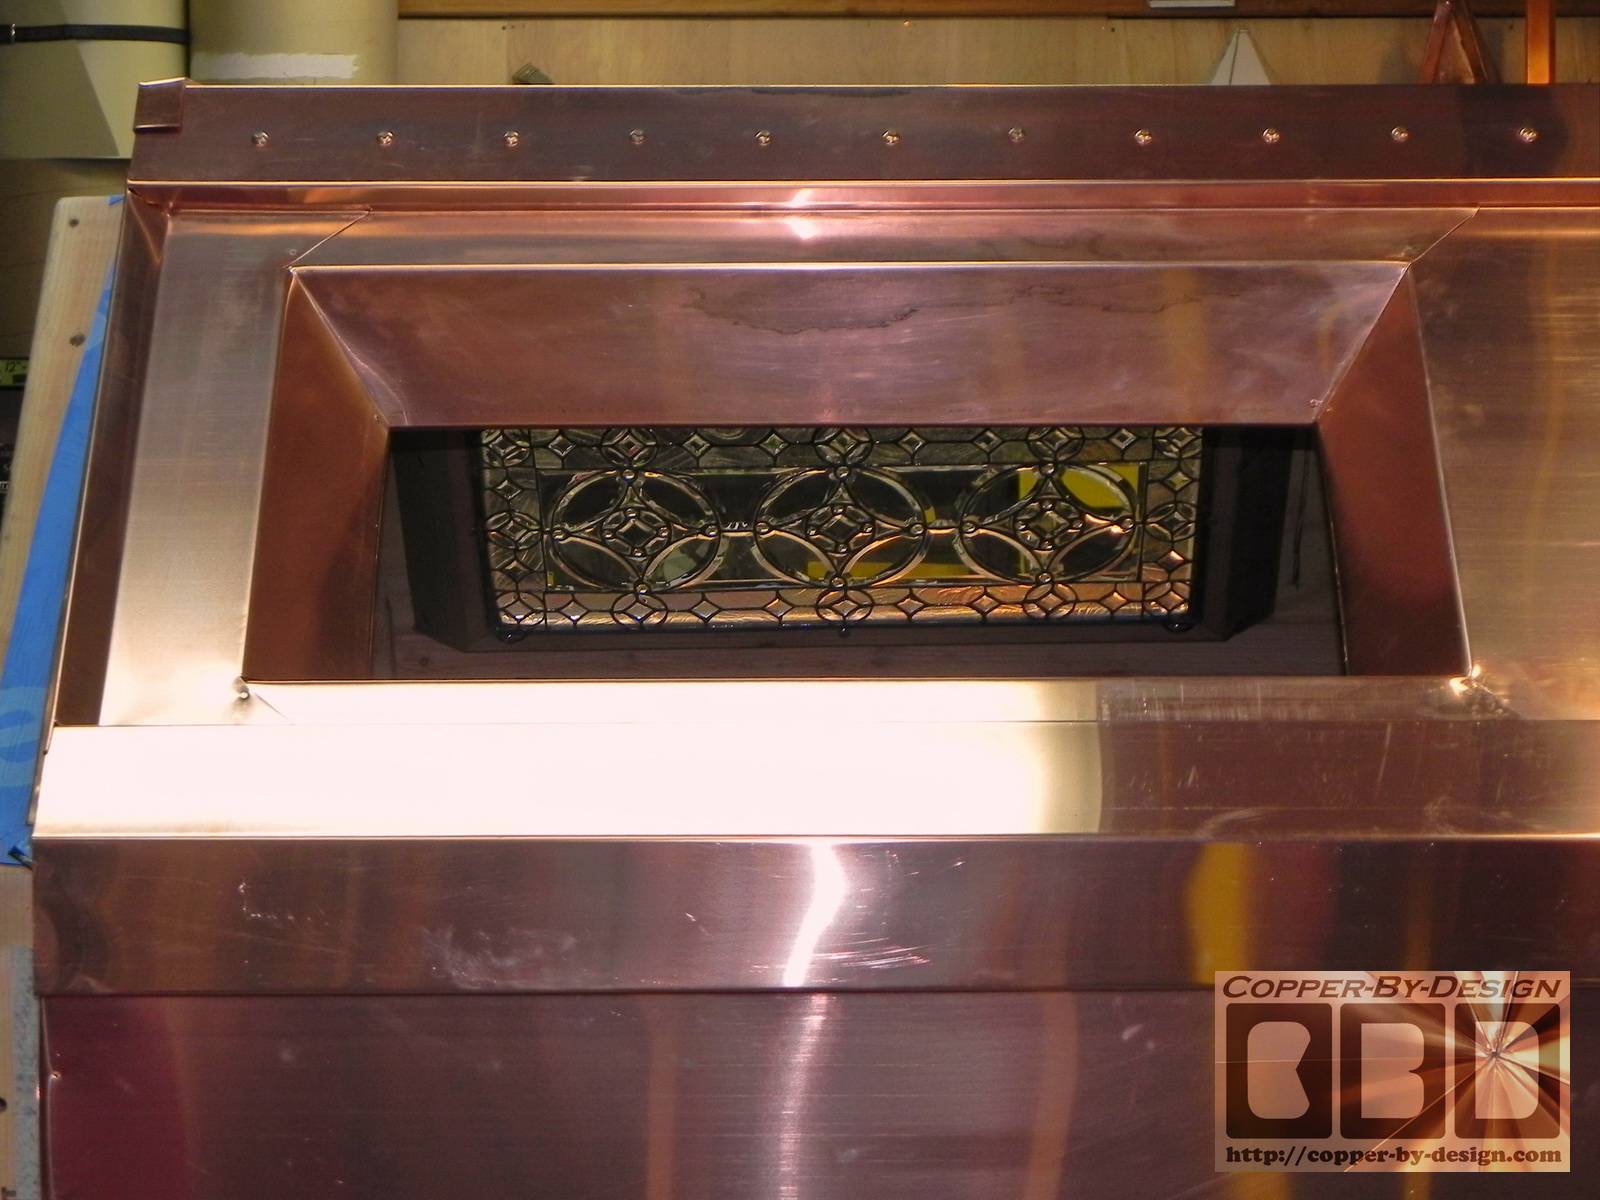
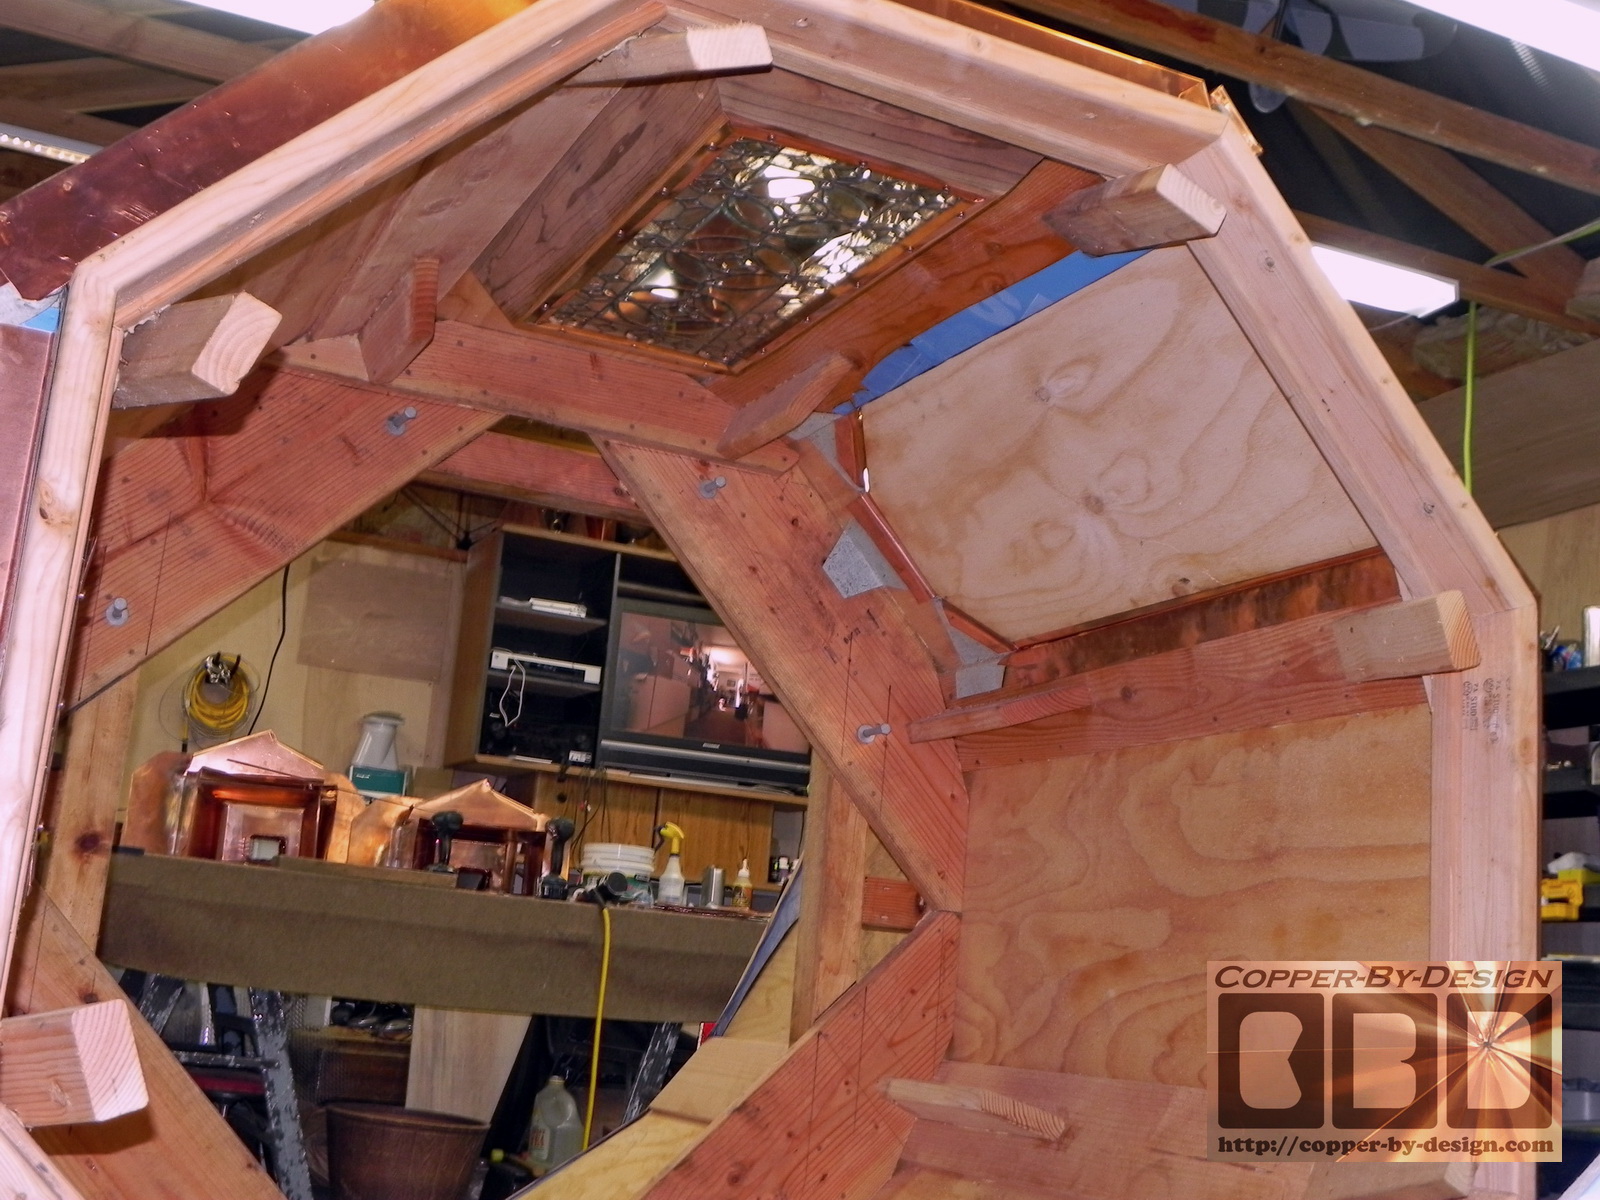
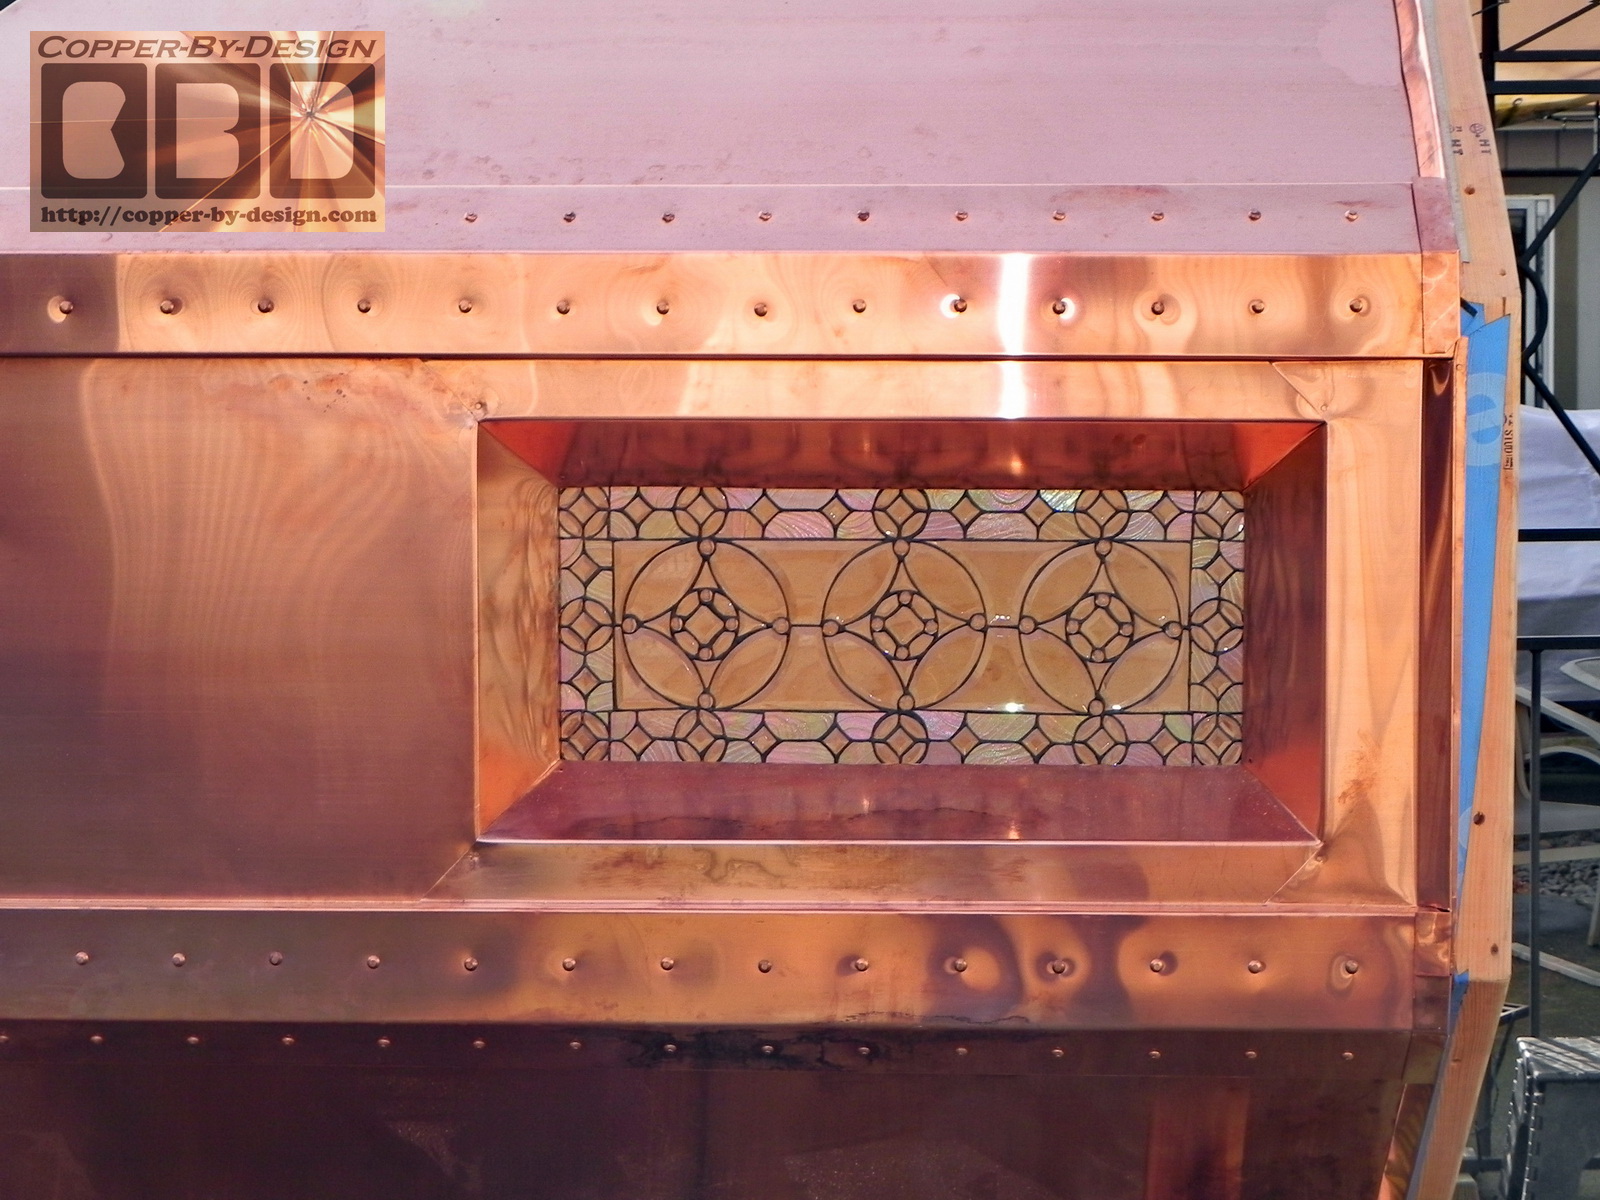
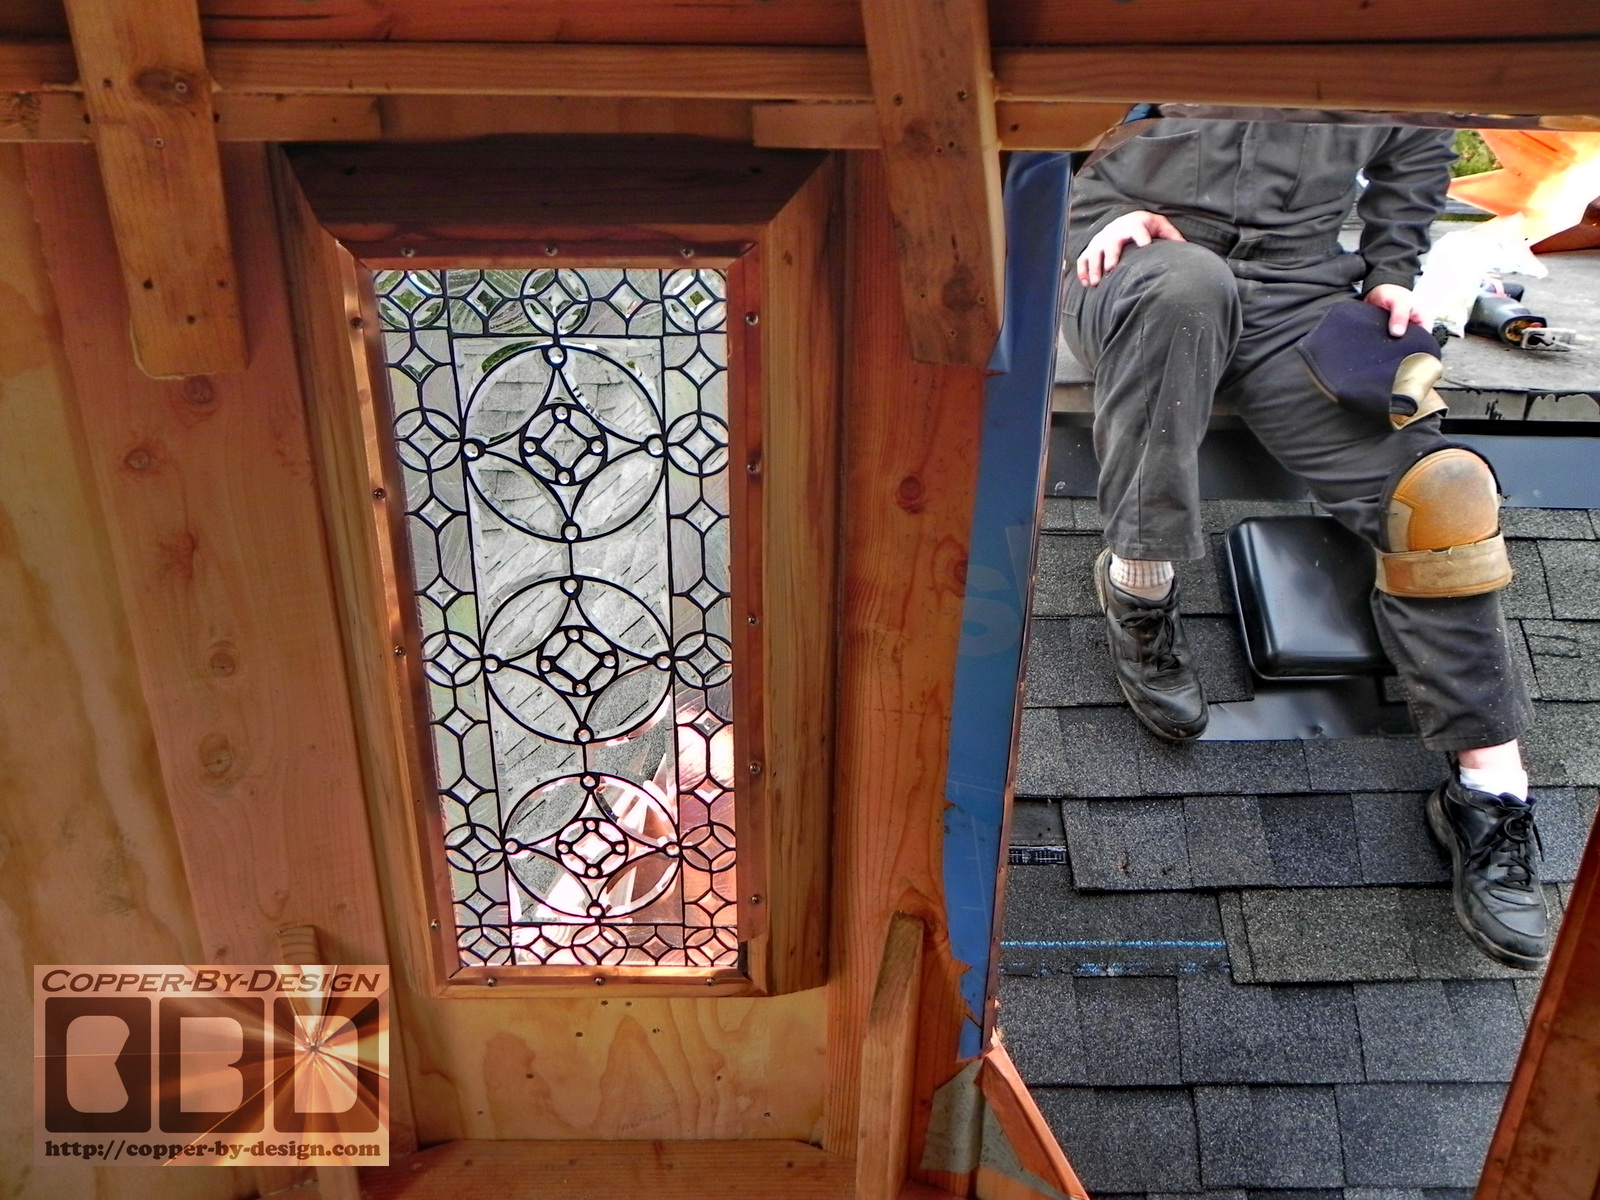
I needed to determine the best size for these
diamond shaped shingles. The small pattern I felt looked right was 6" X
12" for an exposure of 5" X 10.75".
A week before it was completed
I was able to get a better idea at this point as to how much copper
this will take to complete to give the clients a final cost:
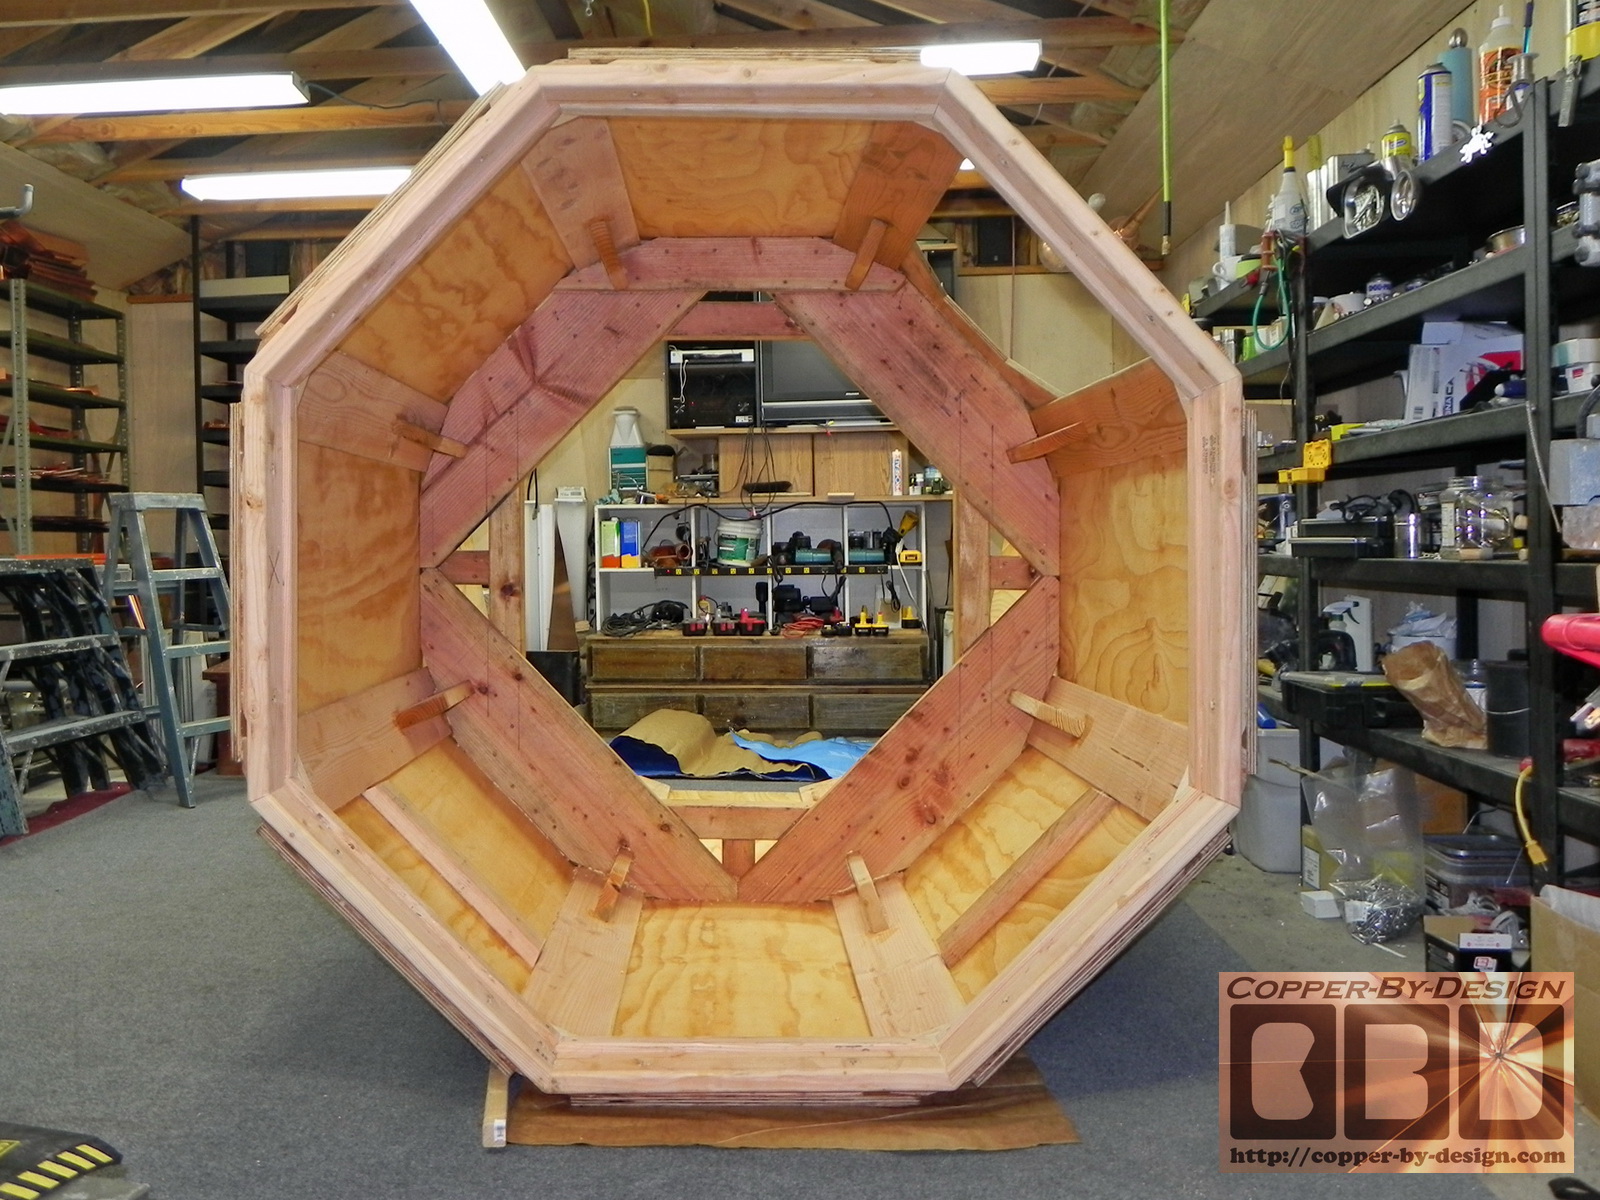
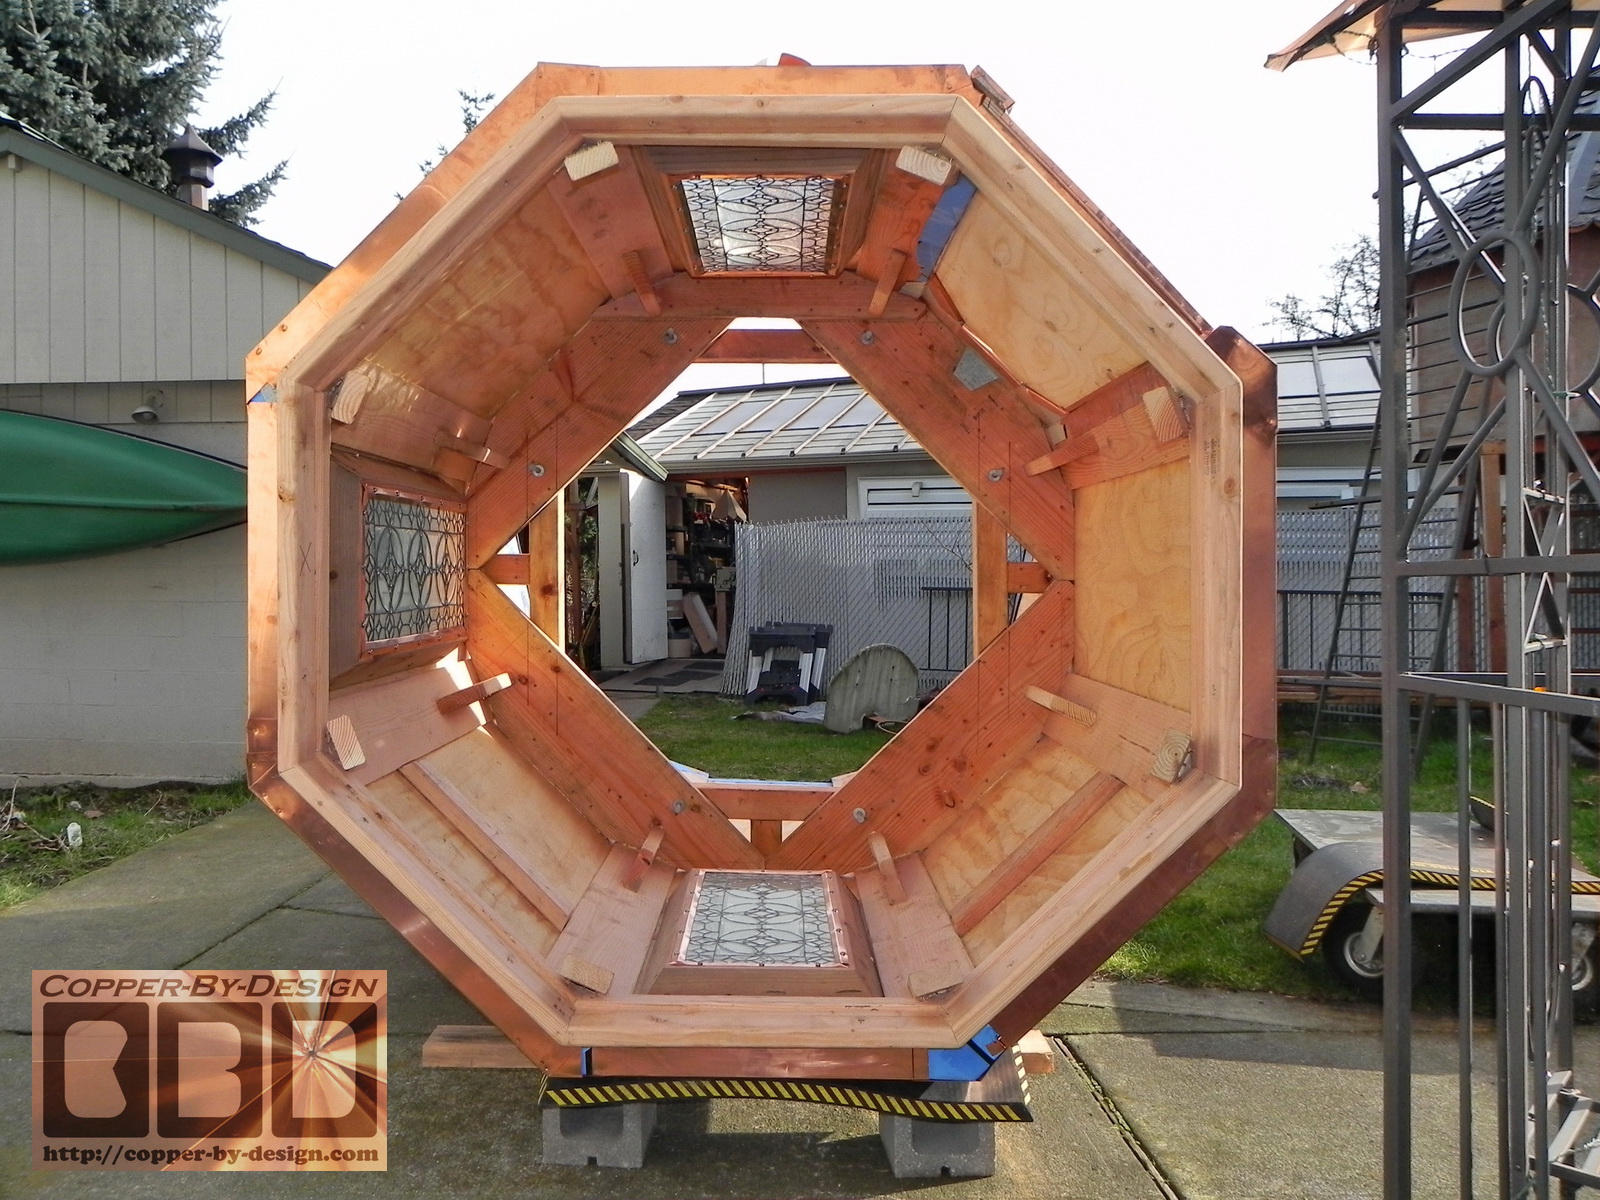
Each of the 8 sides of this roof will take 50 pieces to cover it in these
small diamond shaped copper shingles = 15.82 sq' each side
X 8
sides = 126.56 sq'
+ 15.33 sq' for the 8 hip-corner covers
+ 11.46 sq' for the rim around the bottom of the roof
+ 8 sq' for the top roof cap to hold the finial
= 161.35 sq' on the outside of this roof
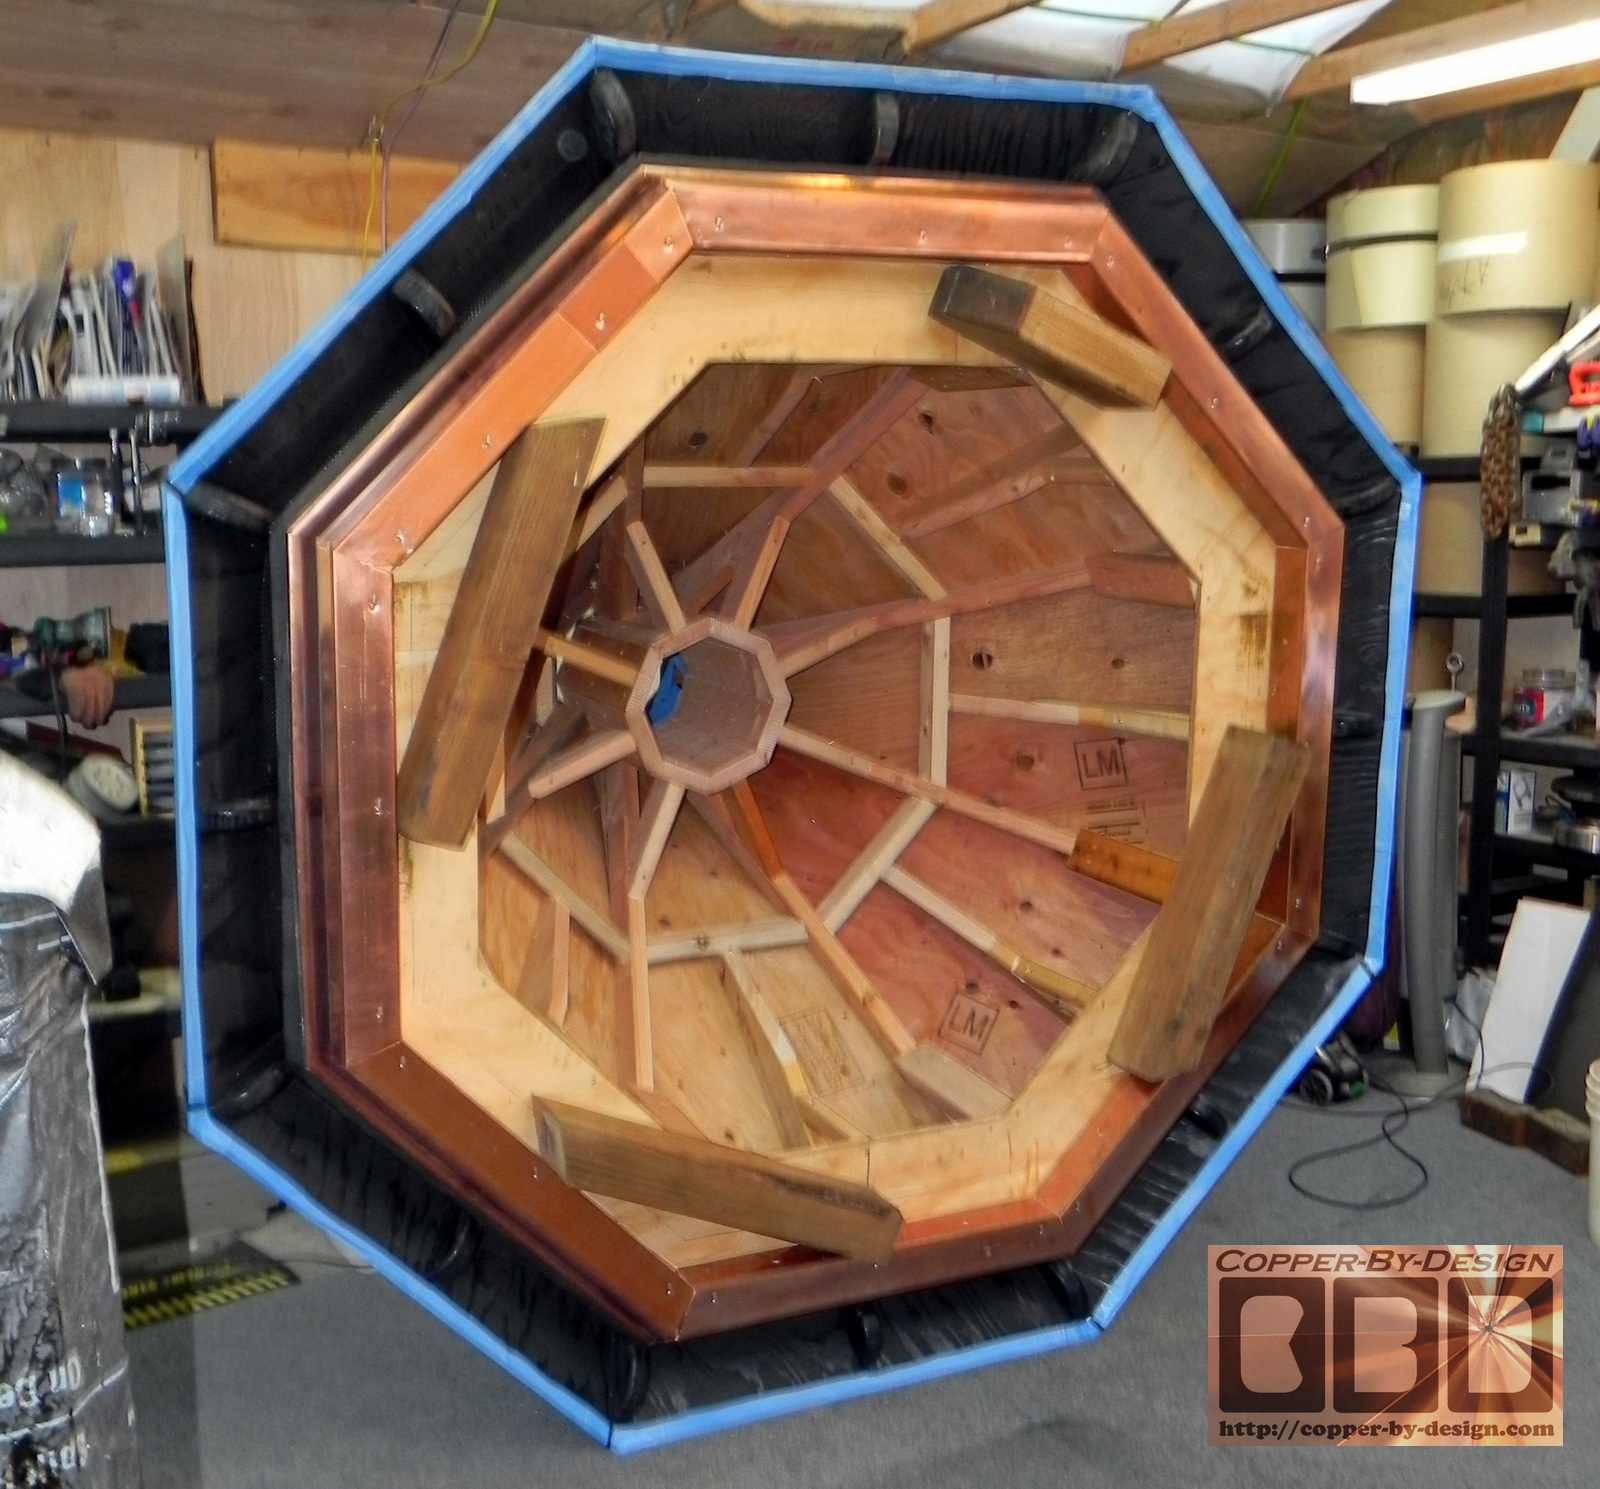
+ 21.33 sq' for the crown molding under the roof
= 182.68 sq' total copper on and under the roof section
X $30, which is 14% less than quoted, even though these are a lot more work to cover the roof this way
(call it a volume/friend discount)
= $5,480.40 for the copper of this roof section
+ $125 for the finial mount
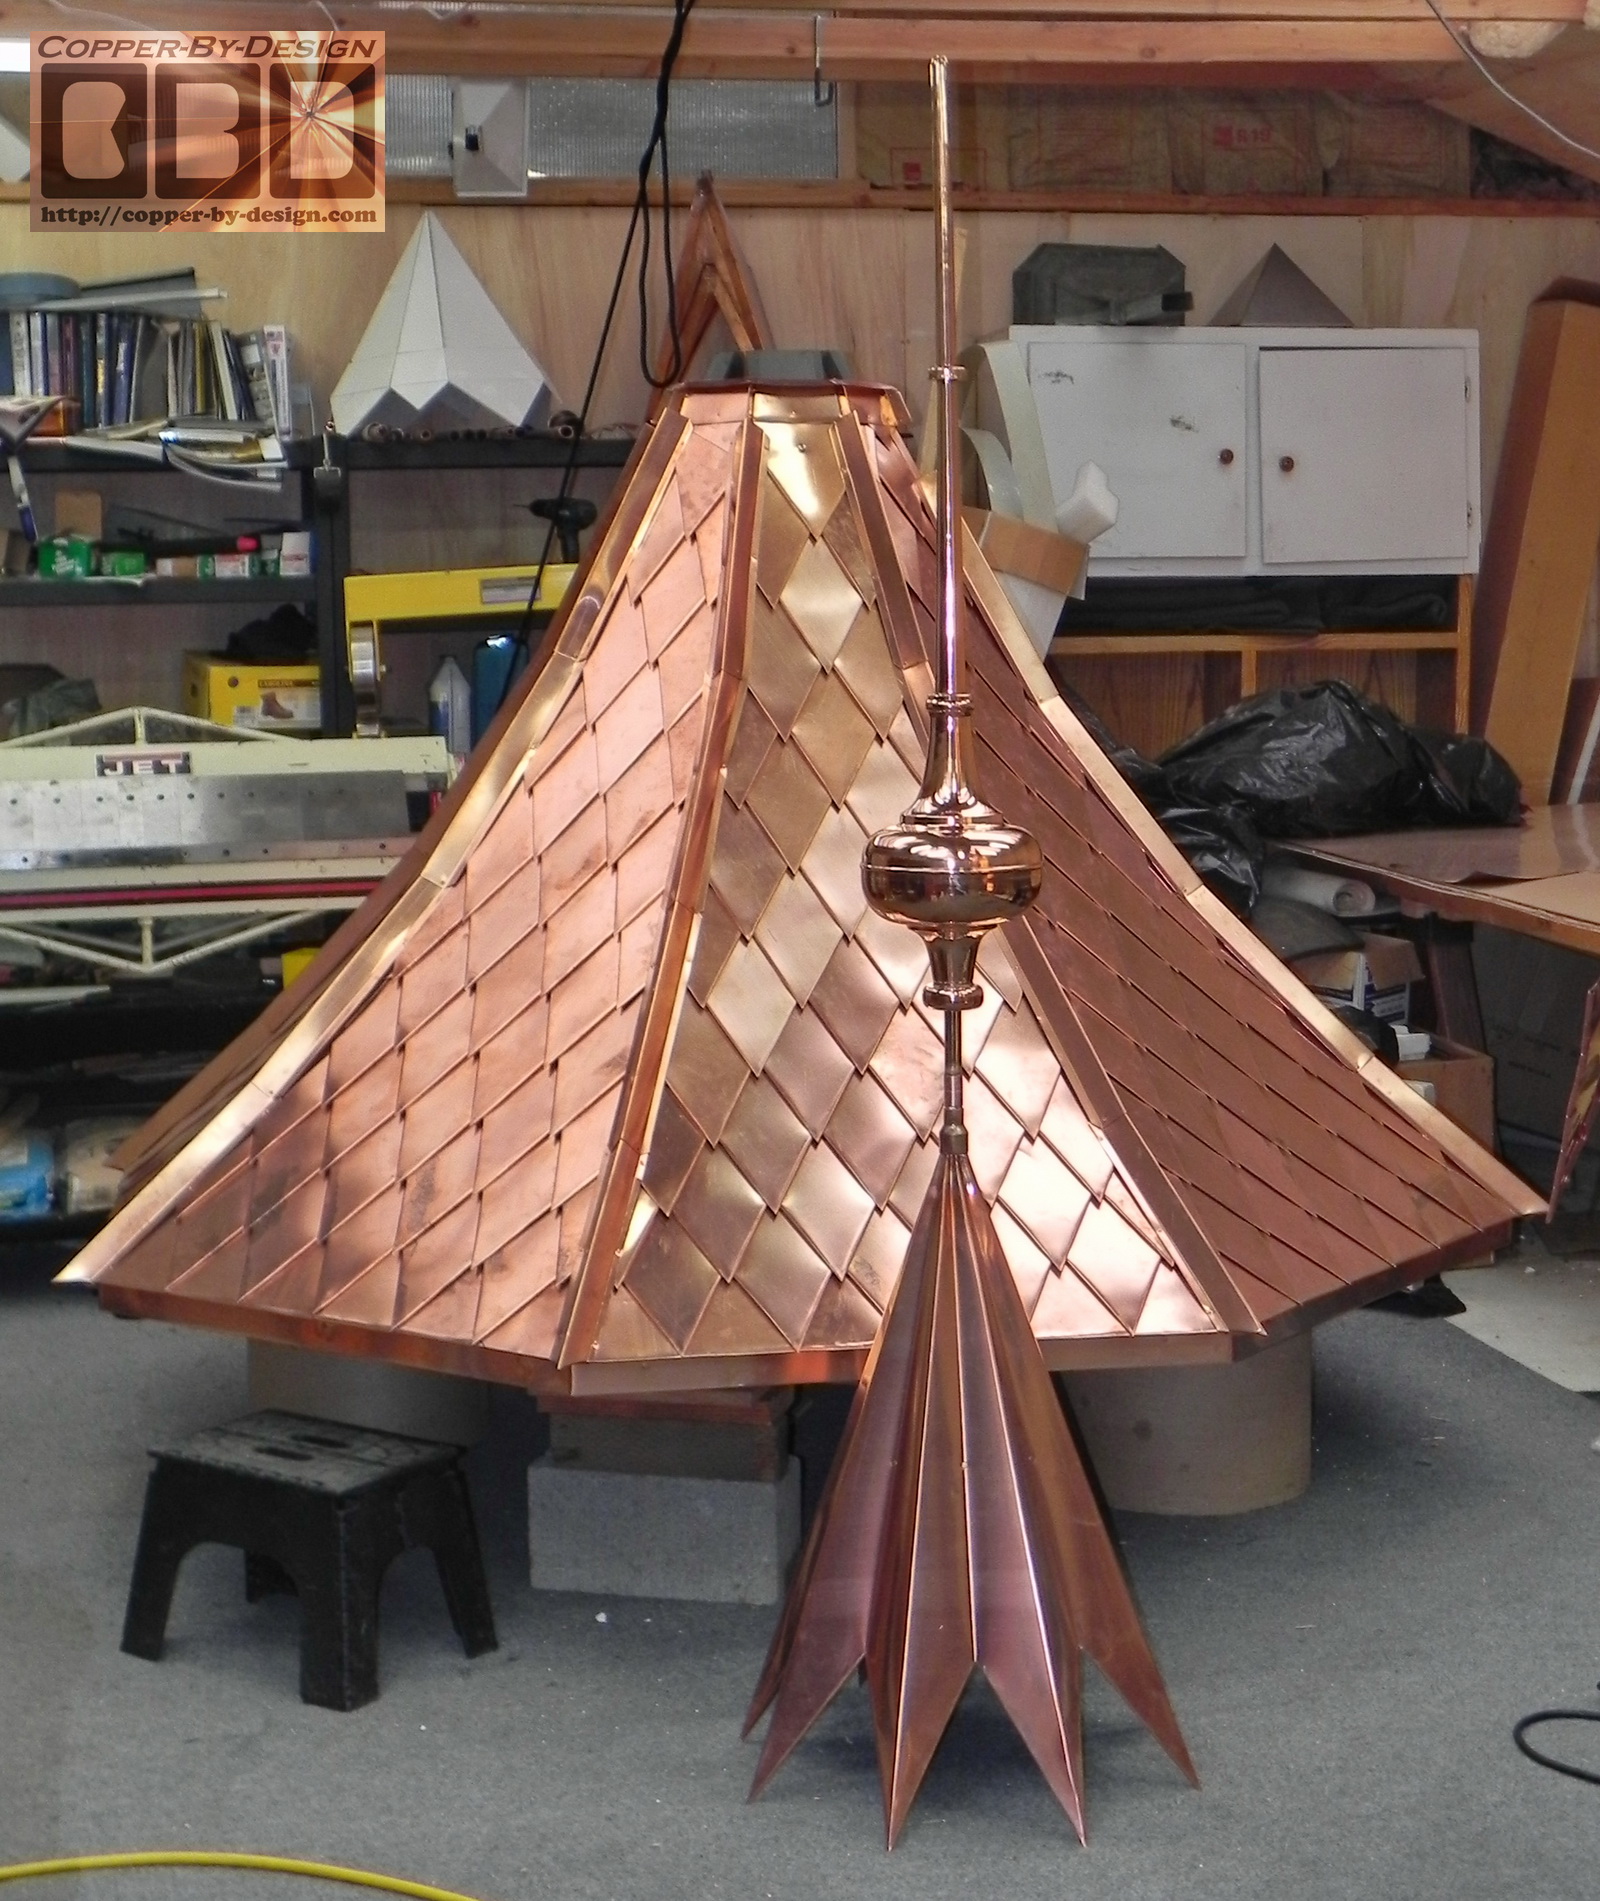
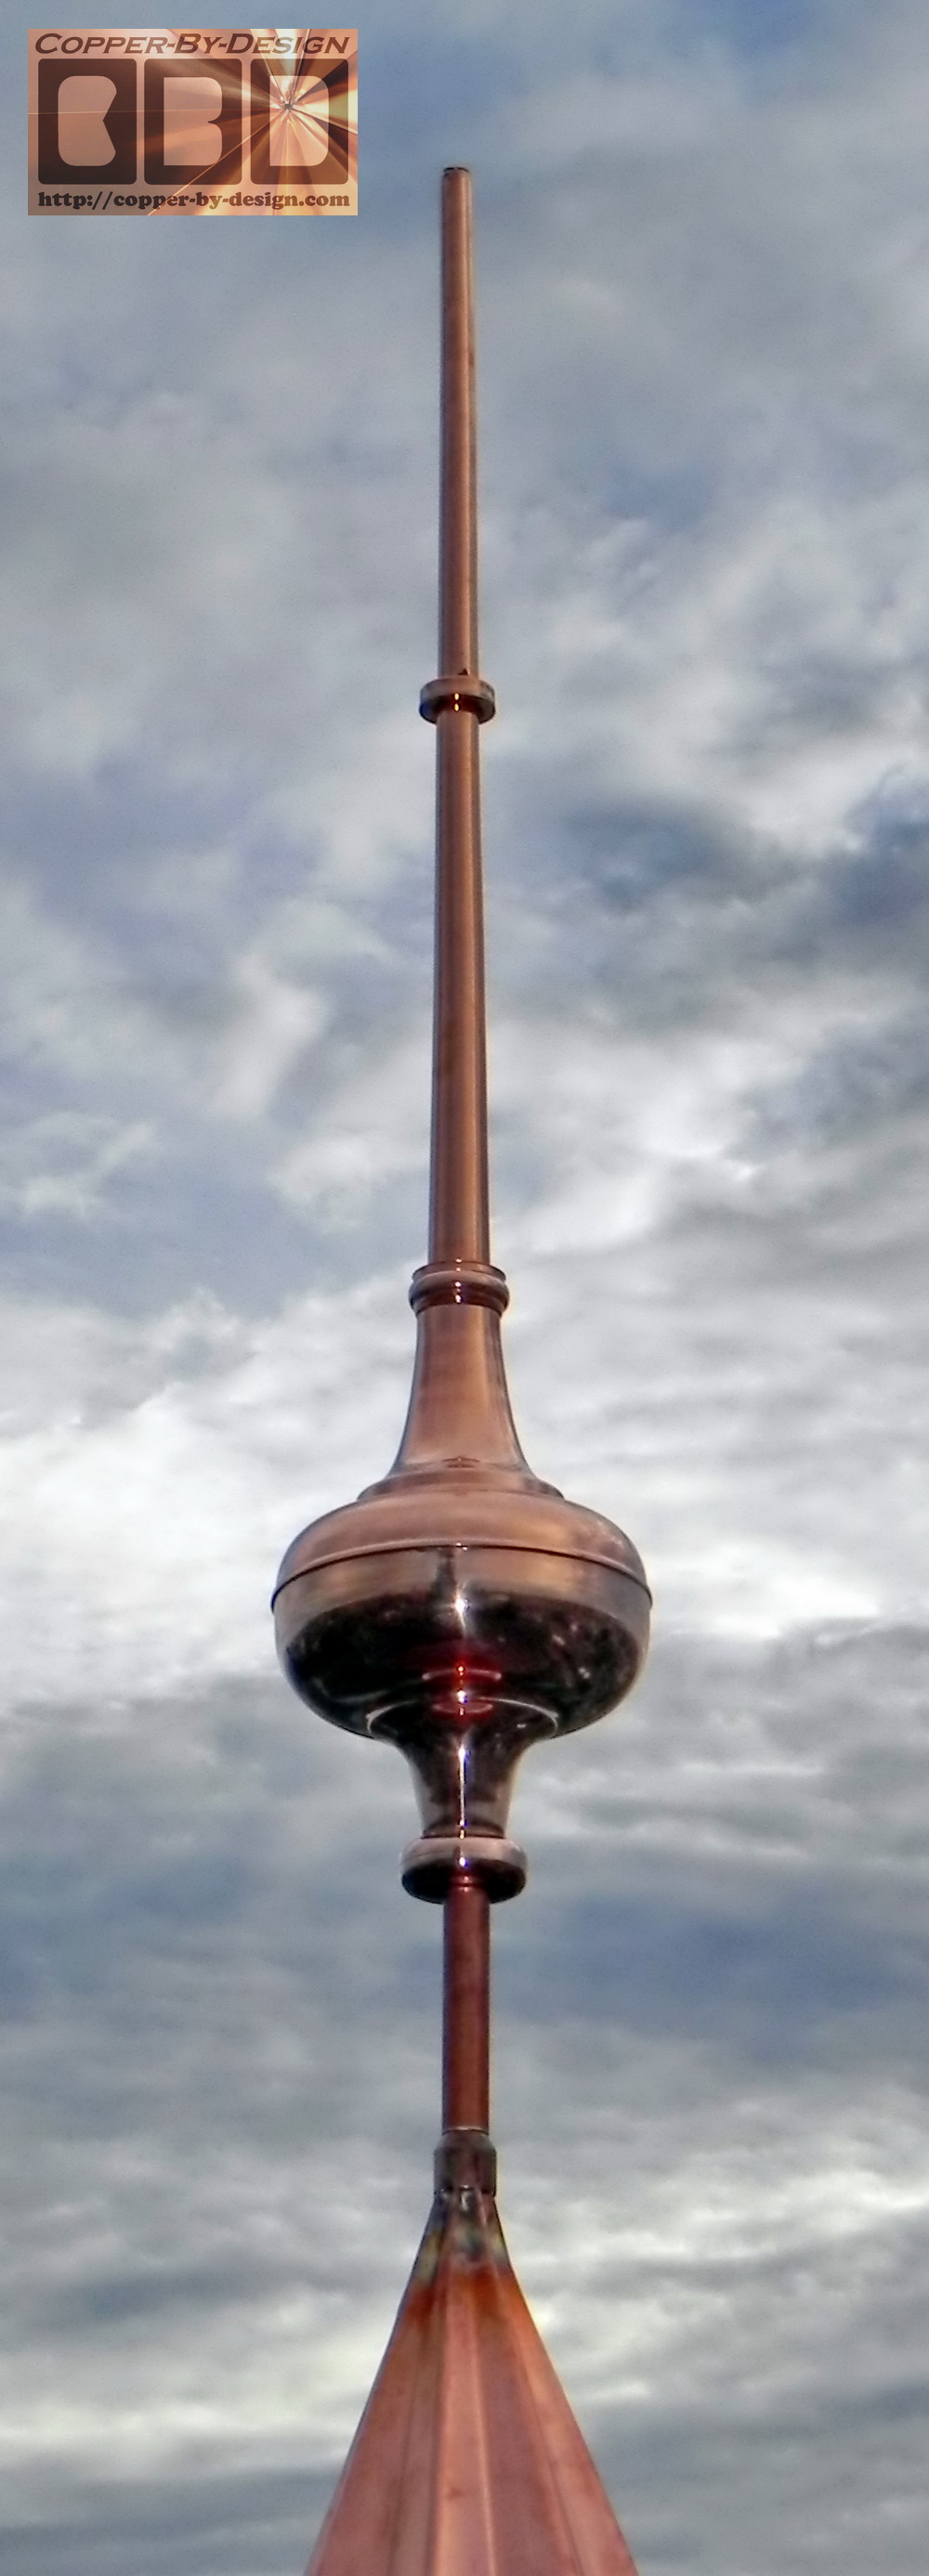
+ $382.50 for the large 10" X 53" Morgana style finial w/brass mast rod
= $5,987.90
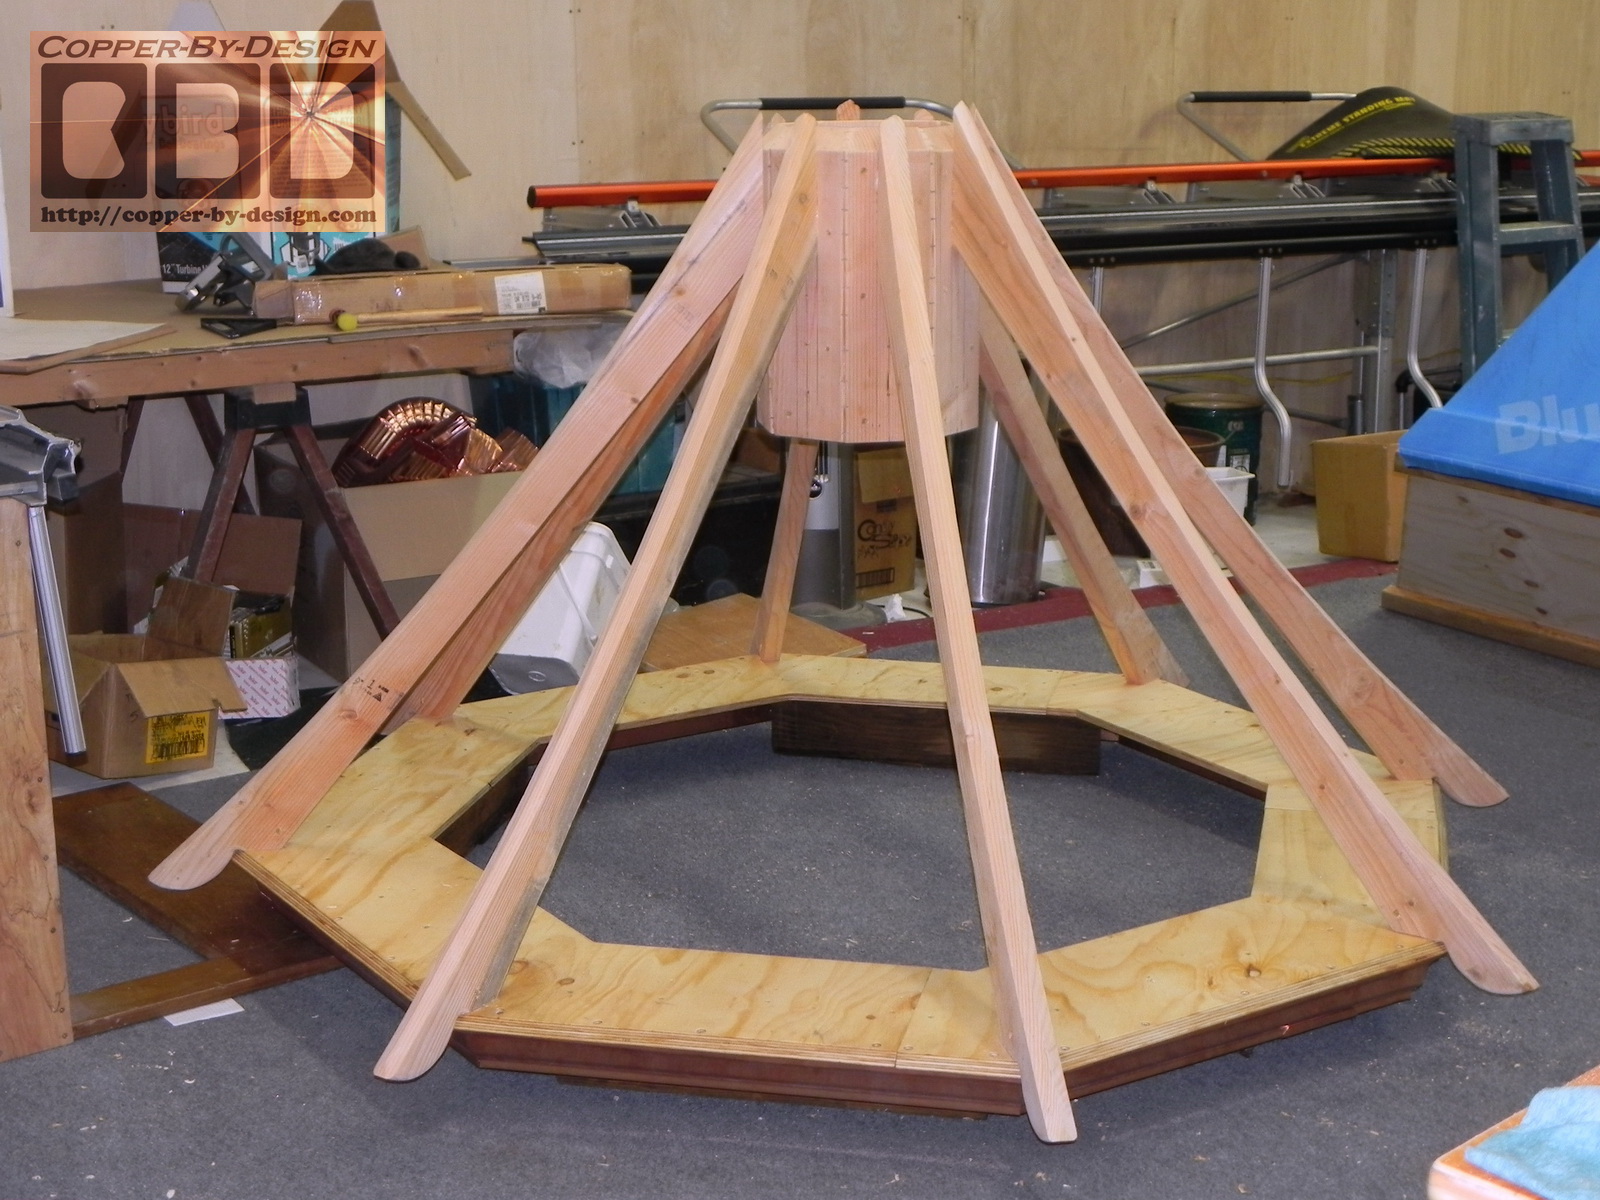
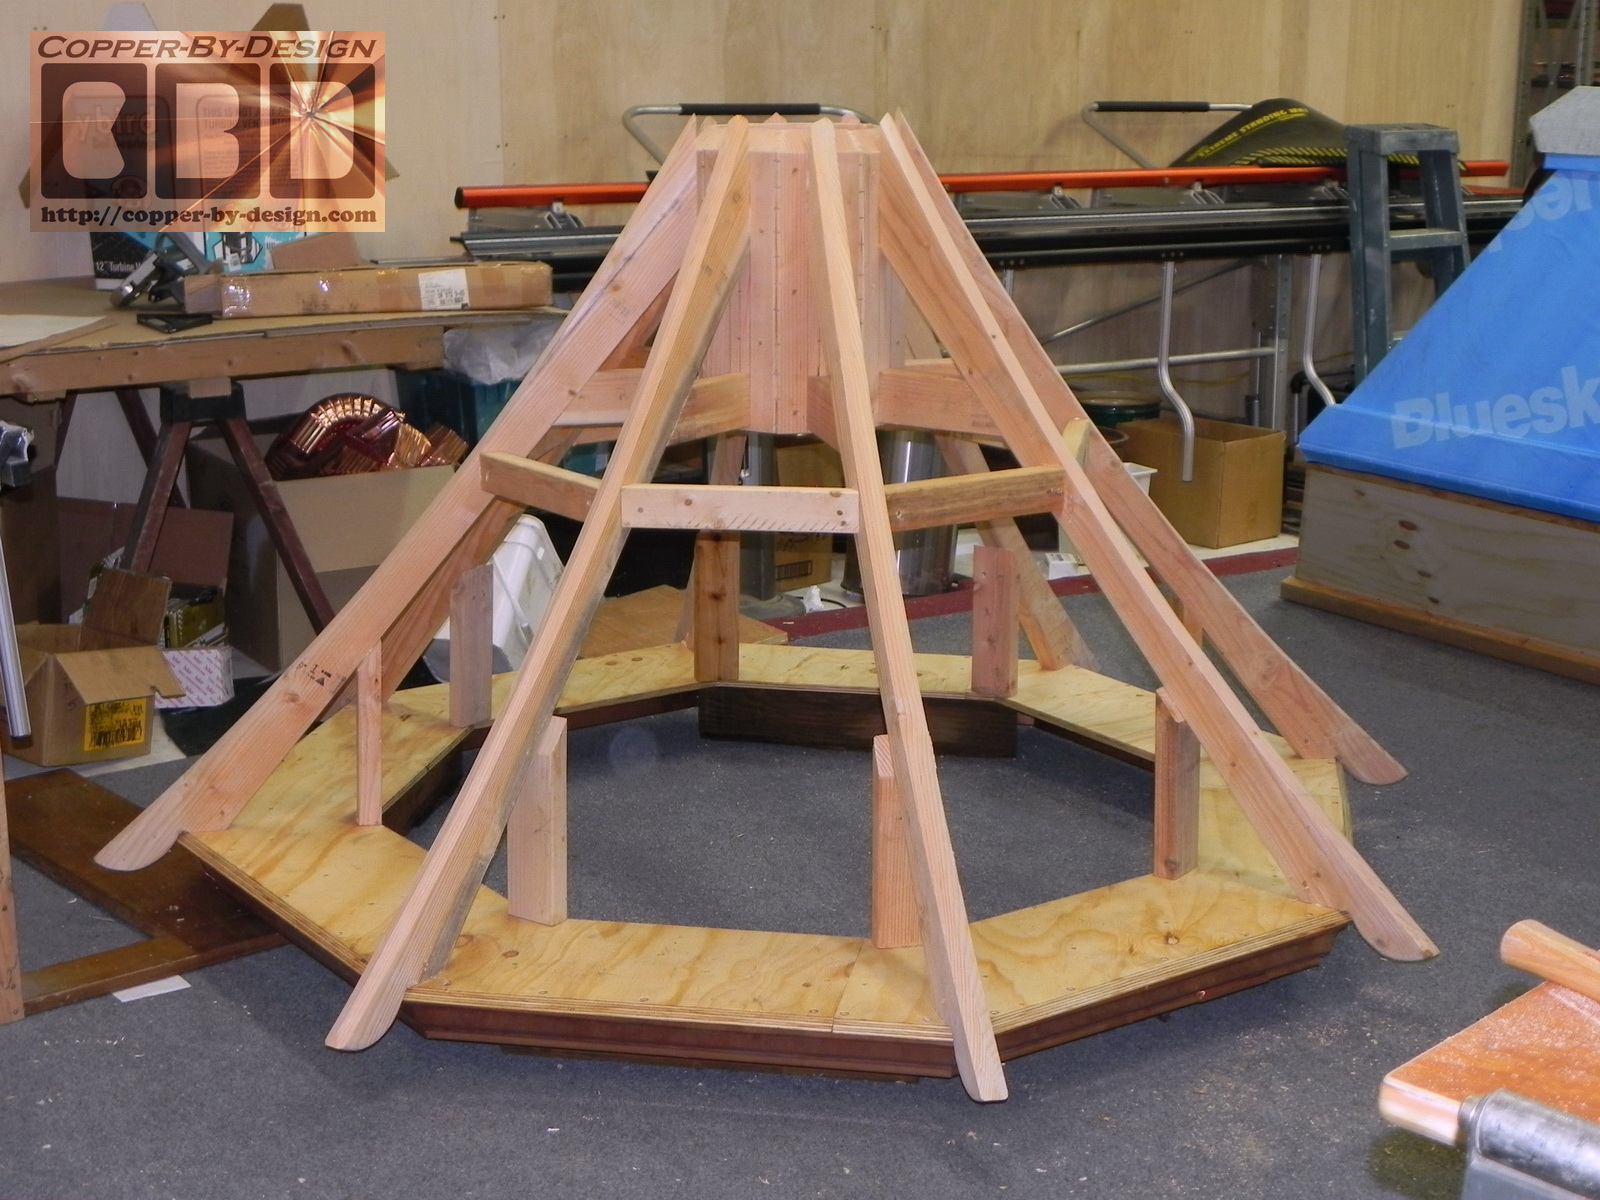
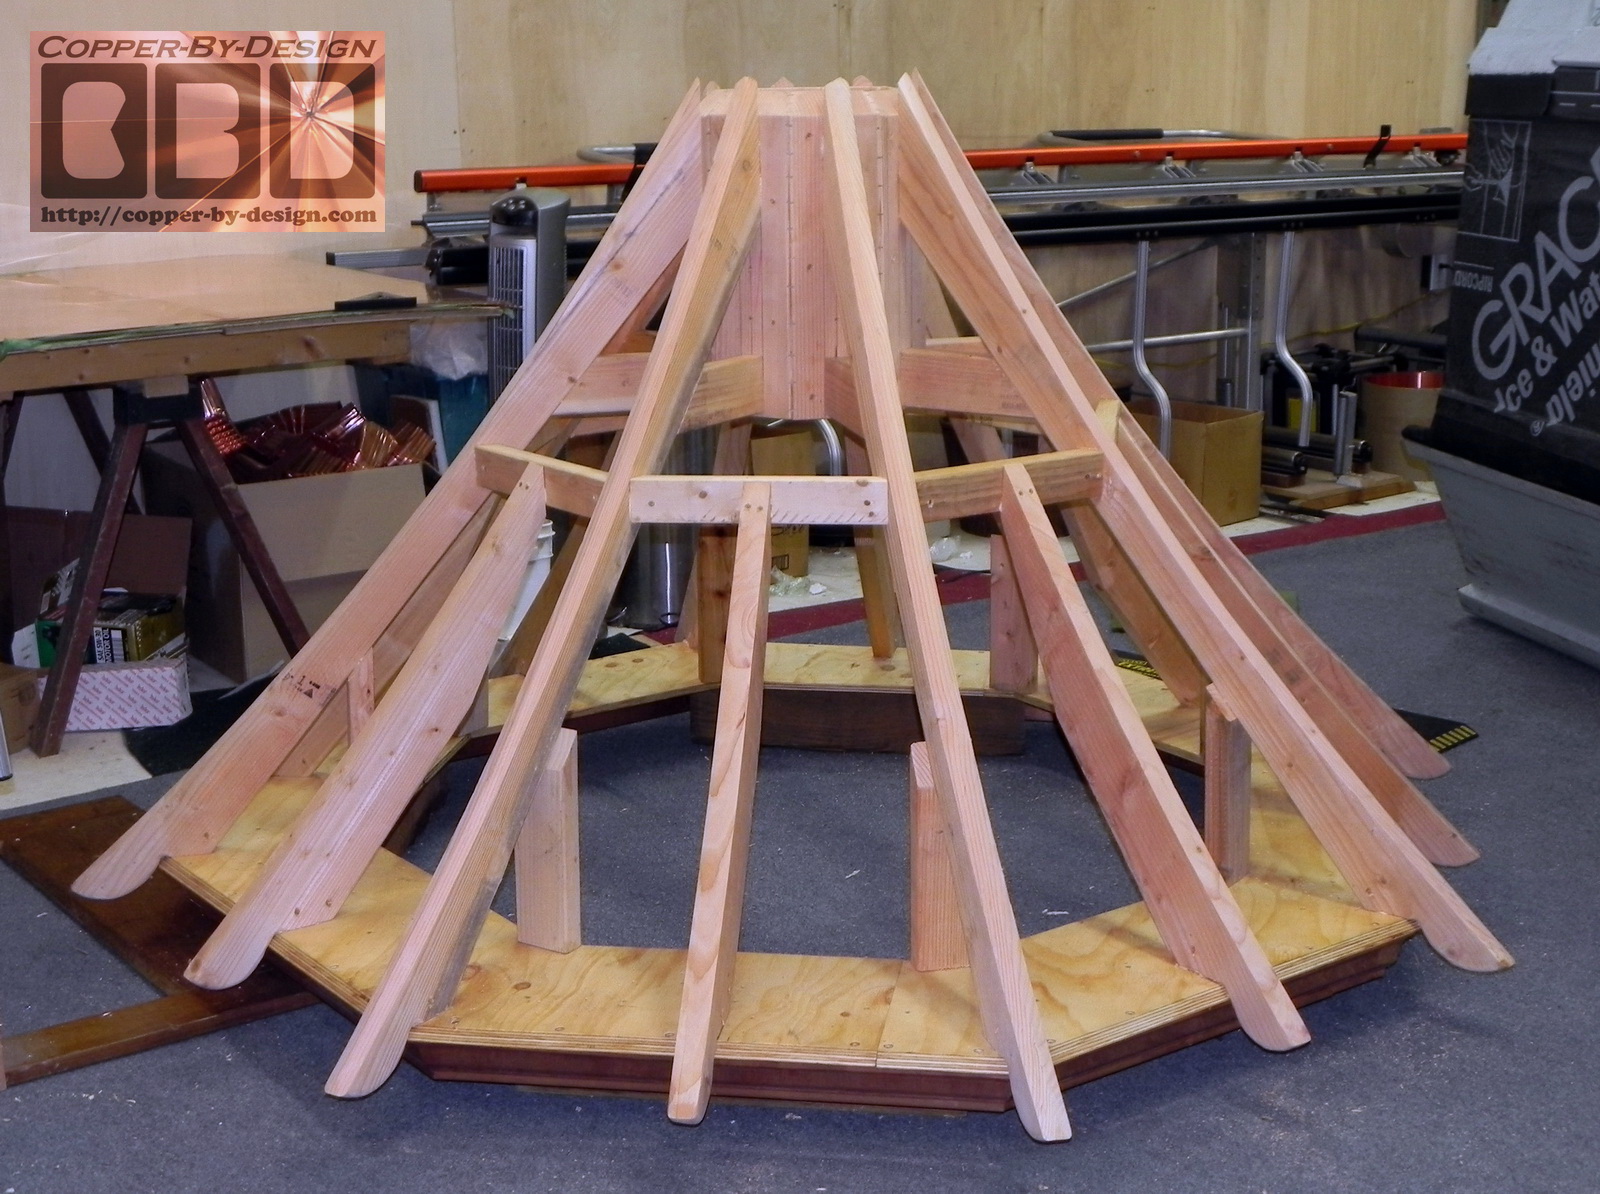
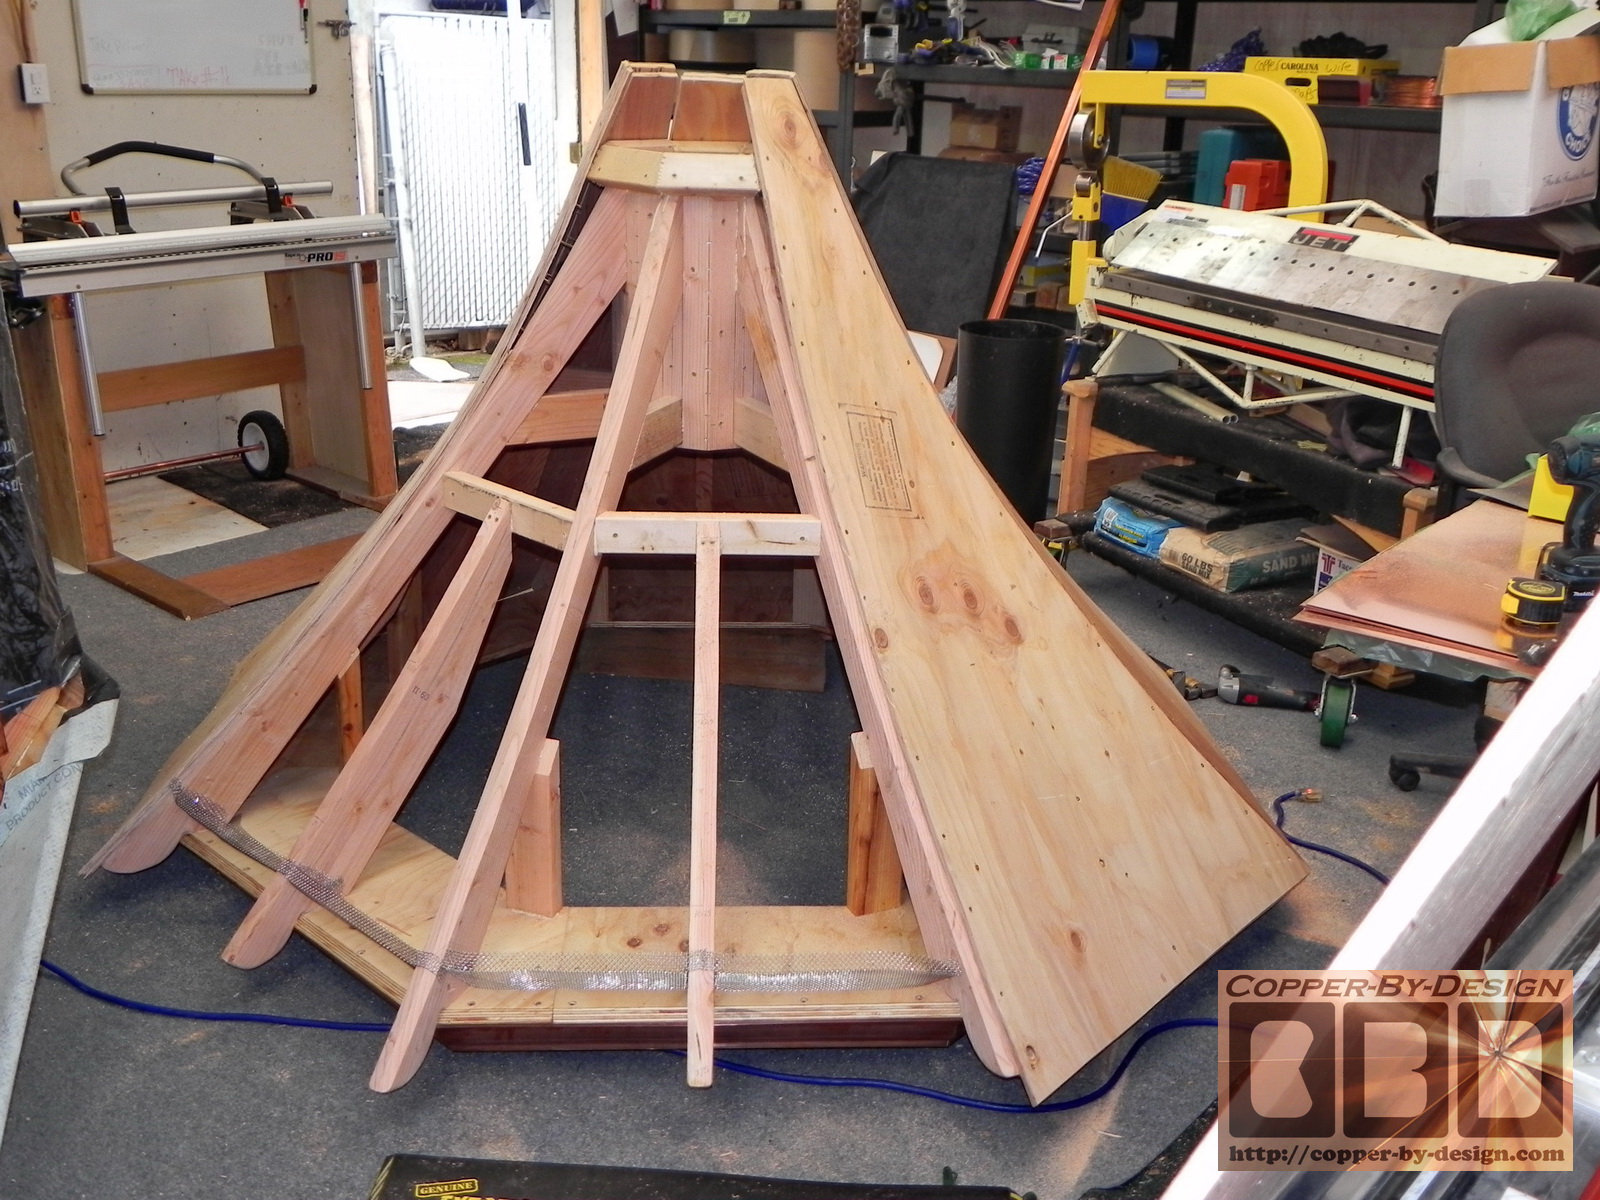
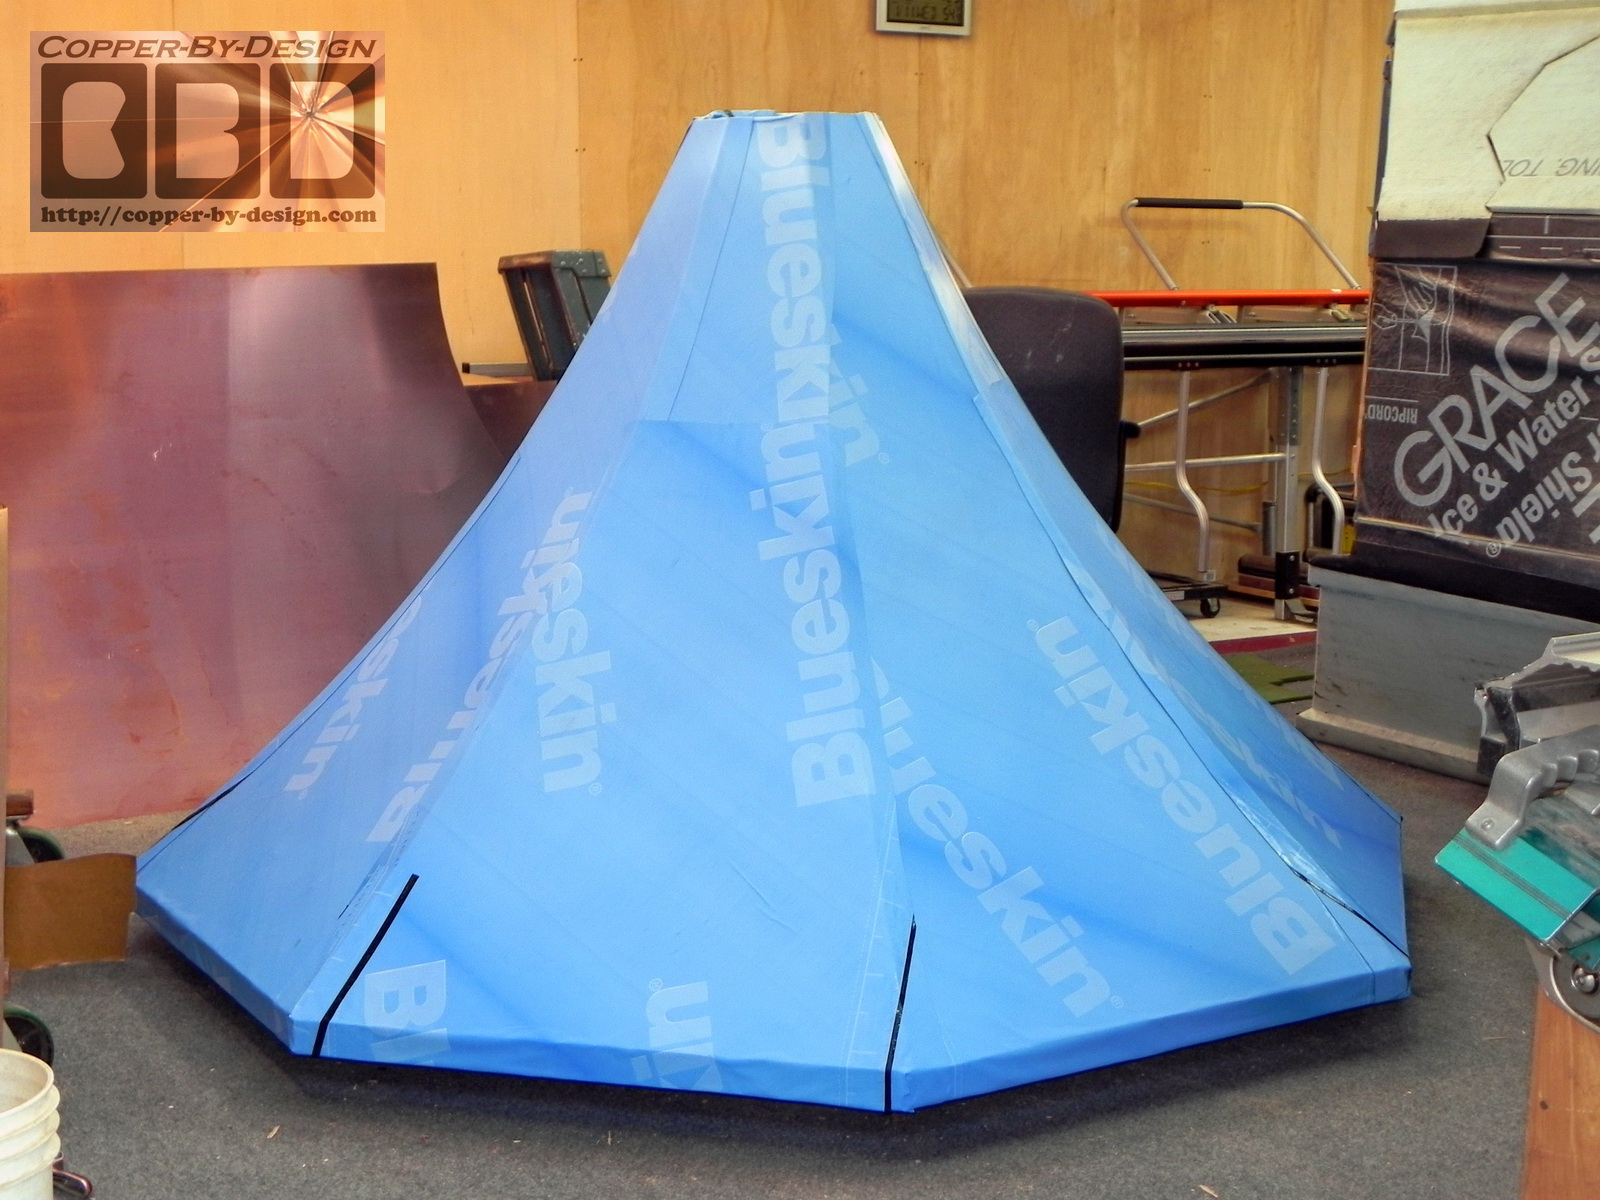
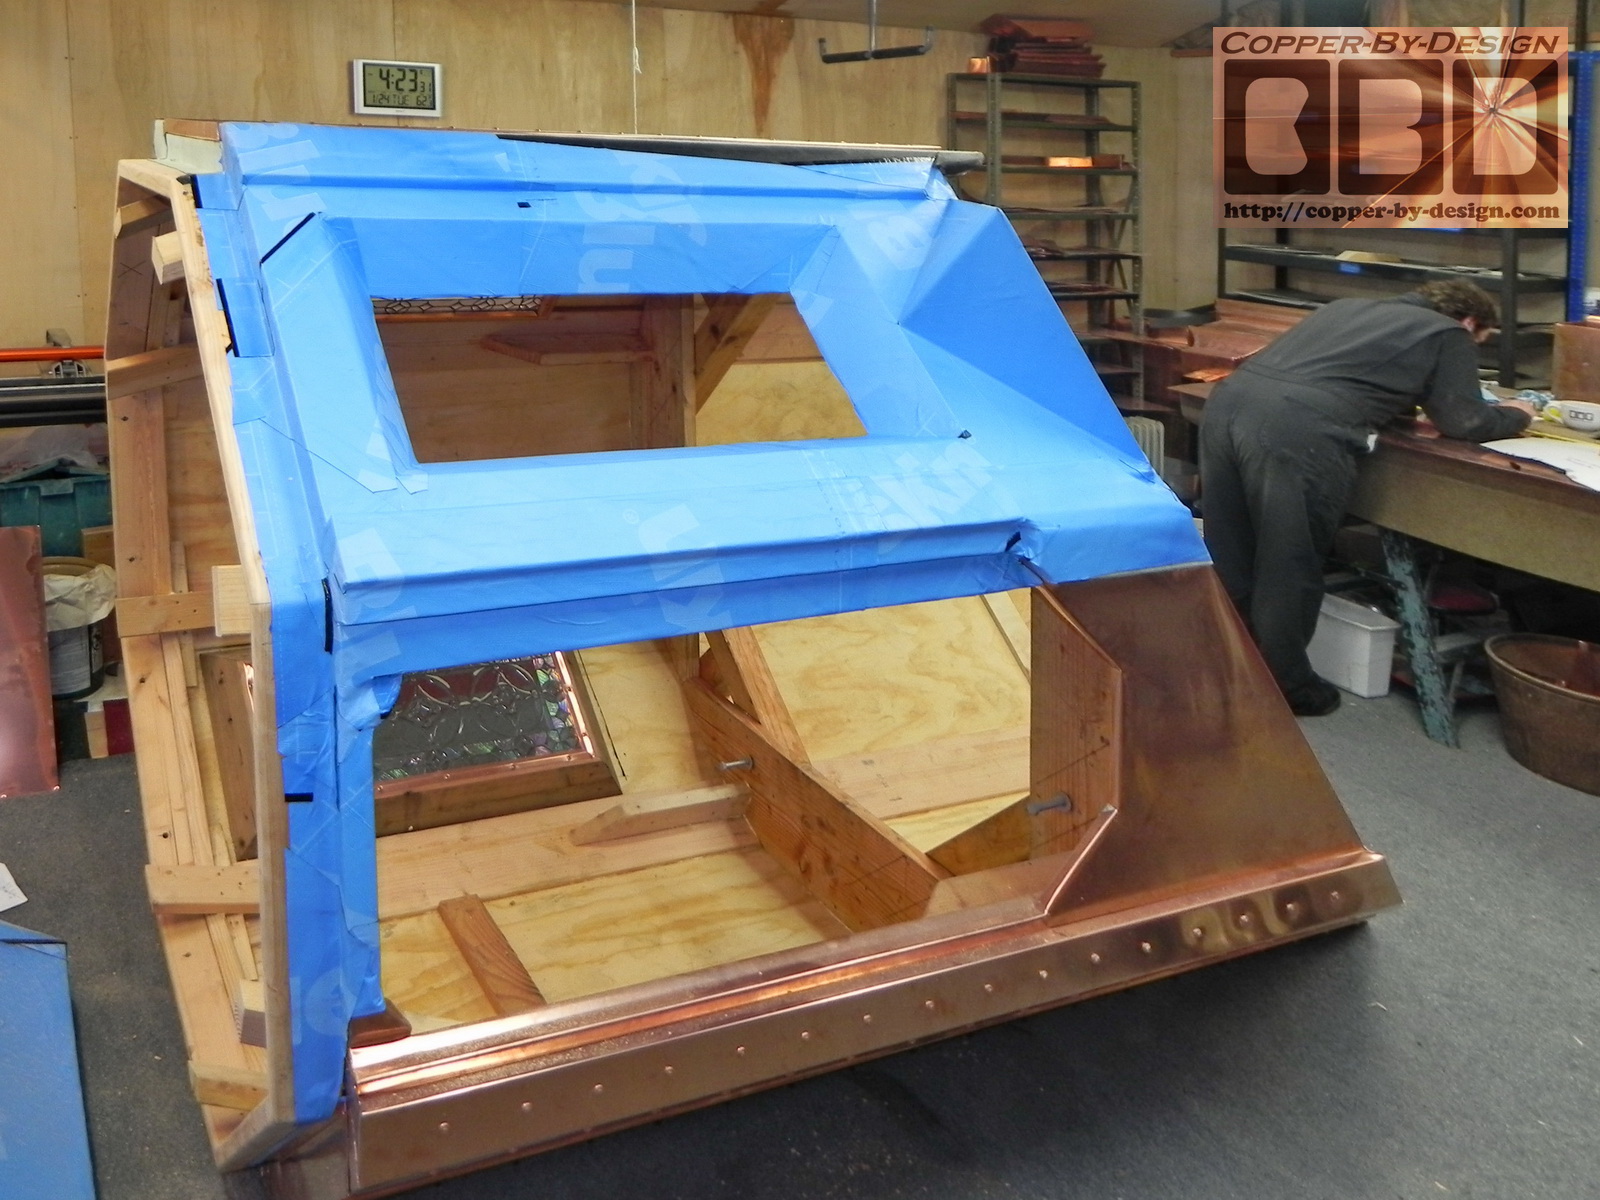
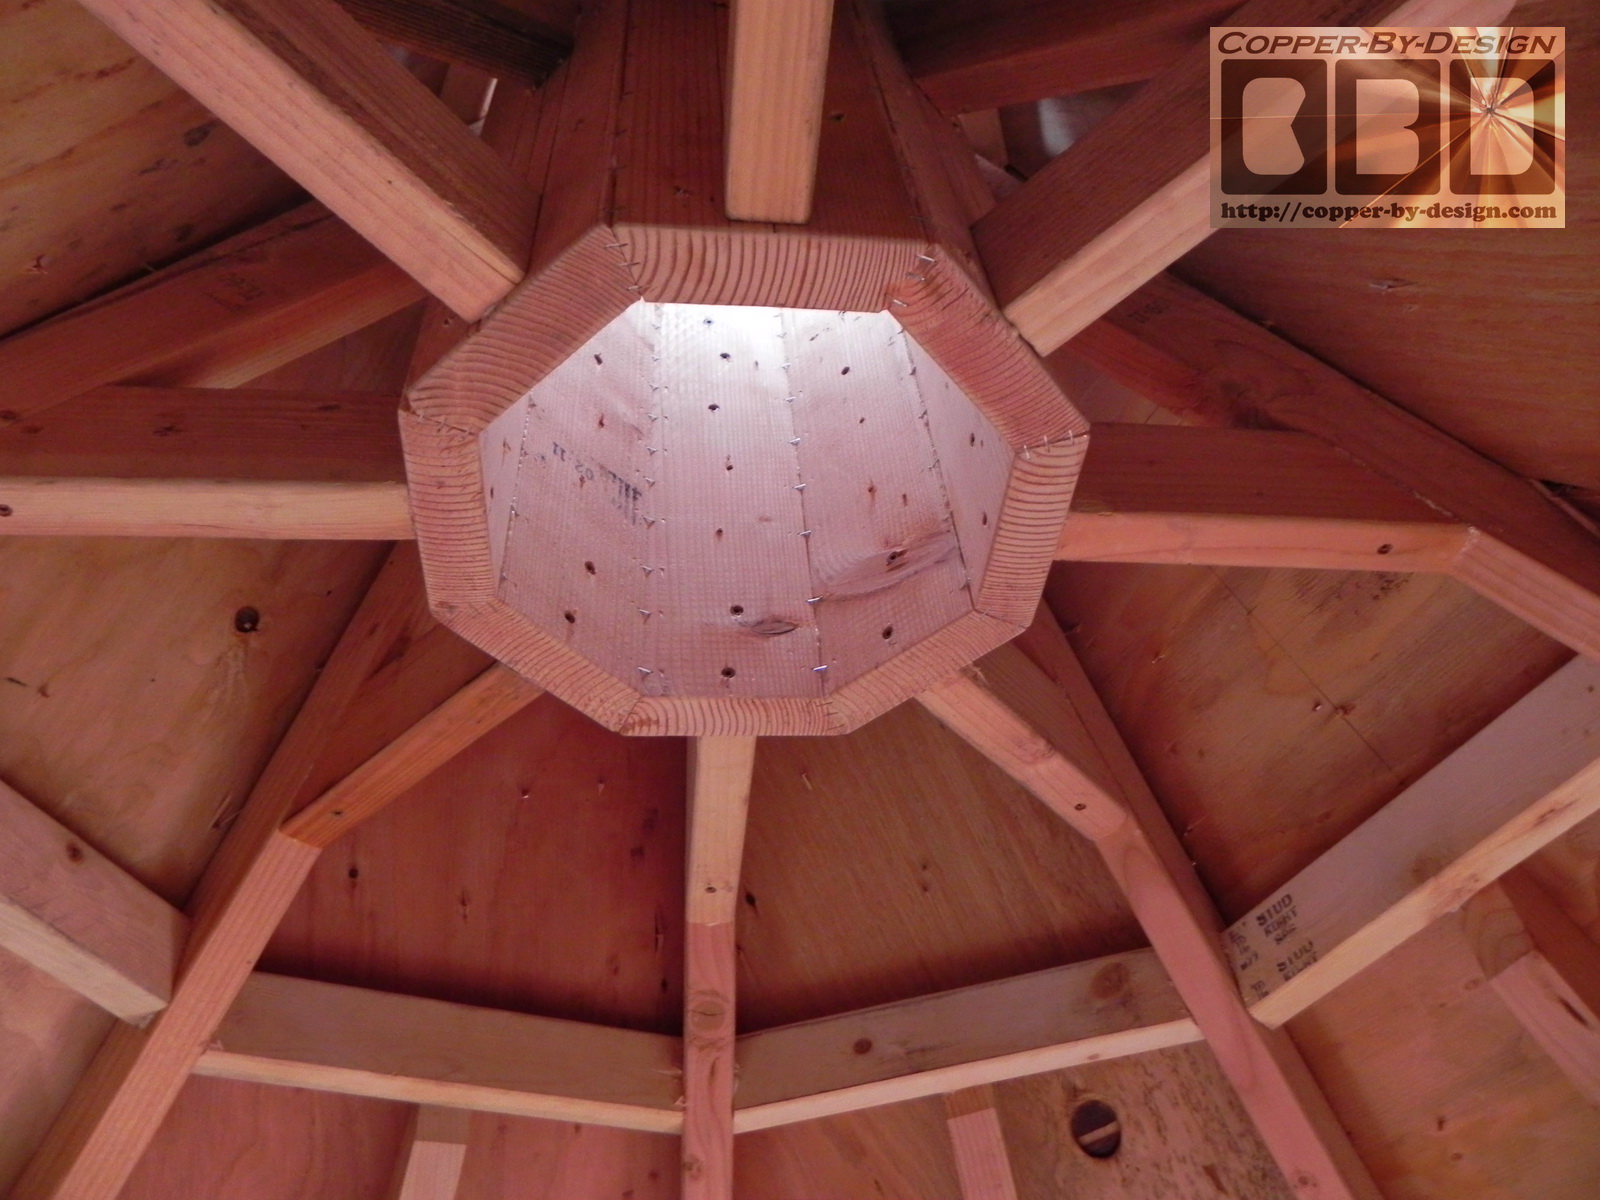
+ $1,740 for the larger wood structure of the roof, w/stainless steel screened venting
+ $260 for 130 sq' of water & ice shield underlayment over it
= $7,987.90 sub total for the roof and finial
+ $7,687.85 sub
total for the column from above
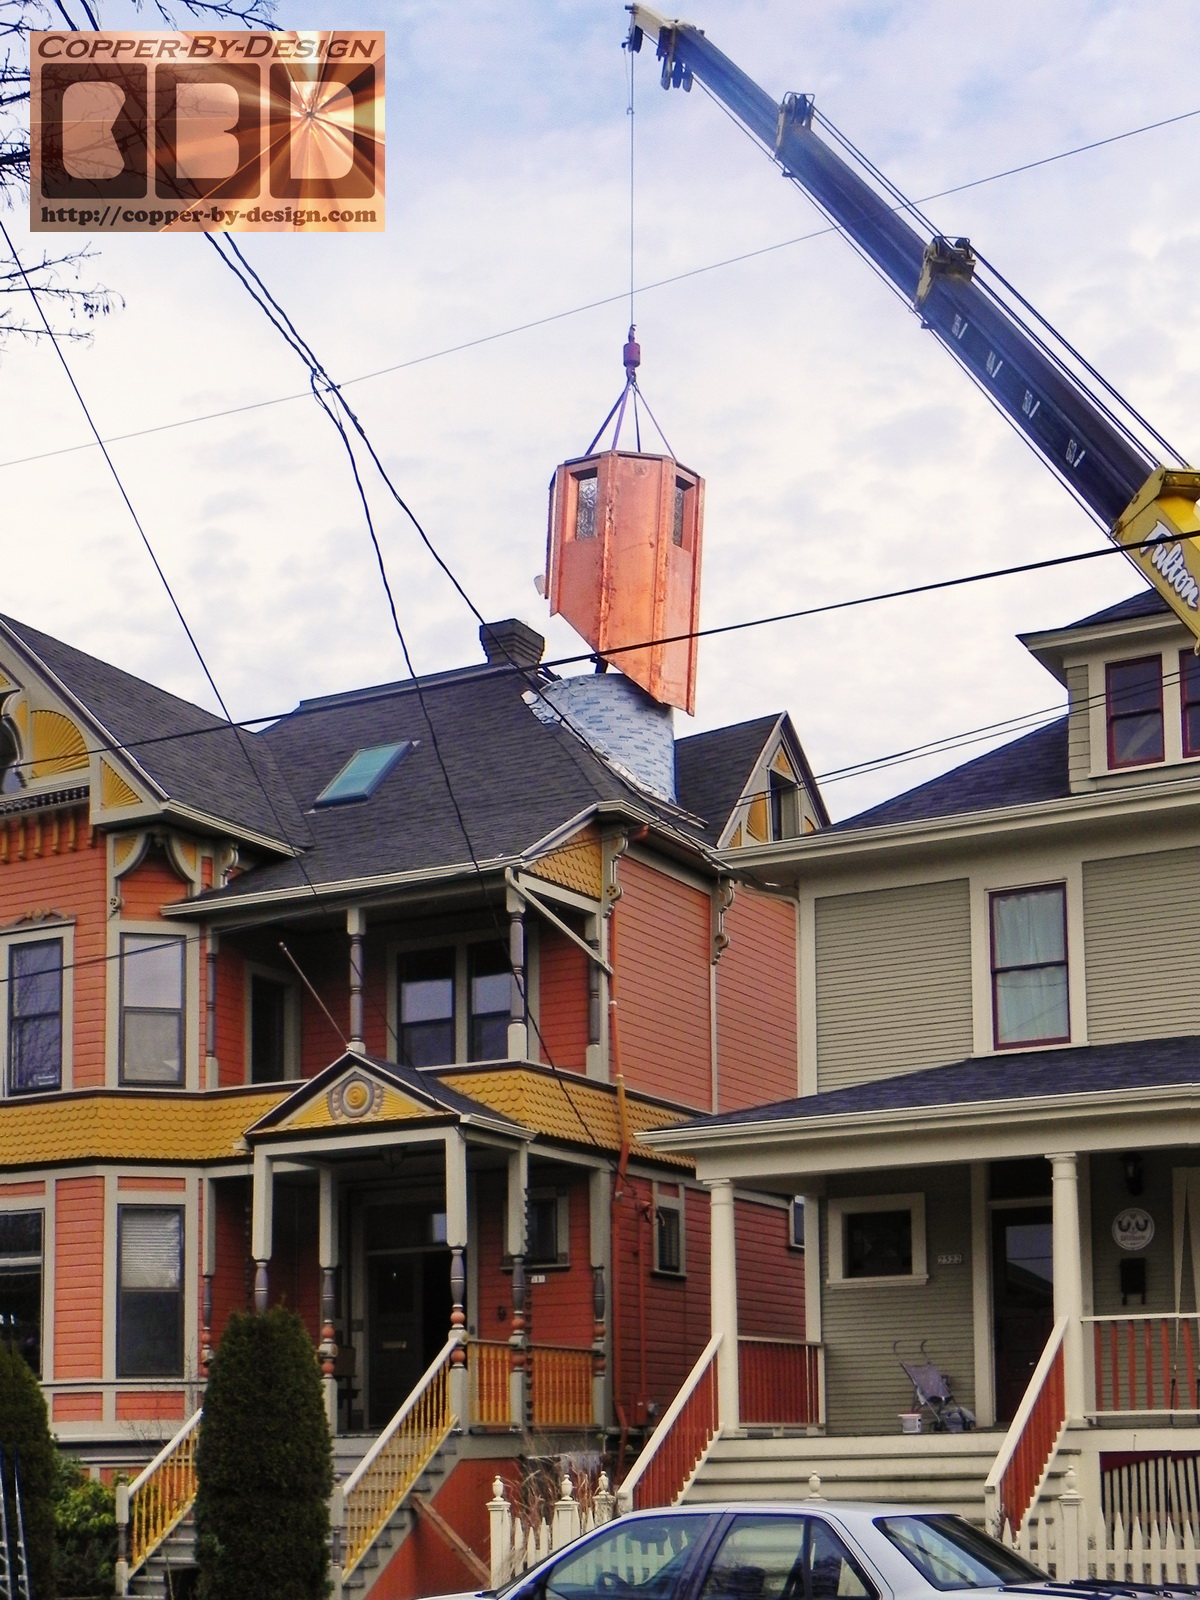
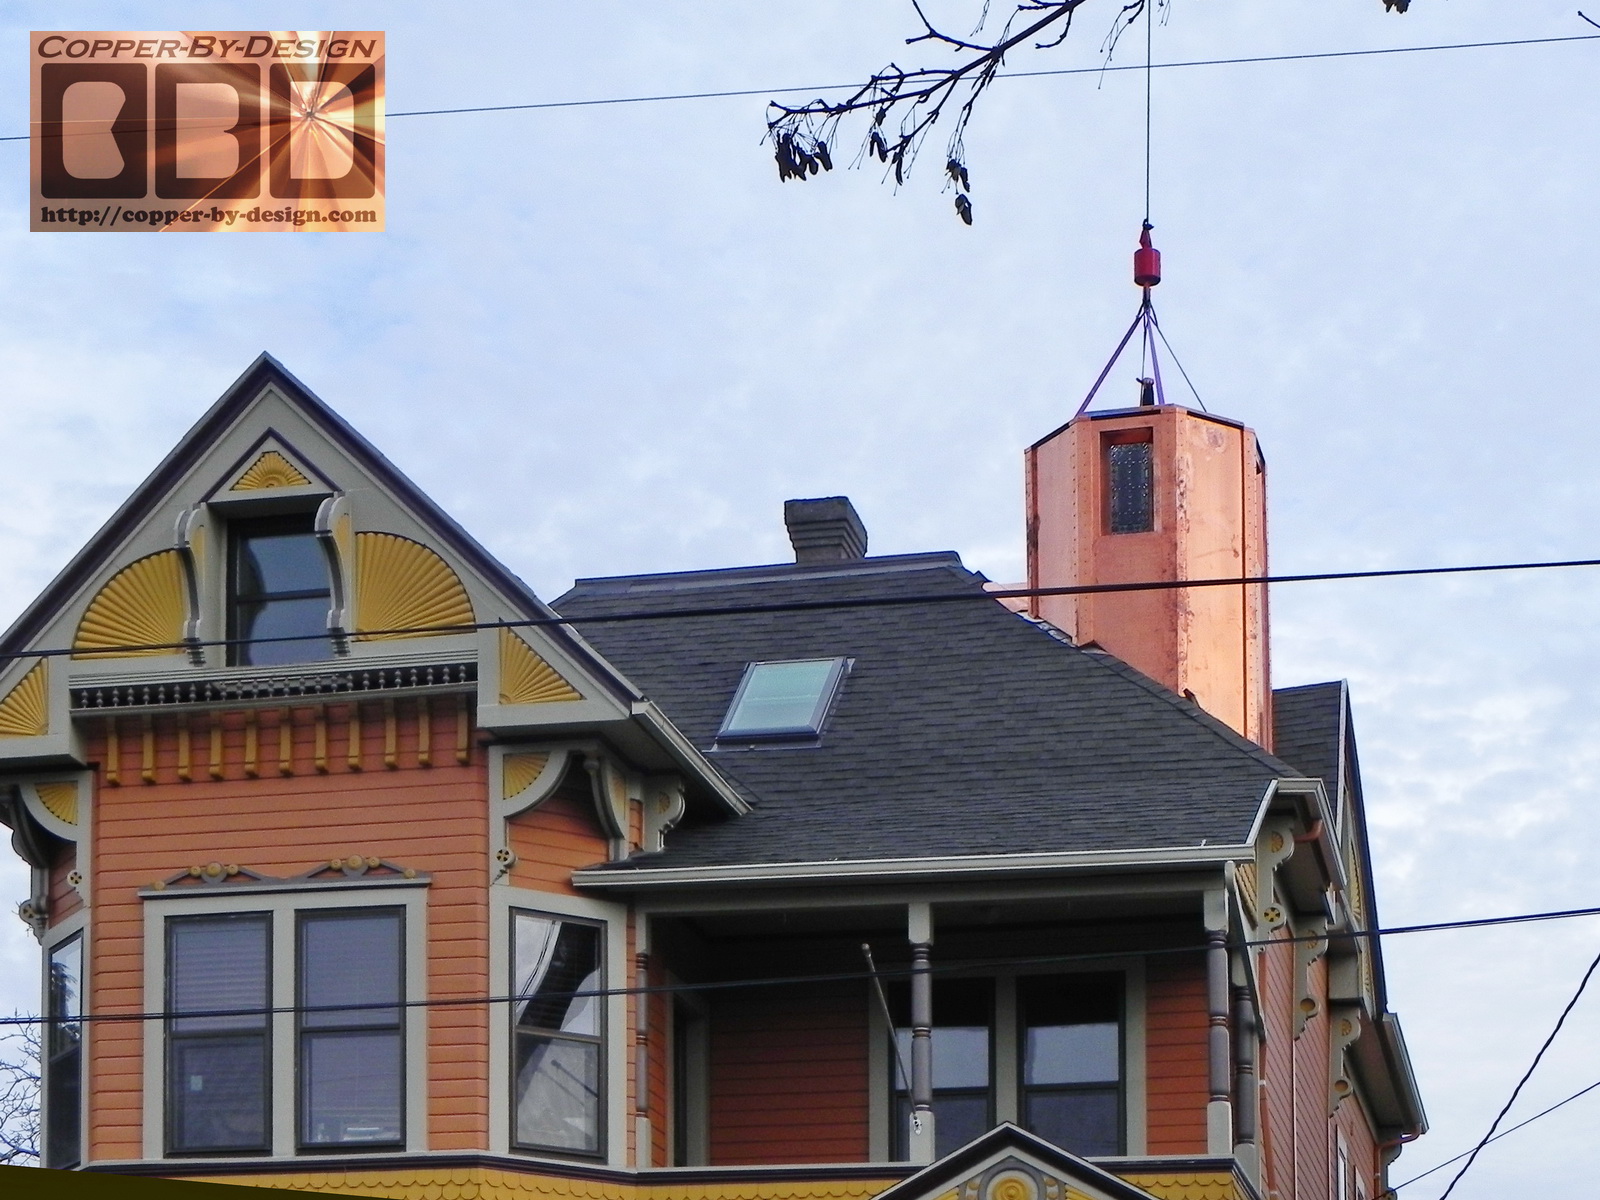
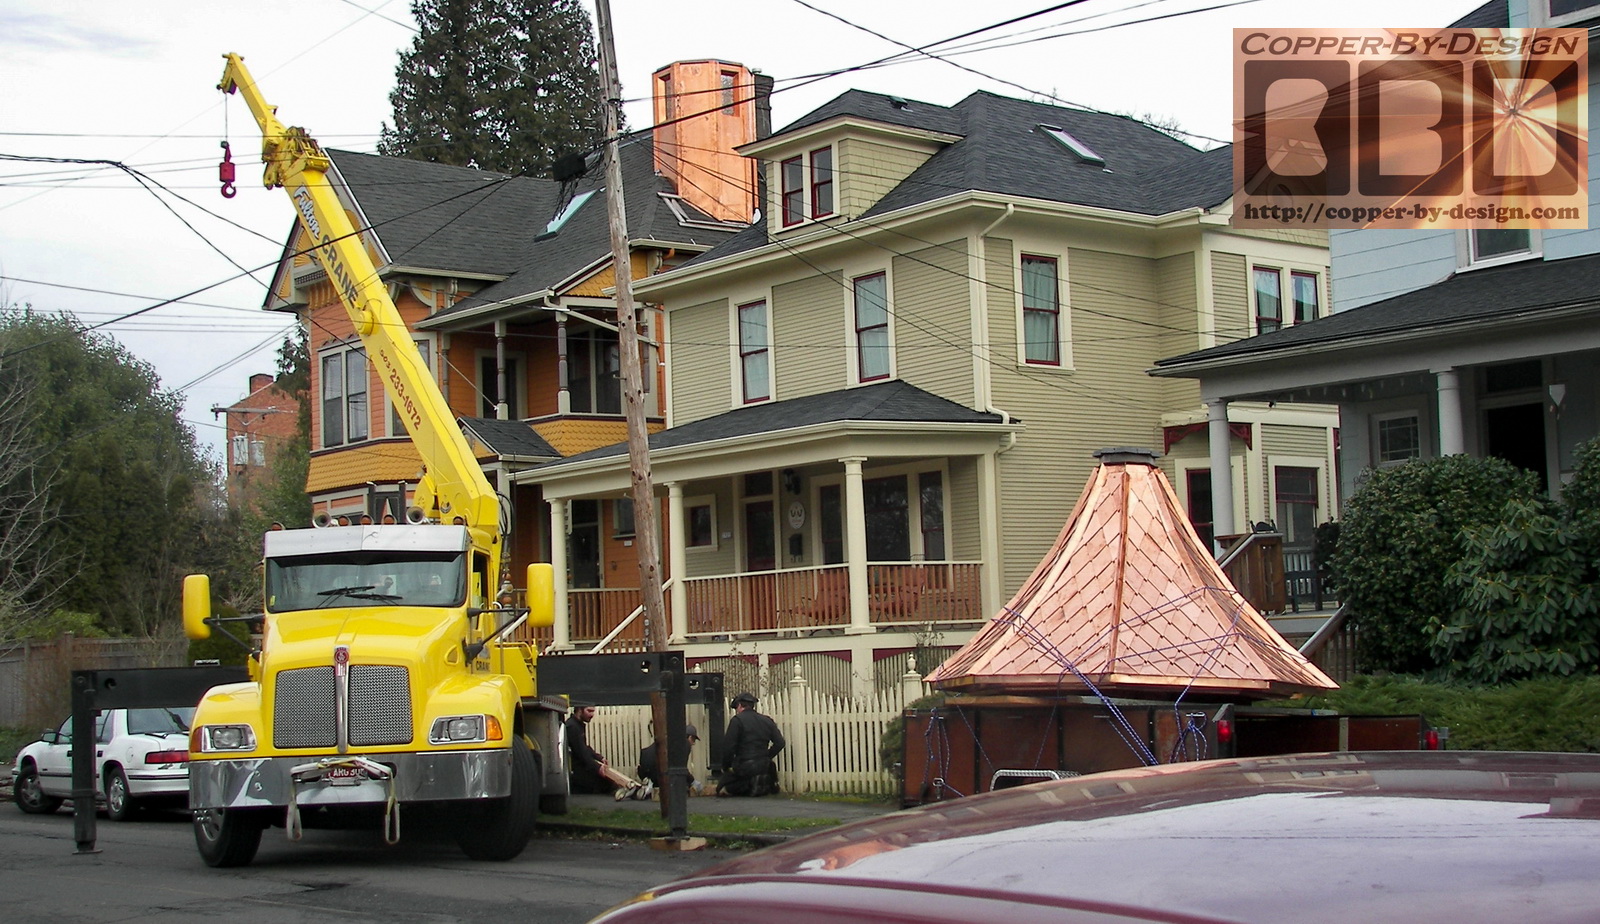
+ $250 for the crane
+ $600 for delivery, installation, and roof flashing work
+ $225 for the pair of steps mounted on the roof
+ $200 removing toe
boards, and patching the screw holes
+ $200 adding copper
flashing around the base of the turret to cover the SS flashing
= $17,149.85 grand total
- $10,000 paid
as of 1/30/12
= $7,149.85 balance
- $2,000 paid 2/8/12
- $2,500 paid 2/20/12
= $2,649.85
balance paid in full 3/29/12
I was surprised to see how much this all added up to be, and did what I could to
pare it down to make it more reasonable priced; taking my part of maybe
getting so carried away with this project to add more style than the
clients had asked for.
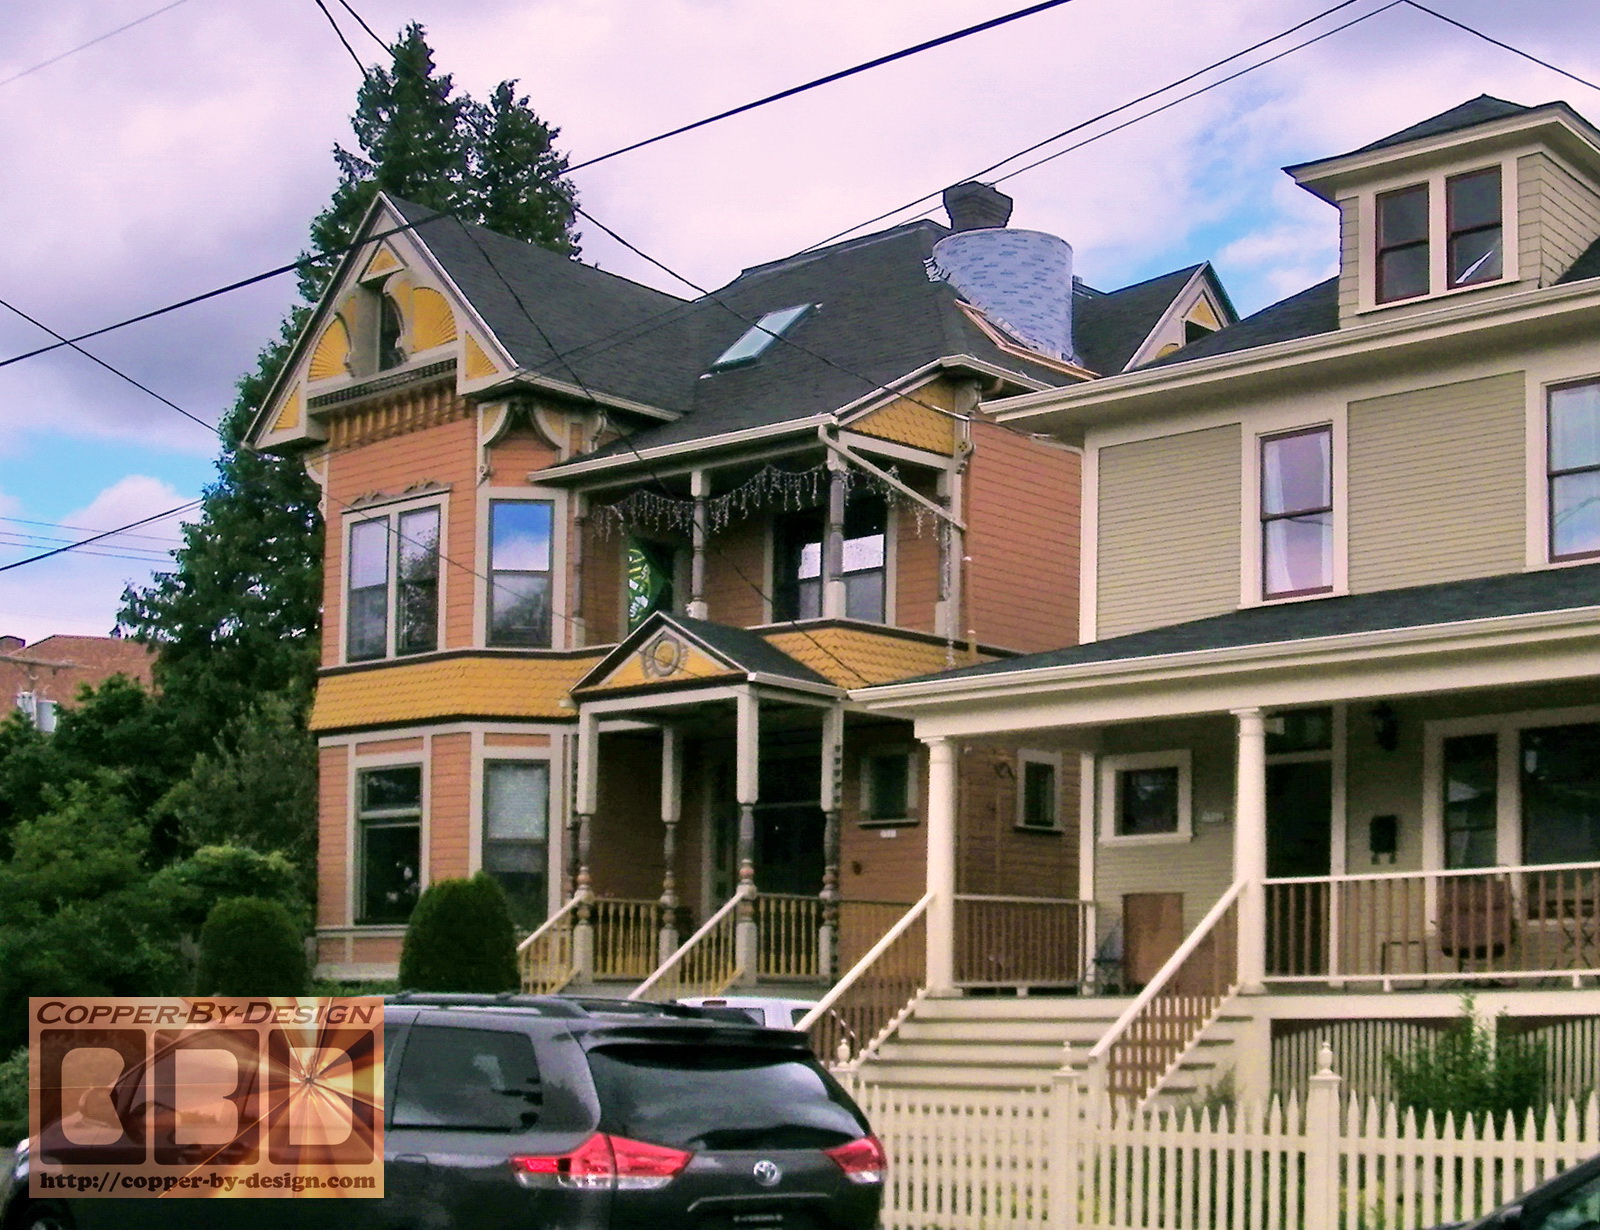
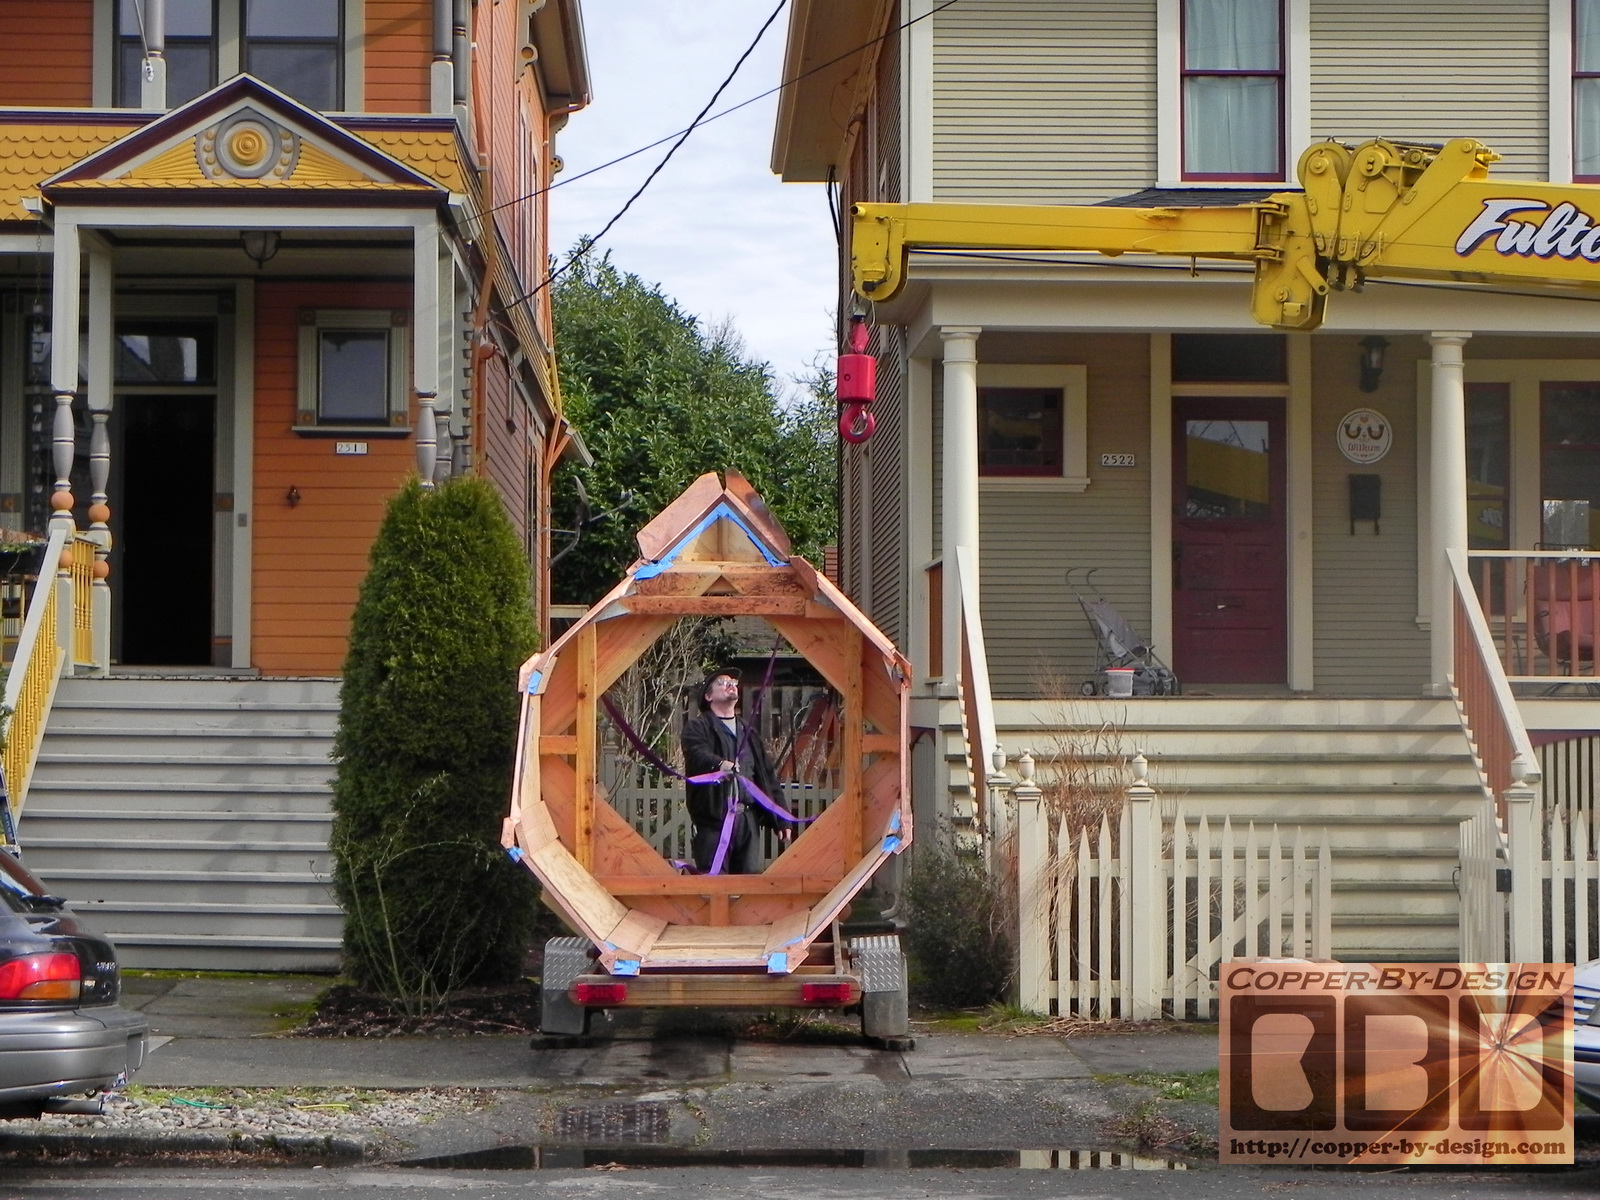
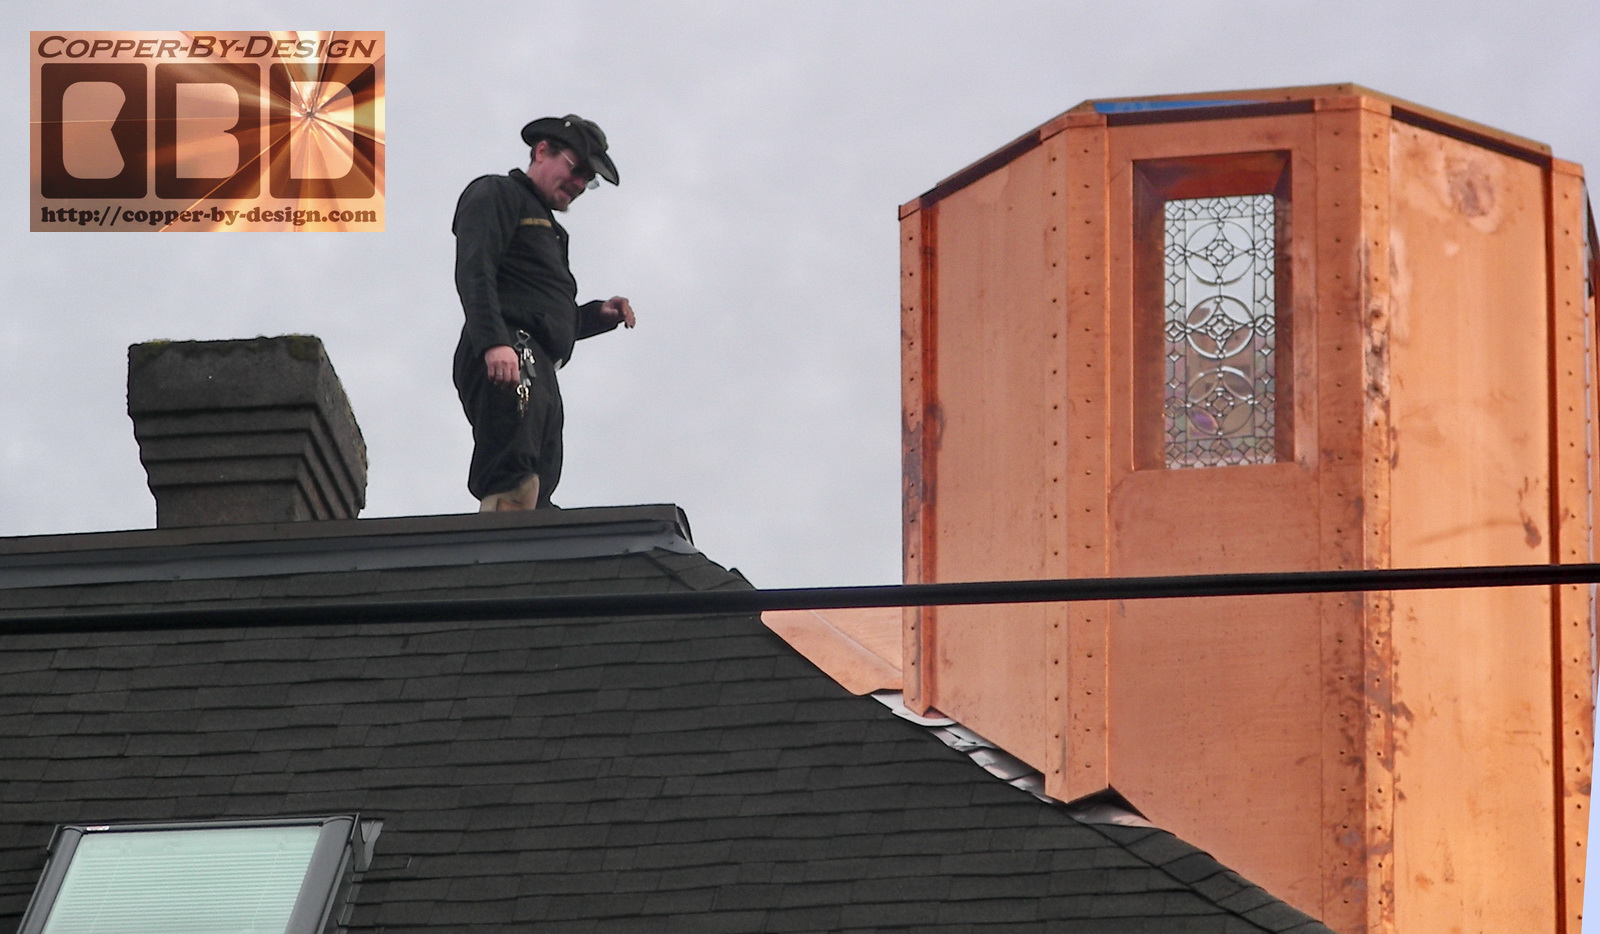
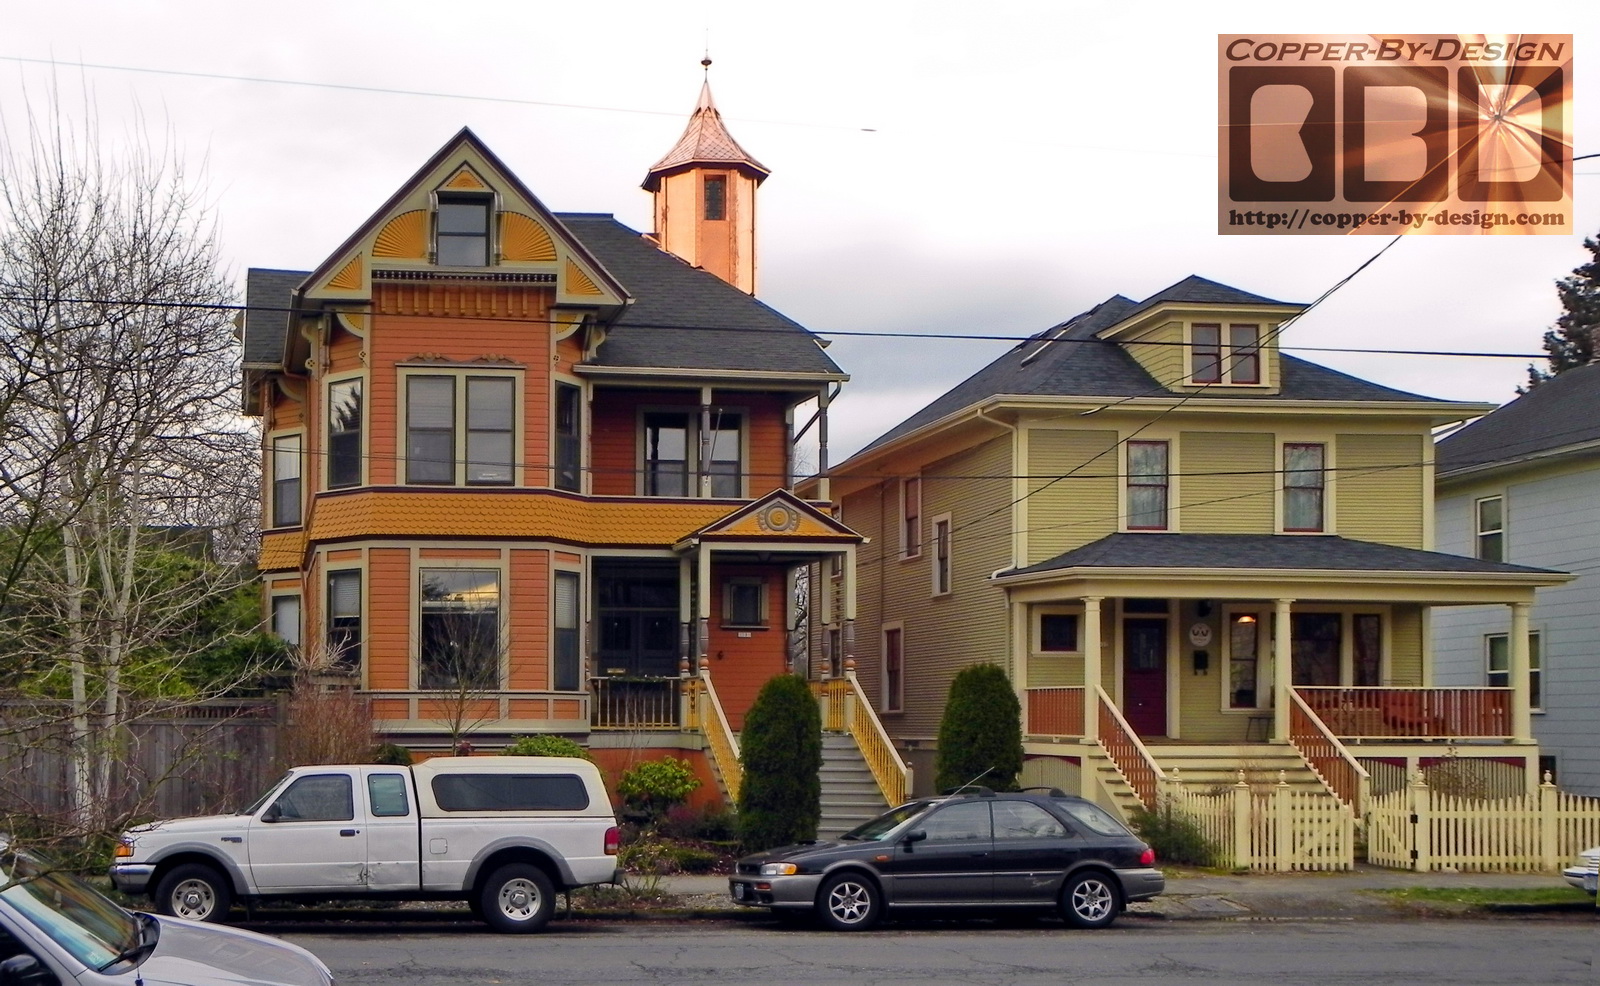
It has been an
amazing experience seeing it come together and these clients were
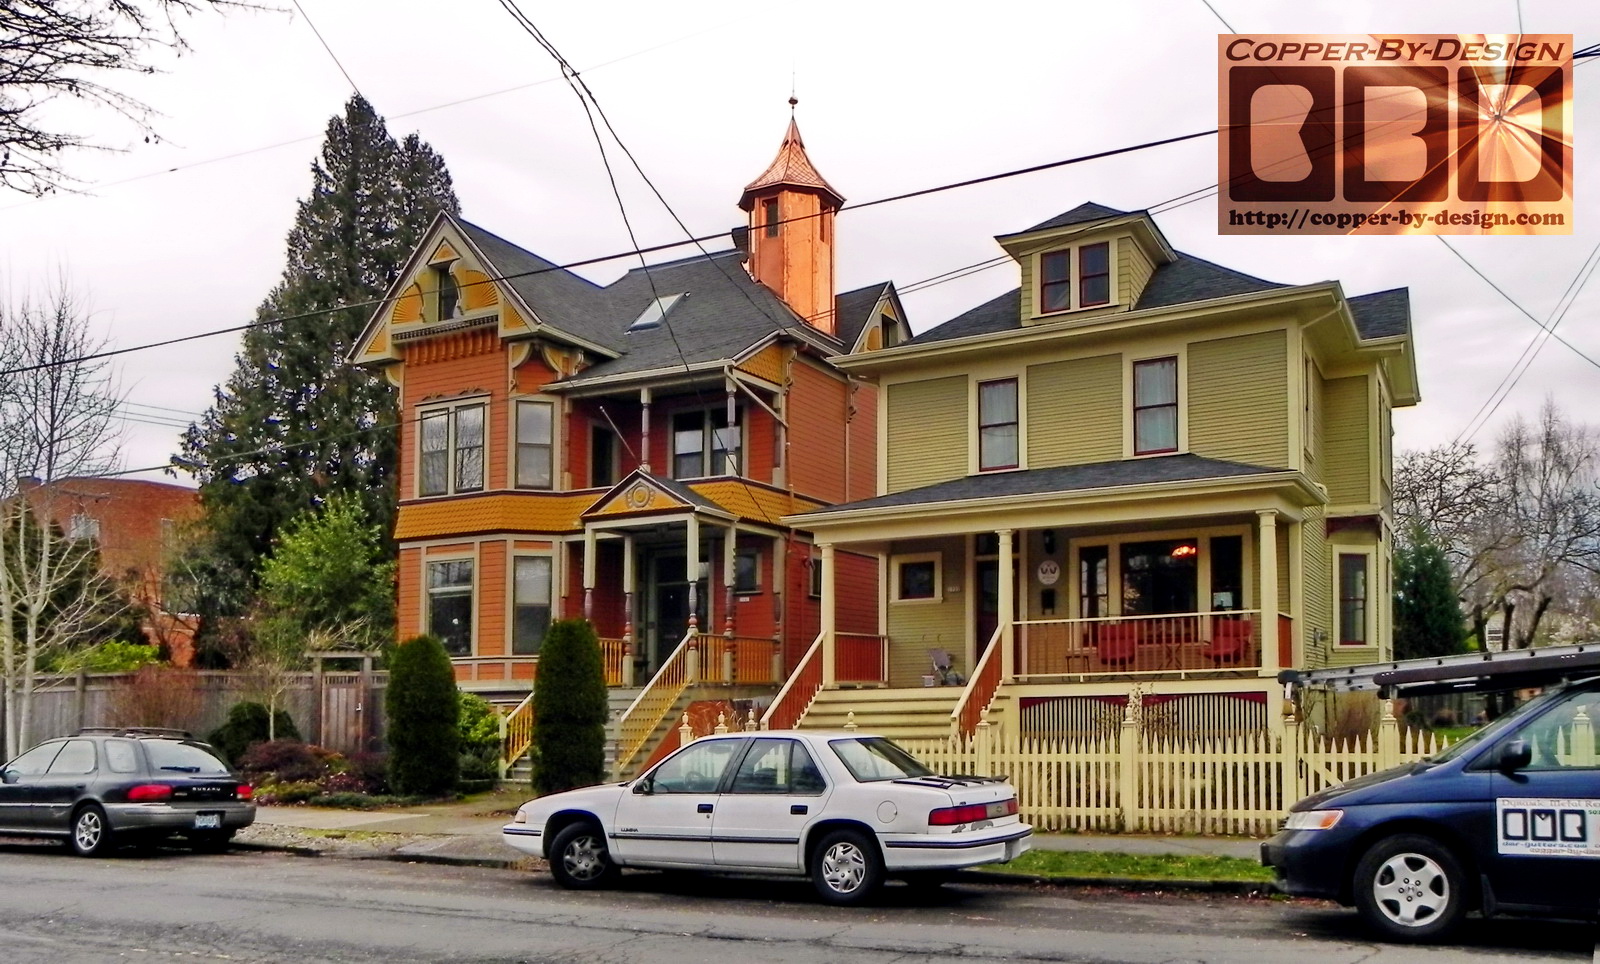
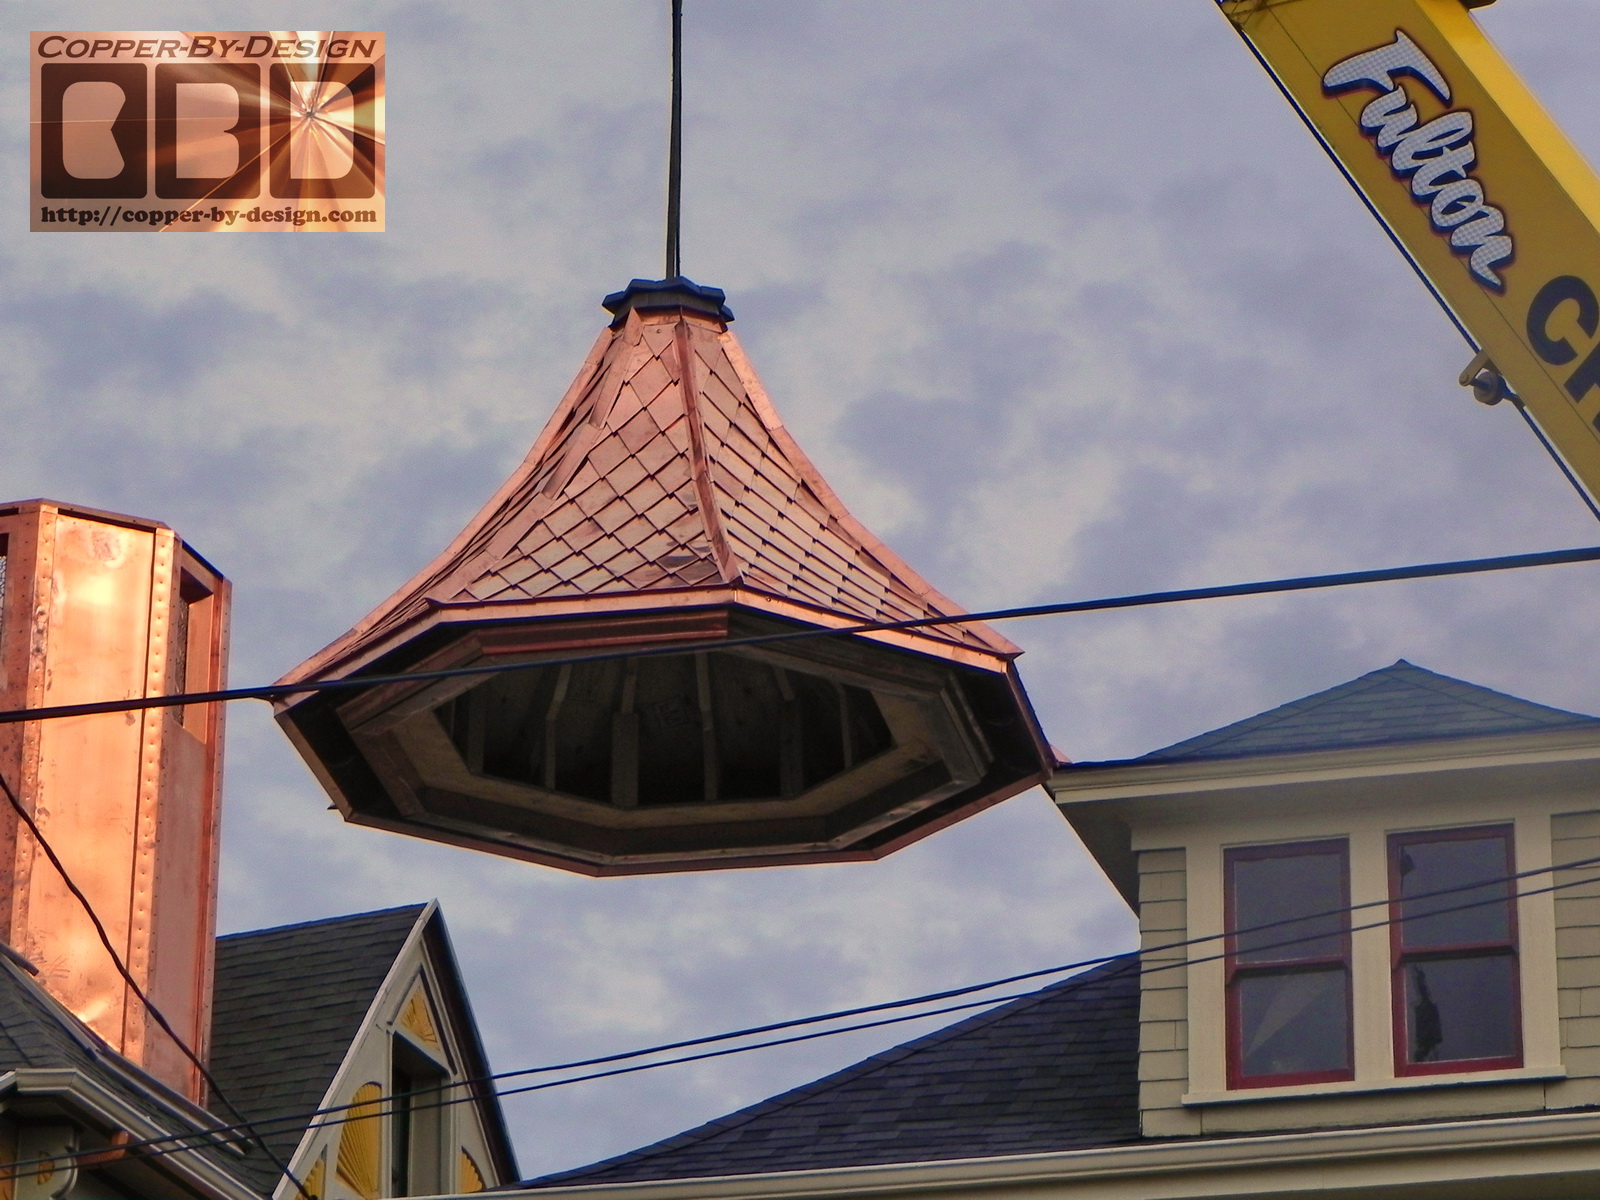
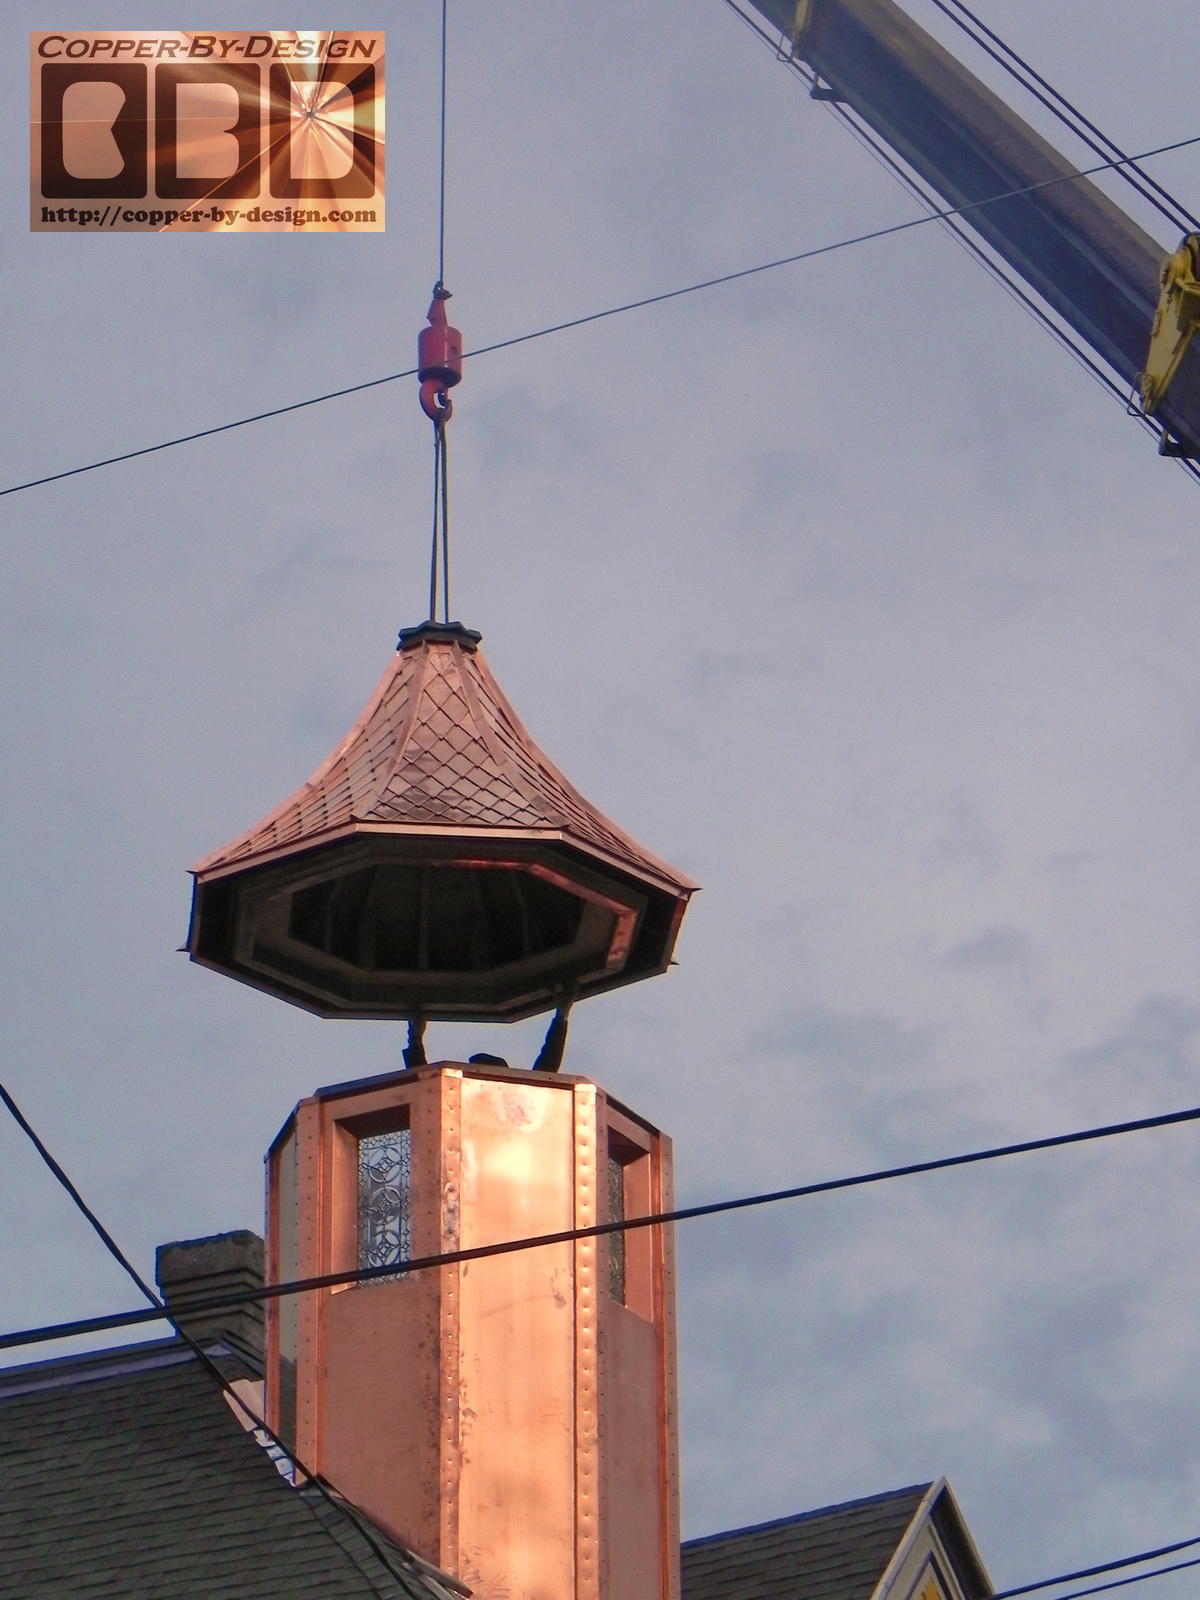
very easy to get along with. The lighthouse shaped
chimney cap I made a year and a half back was the last time I got
this thrilled with a project. It made me very nervous
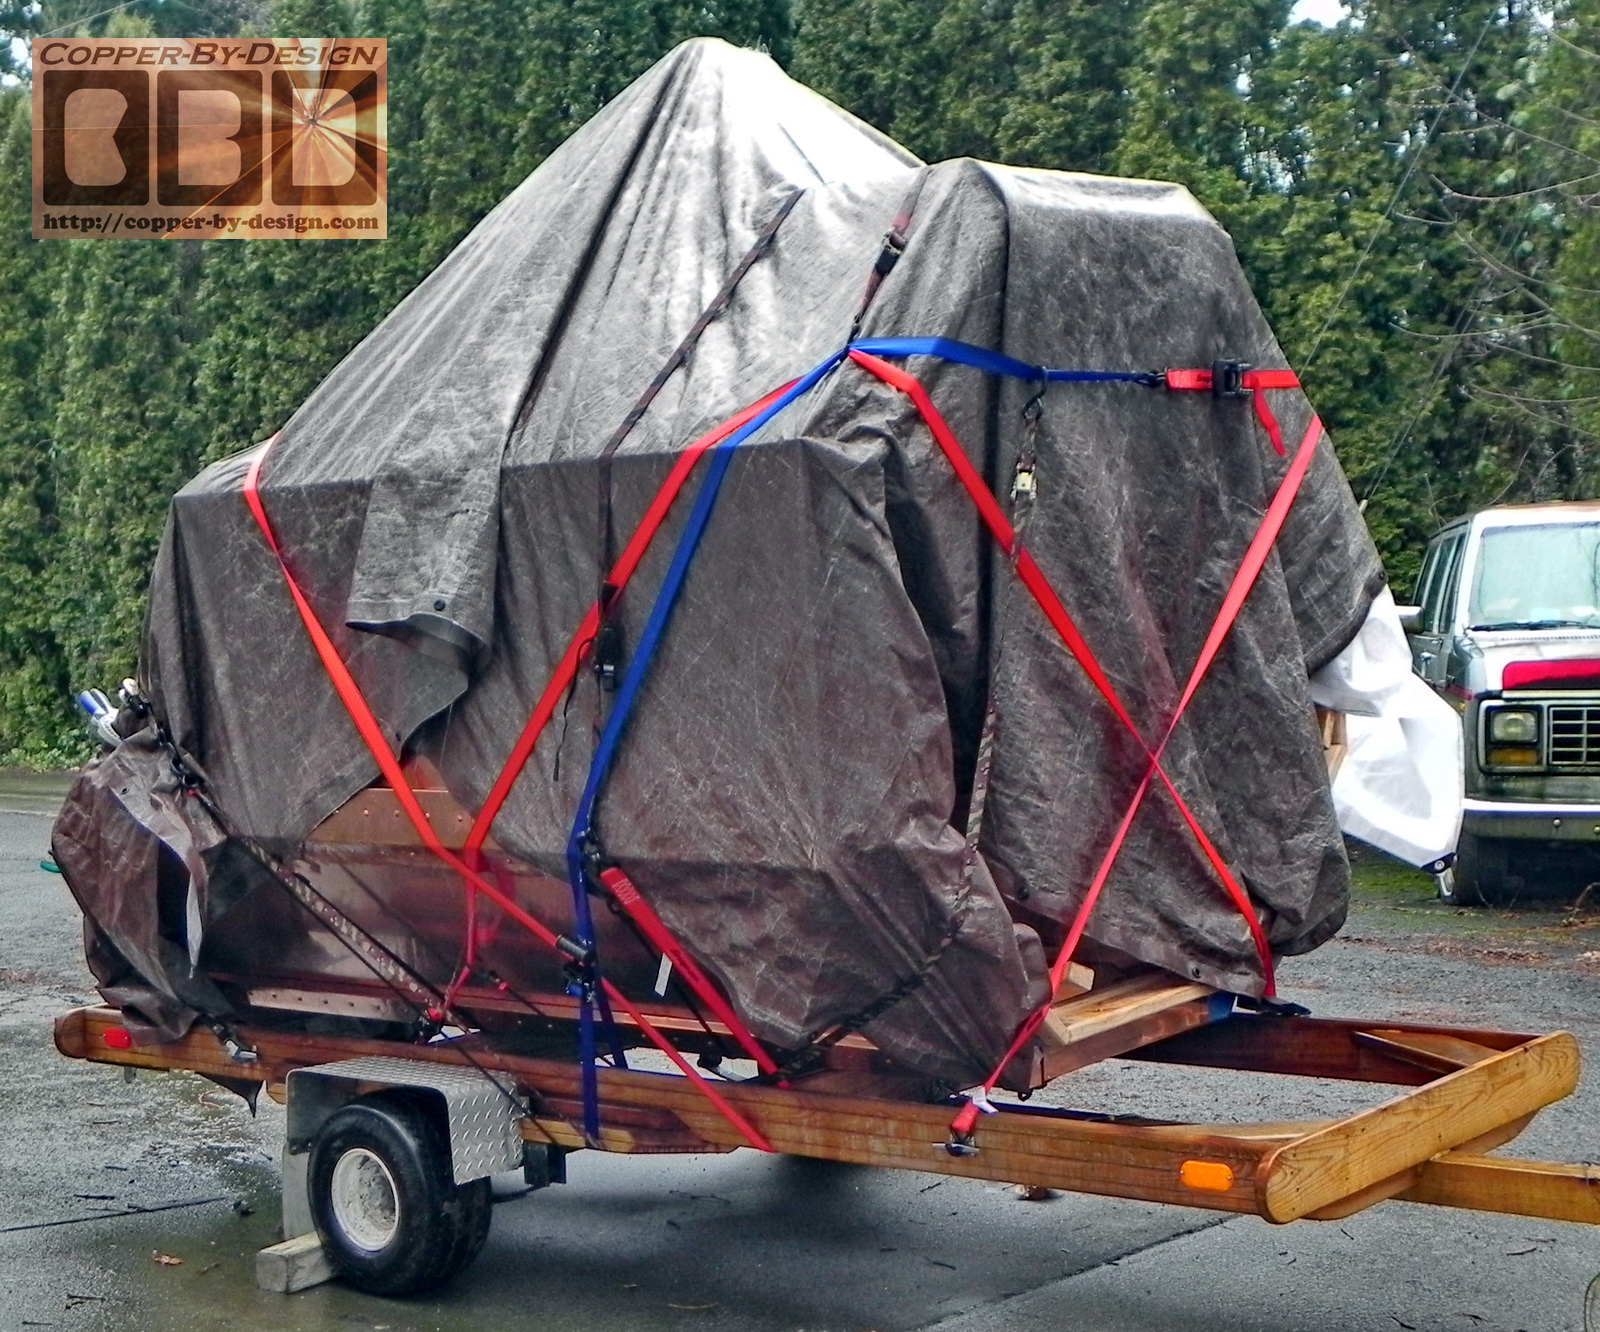
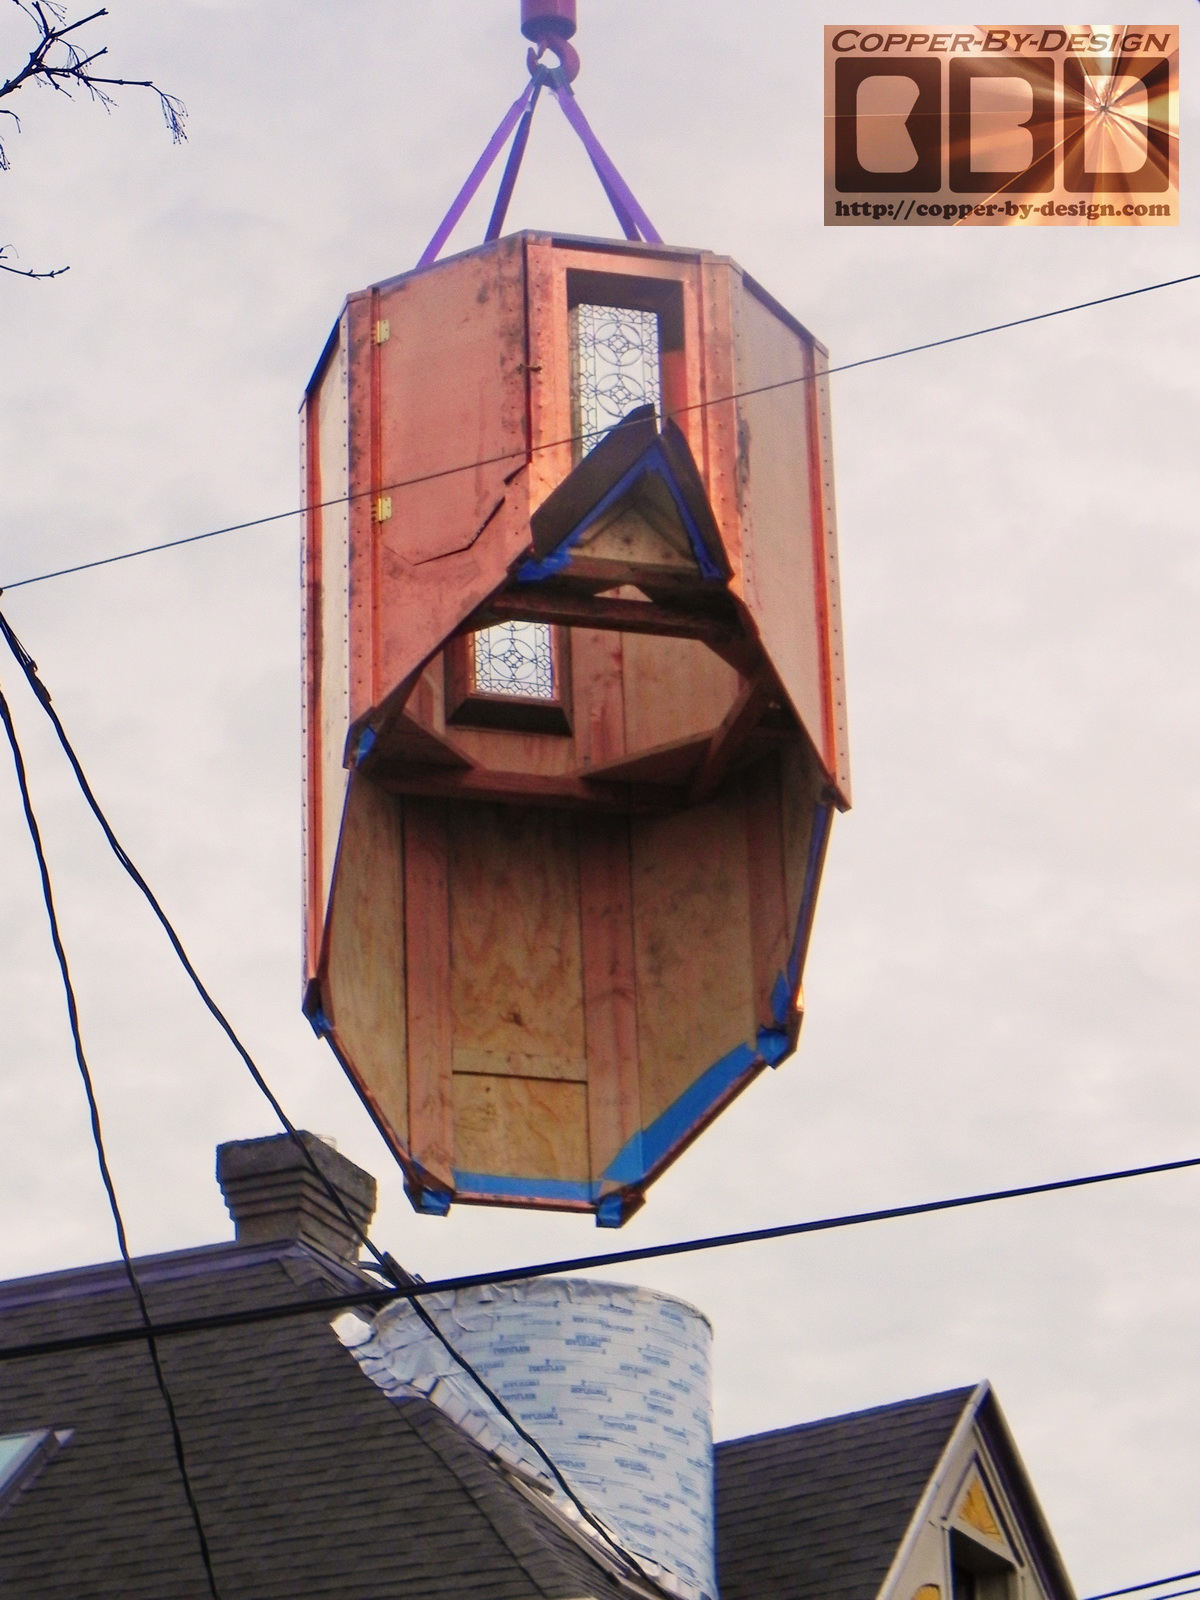
after all this hard work to create this project with the thought of getting these
delivered over to
their house. Then getting them safely up to their roof without any damage
or injury.
 
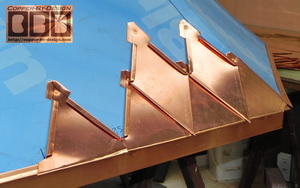
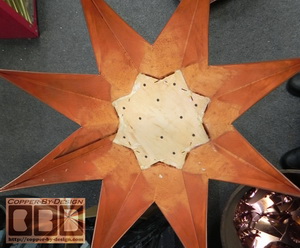
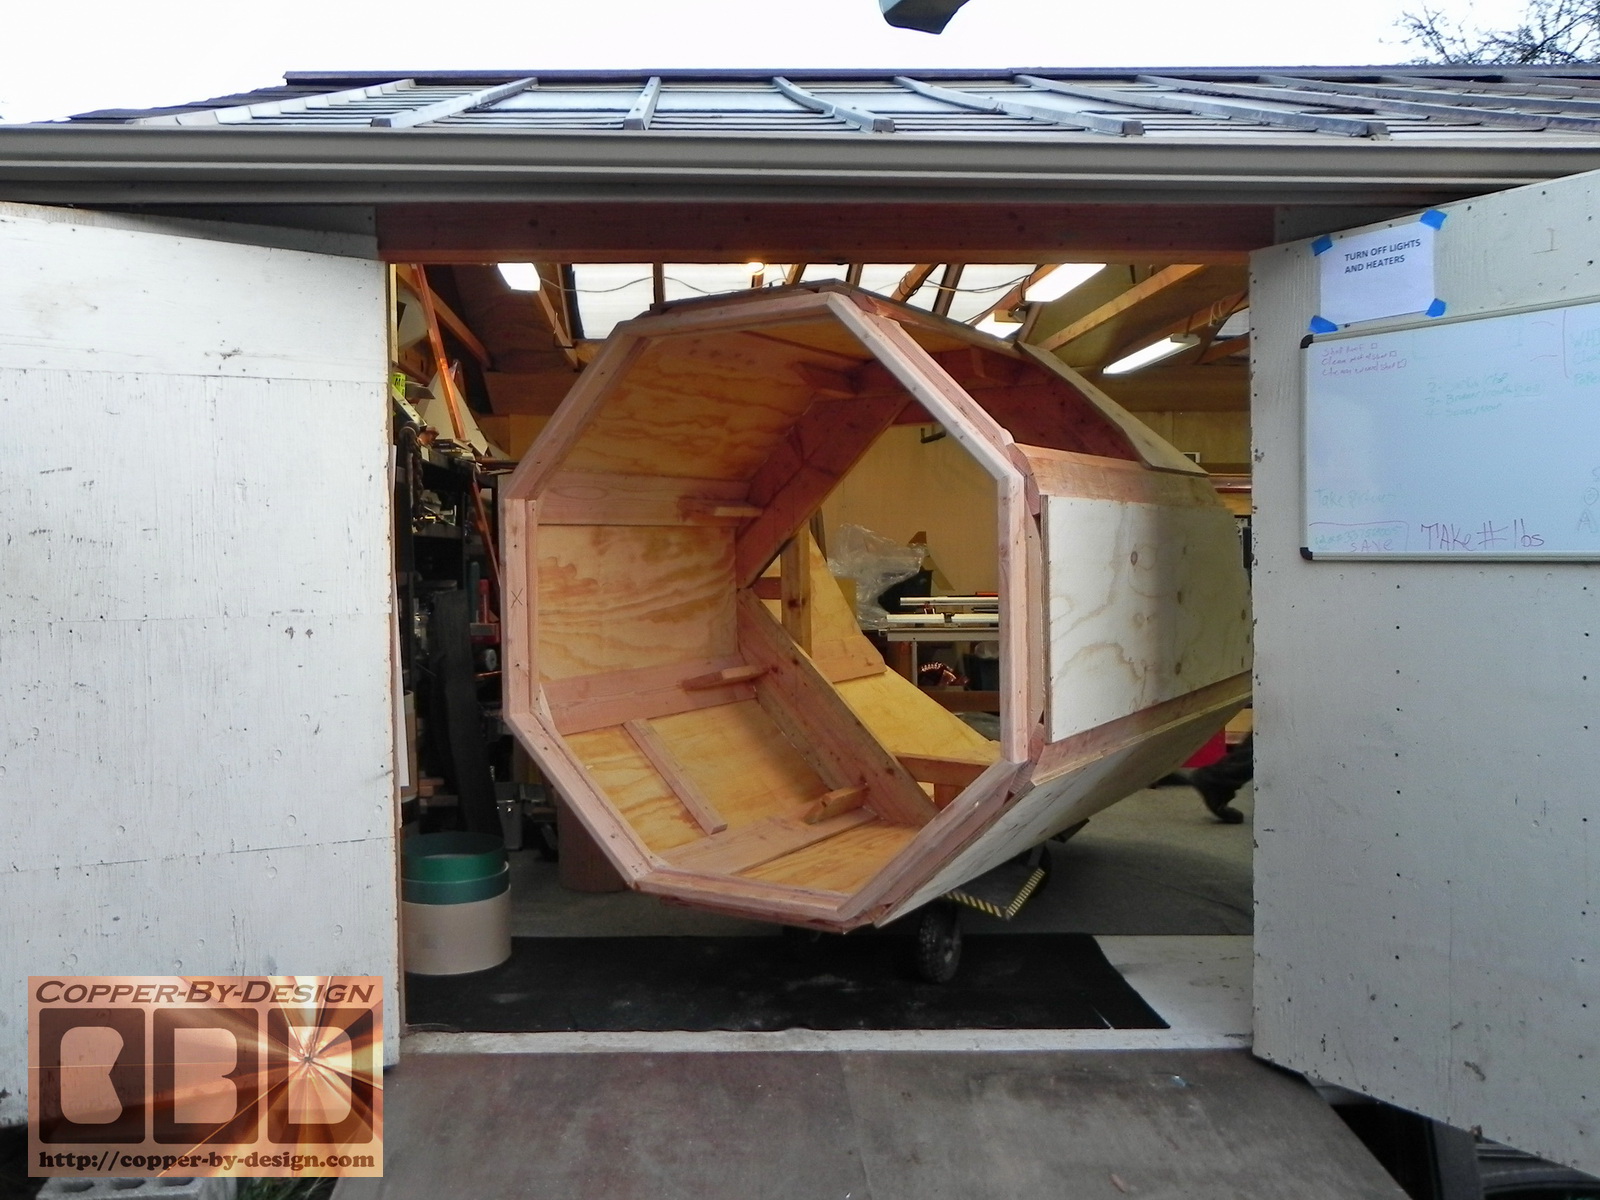
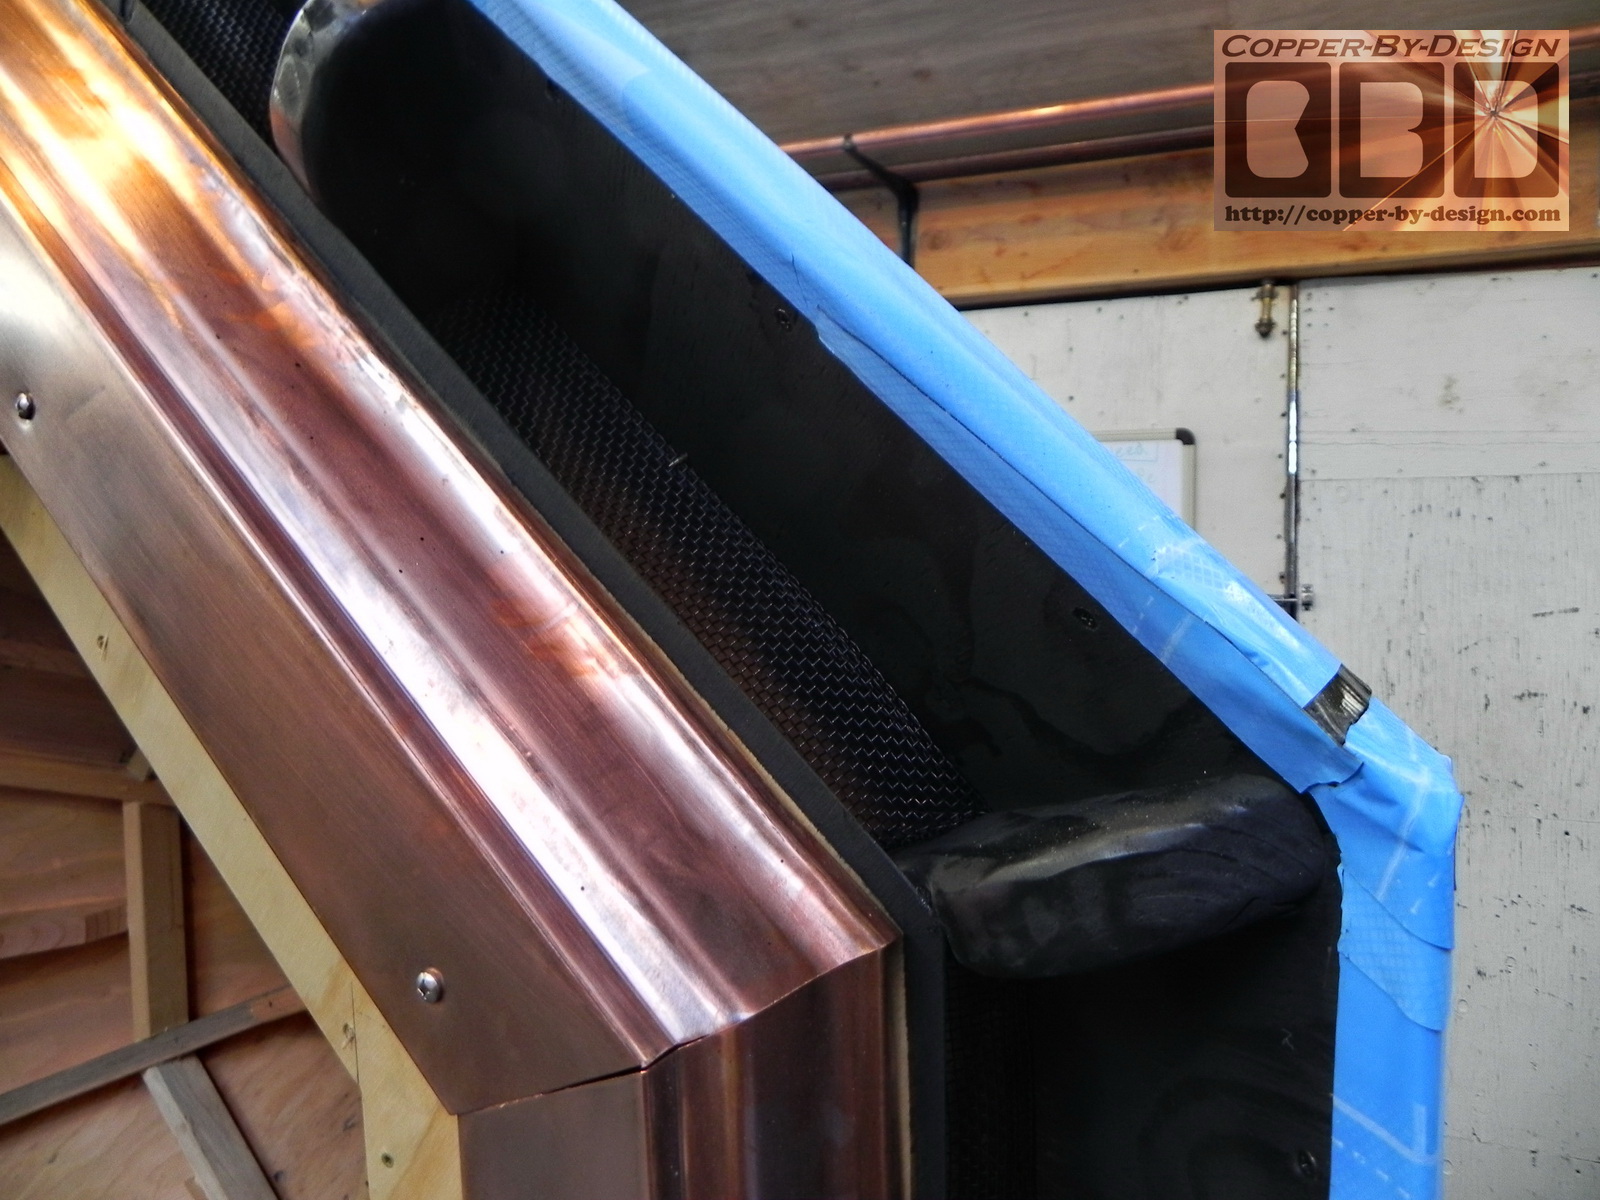
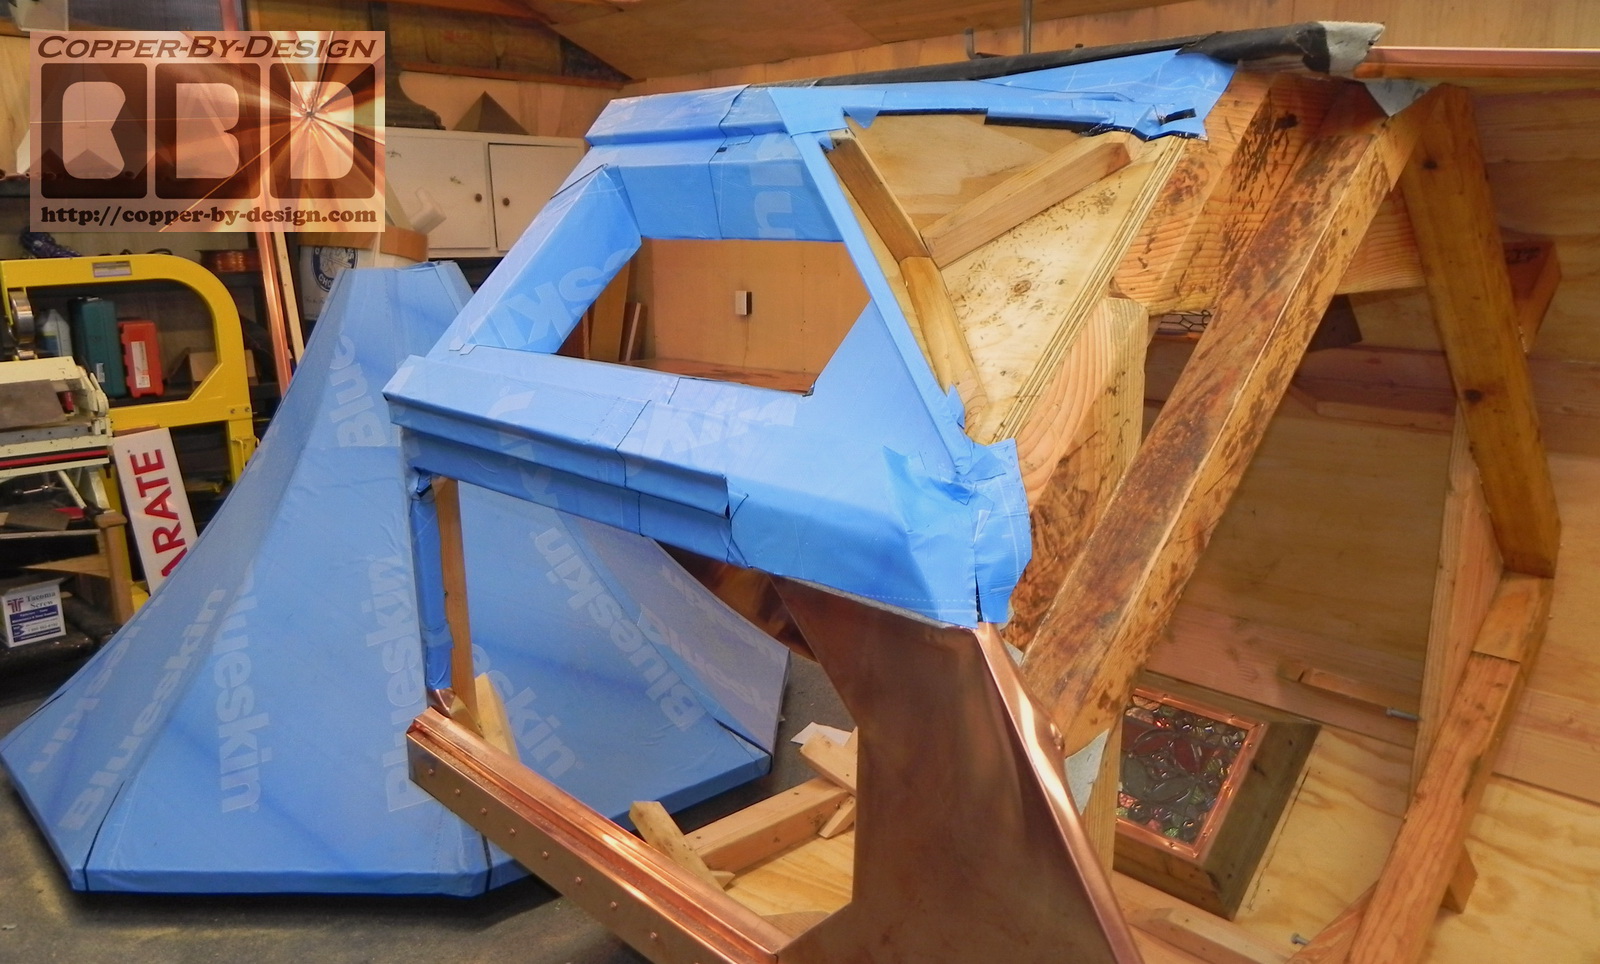
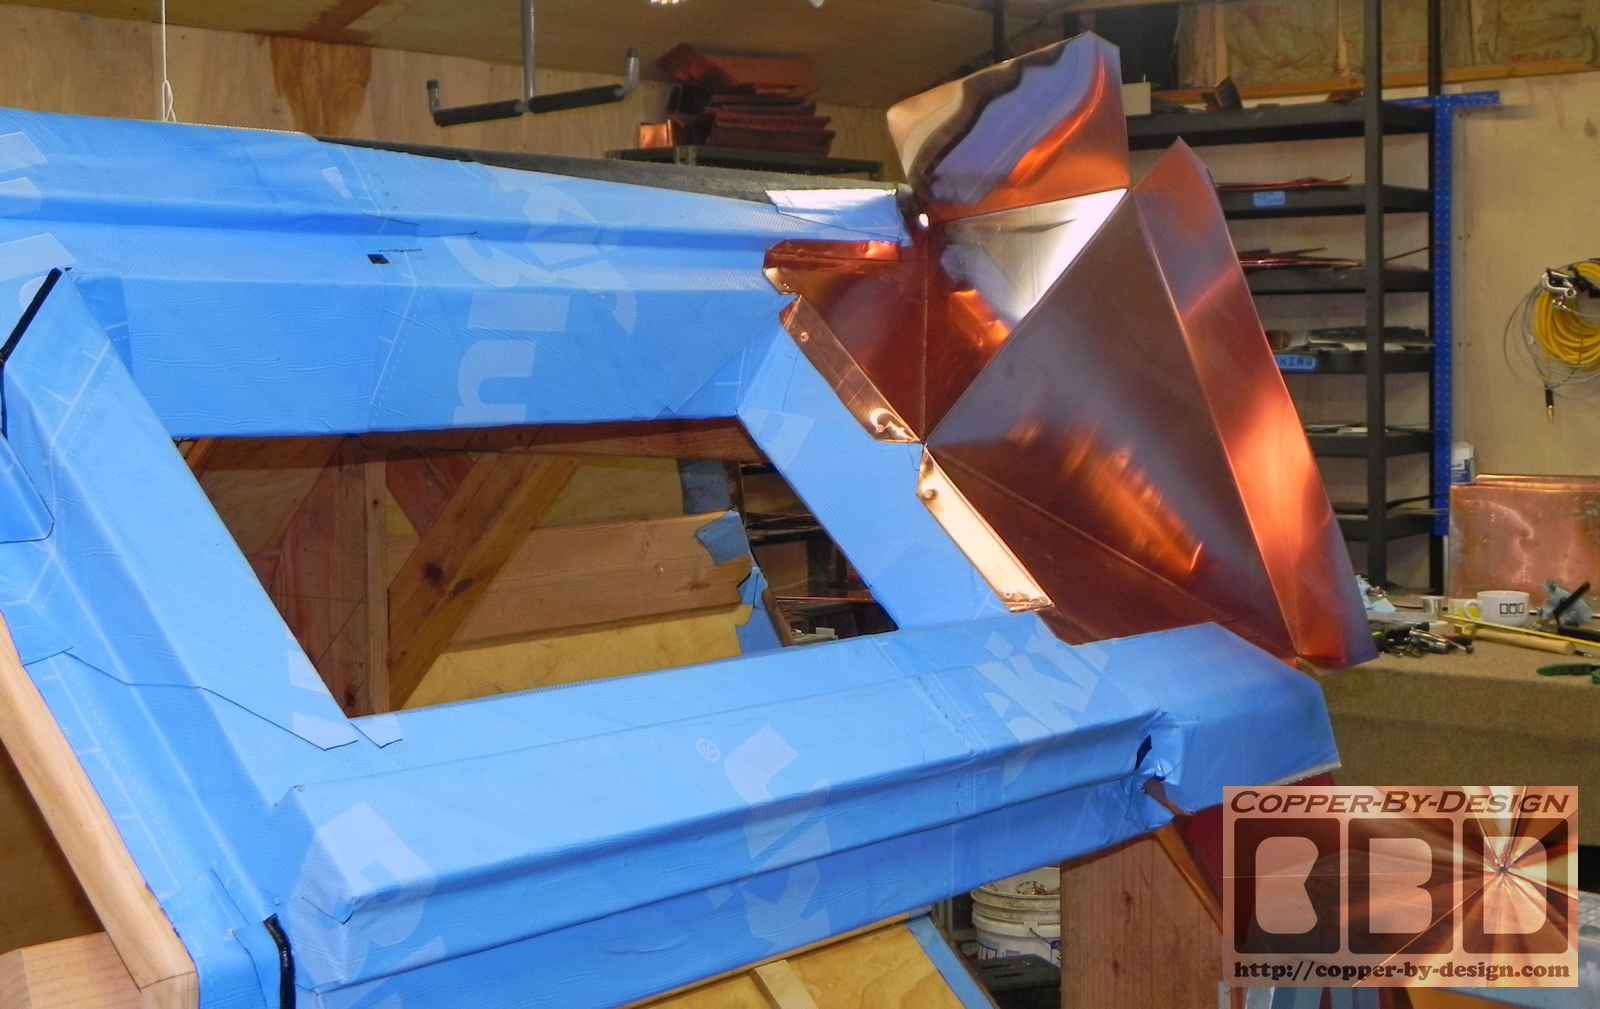
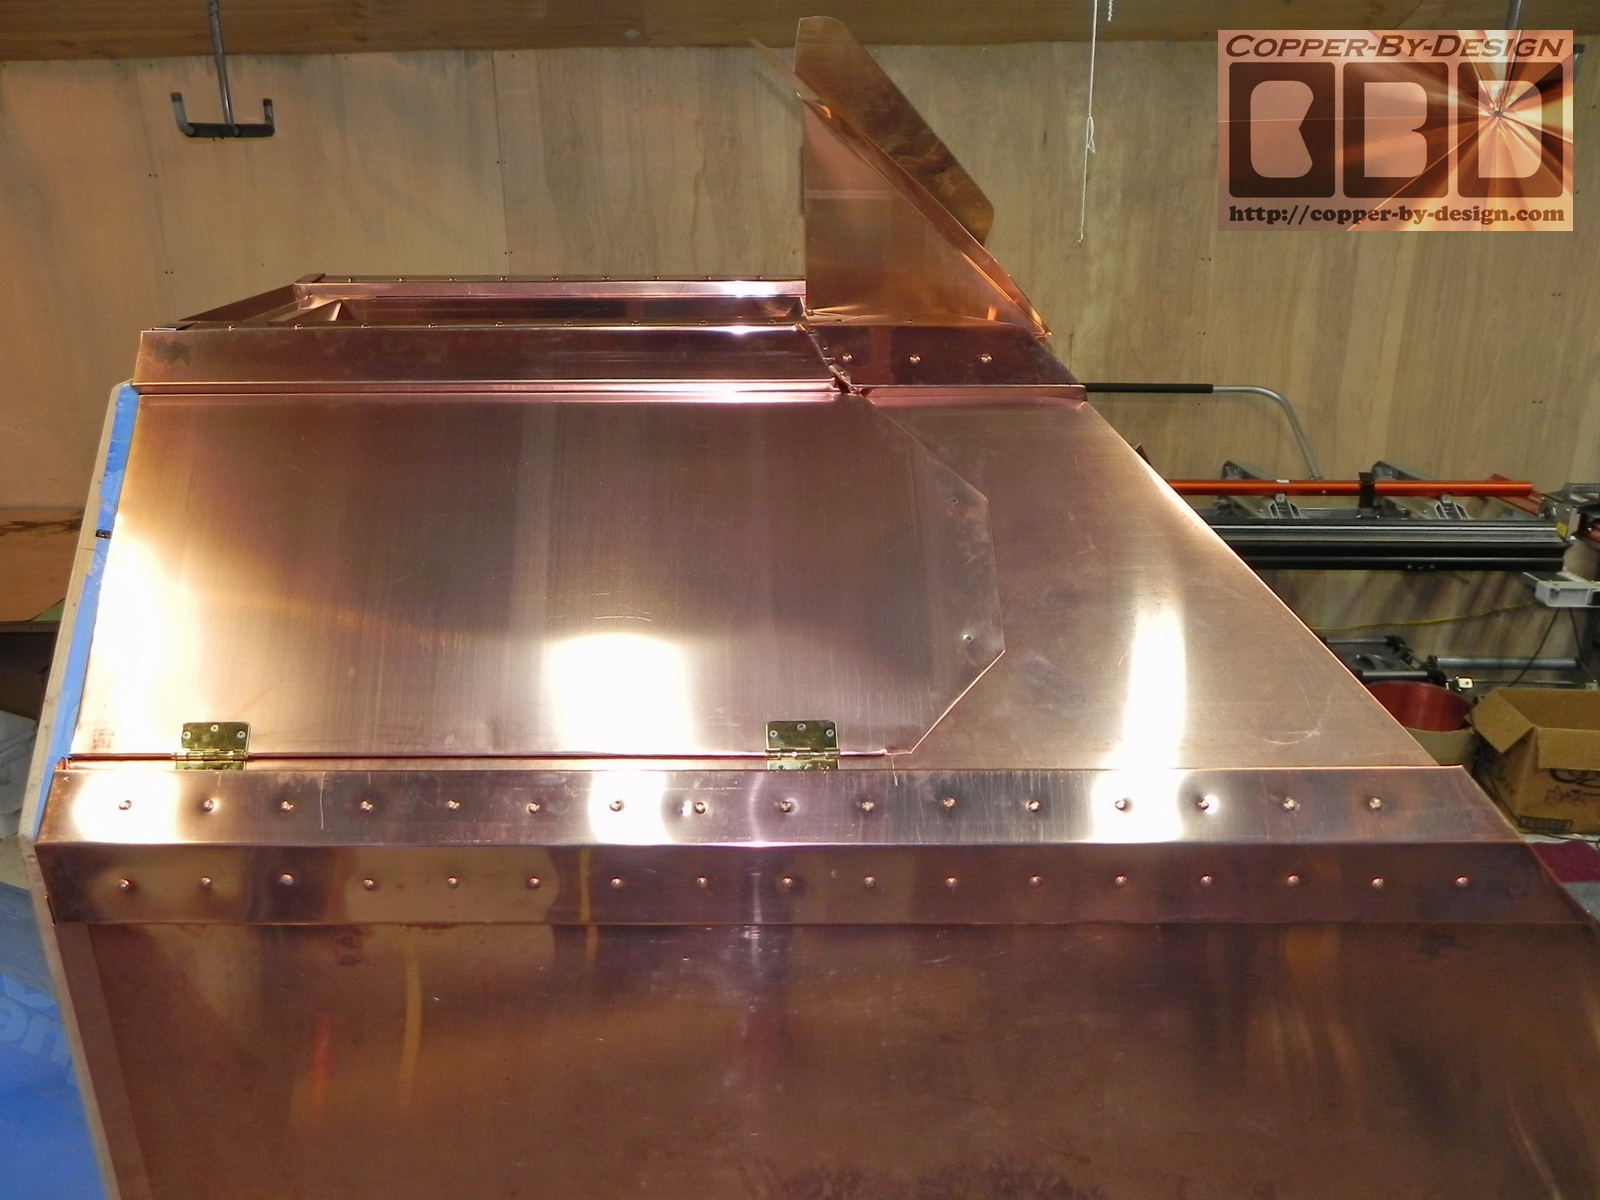
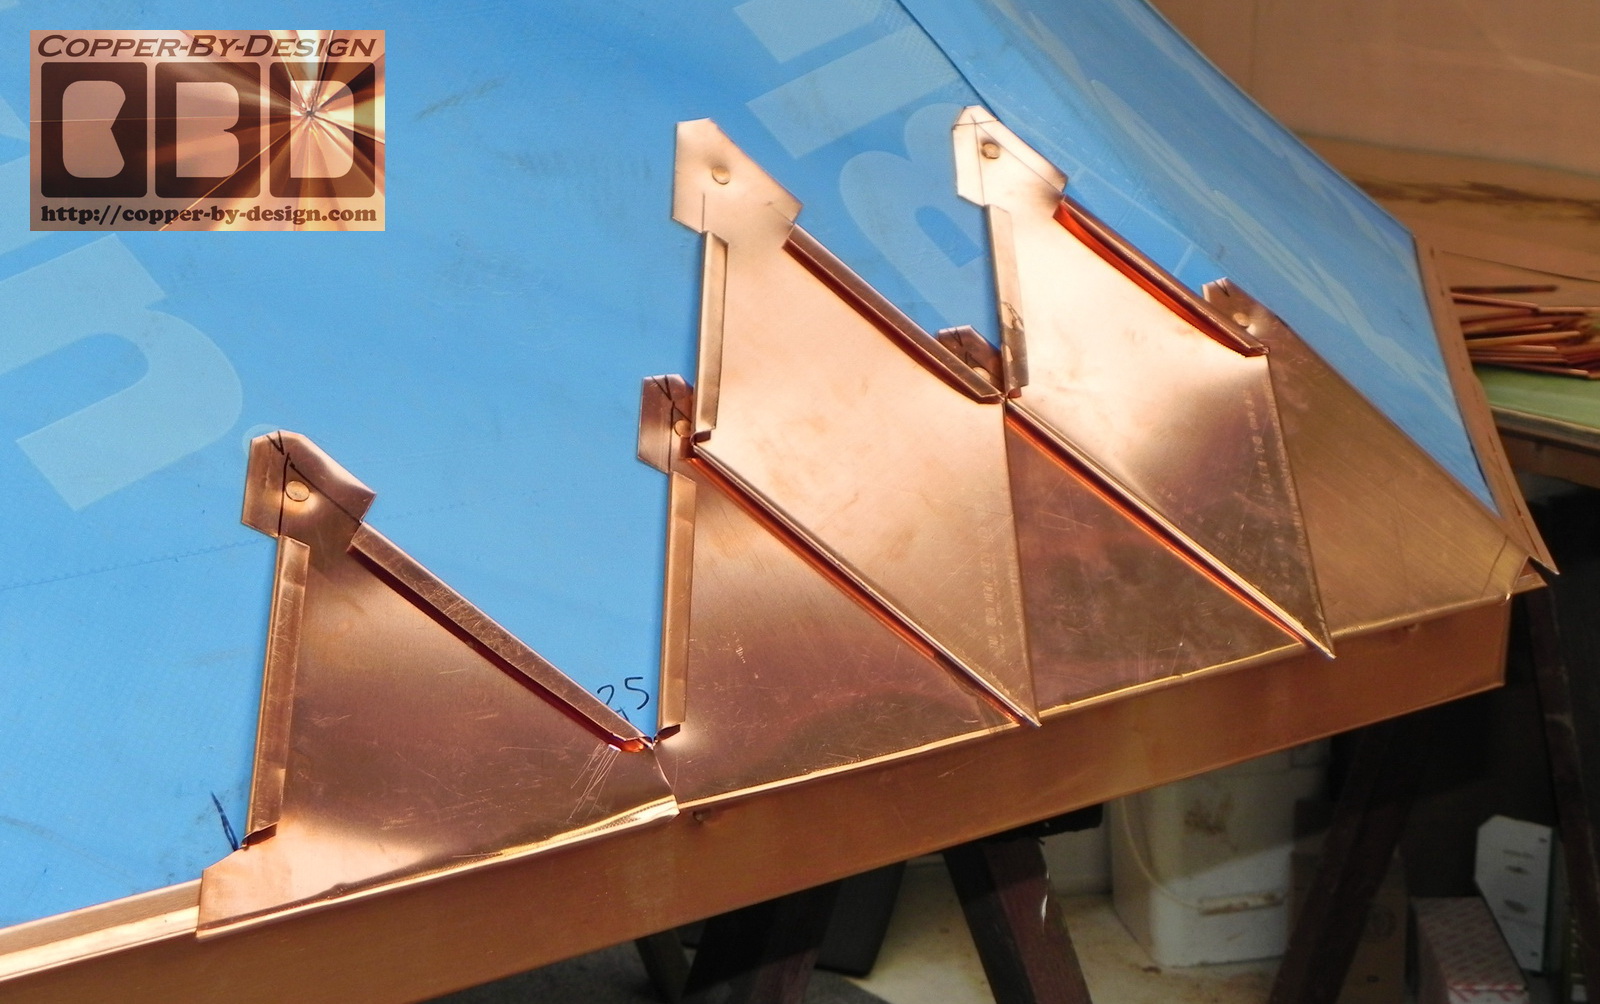
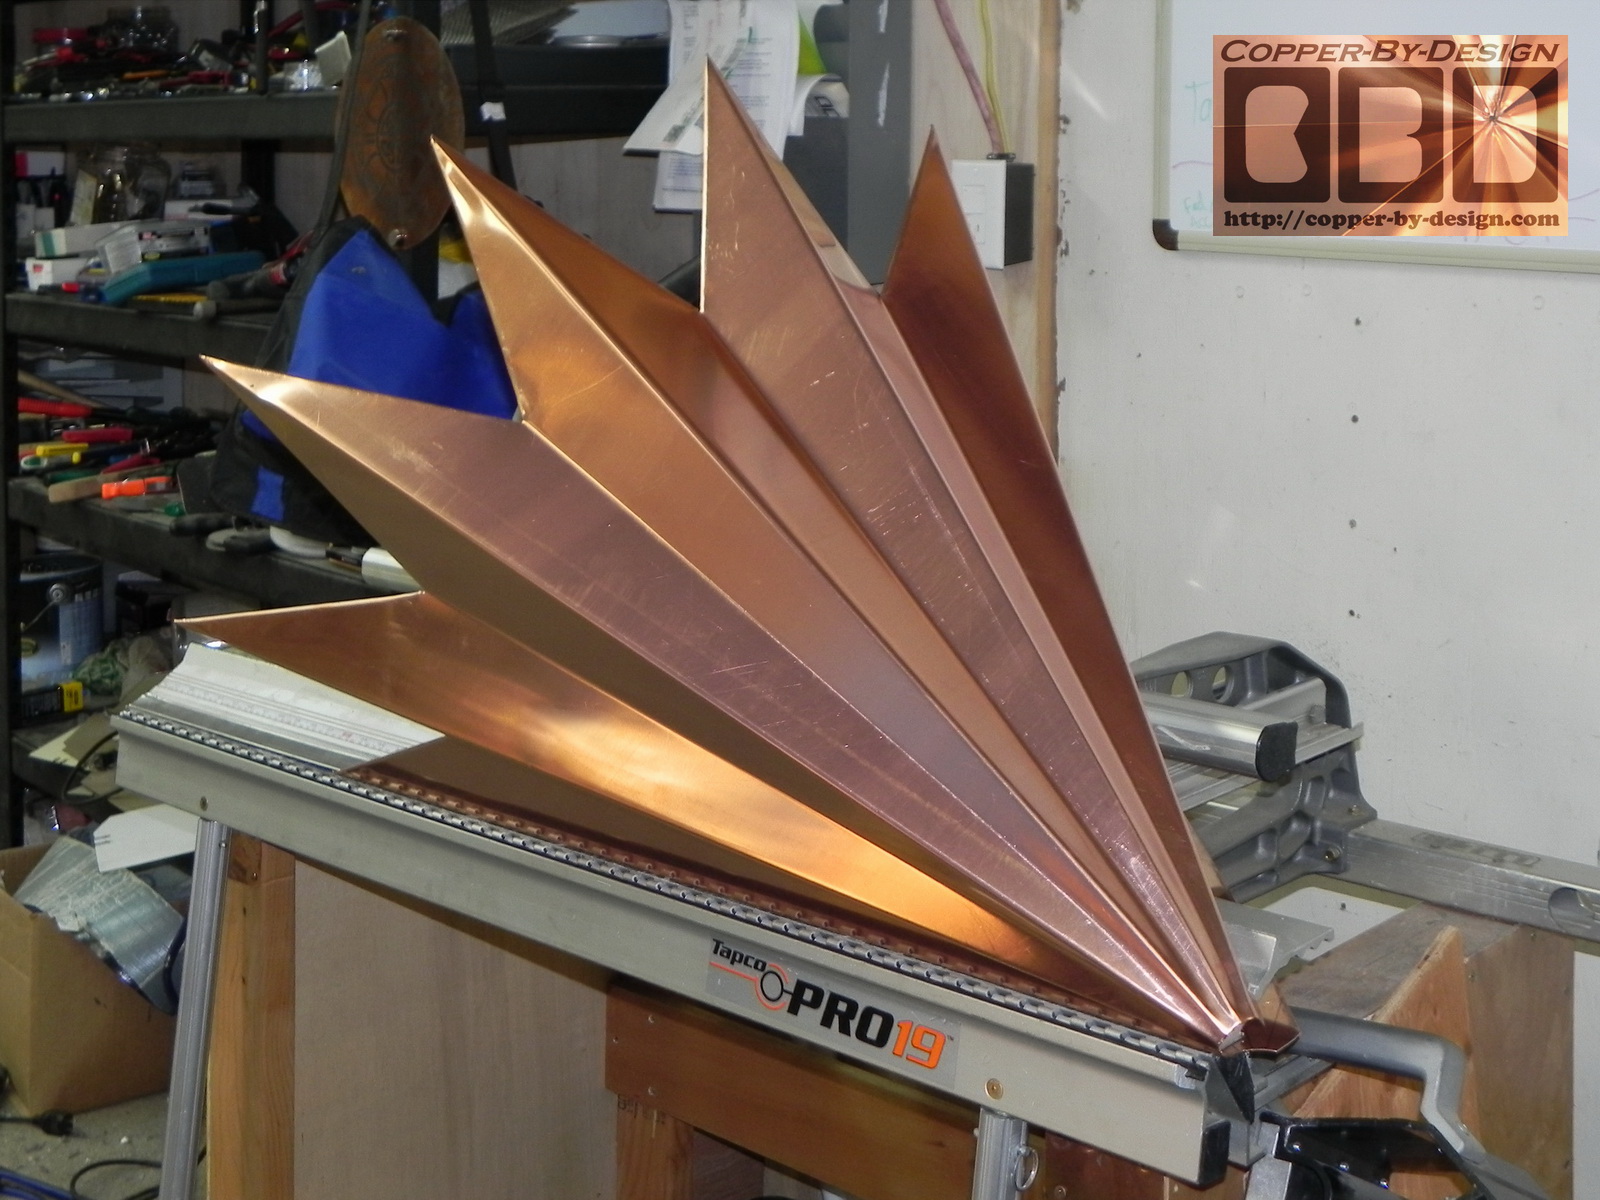
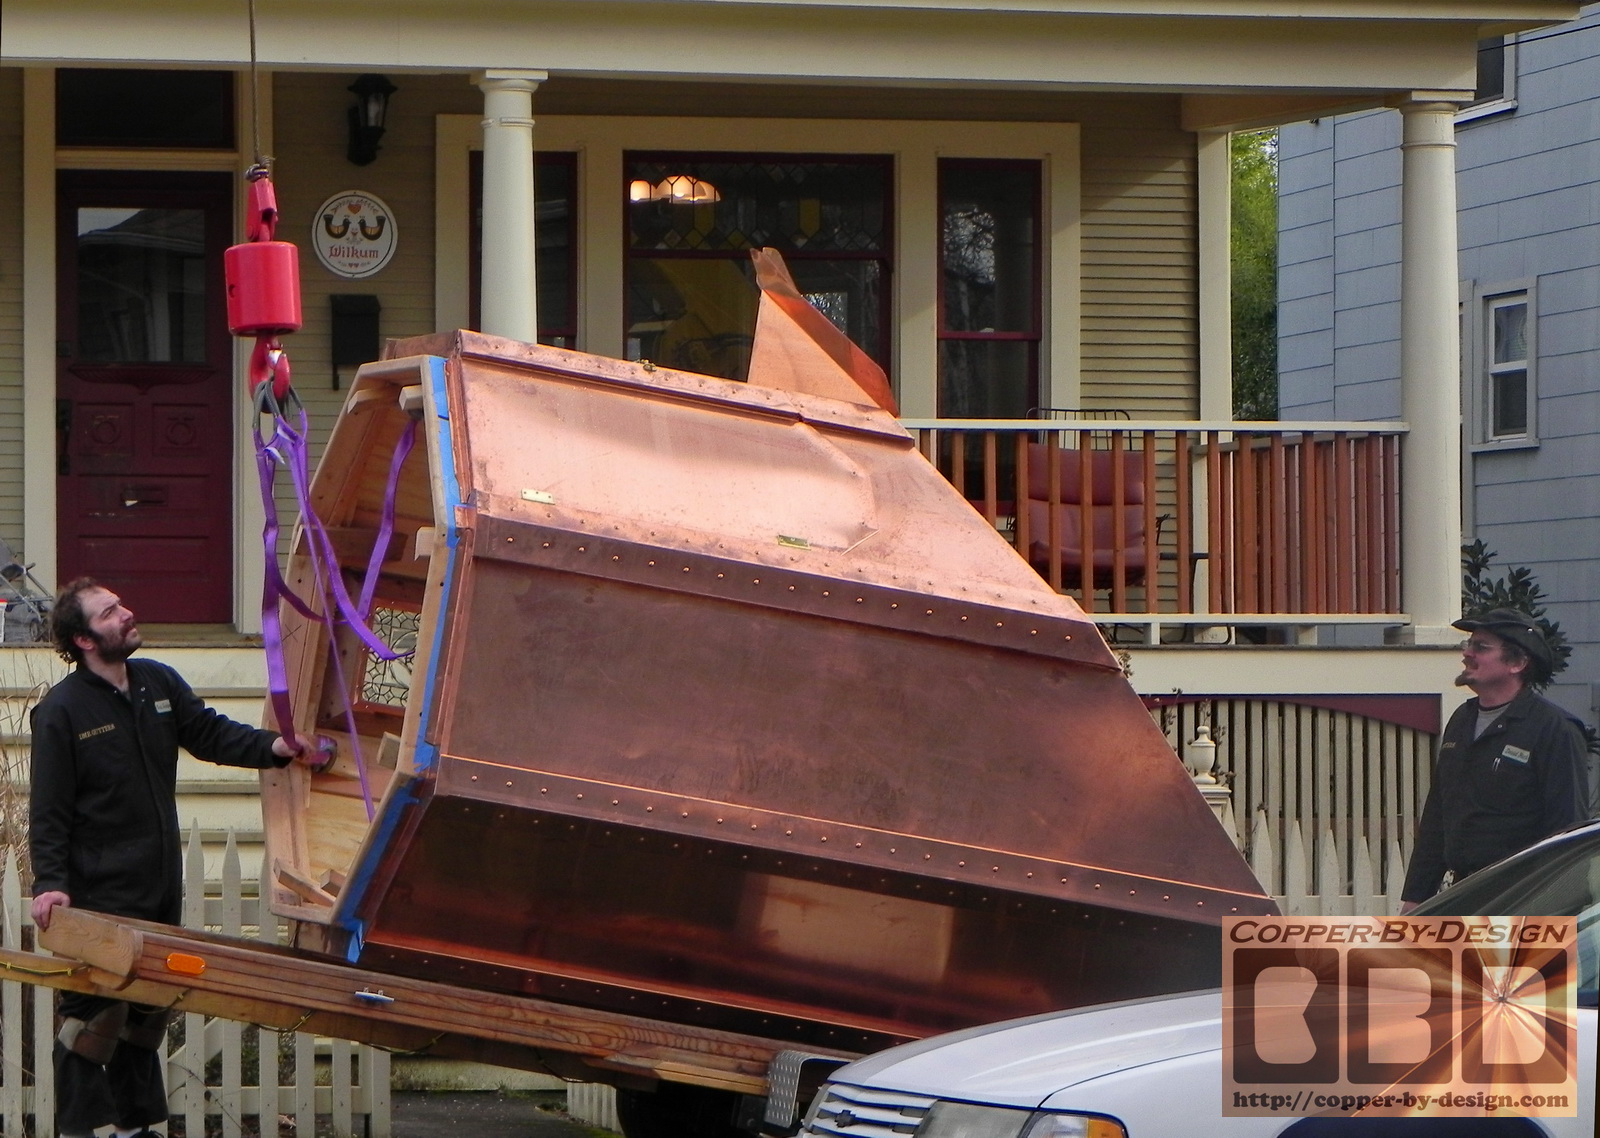
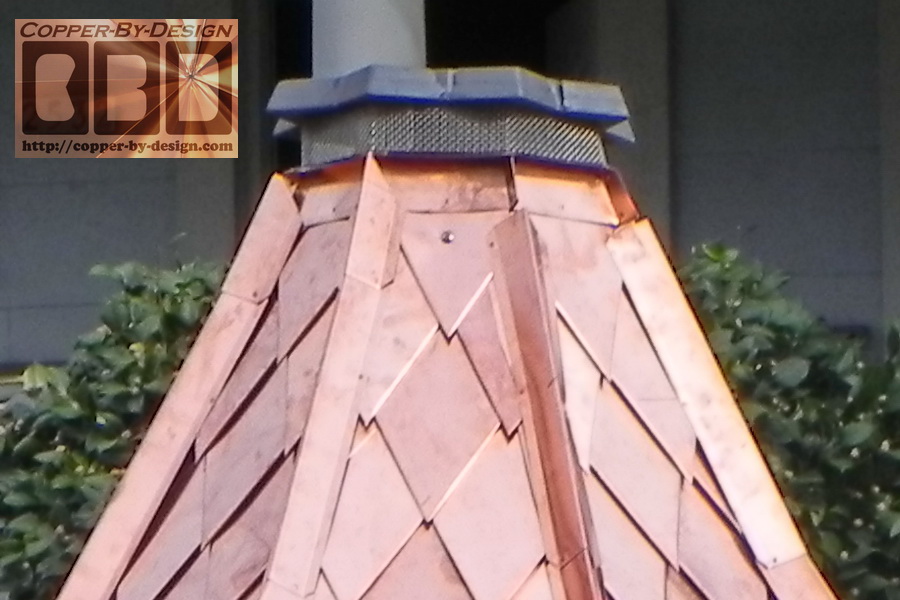
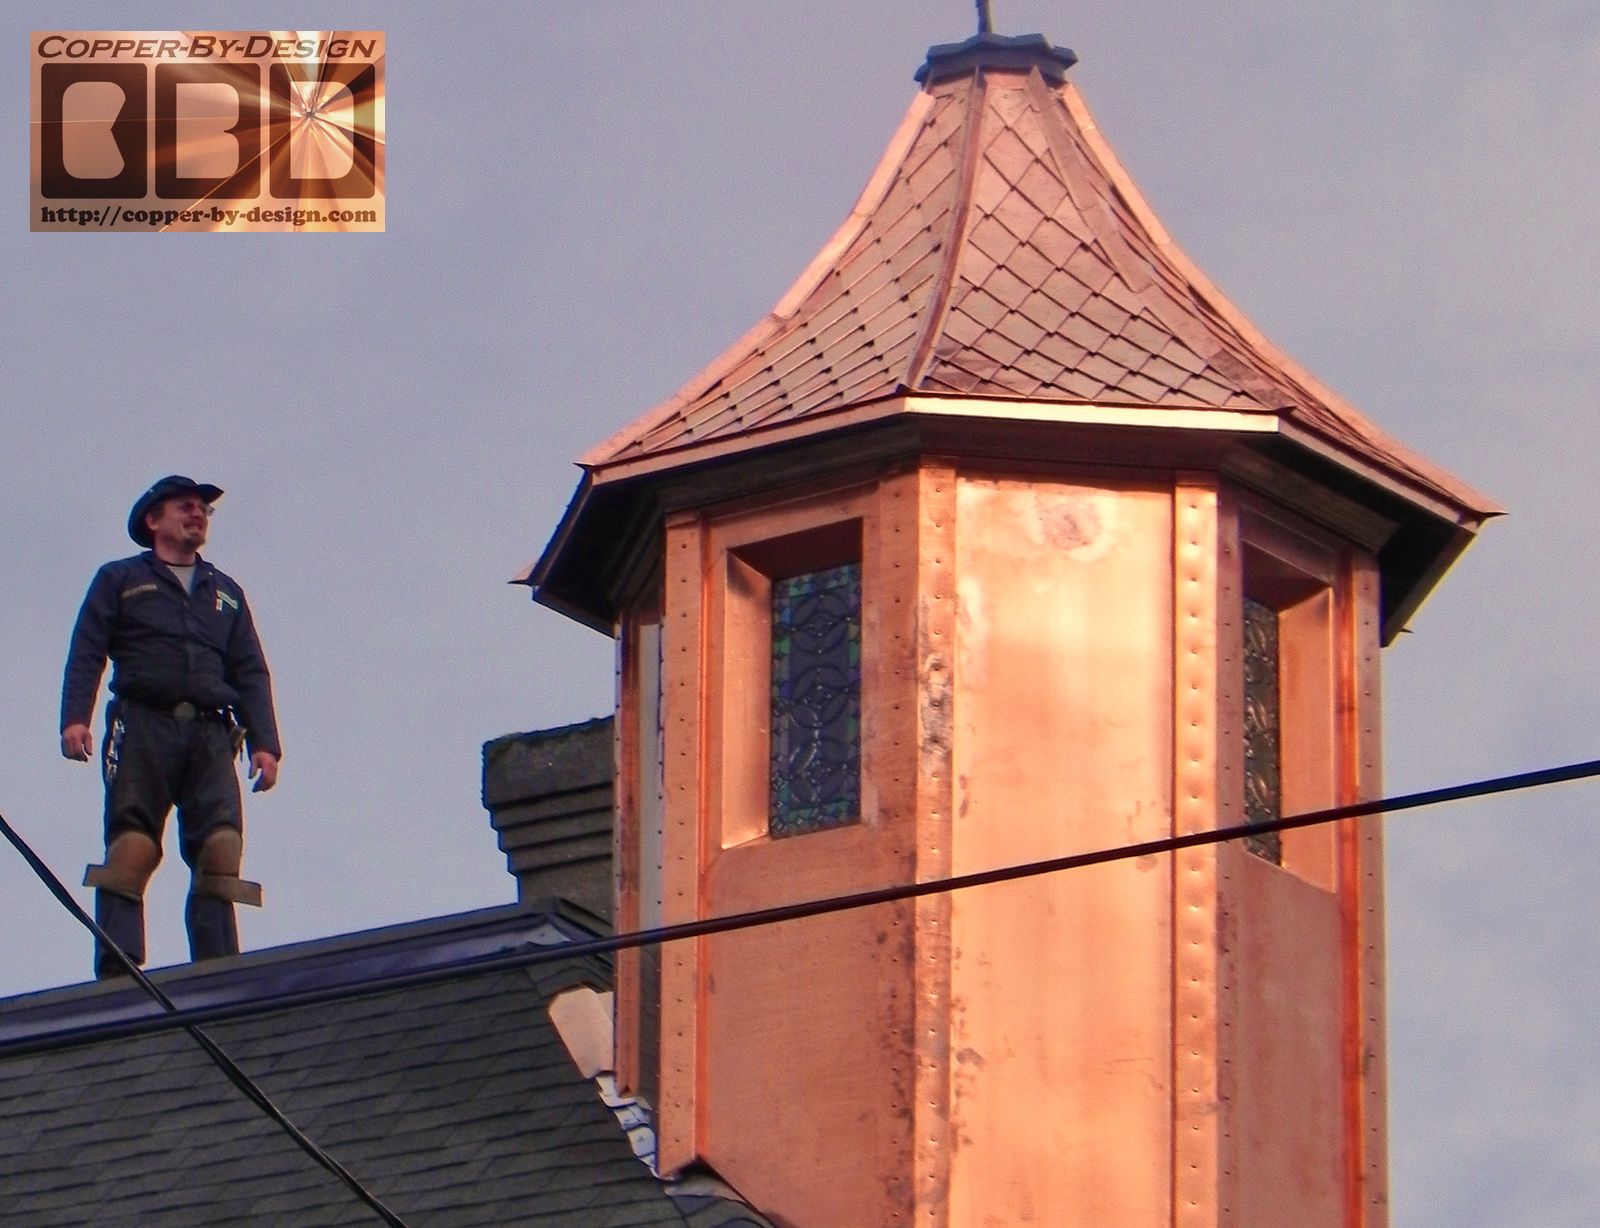
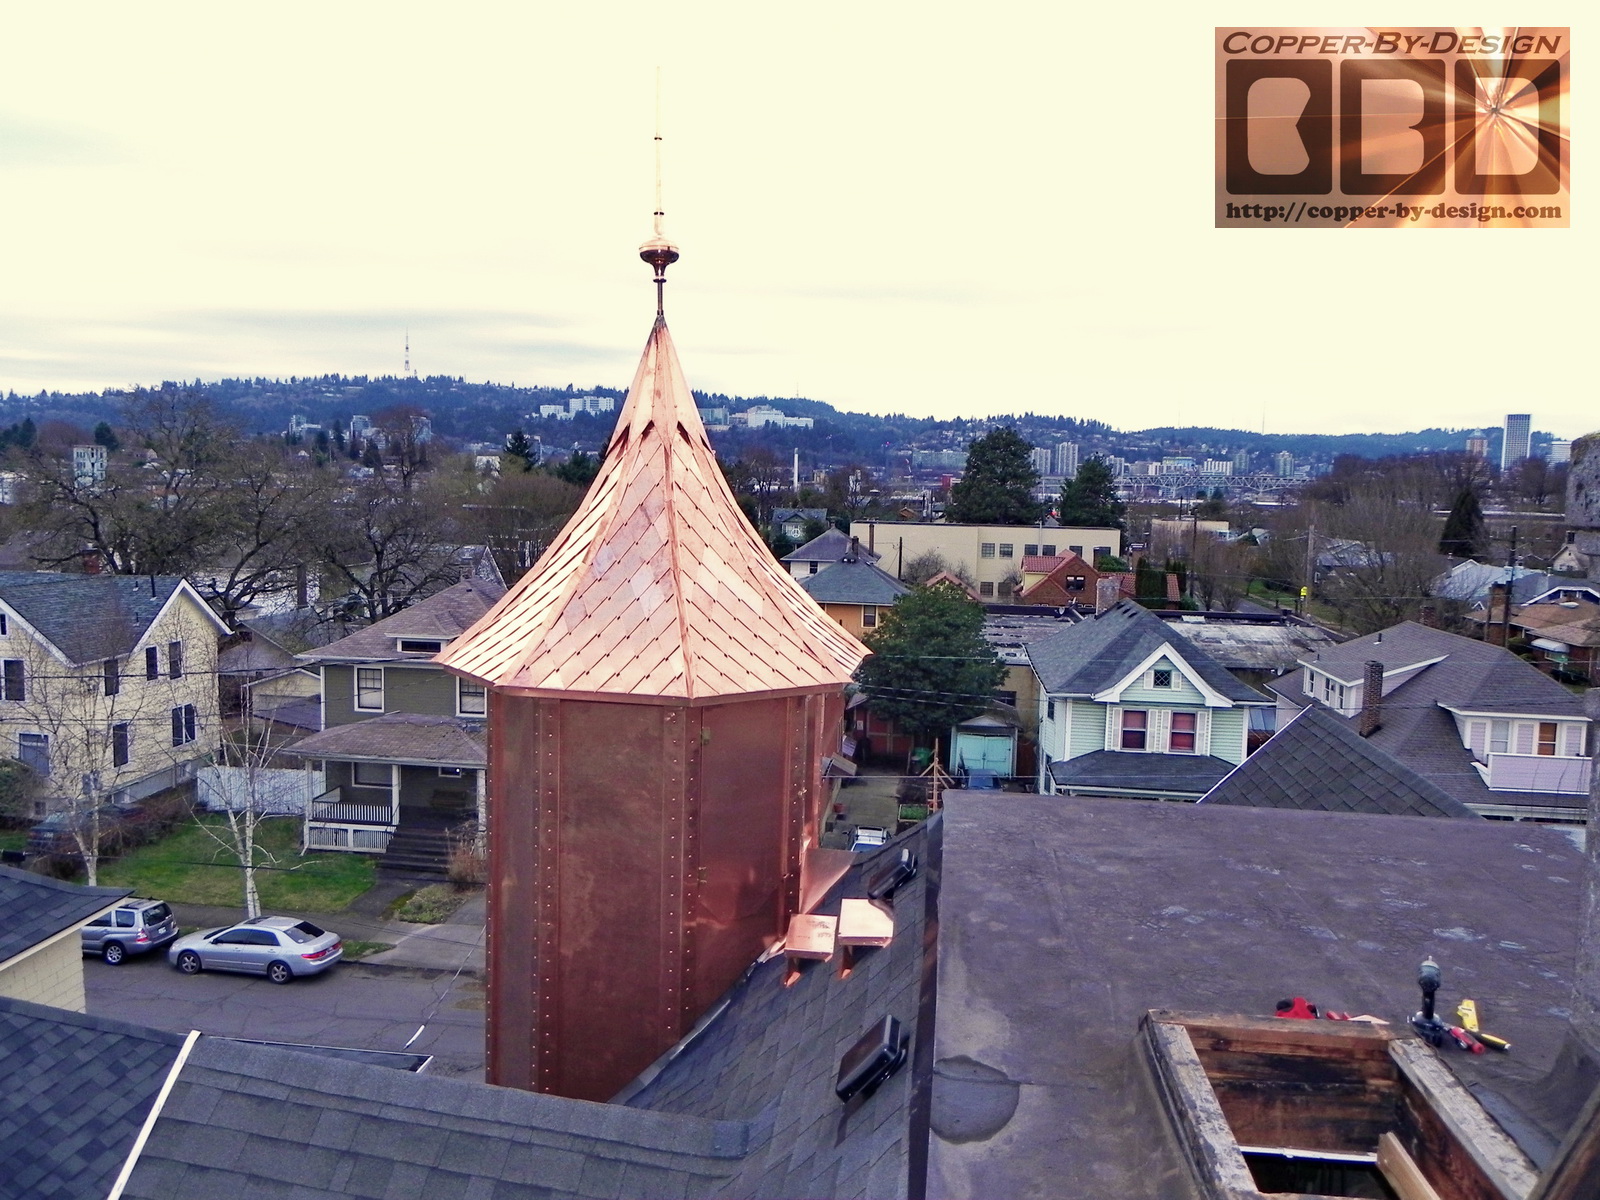
I worked on the ridge caps and the
roof peak cap that will hold the finial. I design this
unlike any I had done before, but it seemed fitting for
this roof. I was quite pleased with the dramatic look
this gave the turret.
|


