|
|
The Nelson
Custom Copper Chimney Cap Tampa, Florida
(8/09) |
|---|

|
|
Company Profile |
|
Roof Caps |
|
Chimney Caps |
|
Scuppers |
|
Gutters |
|
Shipping |
|
Contact Info |
|
|
The Nelson
Custom Copper Chimney Cap Tampa, Florida
(8/09) |
|---|
|
|
Company Profile |
|
Roof Caps |
|
Chimney Caps |
|
Scuppers |
|
Gutters |
|
Shipping |
|
Contact Info |

.
|
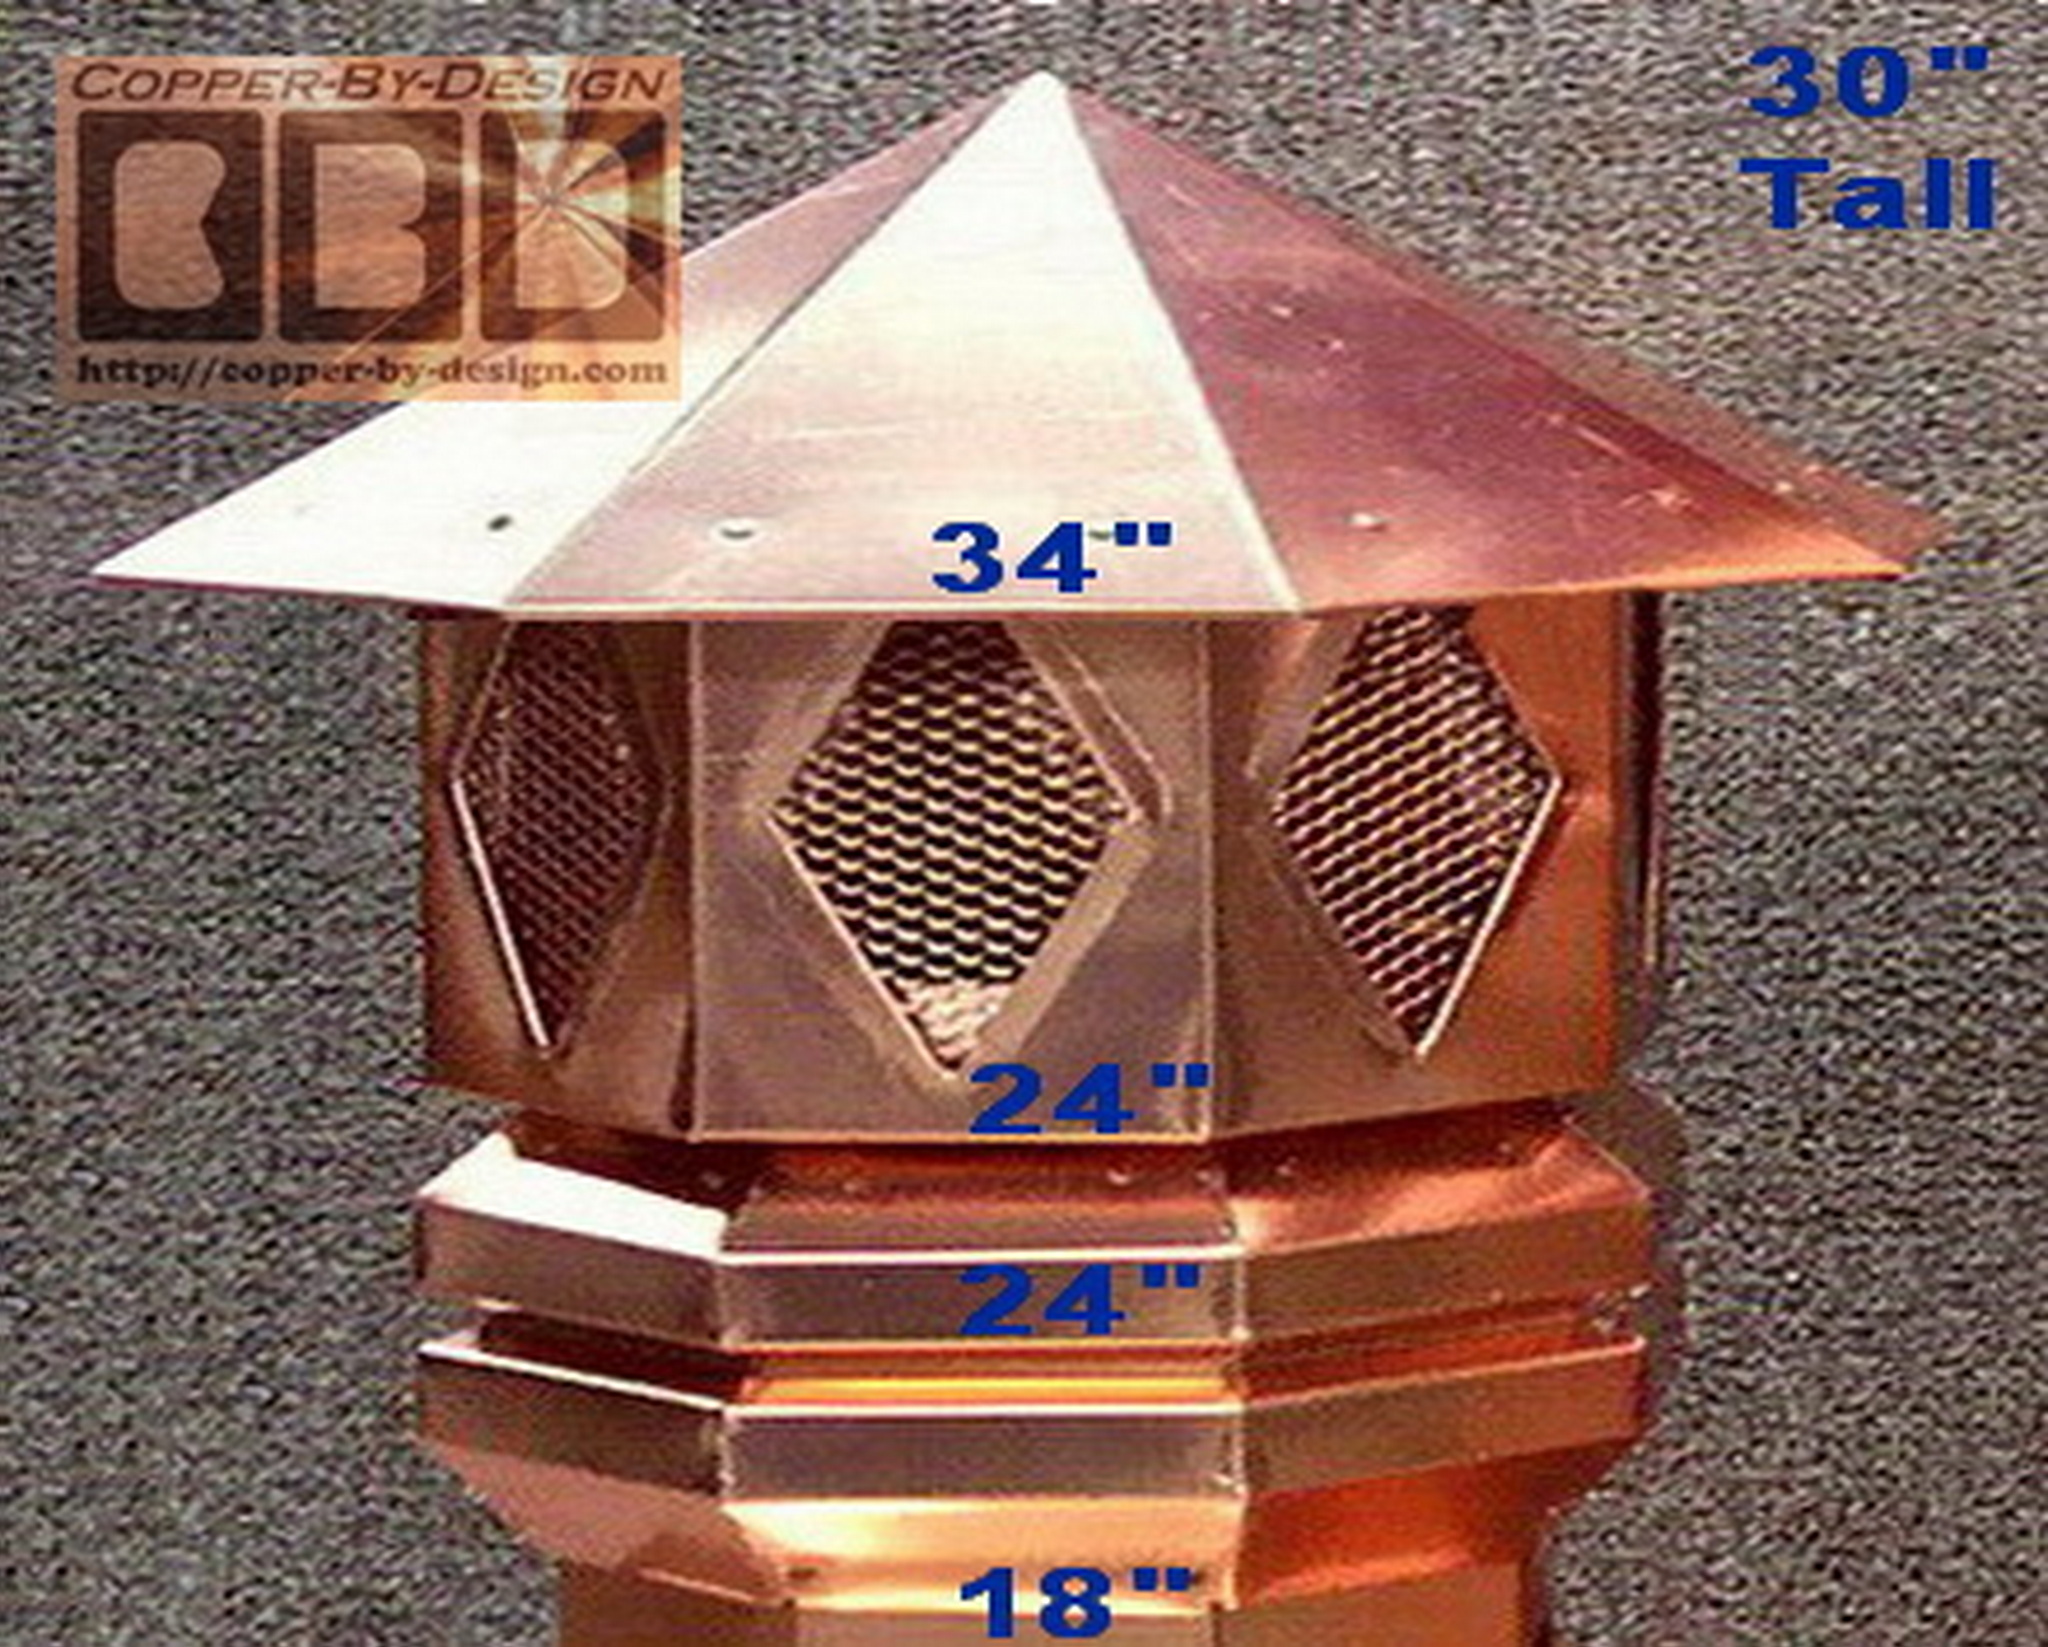
I needed to make sure there was enough exhaust vent area displacement, so I had to make the roof-line wider to add more ventilation out the eves of this design. The client approved this design and has been very pleased with the results after seeing it in these photos I had sent as I built it. |
Here is the fancy chimney it is to be mounted over: 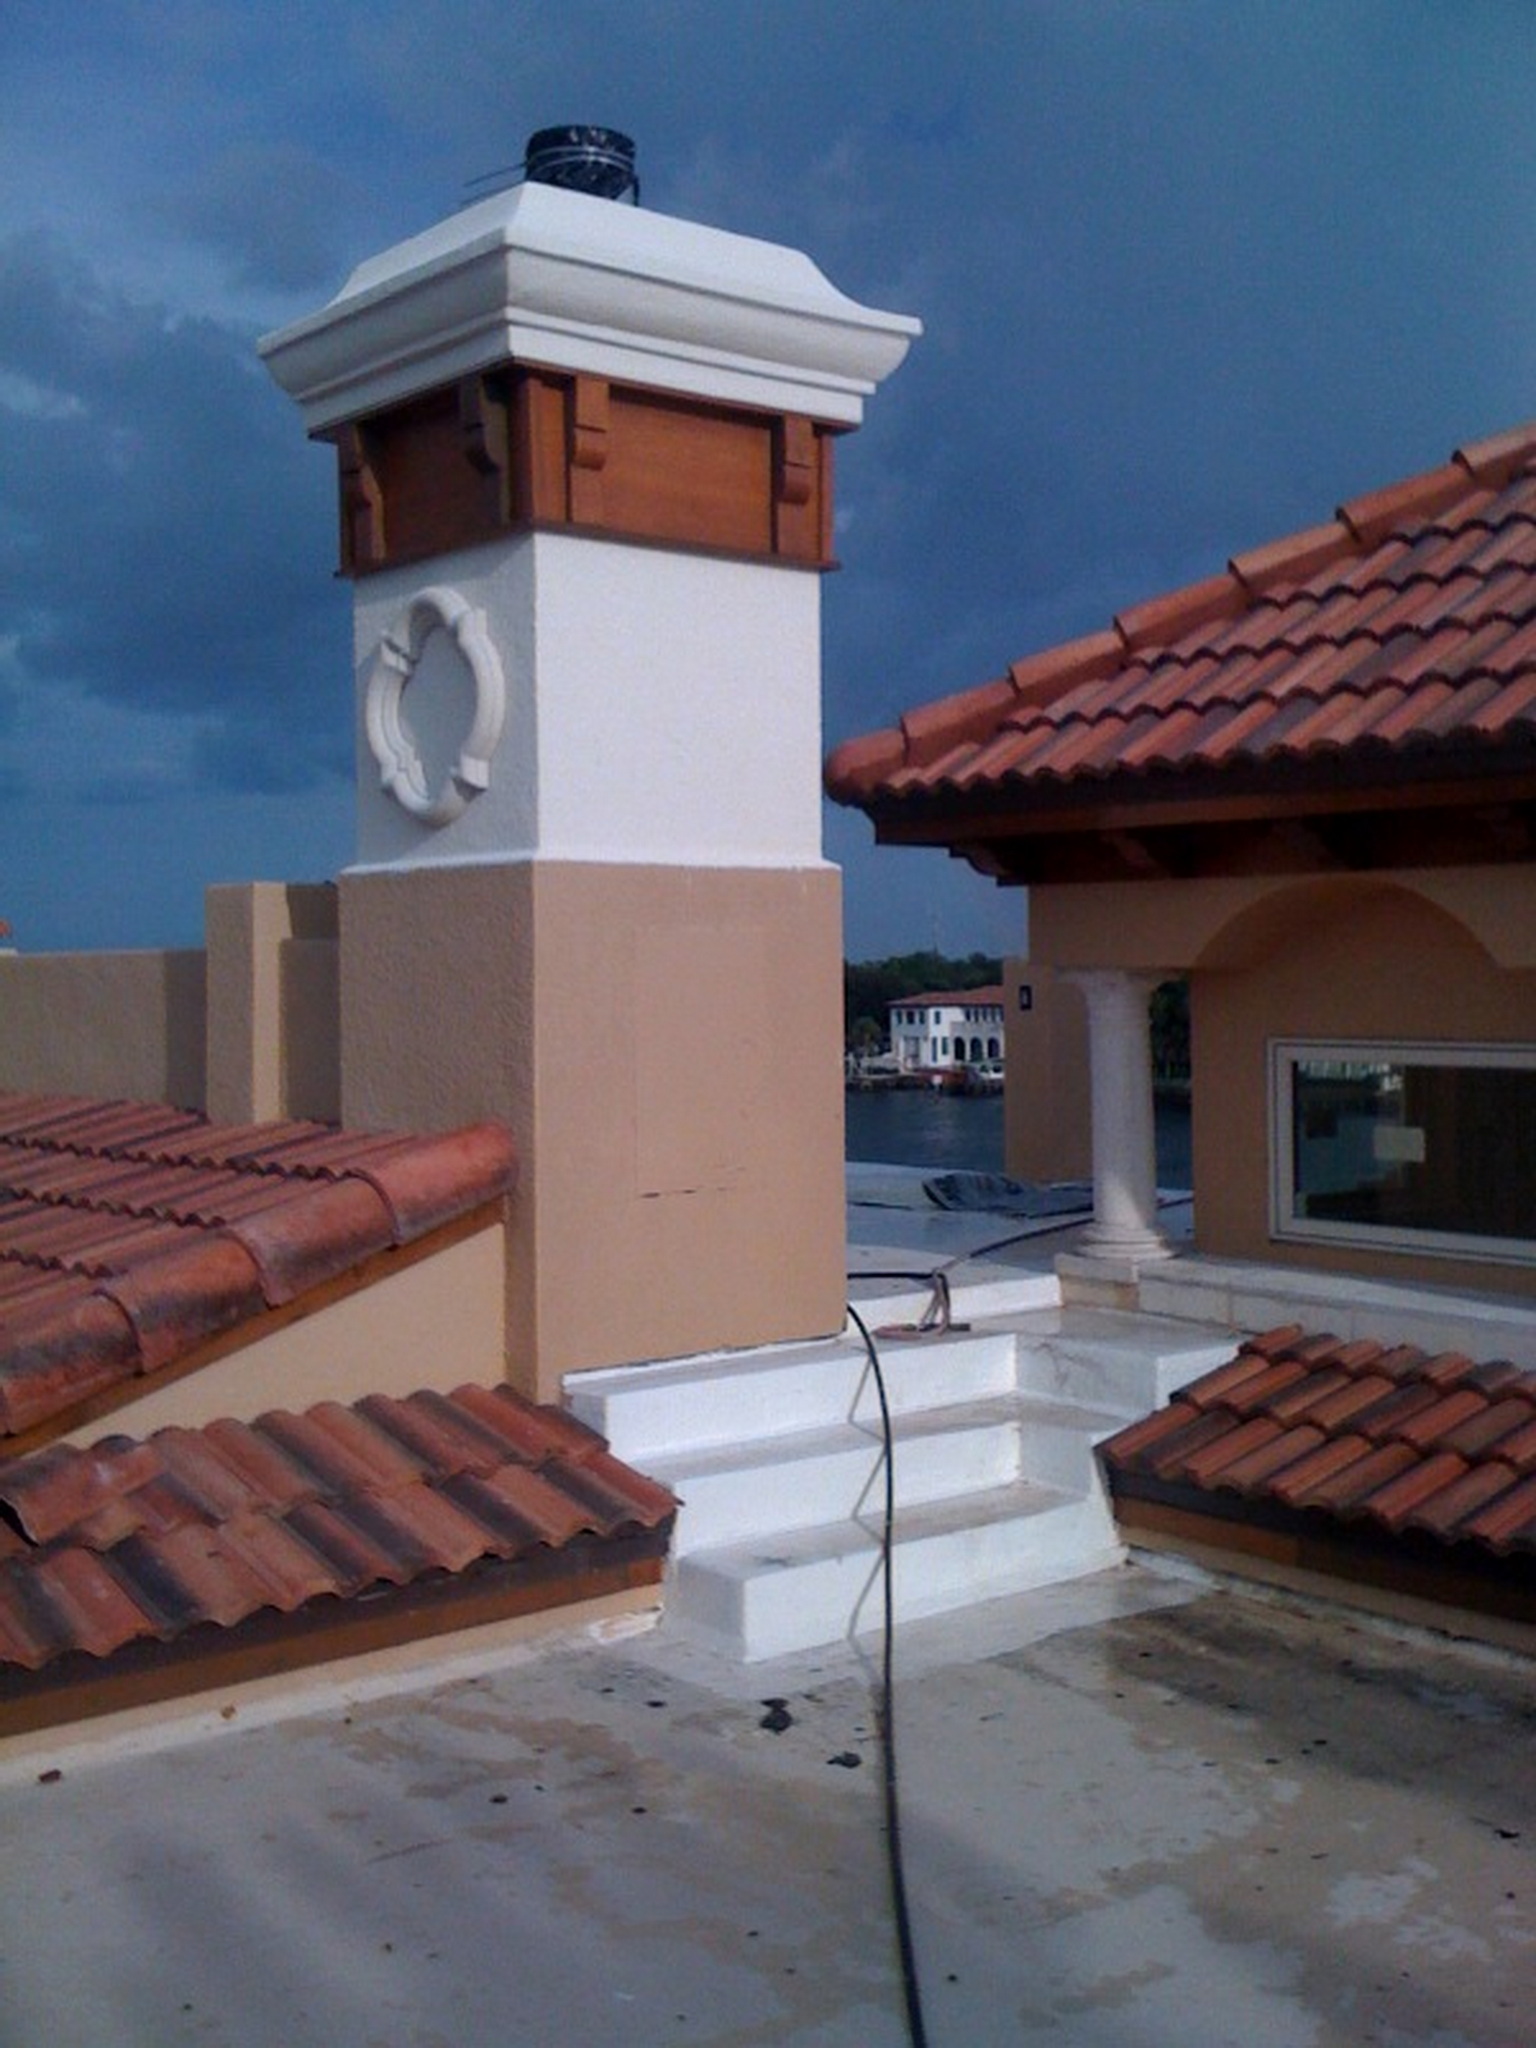 |
|
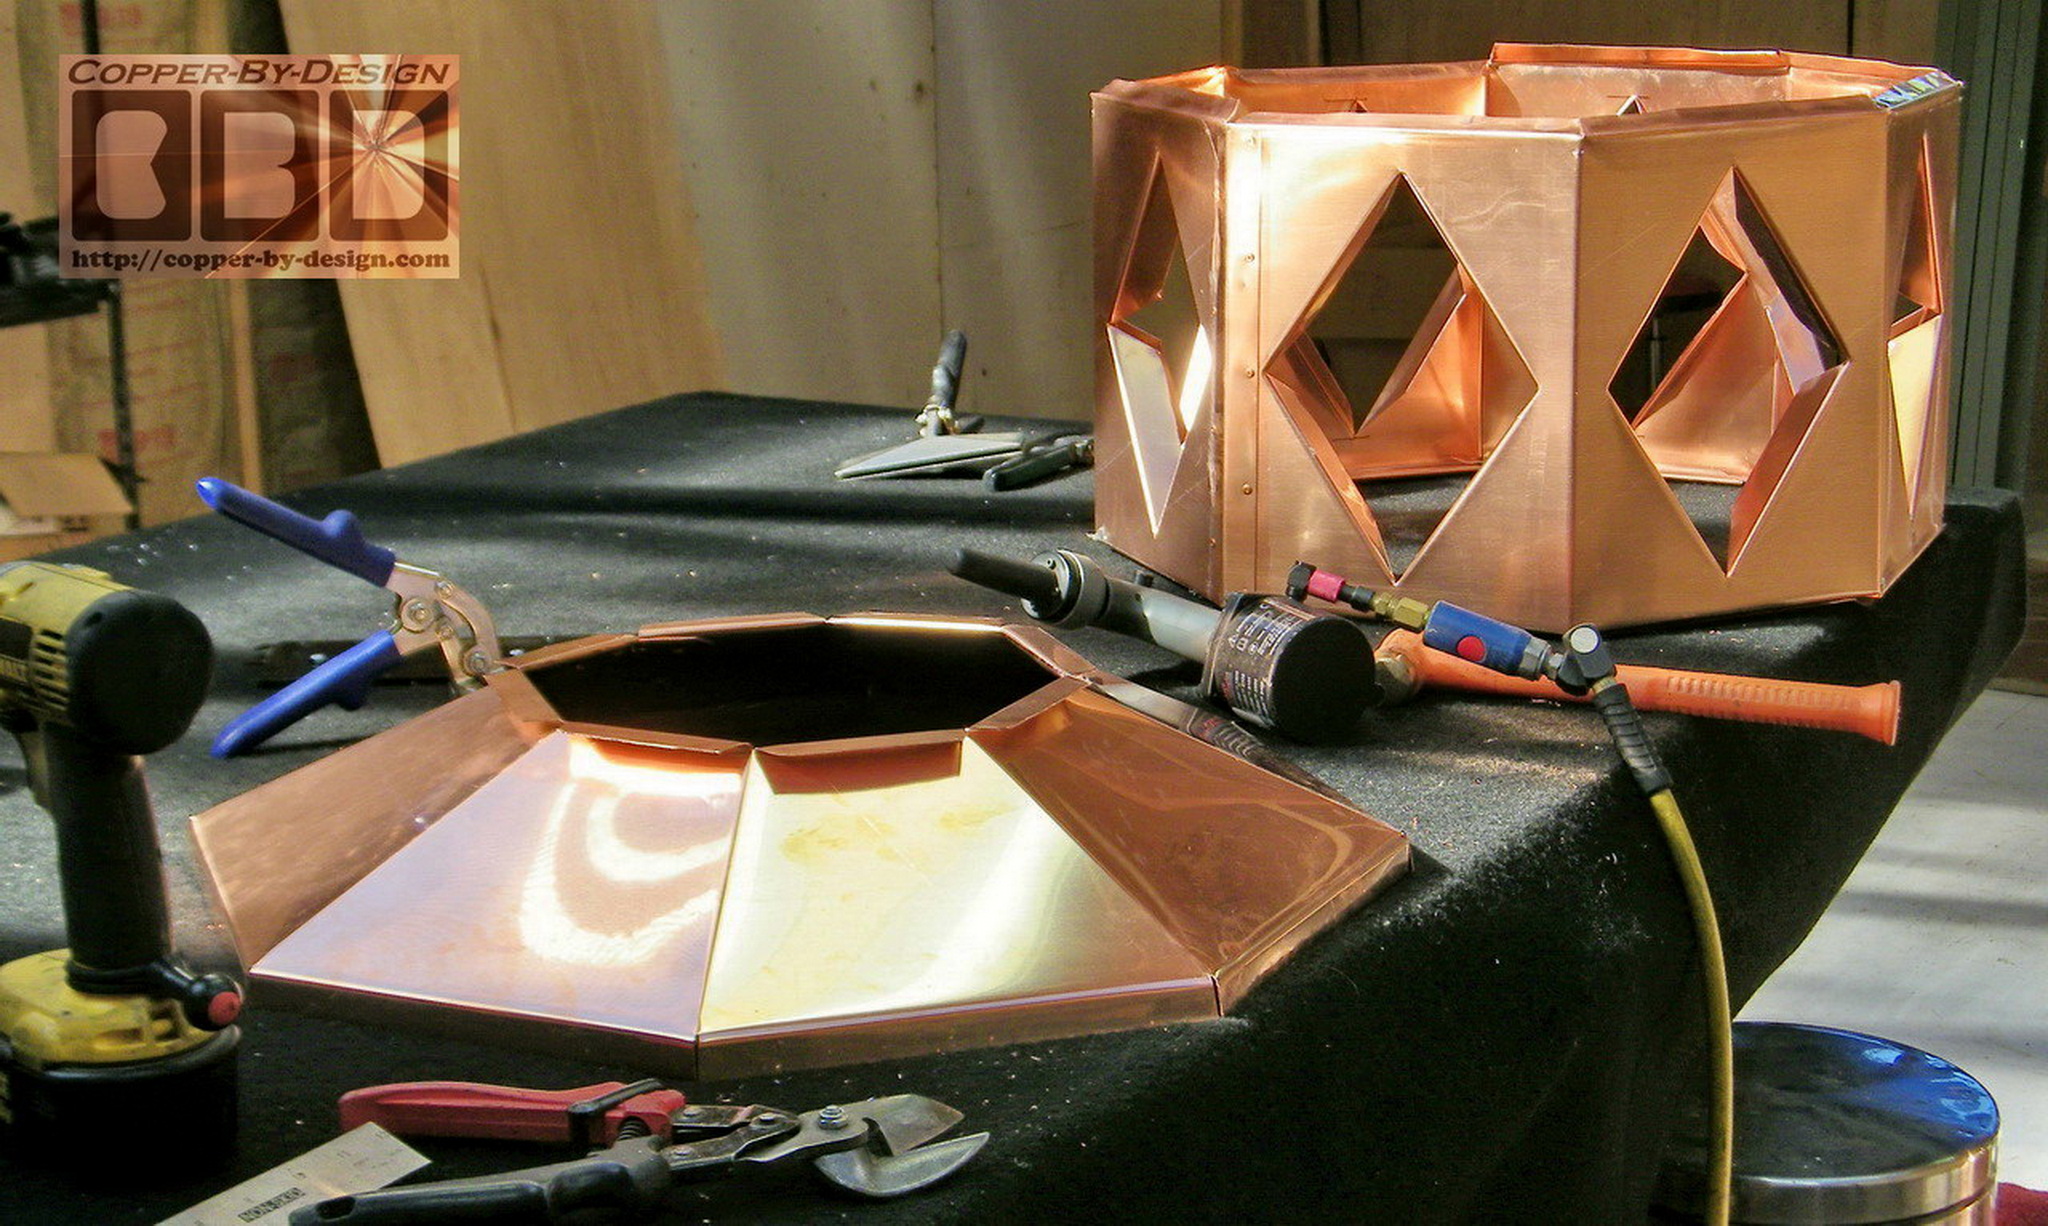
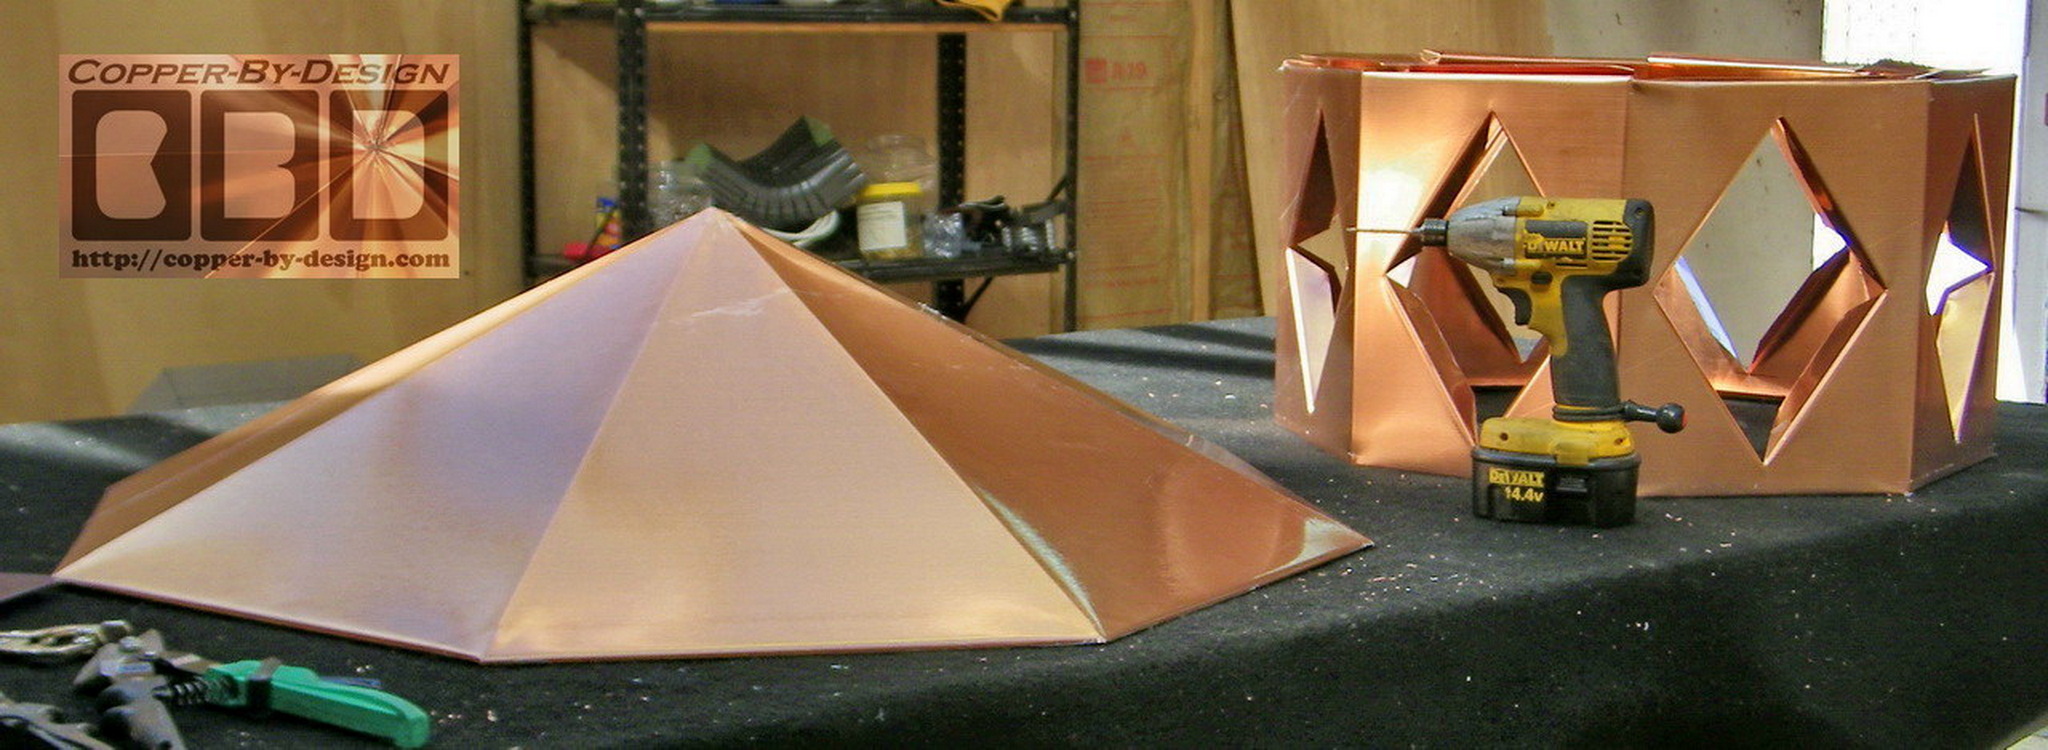
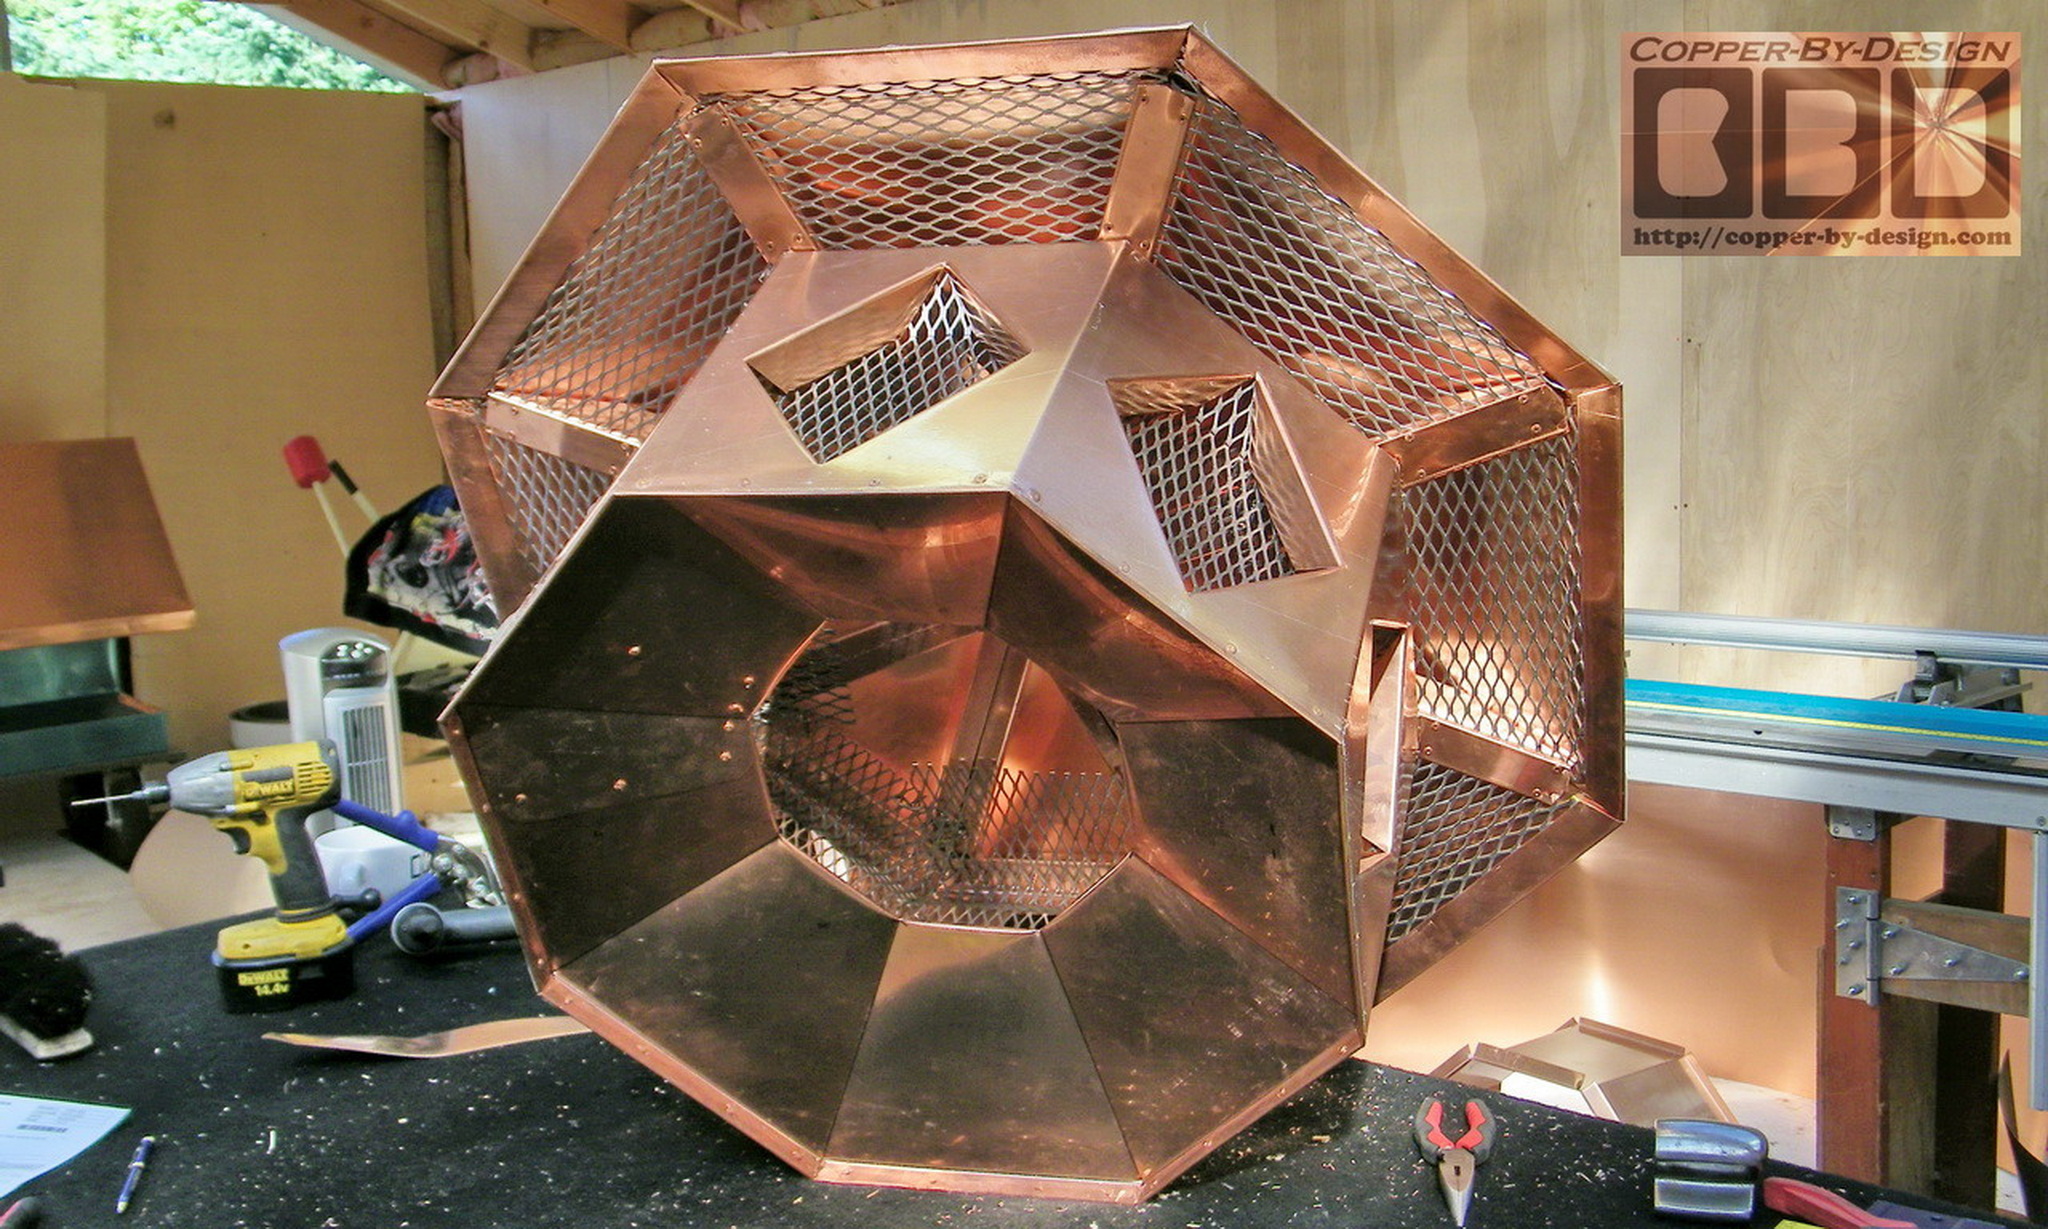
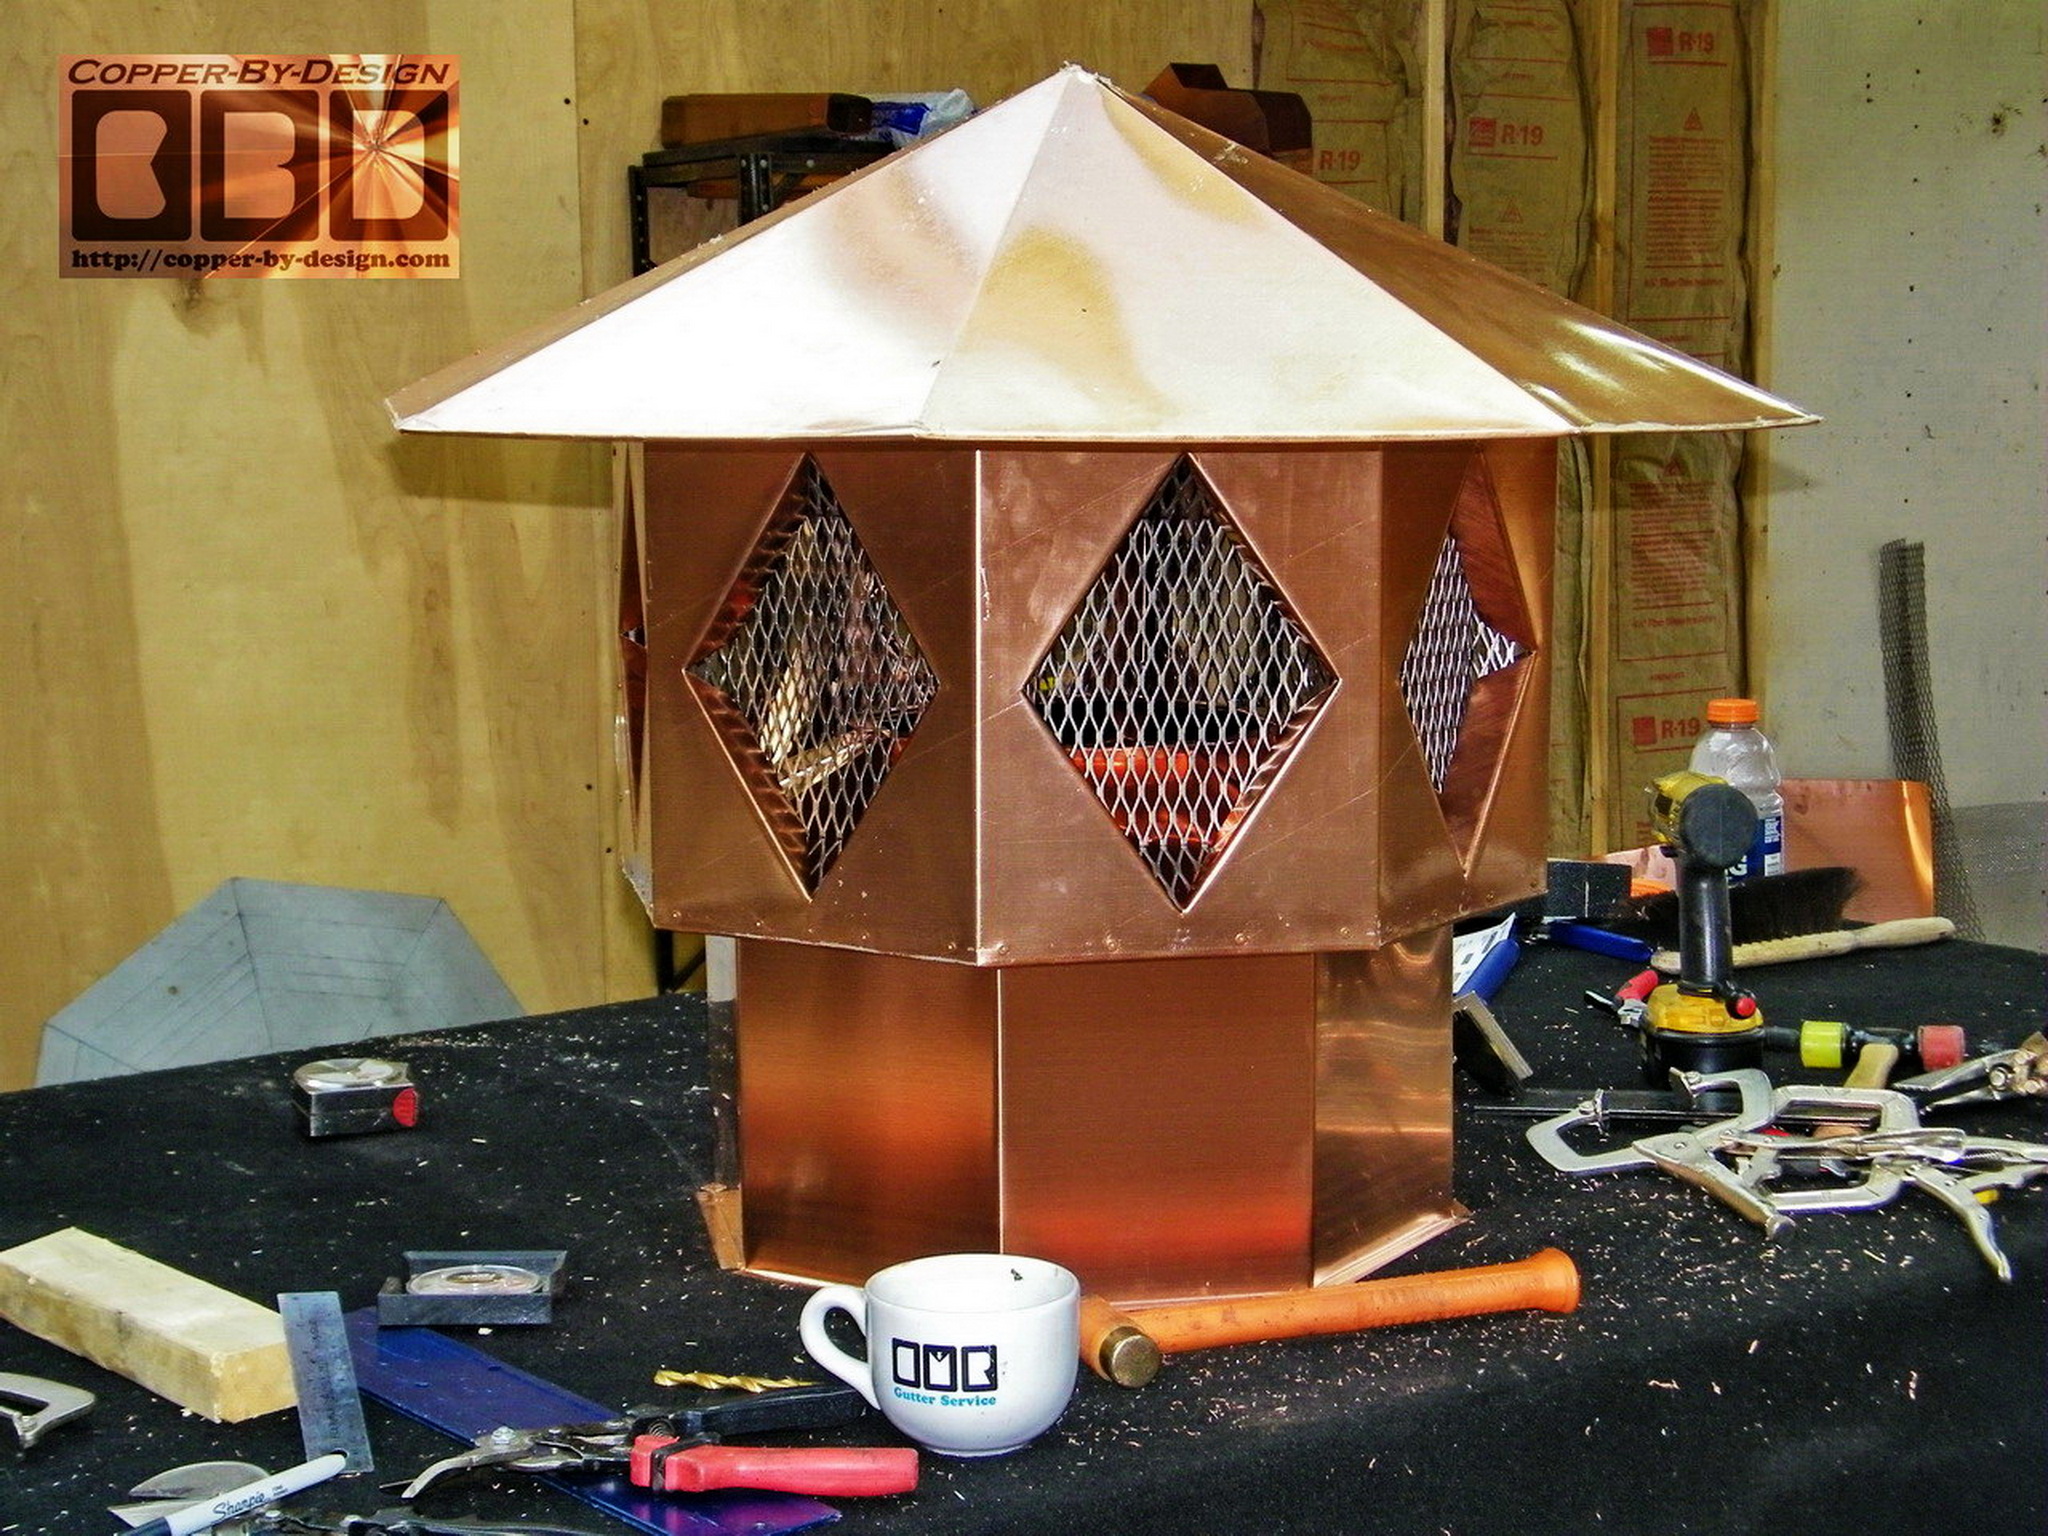
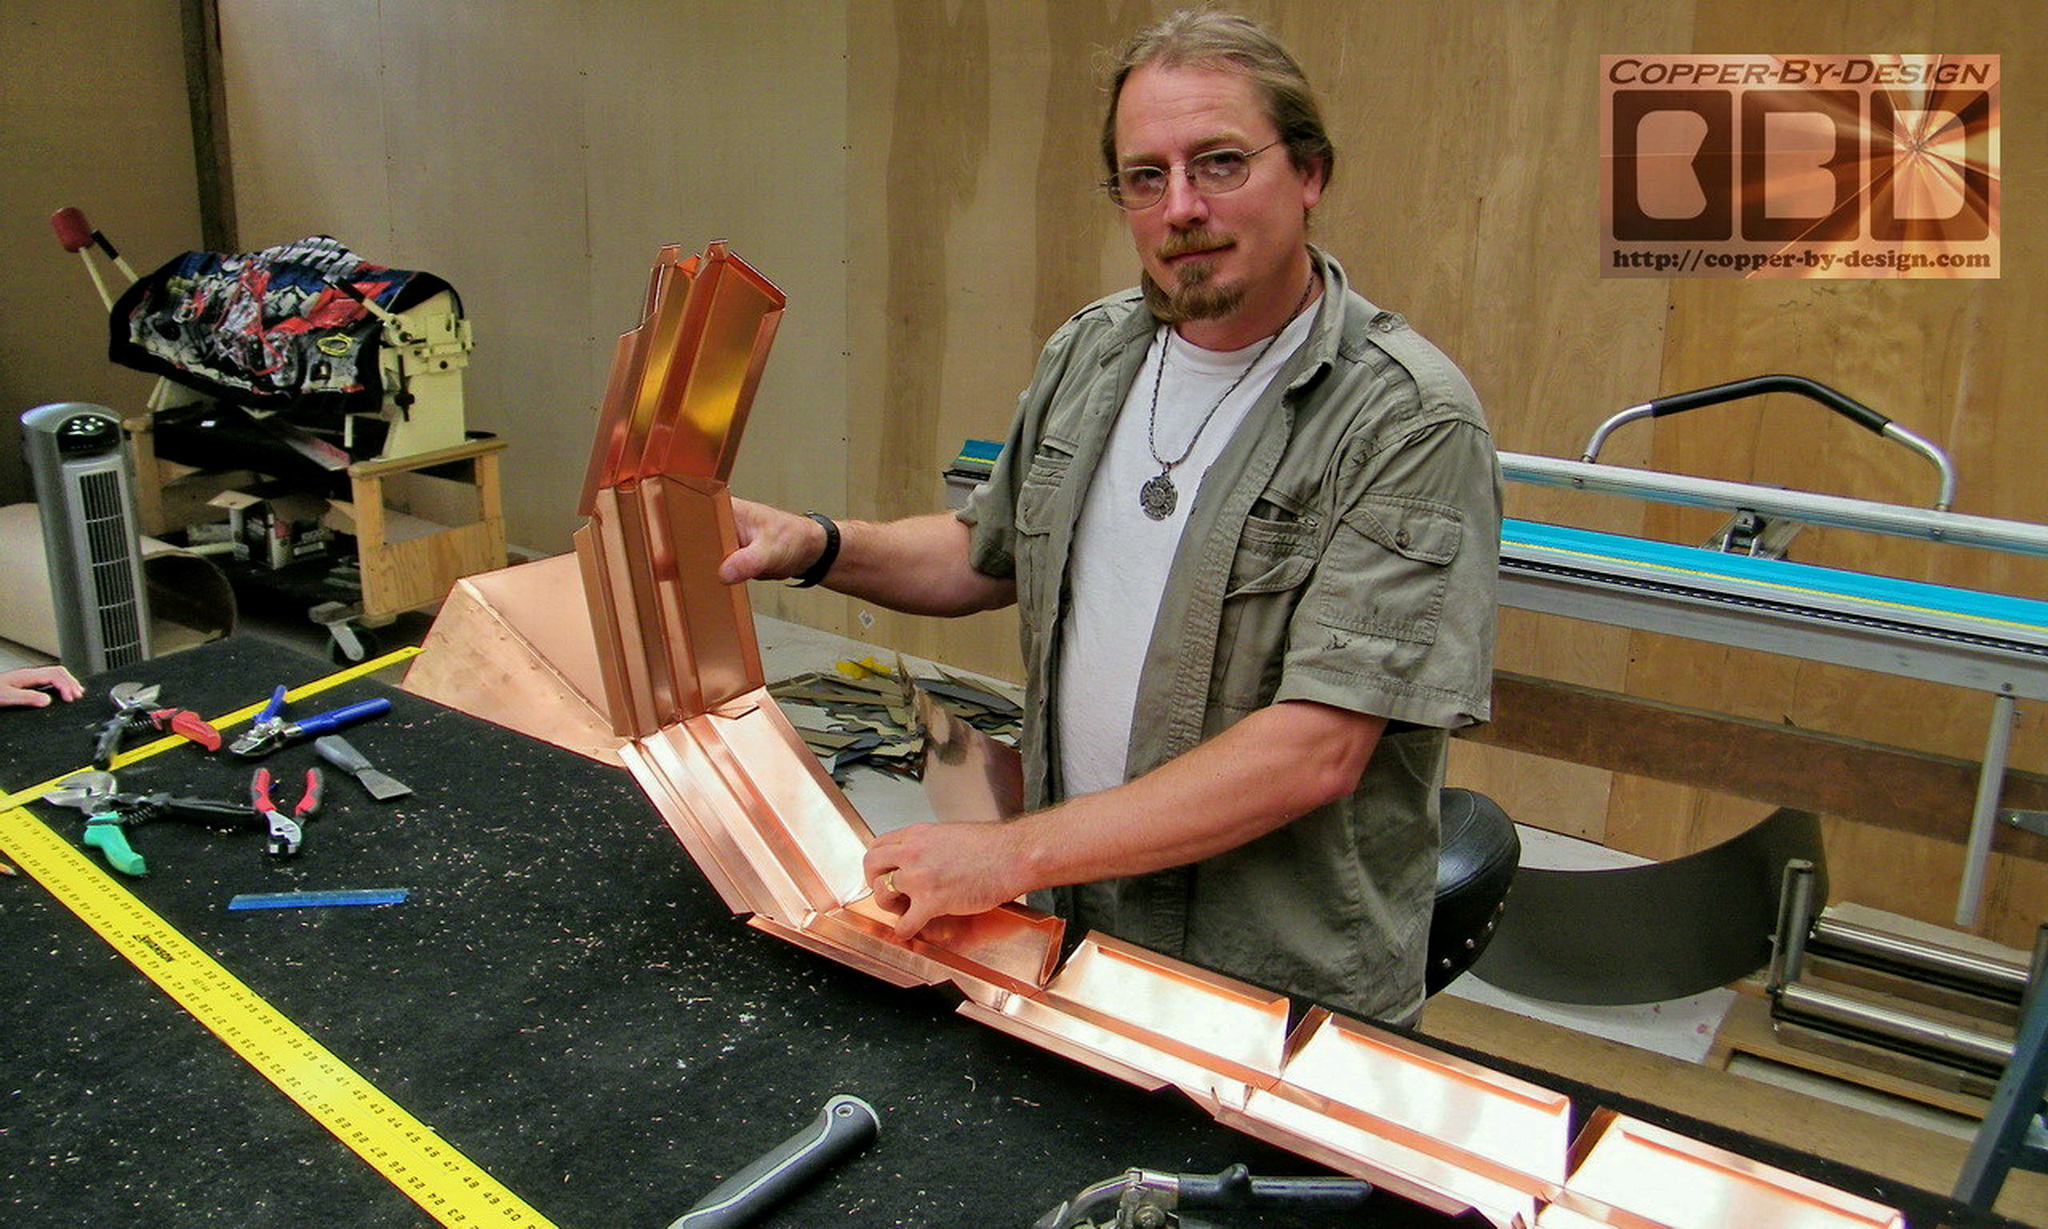
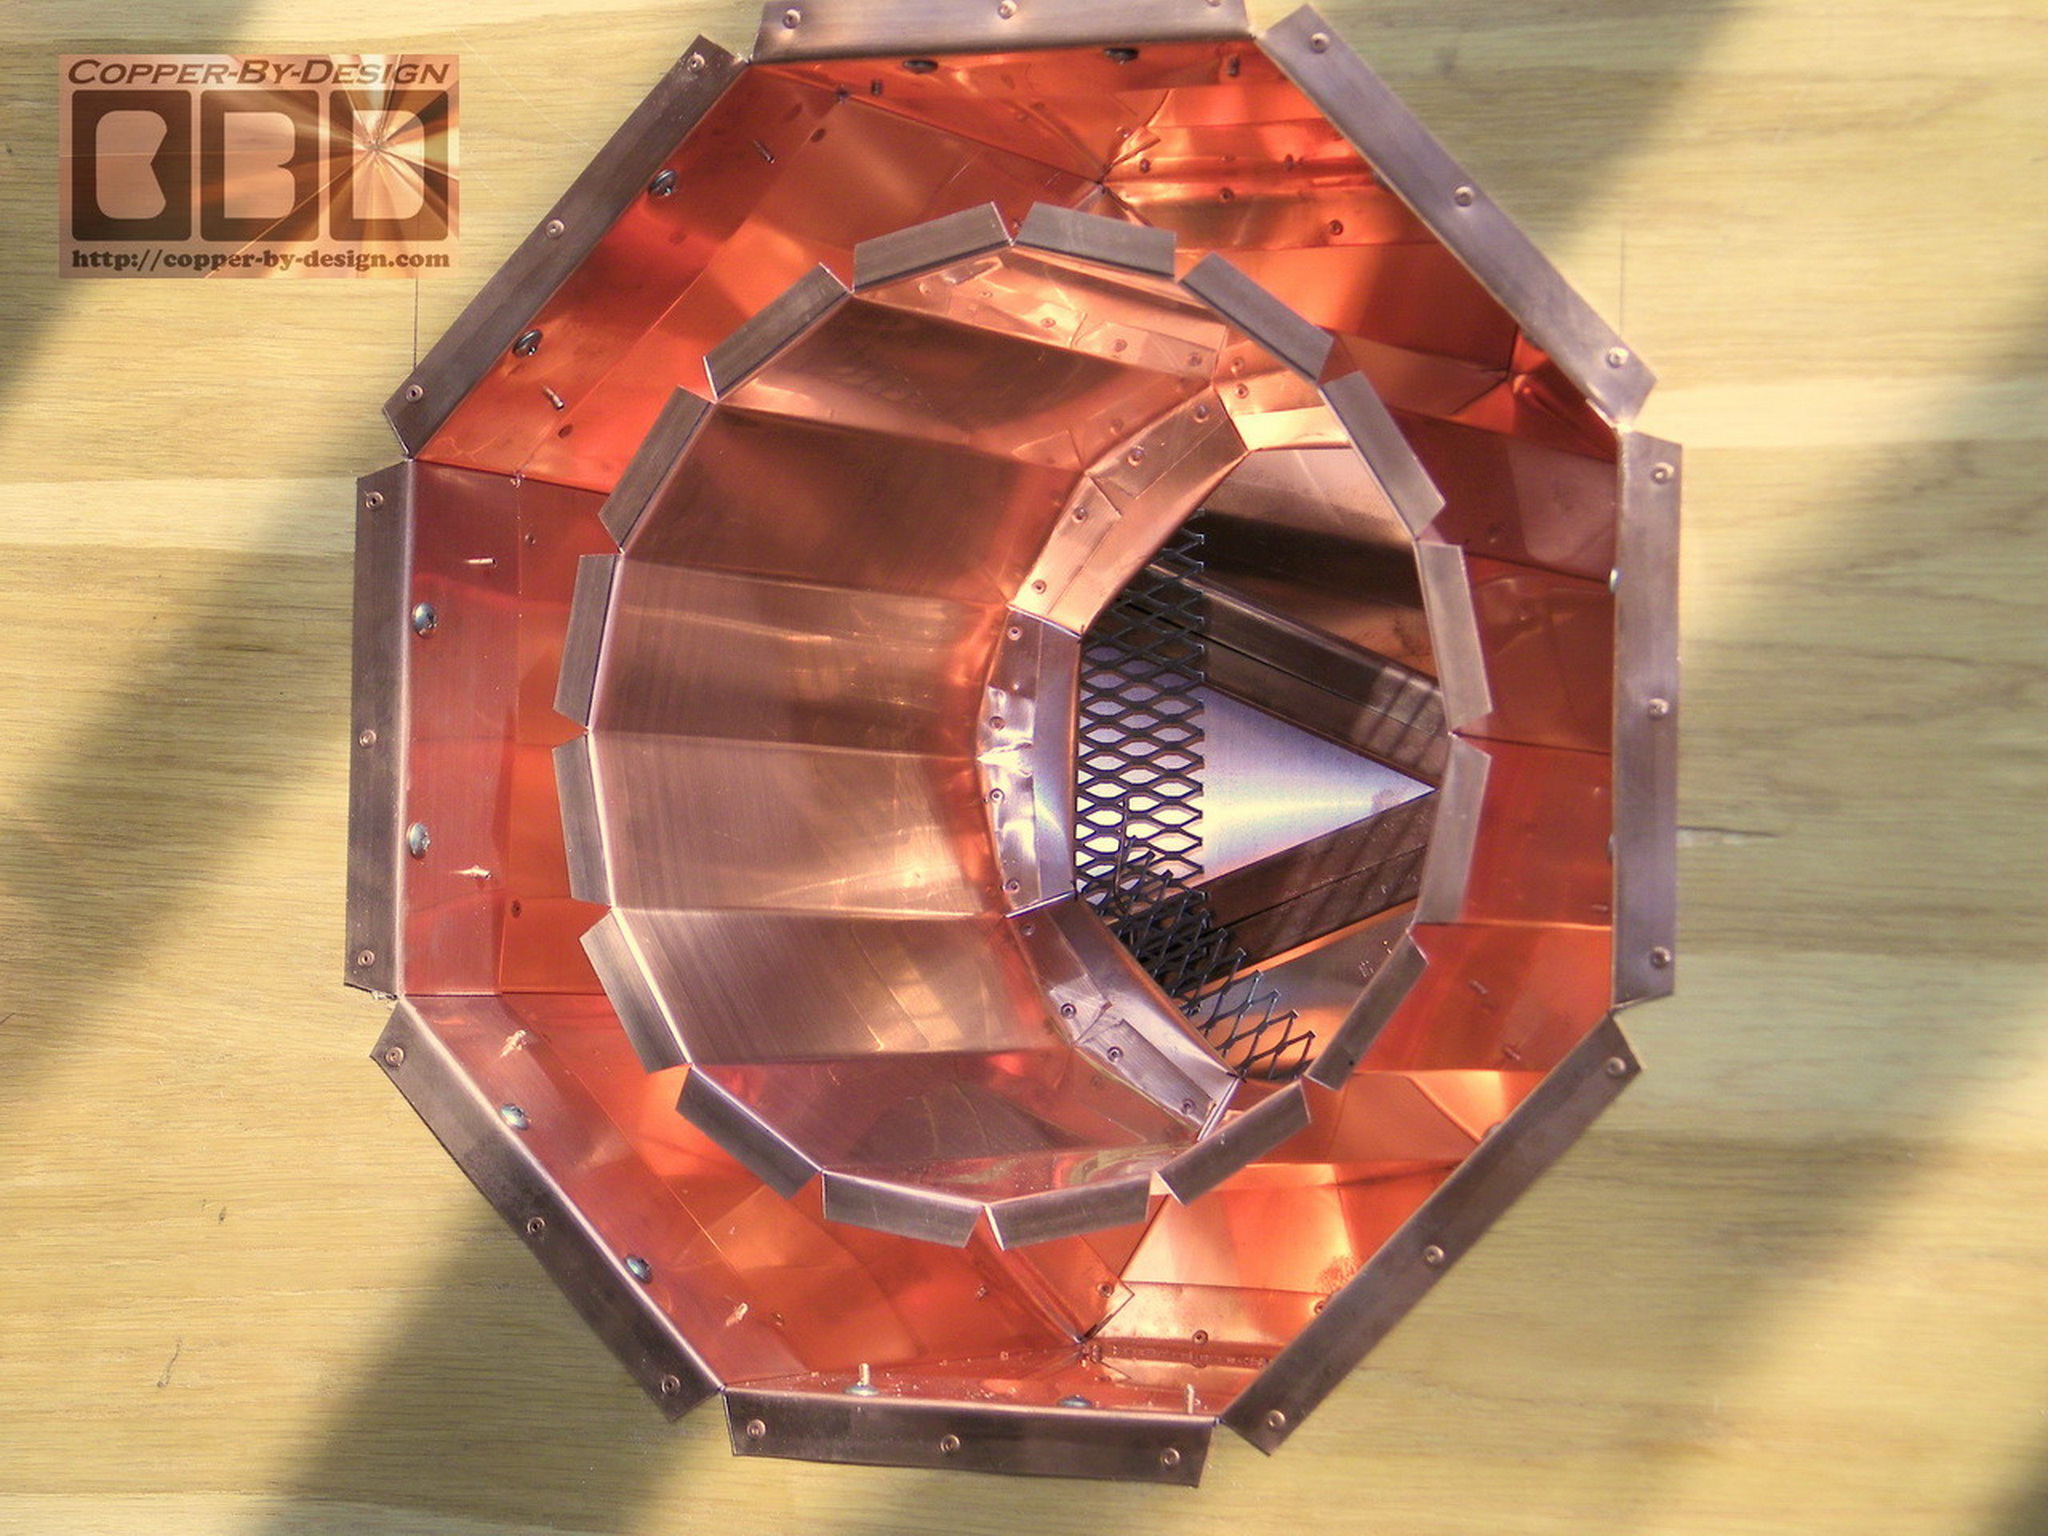
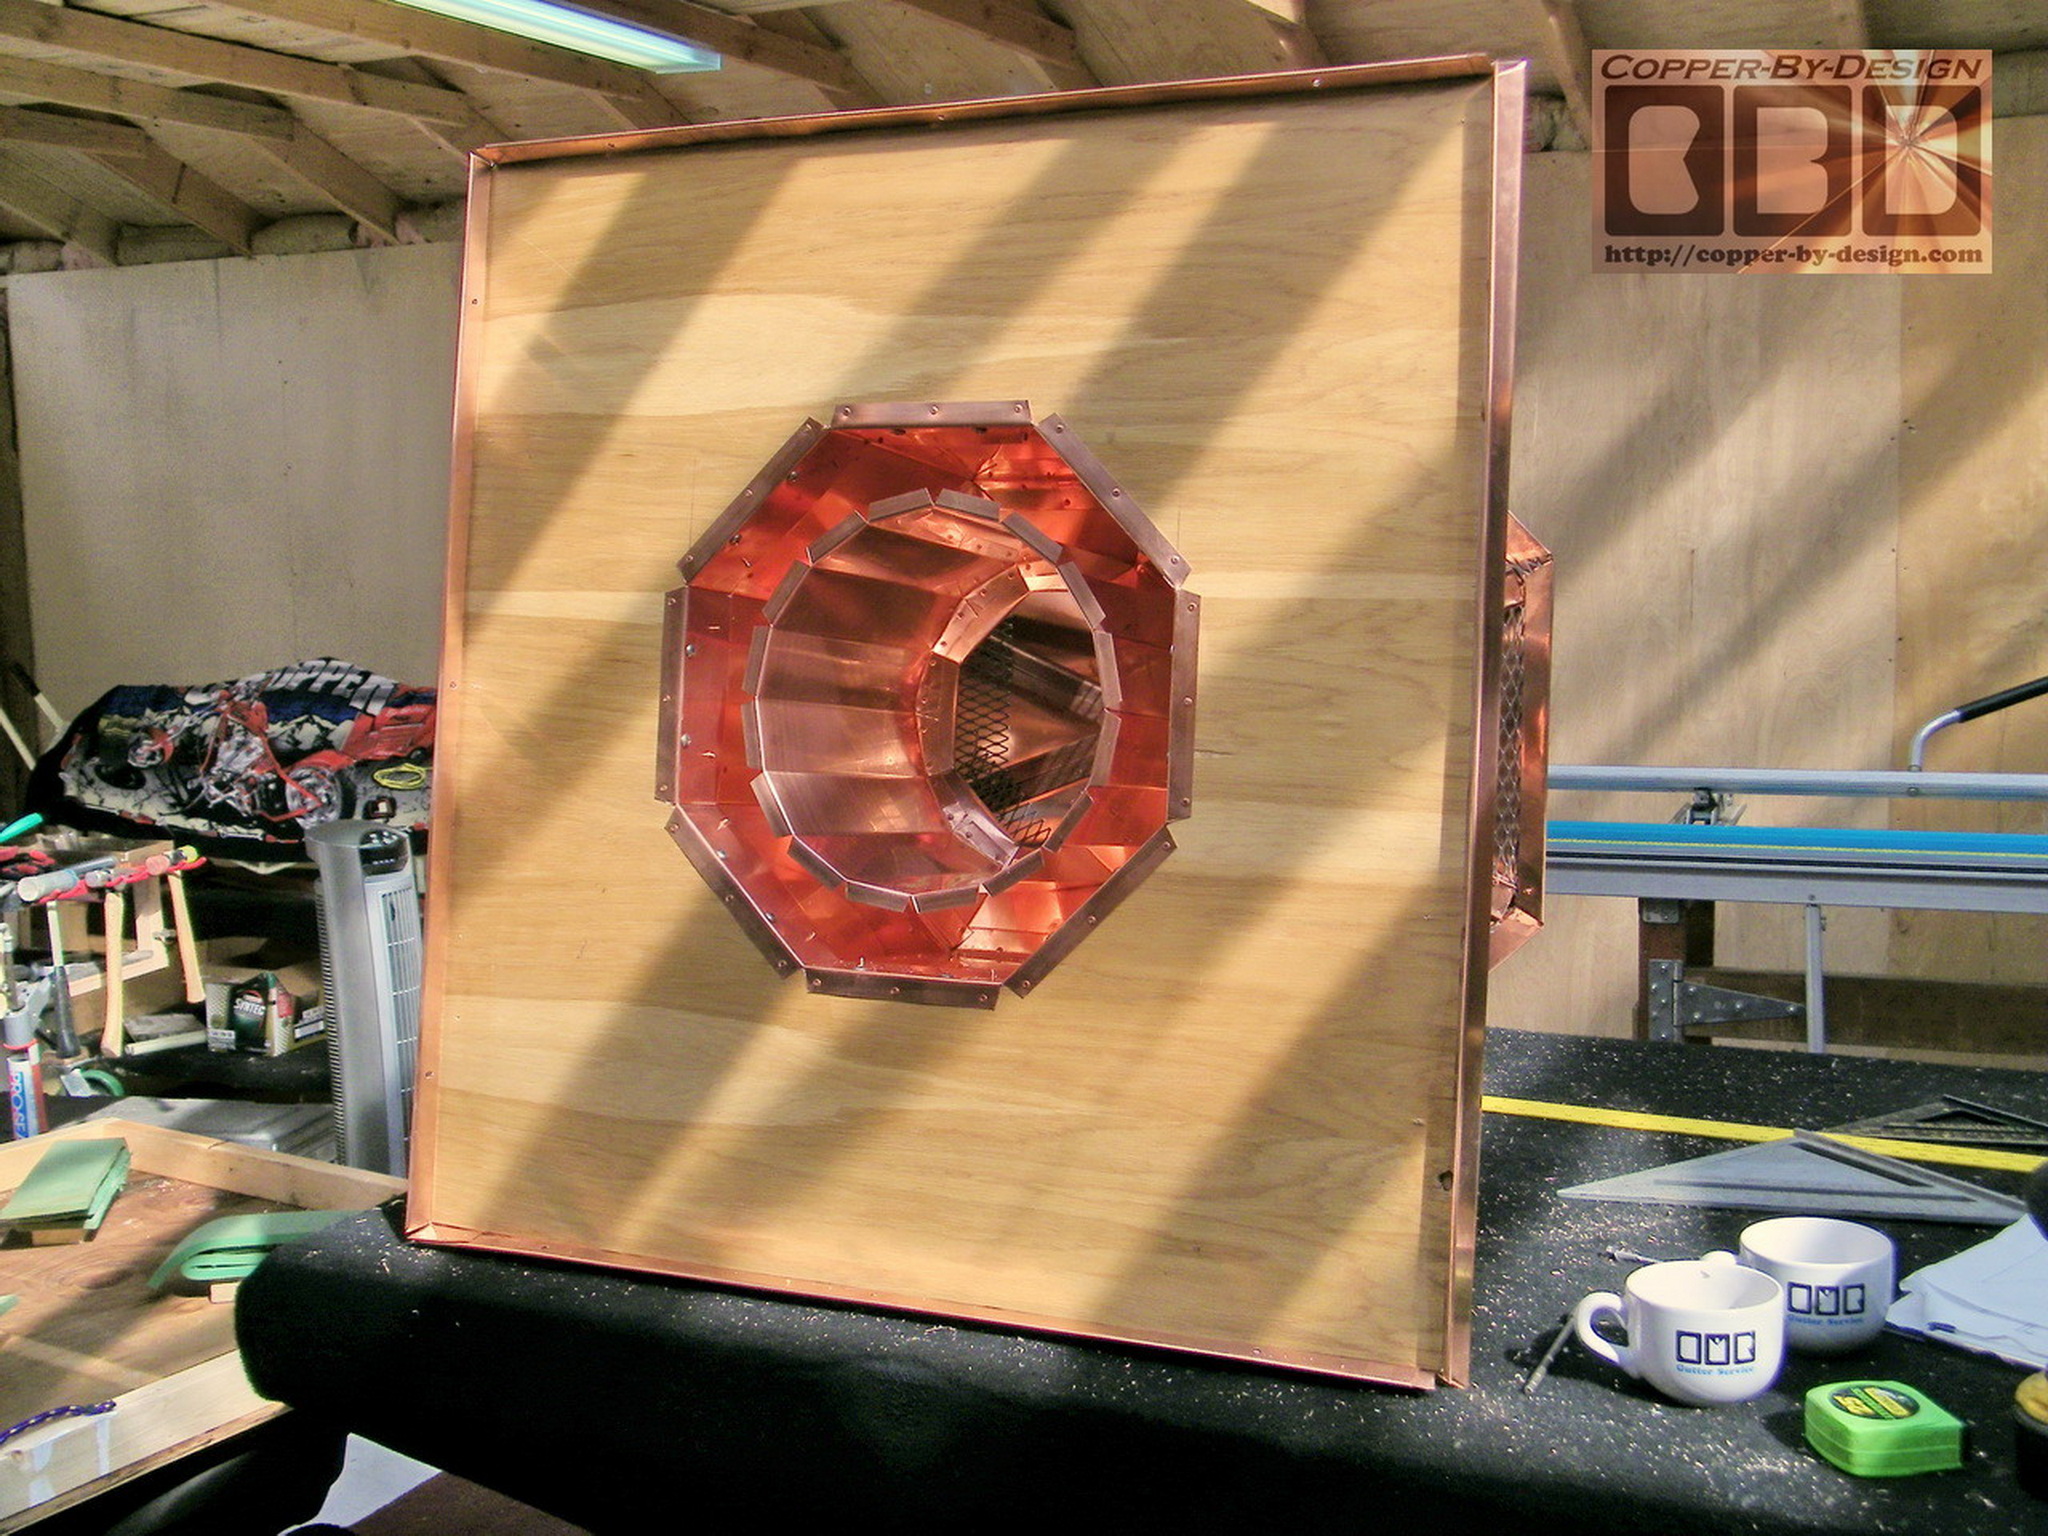
Here is some shots of the main exhaust head being formed. Below left you'll see the tapered rain-shield to go inside under the exhaust head. Below right you see the 18" wide column made to support the exhaust head. I've also installed the 16 gauge stainless steel screen inside deep set 1.25" so they will have a much more visual distinction even after this has tarnished to a dark brown. As usual this was a bit more tricky to build than I had imagined and not something I can charge more for, but I feel it was worth the effort towards the Client's satisfaction.
|
|
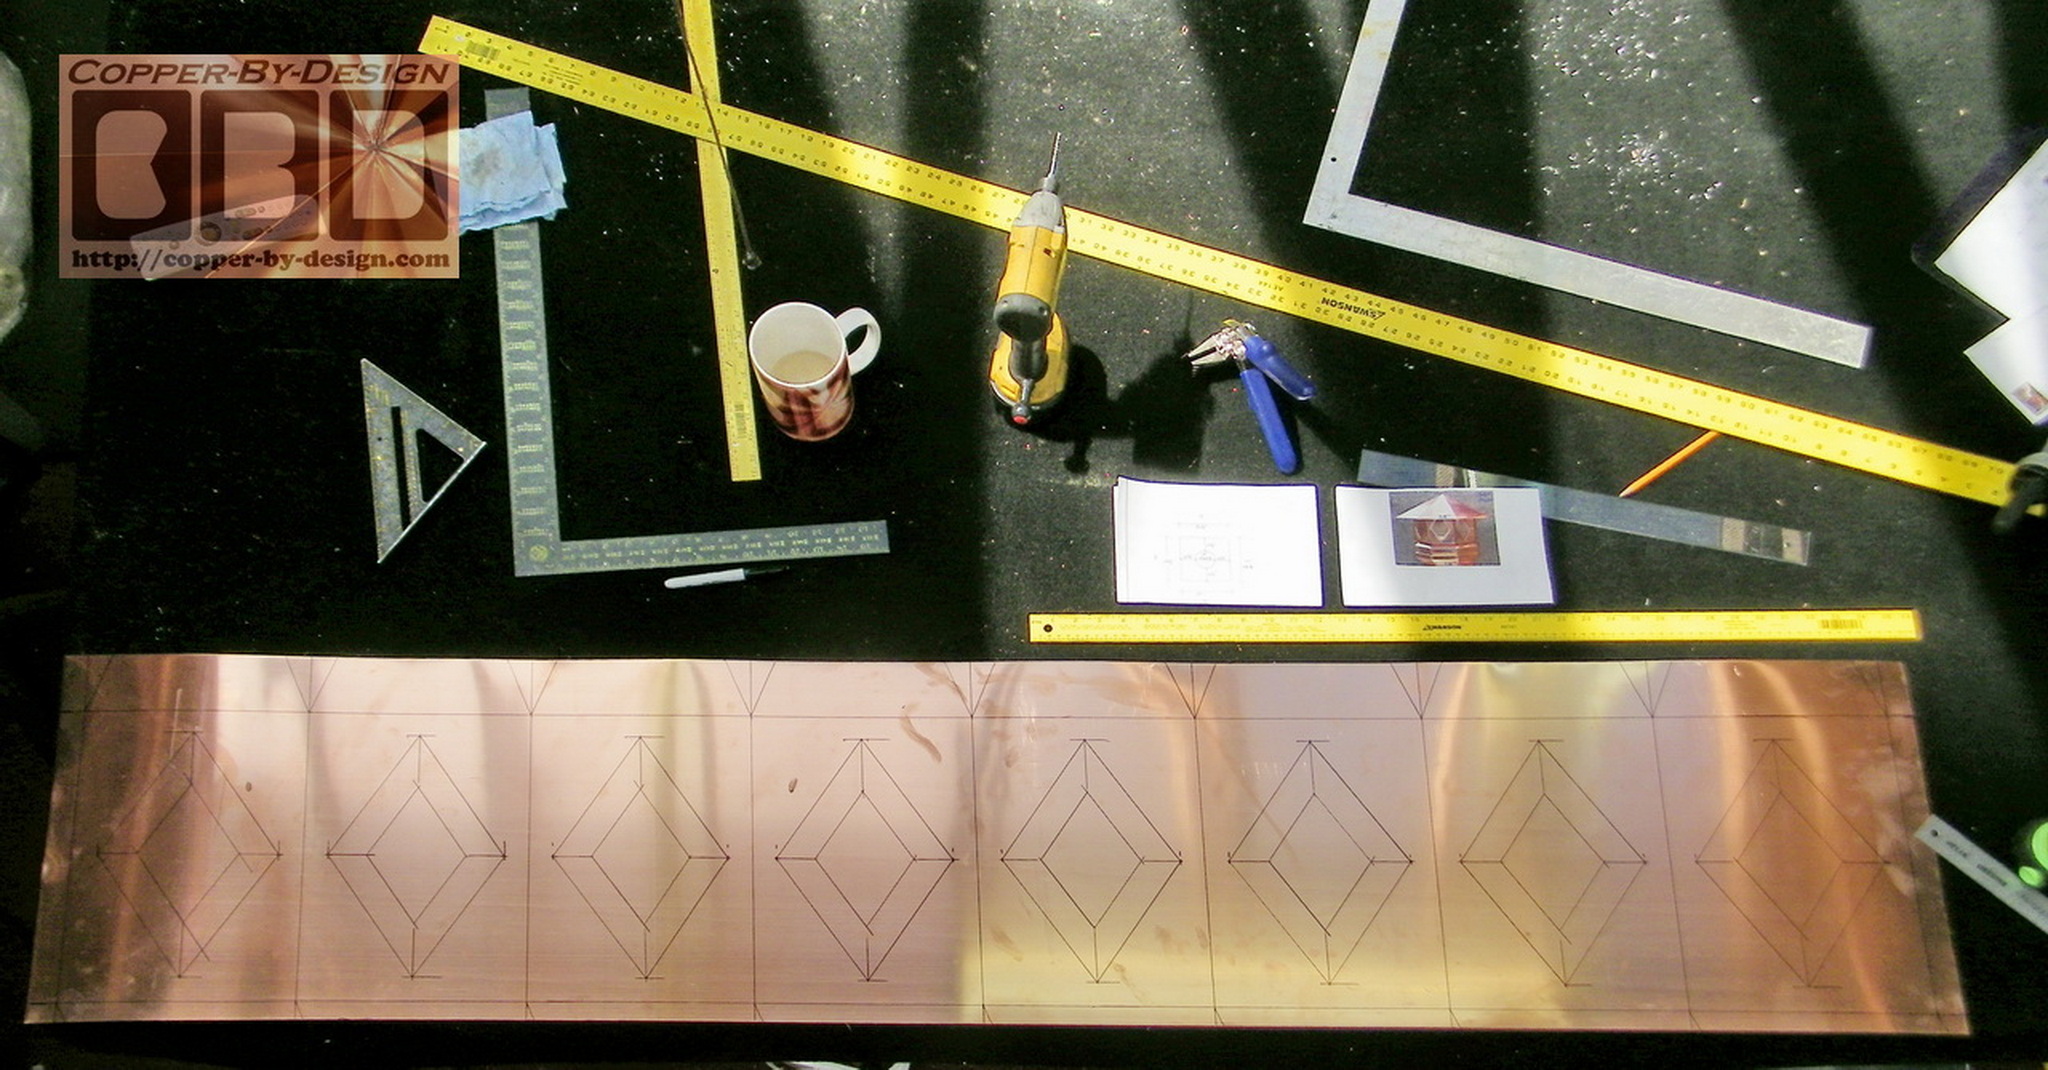
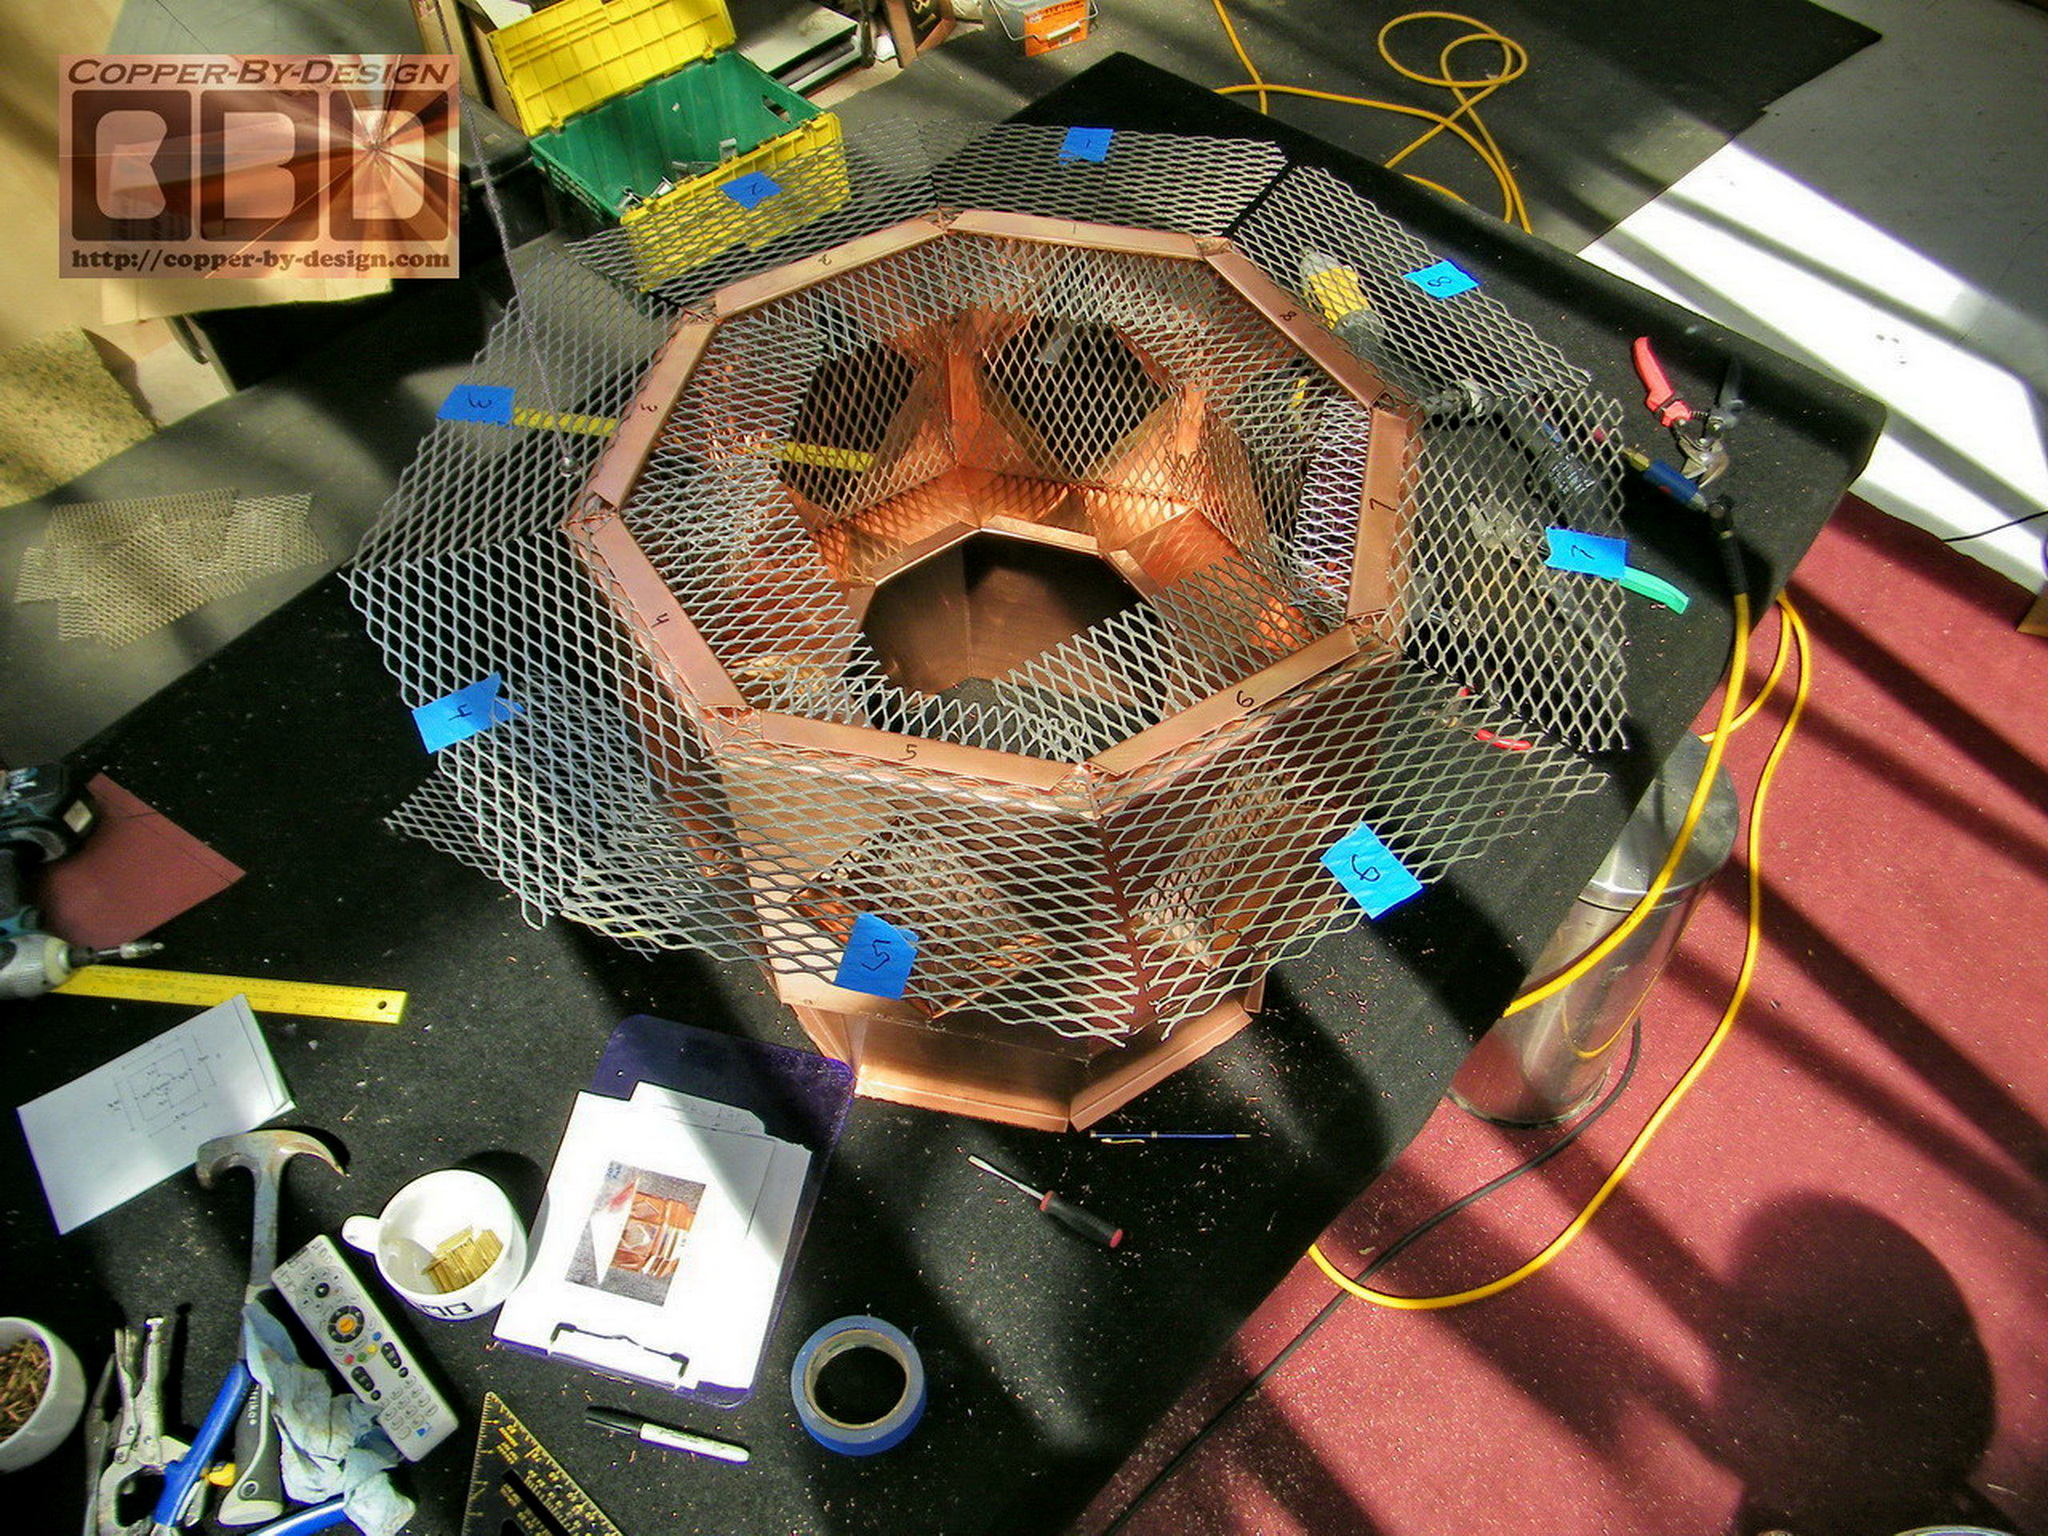
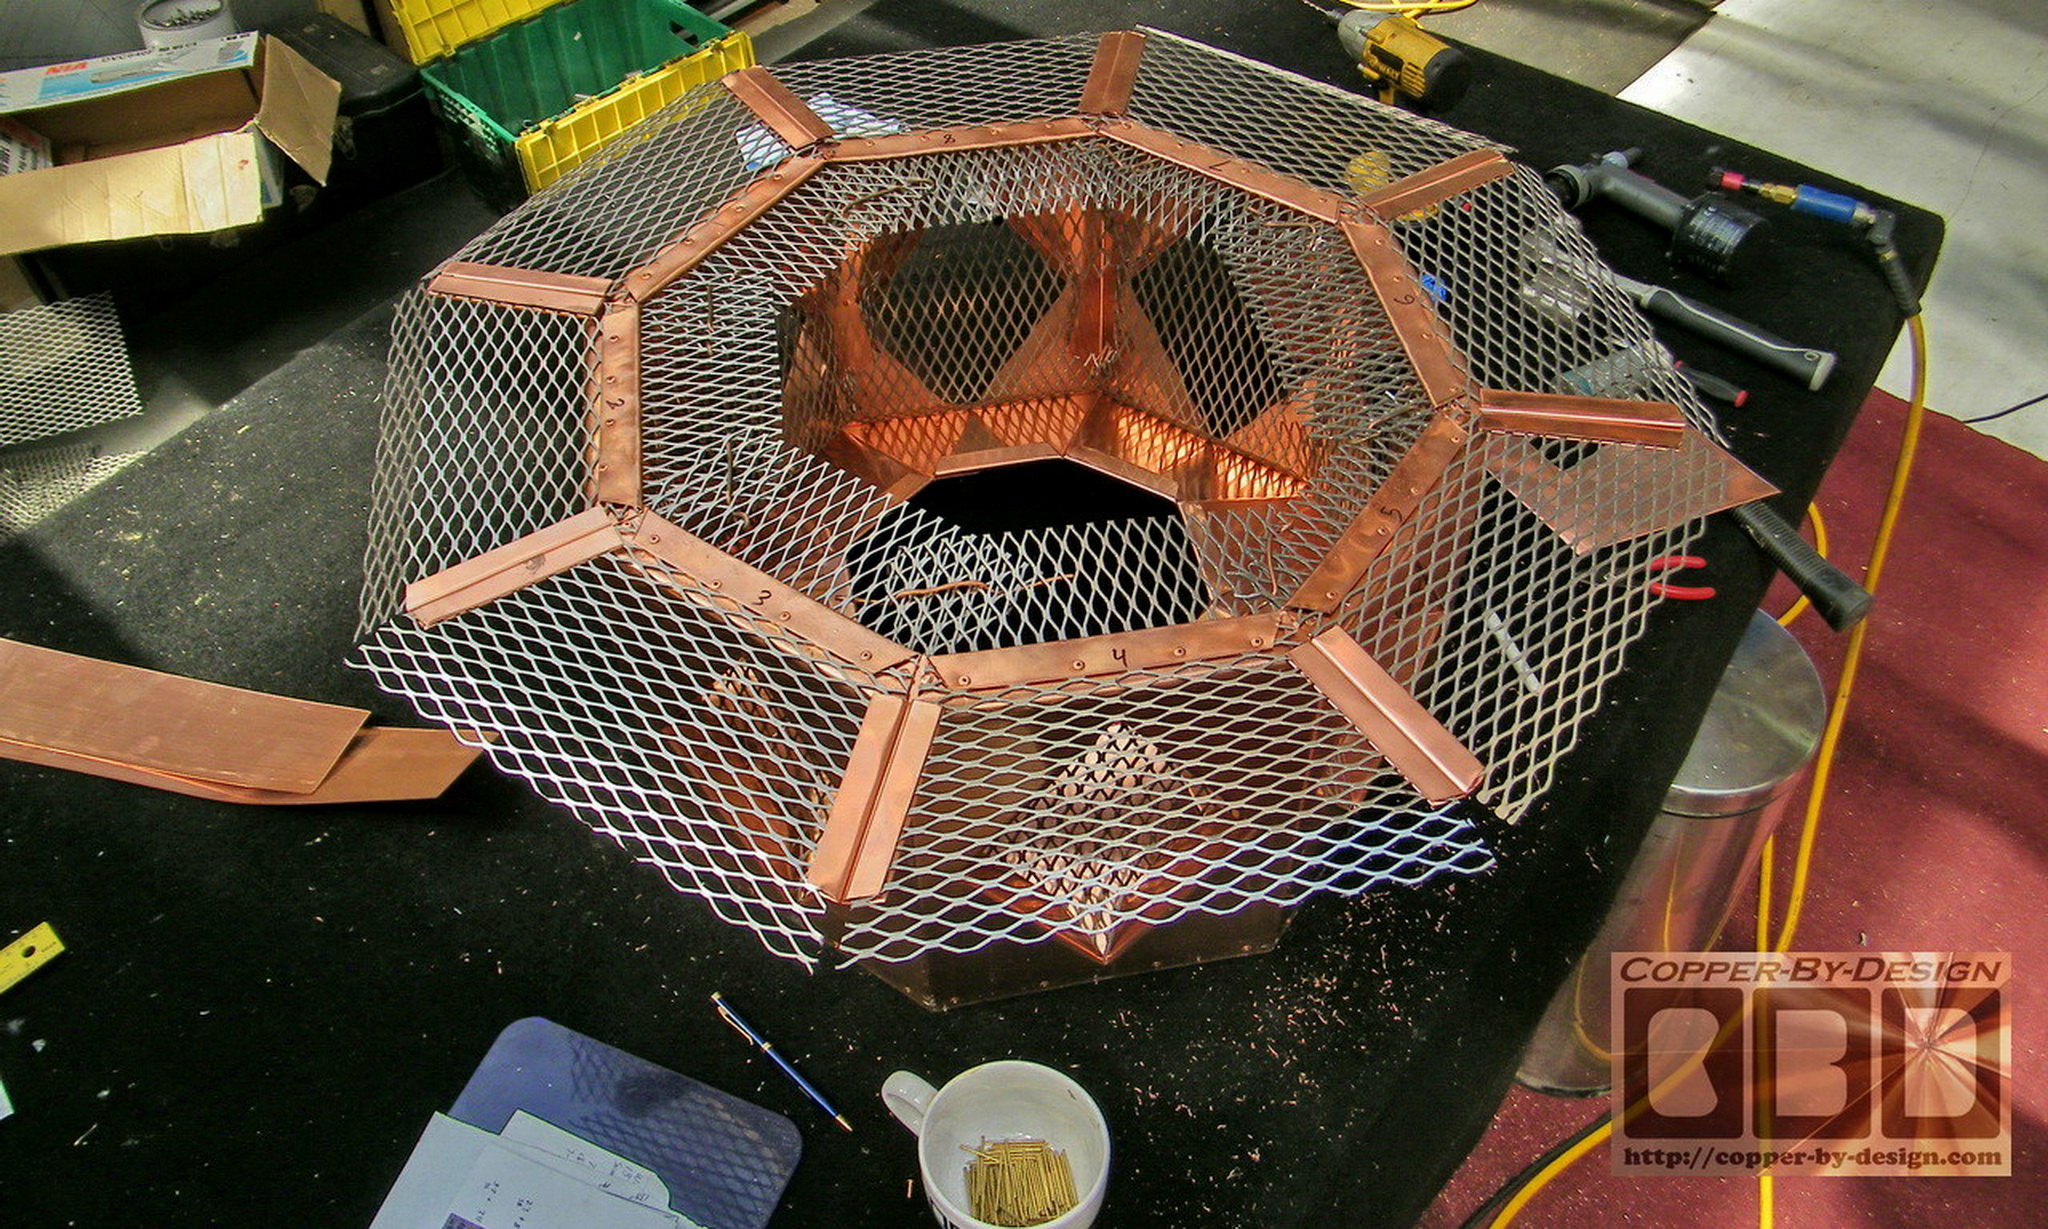
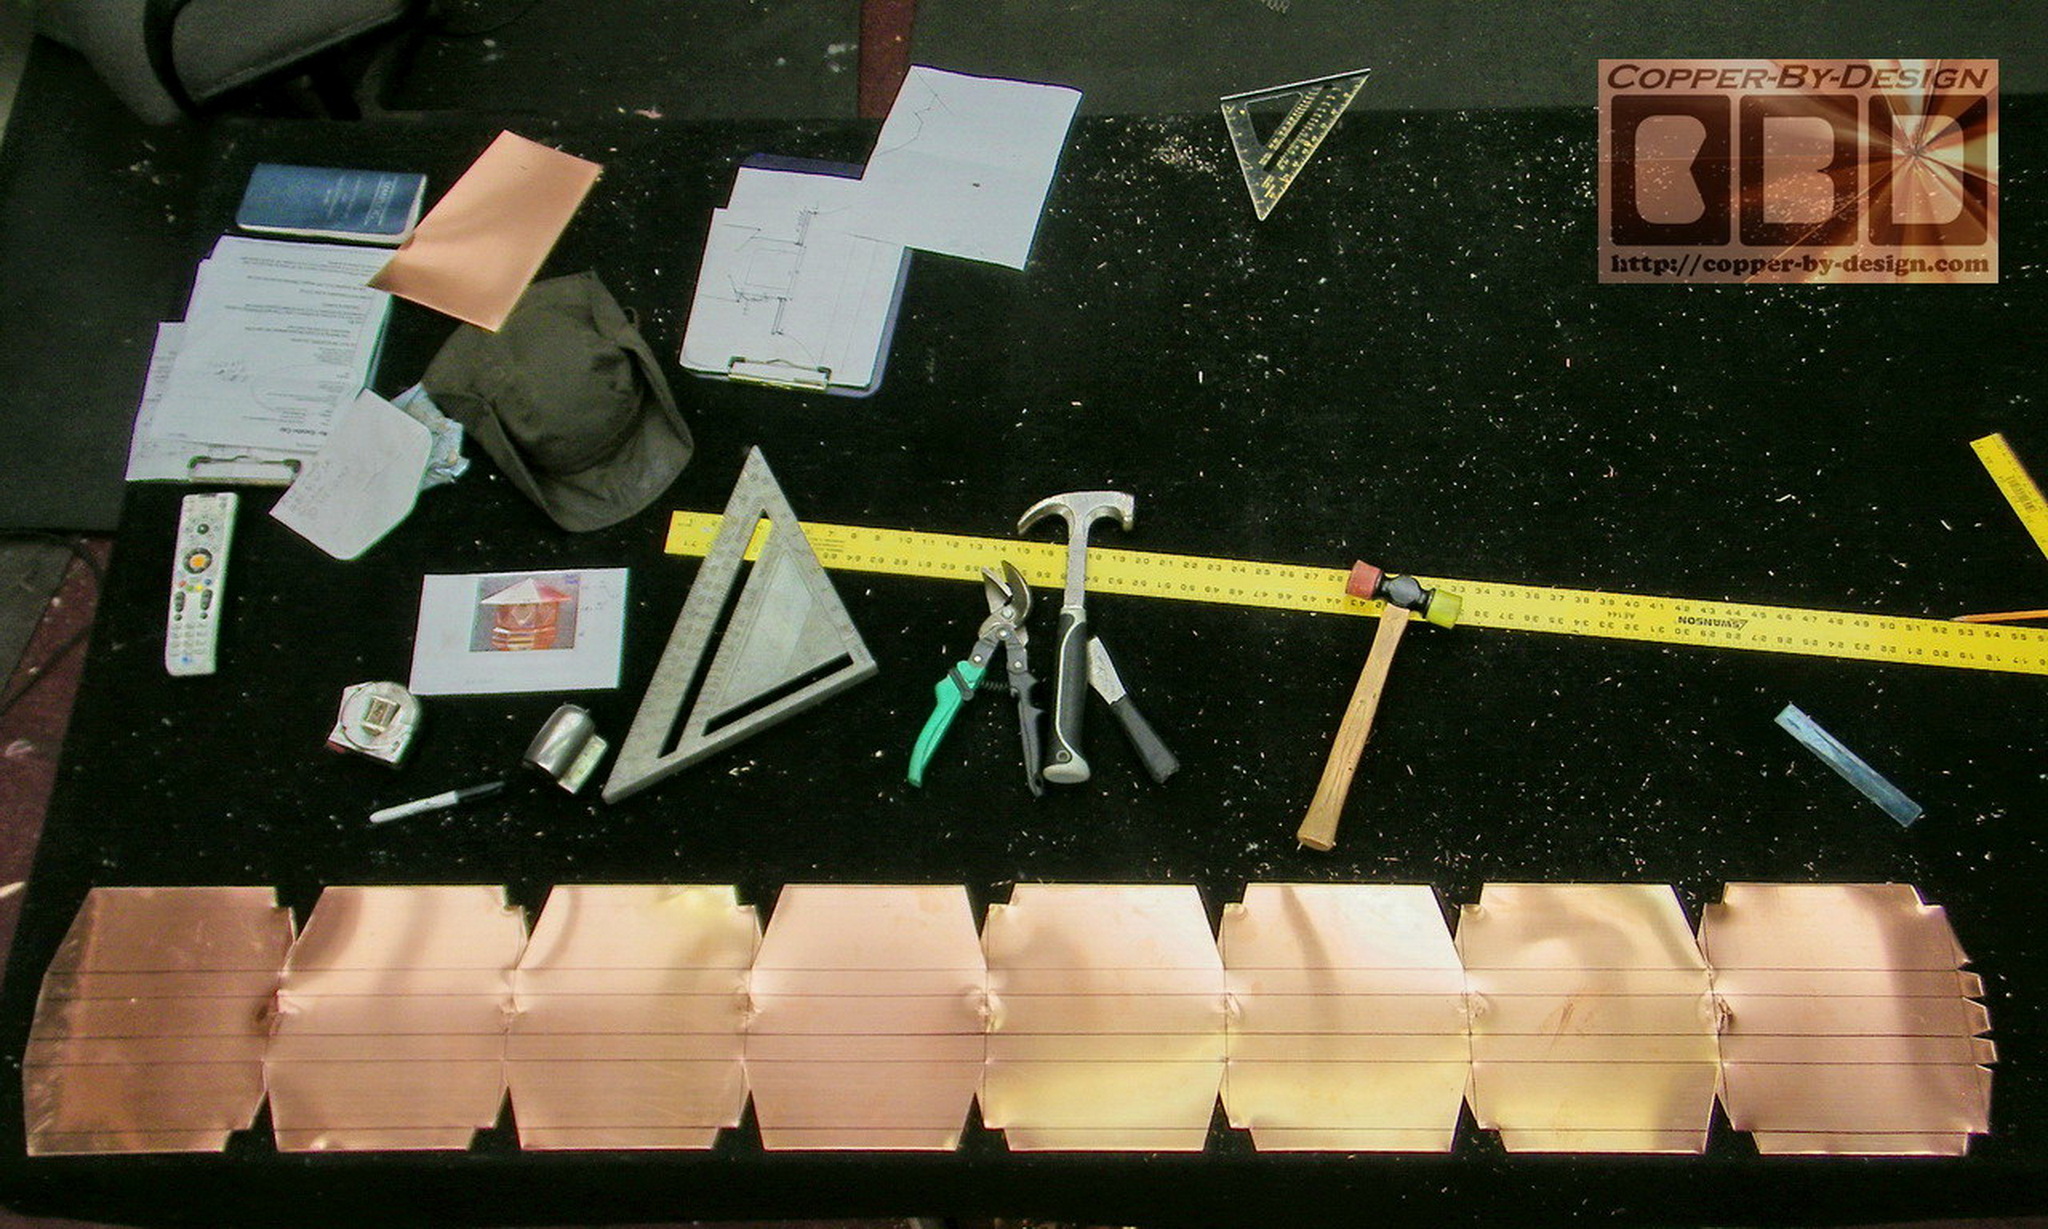
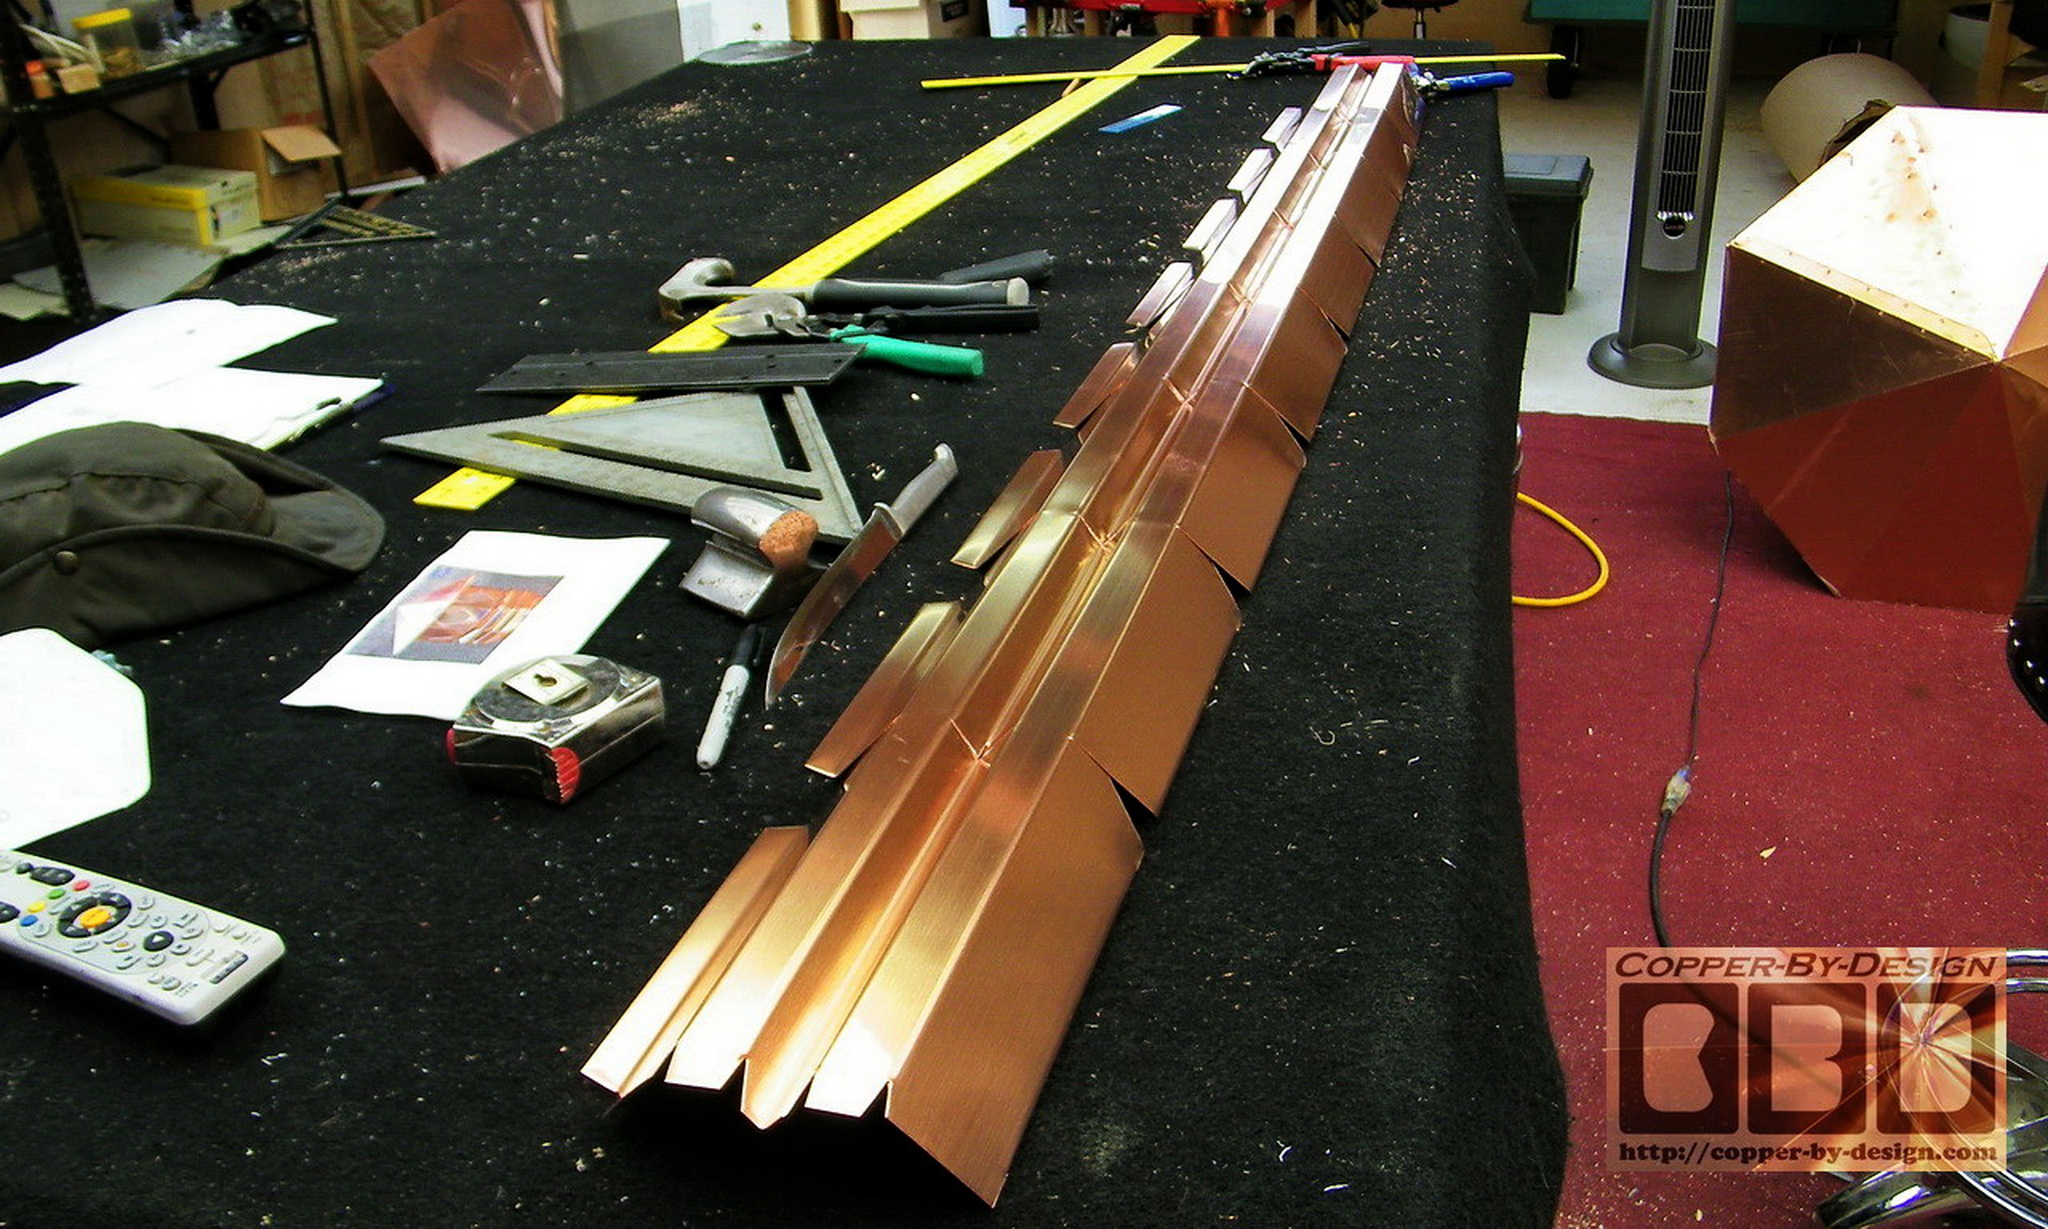
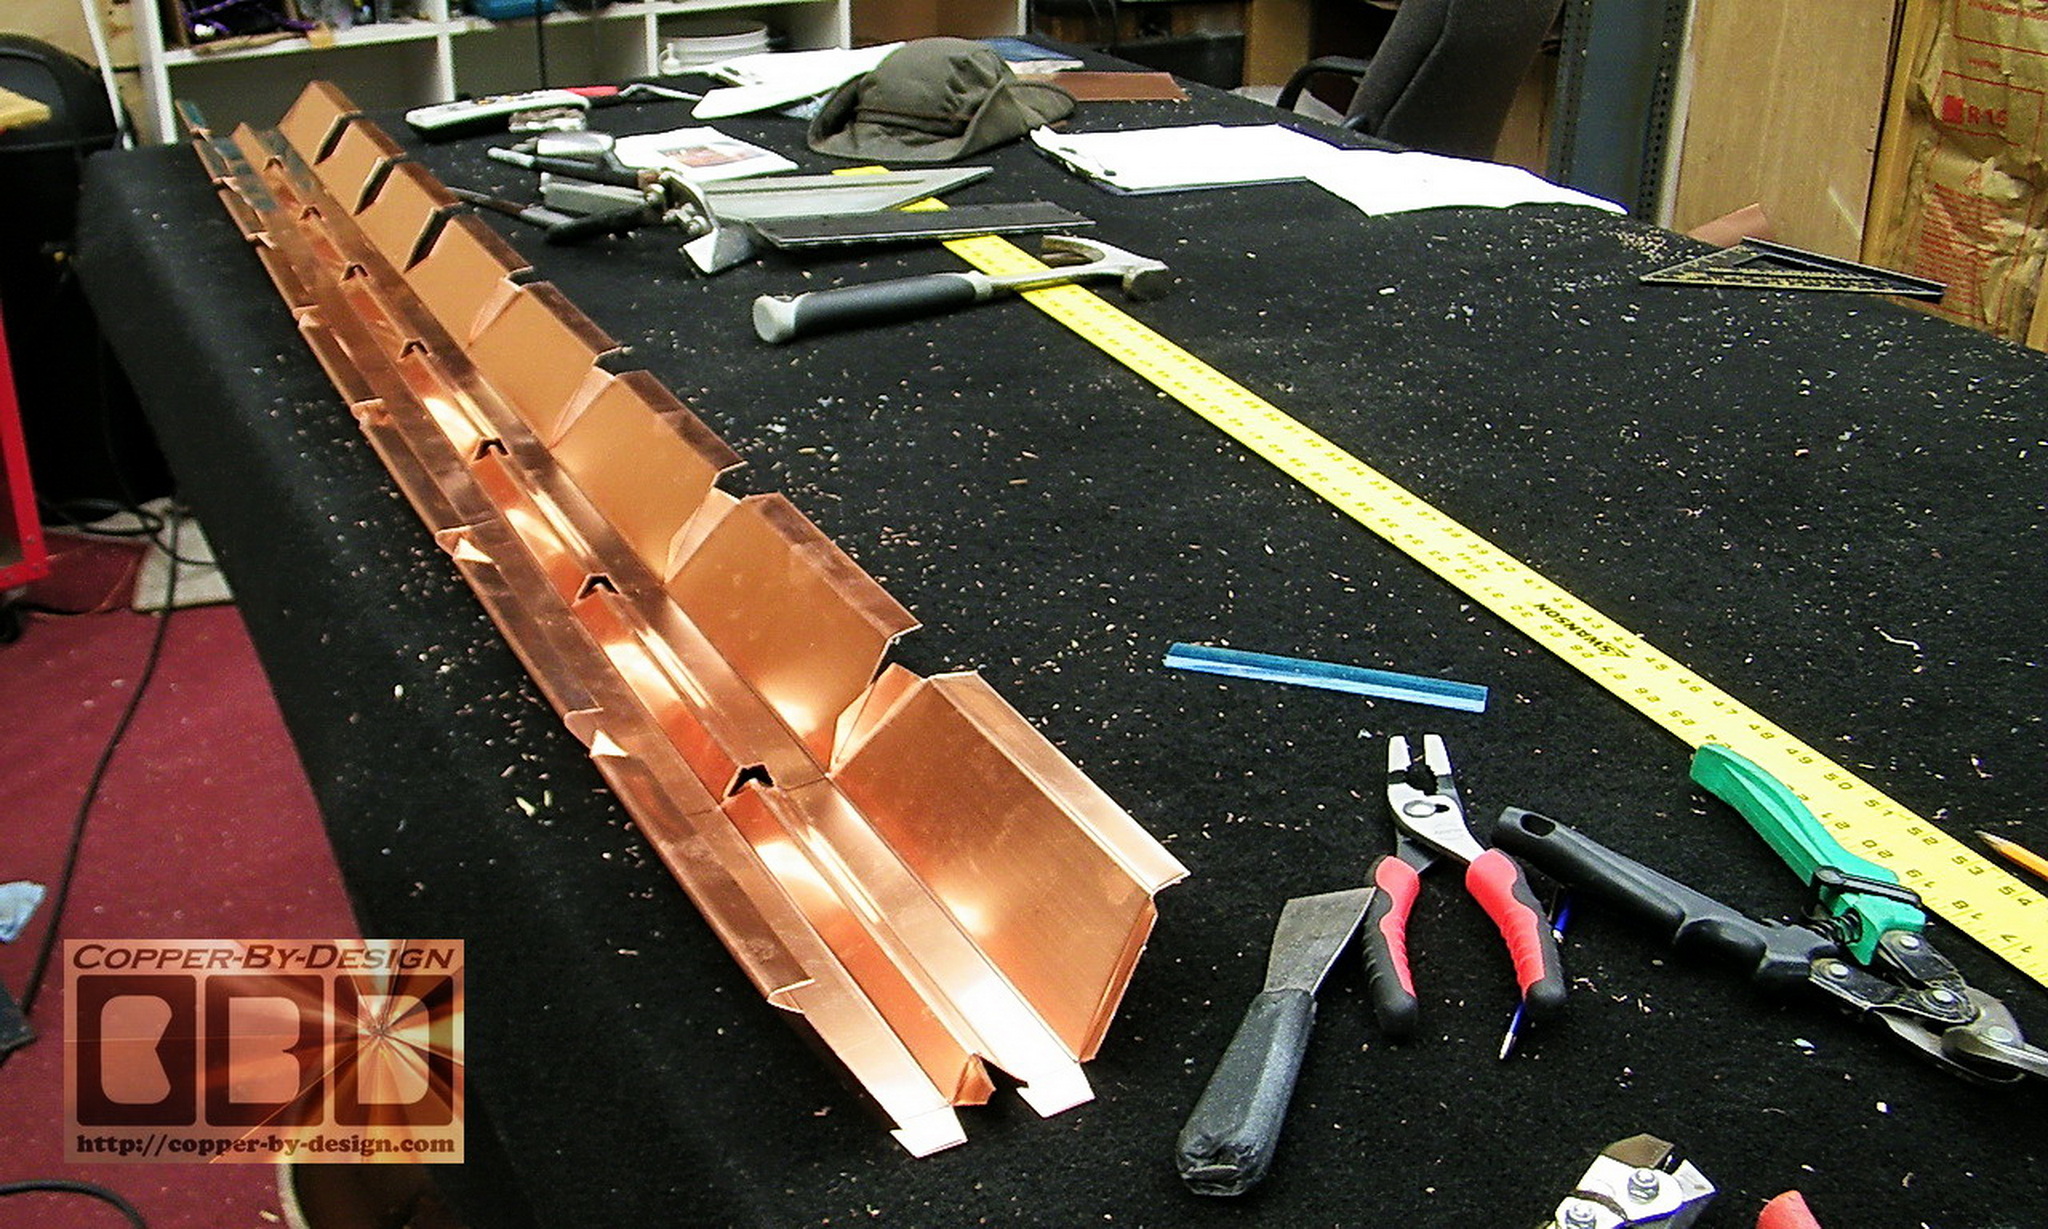
I made the eave vents with the same 16 gauge SS screen in 8 separate pieces so the diamond pattern would be uniform to the shape of the hood to set into a channel along the top edge of the exhaust head. These screens are what I get my hands lacerated on more than any other aspect of my work, so it's important to wrap all the edges of this SS screen in copper sheet metal, so I also made these 'H' channels to go between each piece. This would have been a lot easier and stronger to just have made this in one piece, but it would not have looked as nice.
|
|
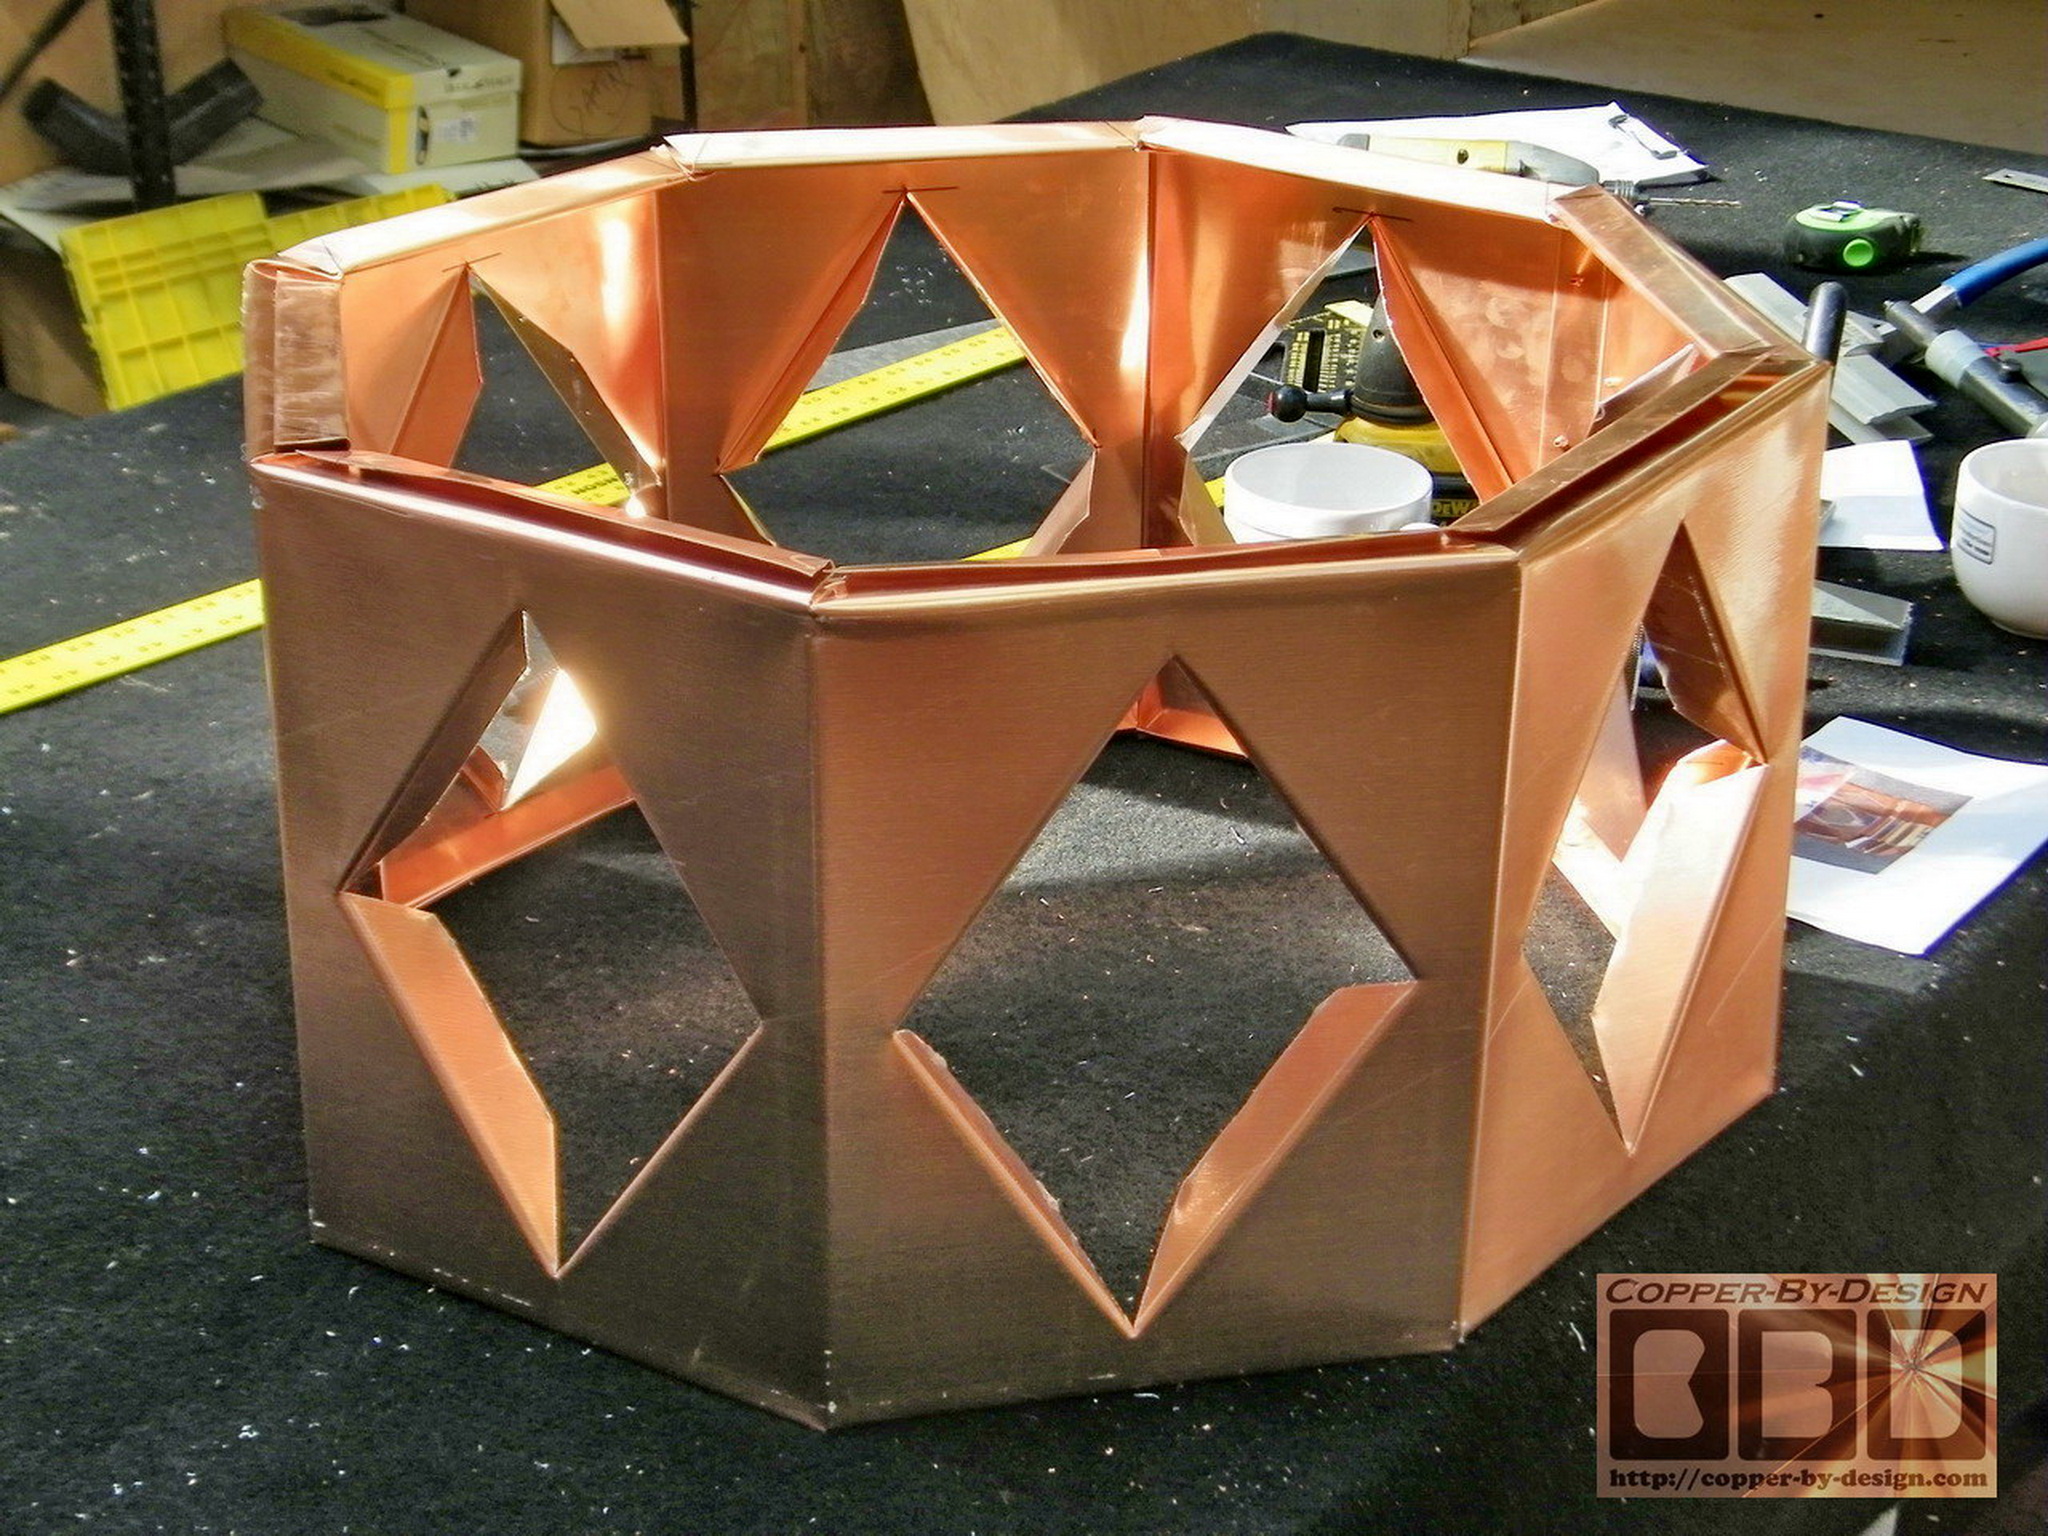
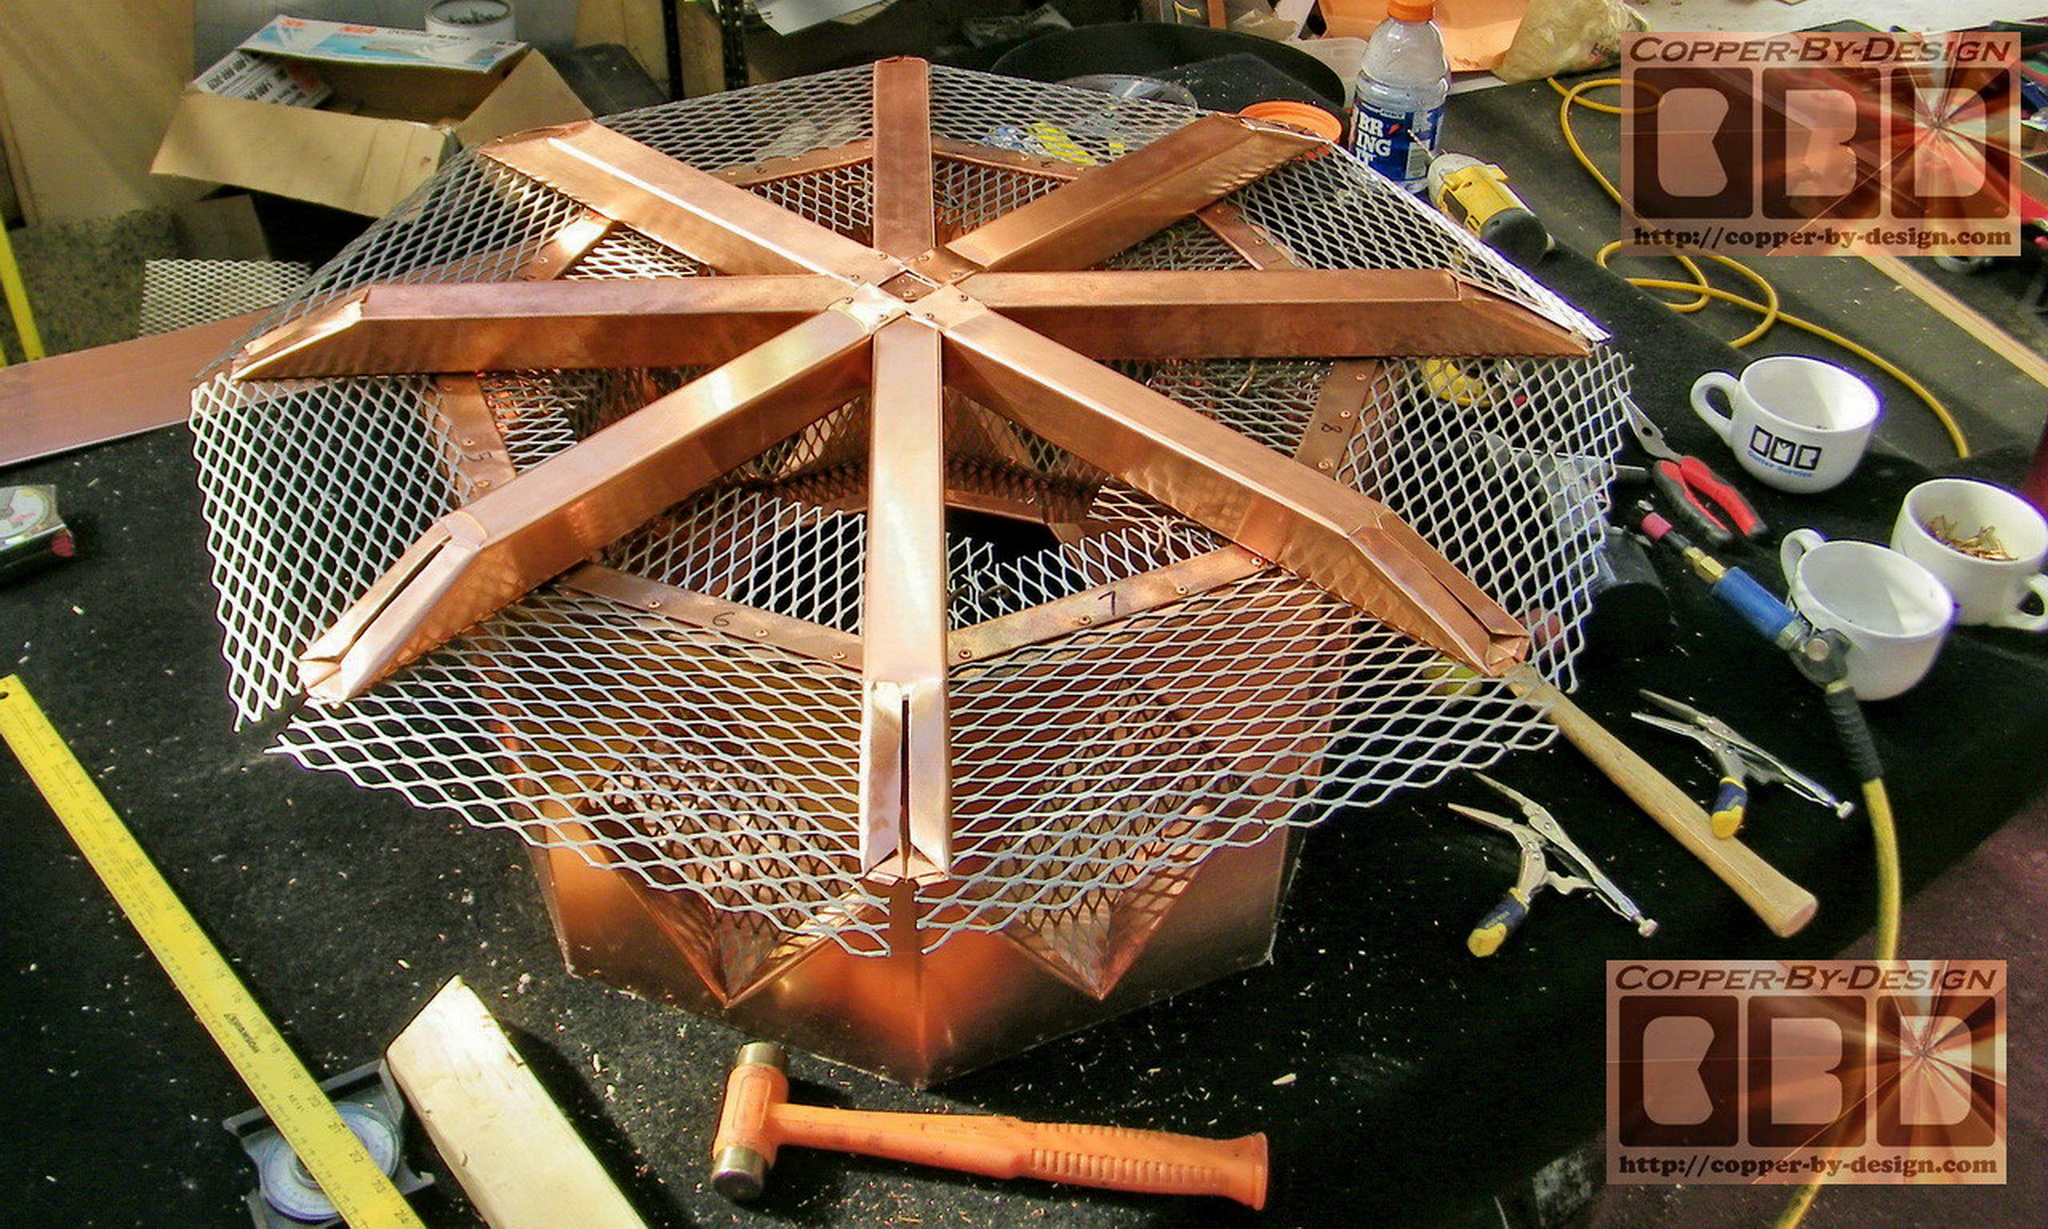
It took me a few days just to build these roof support frames and attach them securely. I designed this with the long side screens to lay horizontally, as seen in the lower right image.
As all these pieces get fastened together it gradually adds more and more strength to this structure.
|
|
Then the roof skin gets made and goes over these frames and the outer edges get folded over the edges of the SS screens.
|
|
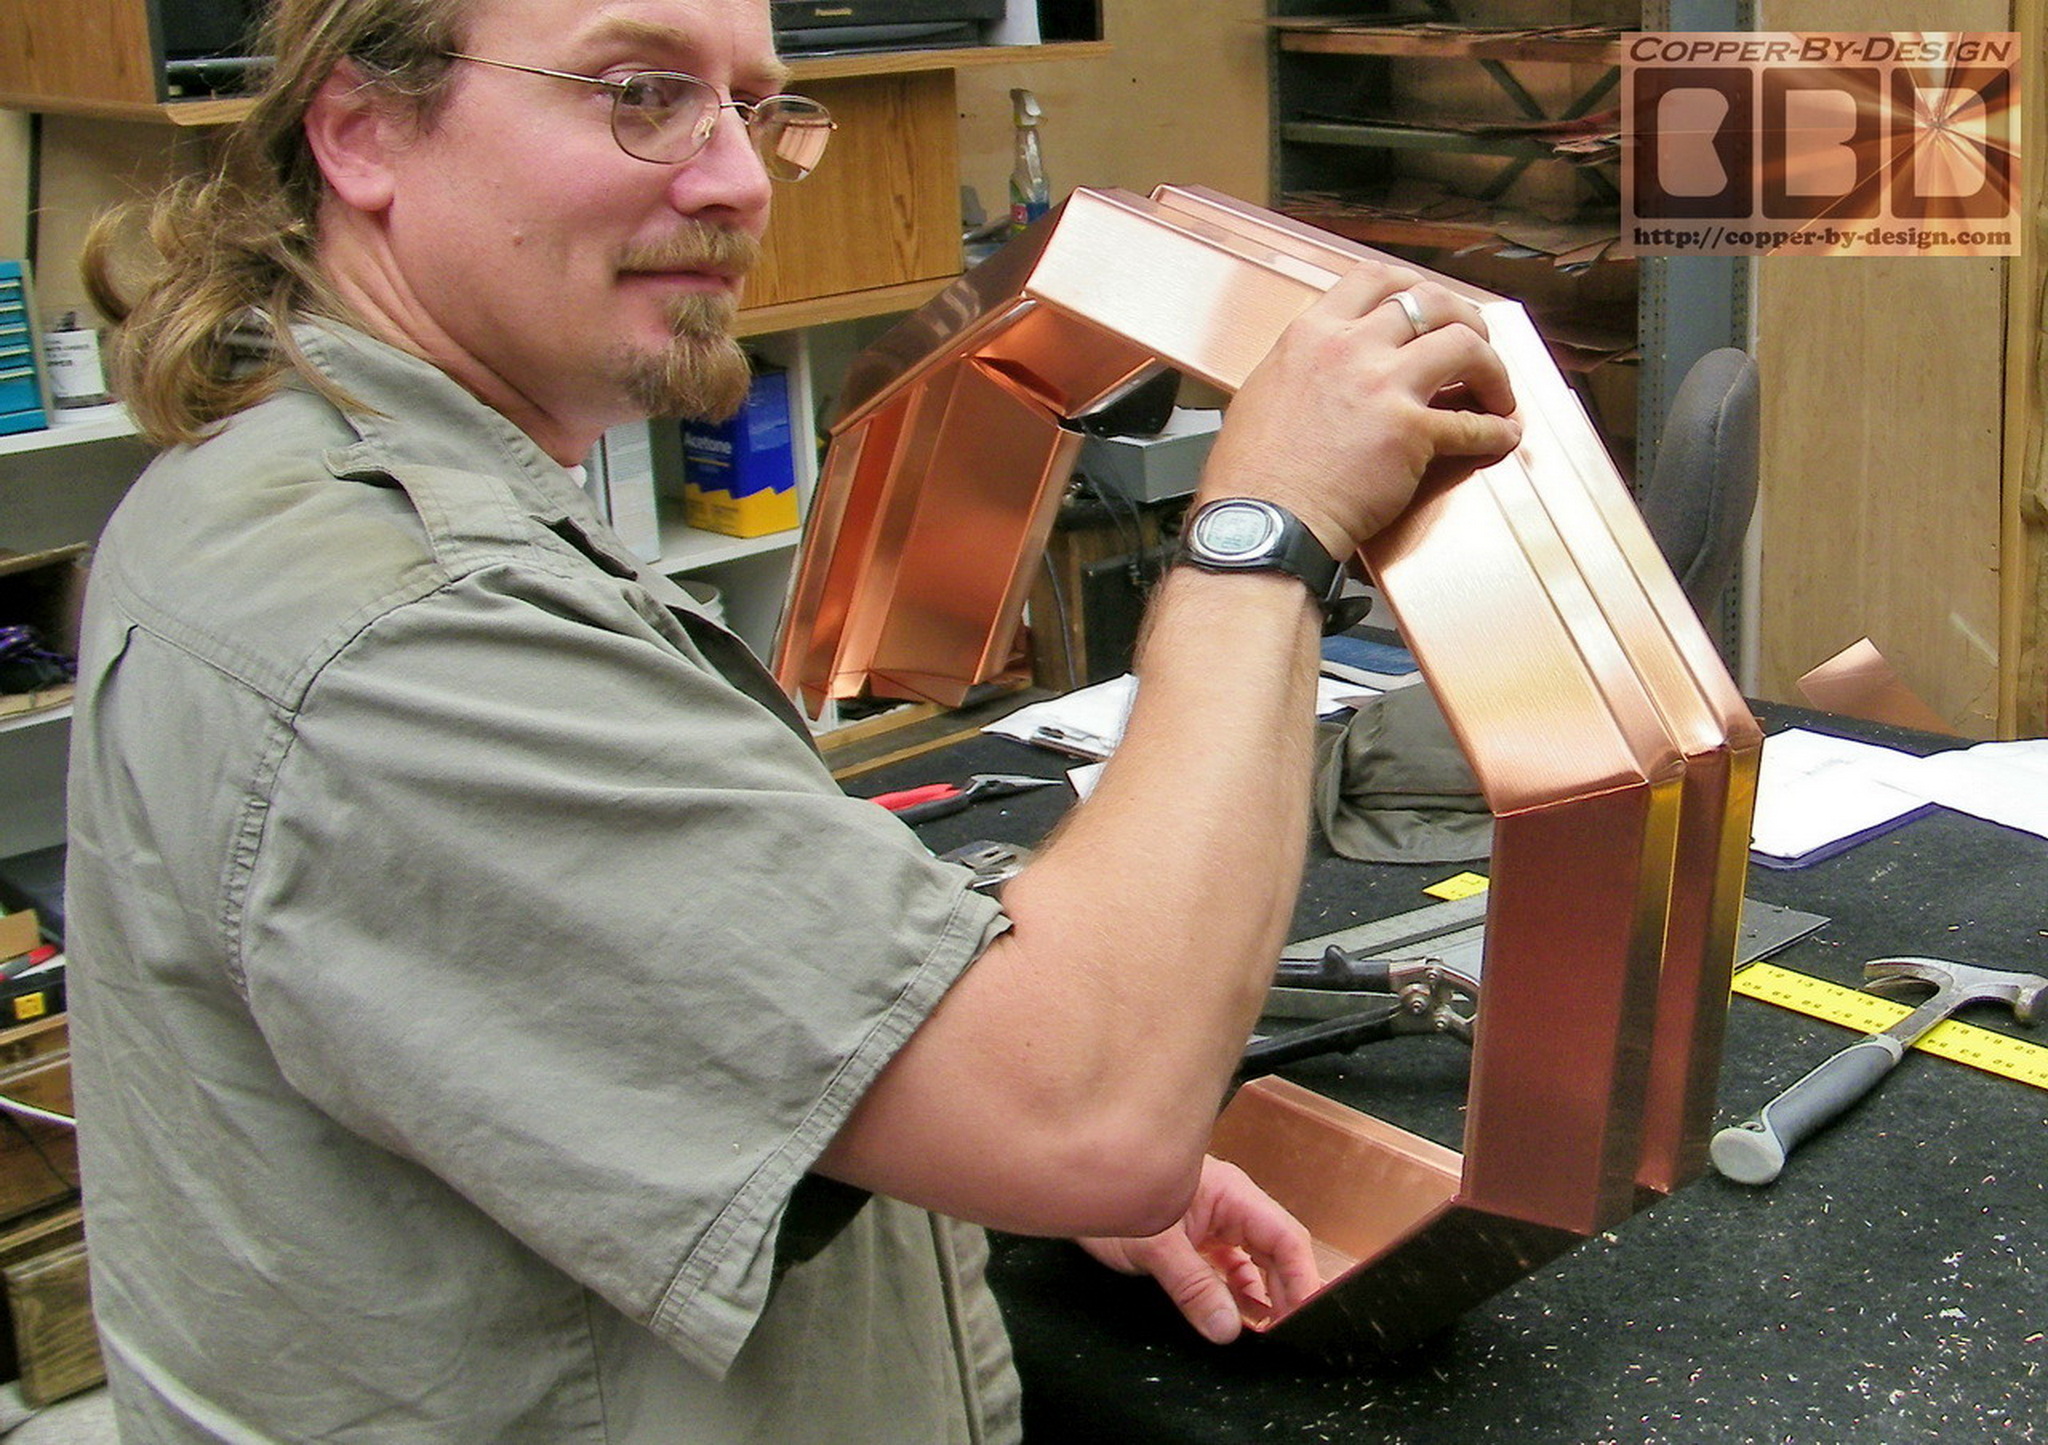
Here is the decorative copper double band being formed in one single sheet of copper and rolled together once it is cut and bent into shape.
|
|
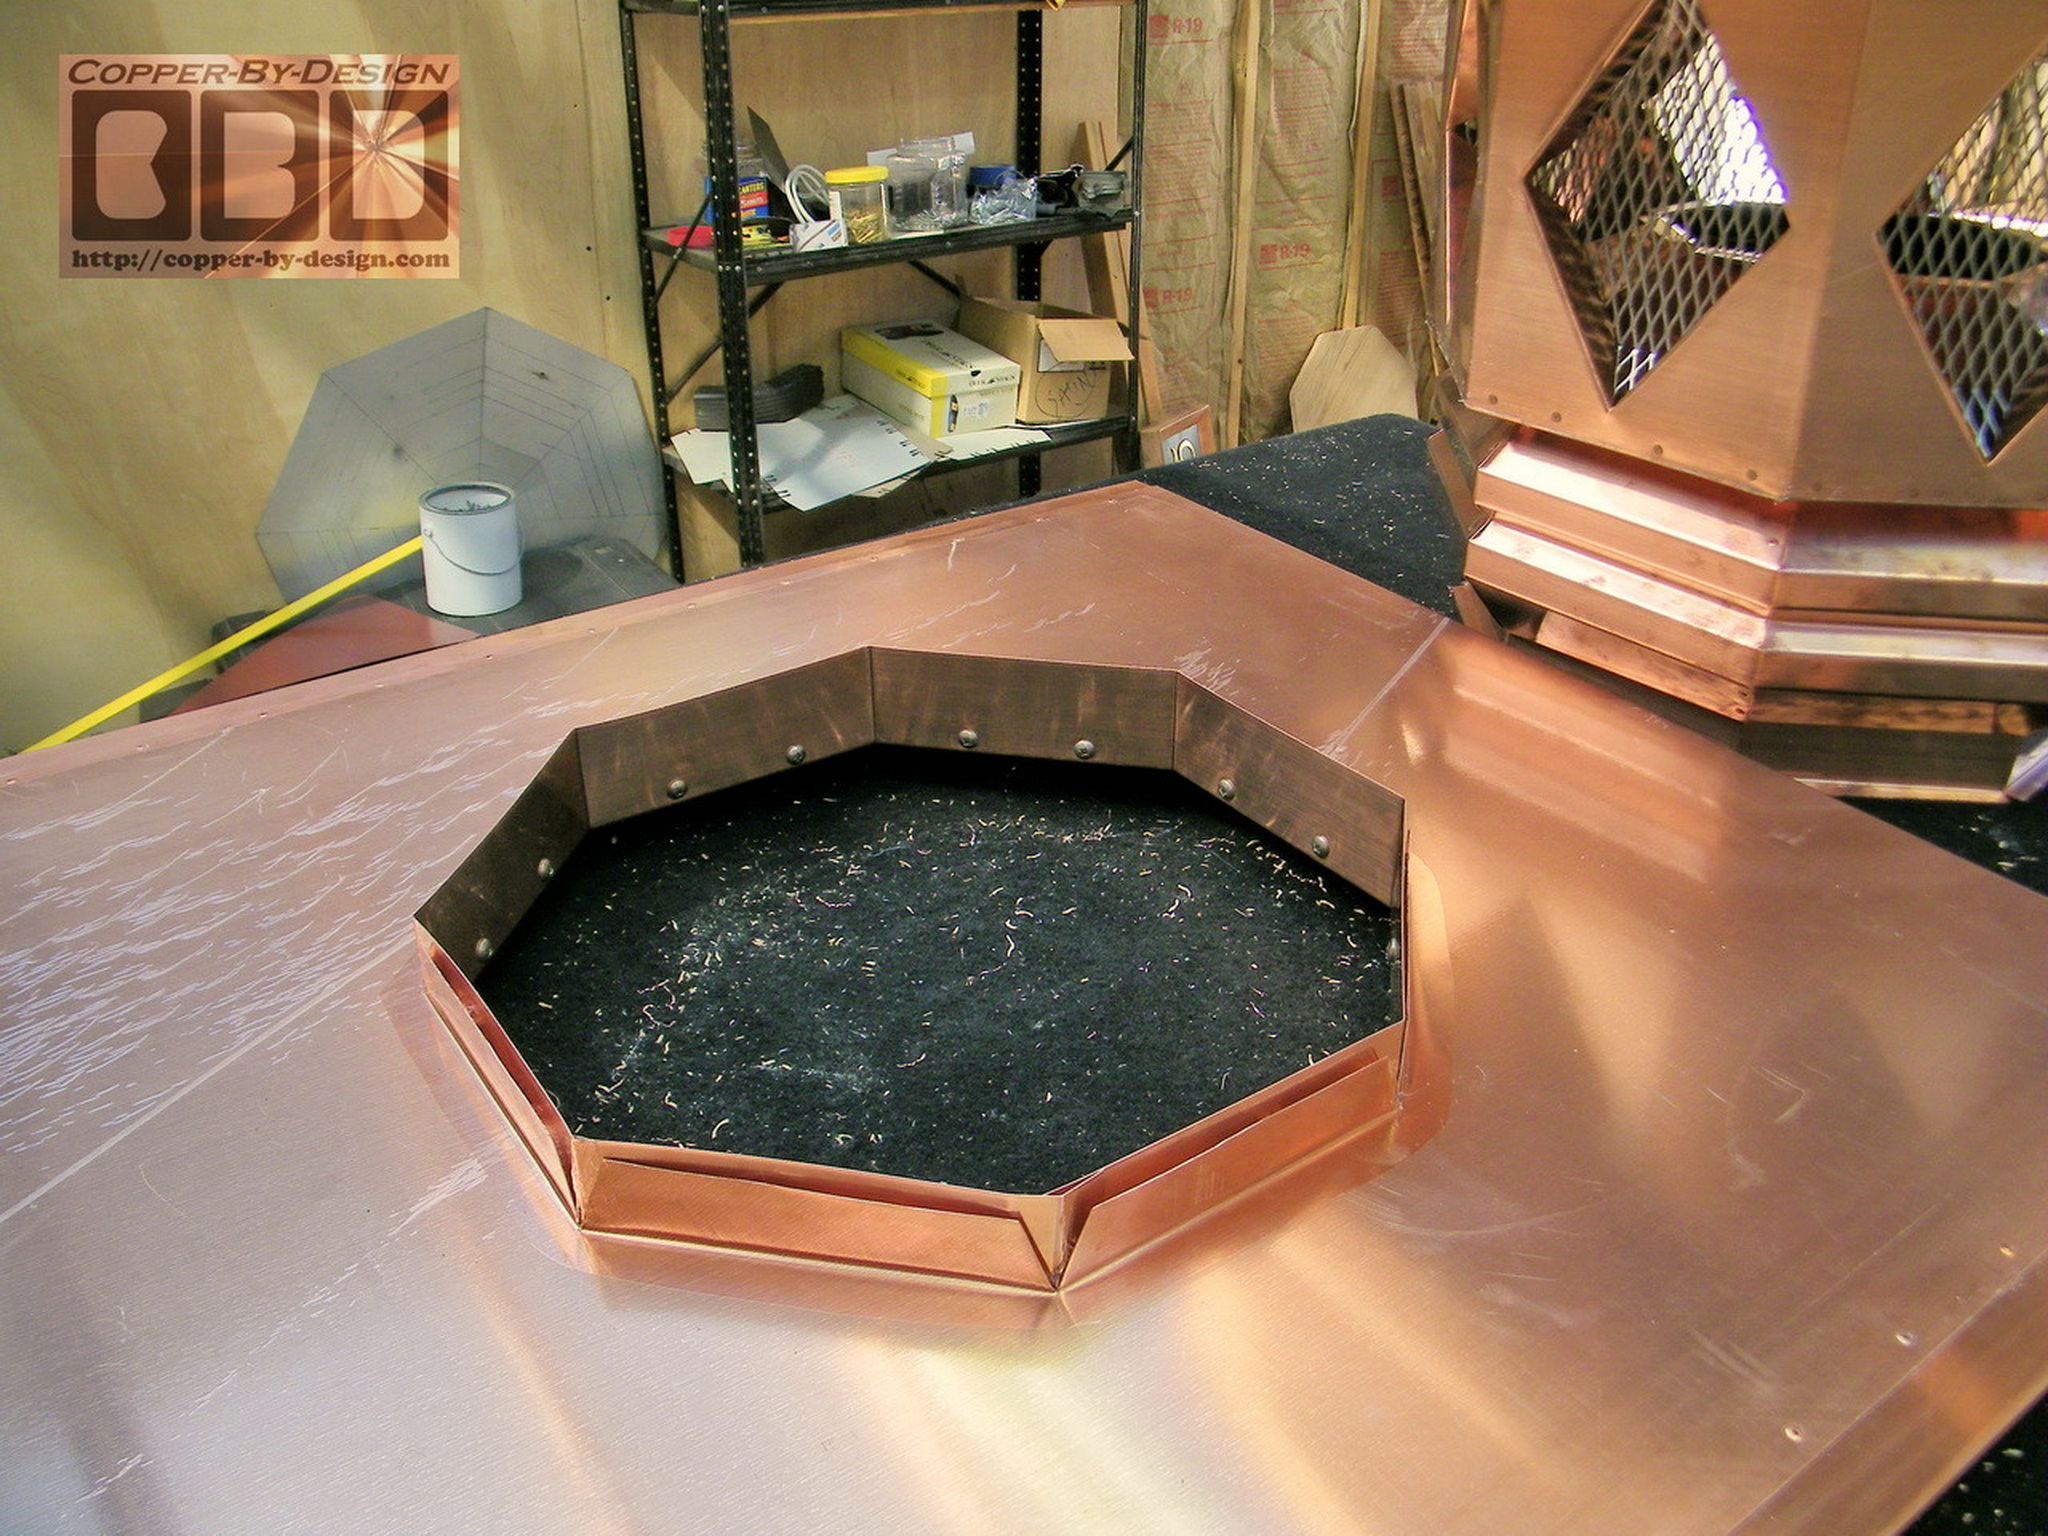
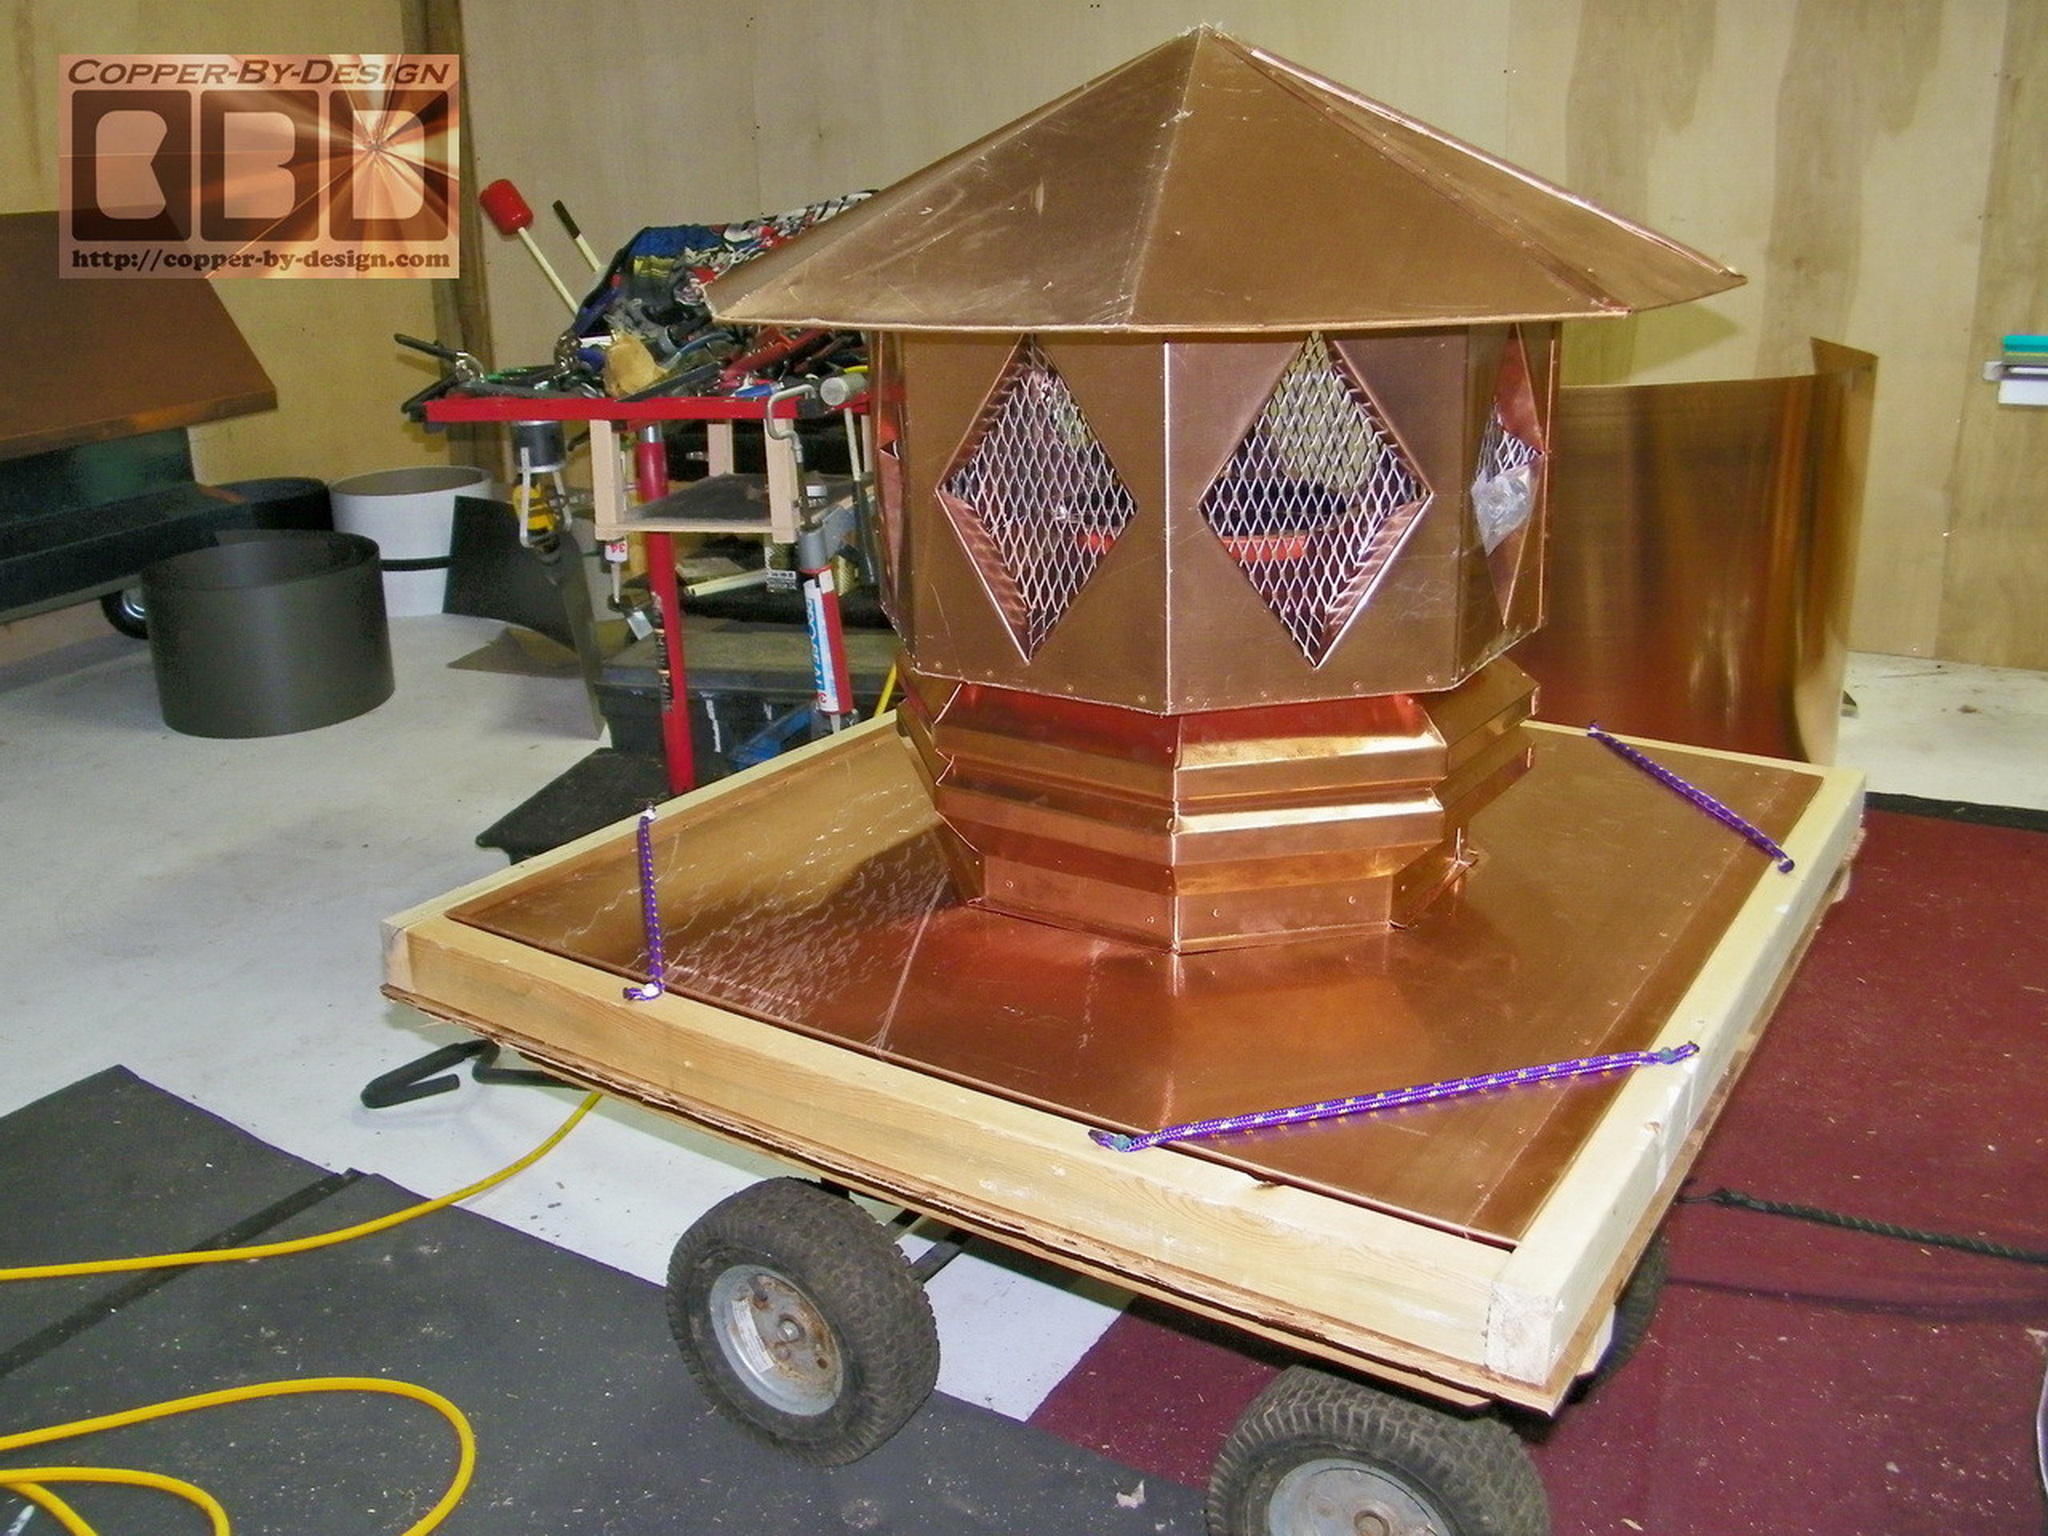
These show the oak plywood I use for the base under the pan that will help anchor this down in a strong wind storm. I bevel cut the sides at a 45 degree angle on my table saw for added style. I made this inner flange to grip the plywood from underneath and also to shield it from any heat of the exhaust flue. The client had me add the smaller 13" flue liner for insulation. I made it with 16 sides for a more round look, but offer added strength. It is connected with 32 rivets up through the rain shield
|
|
This shows the custom padded crate I built for this. The pan is resting on 2" of foam padding and there's a 3" foam pad over the roof peak to make sure it will remain in place inside the crate. The pan is also roped down for added security. The walls of the crate are glued, stapled, screwed, and nailed to the 2x2 and 2x3 wood frame.
|
|
Weights and cost breakdown of these pieces are as follows:
|
|
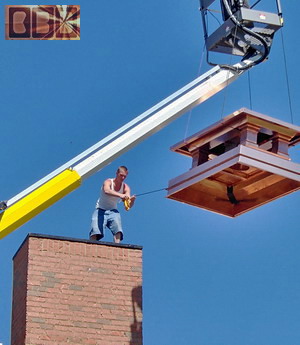
From: "Daniel Nelson"
<DNelson@nelcodevelopment.n*t> Subject: RE: Working on the first part of this project Date: Mon, 14 Sep 2009 Good Morning David, I wanted to report the shipment was receive slightly damaged. Apparently, the fork lift's fork punched the side of the crate approx. 5” from the base of the crate damaging the top of the pan edge about 4” long. Not to worry, my carpenter was able to carefully rubber hammer out the edge, slight ripple is noticeable (if you’re looking for an imperfection). The fabrication dimensions were right on! It Looks ASSUME! Carpenter reports, more trouble uncrating than installing. Fit Like a Glove. I wouldn’t want it any other way. No photos yet. Installing quaderafolds and touch up painting before I send you photos. I want to provide the best images before post on your web site. Great Job! Thanks again. I have requested $2,500 from accounting to send as a deposit for the bell cap. Daniel Here are a few photos sent in by the client: 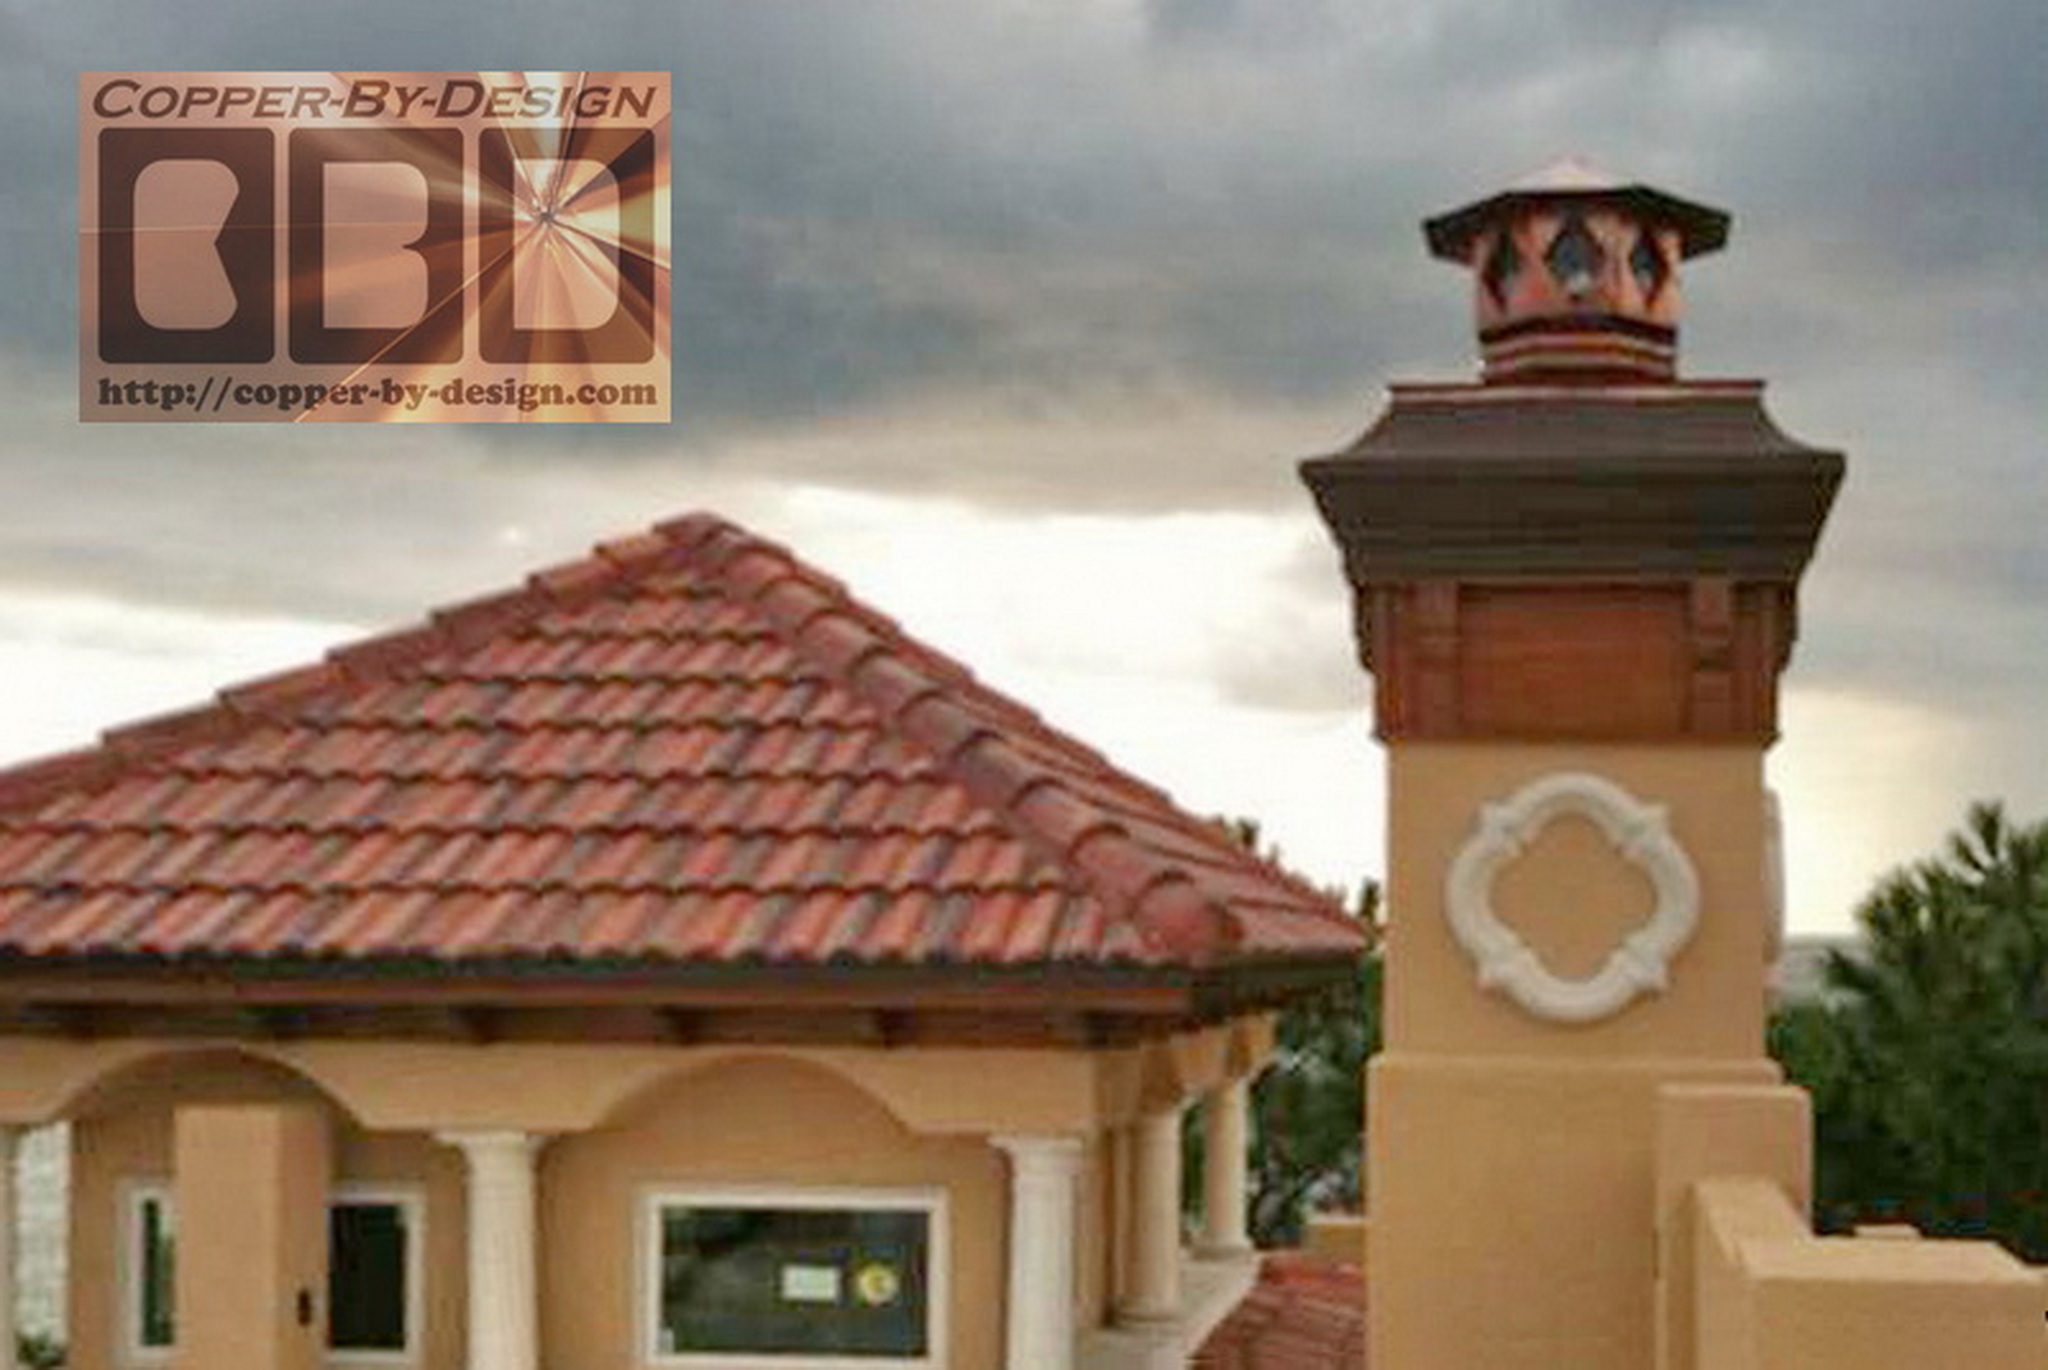 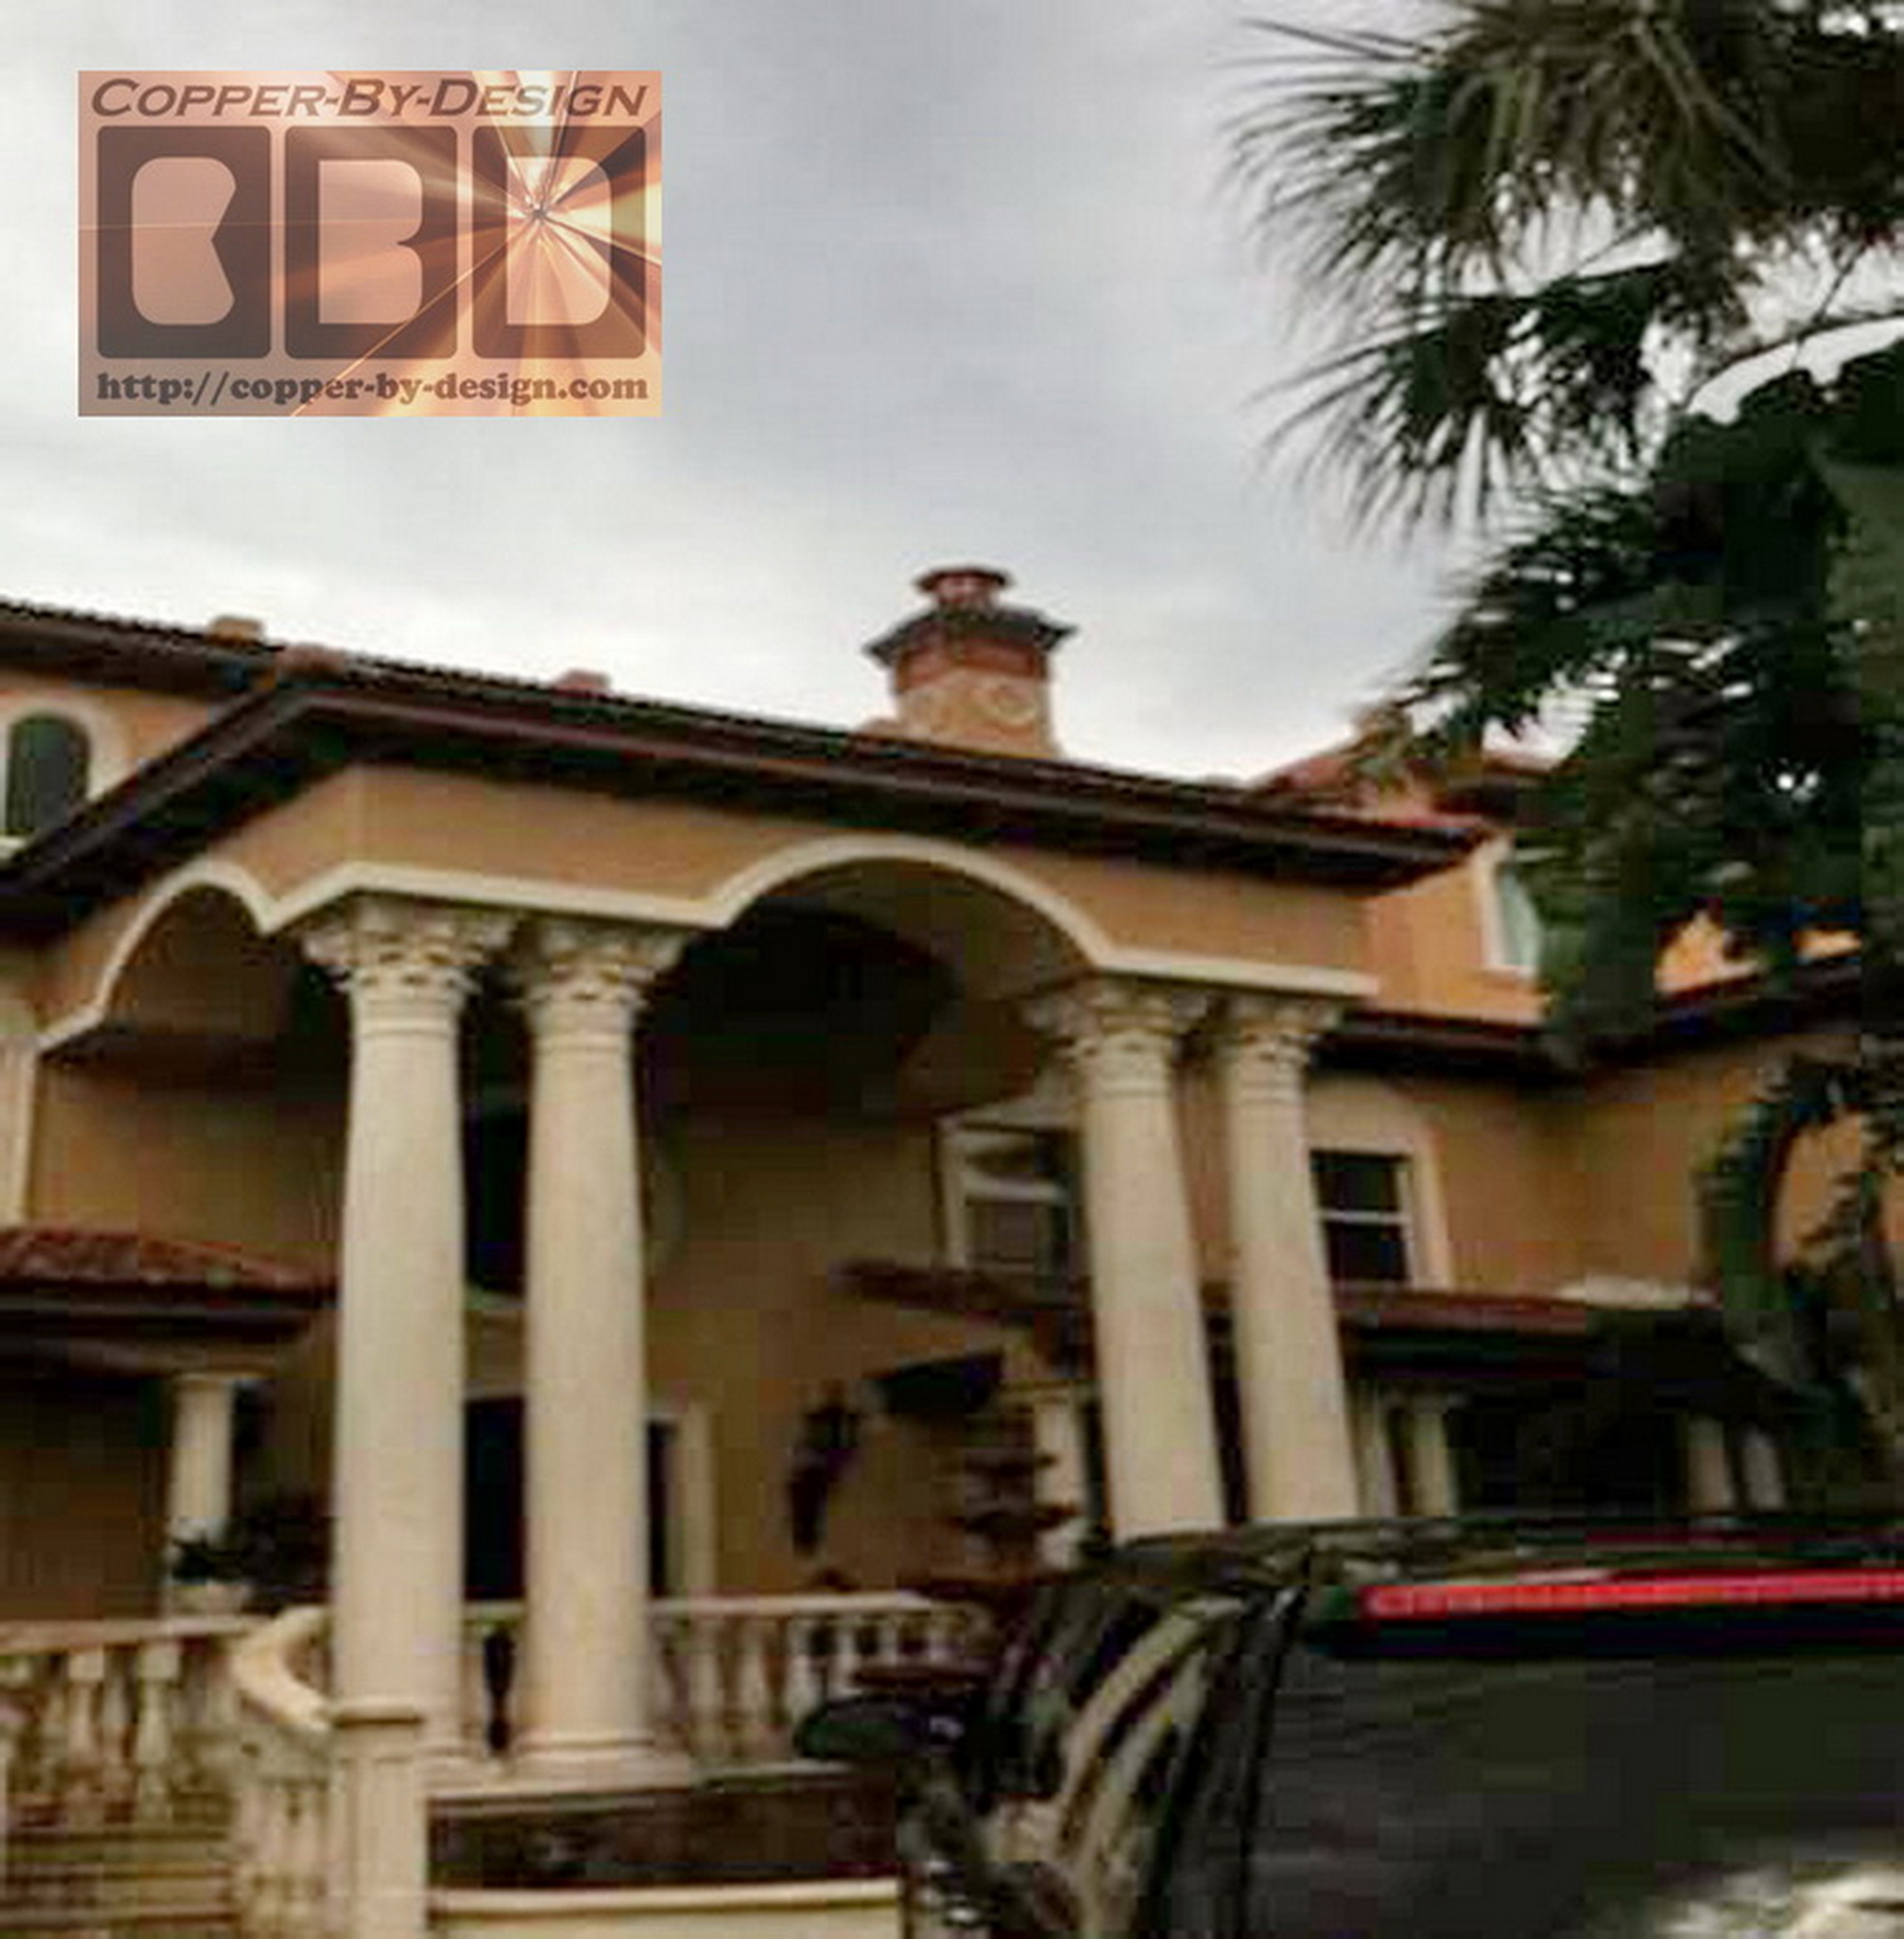 .  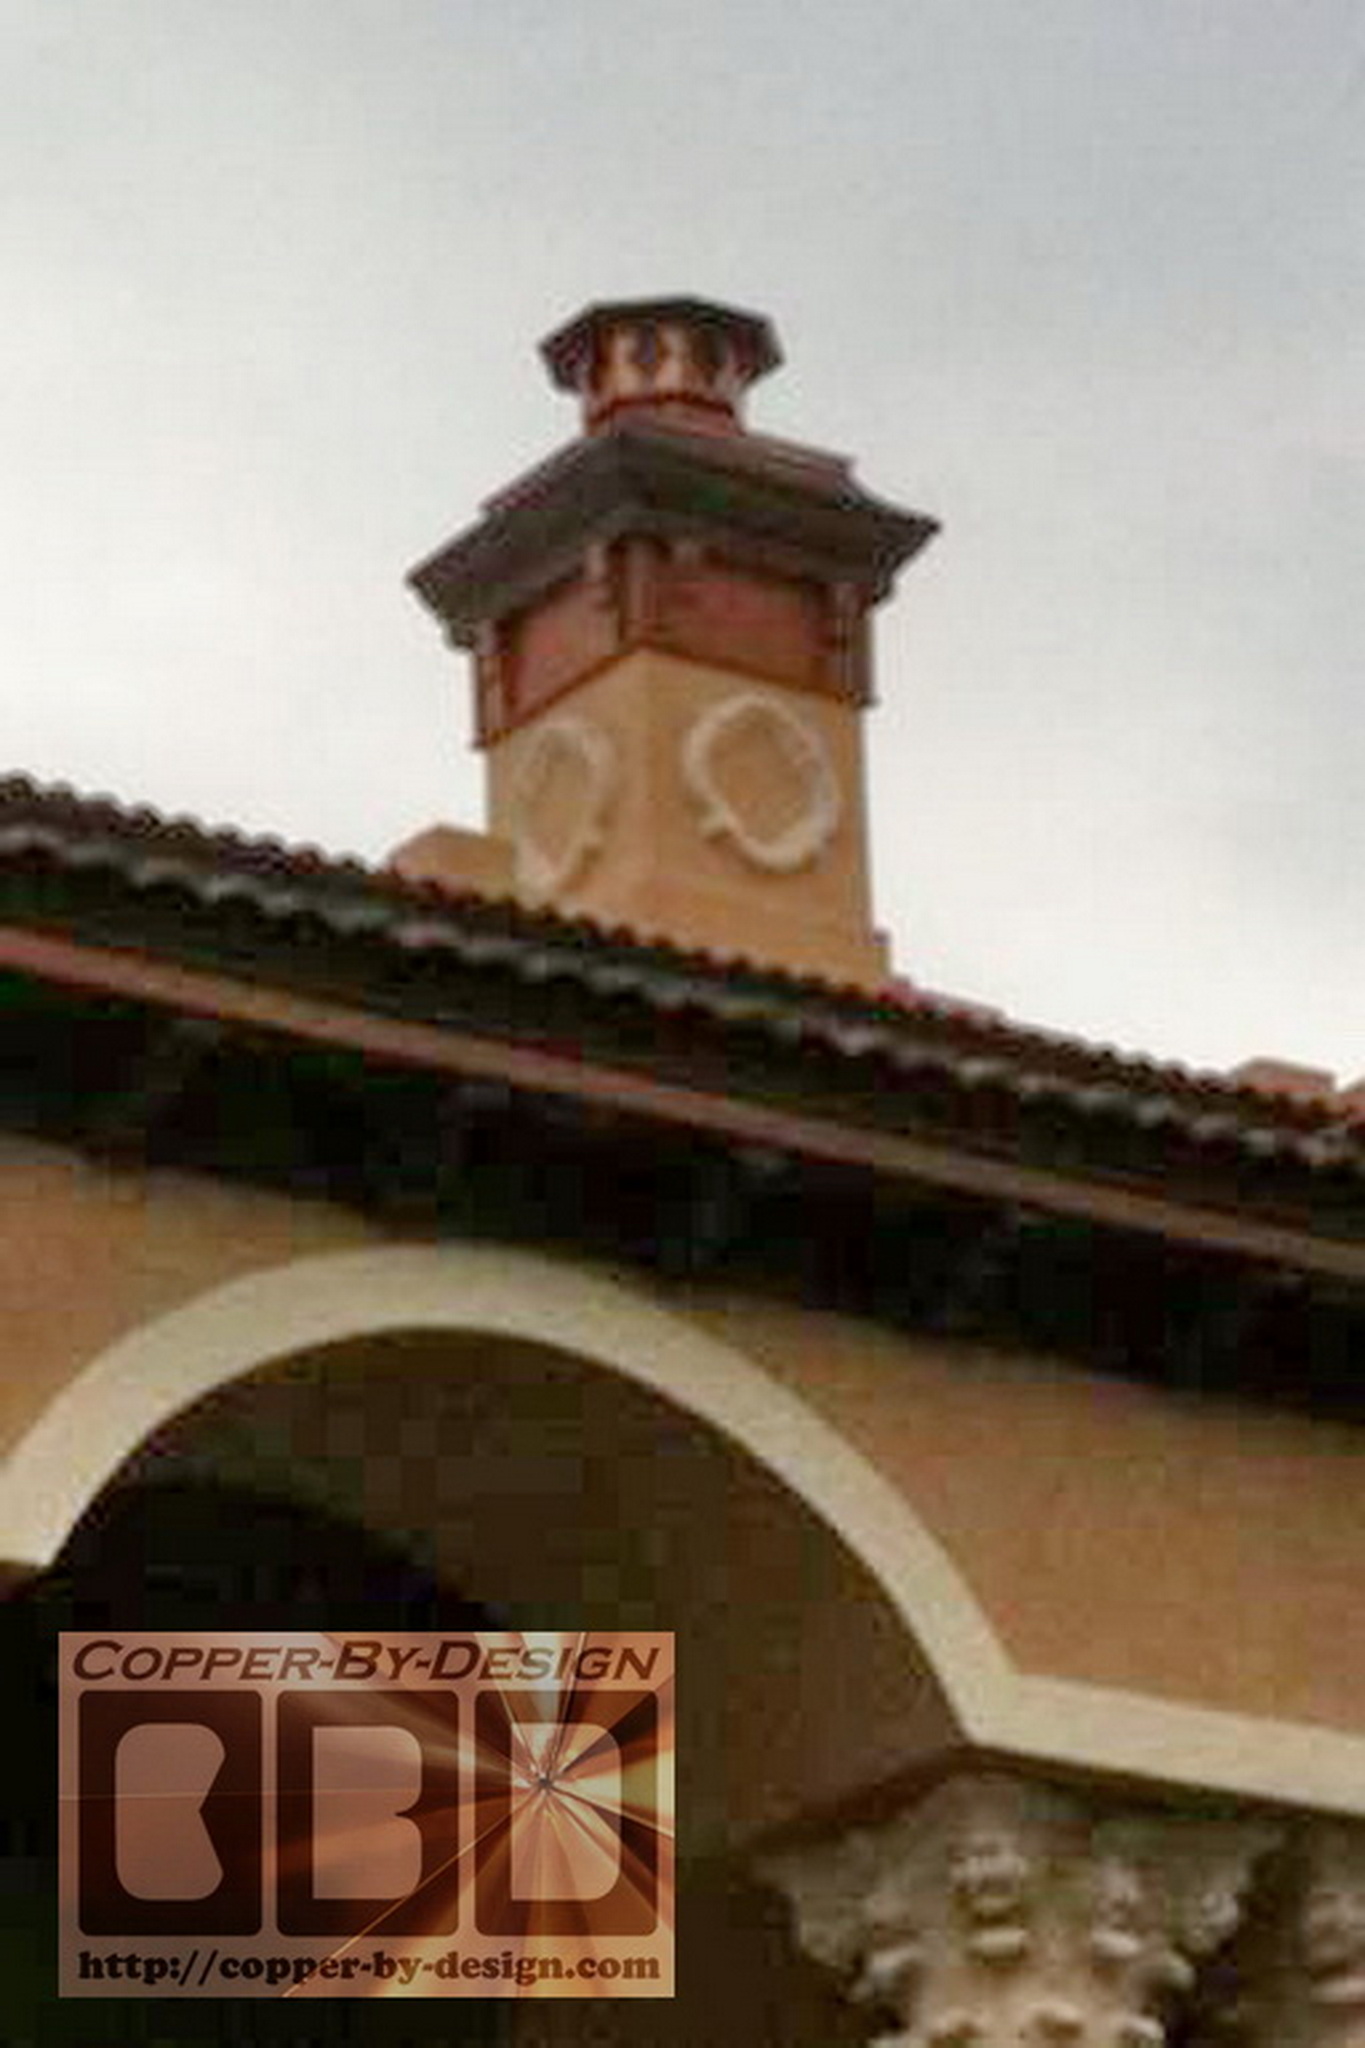 |
.
|
Click in this photo to go back to Chimney Caps main info page
|
.
|
Below is a
photo of our |
|
|
|
We were also a 1997 finalist for this same award. See our referral web page to see how we managed to be honored with this special award |
 Homepage |
.
|
|
Company Profile |
|
Roof Caps |
|
Chimney Caps |
|
Scuppers |
|
Gutters |
|
Shipping |
|
Contact Info |
.
.
.
.
.
.
..
.
.
.
.