This order for a pair of
copper chimney caps was for Charles Bucchioni in Woodbury, Connecticut.
After finding my web site he had contacted me on 4/4/2012, and
by the 15th he had laid down $2k for a deposit to get this
project fit in my cue, while we took the next 2 months to
casually work out the details w/o pressure to make any hasty
decisions.
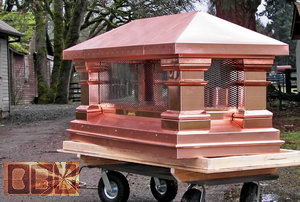
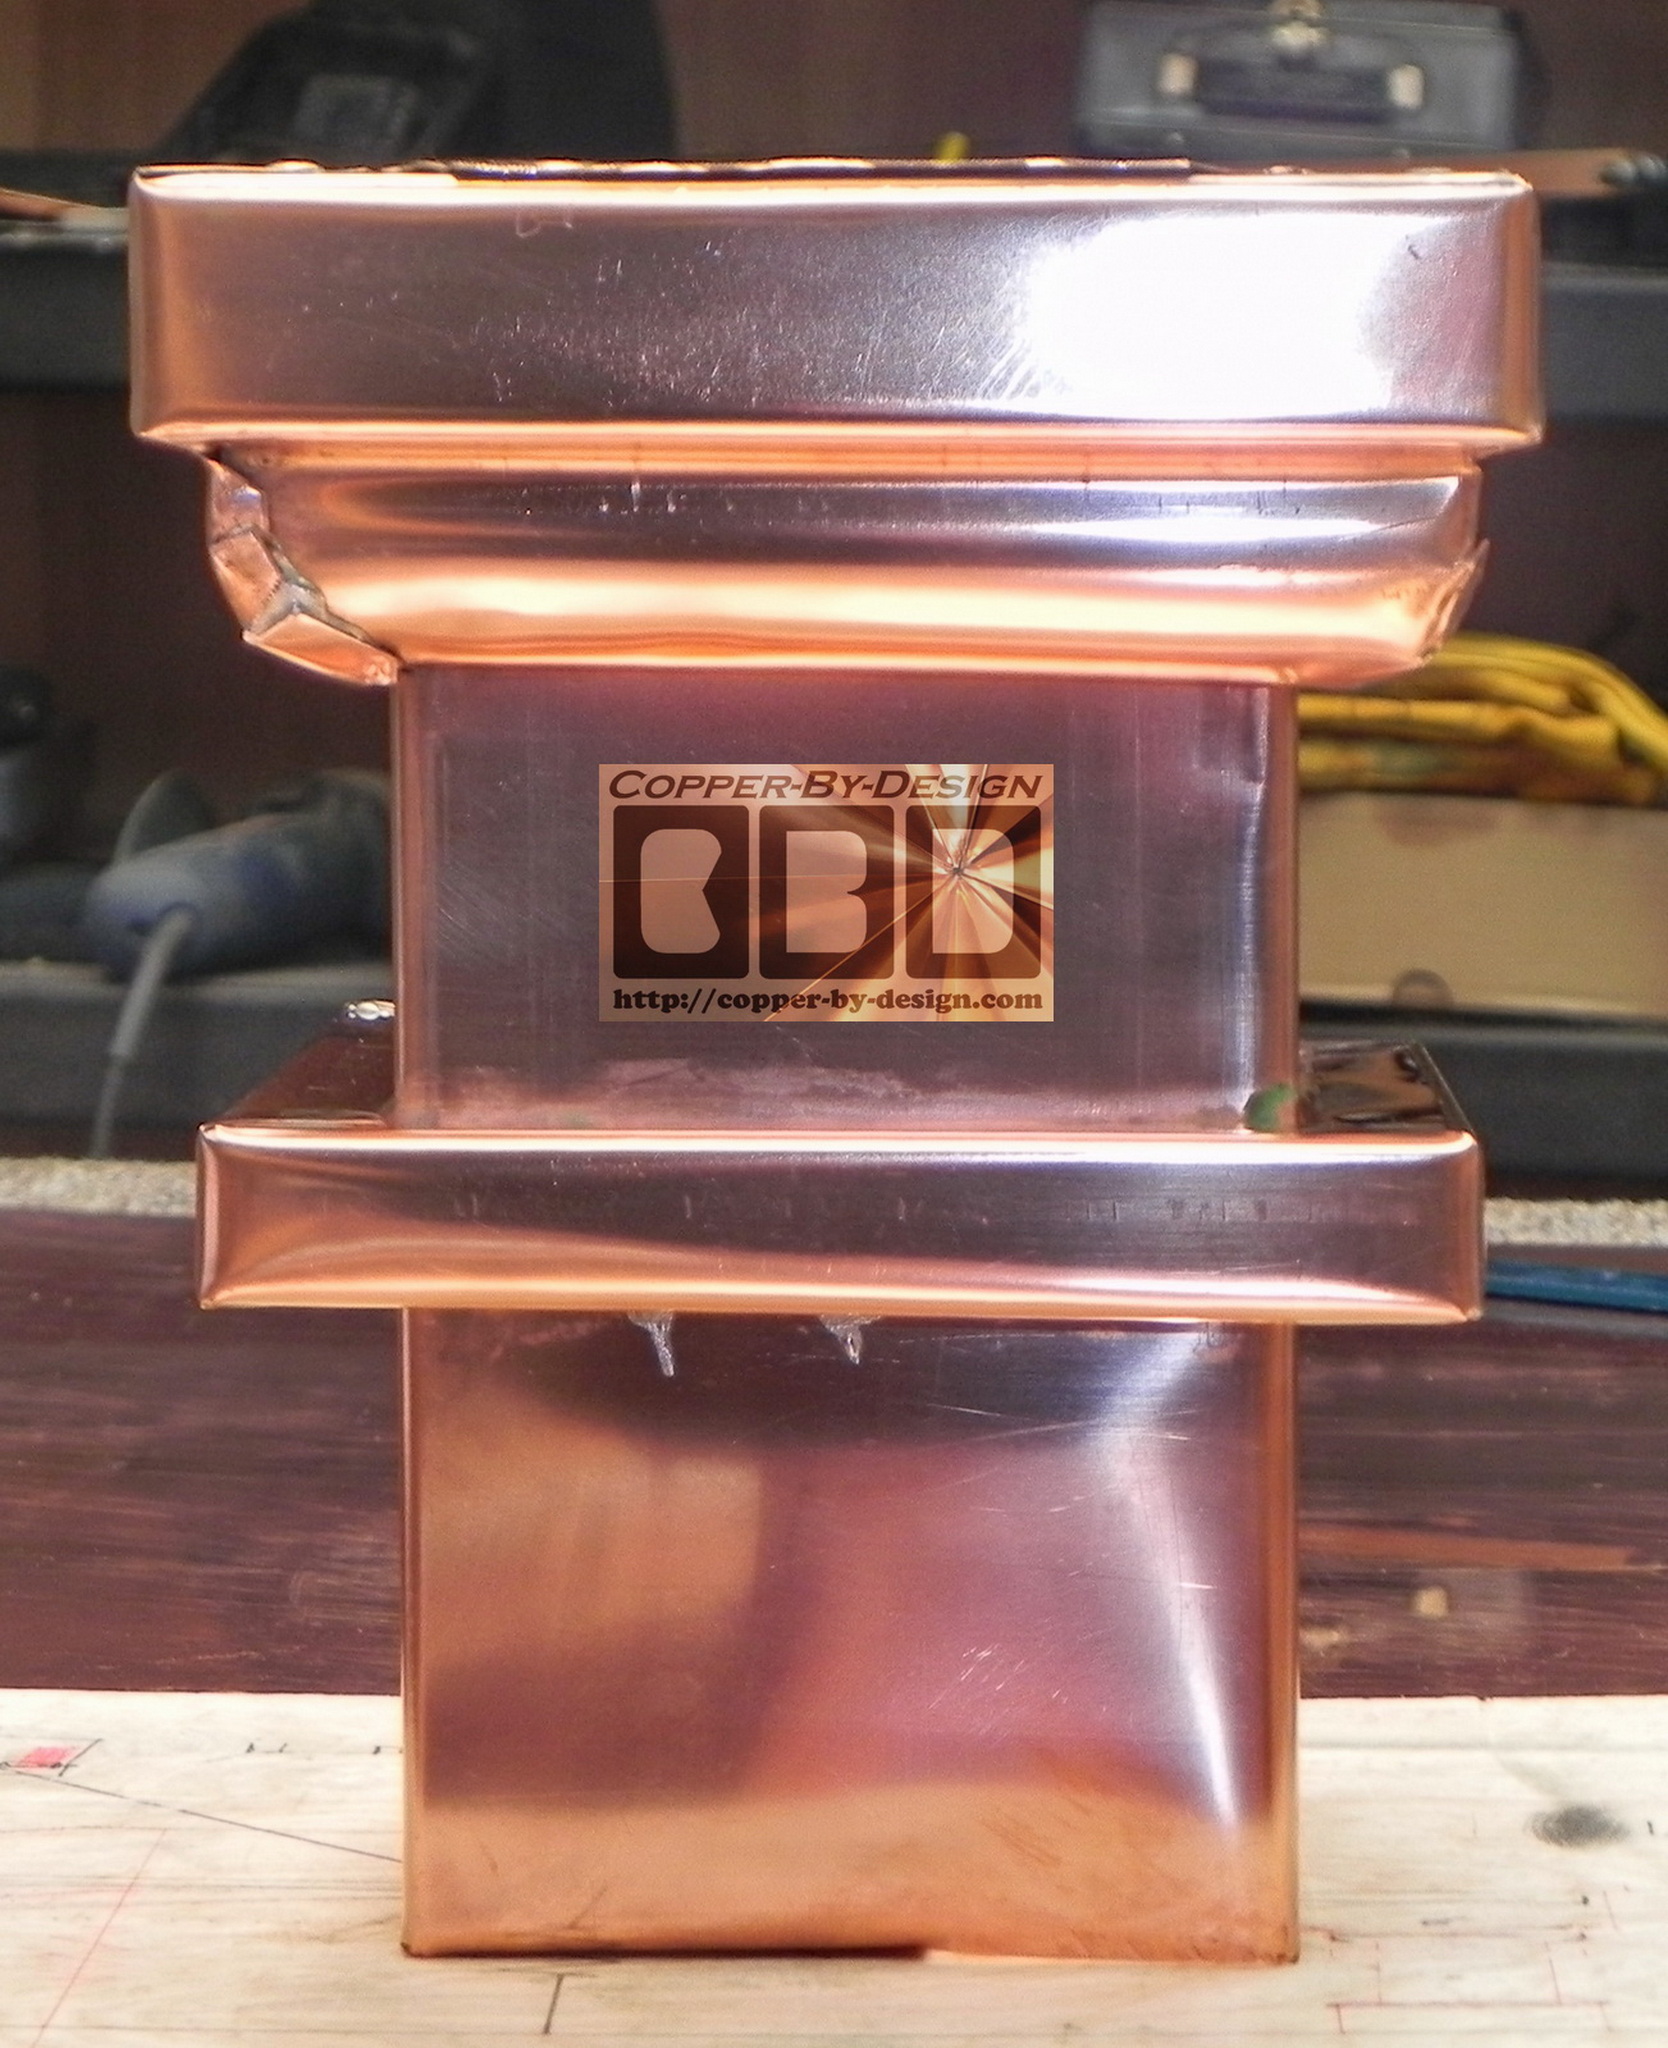
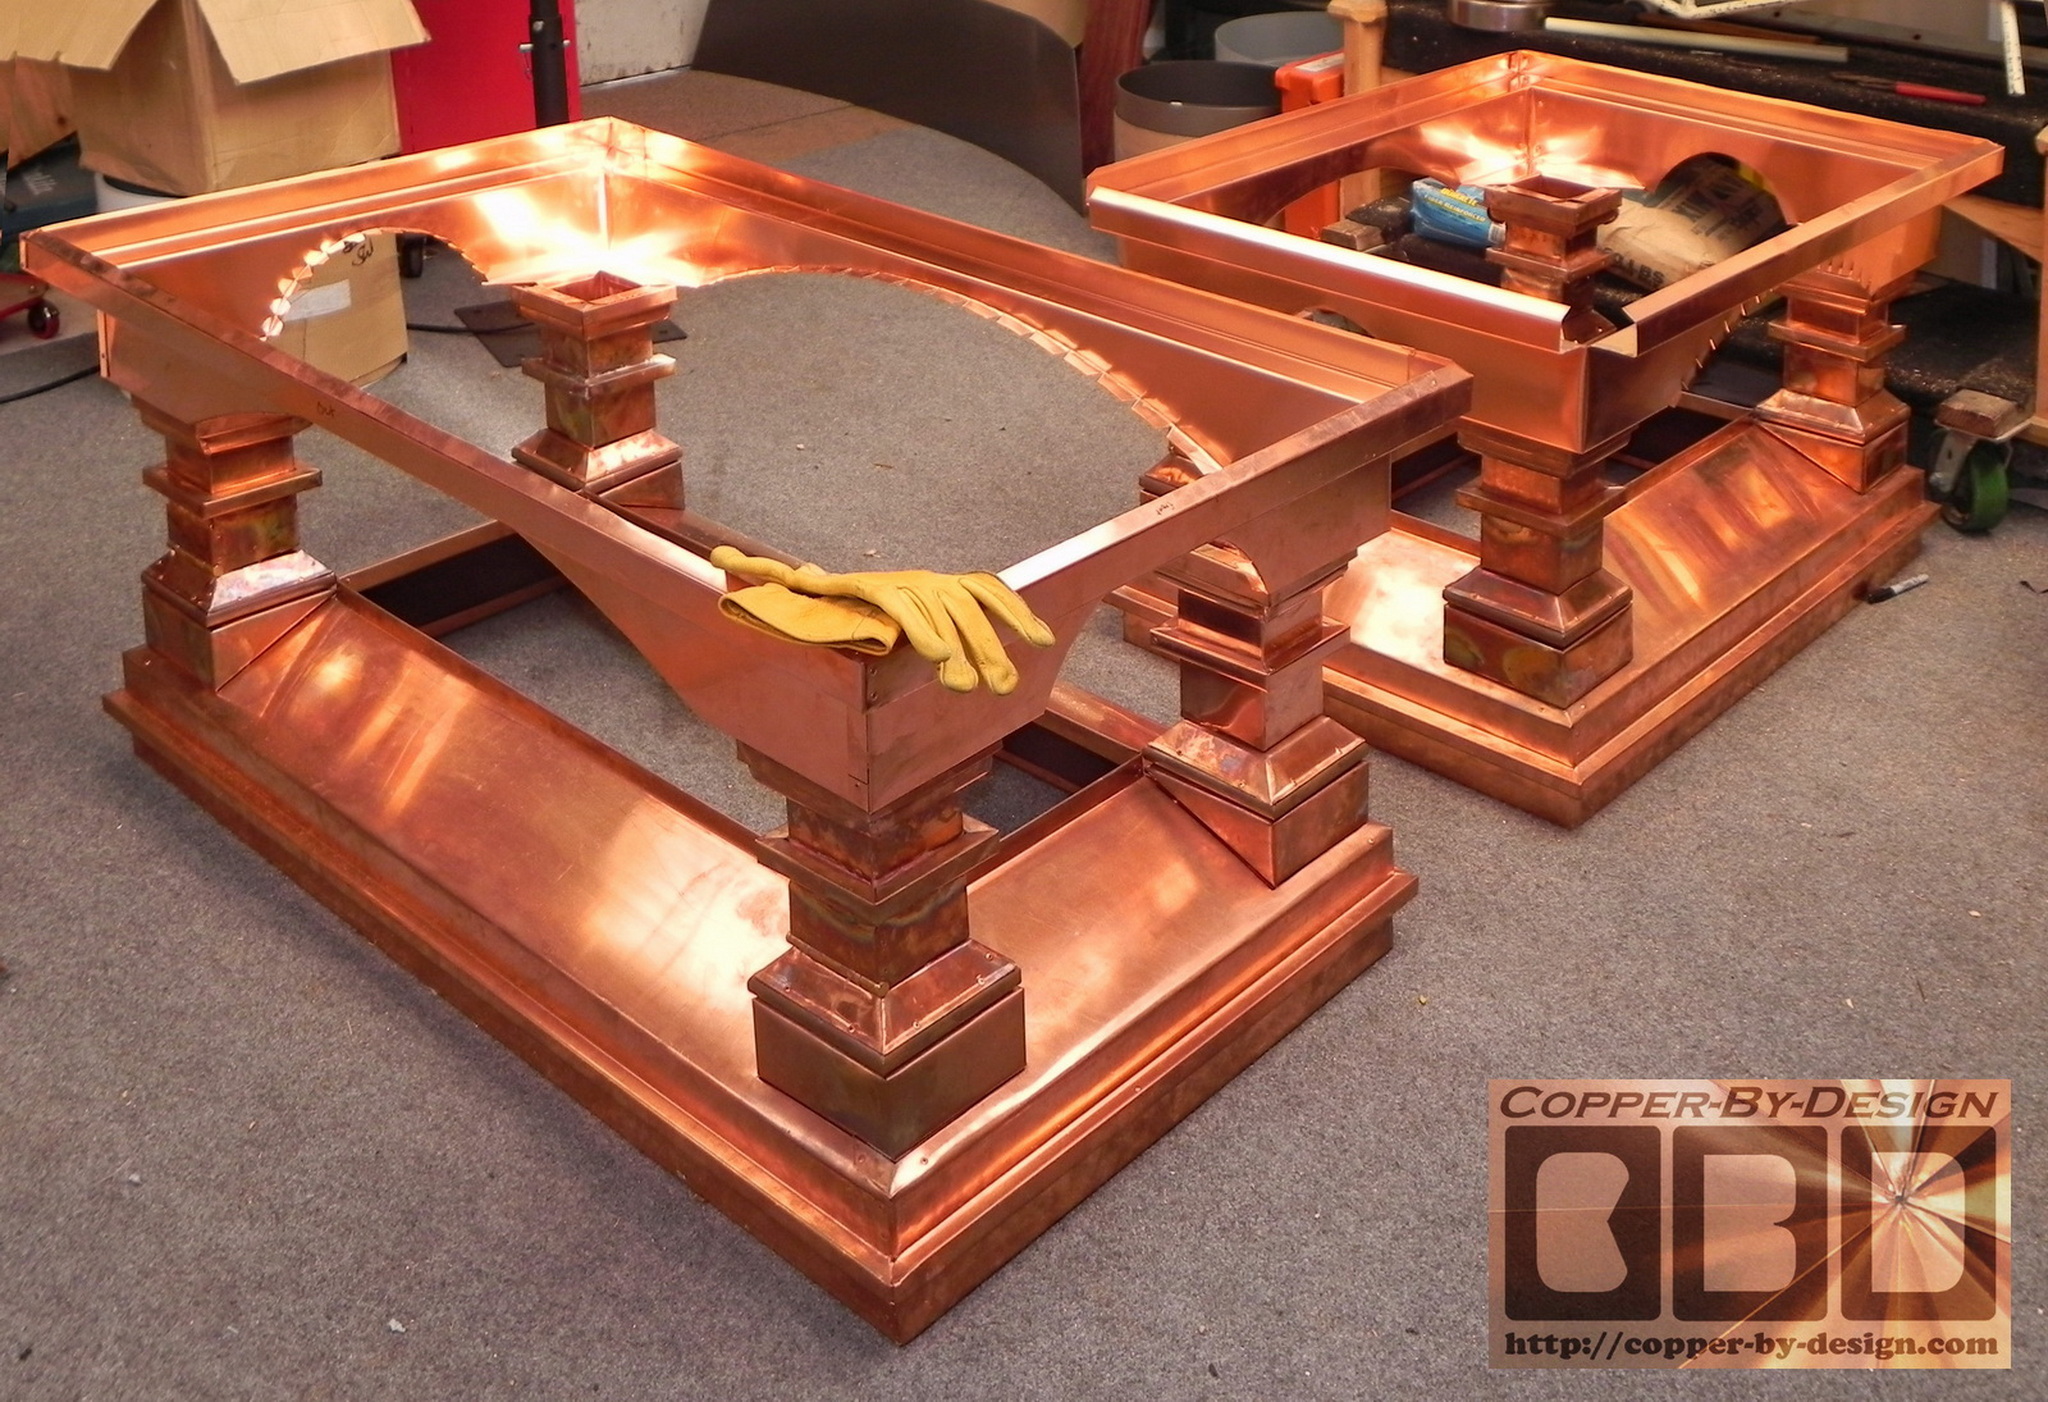
The Greek style columns were patterned
after a chimney cap I made back in late 2007 for a client named
McLaughlin in Staten Island, New York (shown above left). The
differences were how he did not want the SS spark arrest screen,
there's a squared off trim over the side of the base/skirt,
middle of the columns, and on the rim of the roof, but the most
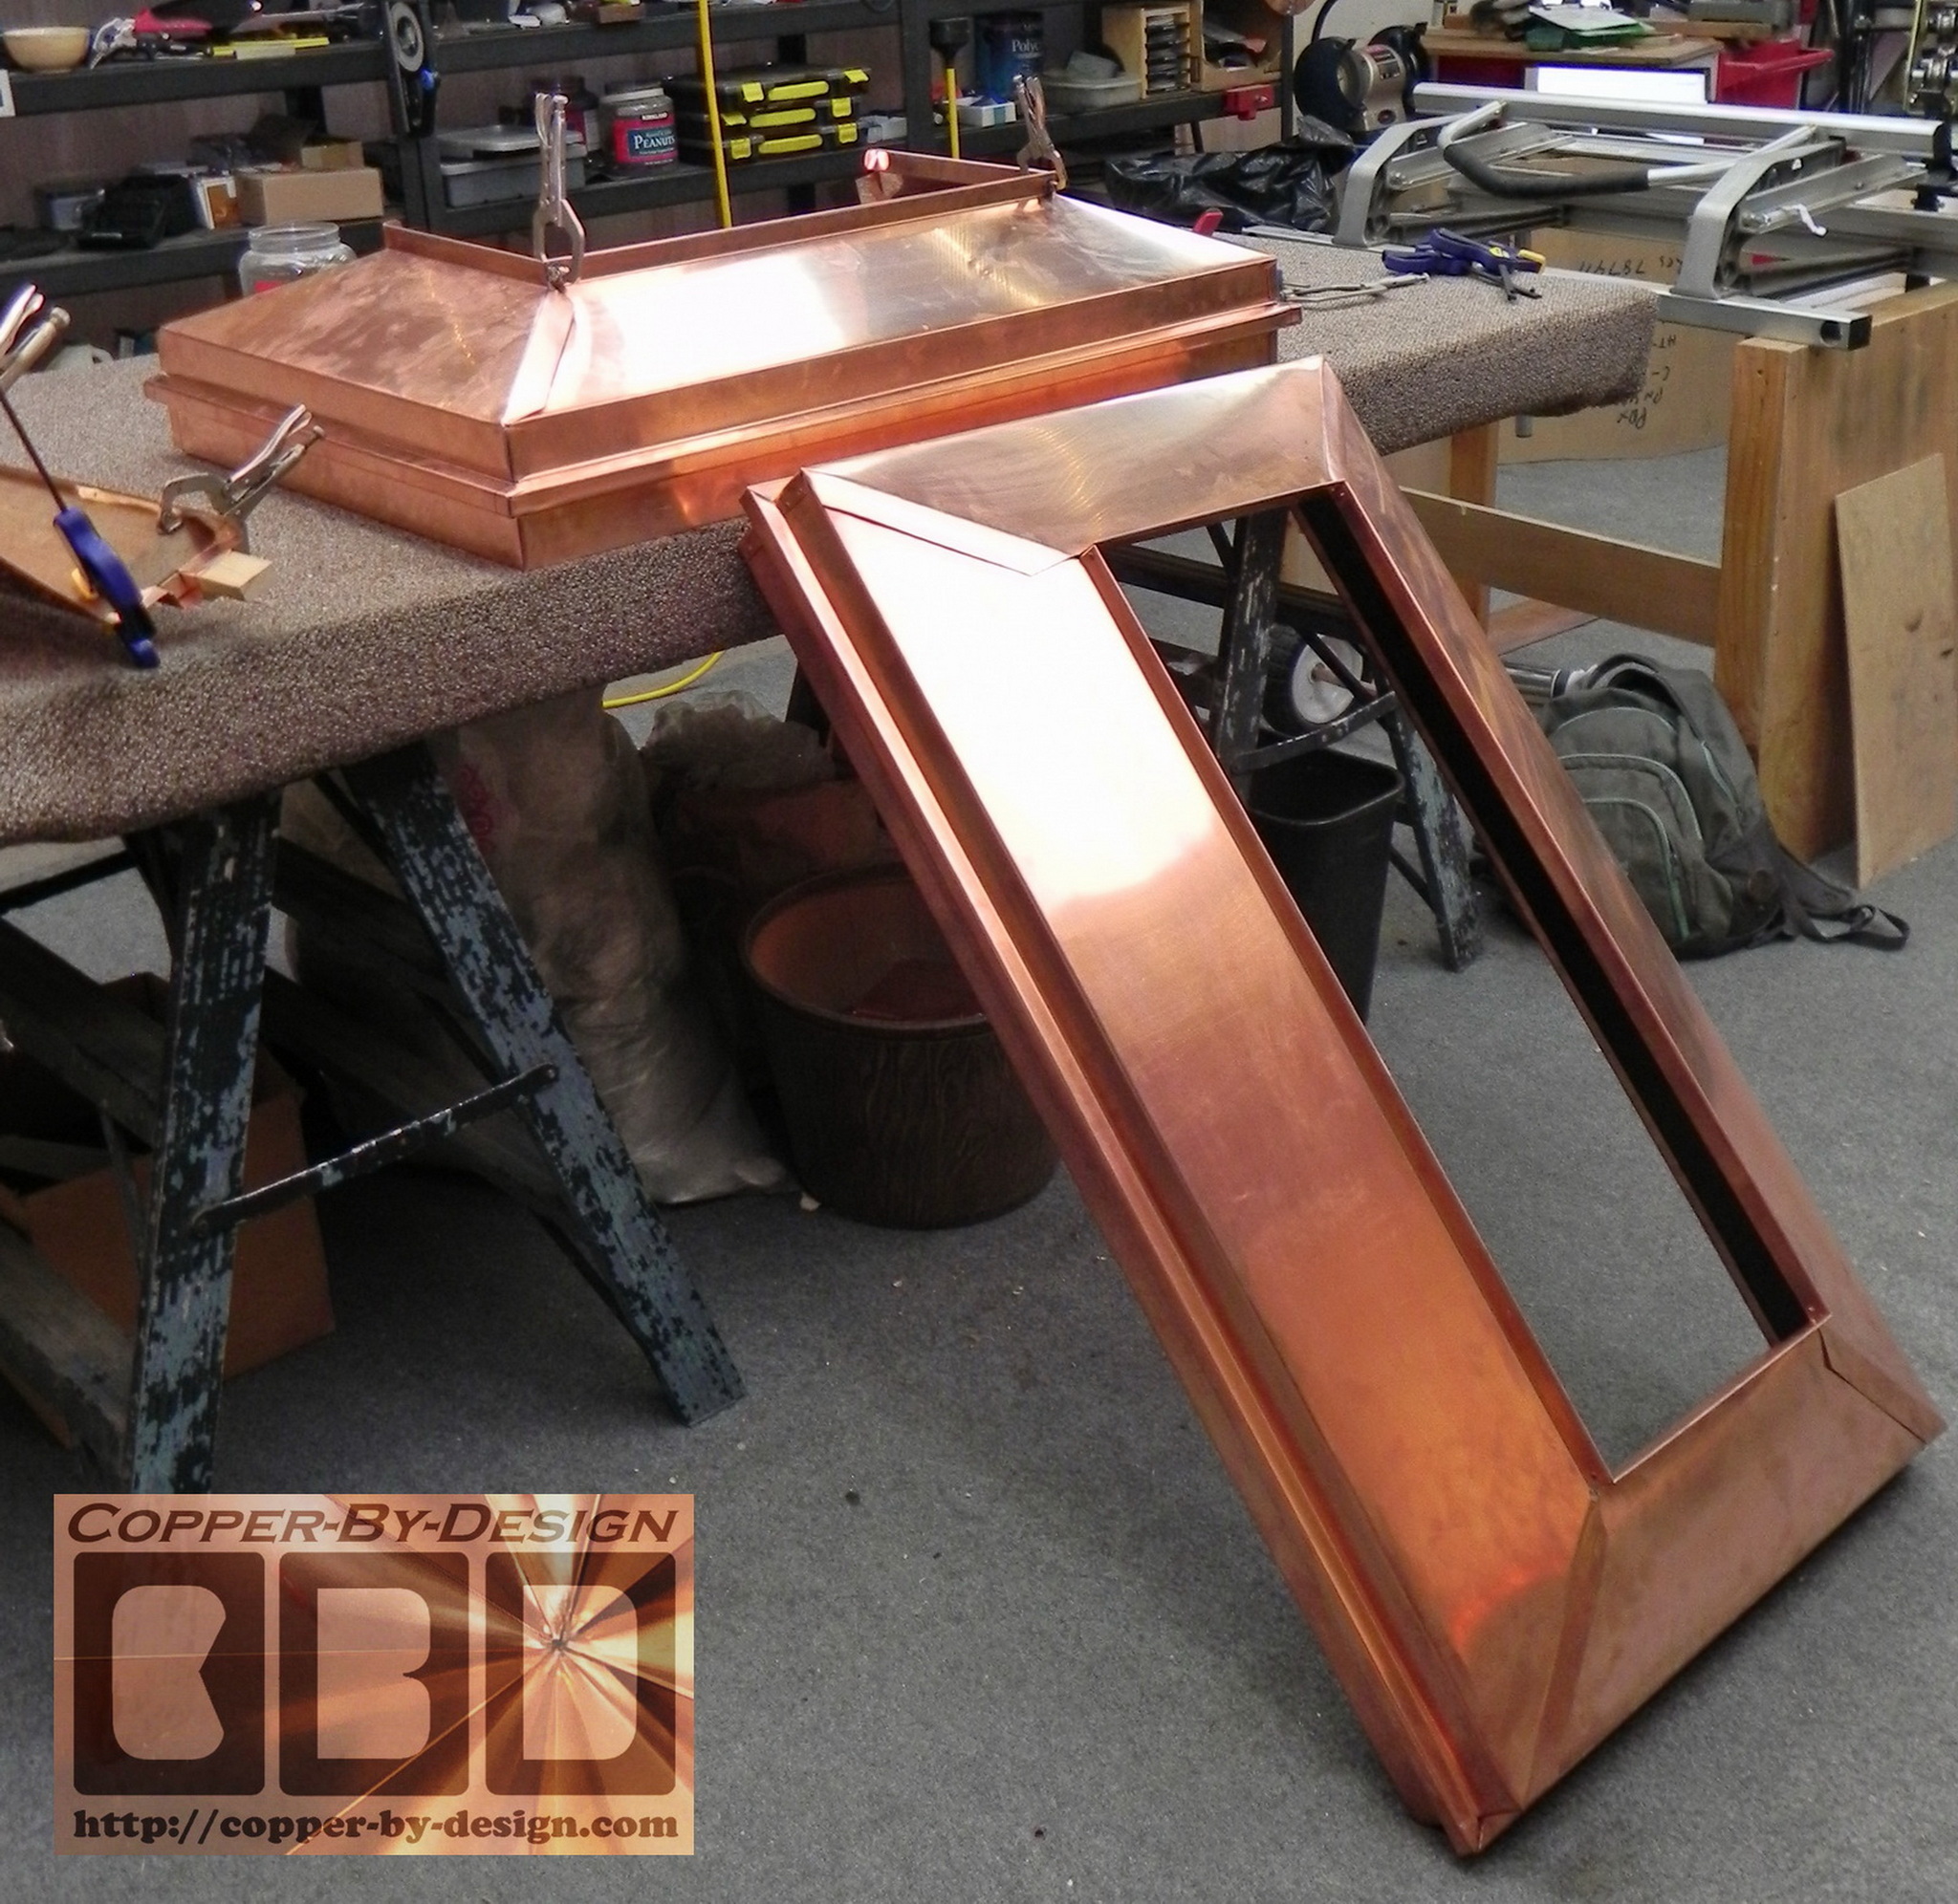
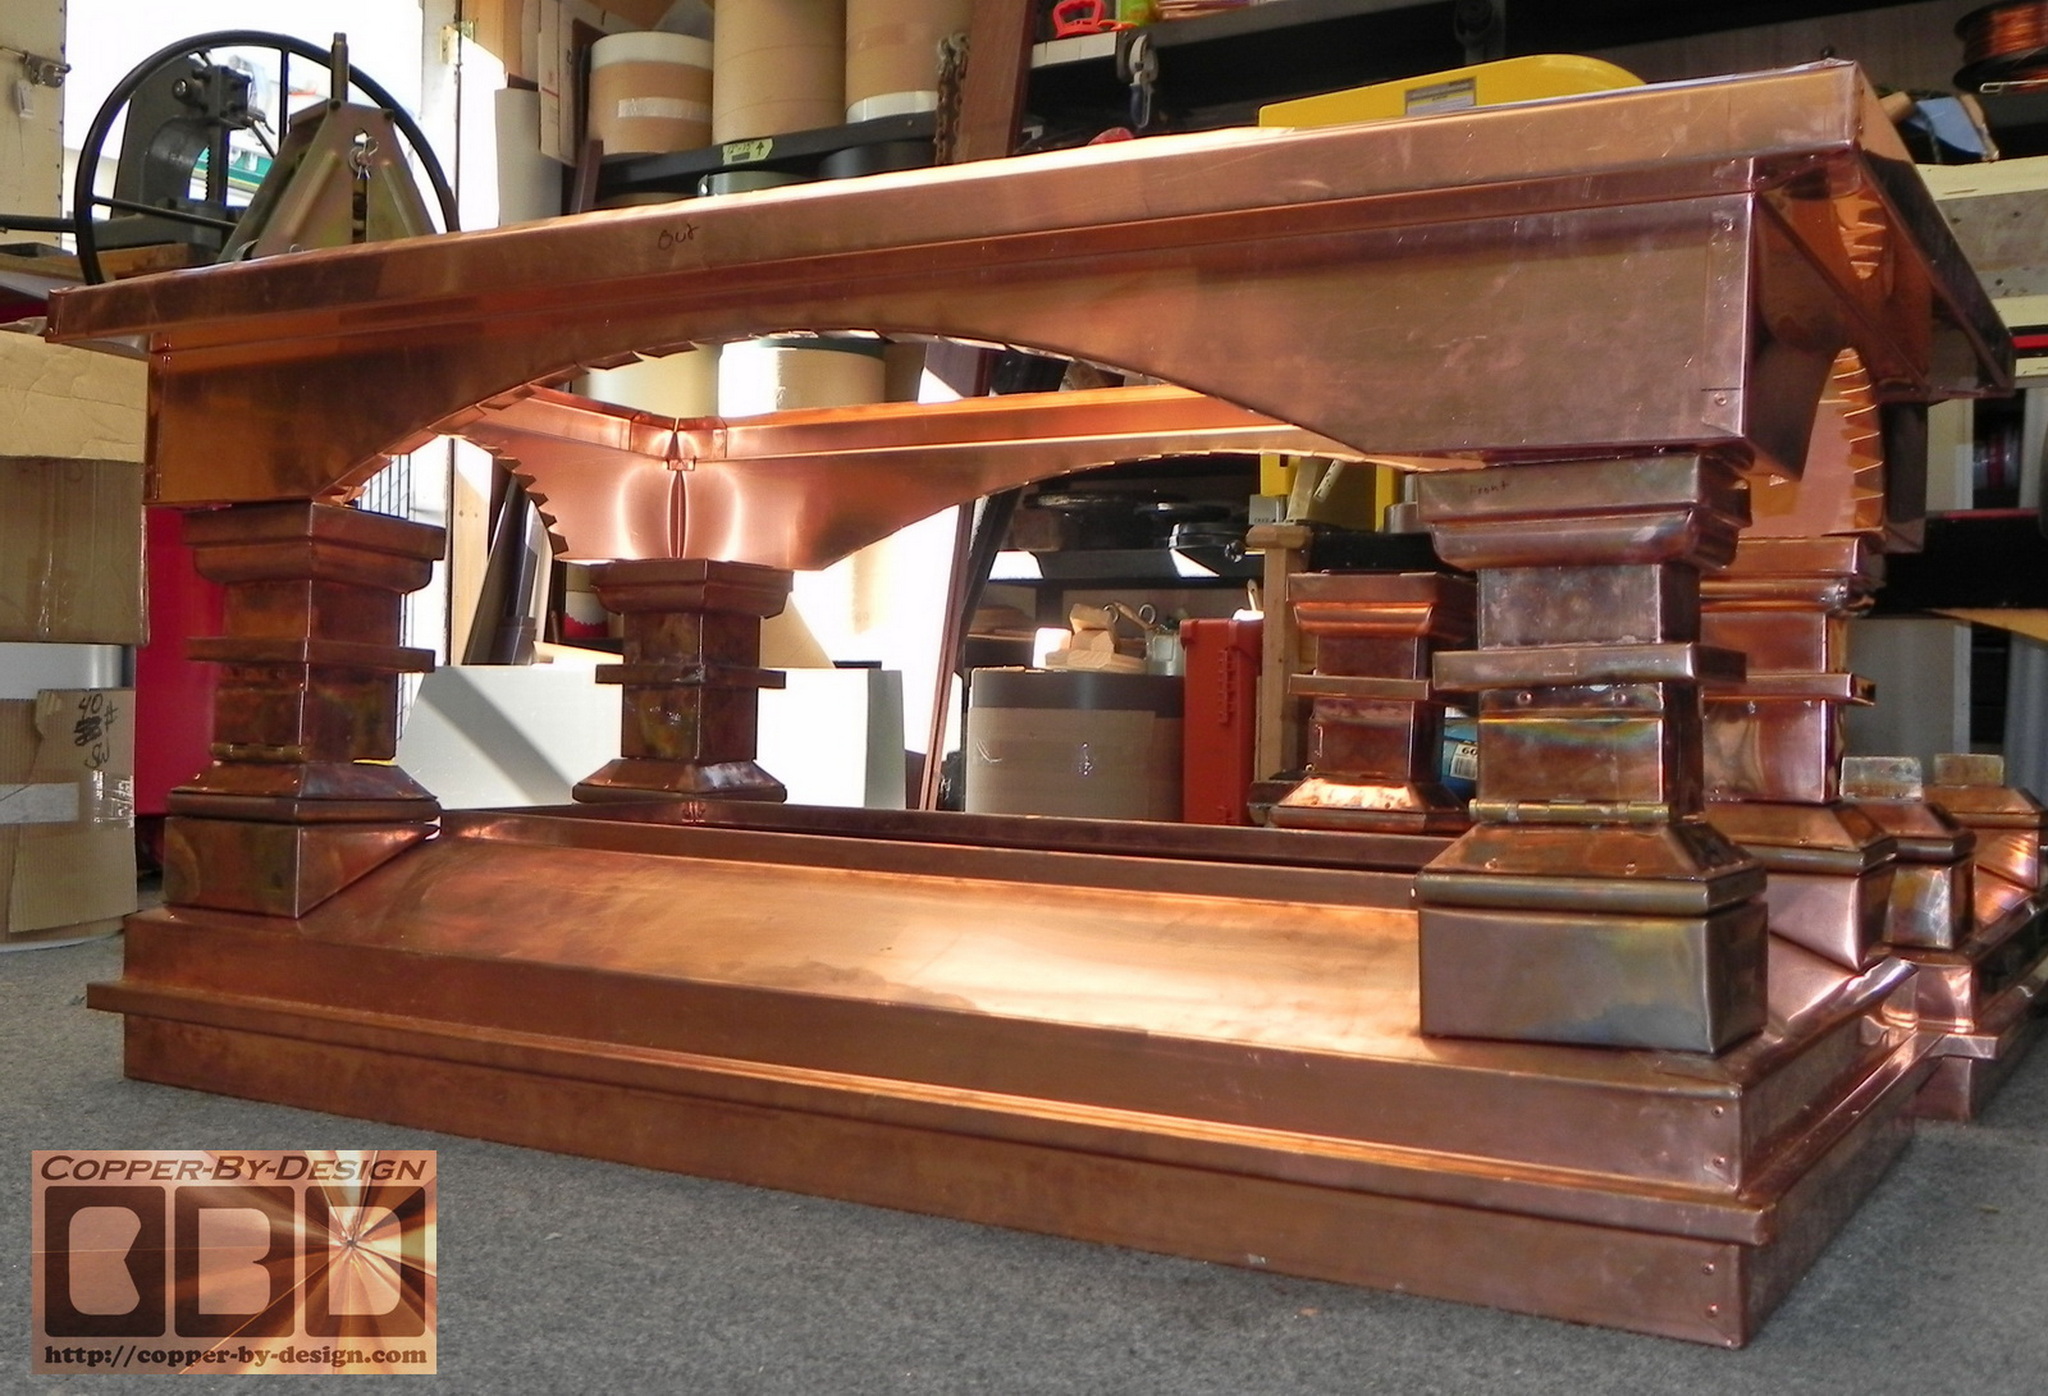
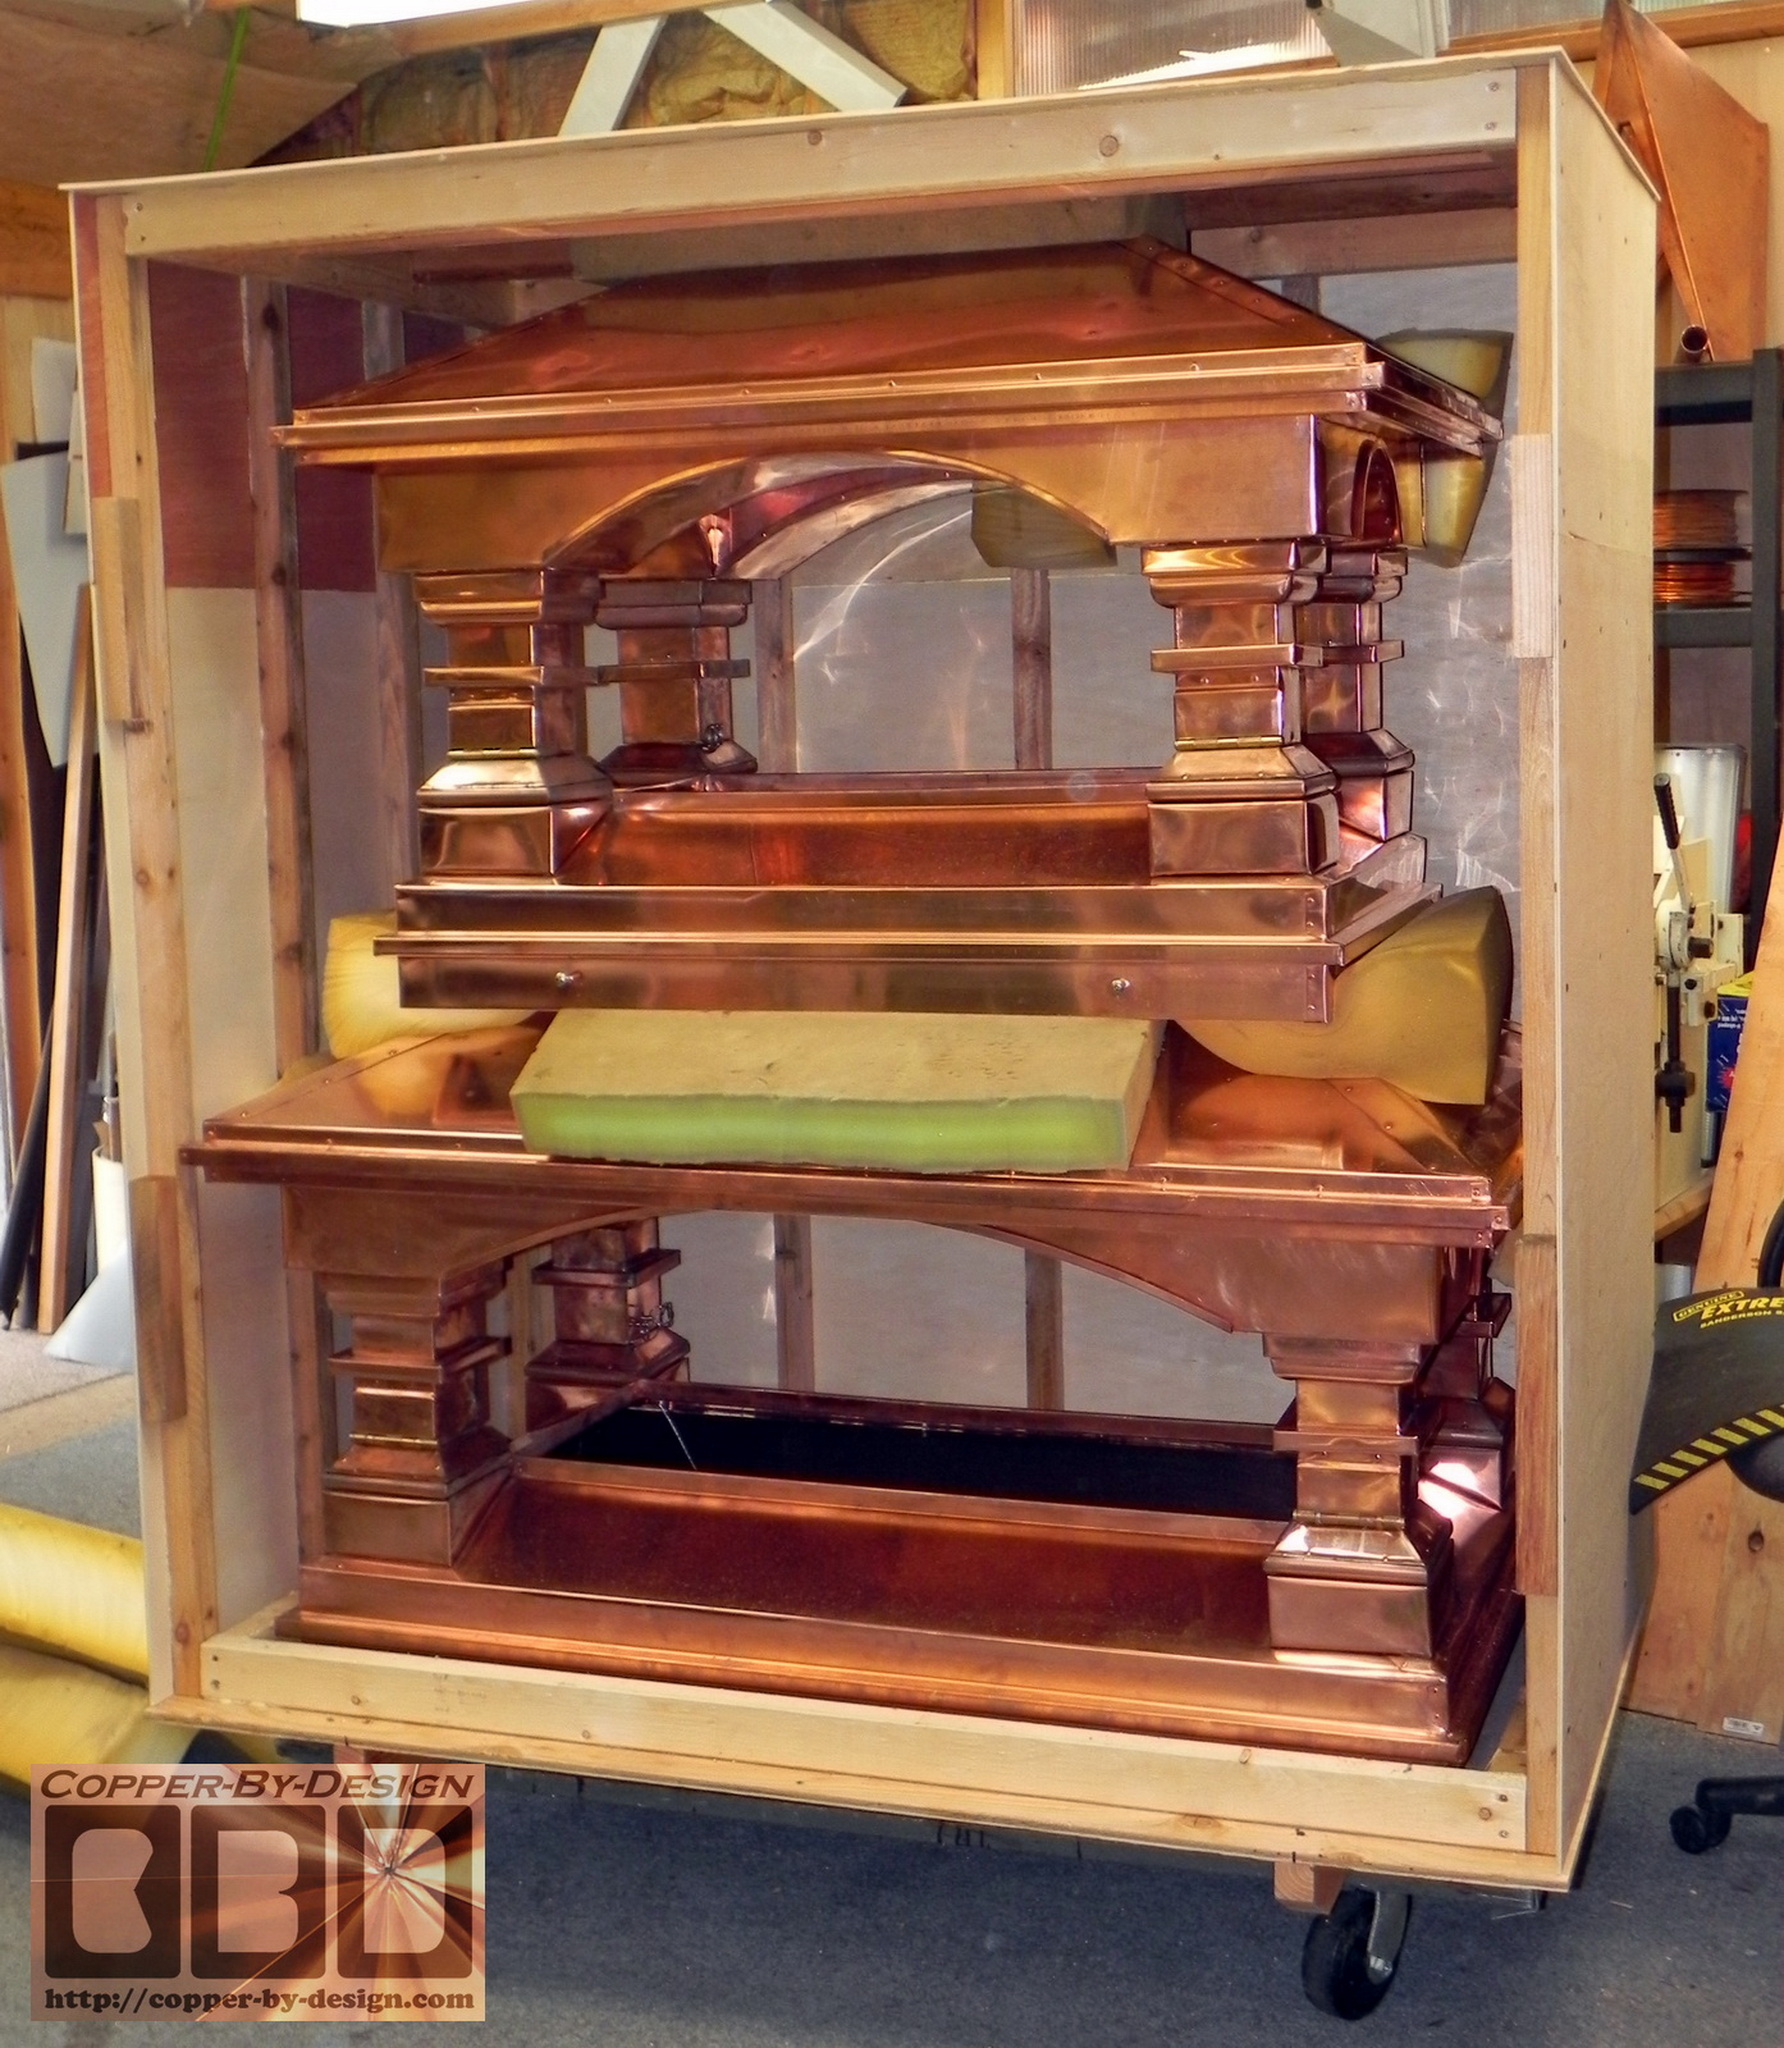
amazing difference was how he wanted me to make the upper roof
hinged from the base, so it could be opened when it may need the
flues cleaned w/o having to remove these chimney caps. Something
I had not done before on any chimney cap, but I think it turned
out and looks very good. Although, this set took twice as long
to build than I had predicted.
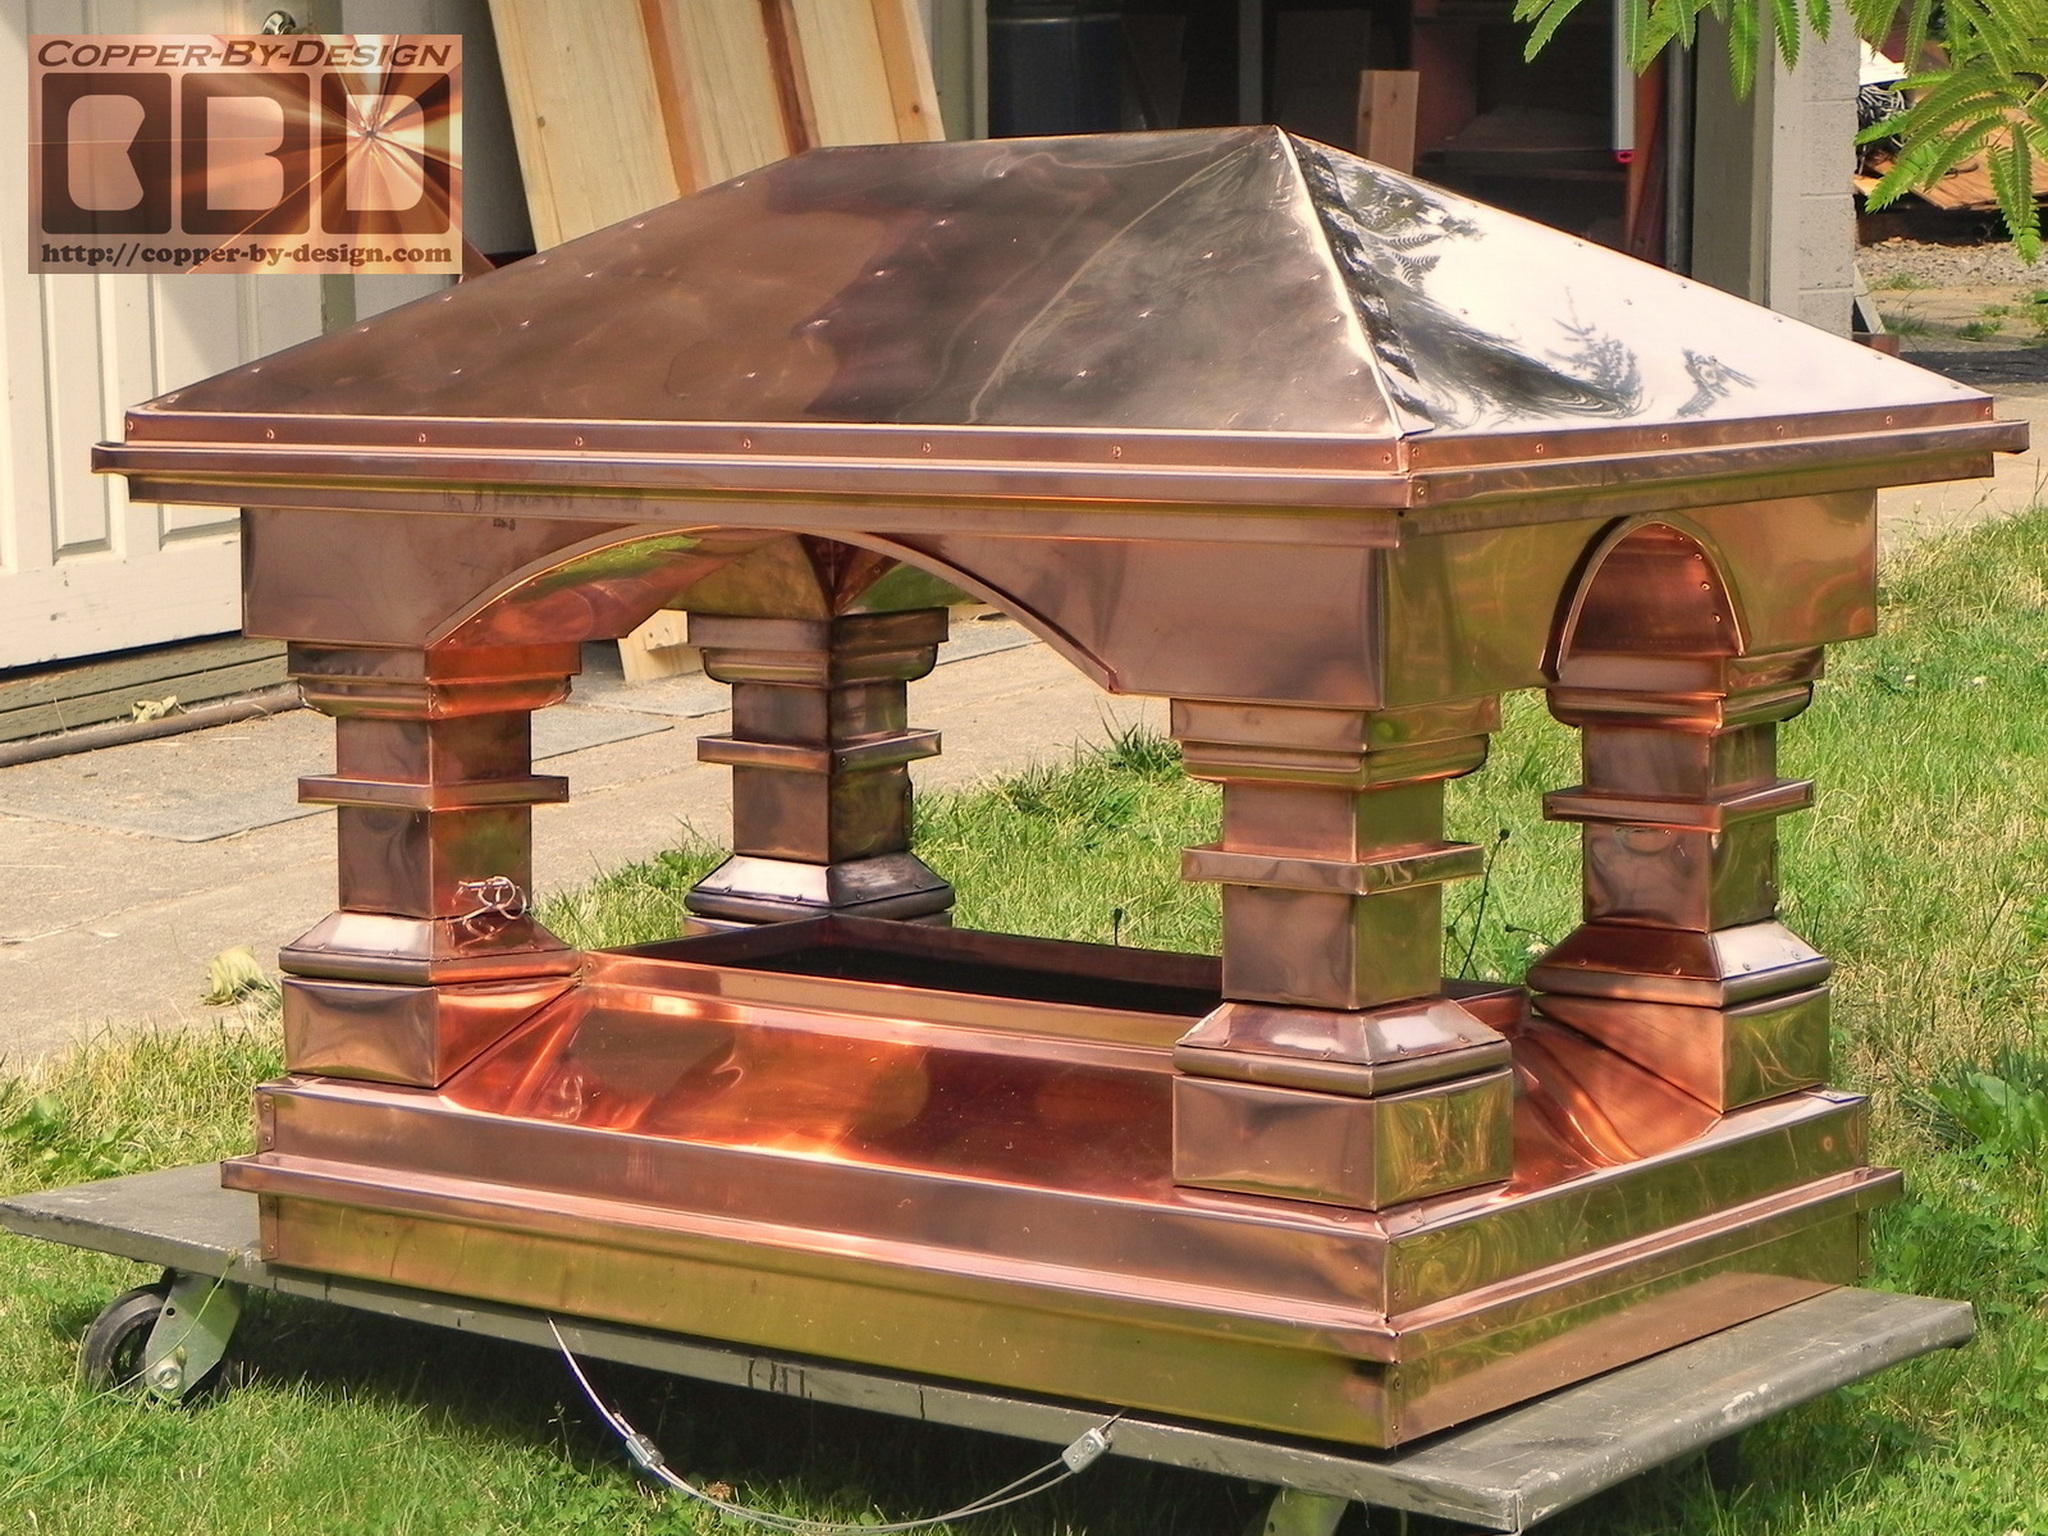
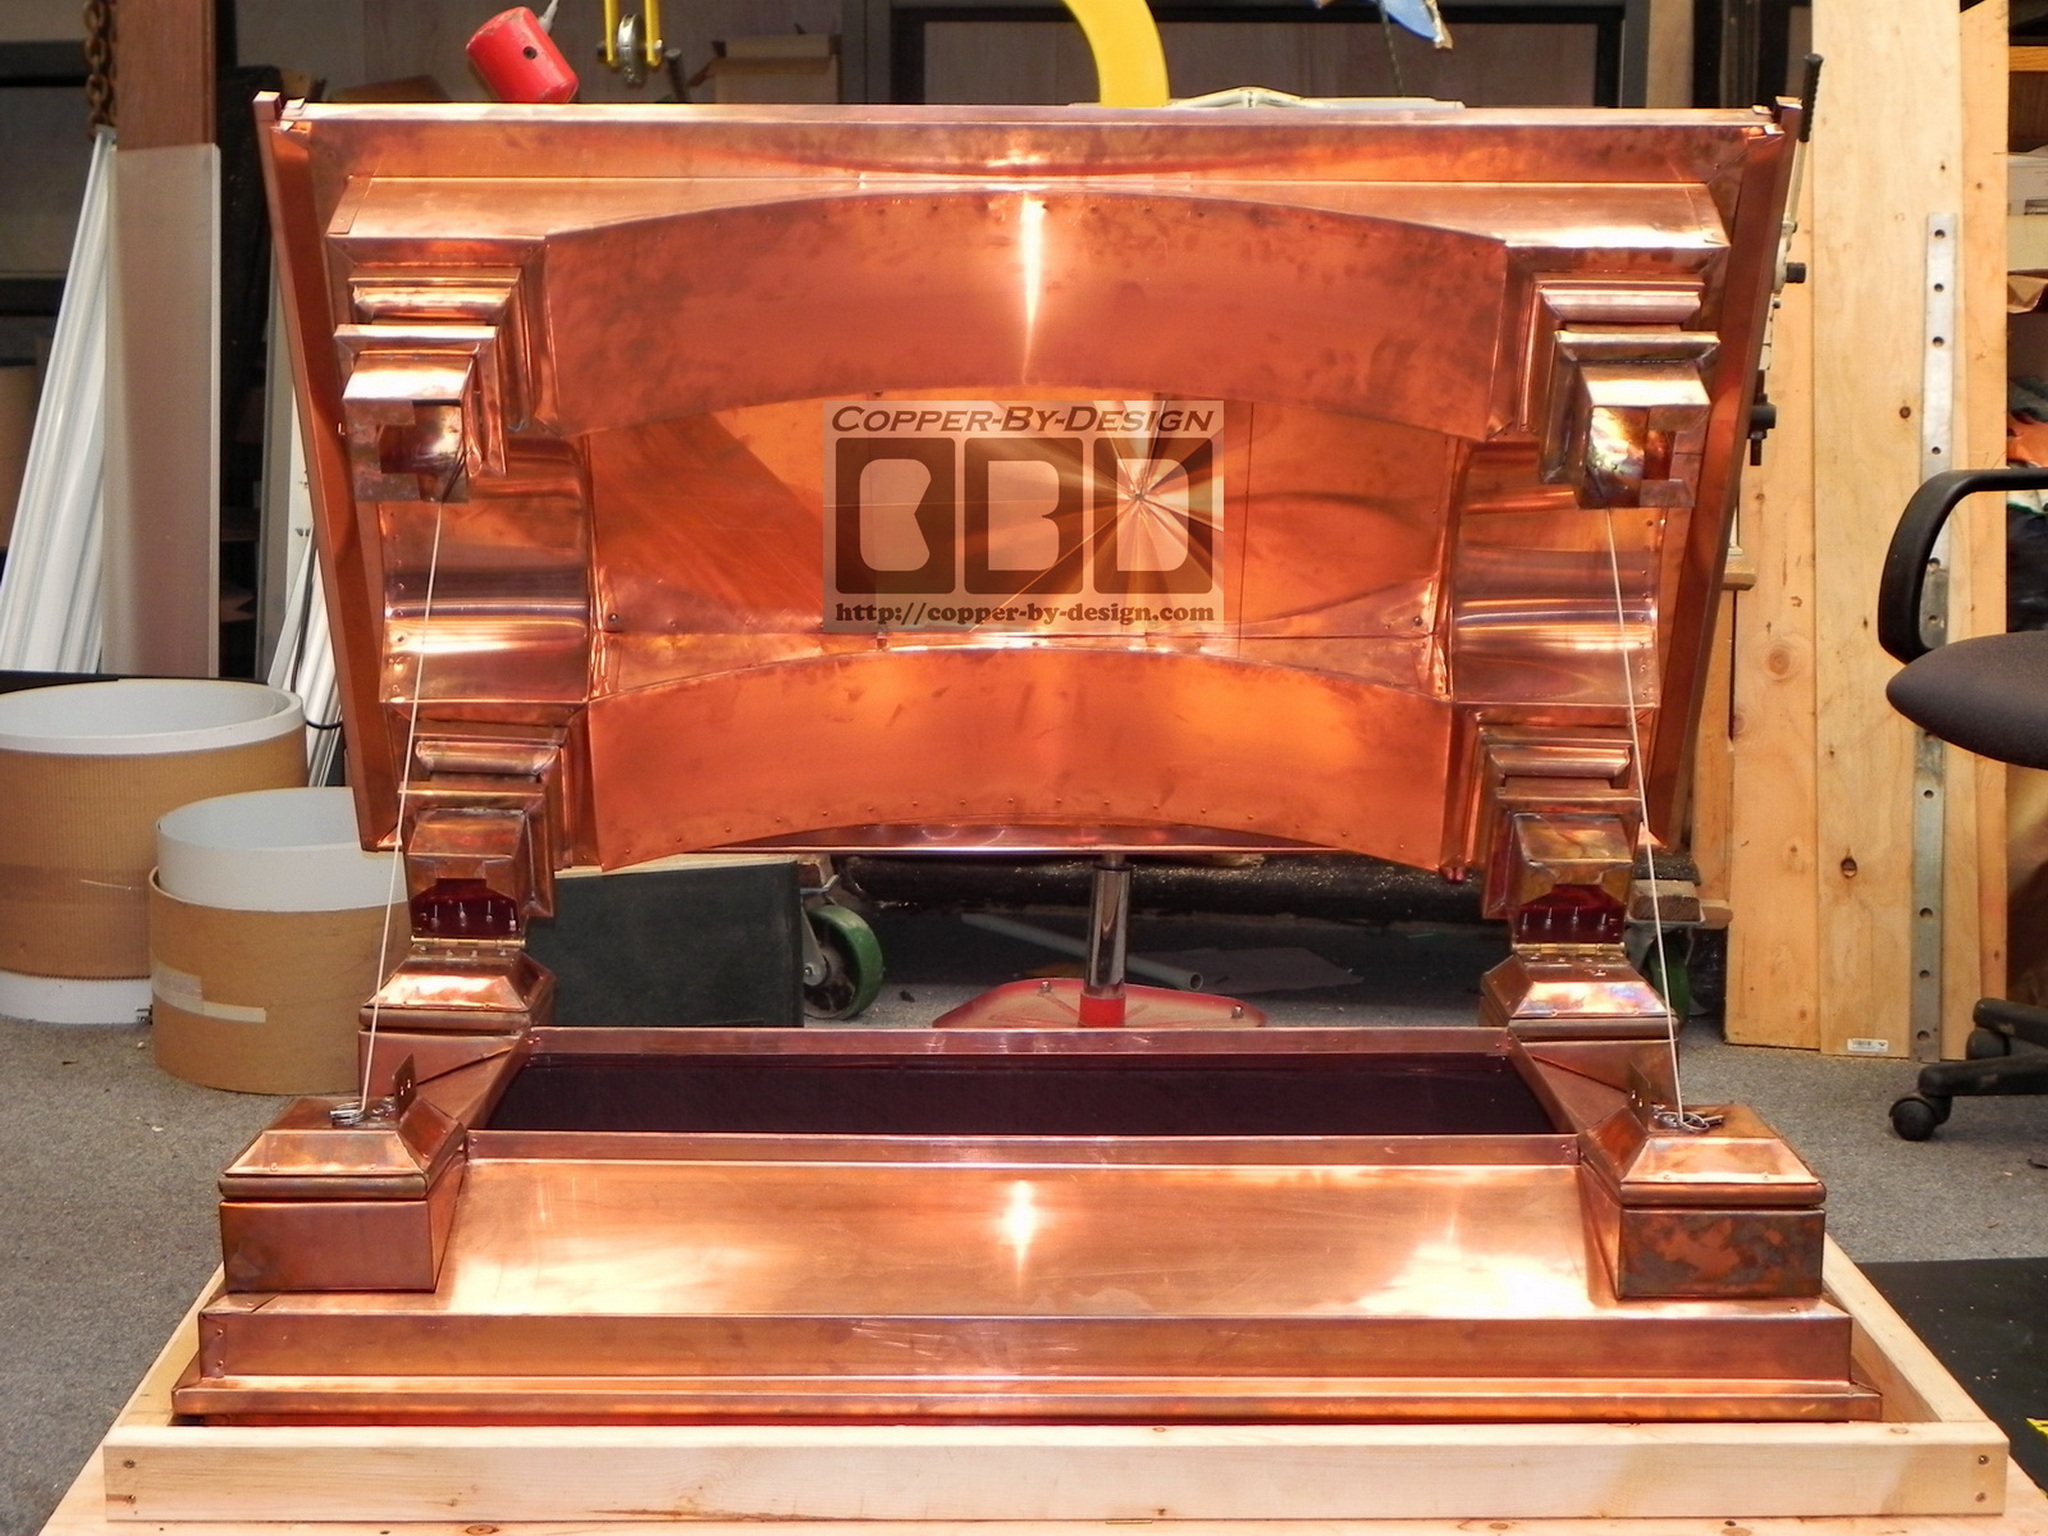
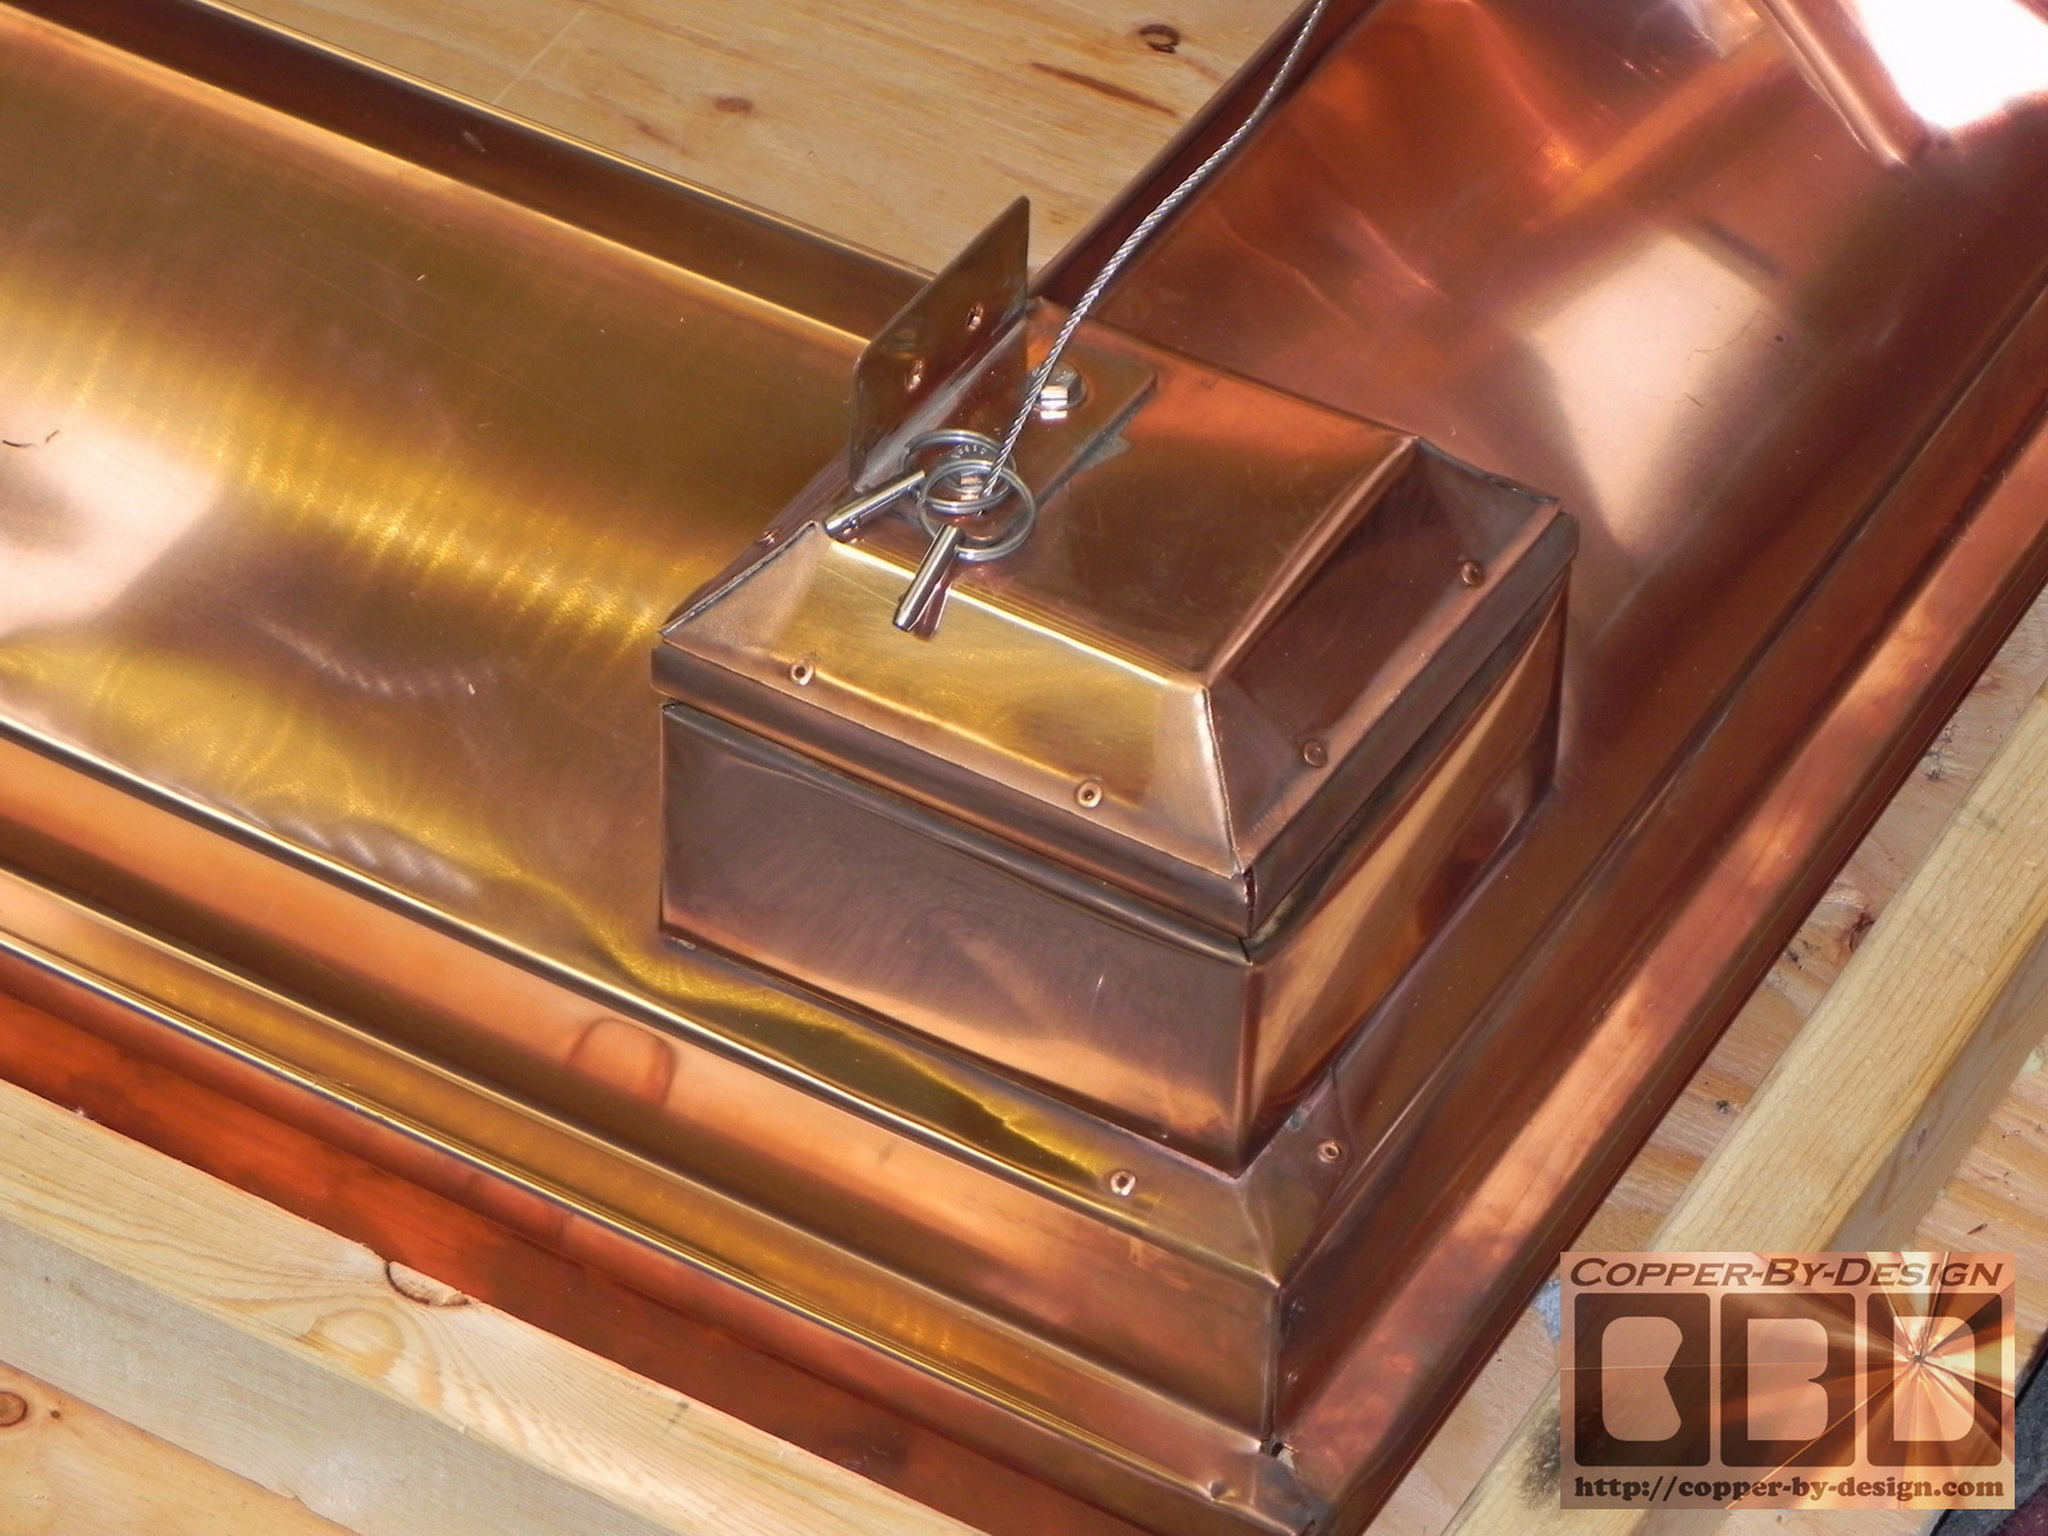
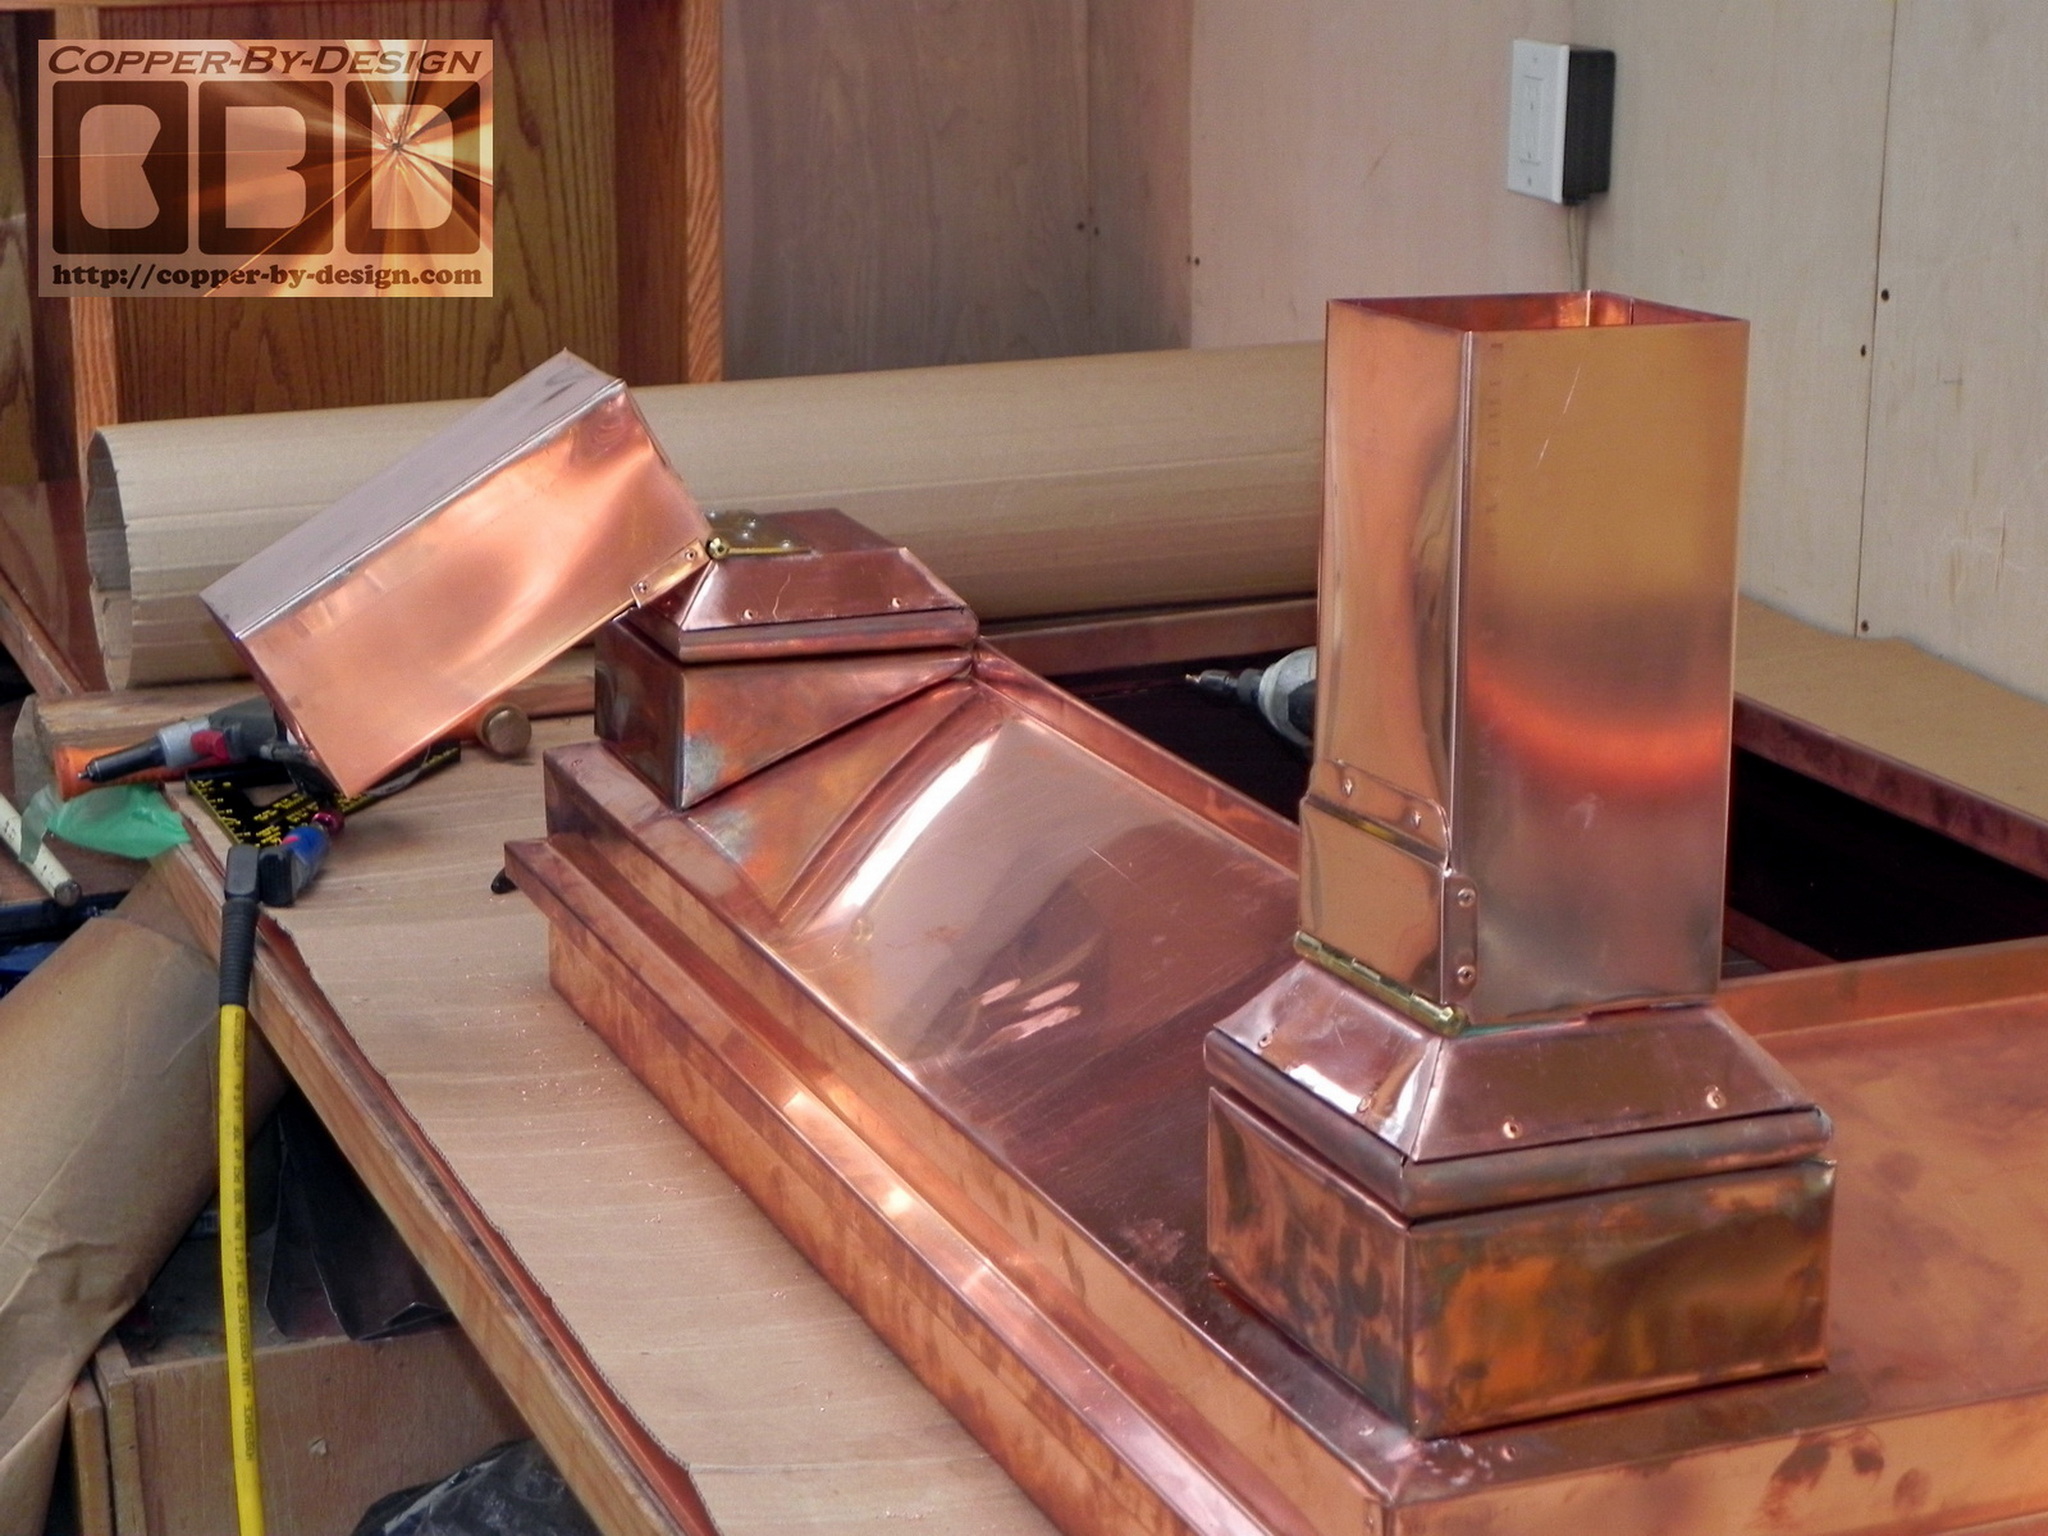
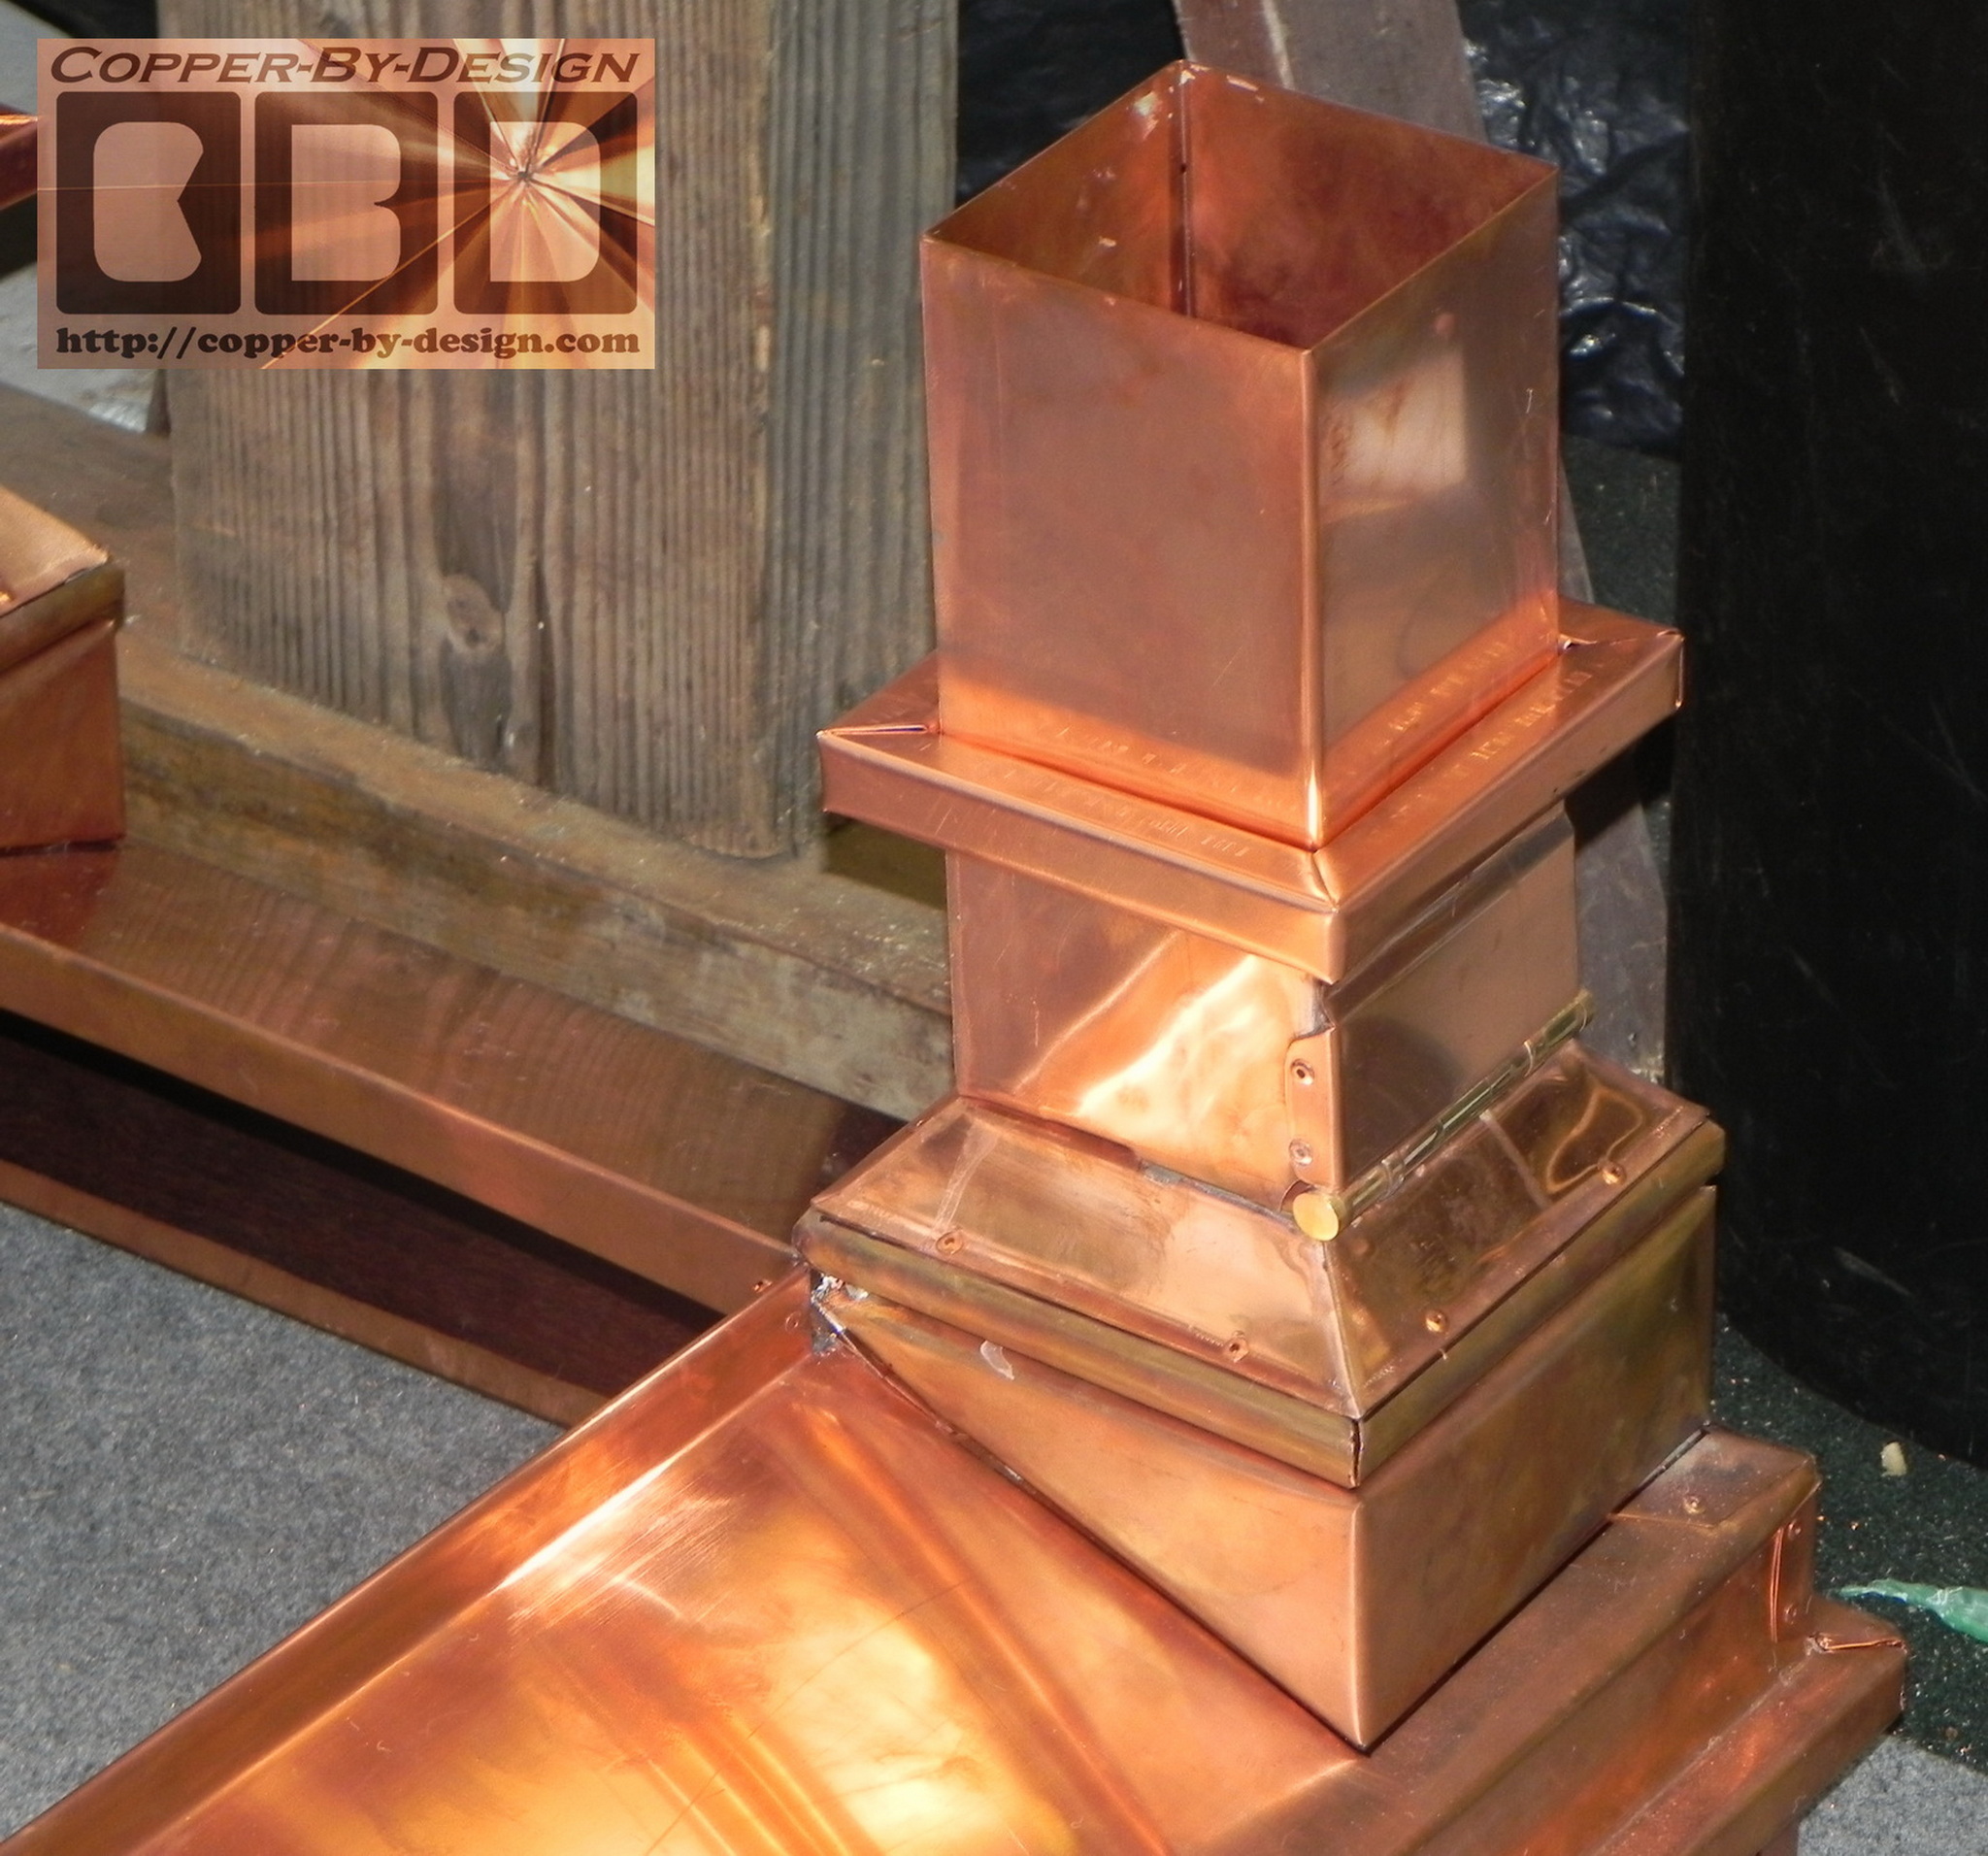
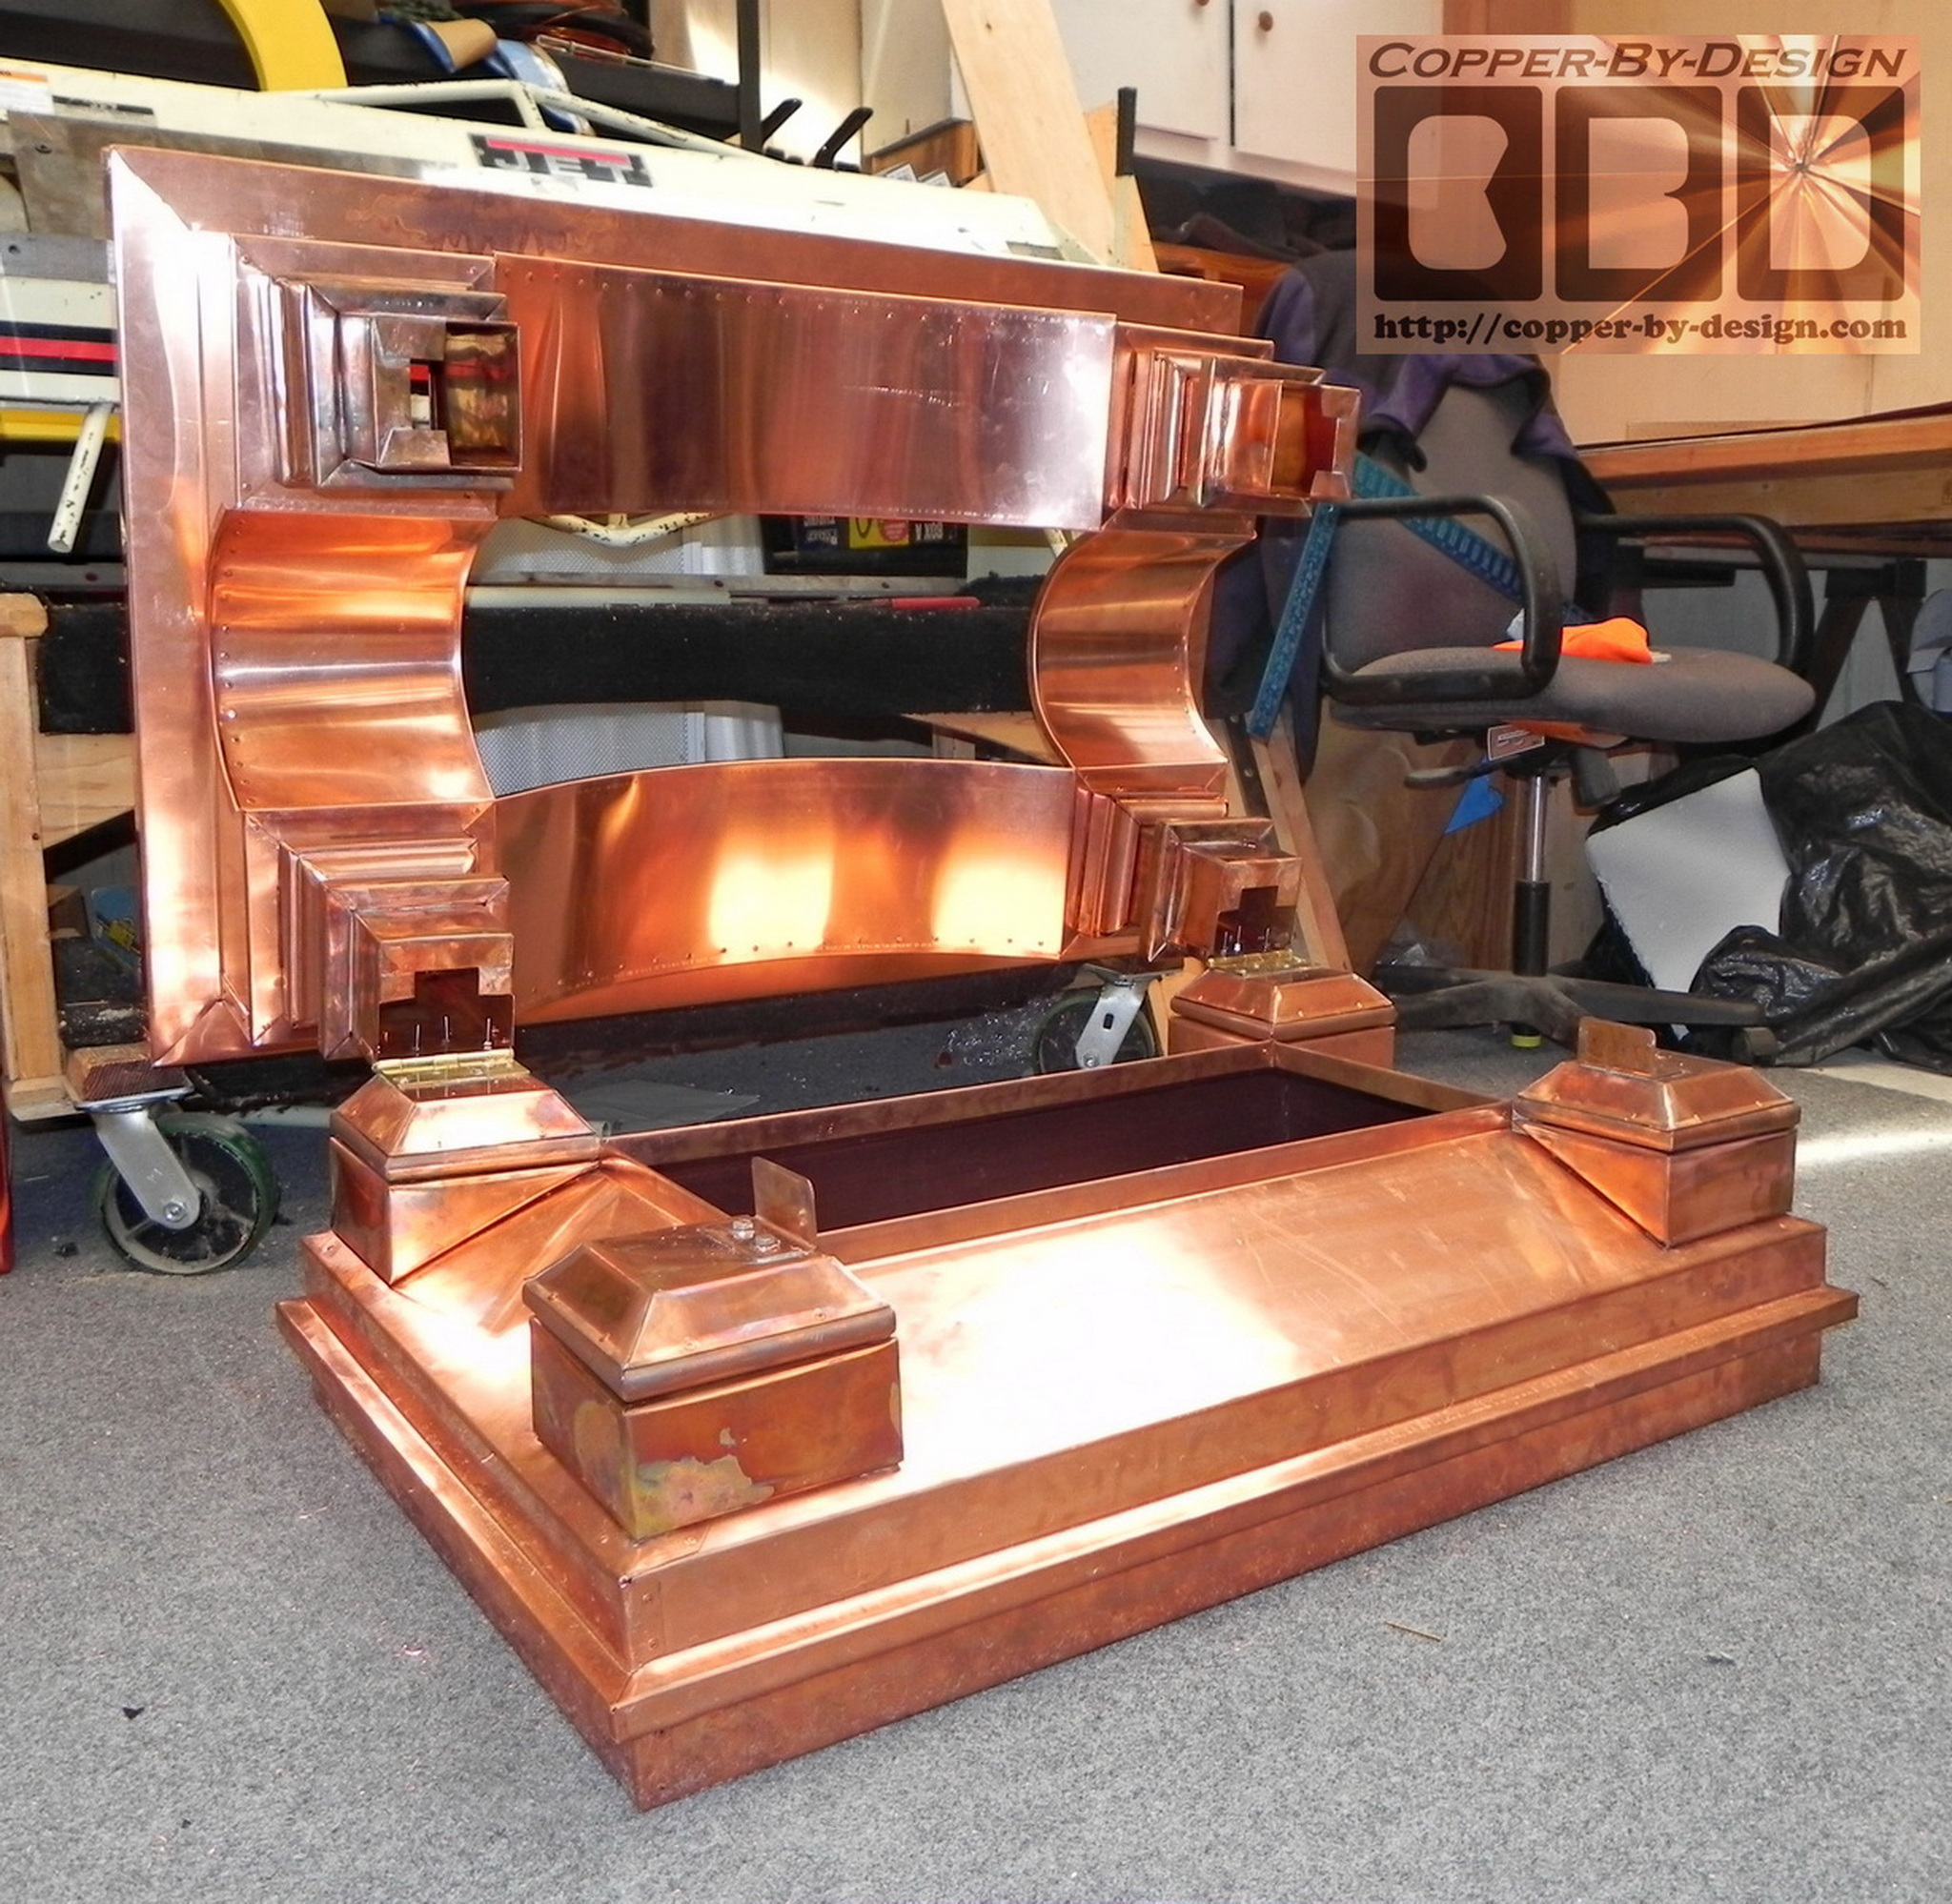
It was very trick to design
this to be simple enough to use and sturdy. I used 4" solid
brass door hinges and a stainless steel cable to keep it from
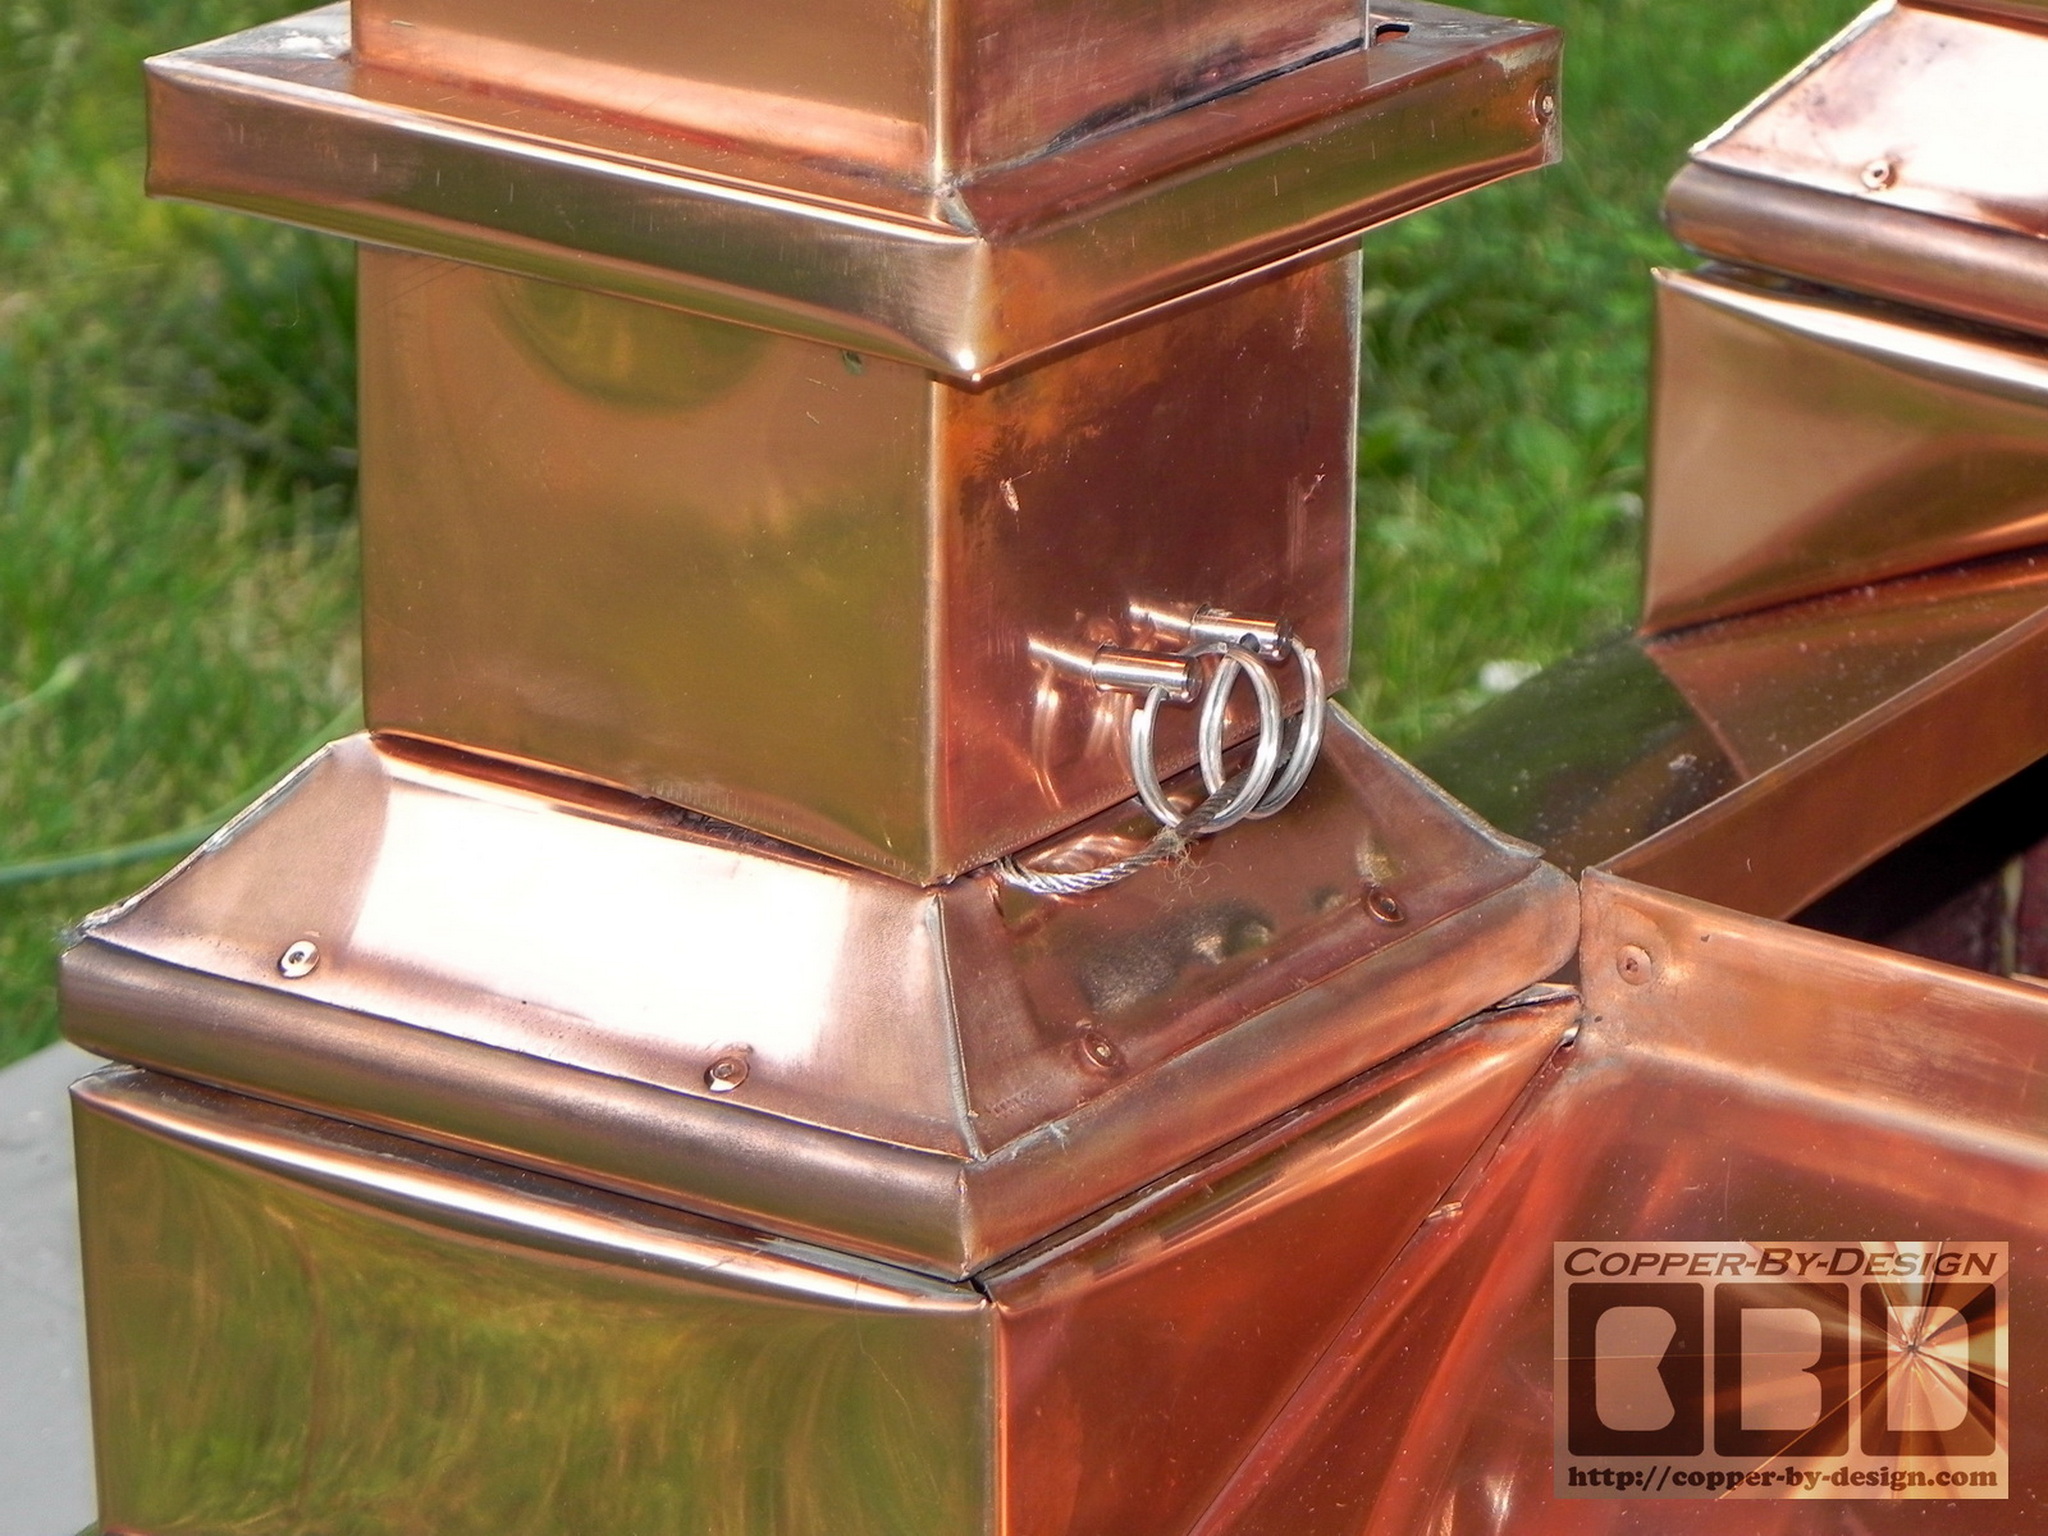
opening too wide. There's a set of 2 SS lock pins on each of the
columns on the other side from the hinges to keep it shut when
not open. They are strung on the SS cable, so they will not get
dropped and lost.
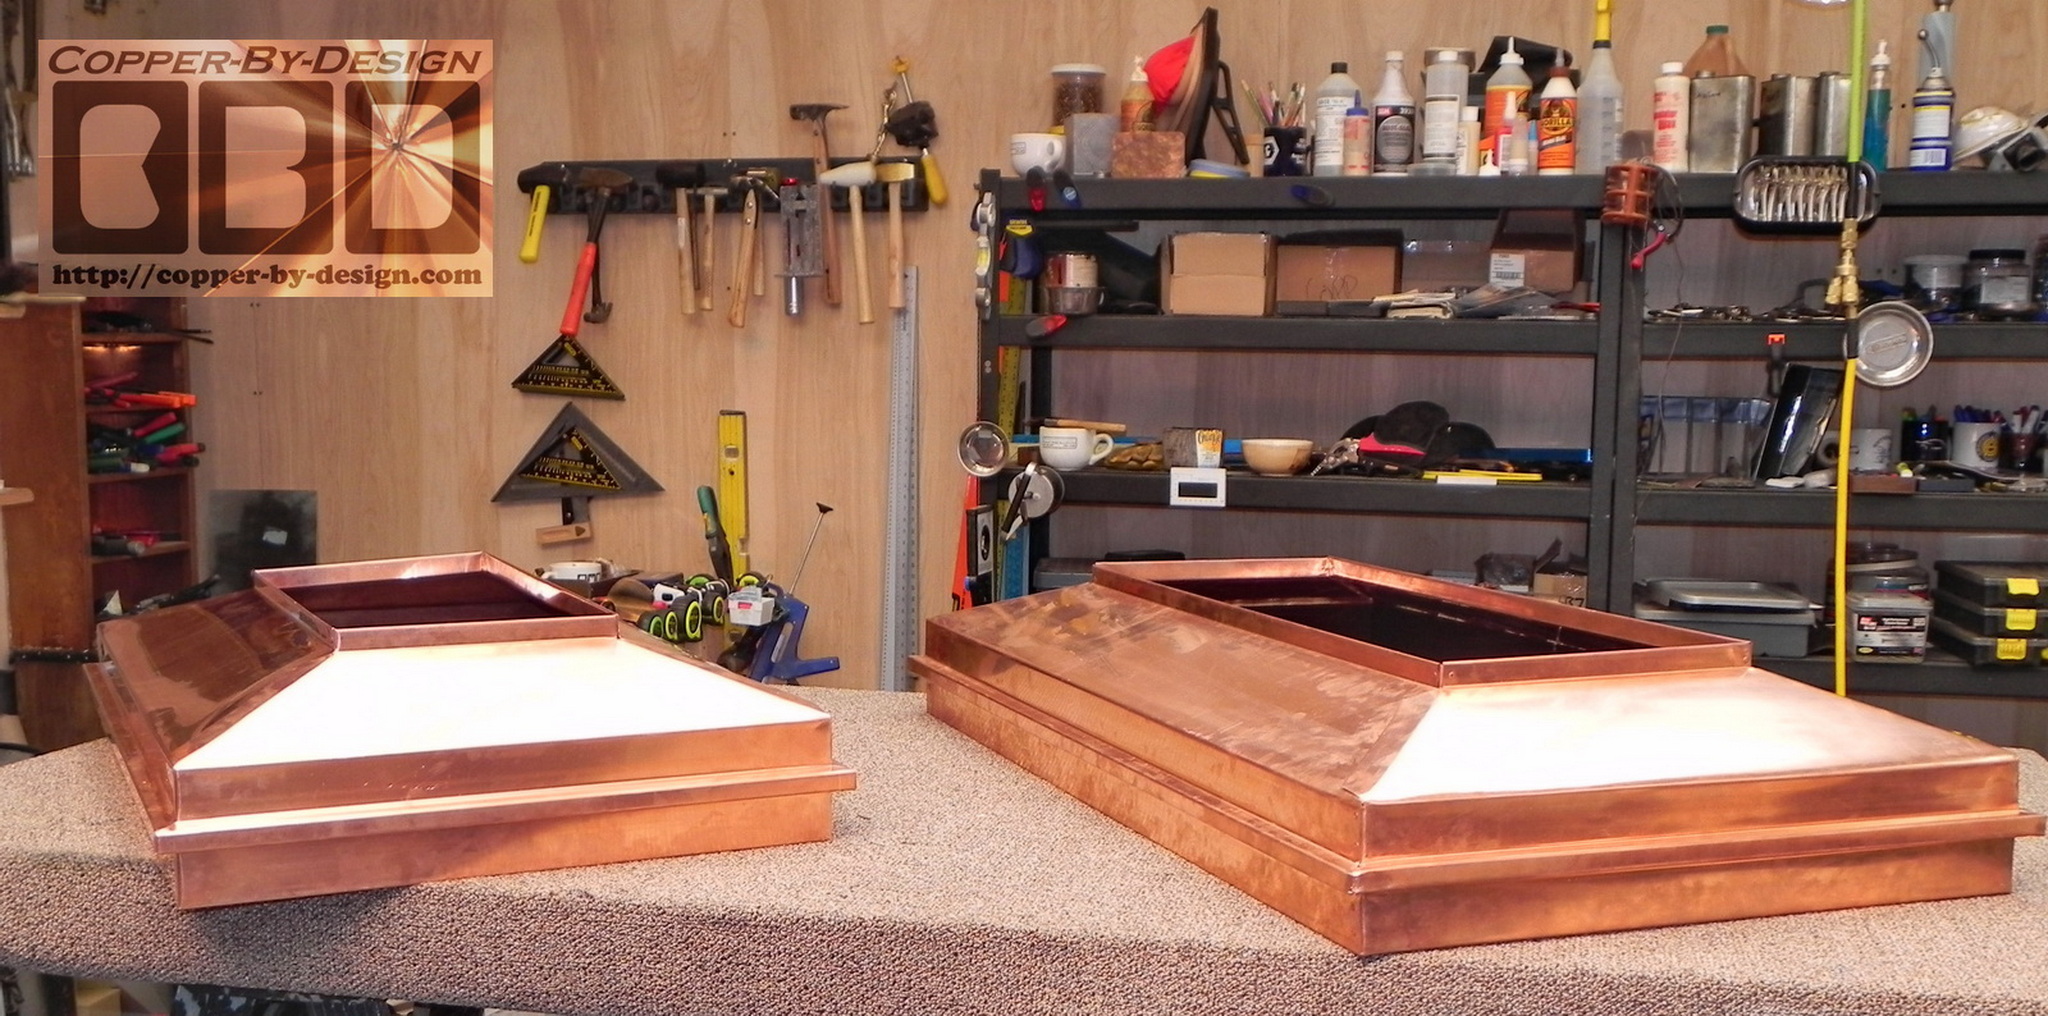
I designed the roof line to
match their
house roof line with a hipped 6/12 pitch, so this will look more
like what the architect might have designed for this house. The
client approved this design and has been very pleased with the
results.
David,
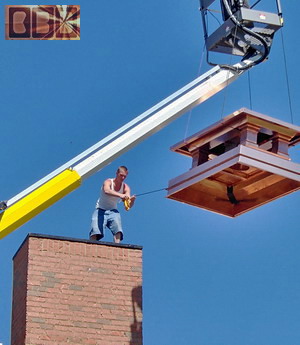
They really look great – that last picture with the roof on was
like “wow”. The construction of the caps is extremely
impressive, they look like they will withstand a category 5
hurricane. I can’t wait to see what they are going to look like
on my house.
Chuck
At 12:45 PM 11/12/2012, you wrote:
David, Hope all is well and business is good.
Wanted to shoot you a quick e-mail message and let you know how
pleased I am with the chimney caps. I’m sure you’ve heard about
hurricane Sandy that affected the north East Coast. I’m happy to
let you know that both chimney caps made it through the storm
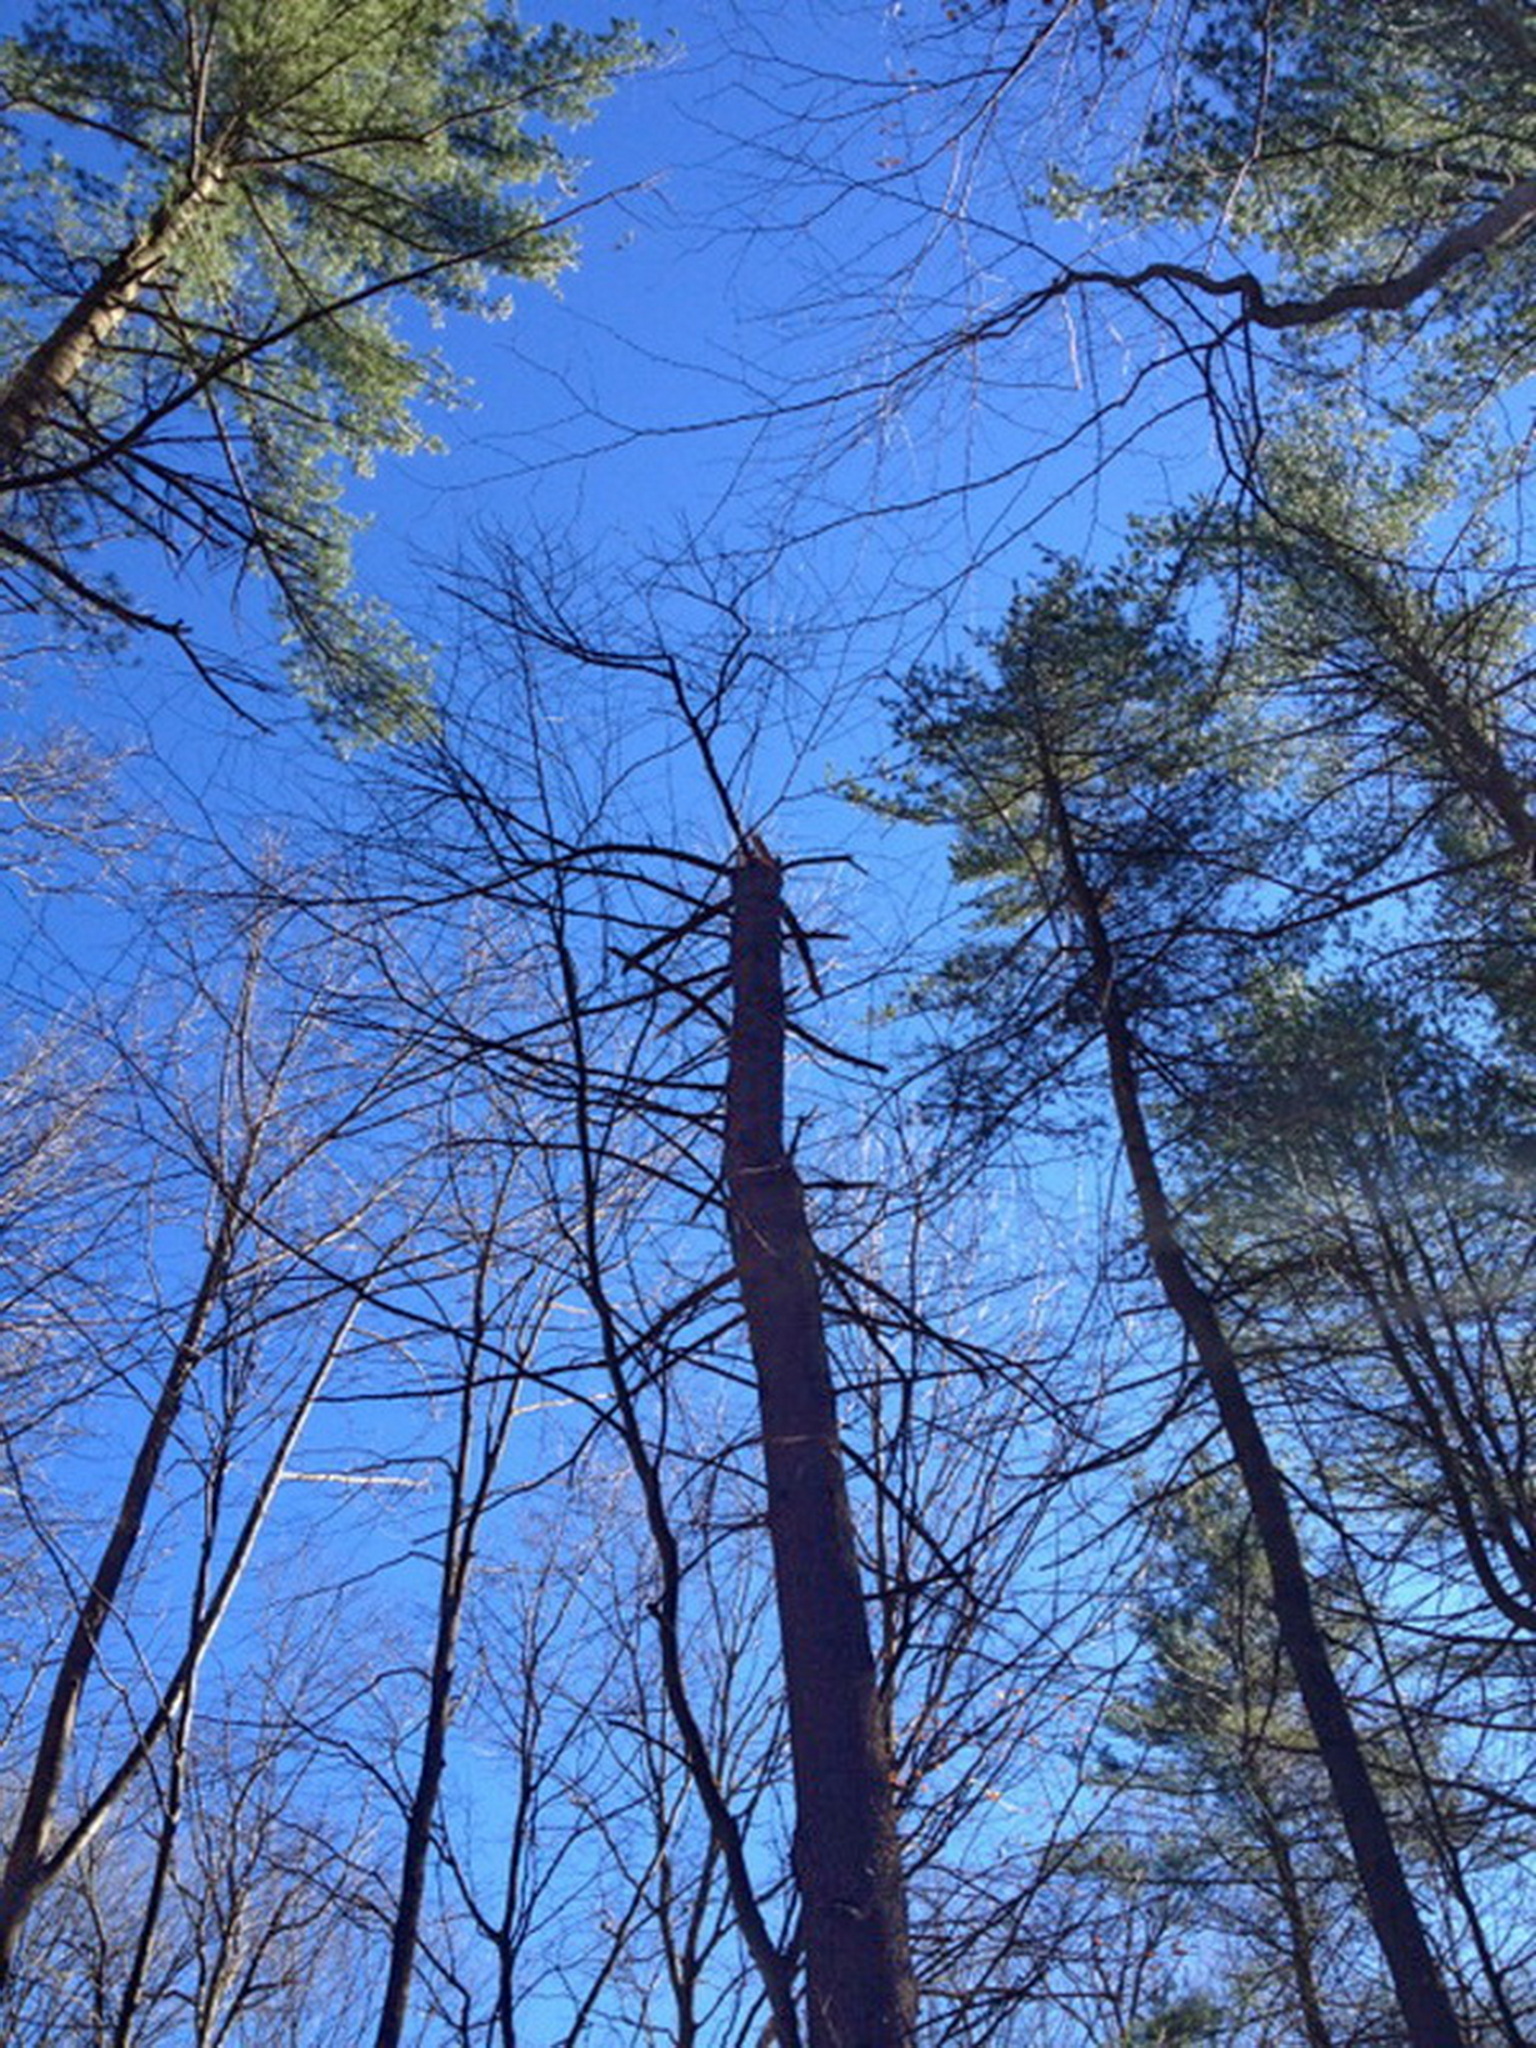
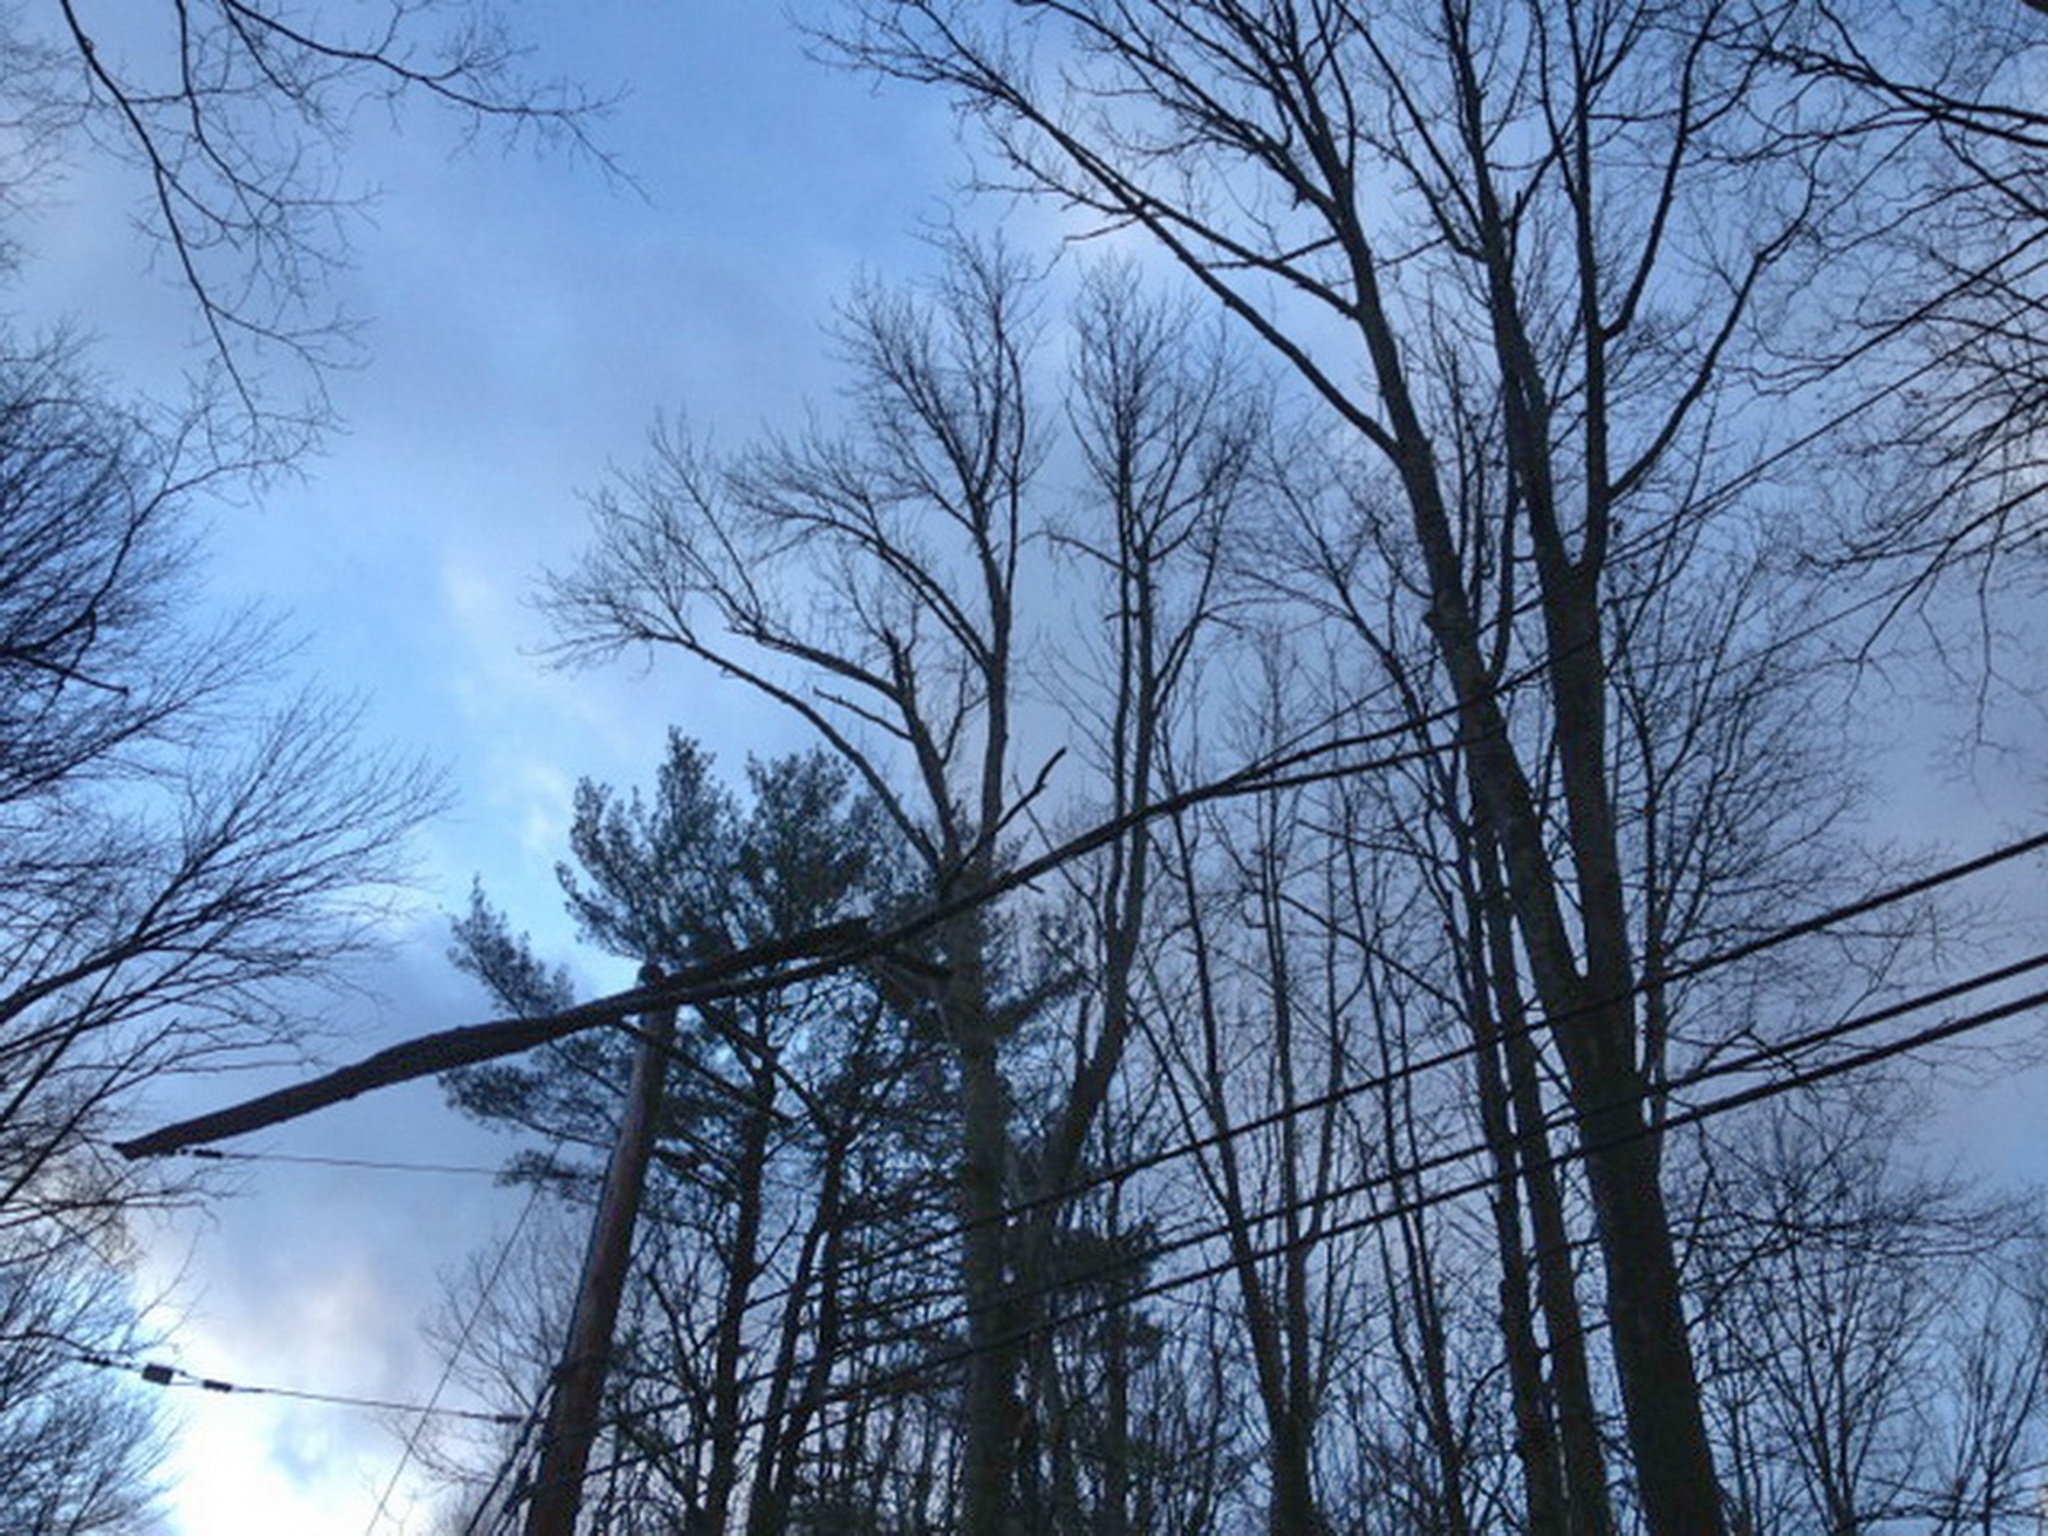
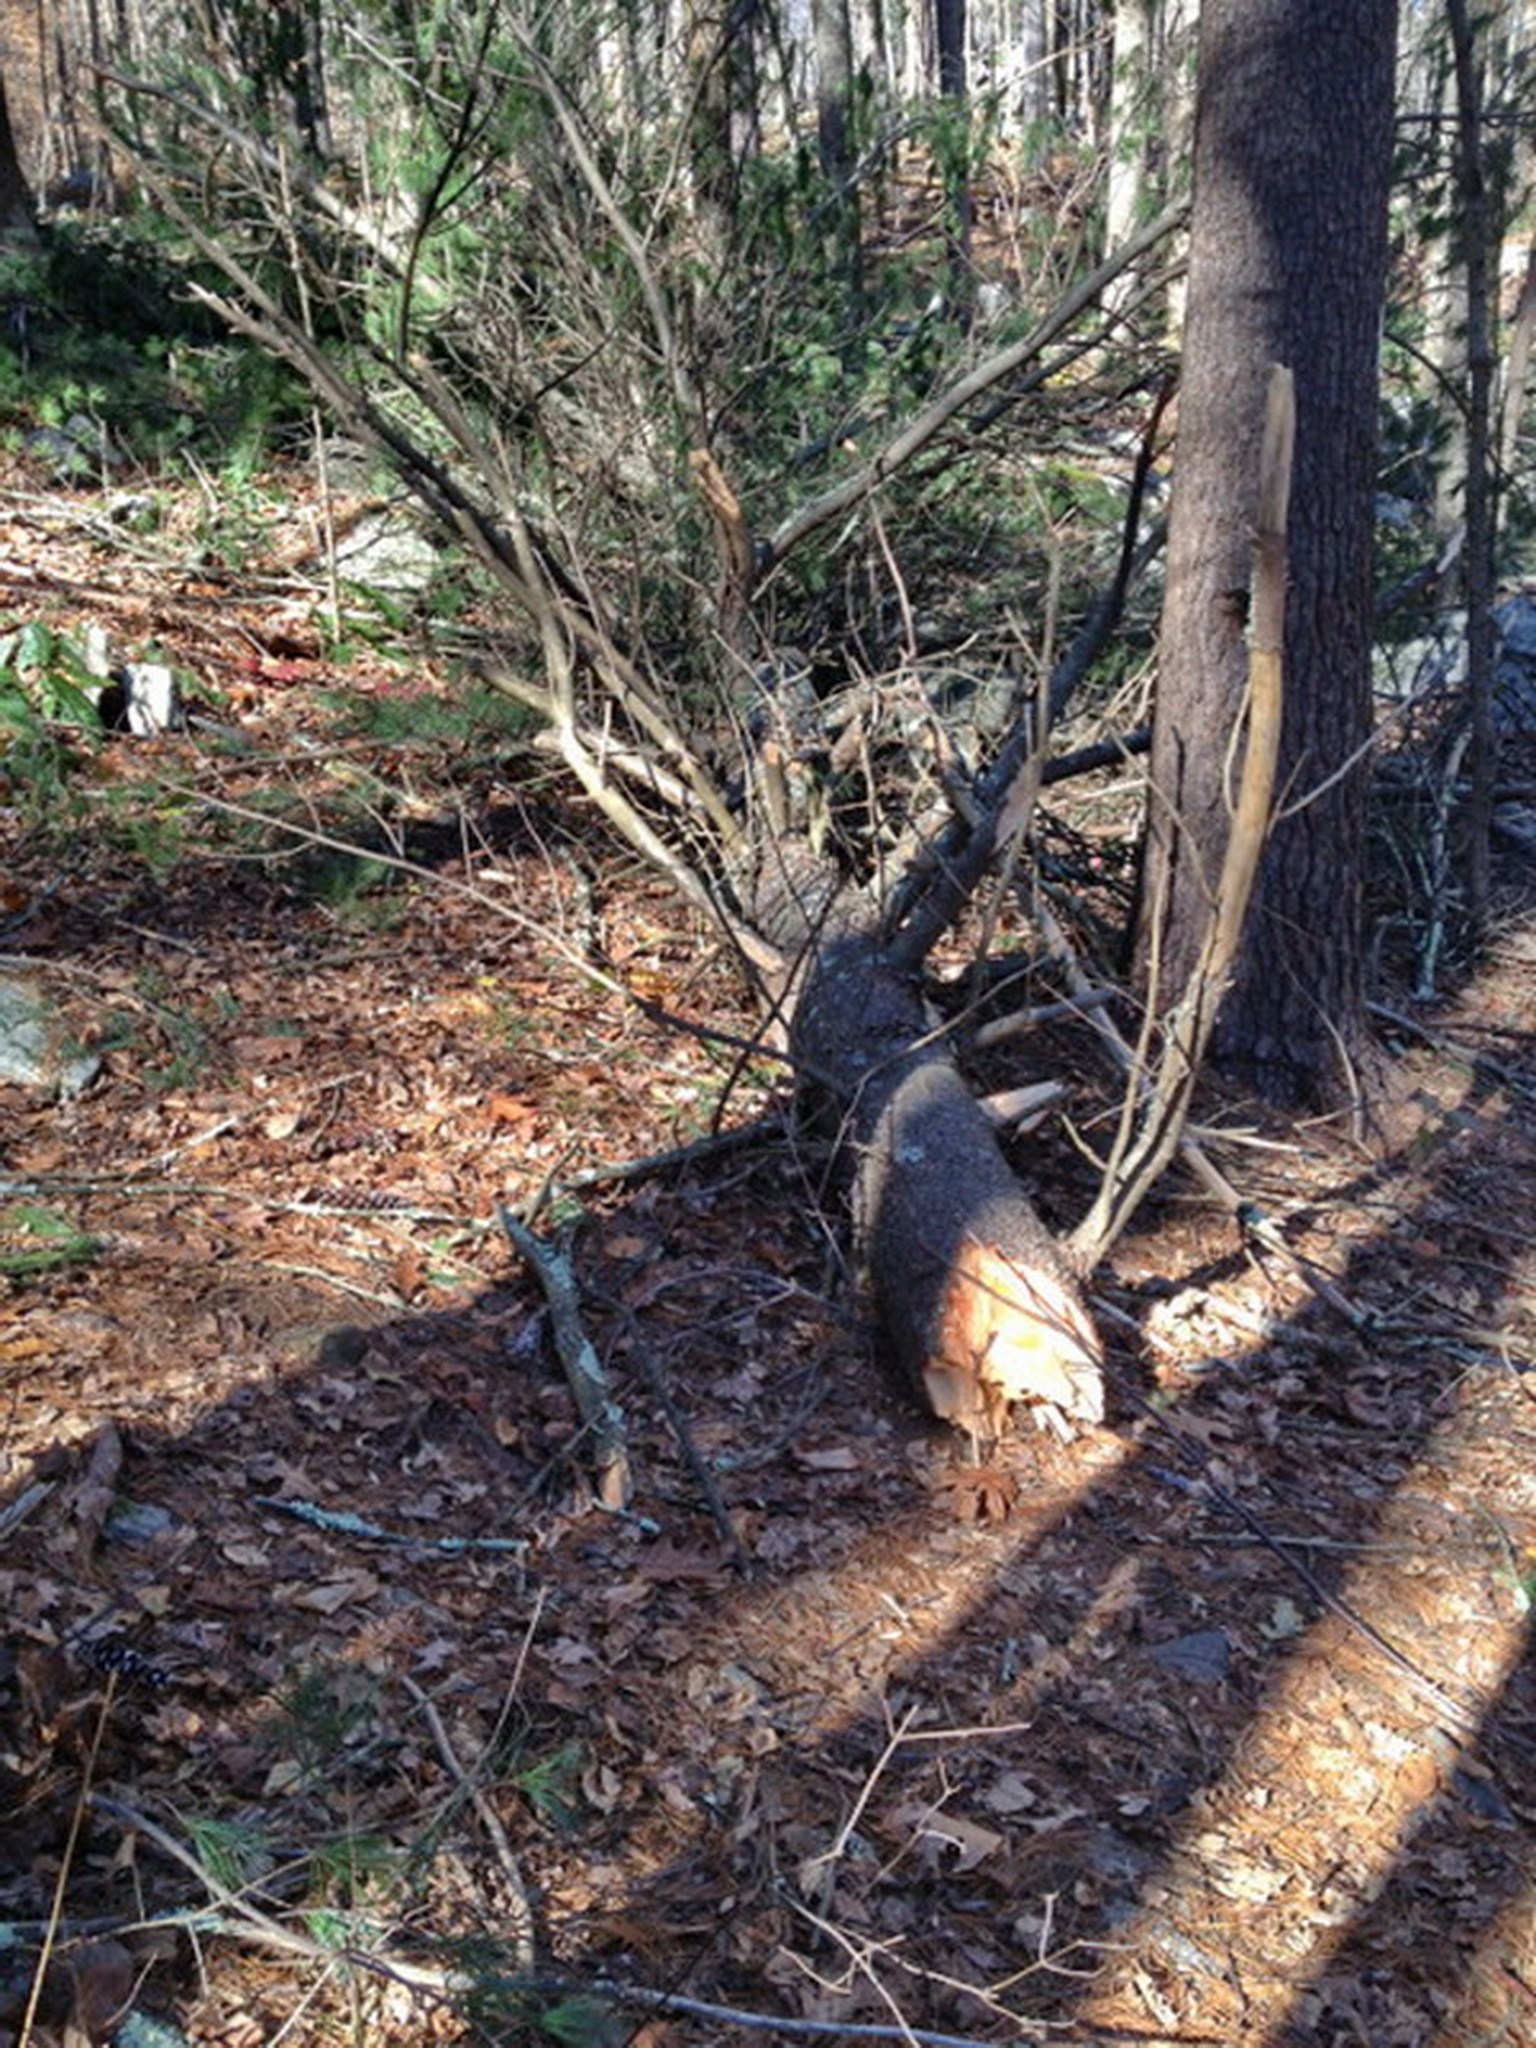
without an issue. Attached are a couple of pictures, 1st is a
giant tree limb hung up in the electrical wires across the
street from my house, the other is the top of a tree in my back
yard that the wind snapped like a twig and the other is where
the top of the tree came from. Yesterday I cleaned one of the
chimneys, took about ½ the time and was a way less aggravating.
The “pins” were a much better idea than a thumb screws.
Still a very
satisfied customer, Chuck
Drafting Out & Forming the Base/Skirt
(6/8/2012):
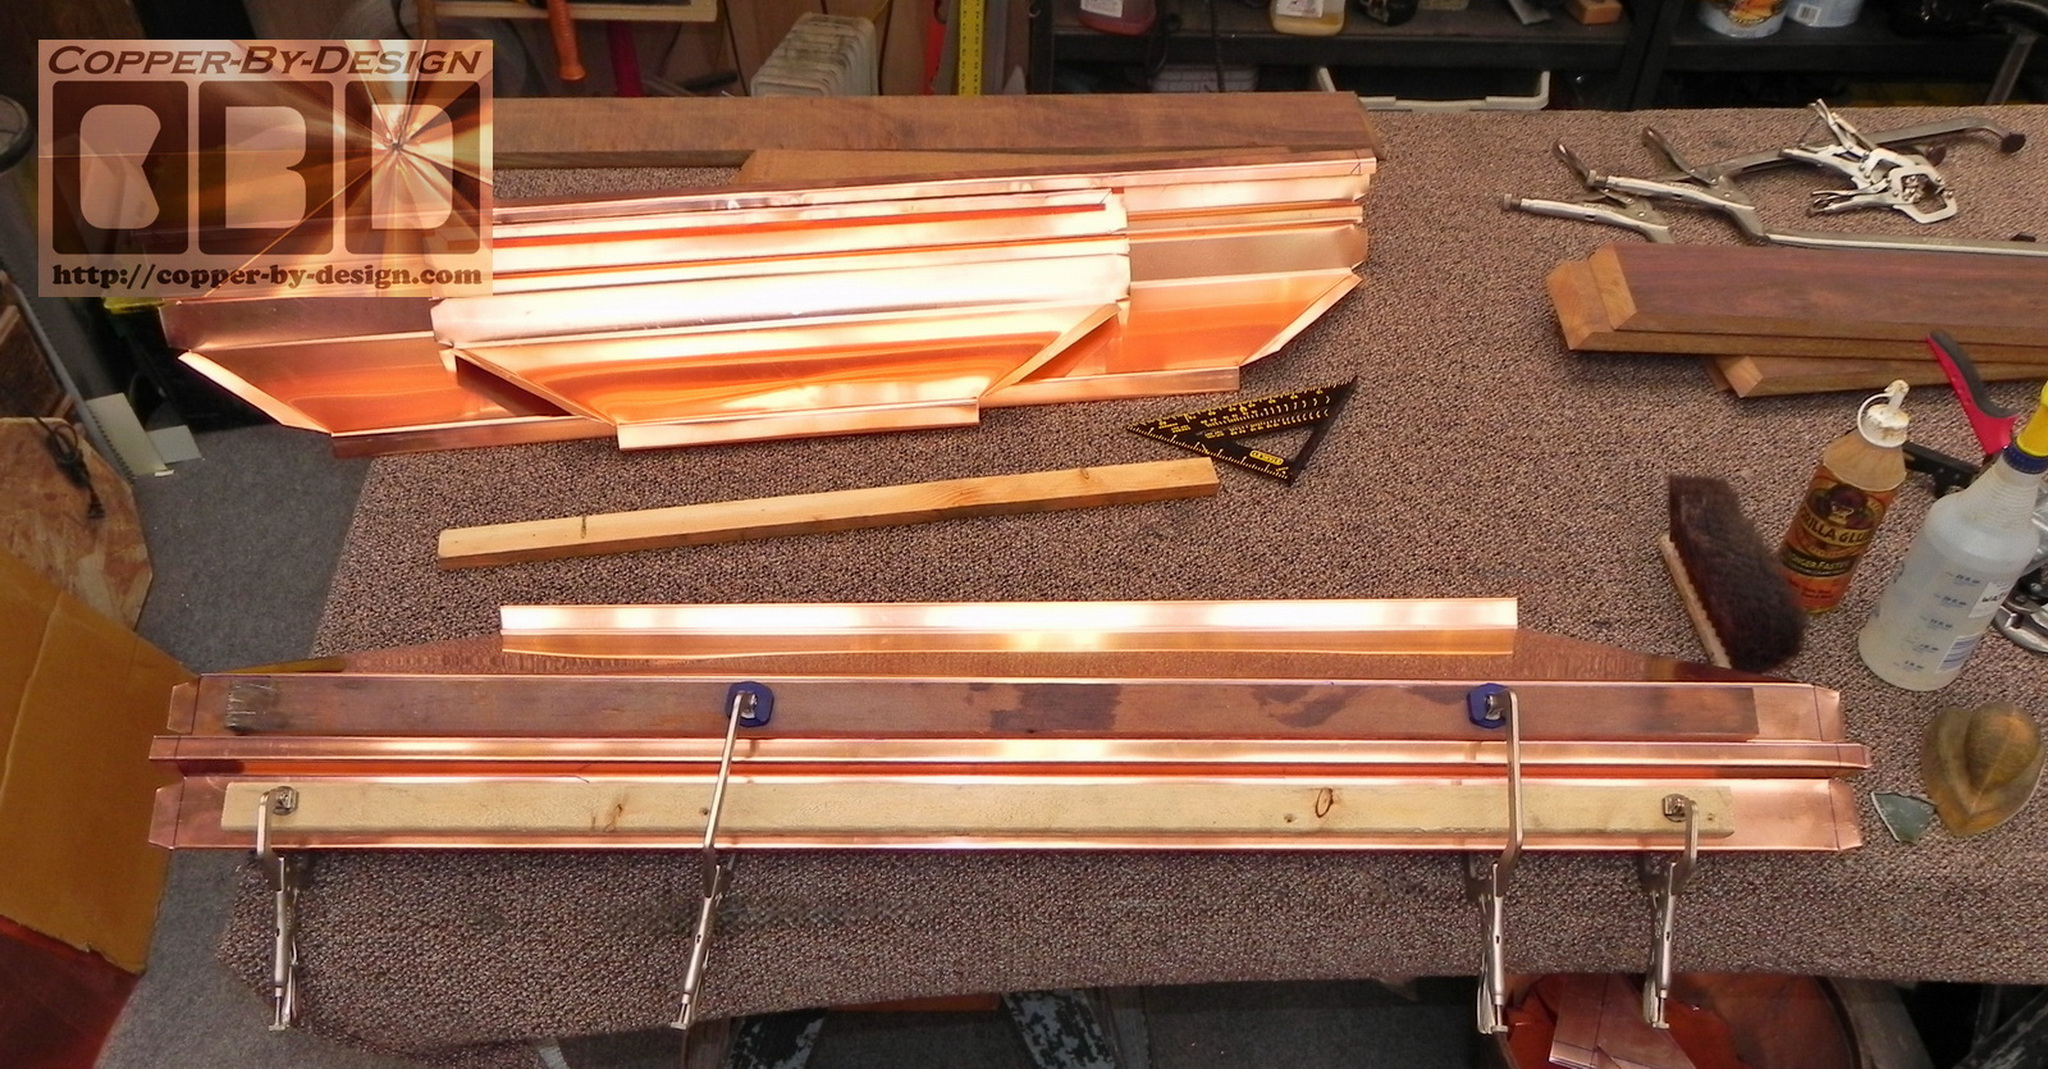
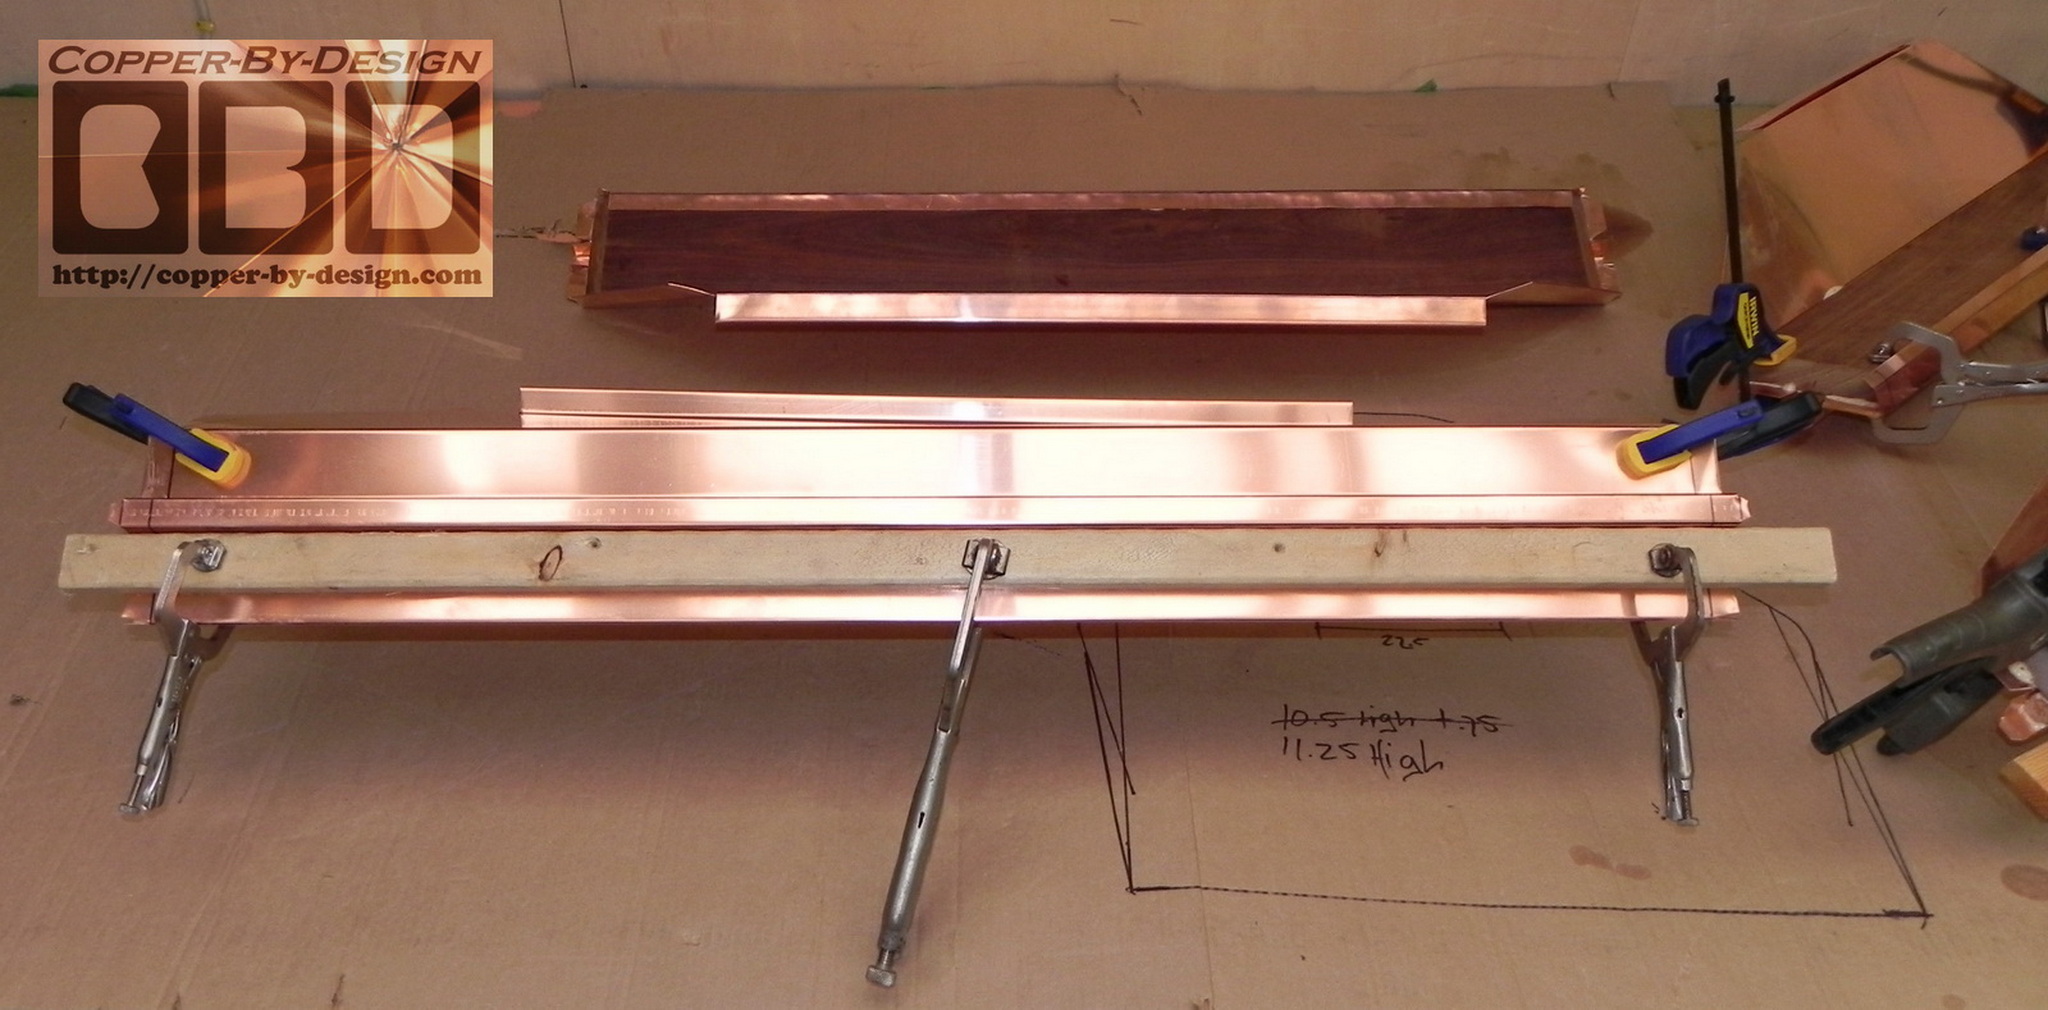
Here's the 1X6 Ipe hardwood
support frame I need to build inside the copper base that helps
anchor this down in high wind storms. Each board was cut on all 4
sides at an angle. The top and bottom were cut on my table saw at a
26.5 degree angle and the ends were cut at a 45 degree angle
to miter them together. They will be positioned down low where it
should not suffer heat from the chimney and shielded from the
elements.
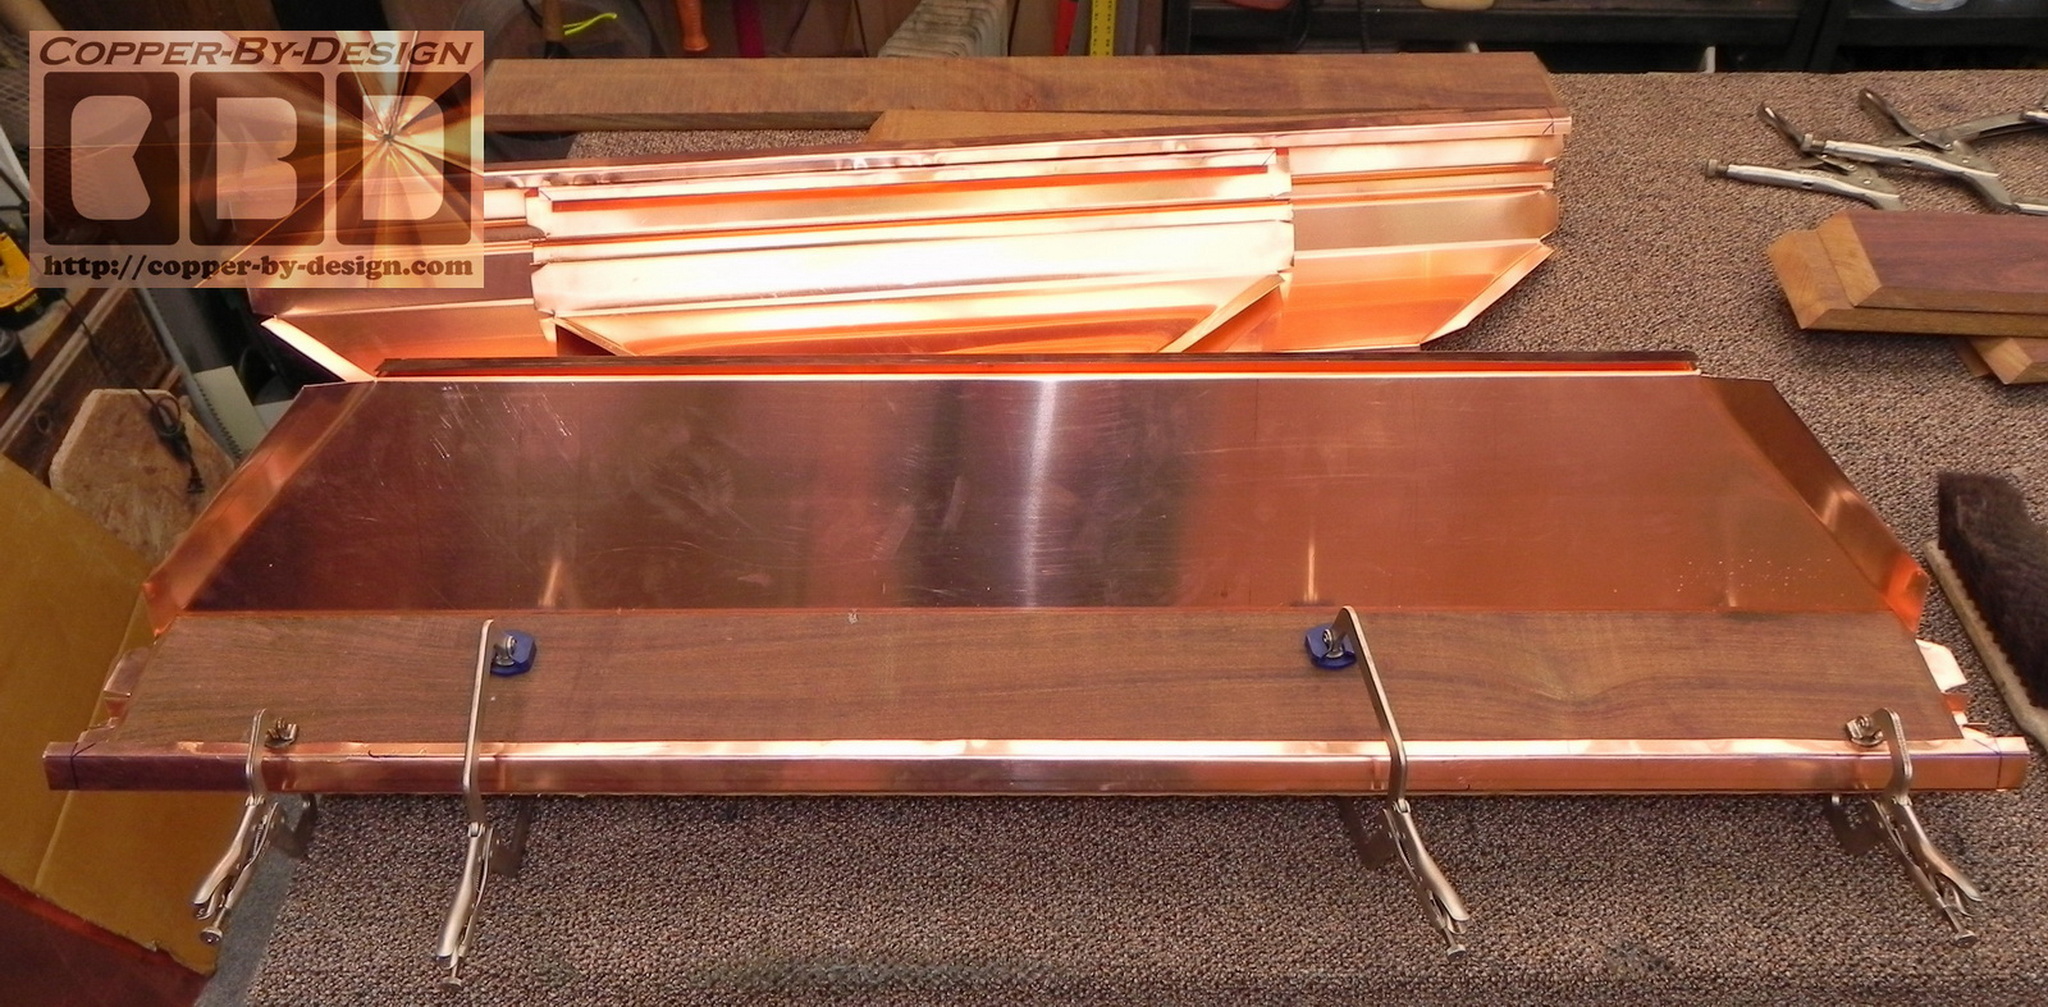
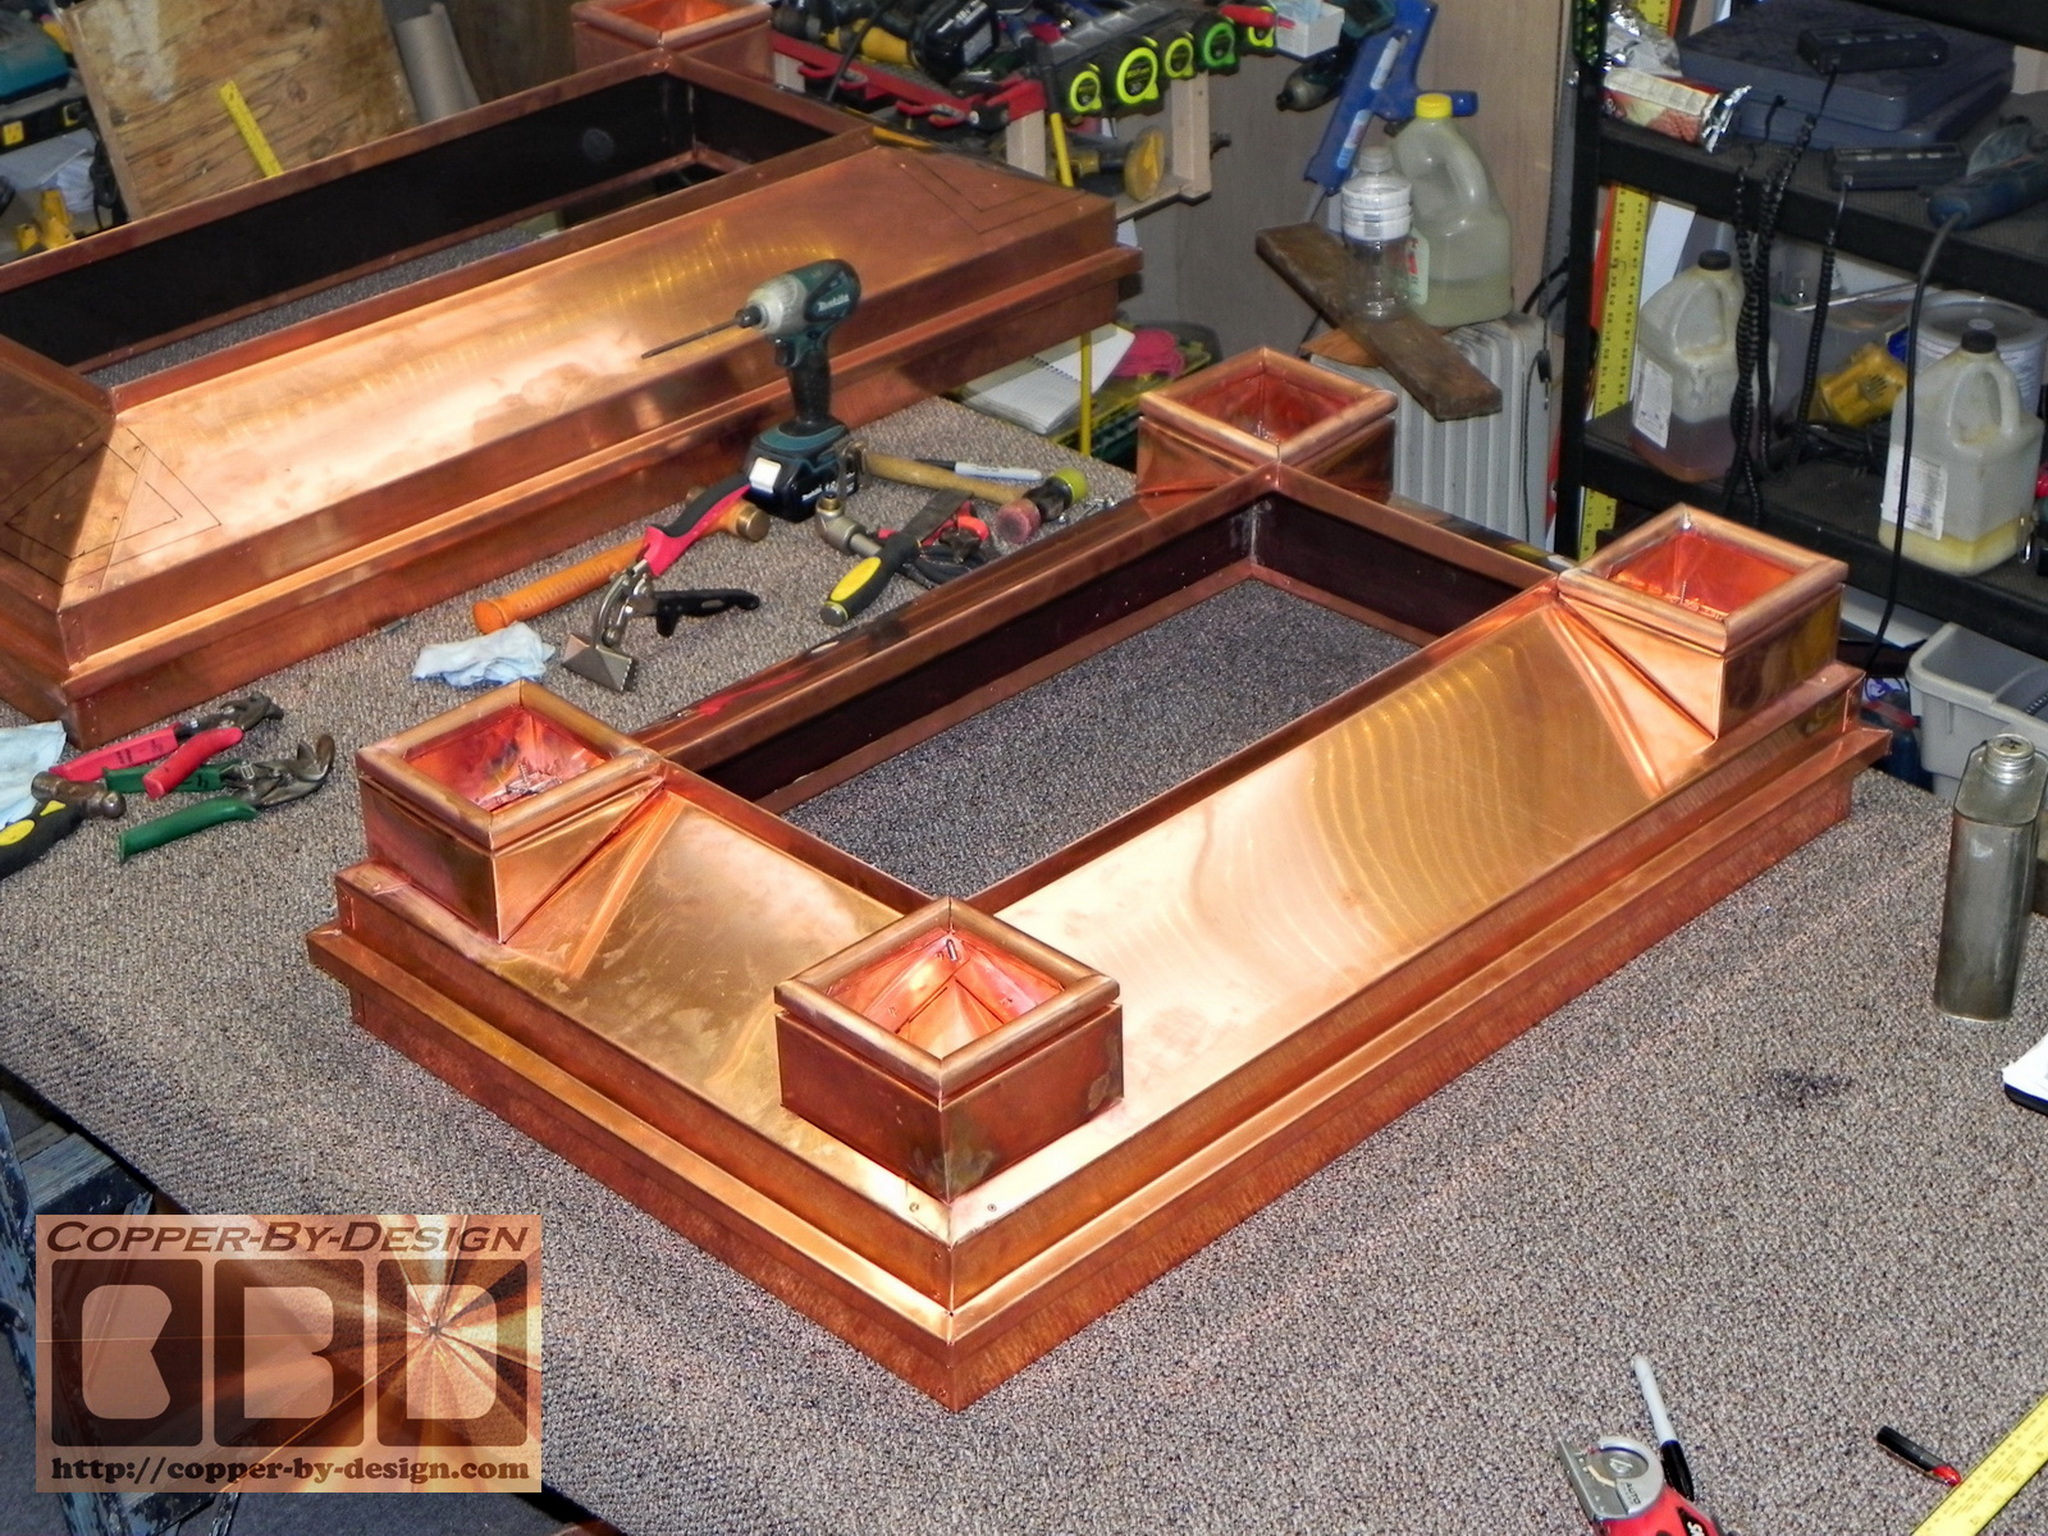
Above left you can see the
inside of the base/skirt for the chimney cap cut out and
shaped with the wood being pressed down into the frame
while the expanding Gorilla Glue sets. Then it is ready to be
assembled into this base/skirt seen below right. The inside of the hardwood
is treated with pure tung oil to keep it
from moisture.
We even added a small board inside the square trim so it
is not just hollow.
From: "Bucchioni,
Charles" <Charles.Bucchioni@ge.c*m> Subject: RE: Custom no-rust copper sheet
metal chimney caps fabrication Date: Wed, 13 Jun 2012 David,
I got them all. I never realized how the anticipation level
increases seeing these things getting formed and assembled. They
look great.
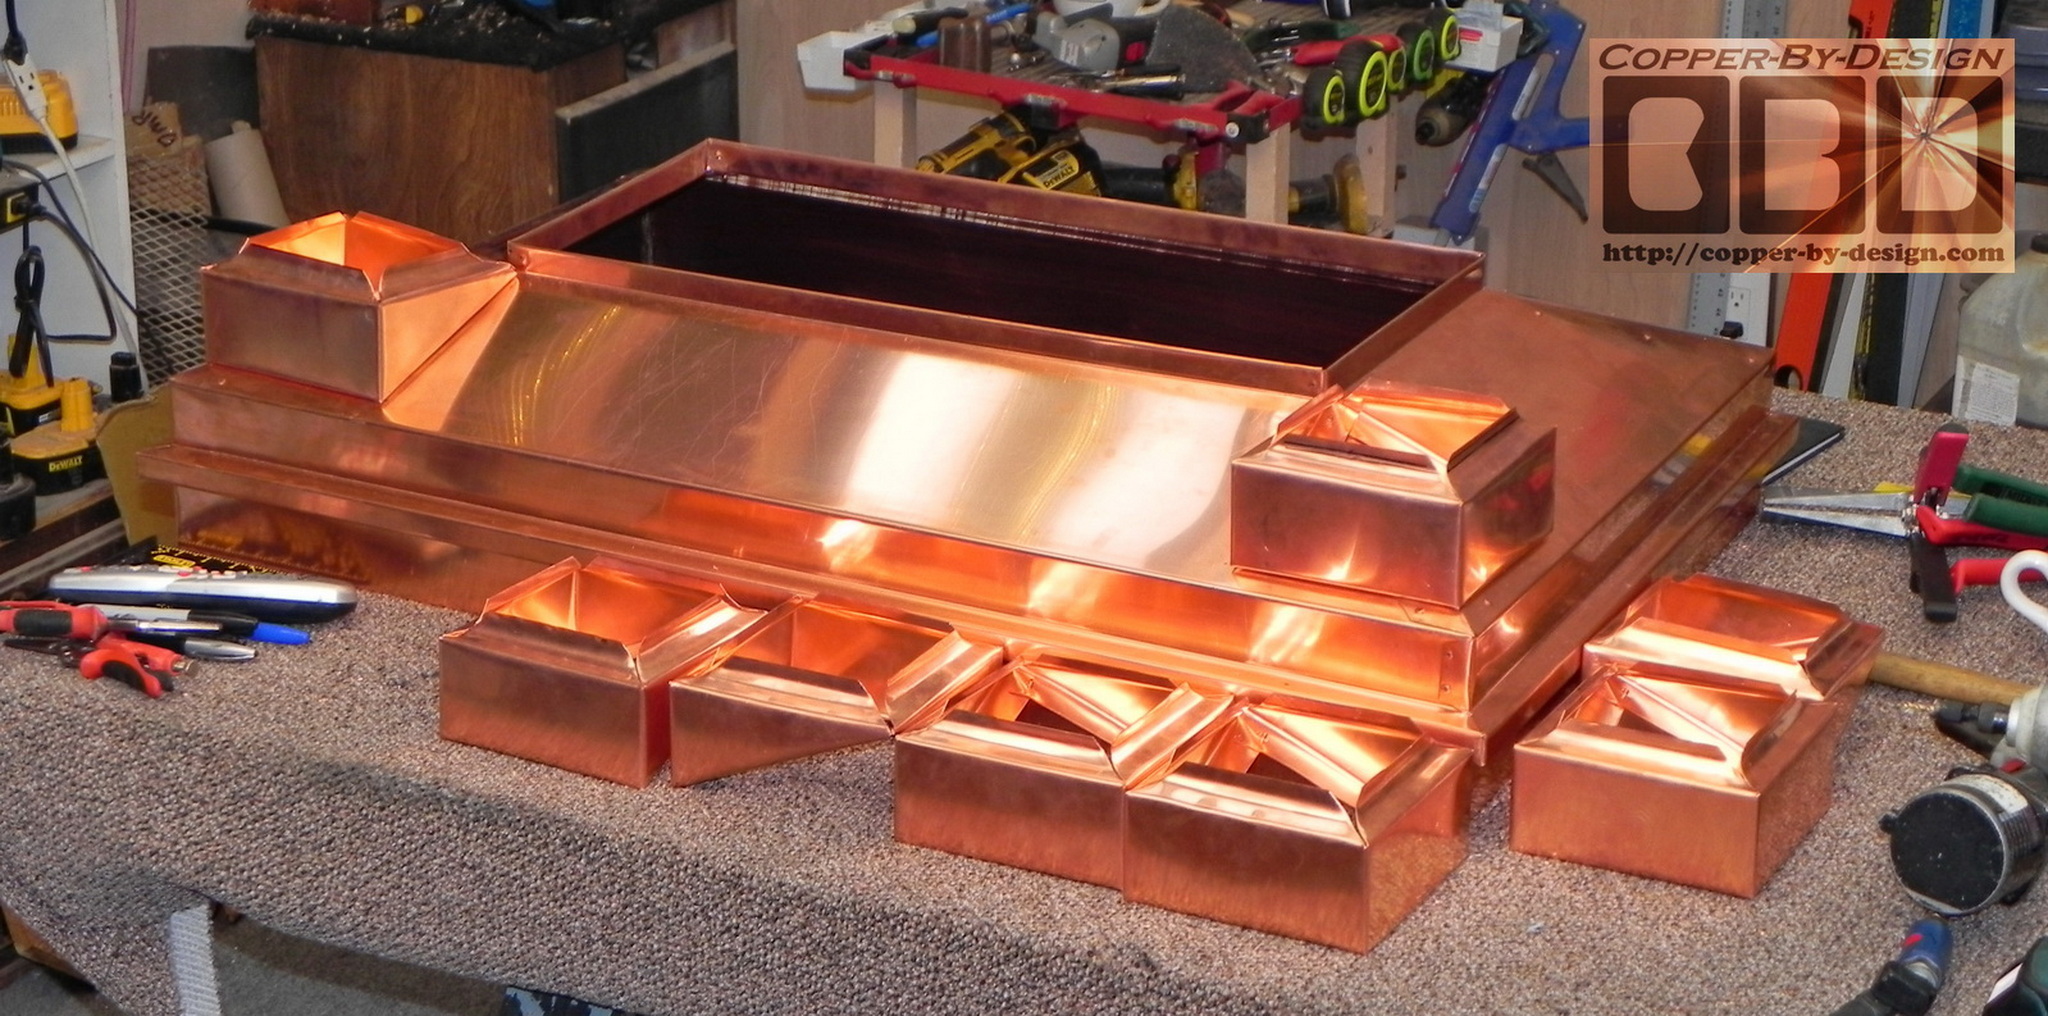
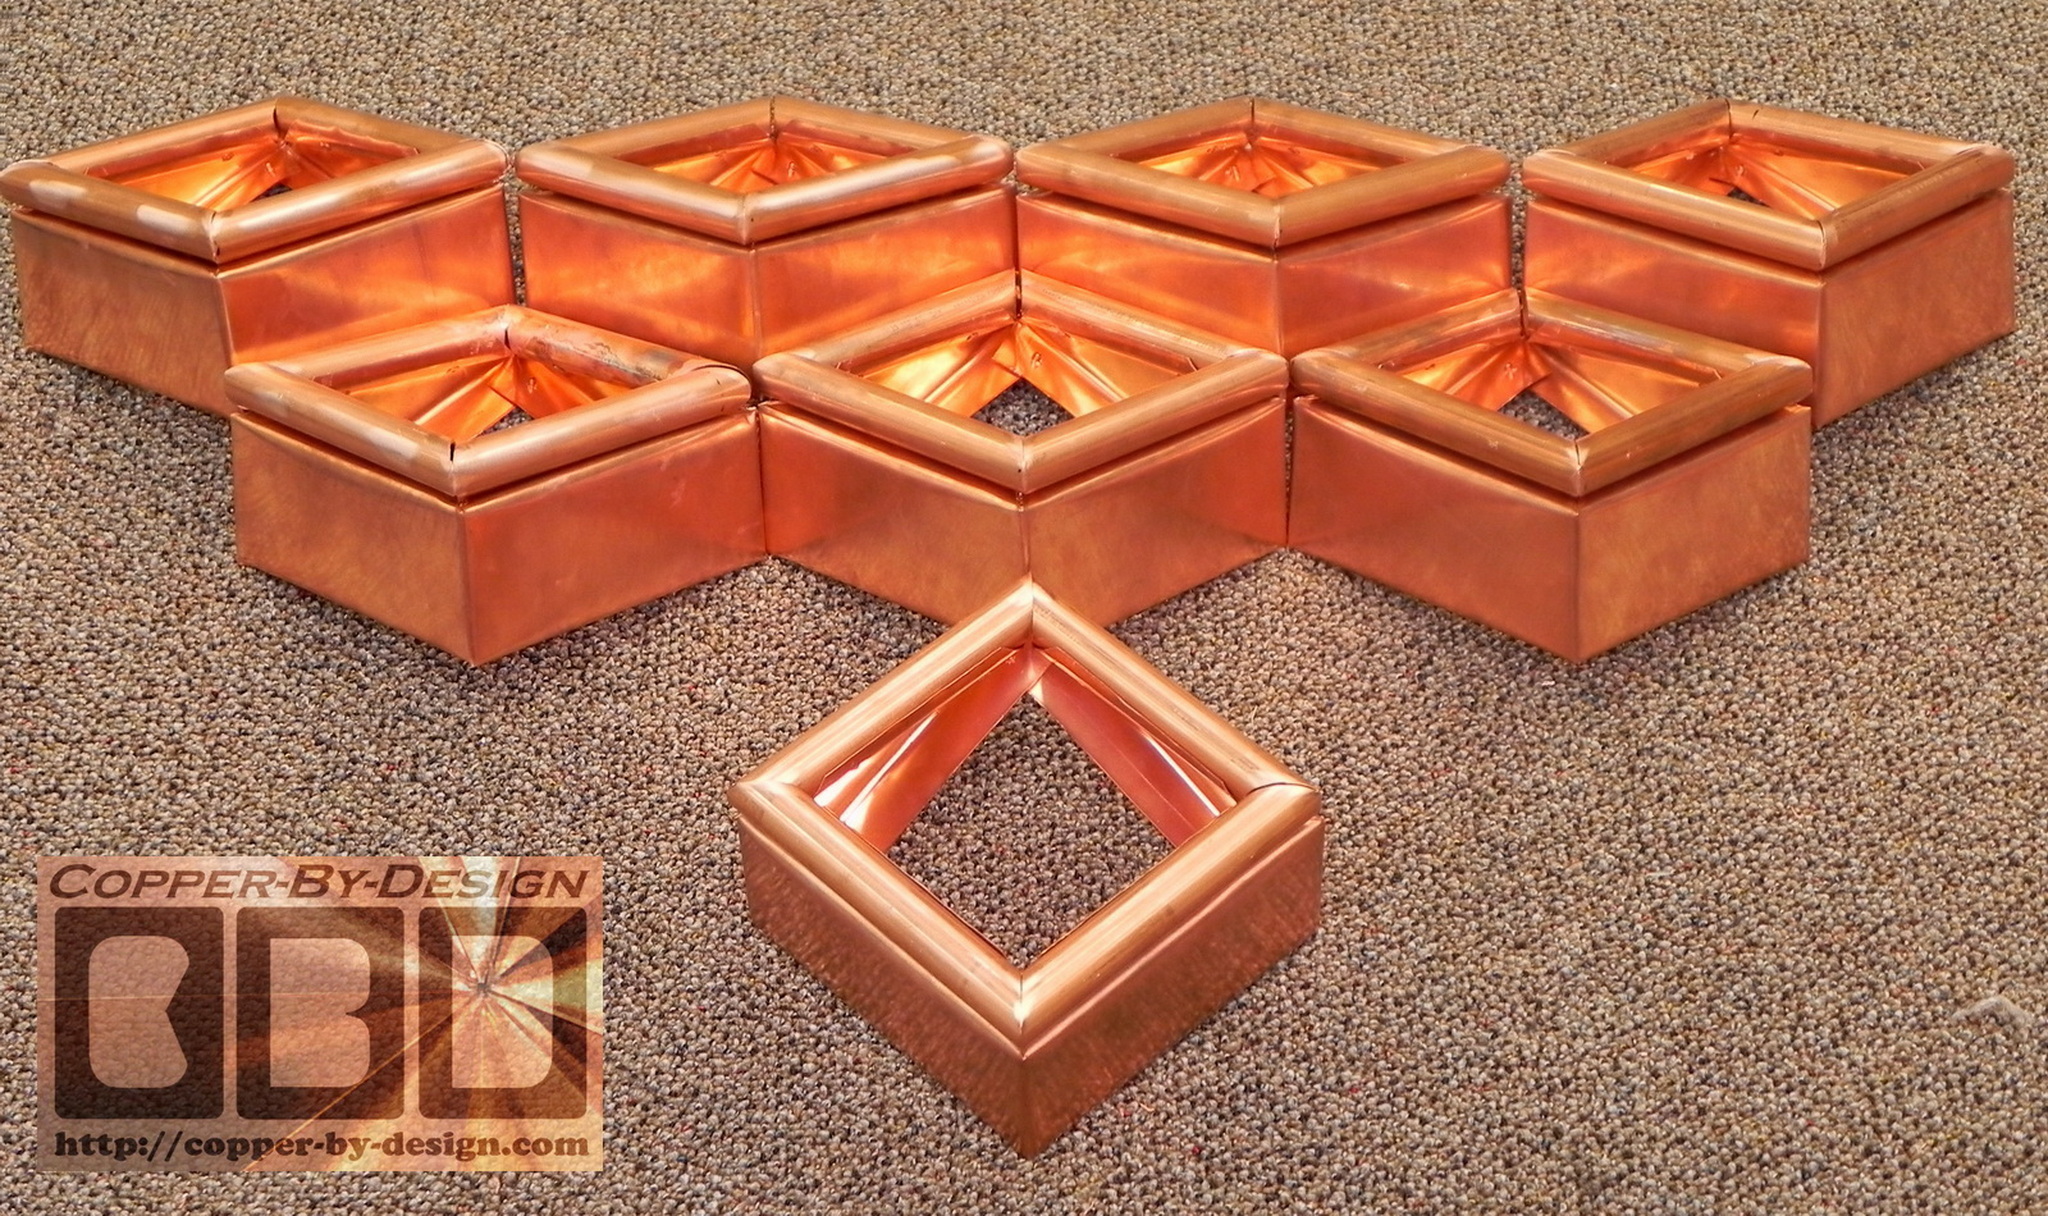
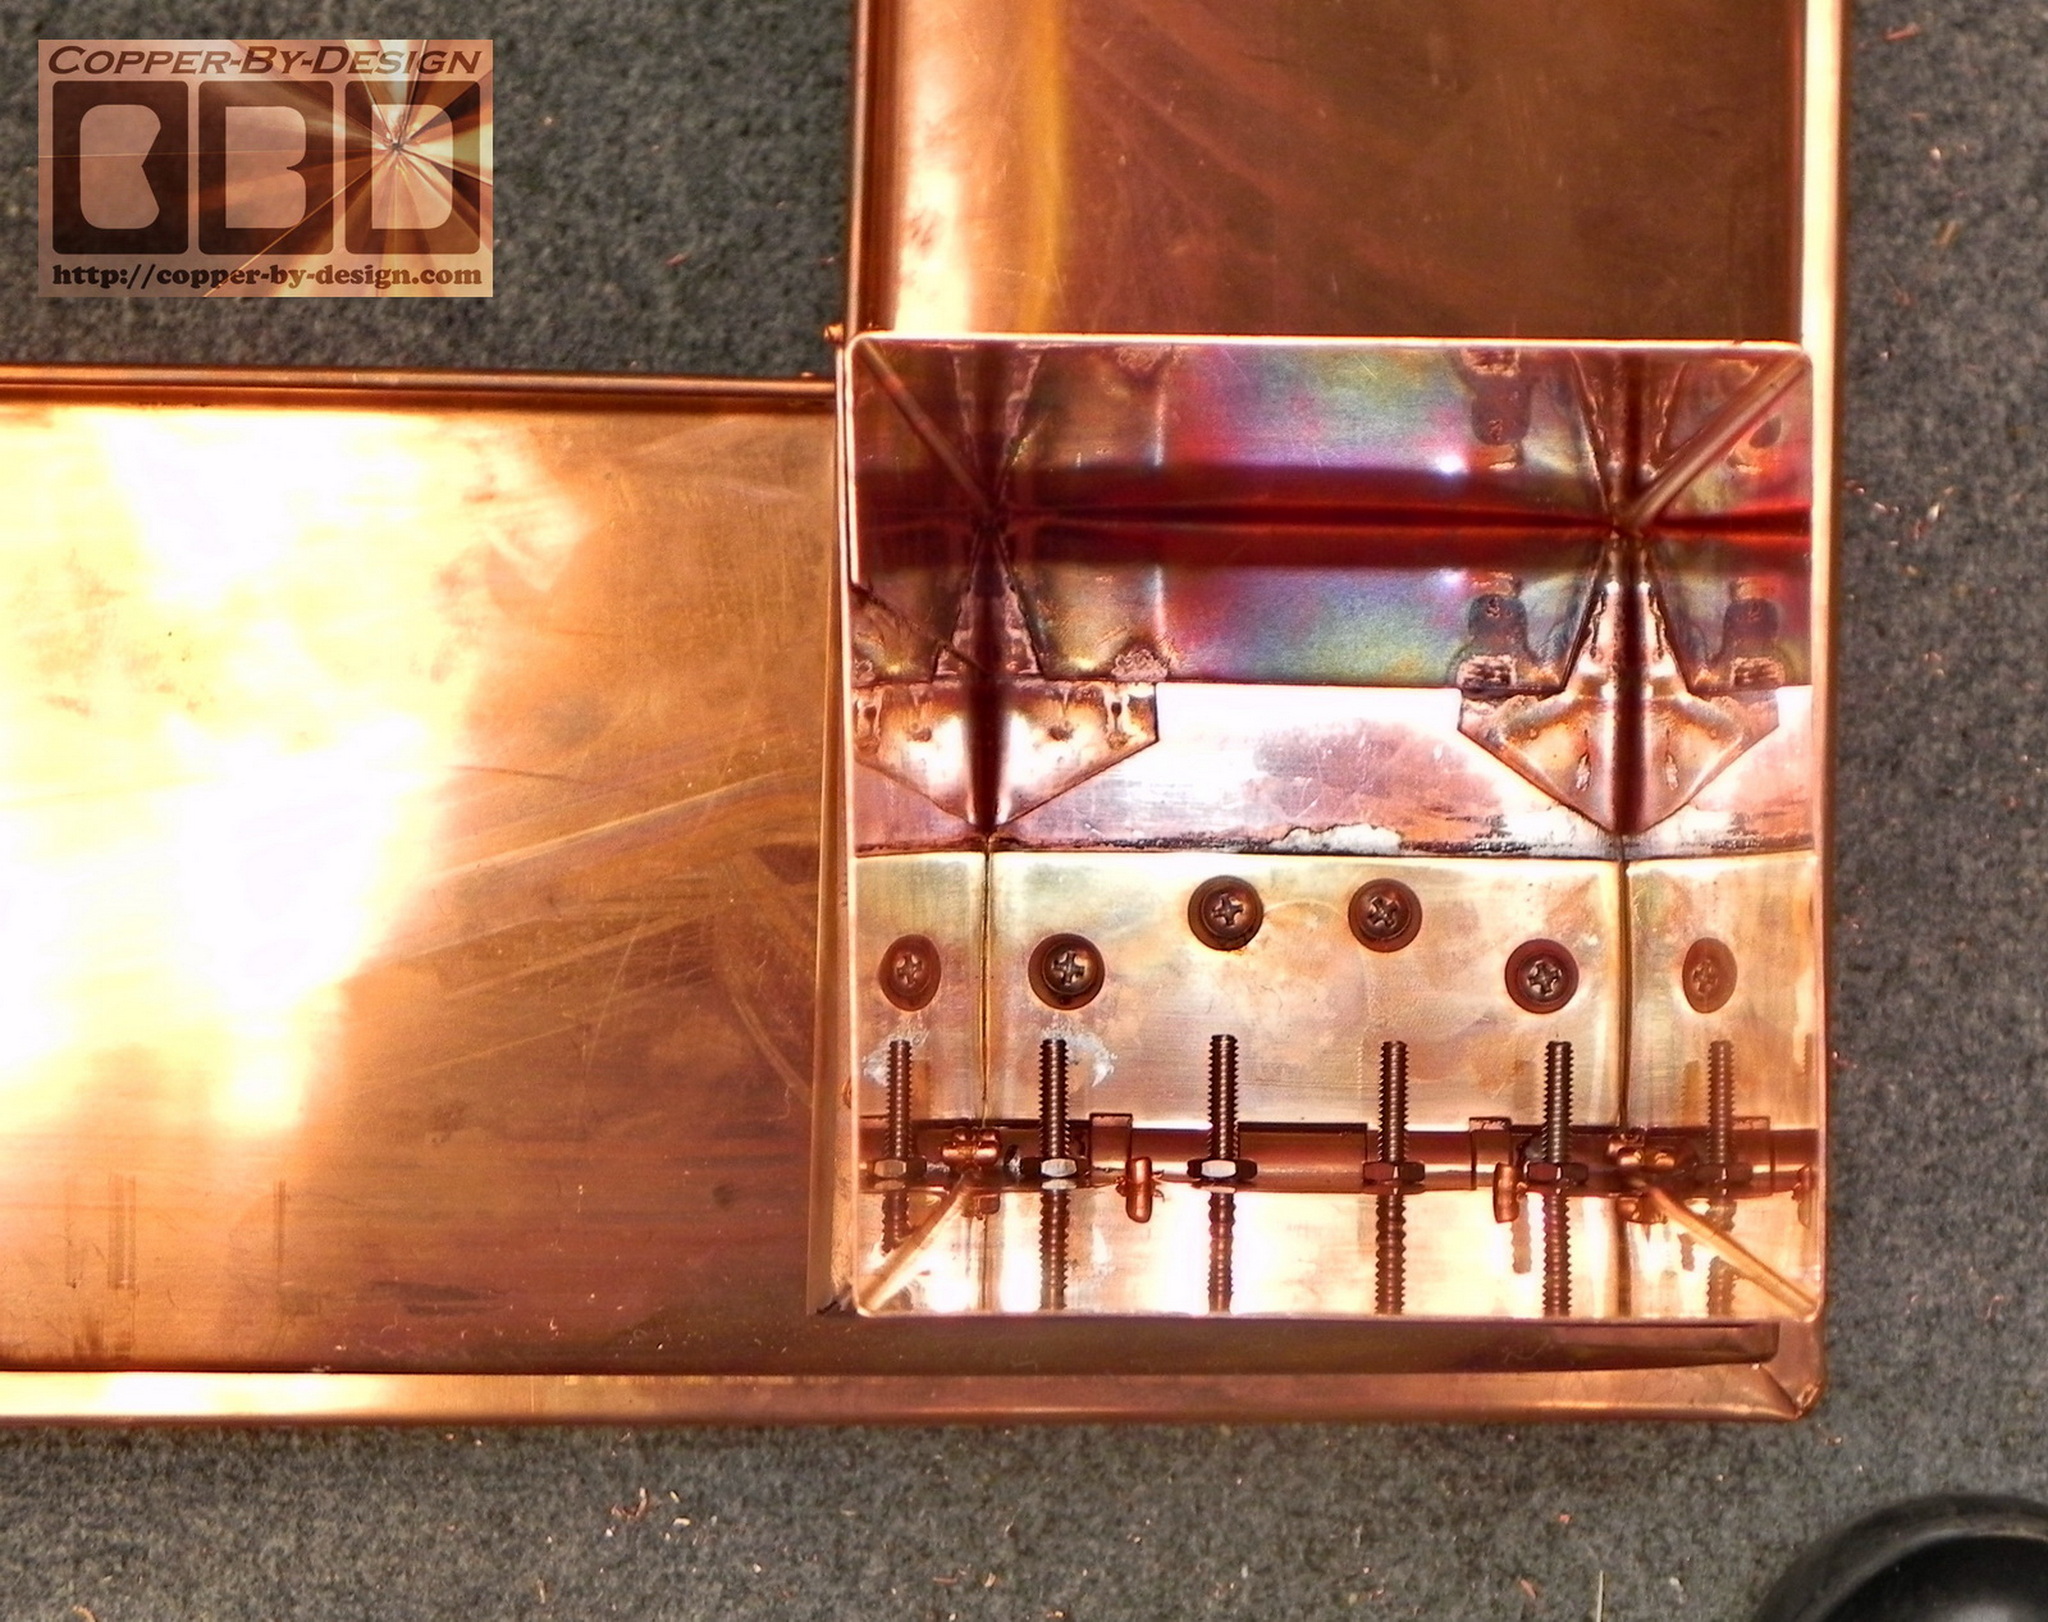
It took several days just to build this set of
8 lower pieces of the columns and add the decorative copper pipe trim work
before we could attach them to the bases.
Each corner column required a pipe that was about
24"
long for the 6" wide block. It took the majority of two 10' pipes for these chimney
caps. The column are then attached to the base with SS screws
and many rivets from underneath, so they are not seen, yet
plenty sturdy.
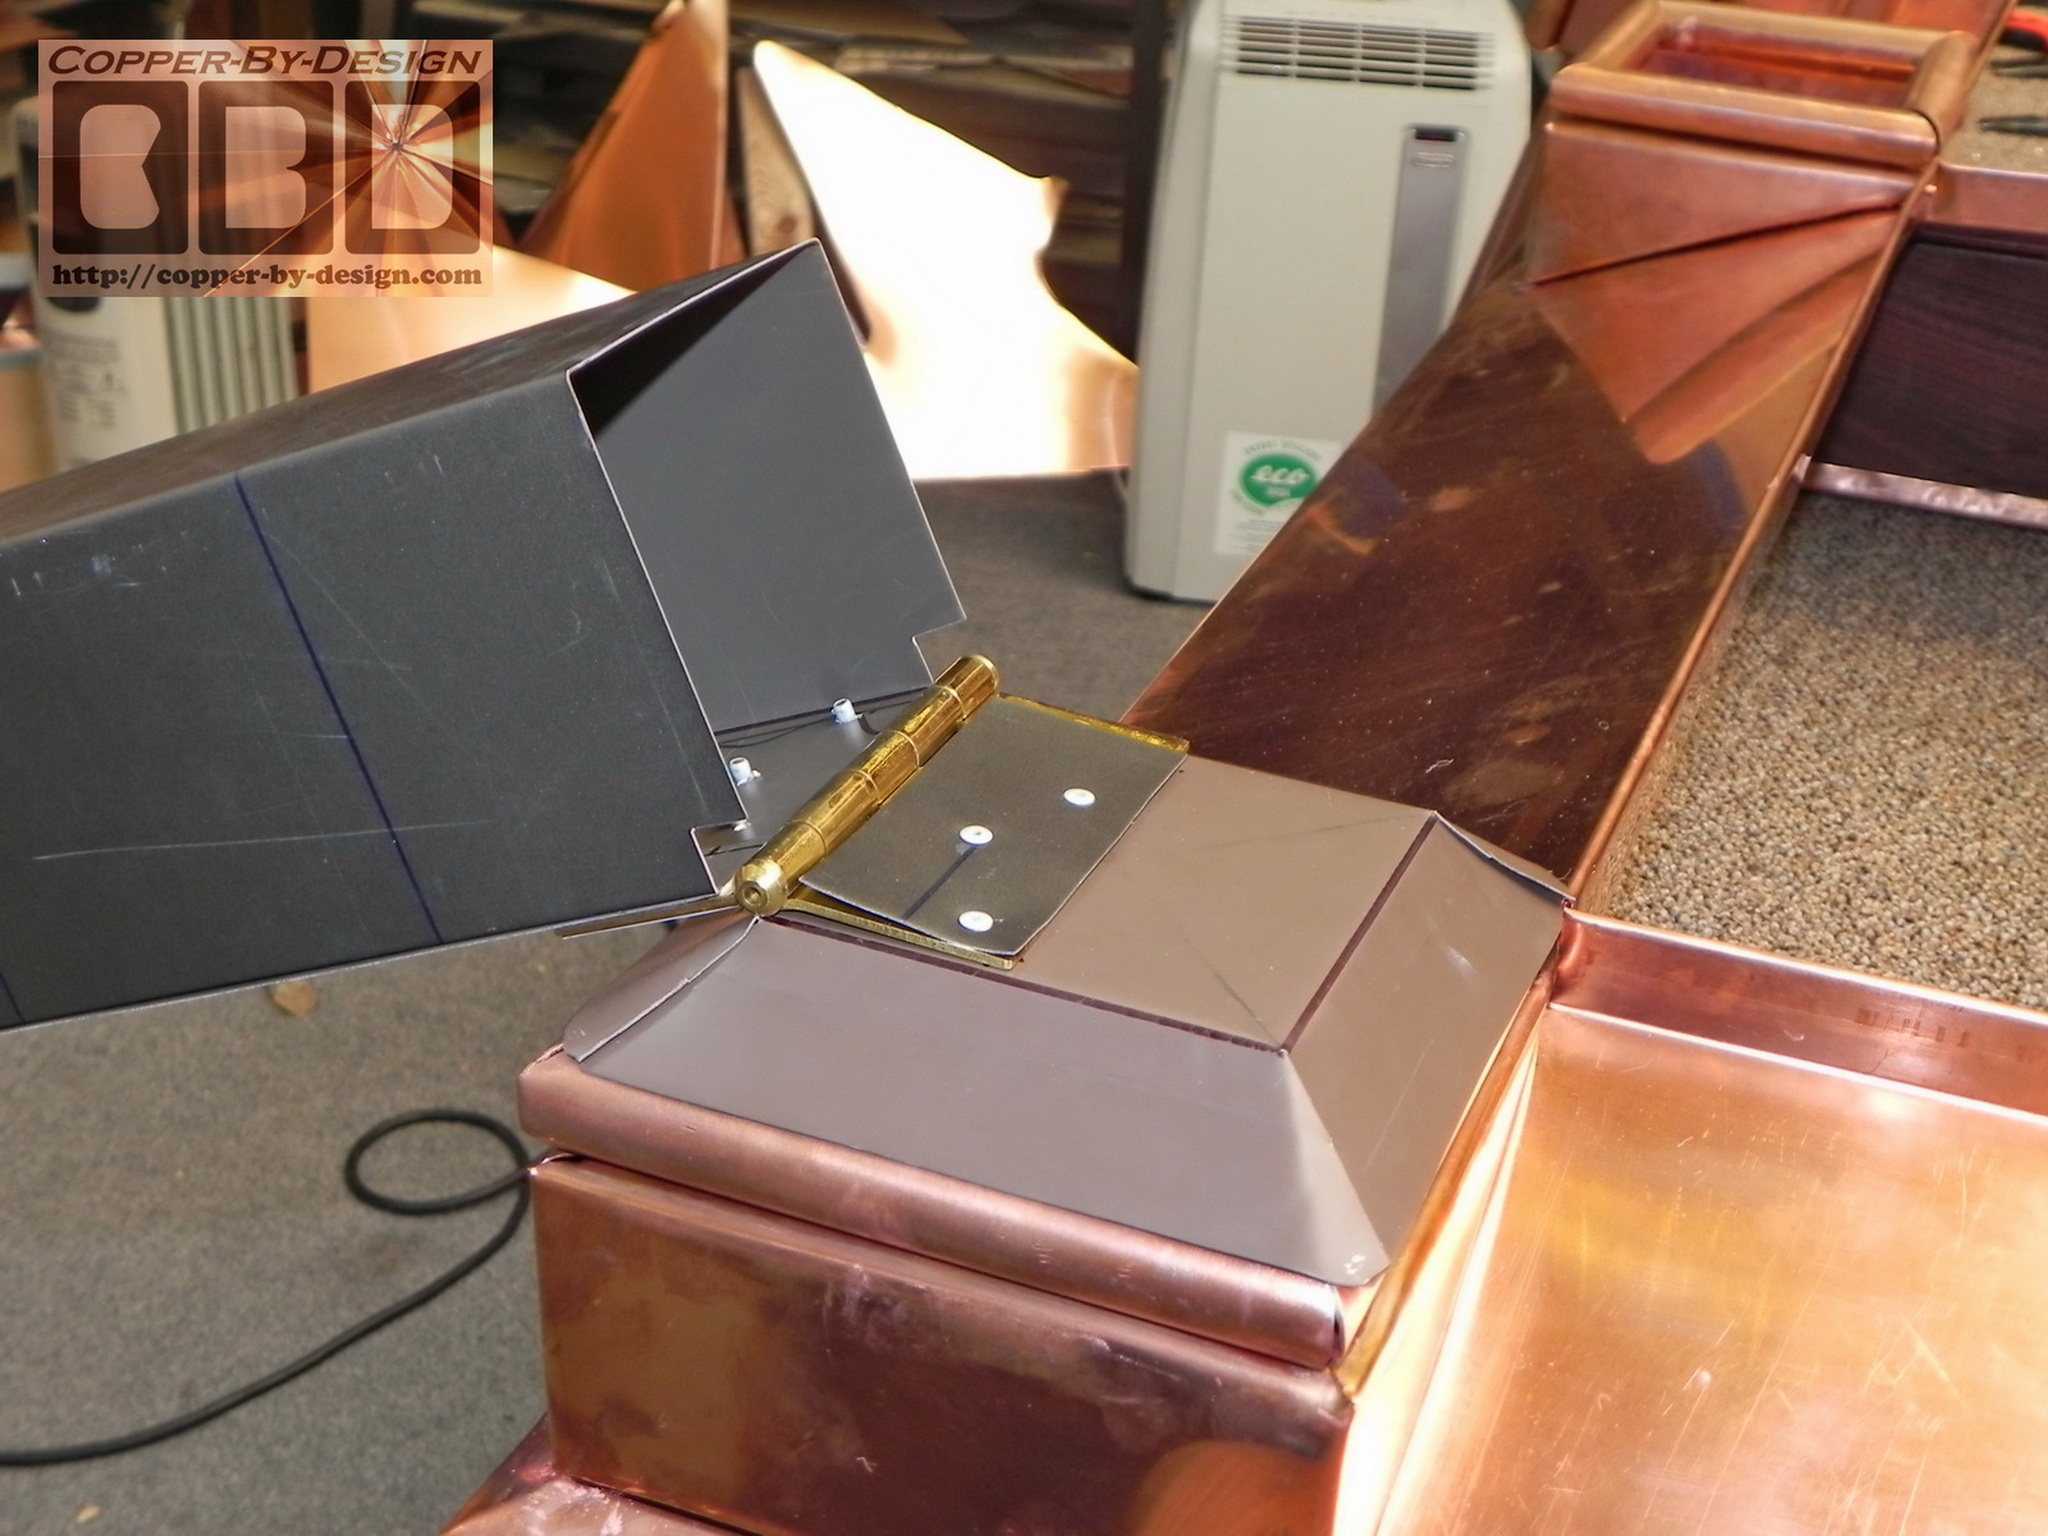
We used a less expensive
aluminum sheet metal to form the practice piece for the columns
to make sure they would work out and look right before forming
these in copper. Steel would be cheaper, but aluminum is easier
to work with, and we have plenty of gutter coil left over.
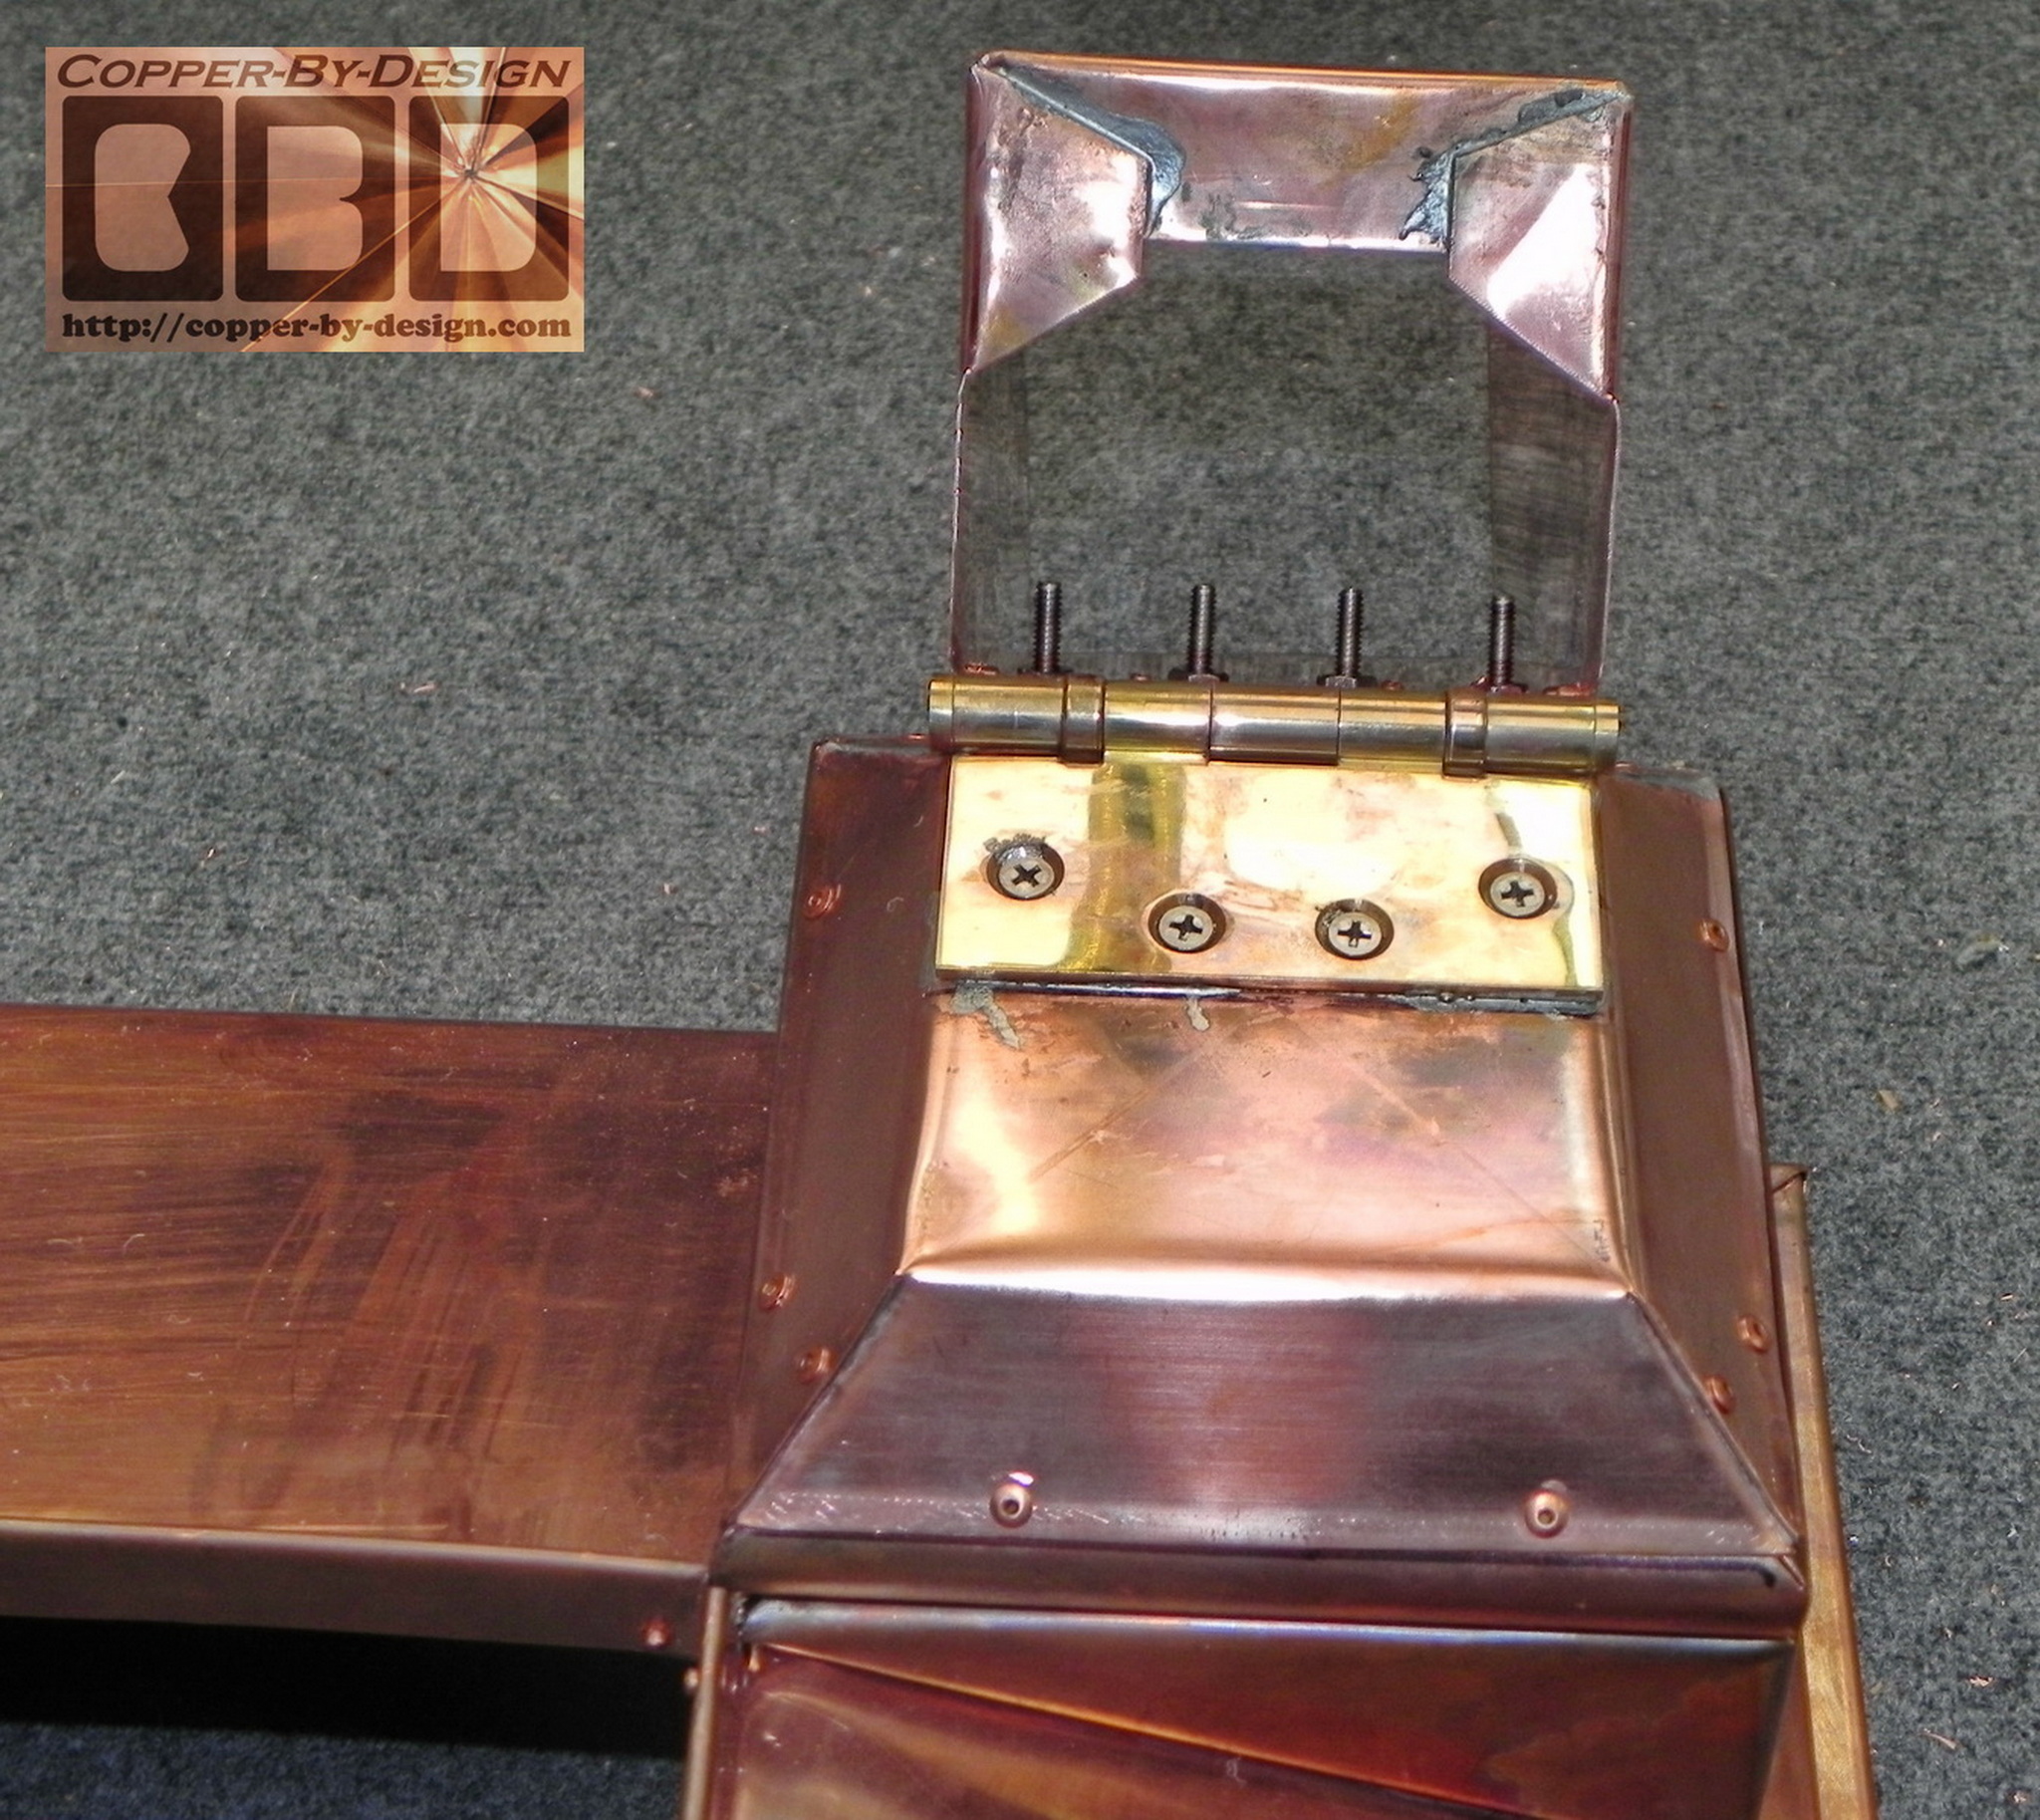
Integrating the 4" door hinges was tricky to make sure they were
strong and as hidden as they could be.
It took several more days to
work this out. We used a thicker 32oz copper for over the pipe
trim for added strength. The brass hinges are soldered and
bolted down with SS bolts, so they cannot vibrate loose.
From: "Bucchioni,
Charles" <Charles.Bucchioni@ge.c*m> Subject: RE: Custom no-rust copper sheet
metal chimney caps fabrication Date: Tue, 26 Jun 2012
David, Wow, they look great. Impressive
for sure, putting the copper shield over the hinges really makes
them look excellent. Looks like you screwed the hinges in and
also laid down a bead on them? They really look good, much
better than I thought they would. On my final payment, did
you need me to send that now or wait until the final weight? Or
I can send another installment and then a final once they are
done and you have the weight. Either way is fine with me, just
let me know.
Chuck
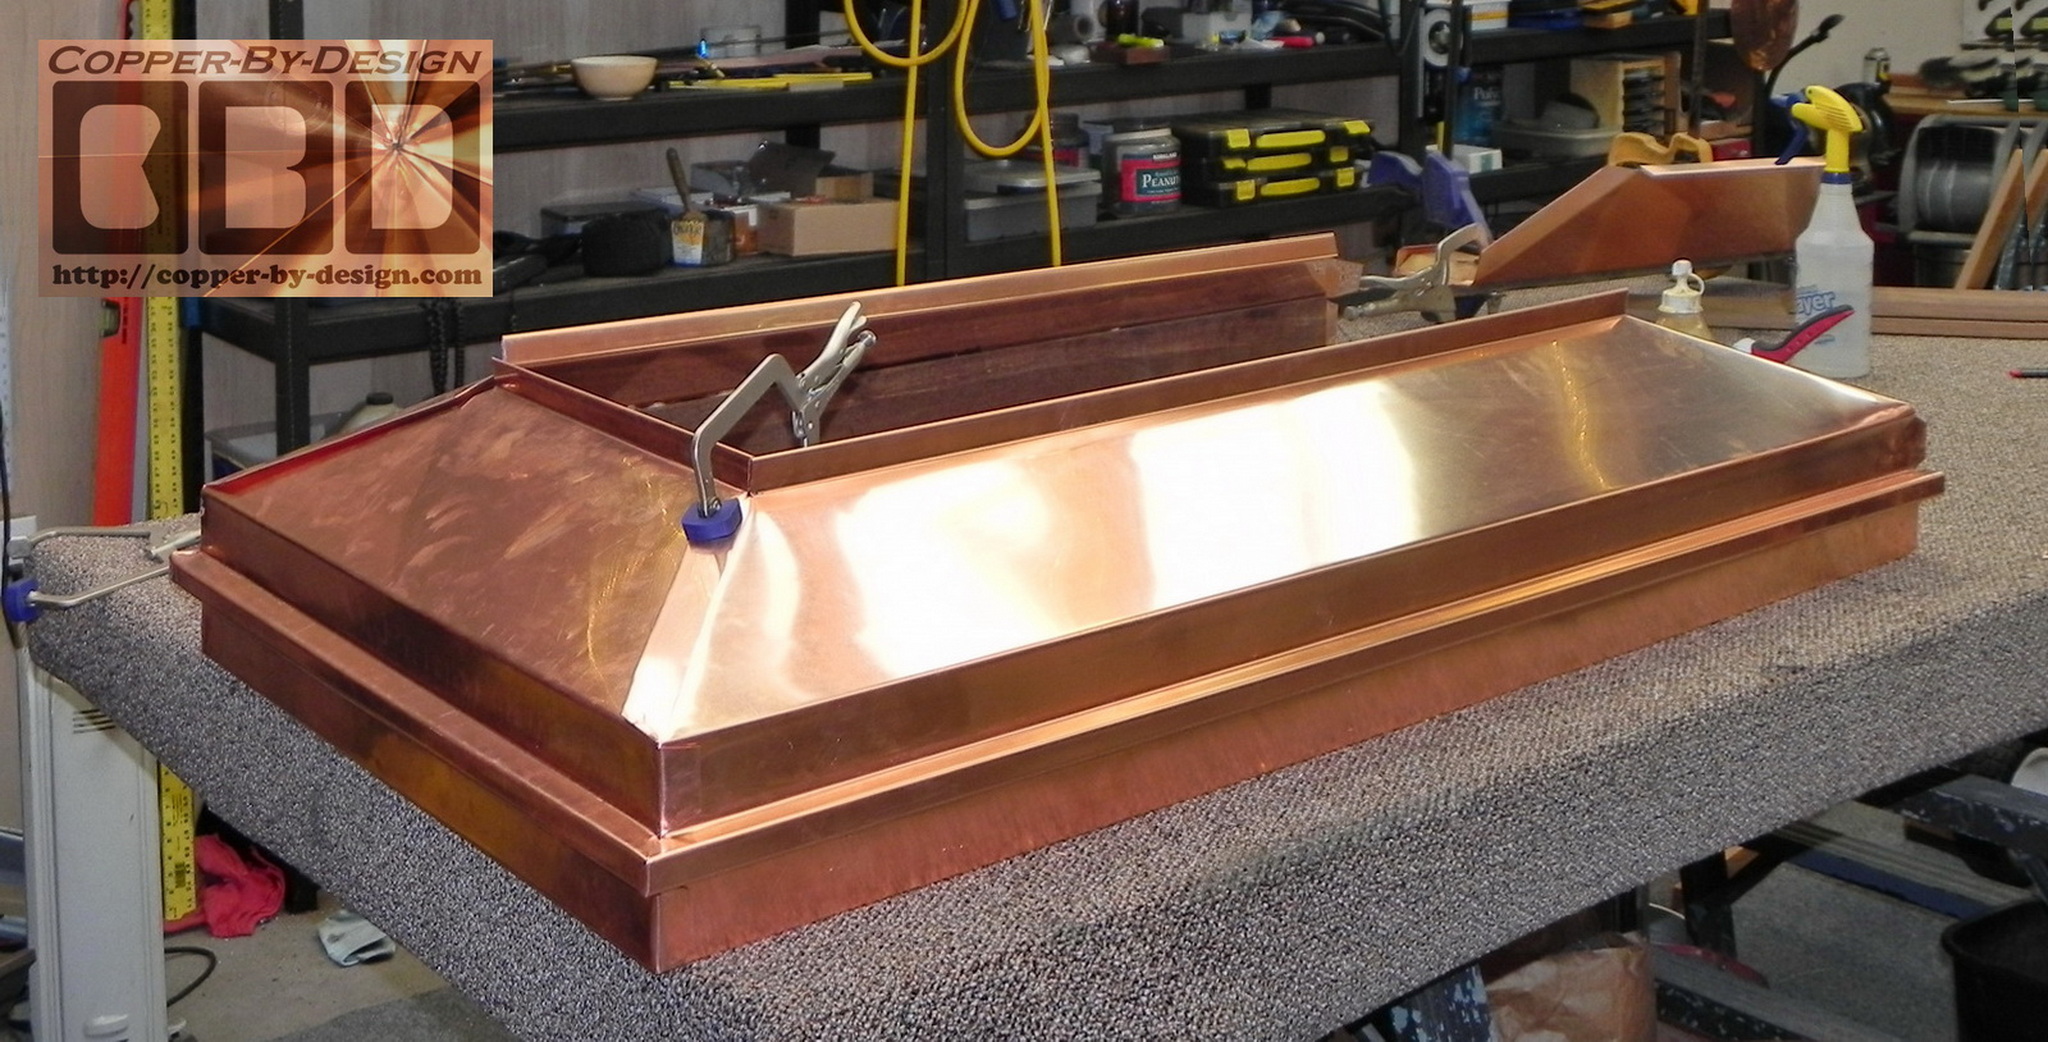
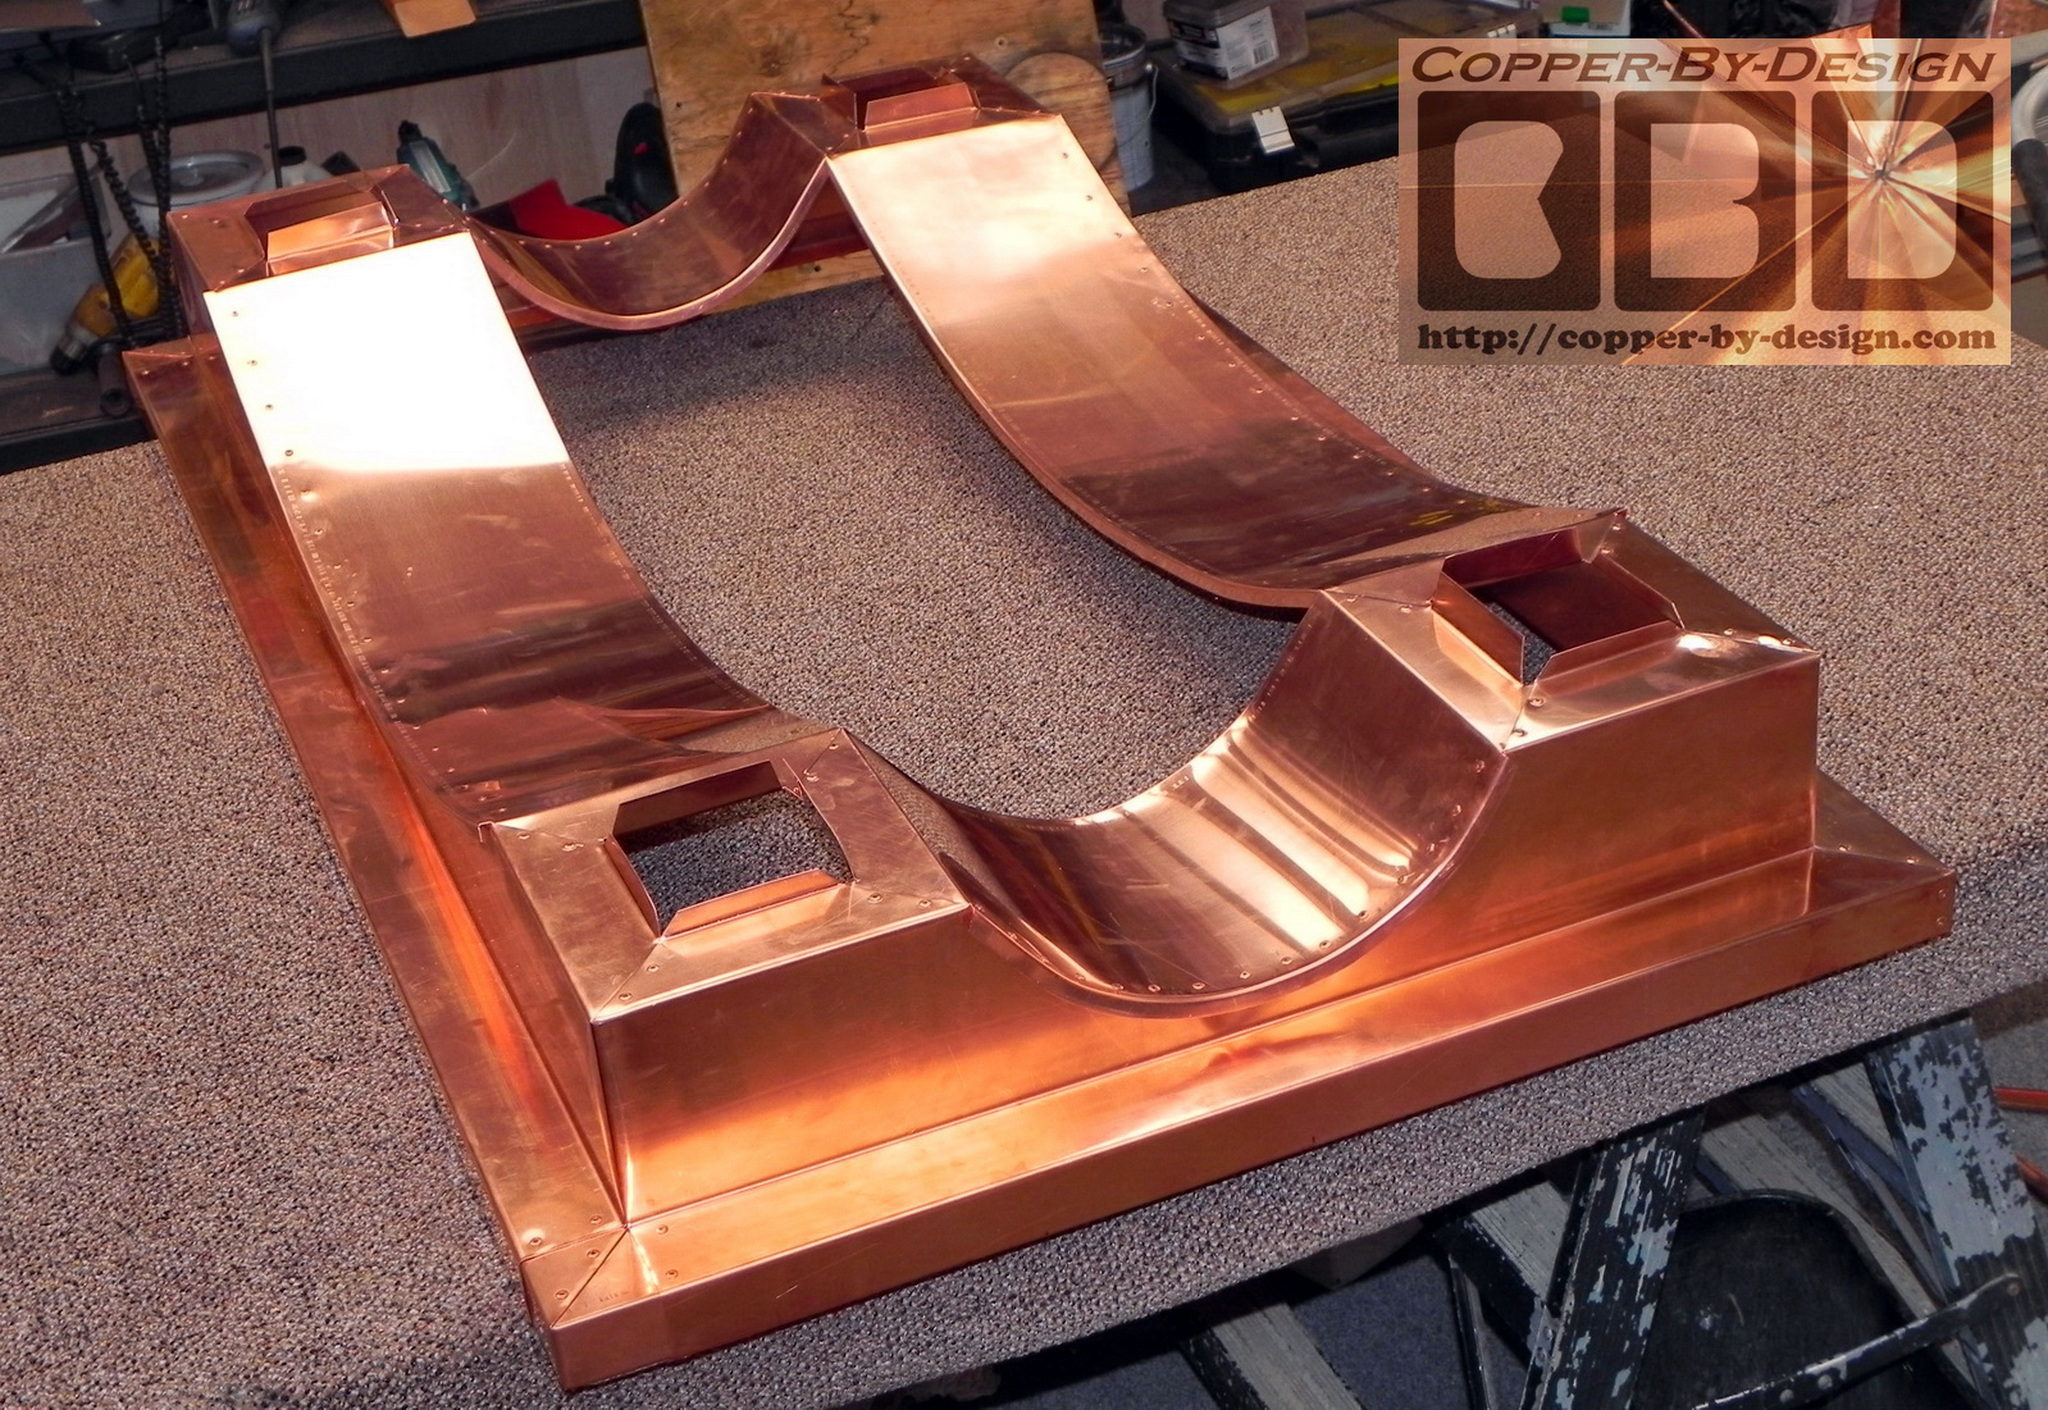
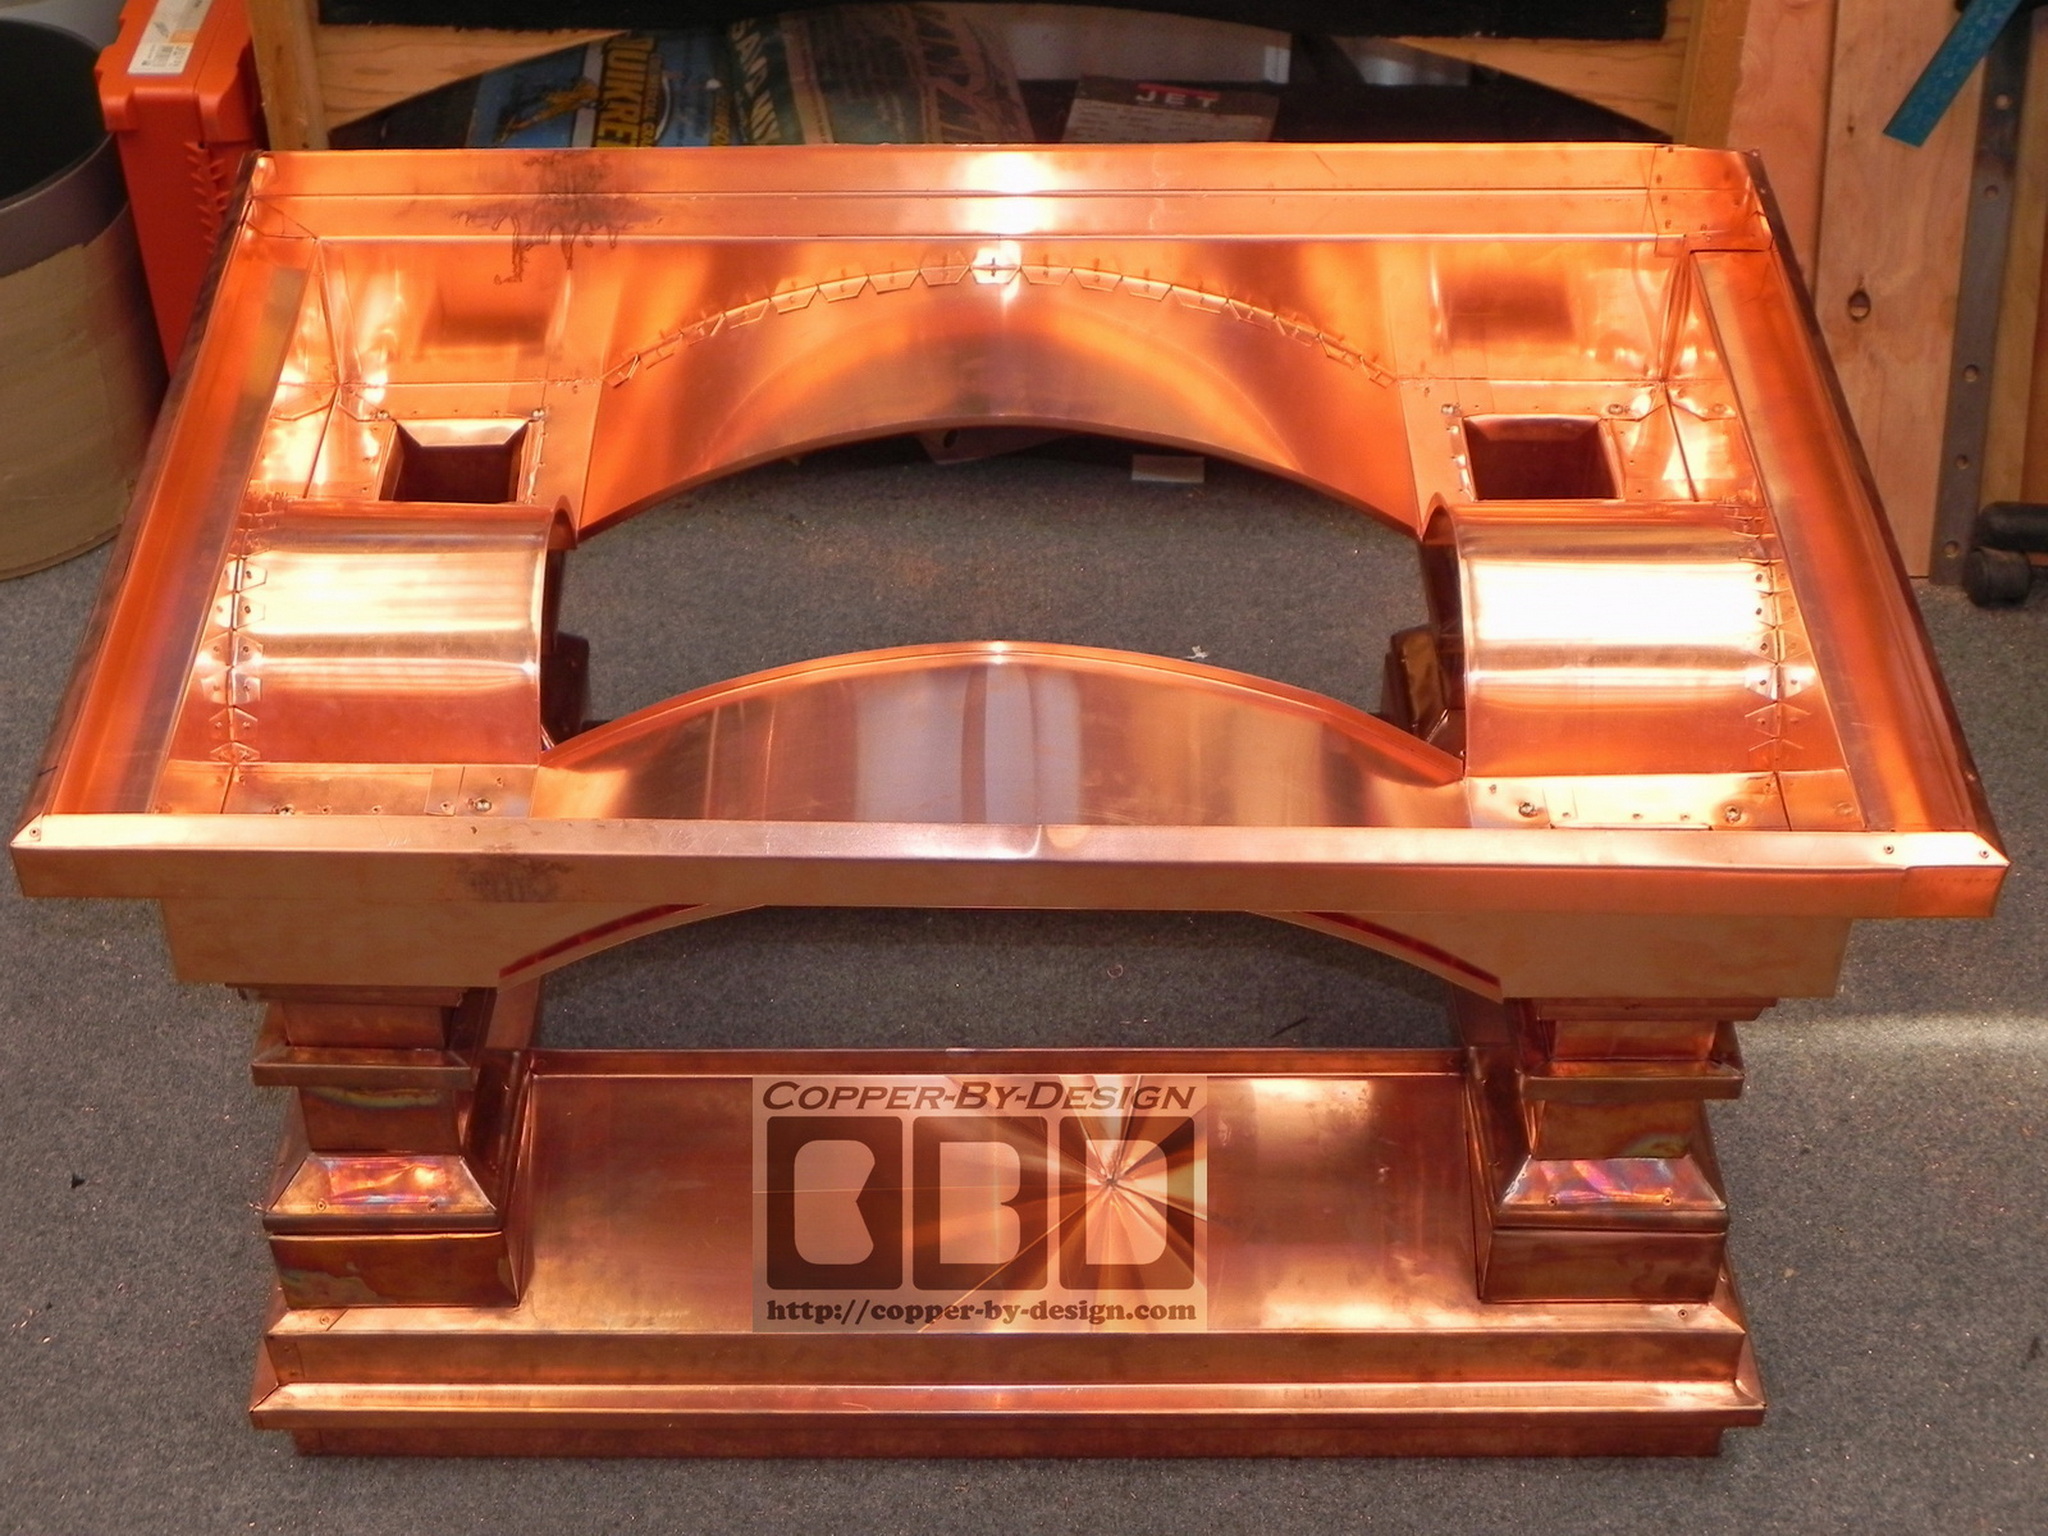
Building the Arches & Eaves
(7/2/2012):
This shows the arched column
section just after the sheet of copper is bent. There is a good deal of math
and geometry involved here, so it's all in the right proportions.
The first one did not go together right and had to be rebuilt
from scratch with modifications.
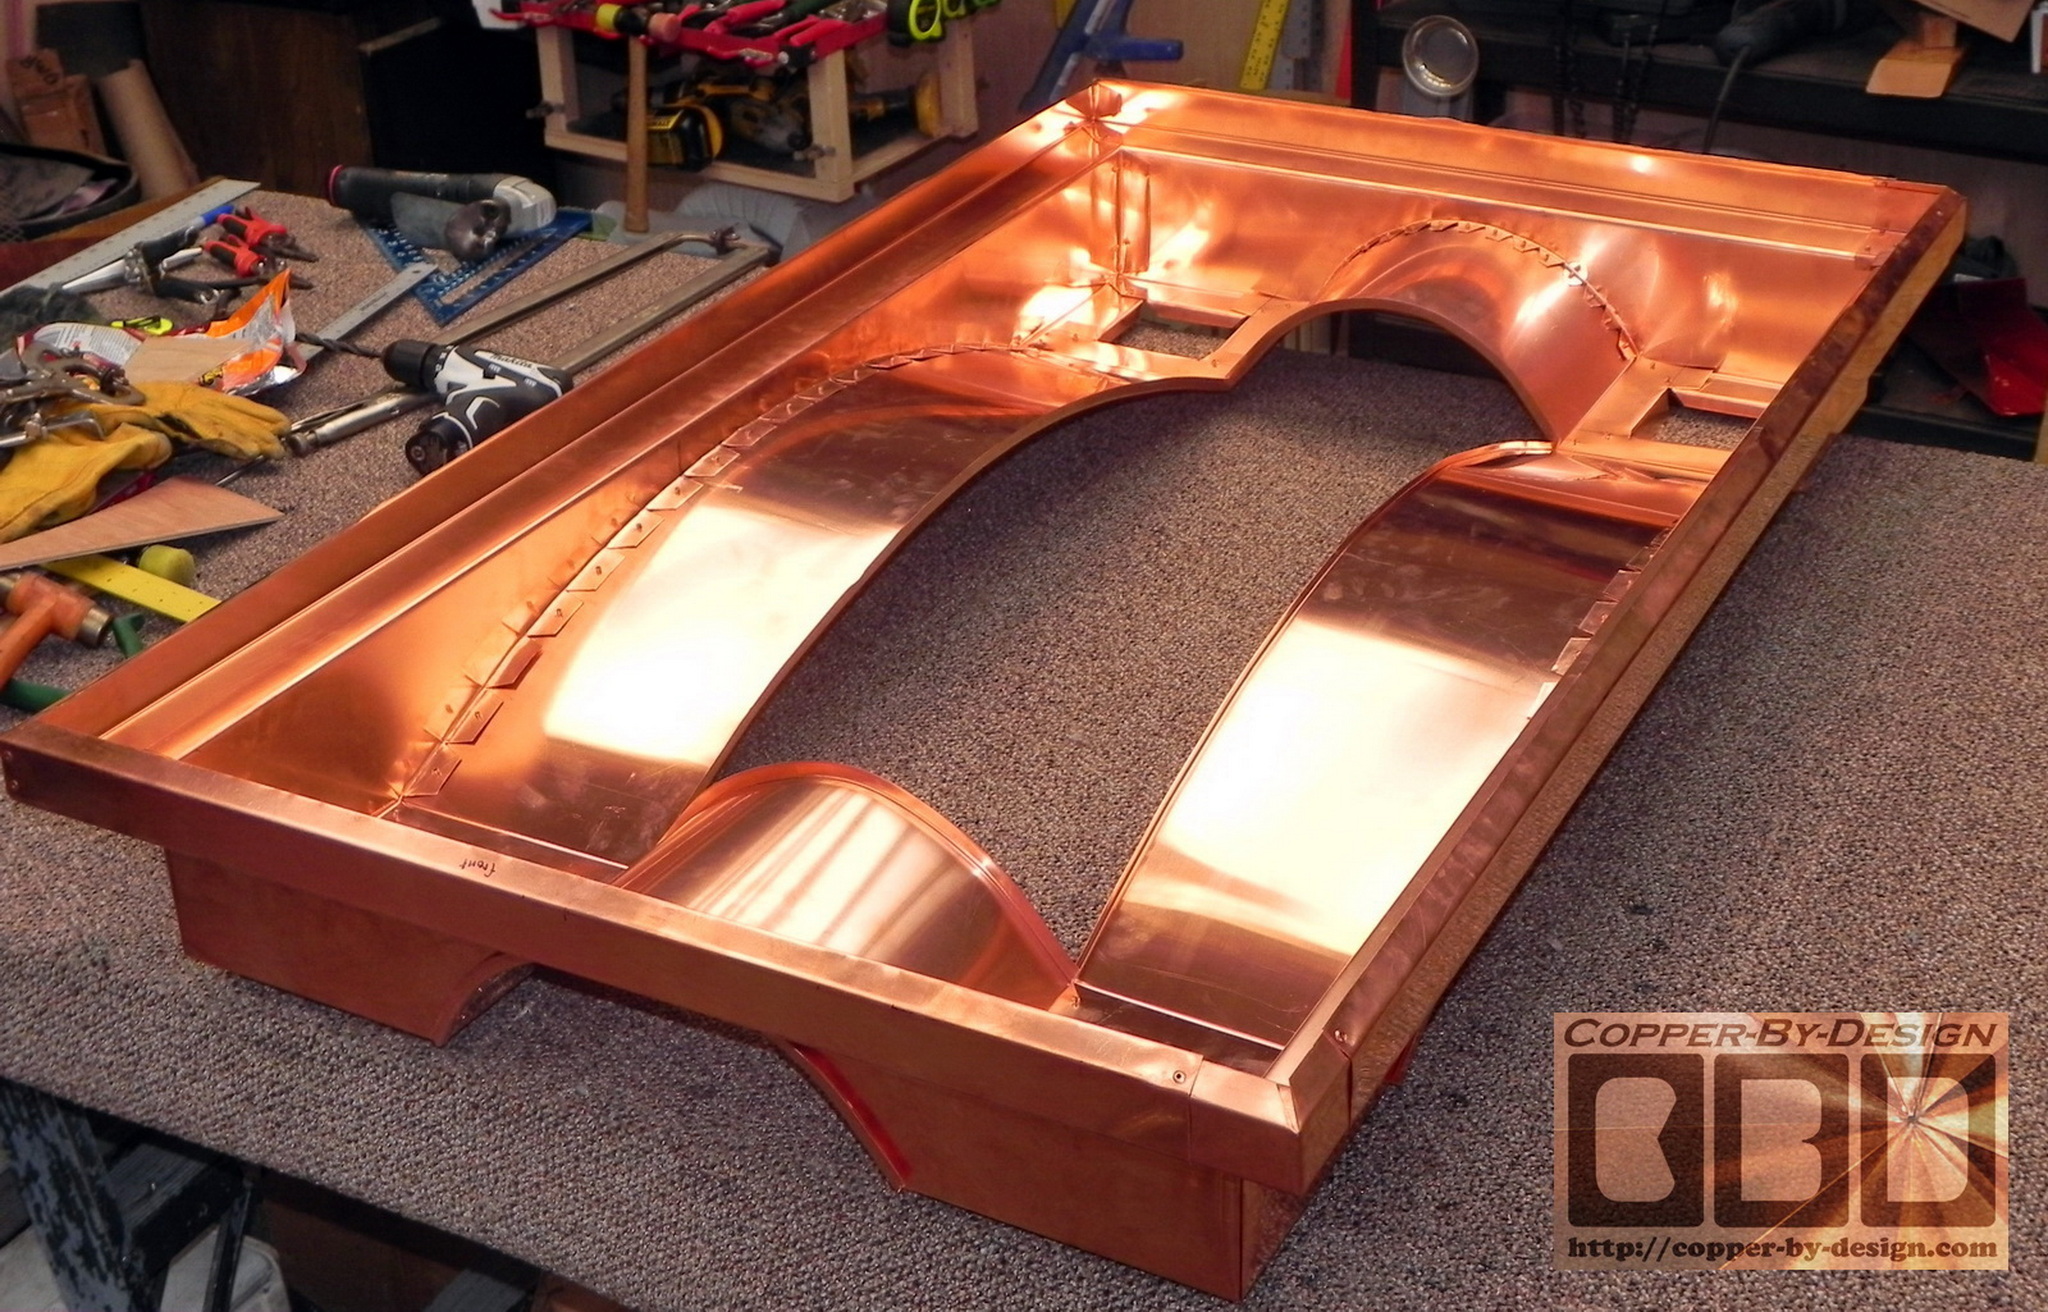
We were able to make these from just 2 separate sheets of
copper for a strong structure and a clean look with few seams,
but there's another 20 pieces to go in before we can build the
roof trusses.
Above right shows the 4 arch liners formed for this 1 chimney cap
arch section. These are 8" wide to be an inch wider than the 6"
columns on each side. After lots of test fitting and adjustments
they were finally ready to be attached to the columns.
From: "Bucchioni,
Charles" <Charles.Bucchioni@ge.c*m> Subject: RE: Custom no-rust copper sheet
metal chimney caps fabrication Date: Wed, 4 Jul 2012 David,
I was wondering what was up, thought you may have taken a break
for the 4th. Fully understand the finger prints and not worried
at all. They look great!! Can’t wait to see what they are going
to look like on my house. Thanks for the pictures and on
another note I’ve been showing the pictures to the general
contractor who is going to be installing them as he’s working on
other things that need tidying up on my house, he requested I
send him your contact information. Hopefully it will generate
more business.
Chuck
From:
"Bucchioni, Charles A" <Charles.Bucchioni@ge.c*m> Date: Thu, 25 Nov 2012 Subject: Hurricane Sandy
I very rarely write
positive reviews, its much easier to trash someone. I was
searching the internet for chimney caps and by accident stumbled
across Copper-By-Designs web site. Thankfully I contacted them.
This by far is a 1st class operation so much so that I do not
believe they have any competition. If you are looking for
anything made out of copper there is no other place to go. They
will assist you from initial design through installation. Their
design knowledge is well above average, craftsmanship
outstanding and communication throughout the project excellent.
You will be hard pressed to find anyone better.
I live in
the Northeast, we just got hit by super storm Sandy. Wind gusts
measured in excess of 90mph. Hundreds of thousands of trees were
knocked down. Branches flew through the air like arrows. The
chimney caps produced by Copper-By-Design came through this
disaster unscathed. A real life testament to the quality, design
characteristics and installation methodology. Contact them, you
wont be disappointed.
Still a very satisfied customer, Chuck
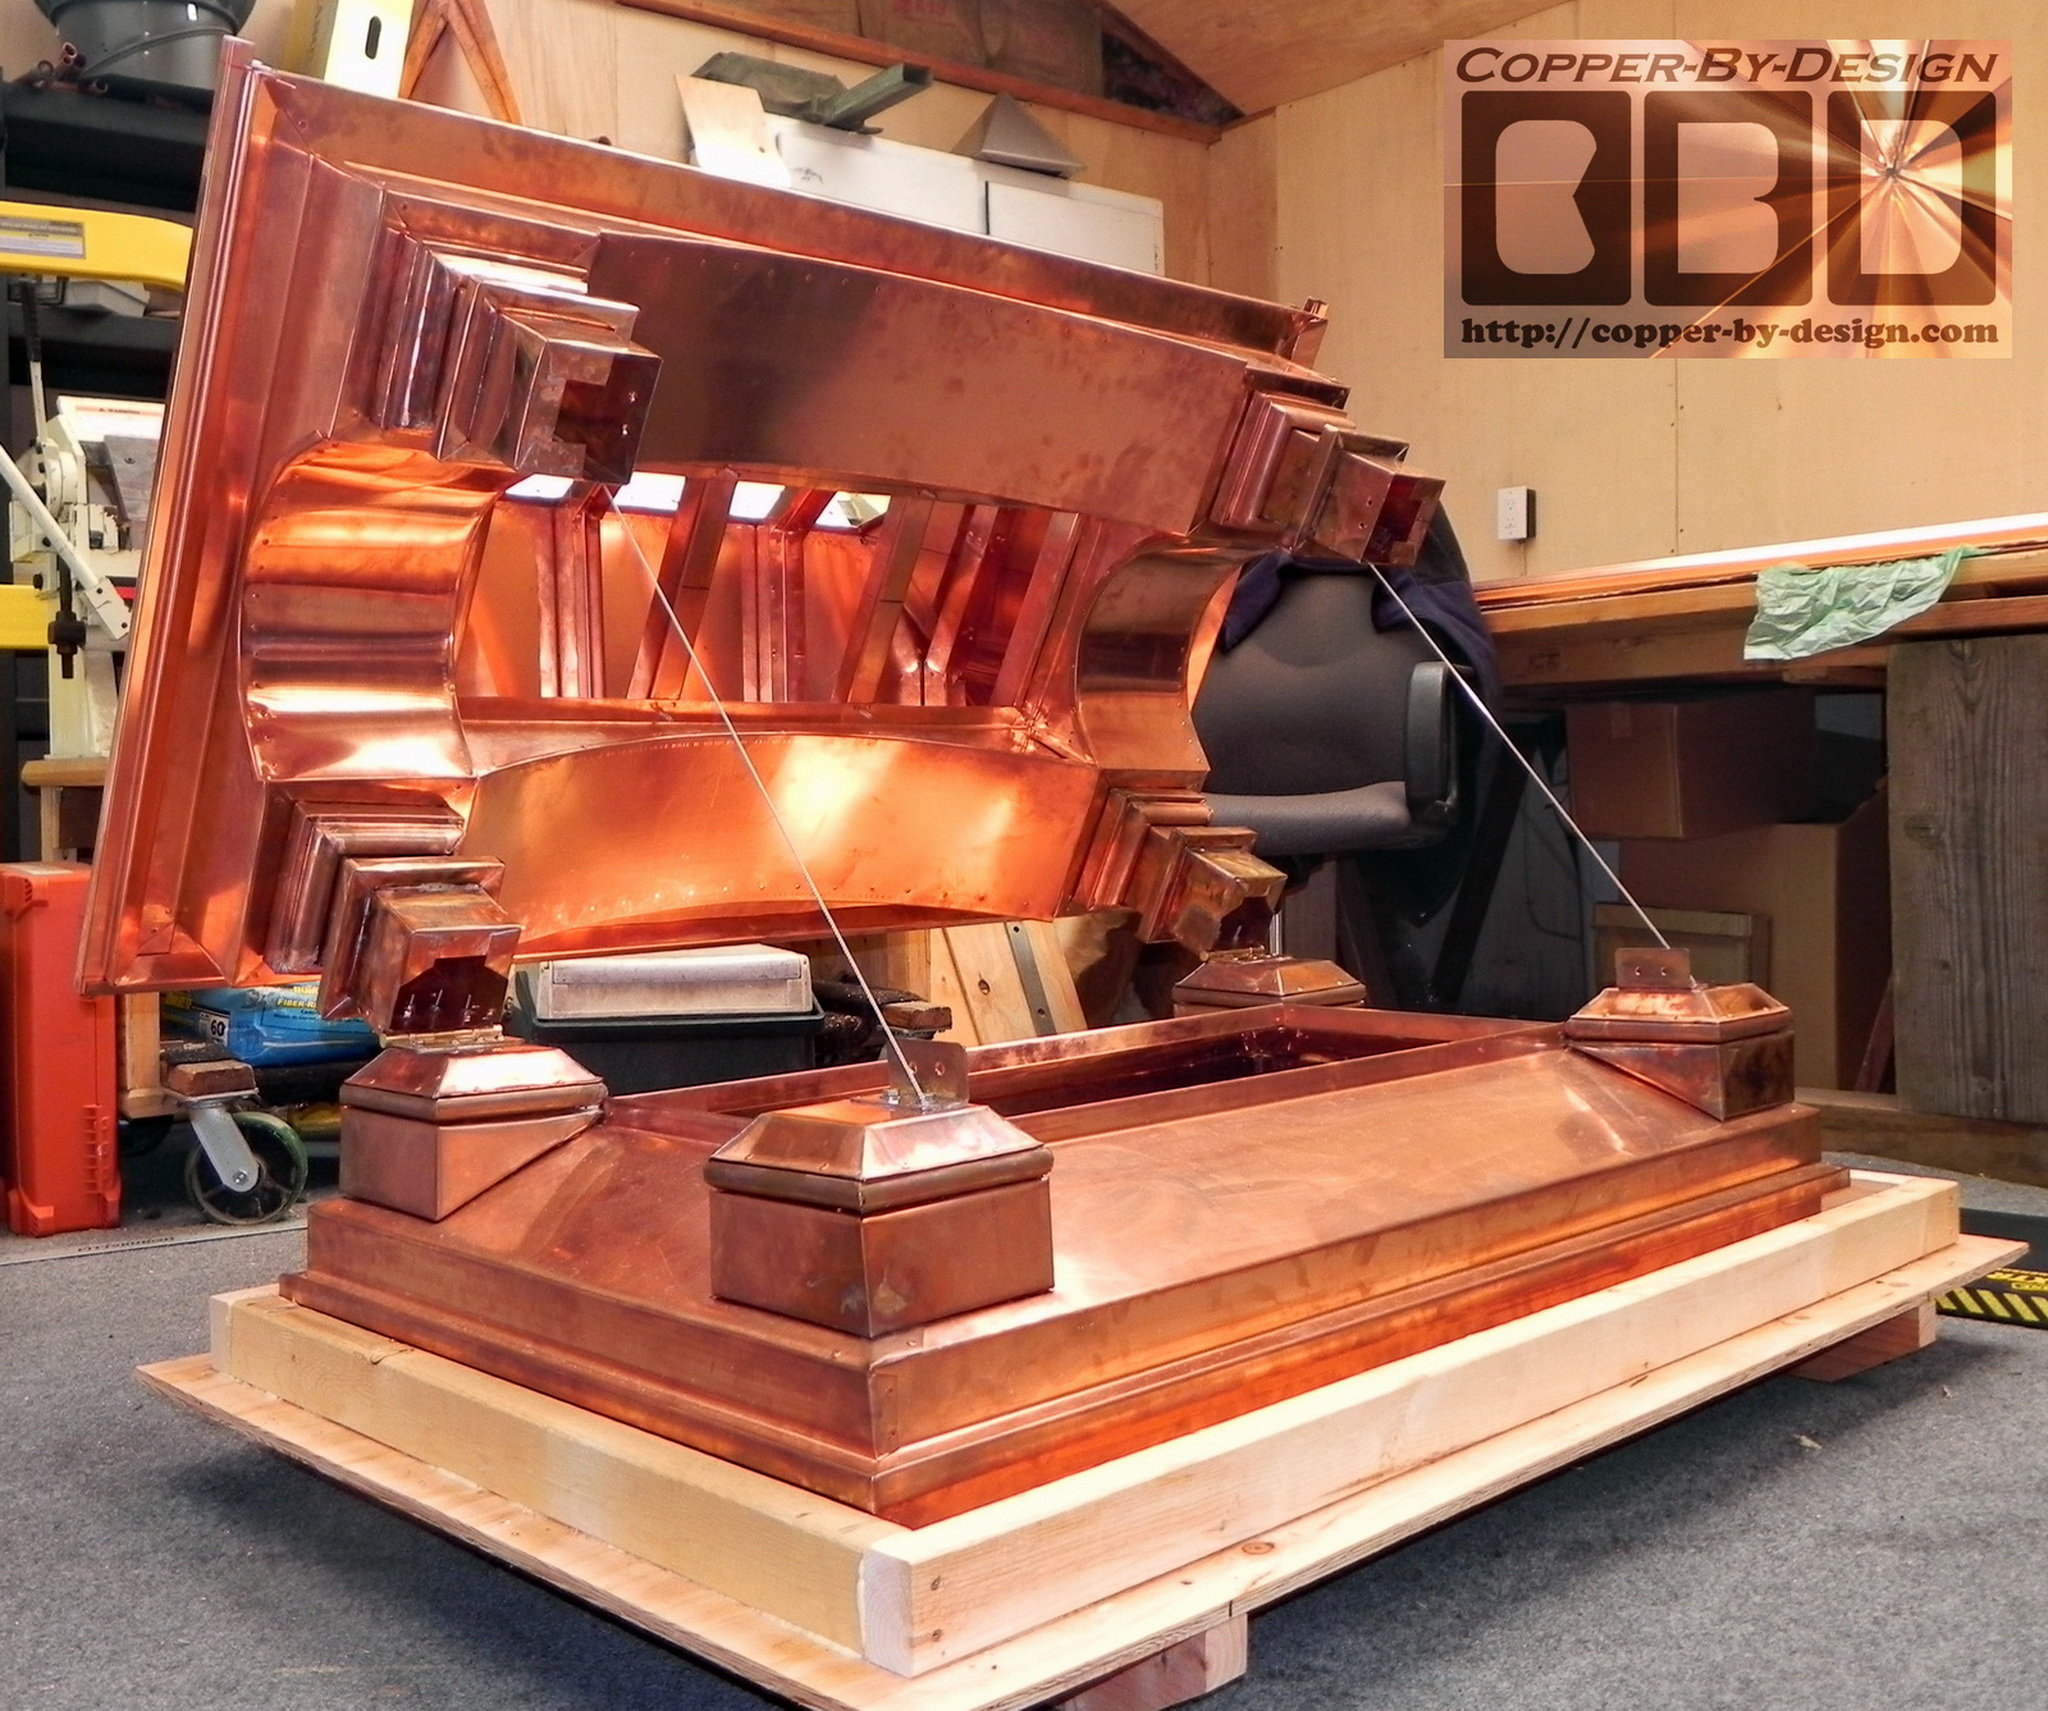
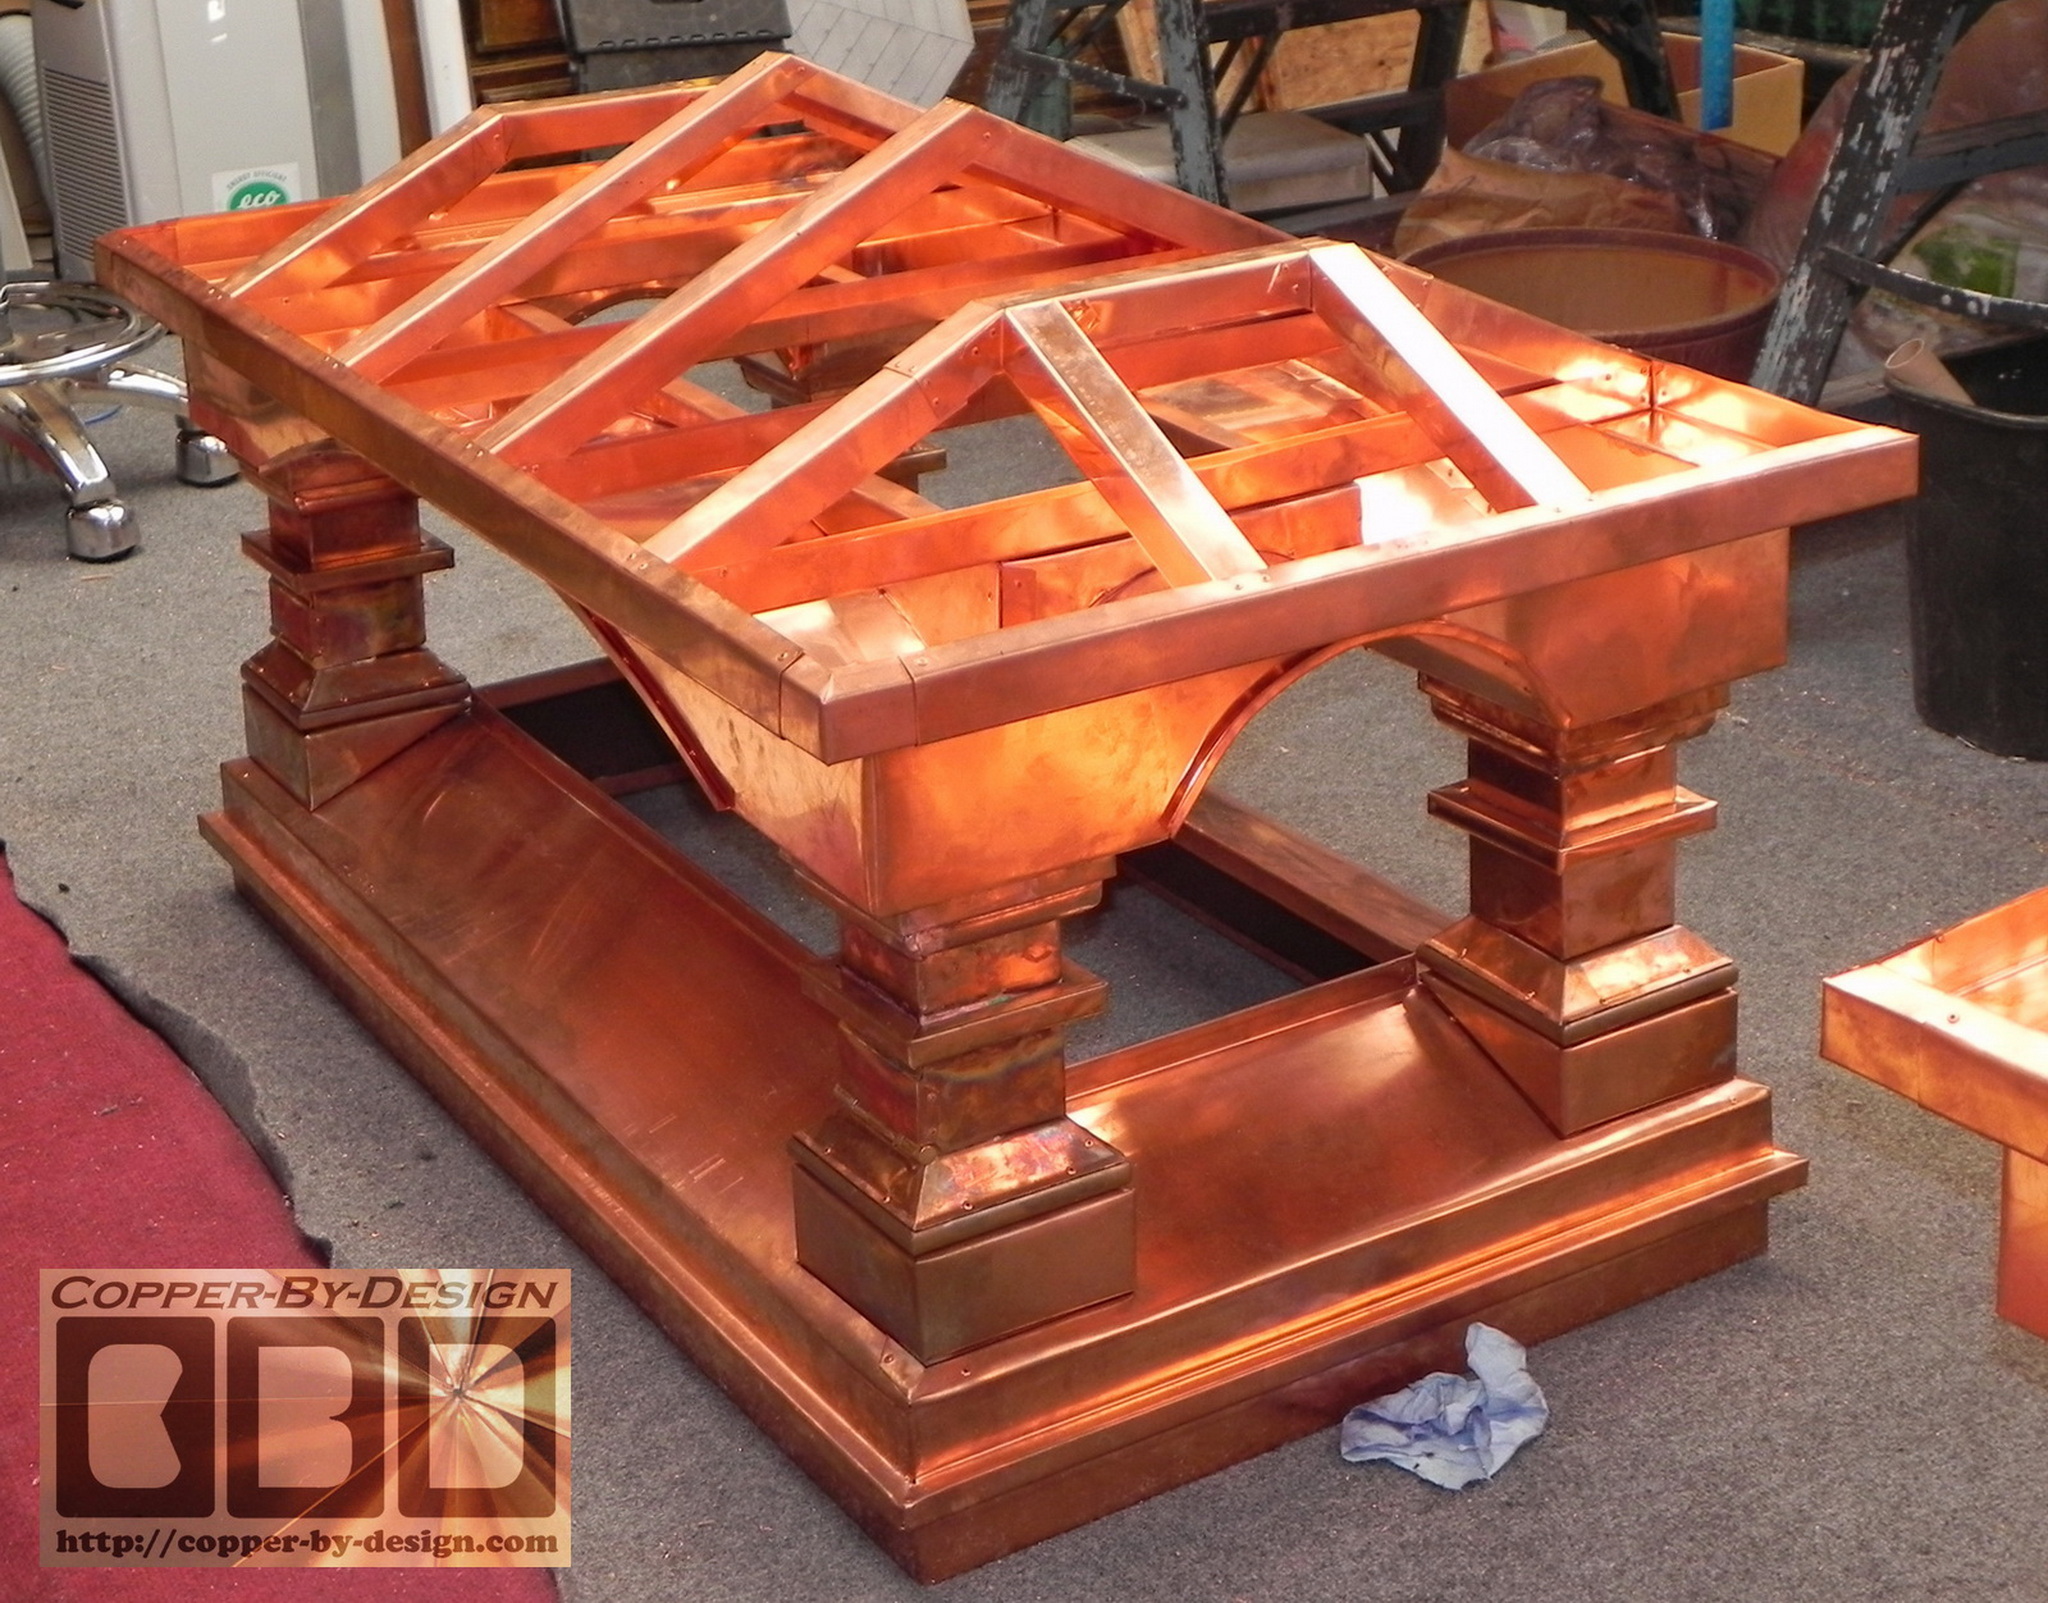
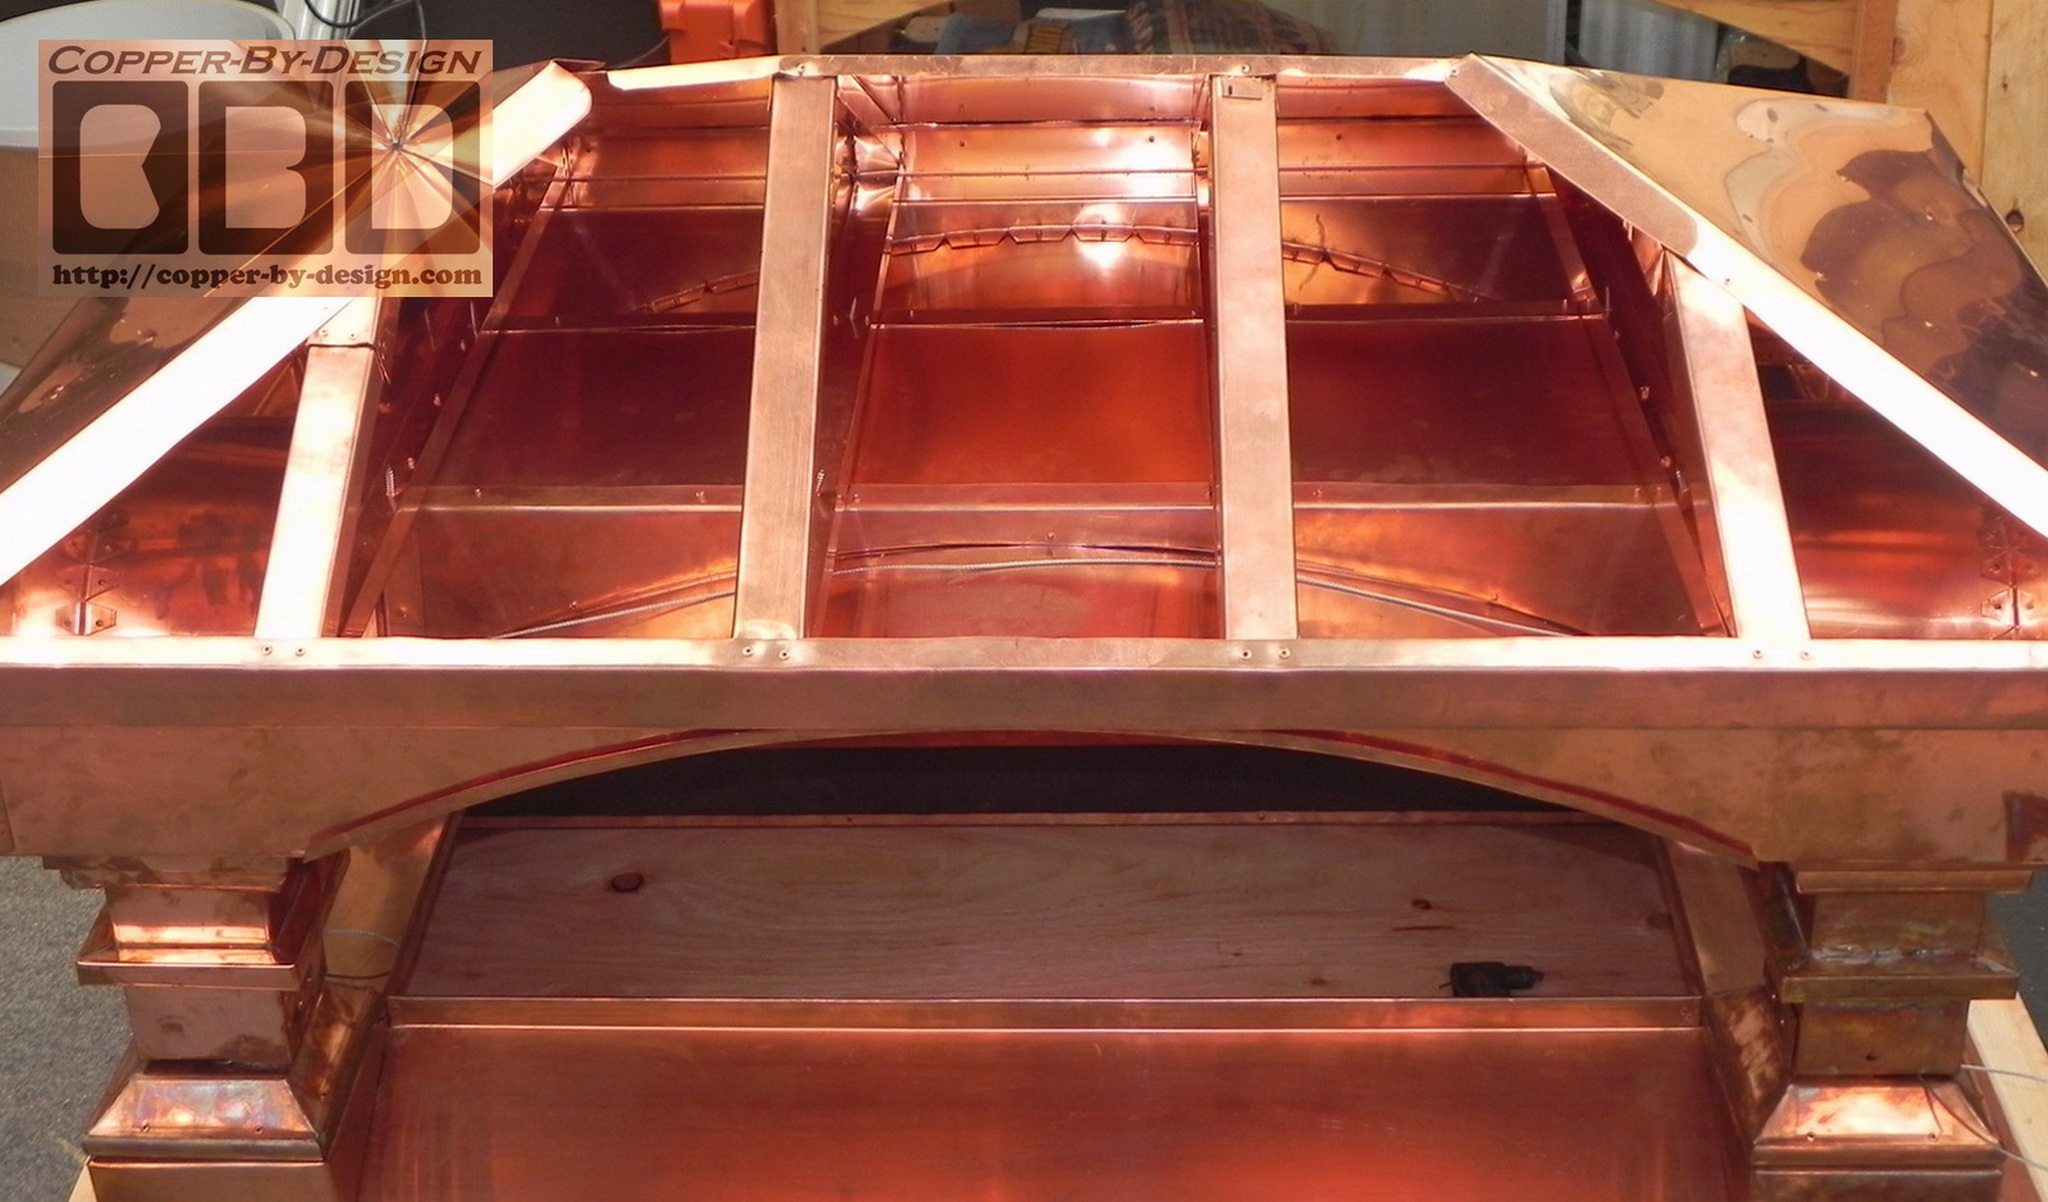
Building the Roof Trusses
and SS Cabling
(7/9/2012):
We've already been working
on these for over a month now and we have yet to start on the
roof, but first there is the sets of roof
support braces to make and attach with SS screws and copper
rivets. This took over 50' of
roof substructure bracing, which took 18.75 sq' of copper
sheet metal to form.
I believe this is a
very important detail that is not done by most any other sheet
metal shop from what I've seen. I do what
I can to prepare for the worst case weather these clients are
likely to encounter.
I decided this will need the
roof section sealed off entirely, so birds cannot nest up inside
the roof.
Adding Up the Final Invoice from the Weights (7/13/2012):
The weights and cost
breakdown of these pieces are as follows.
117.8# - for the smaller unit
138.8# - for the larger unit = 256.6# - 46# wood weight
= 210.6# X 0.8 = 168.48 sq' of 20oz copper used in
all for both.
X $30 sq' rate = $5,054.40 - for copper + $236.70 - for
23.67' - 1X6 ipe hardwood frame inside the base skirt x $10 + $280 - for 4 brass door hinges, 40 SS
bolts, 80 SS nuts, 50' SS cables, and 8 SS lock pins + $400 for a strong large 38" X 5' X 4.5'
tall custom wood crate for both caps + $500 shipping charge to your home
w/hydraulic lift-gate service = $6,471.10 total for both delivered. - $4,000 paid = $2,471.10 balance
.
Click in this photo to go back
to Chimney
Caps main info page
.
Below is a
photo of our Better Business Bureau's NW Business Integrity Award
for the year 1998
We were also a 1997 finalist
for this same award. See our referral
web page to see how we managed to be honored with this special award