|
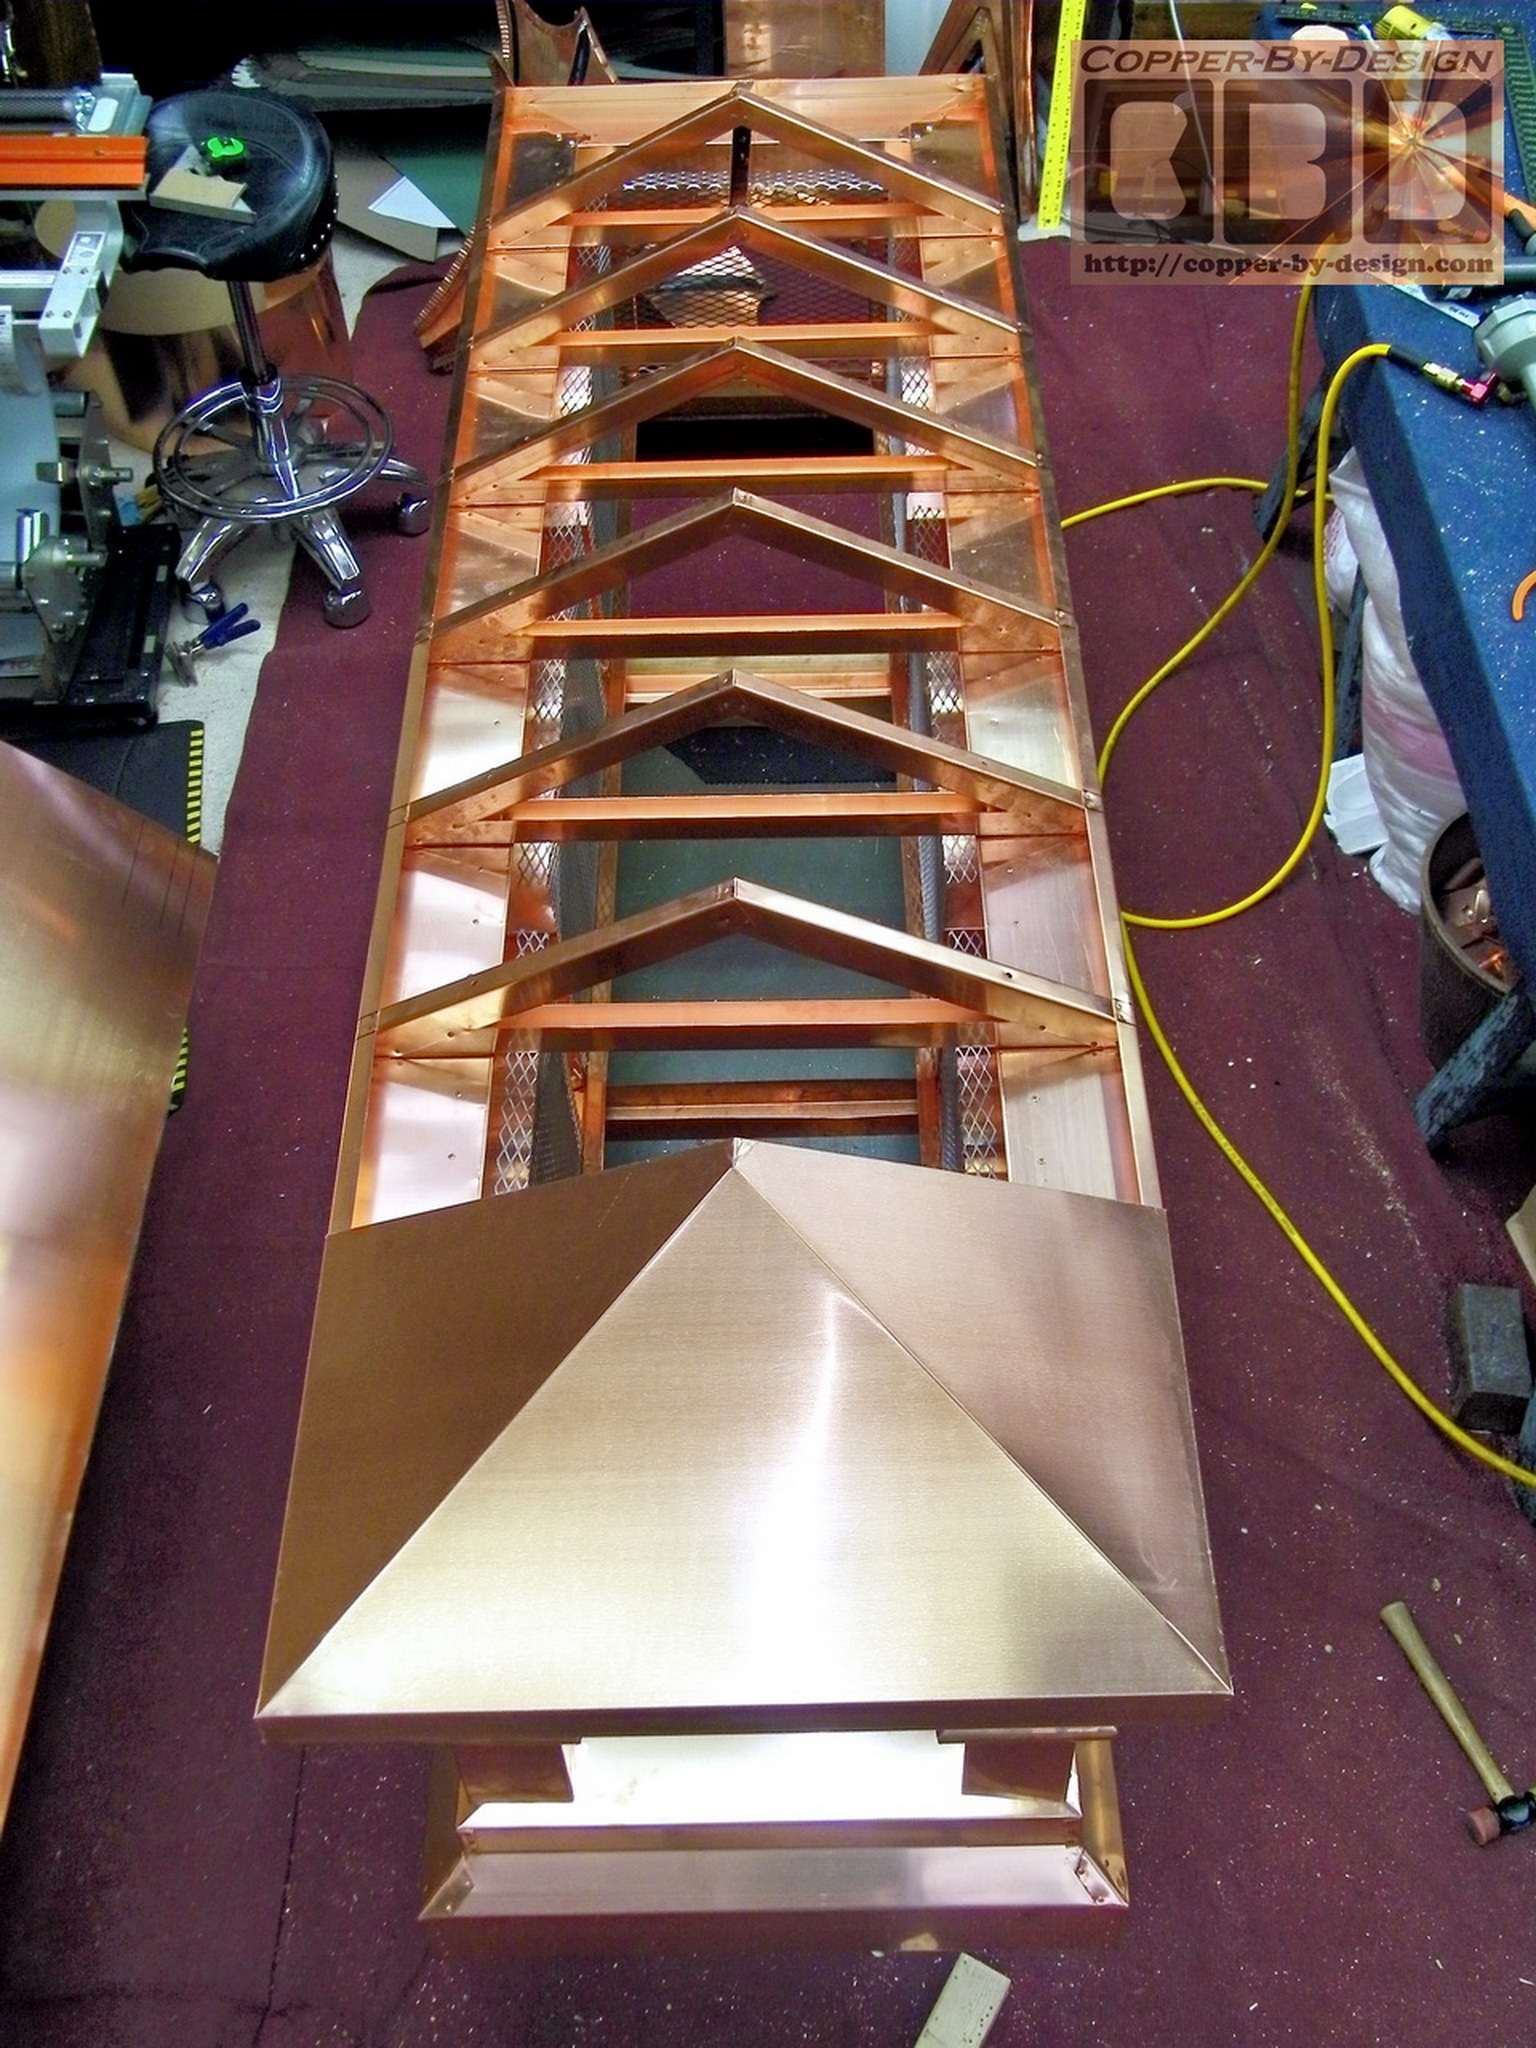
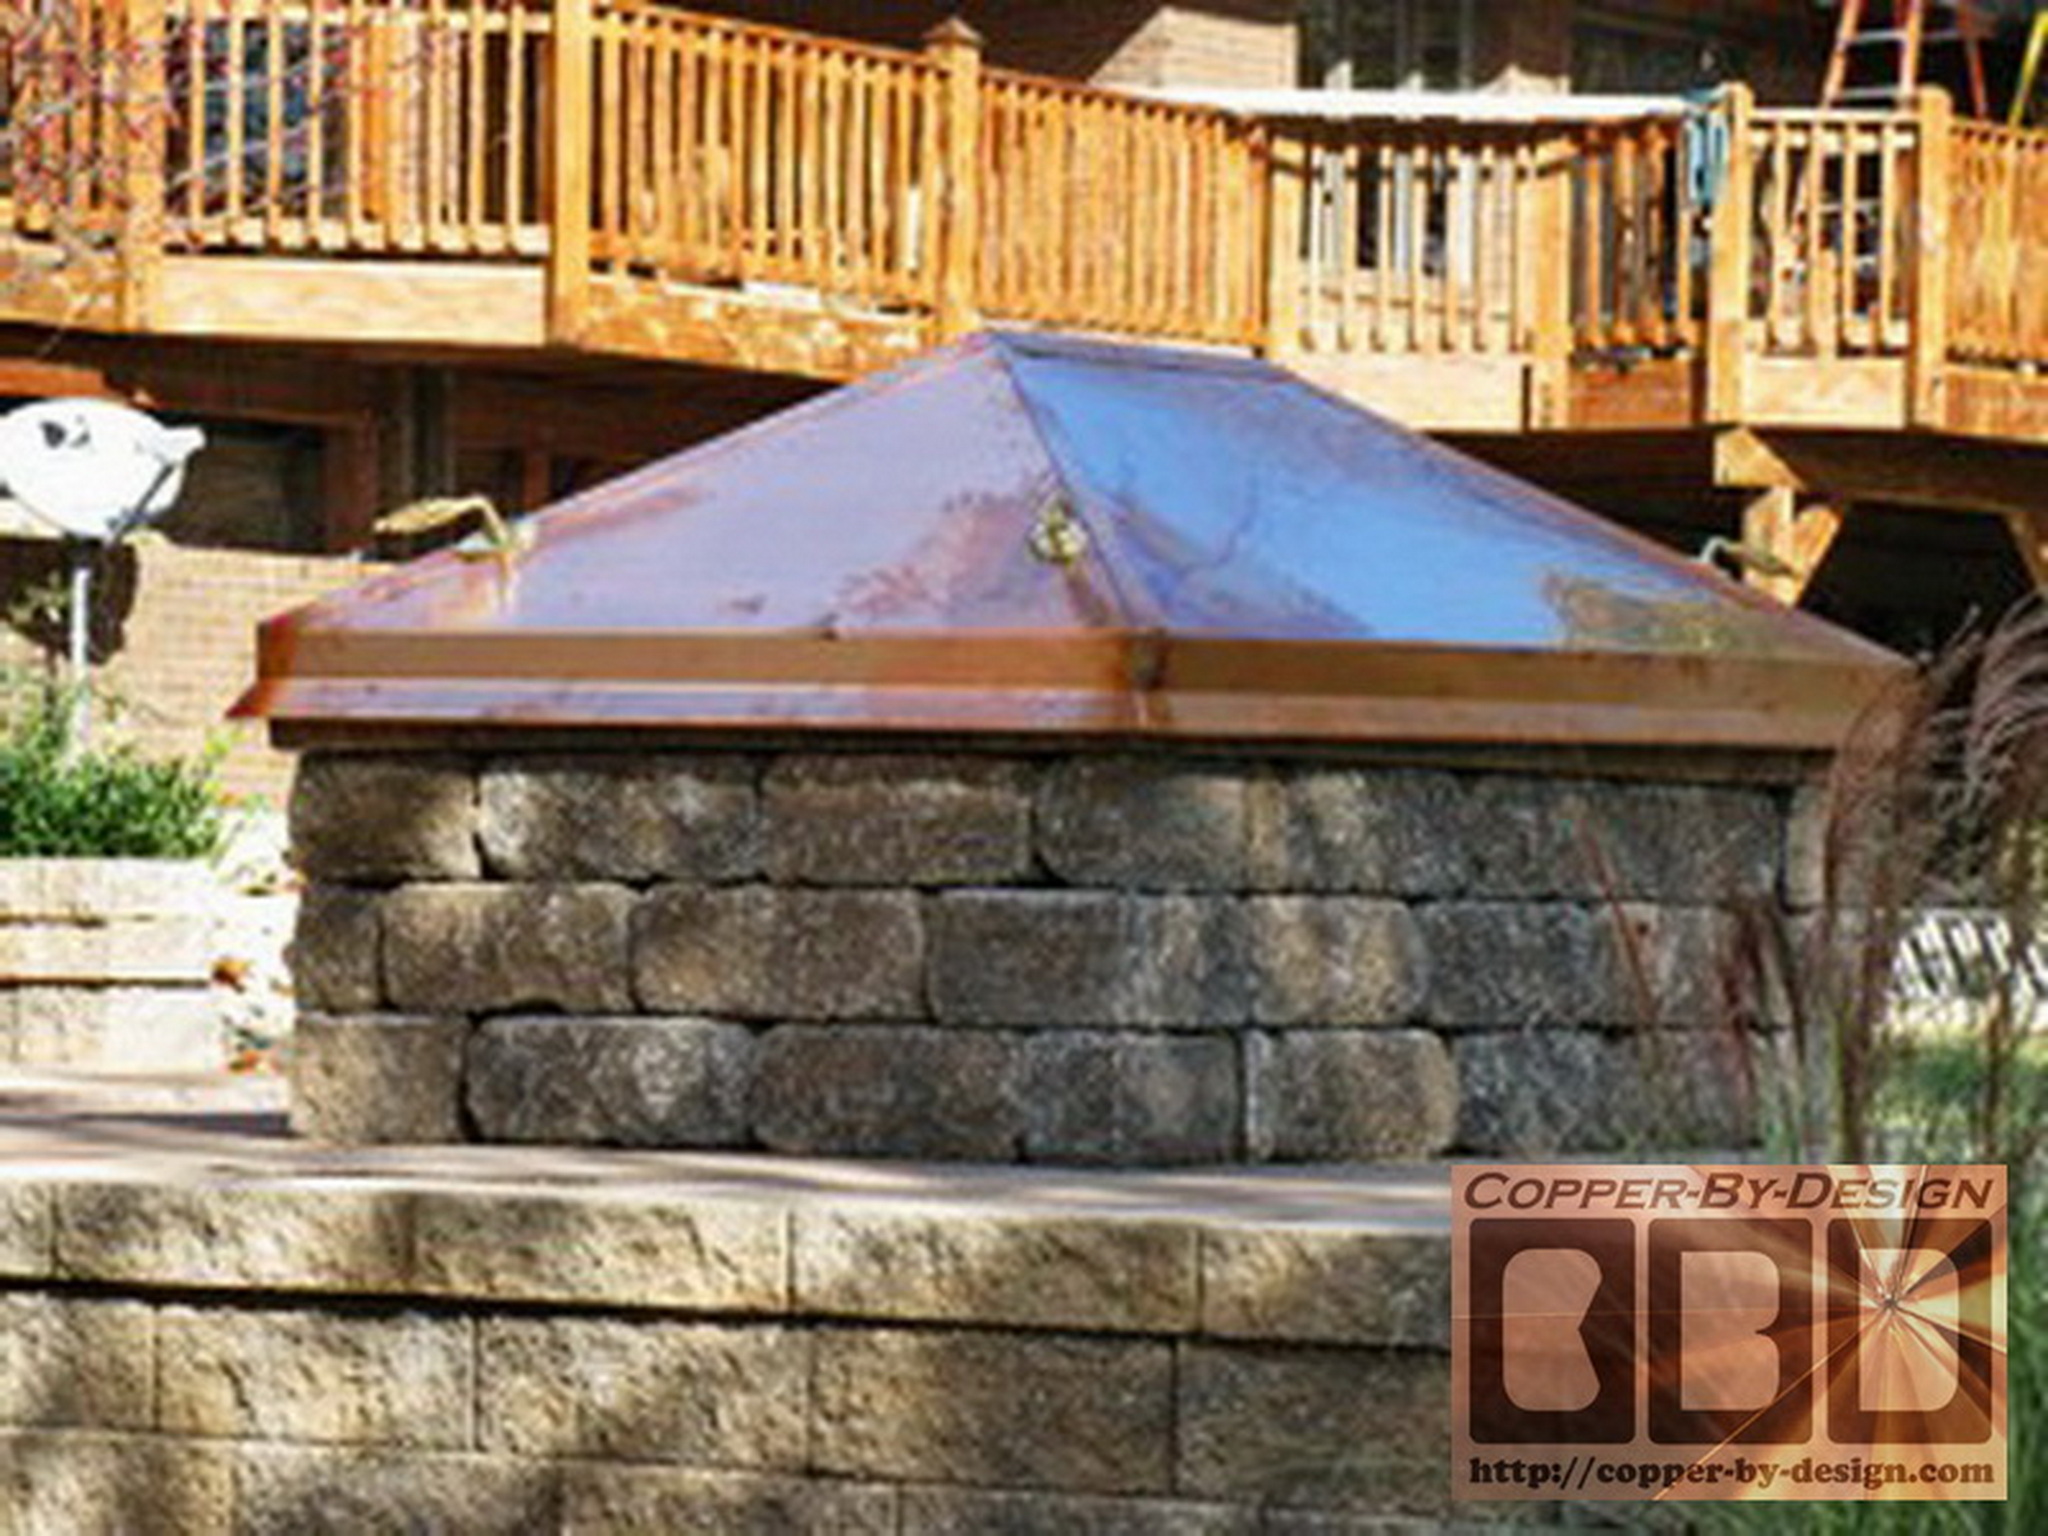
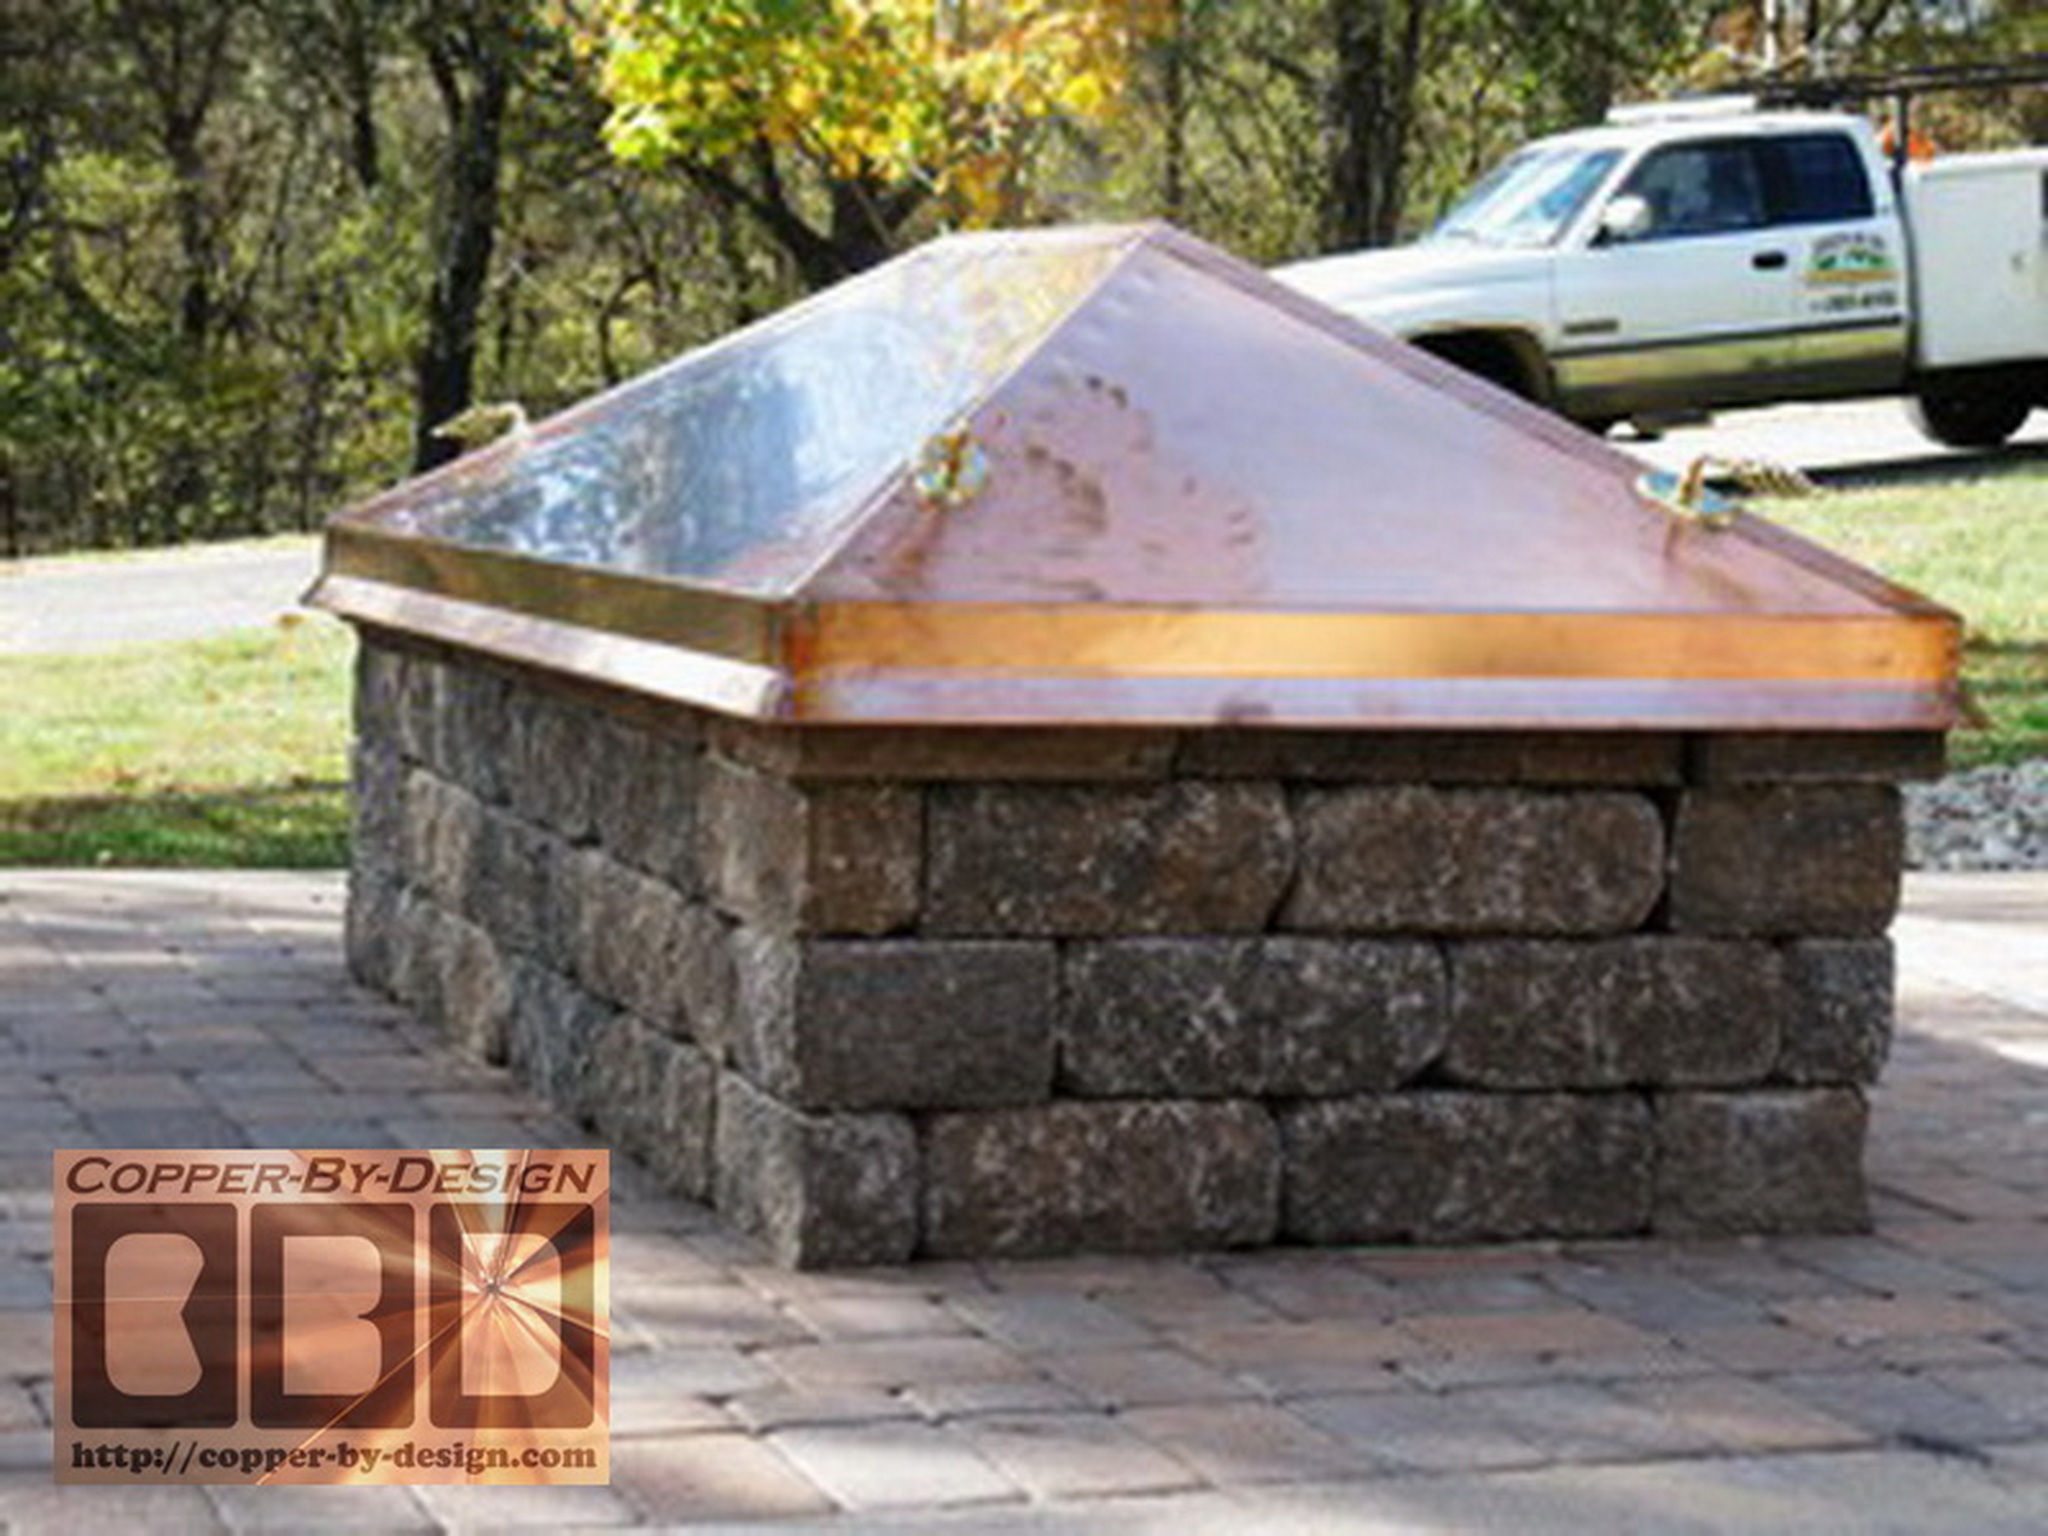
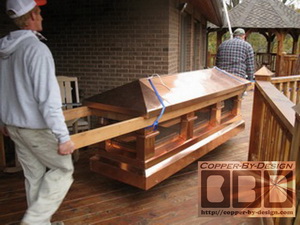
This is much like the larger chimney cap I made for a local client
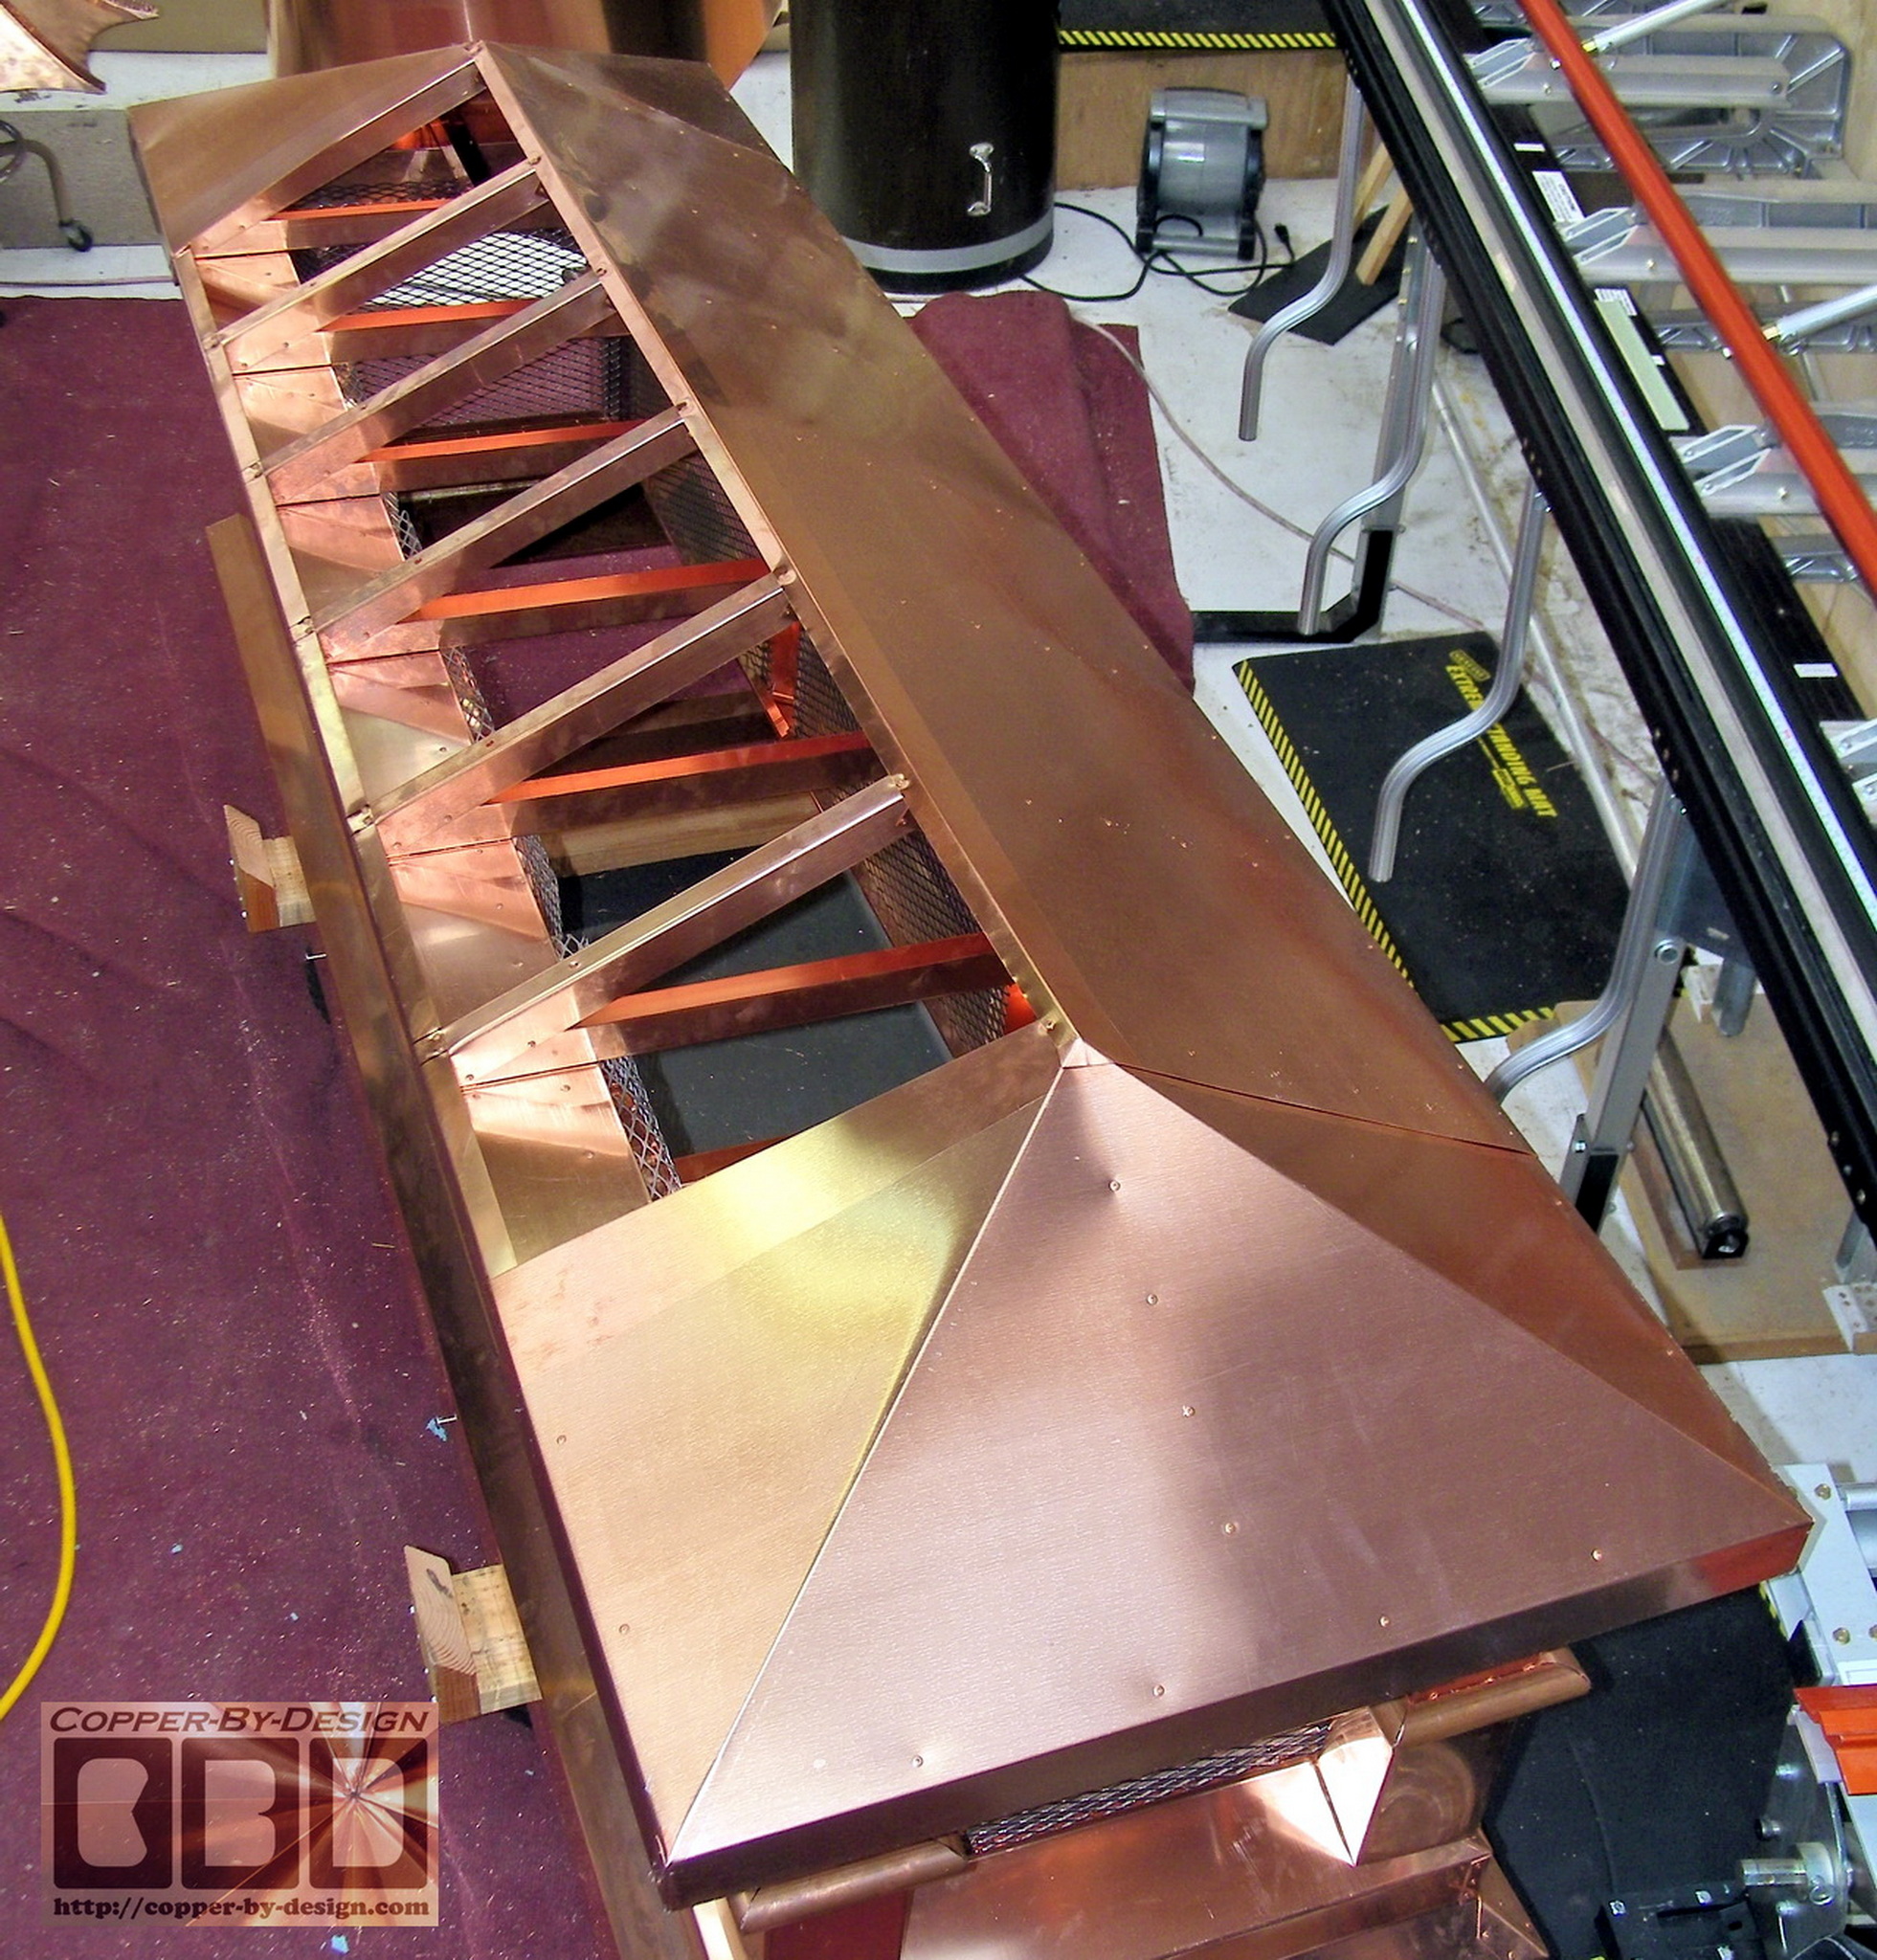
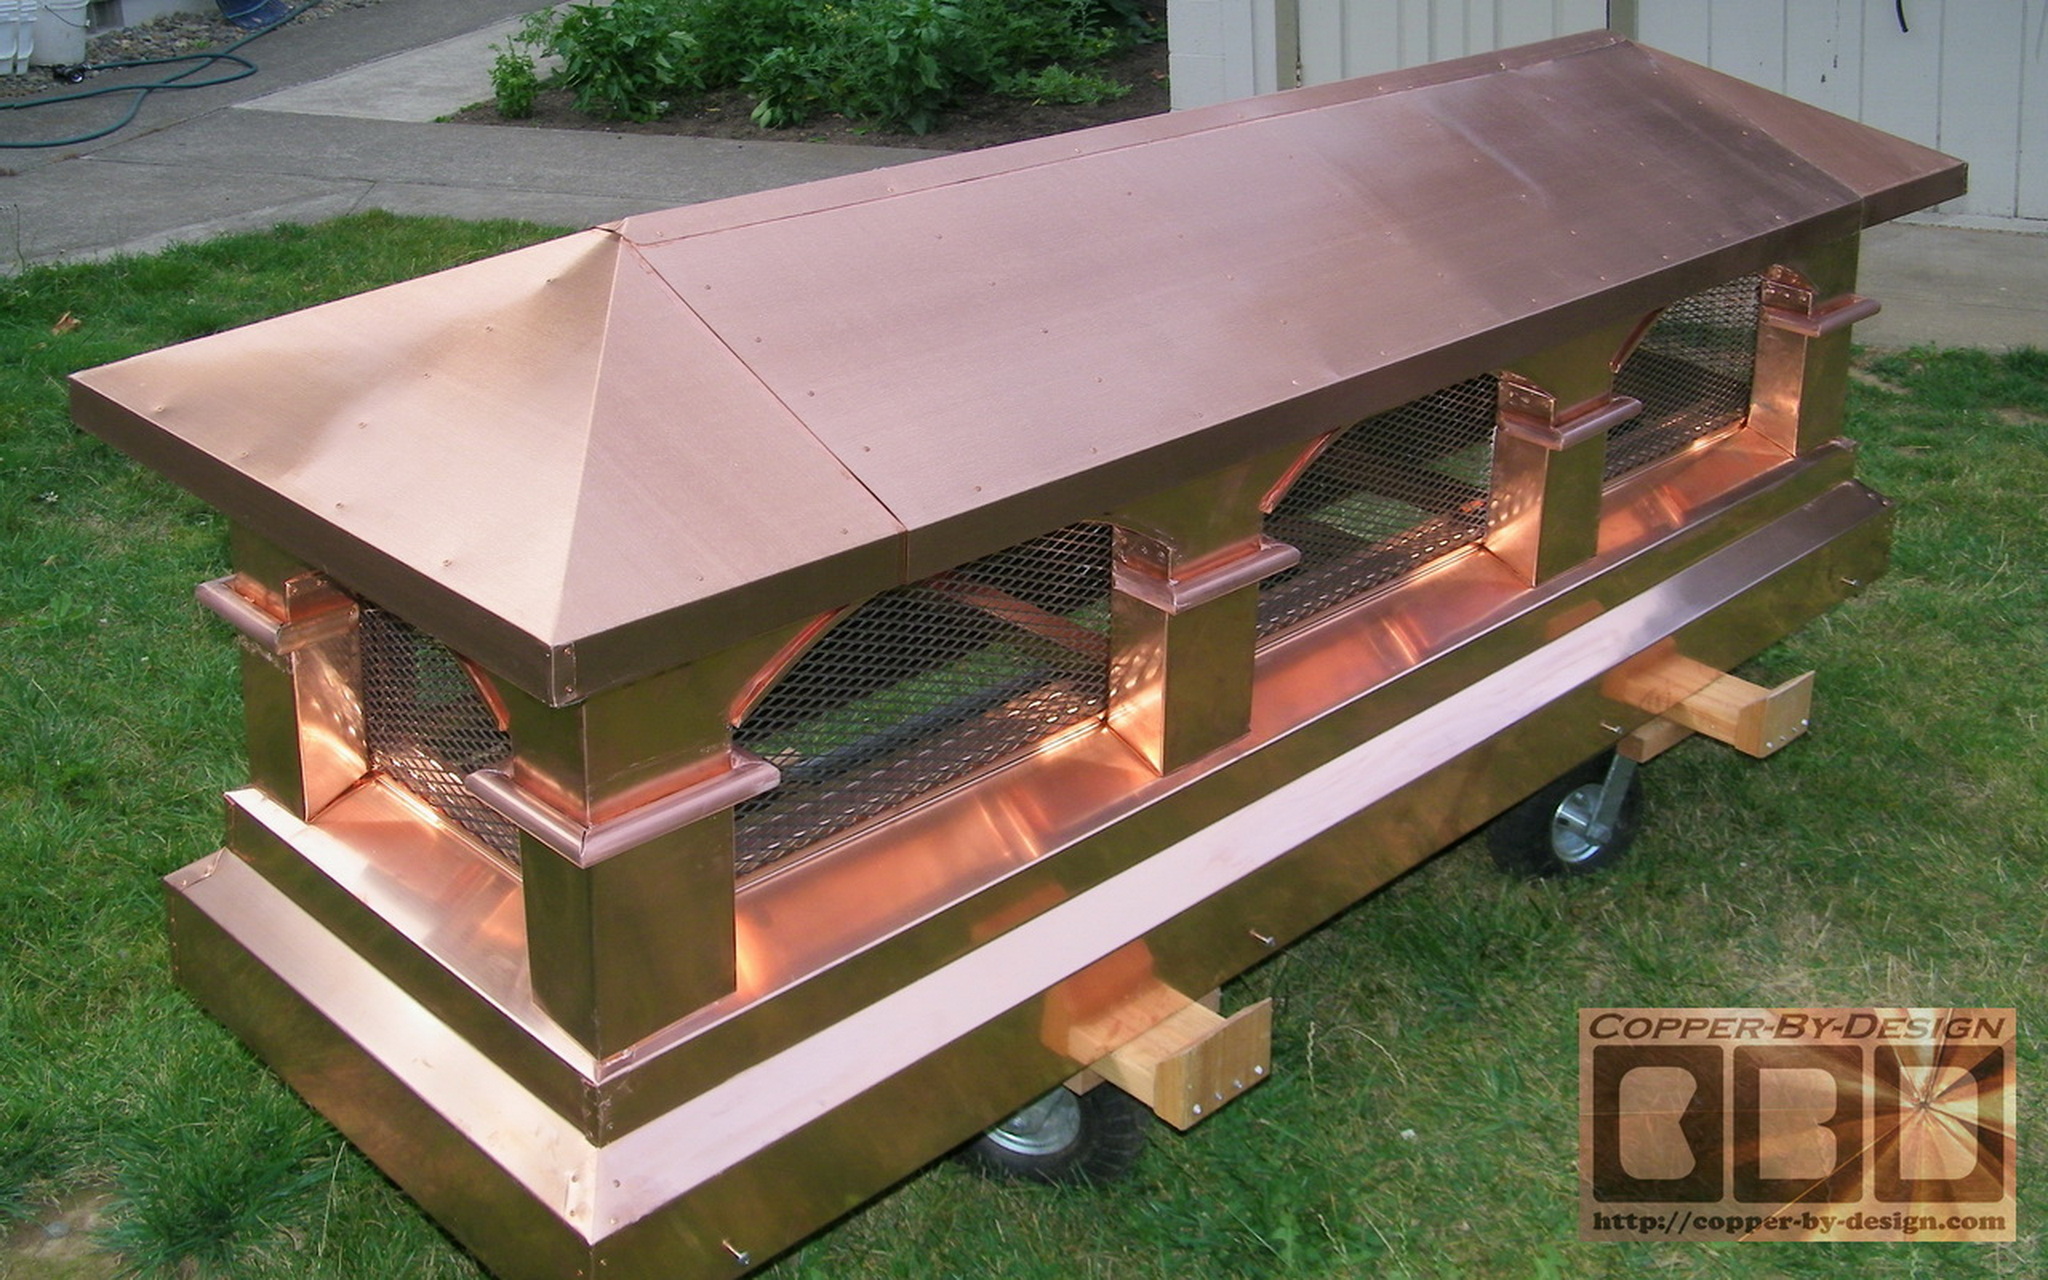
named Bardana in Lake Oswego, Oregon. The differences besides being a little scaled down was that I made this one with a 2 stage
step in base/skirt. Something I had not done for this style chimney cap before,
but I think it looks very good. This order was for Bernard & Debby Birger in Collinsville, Illinois.

After finding my web site
they had made a trip out here to visit their Daughter's family
in Bend, Oregon. While in our State they took the time to stop in to visit with me after getting off their plane here in PDX. They laid down a $2k deposit for the work they wanted done and said they would be back in September with a Motorhome and trailer to pick these up before heading back from visiting their Daughter again after she had
her new baby.
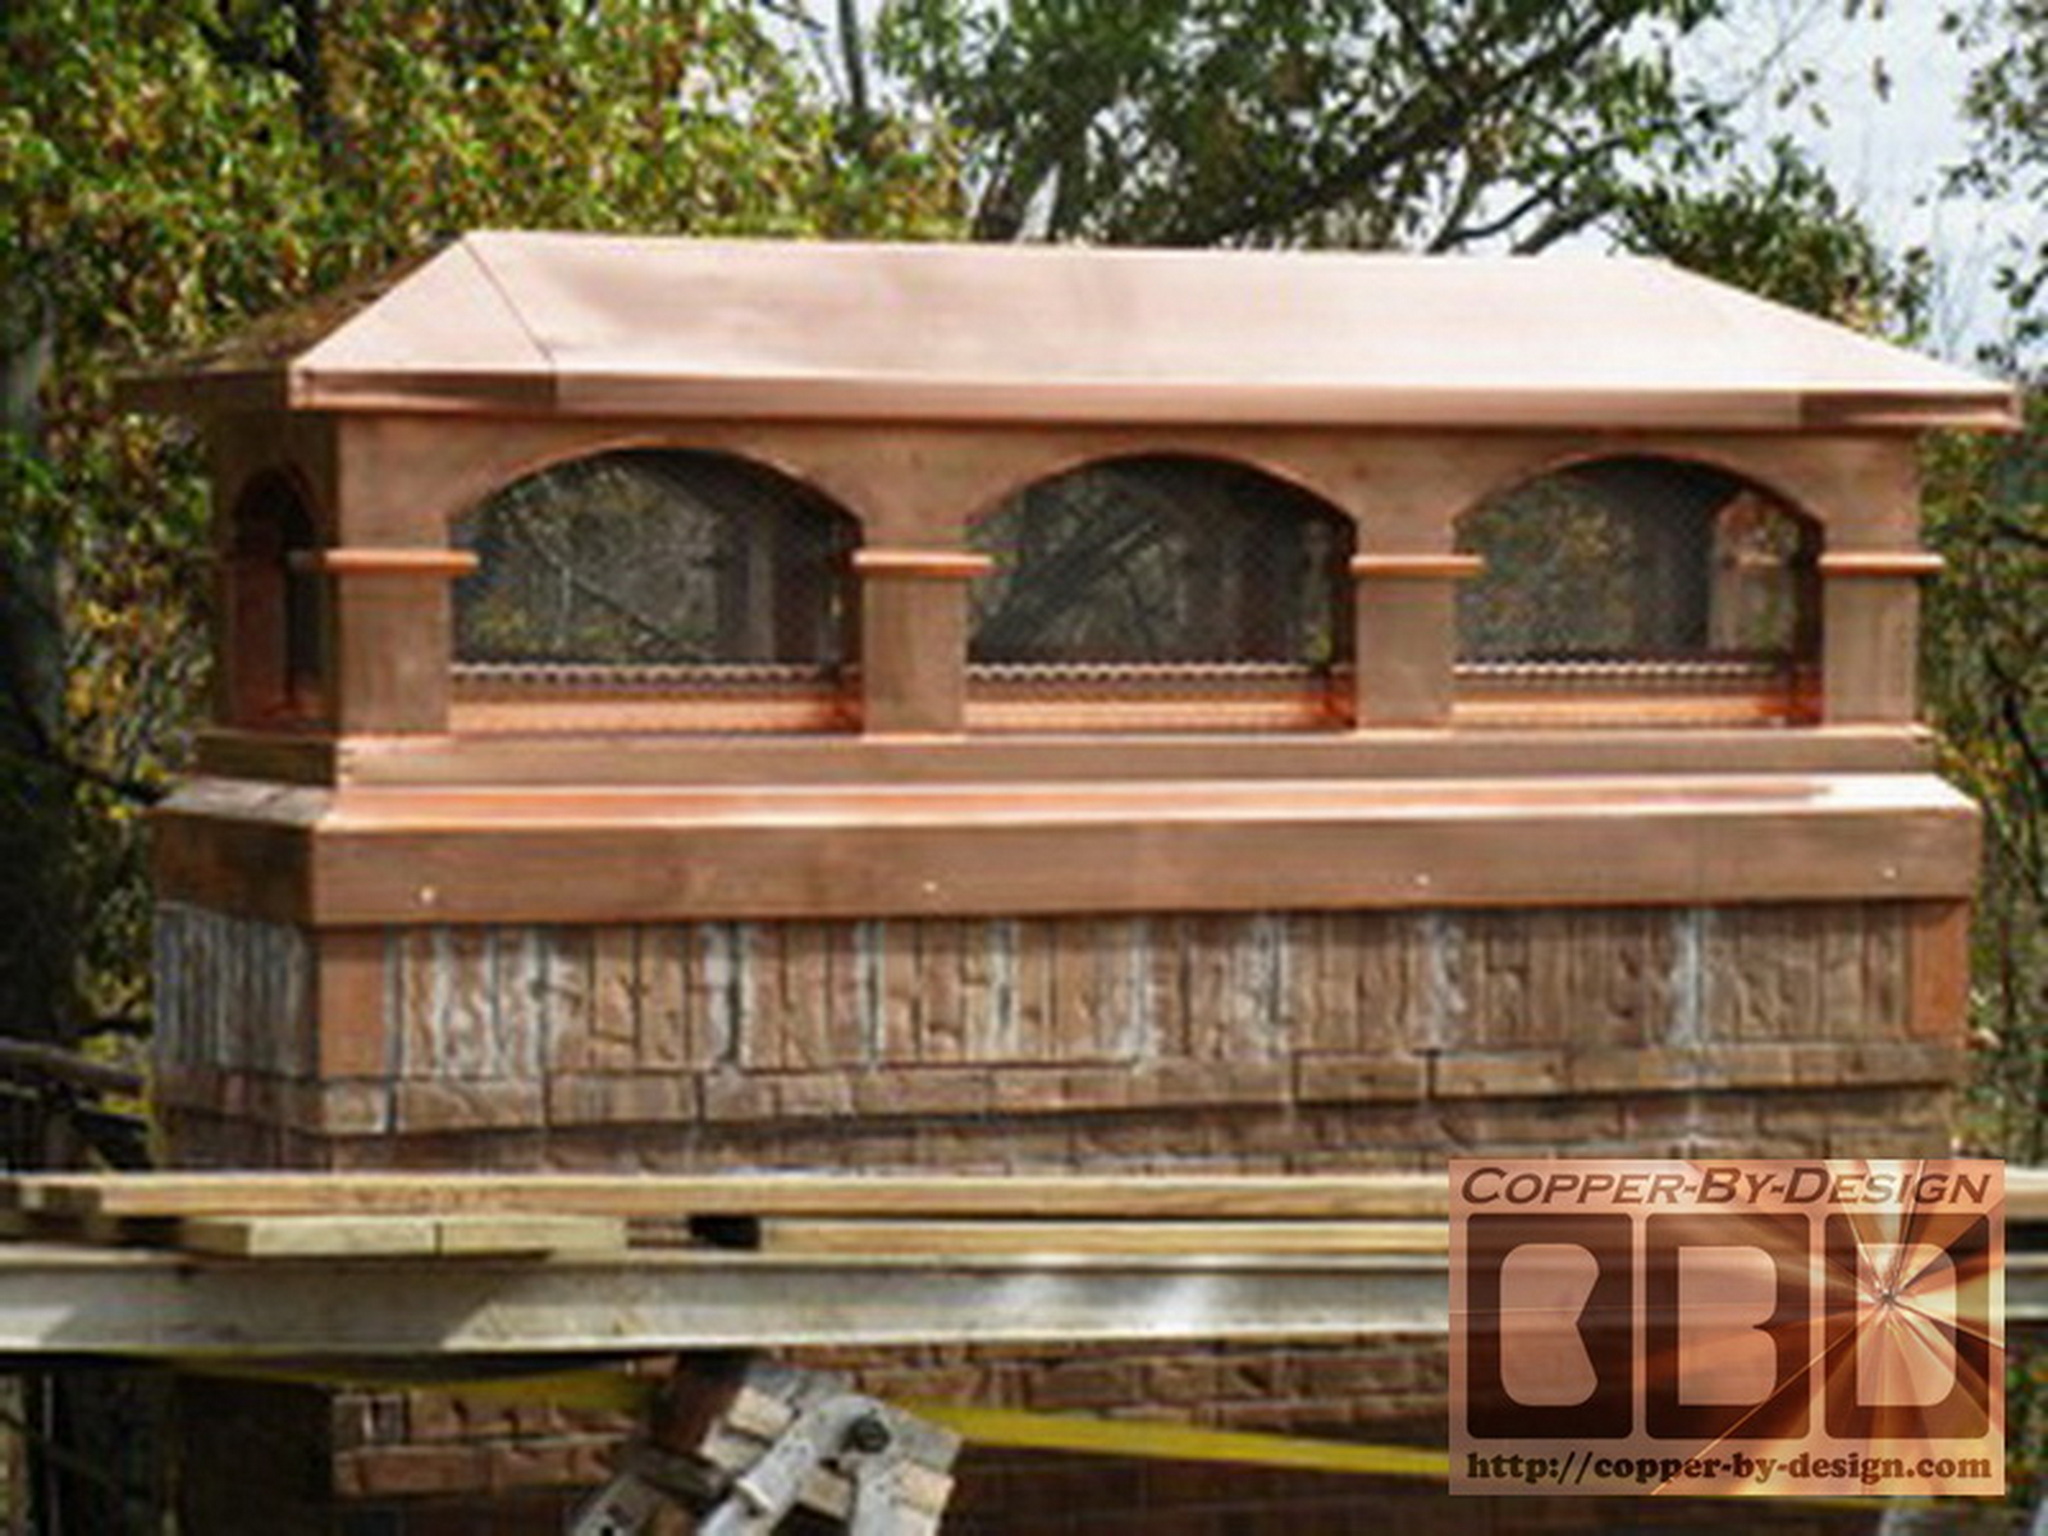
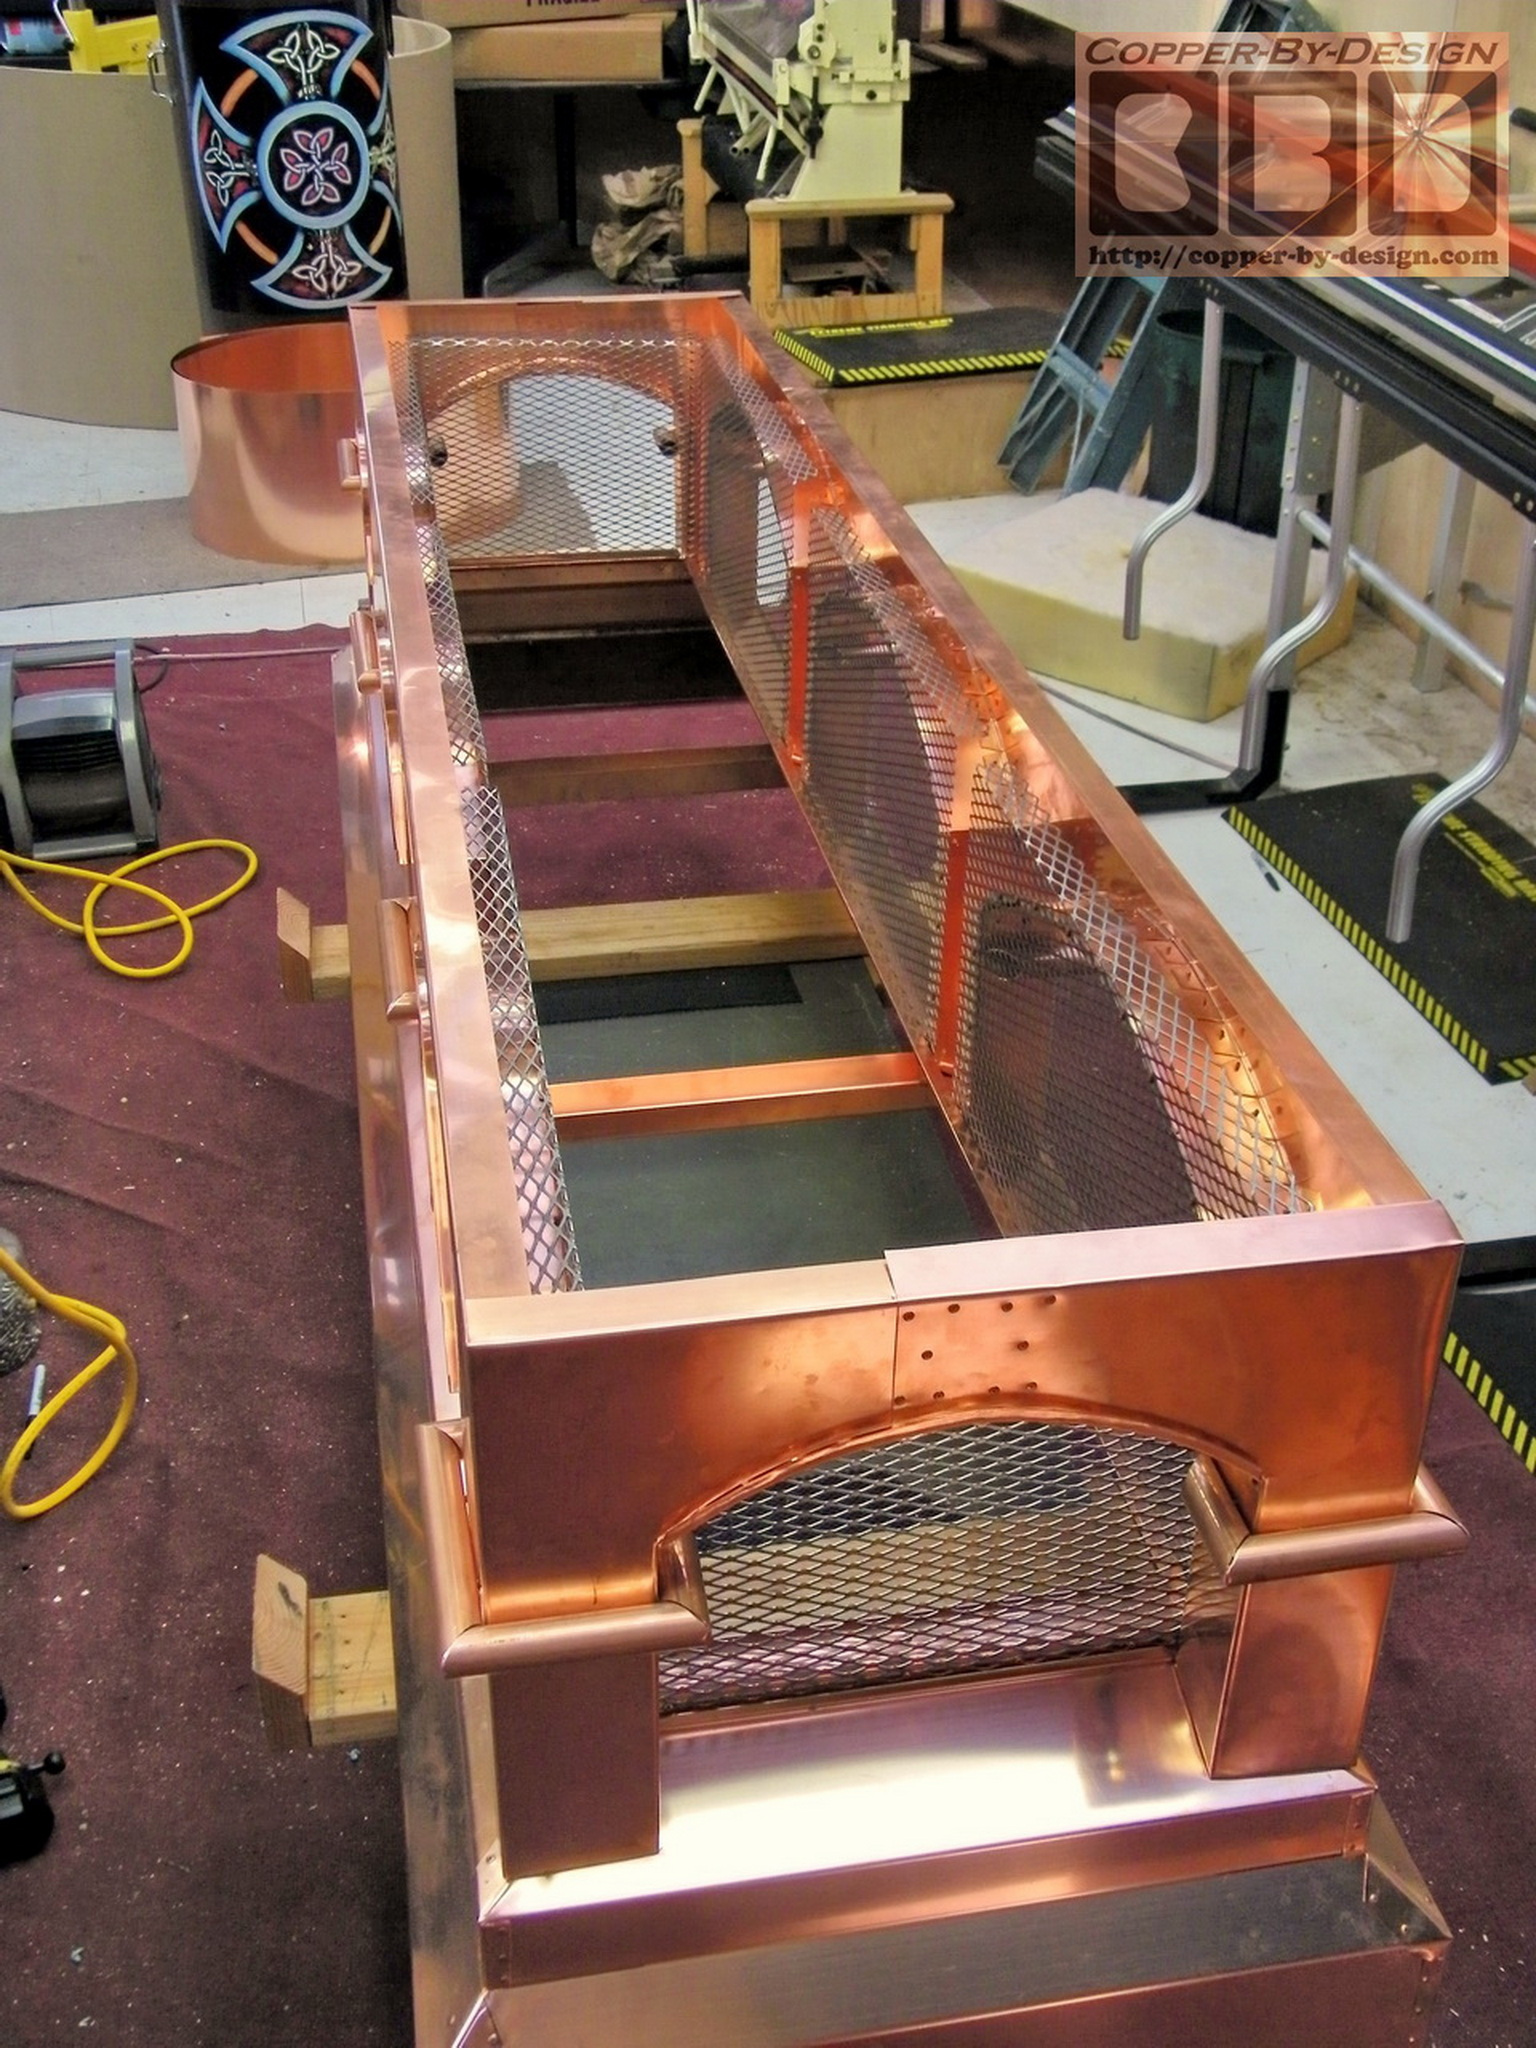
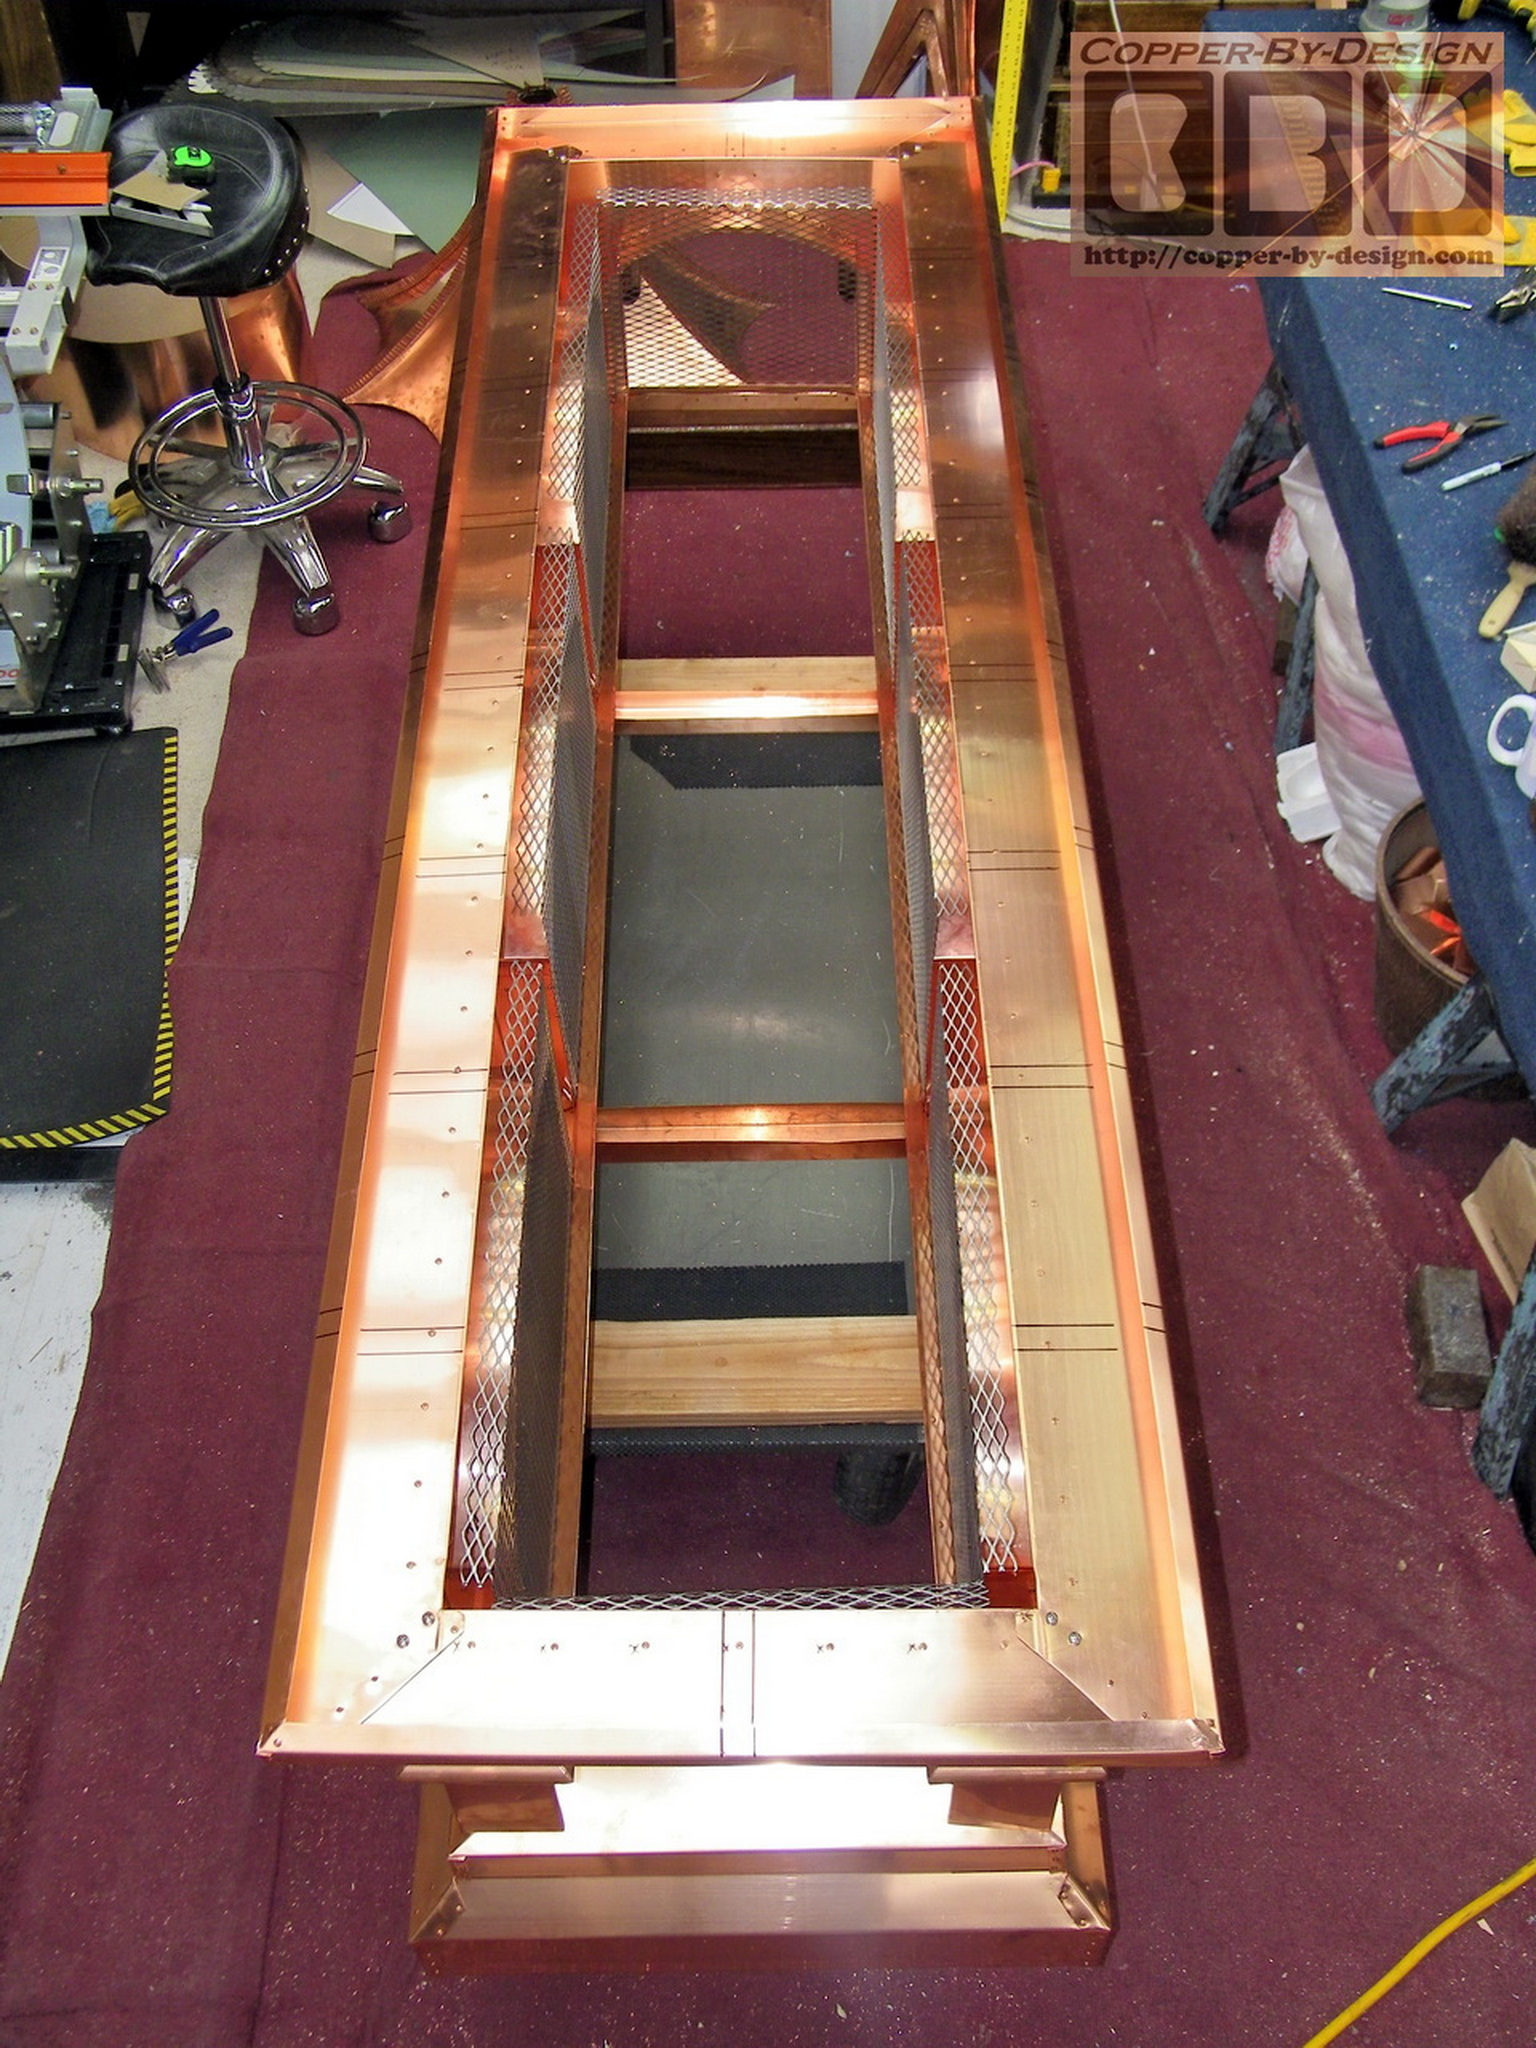
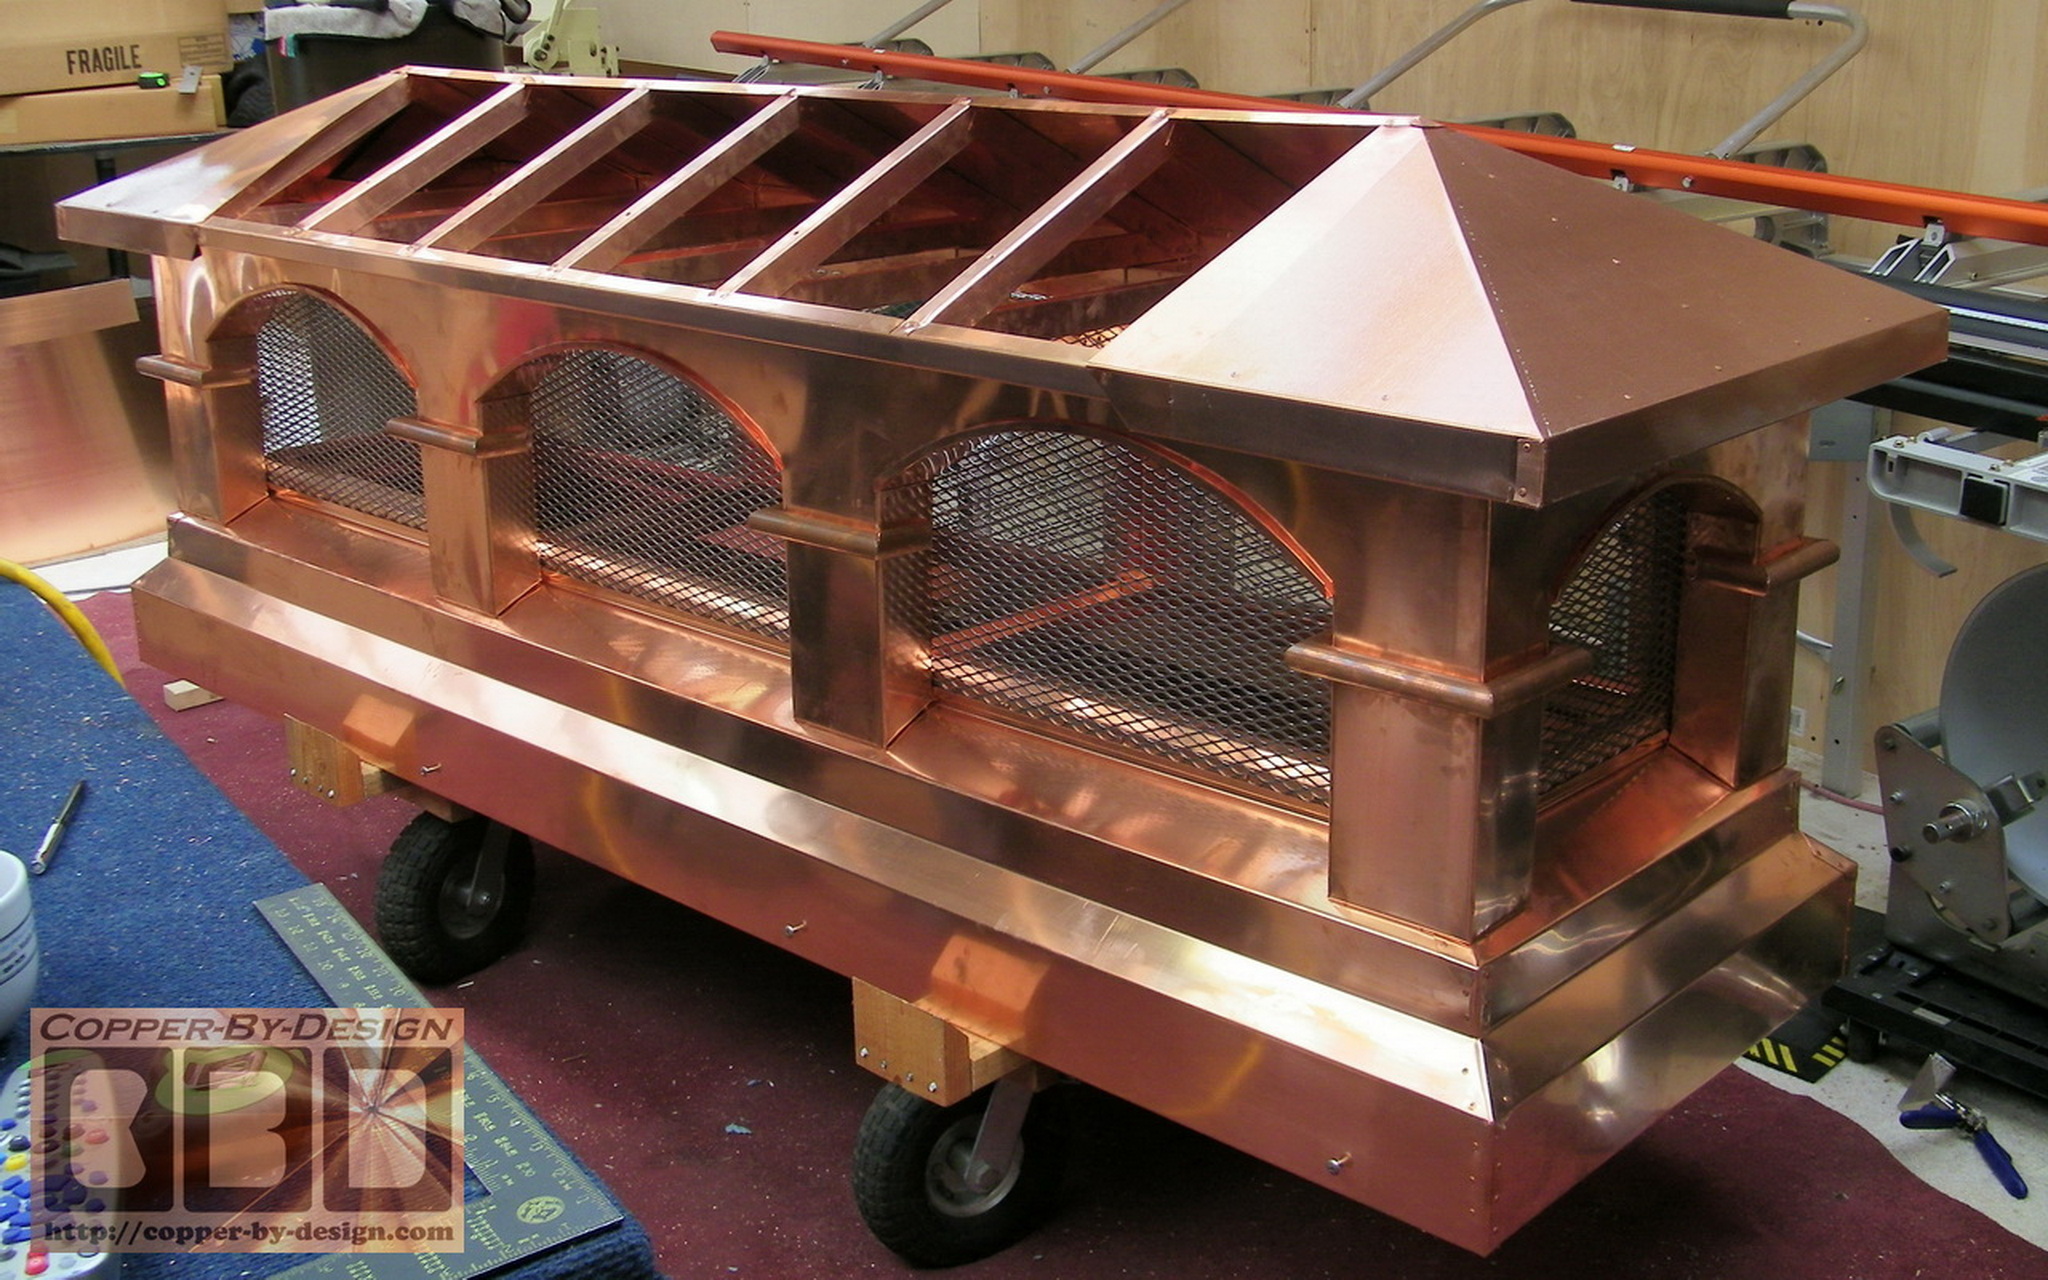
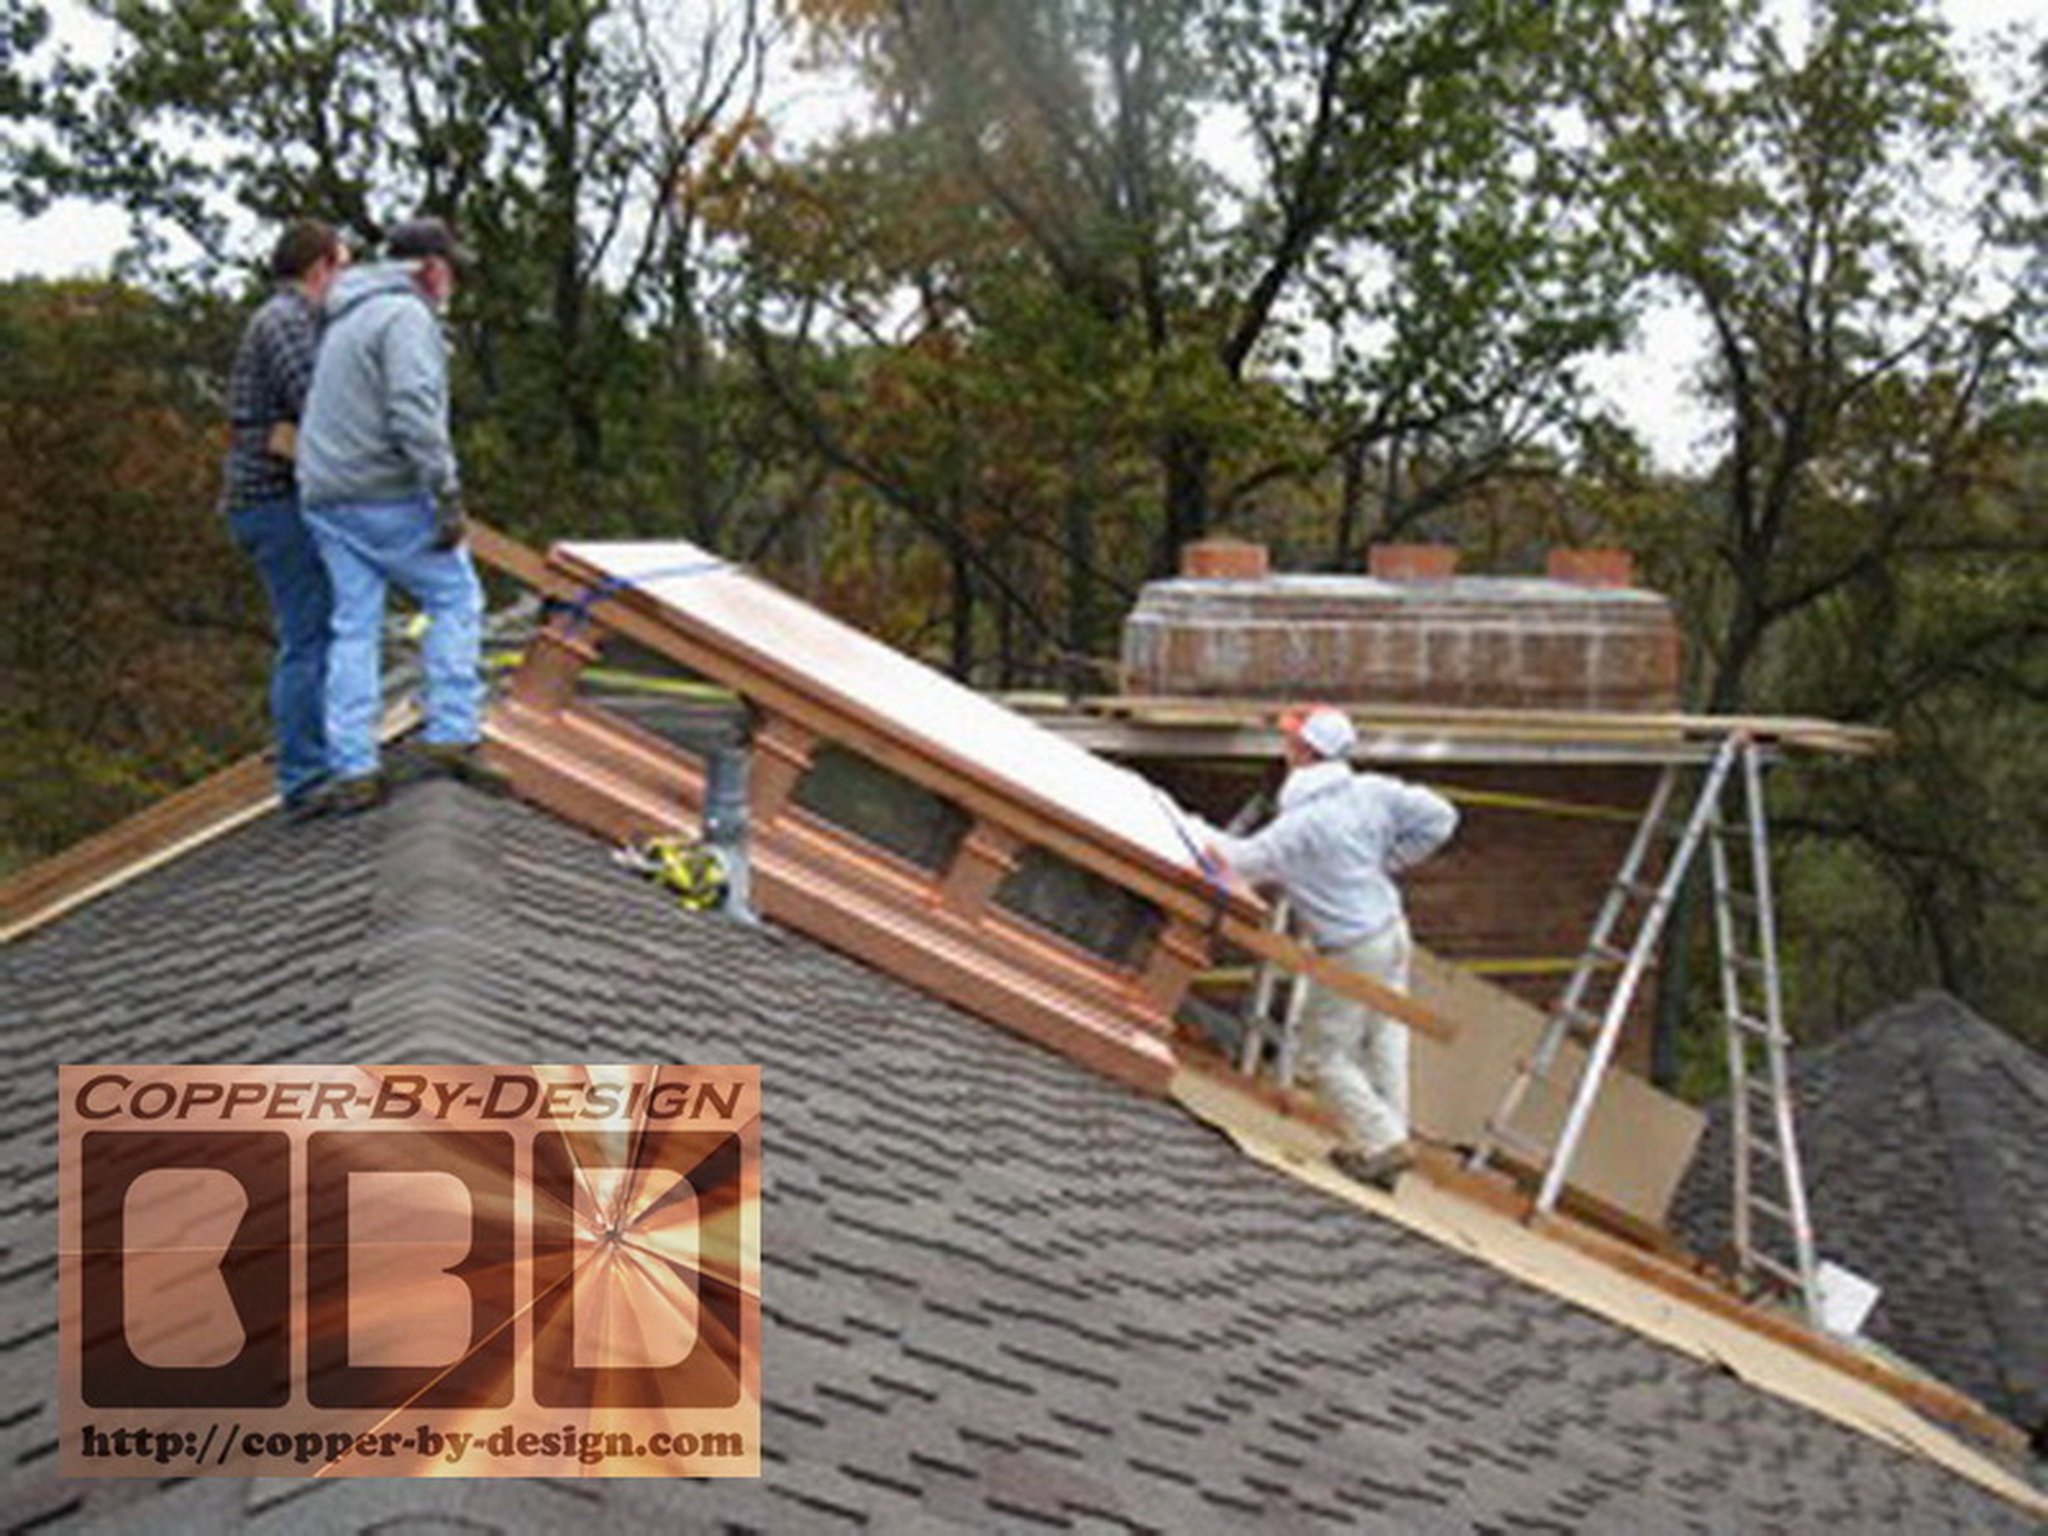
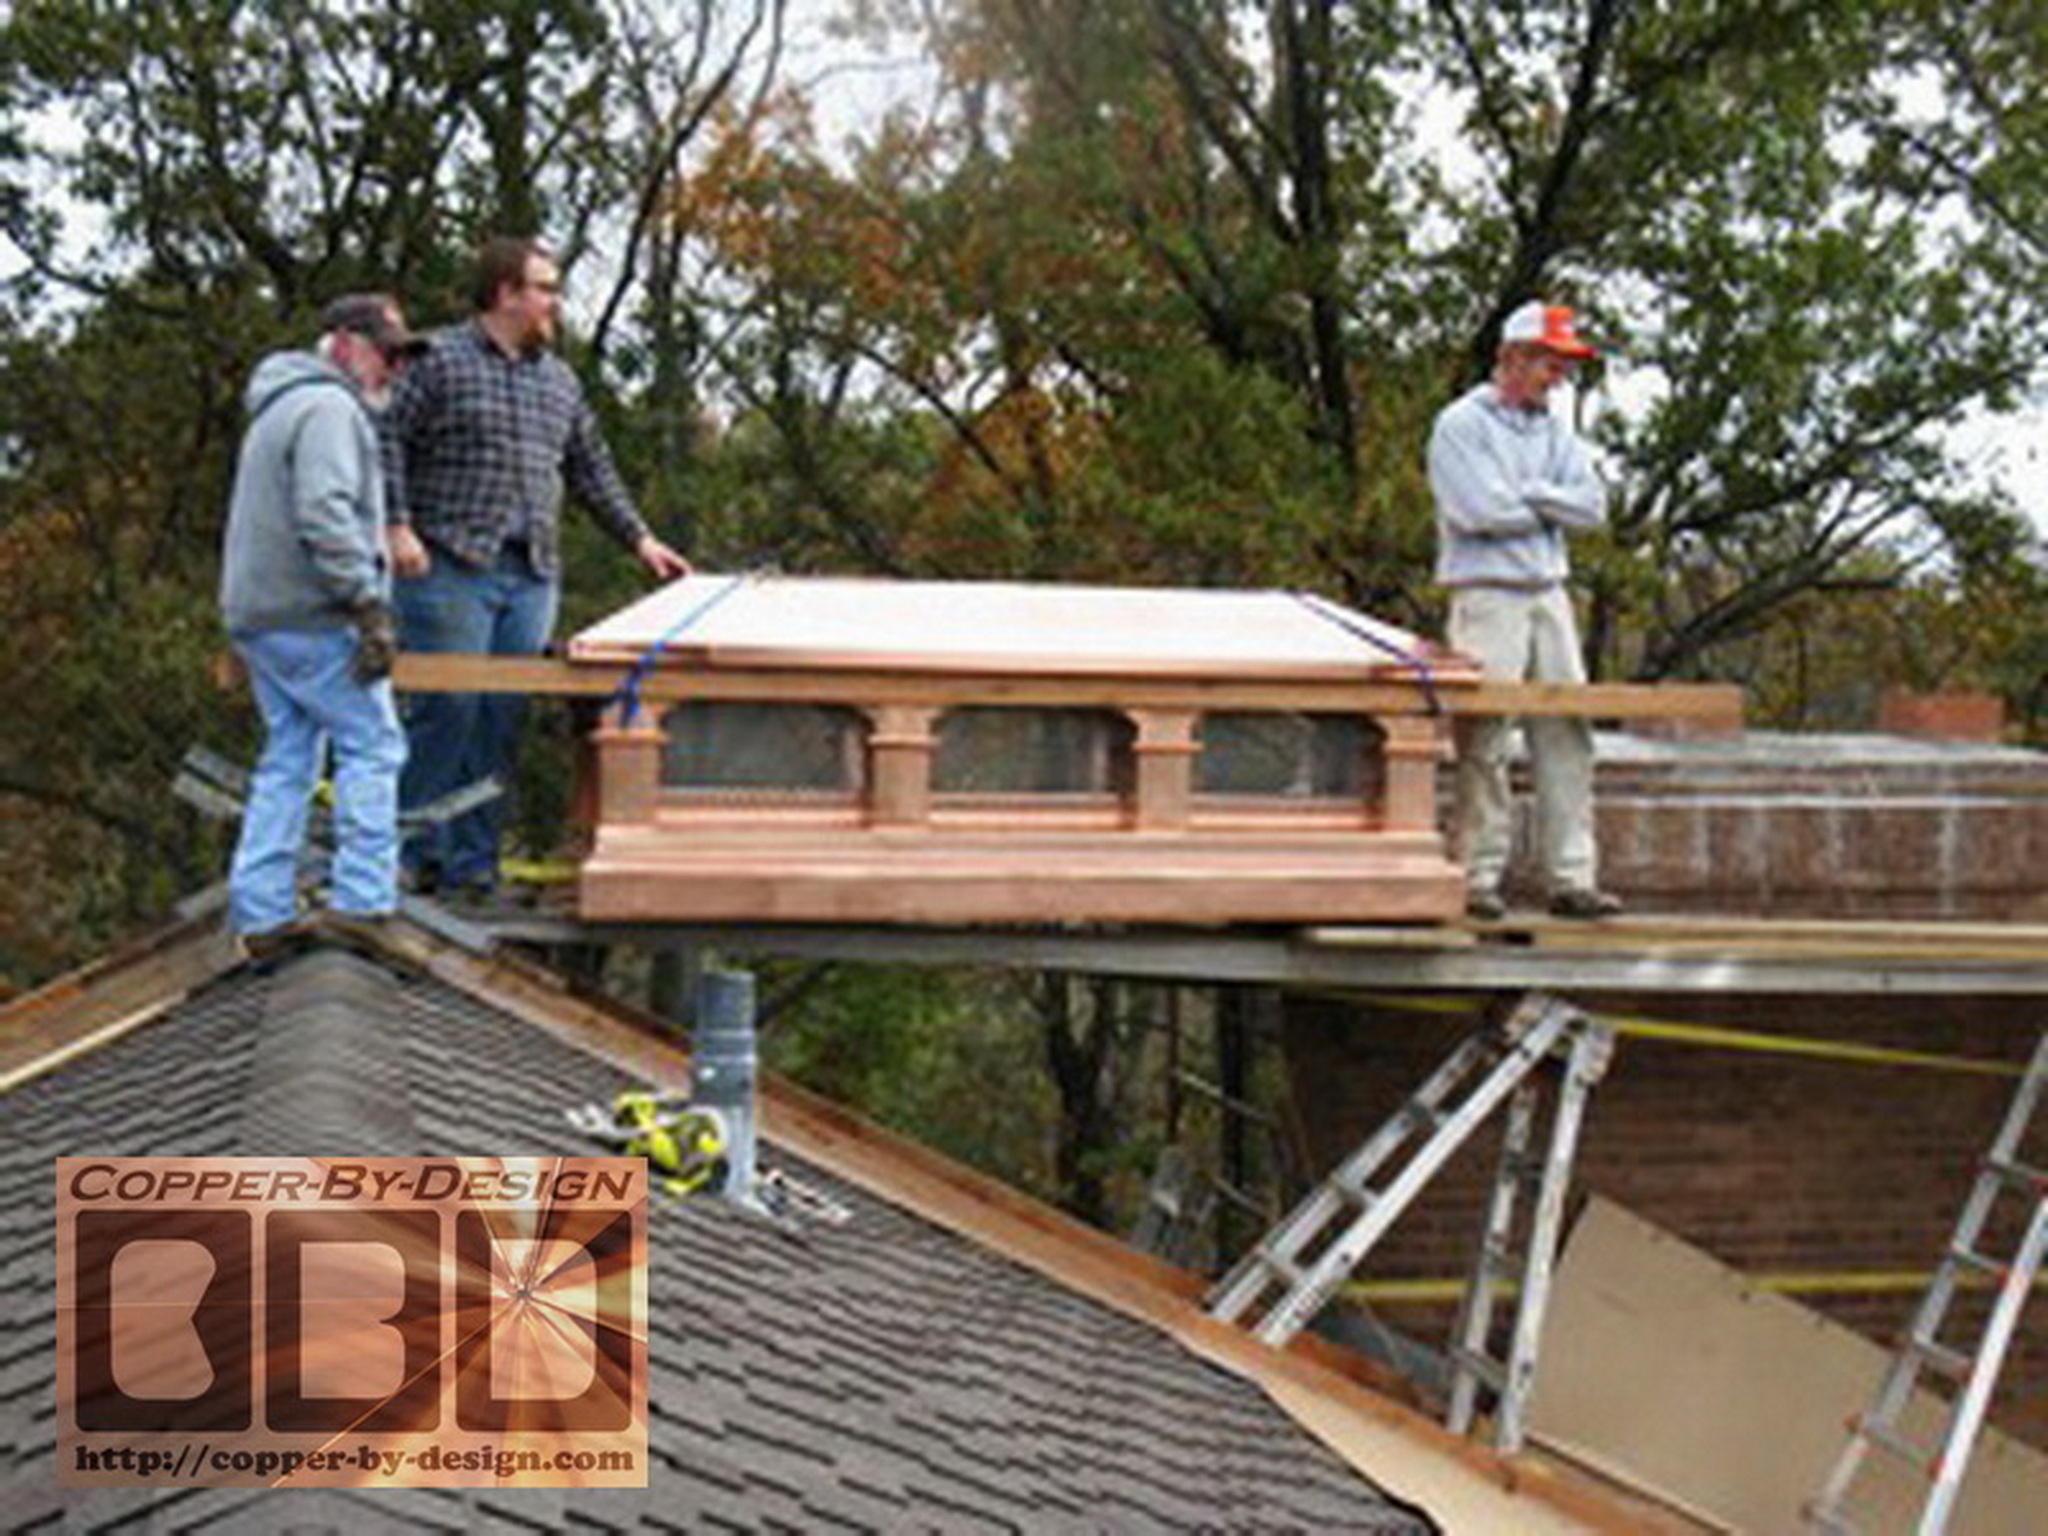
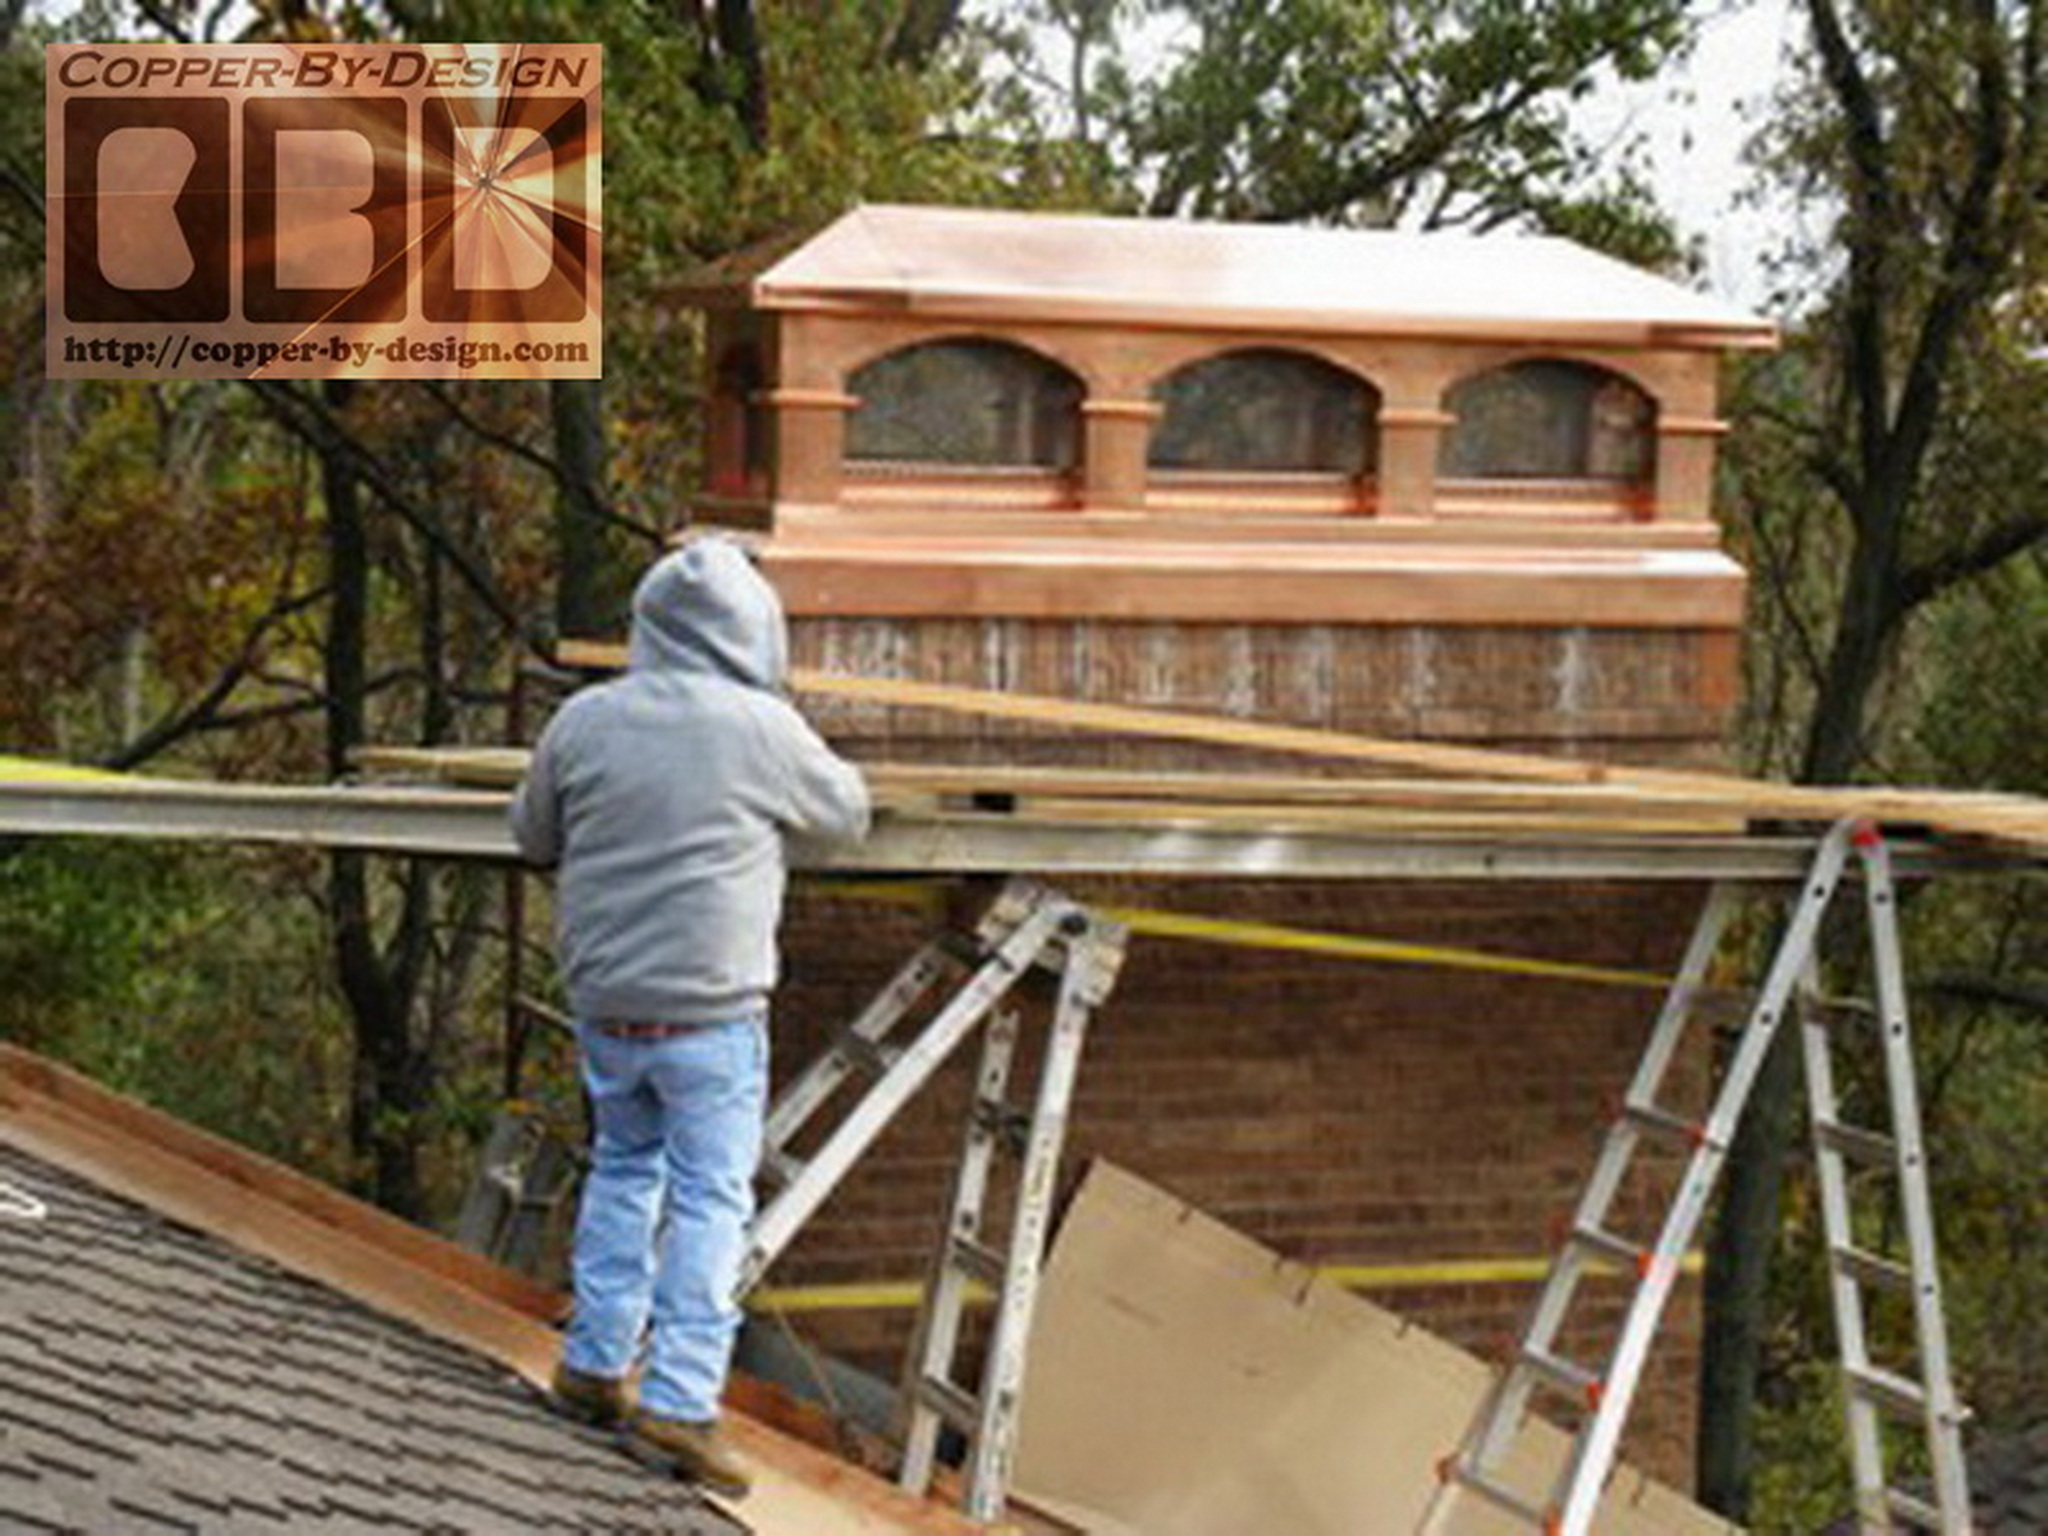
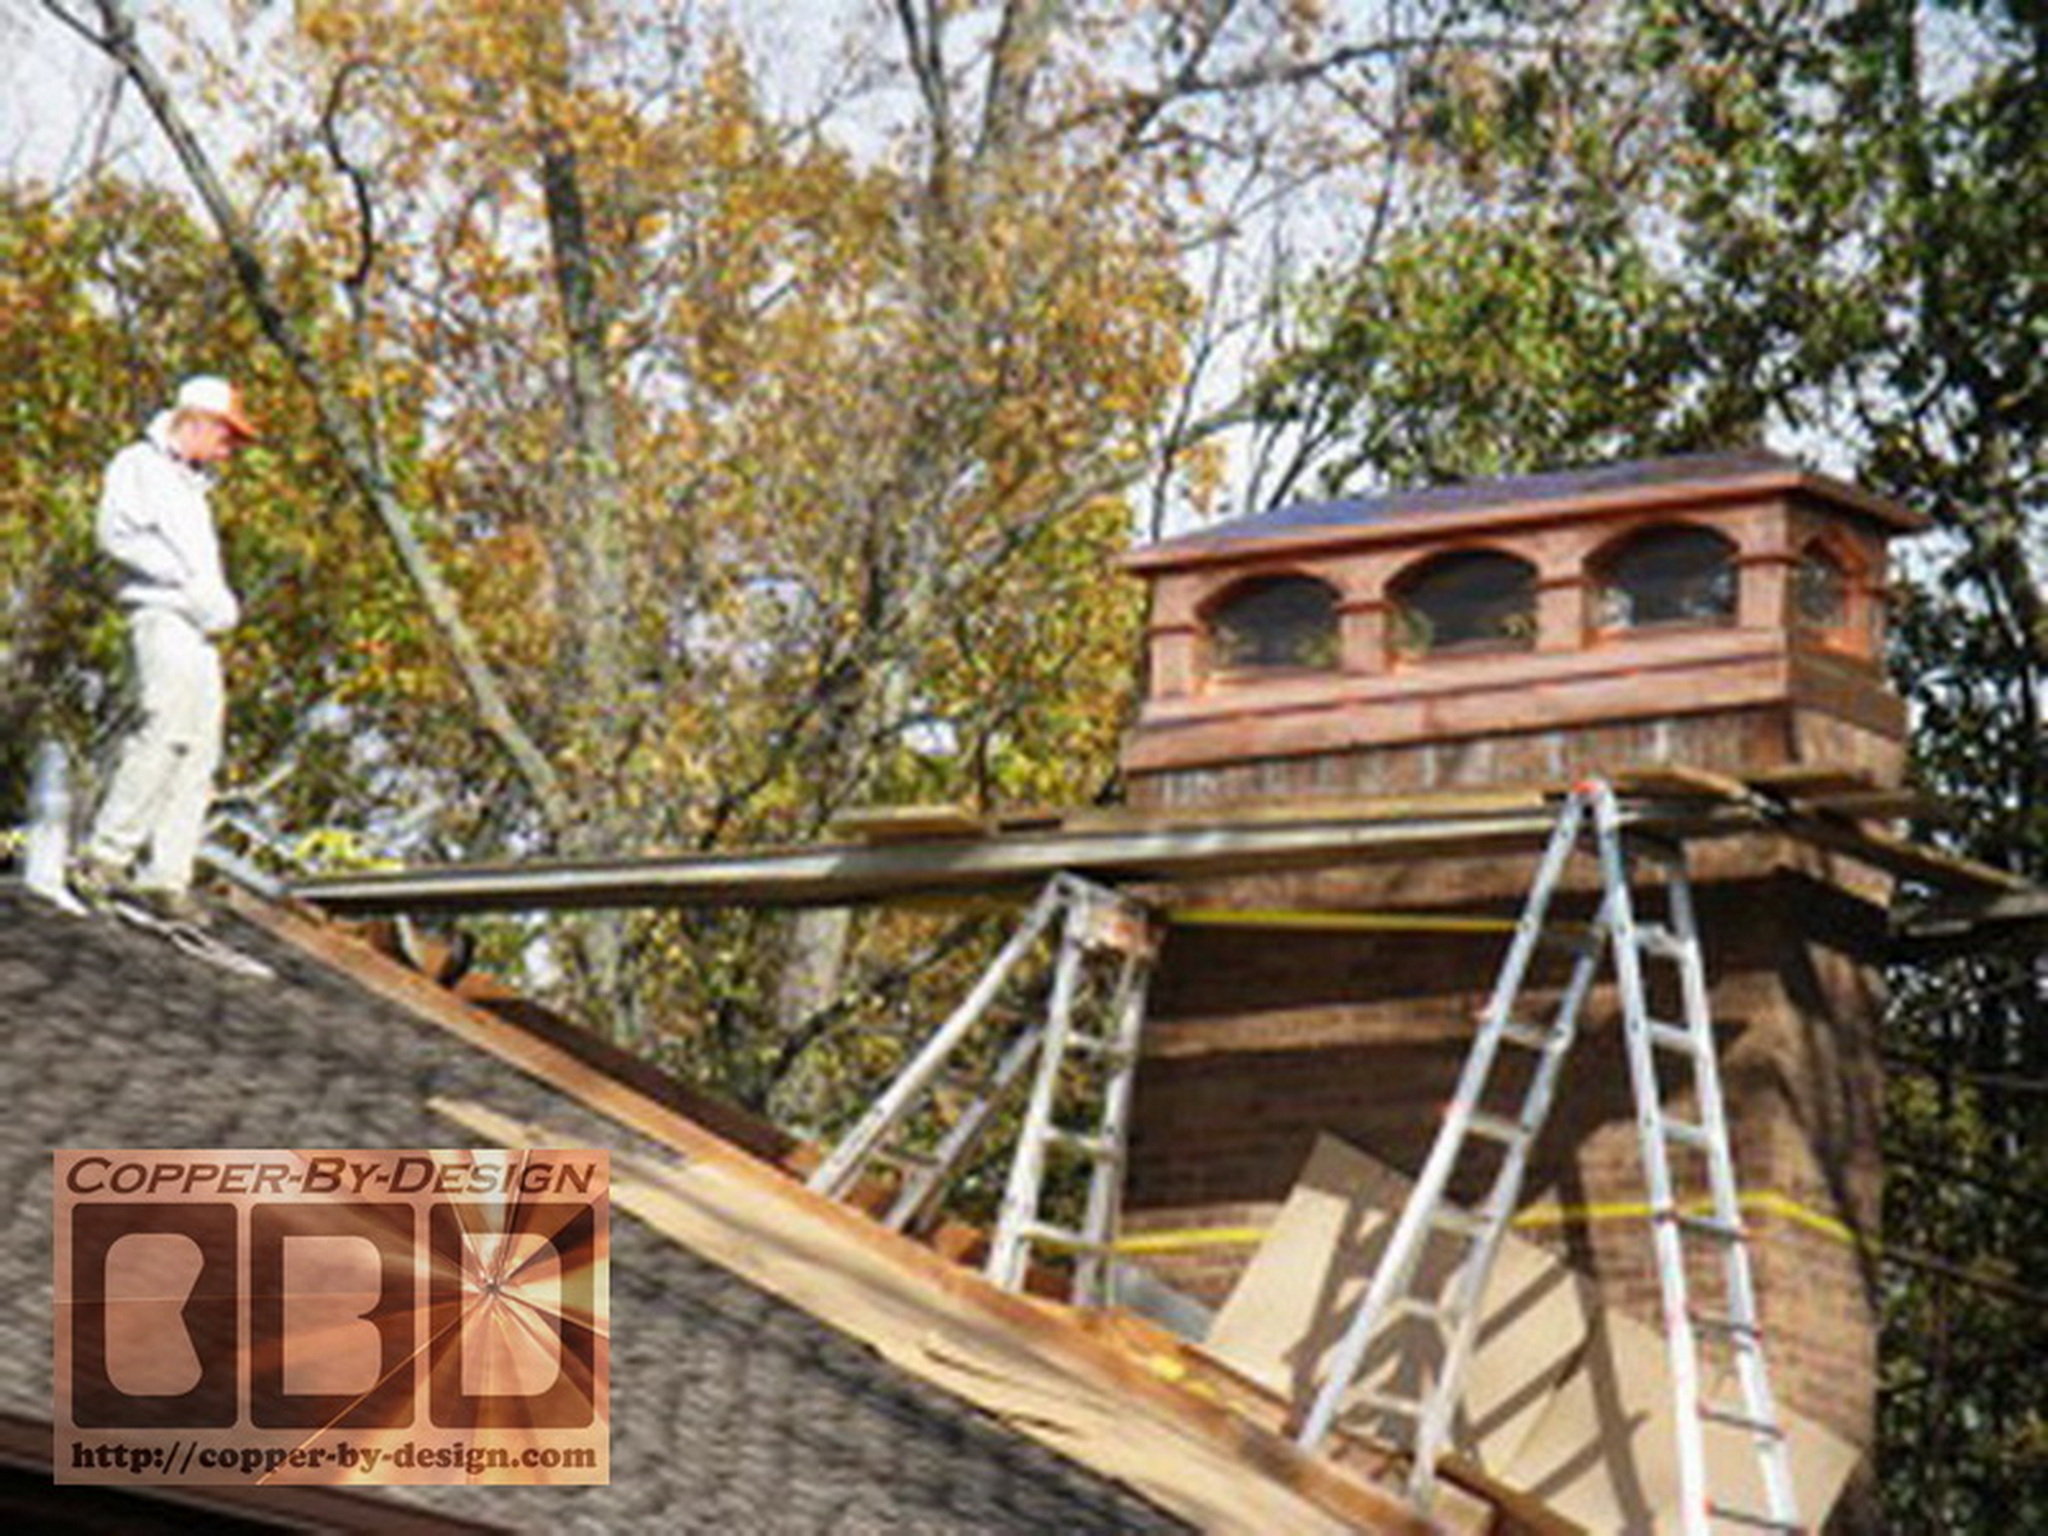
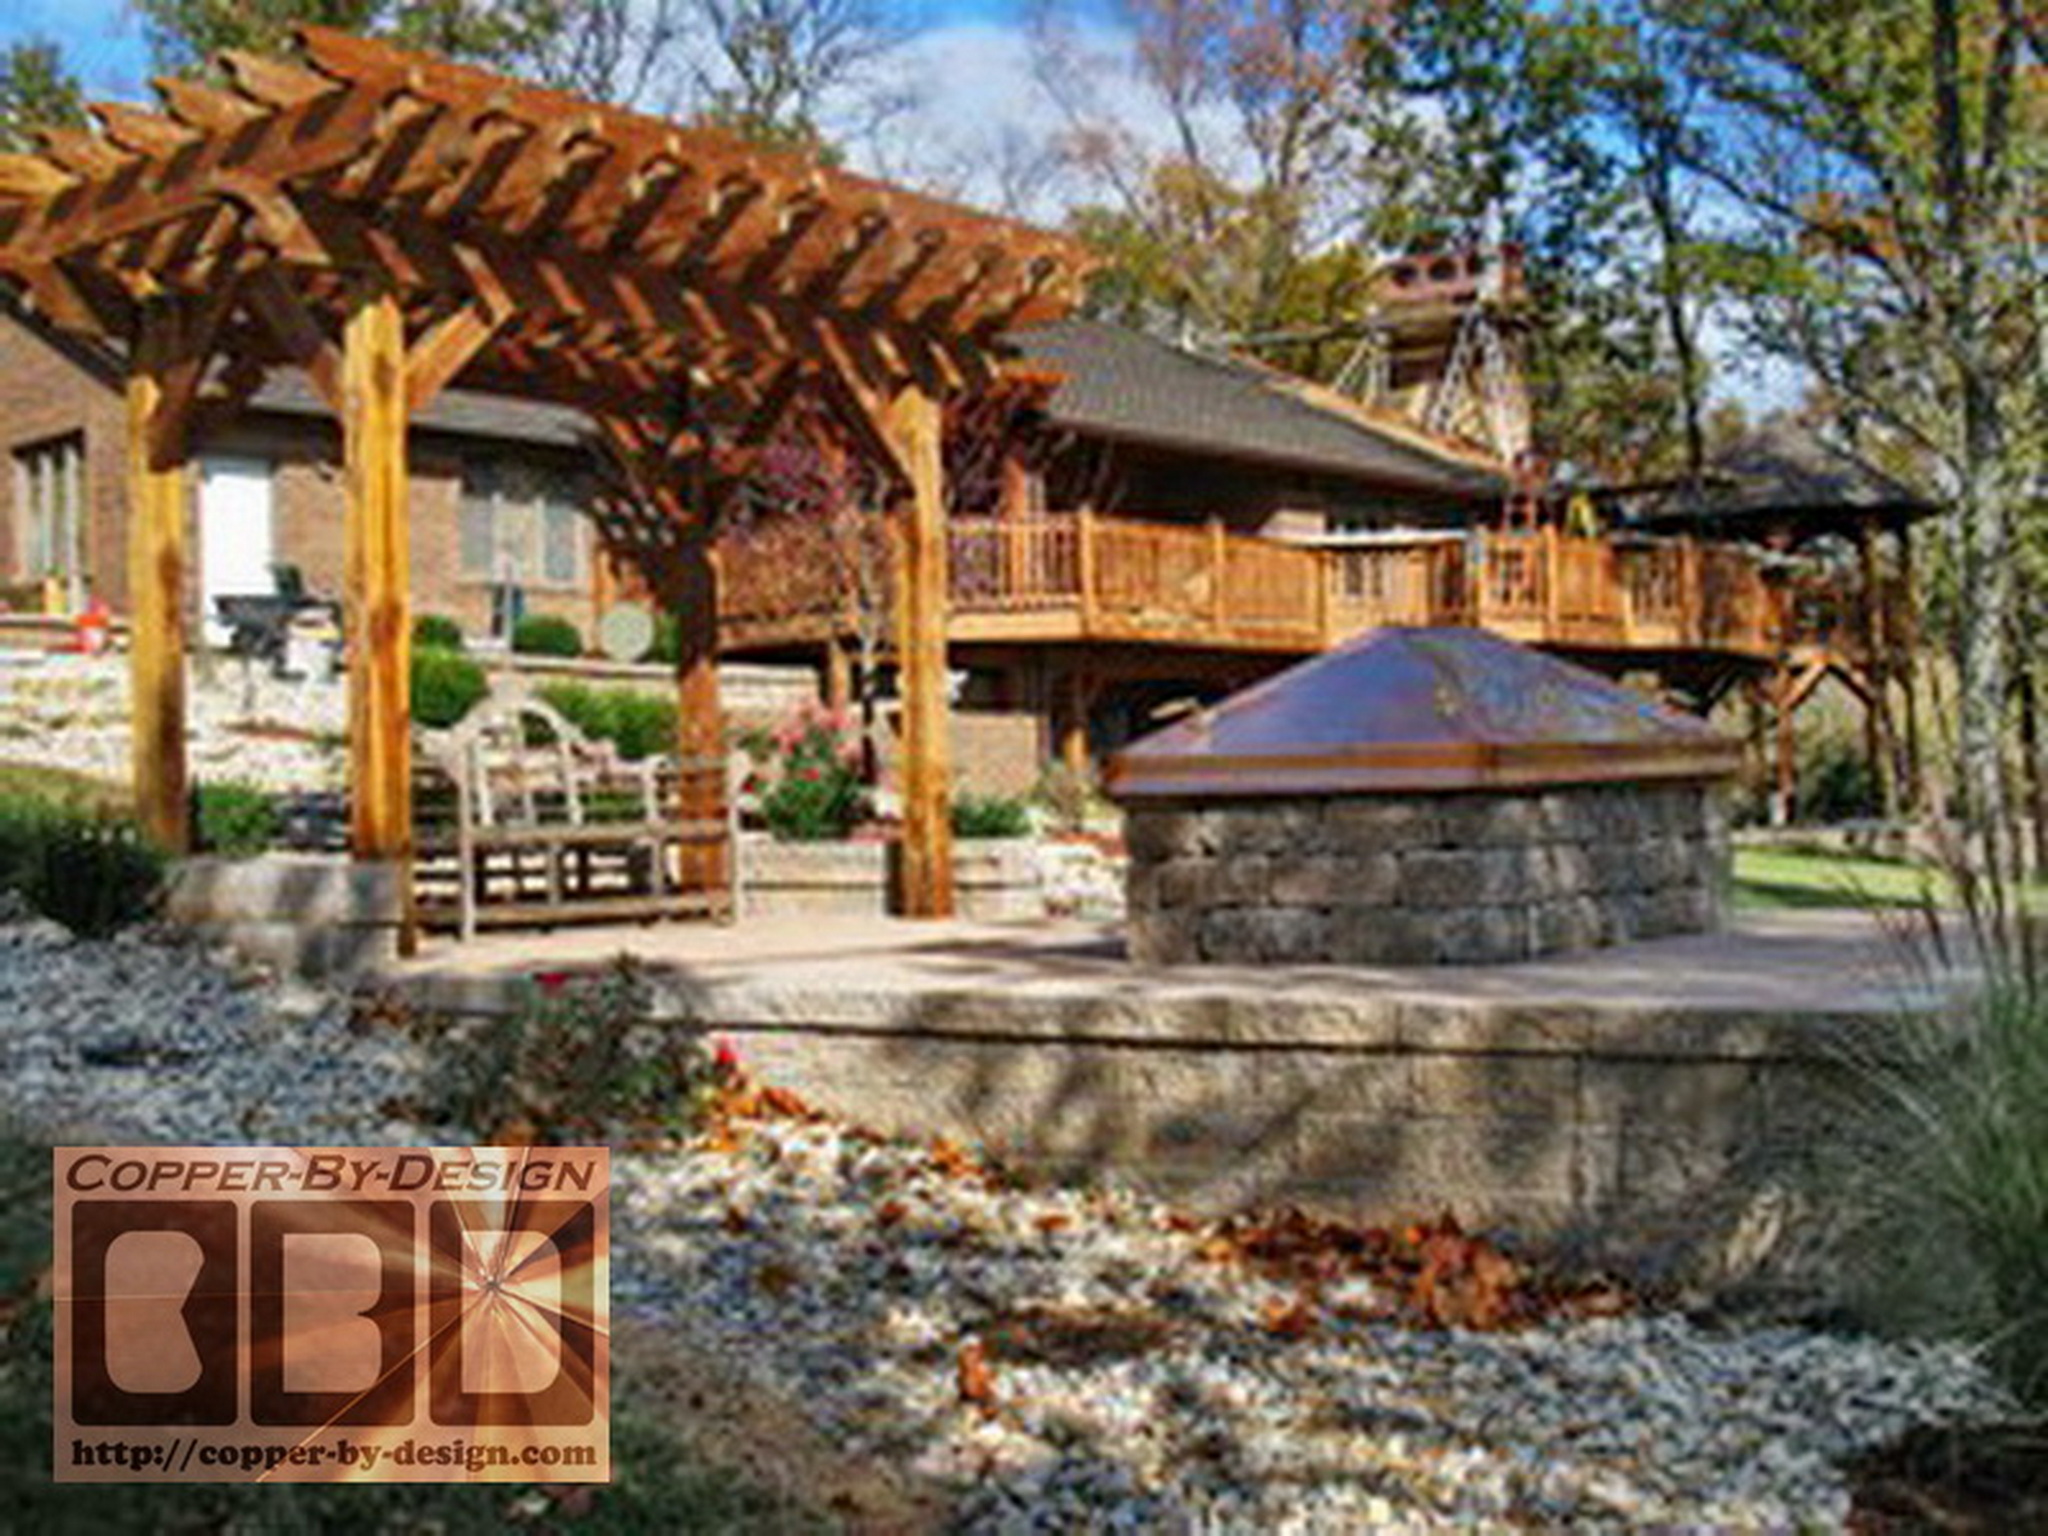
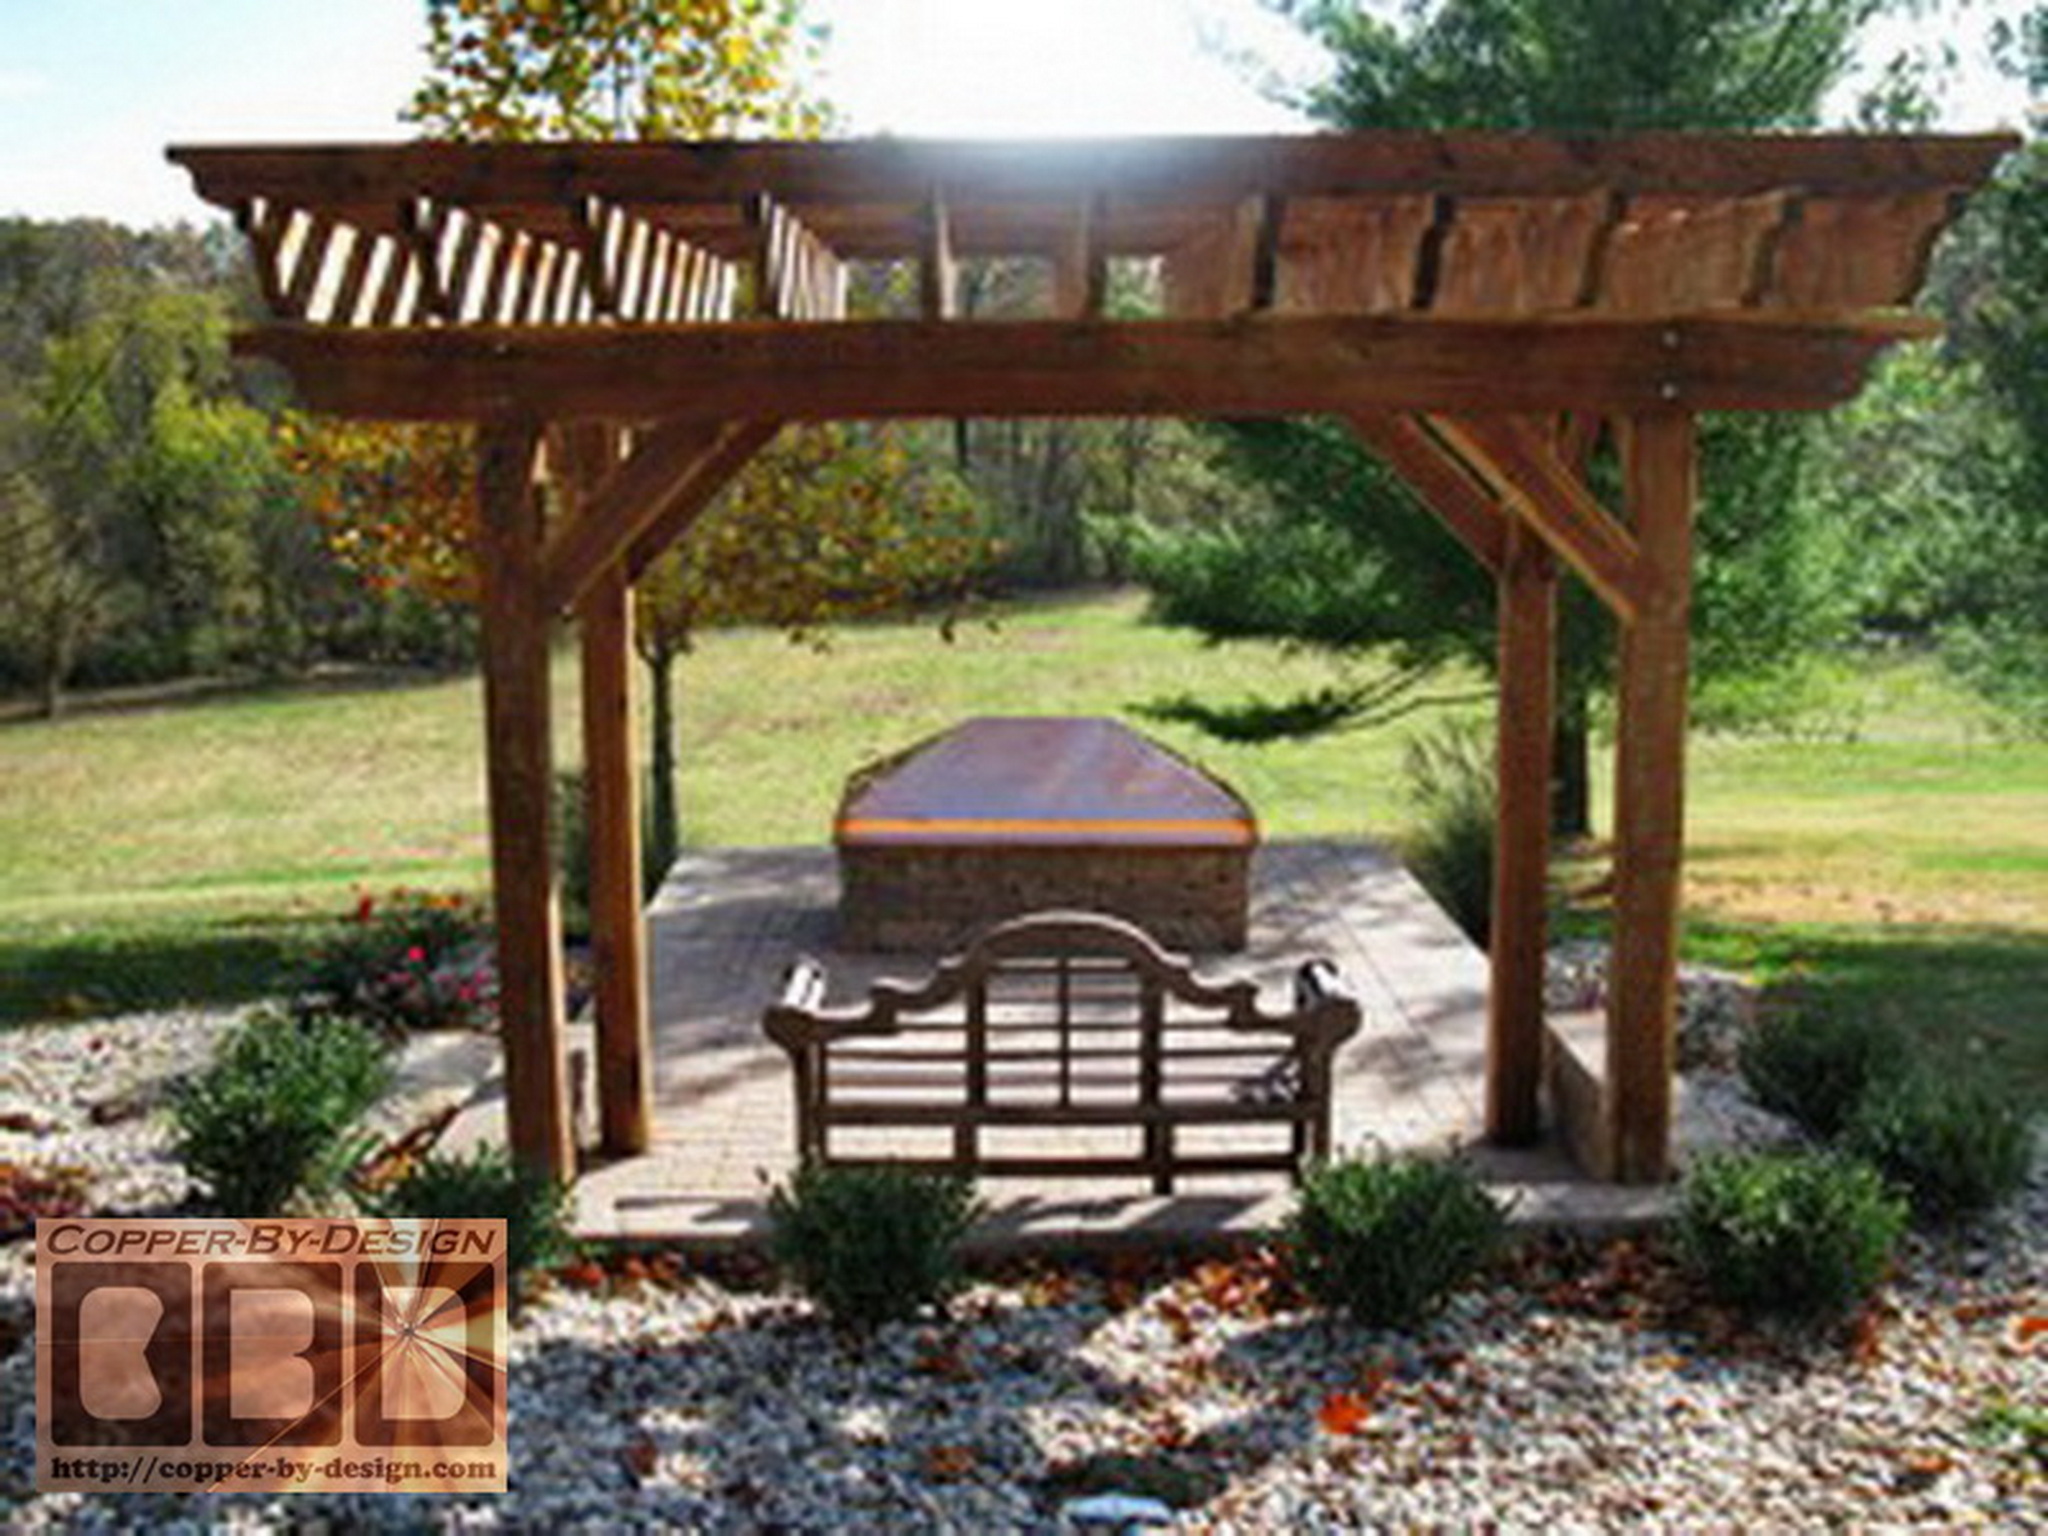
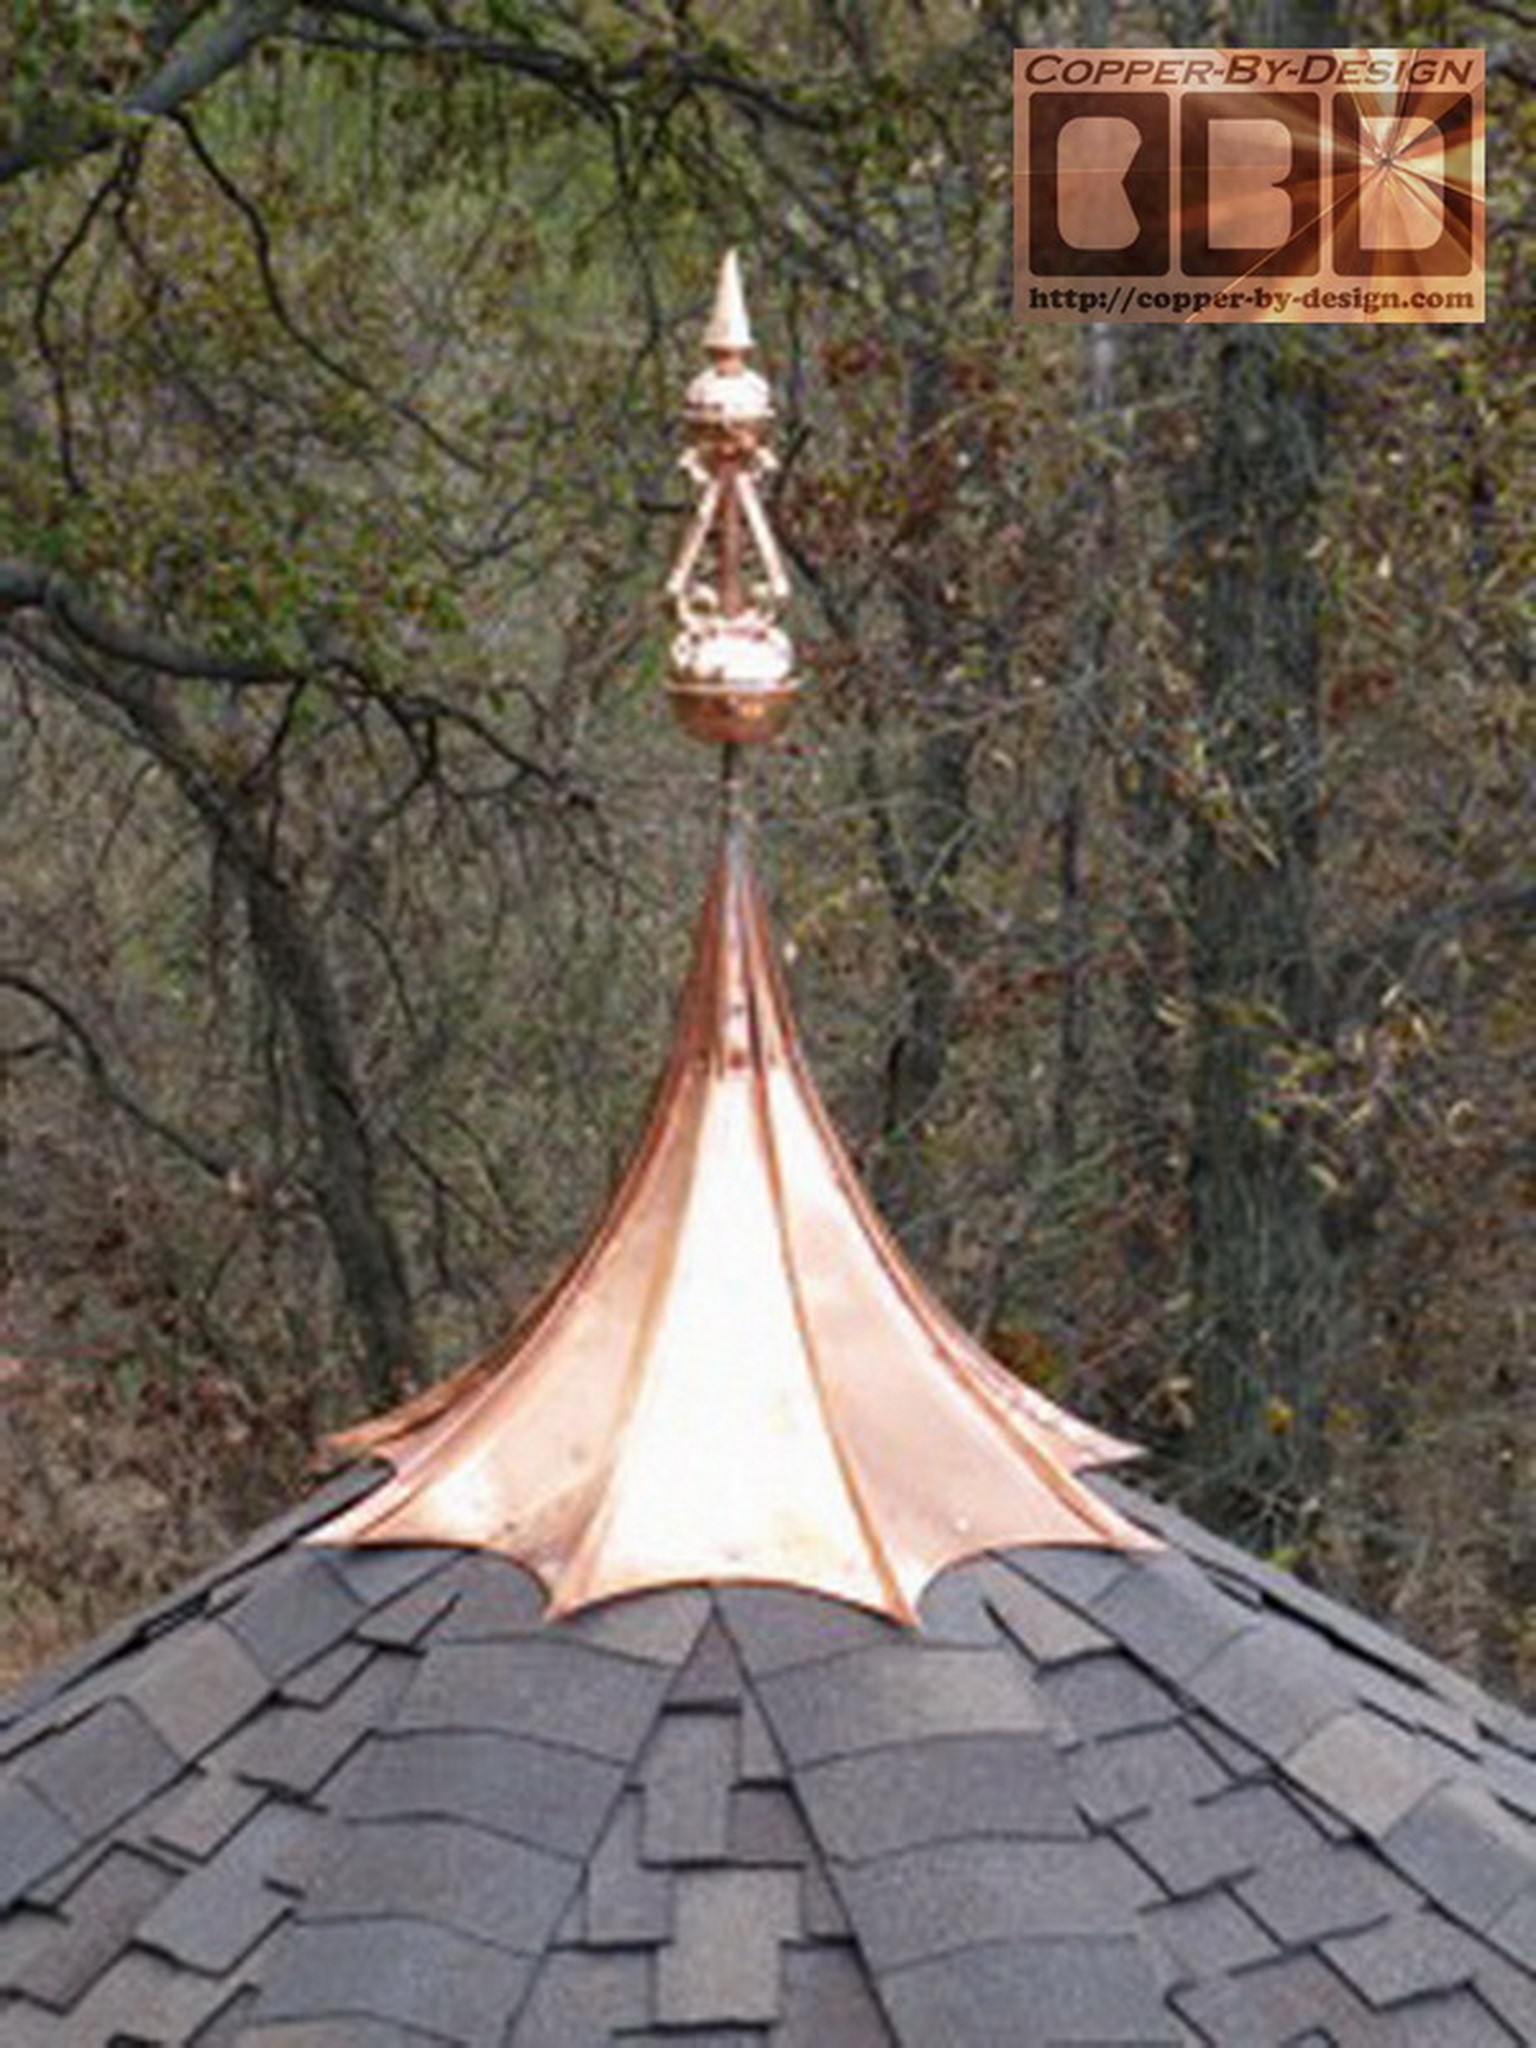
Given the
long rectangular length of their brick chimney I built this
one with more arches along the long sides in stead of one long
arch. I designed the roof line to resemble their
house with hipped 5/12 pitch, so this will look
more like what the architect might have designed for this house.
The client approved this design and were very pleased with the
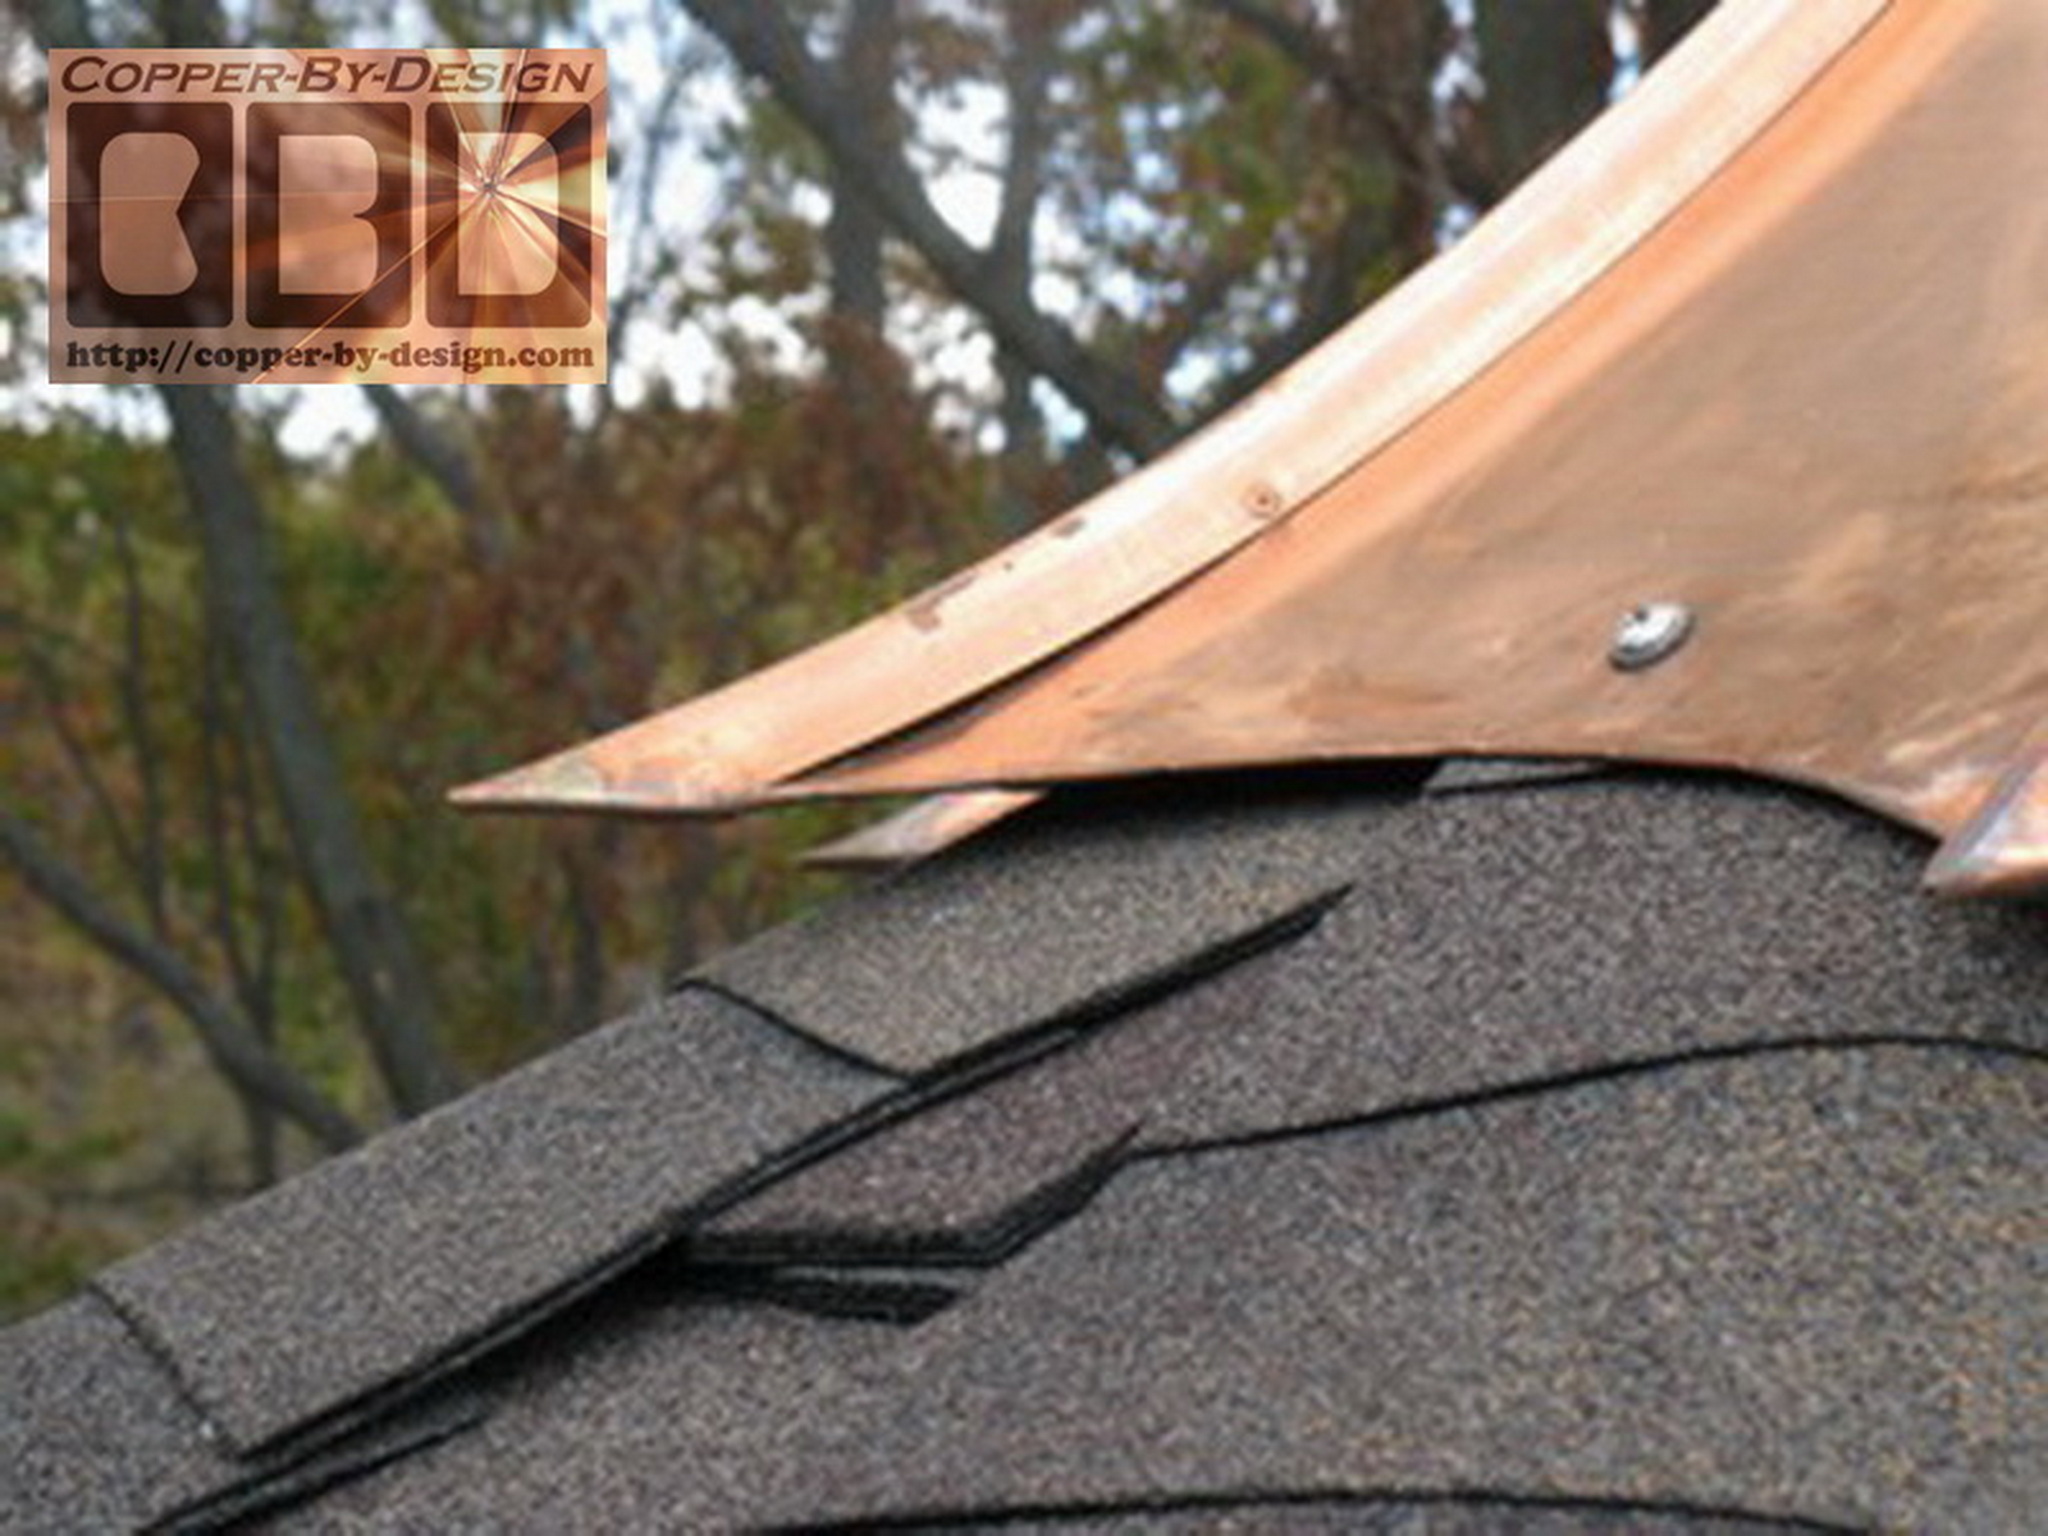
results. We
discussed aesthetic options like adding 1" wider
roof than the base/skirt.
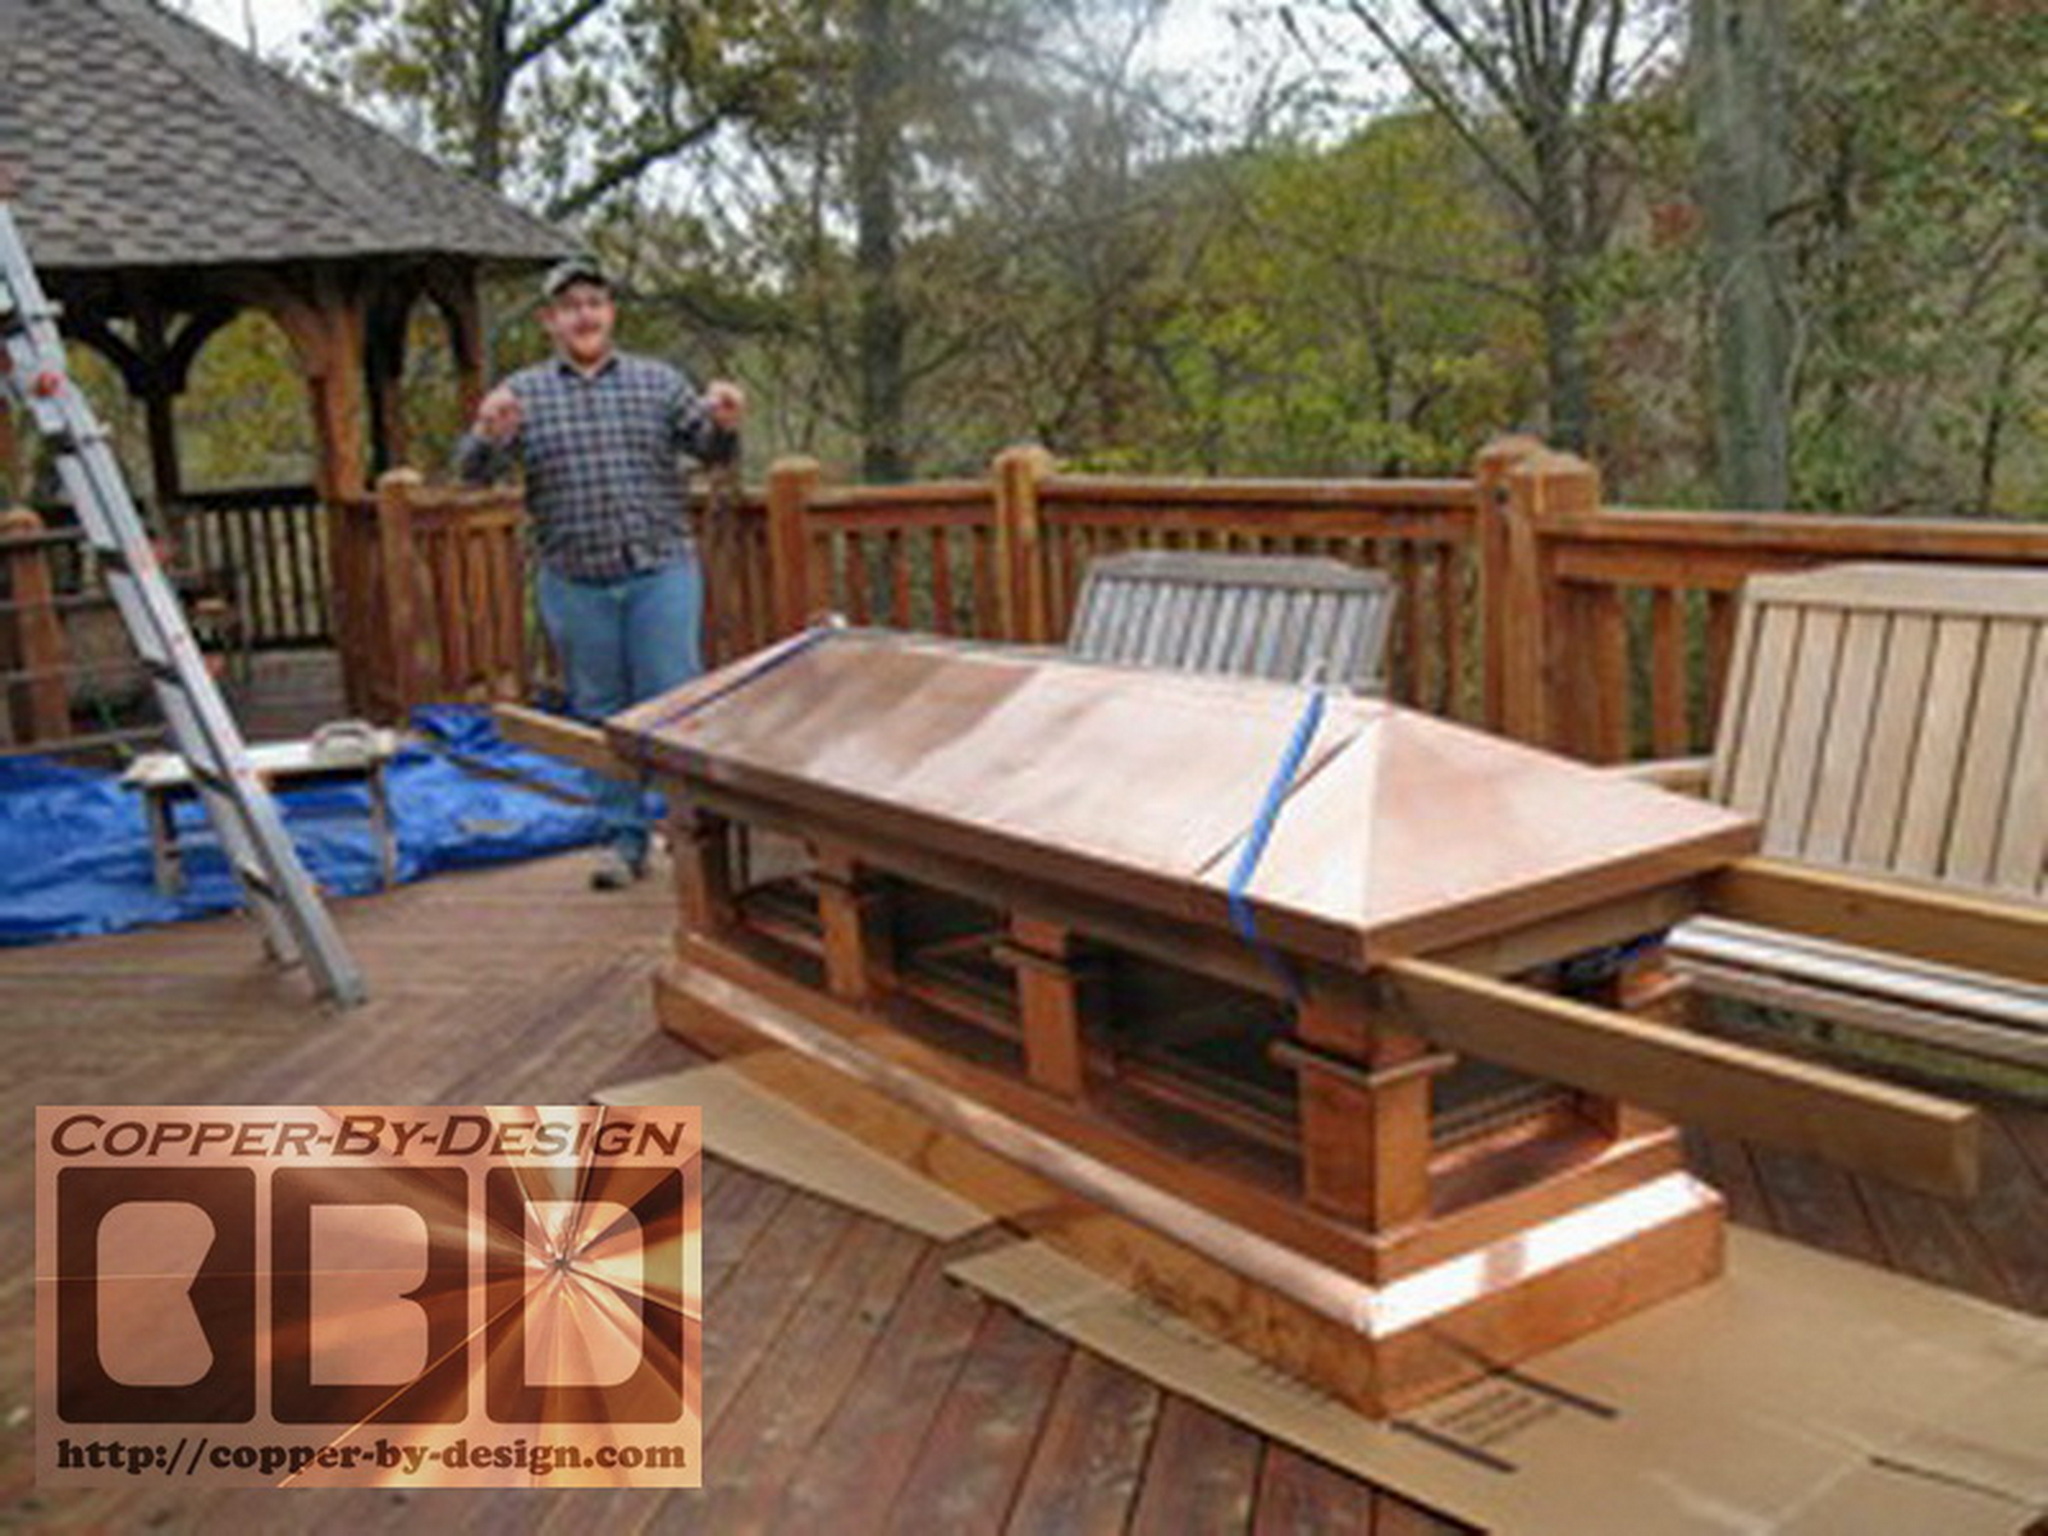
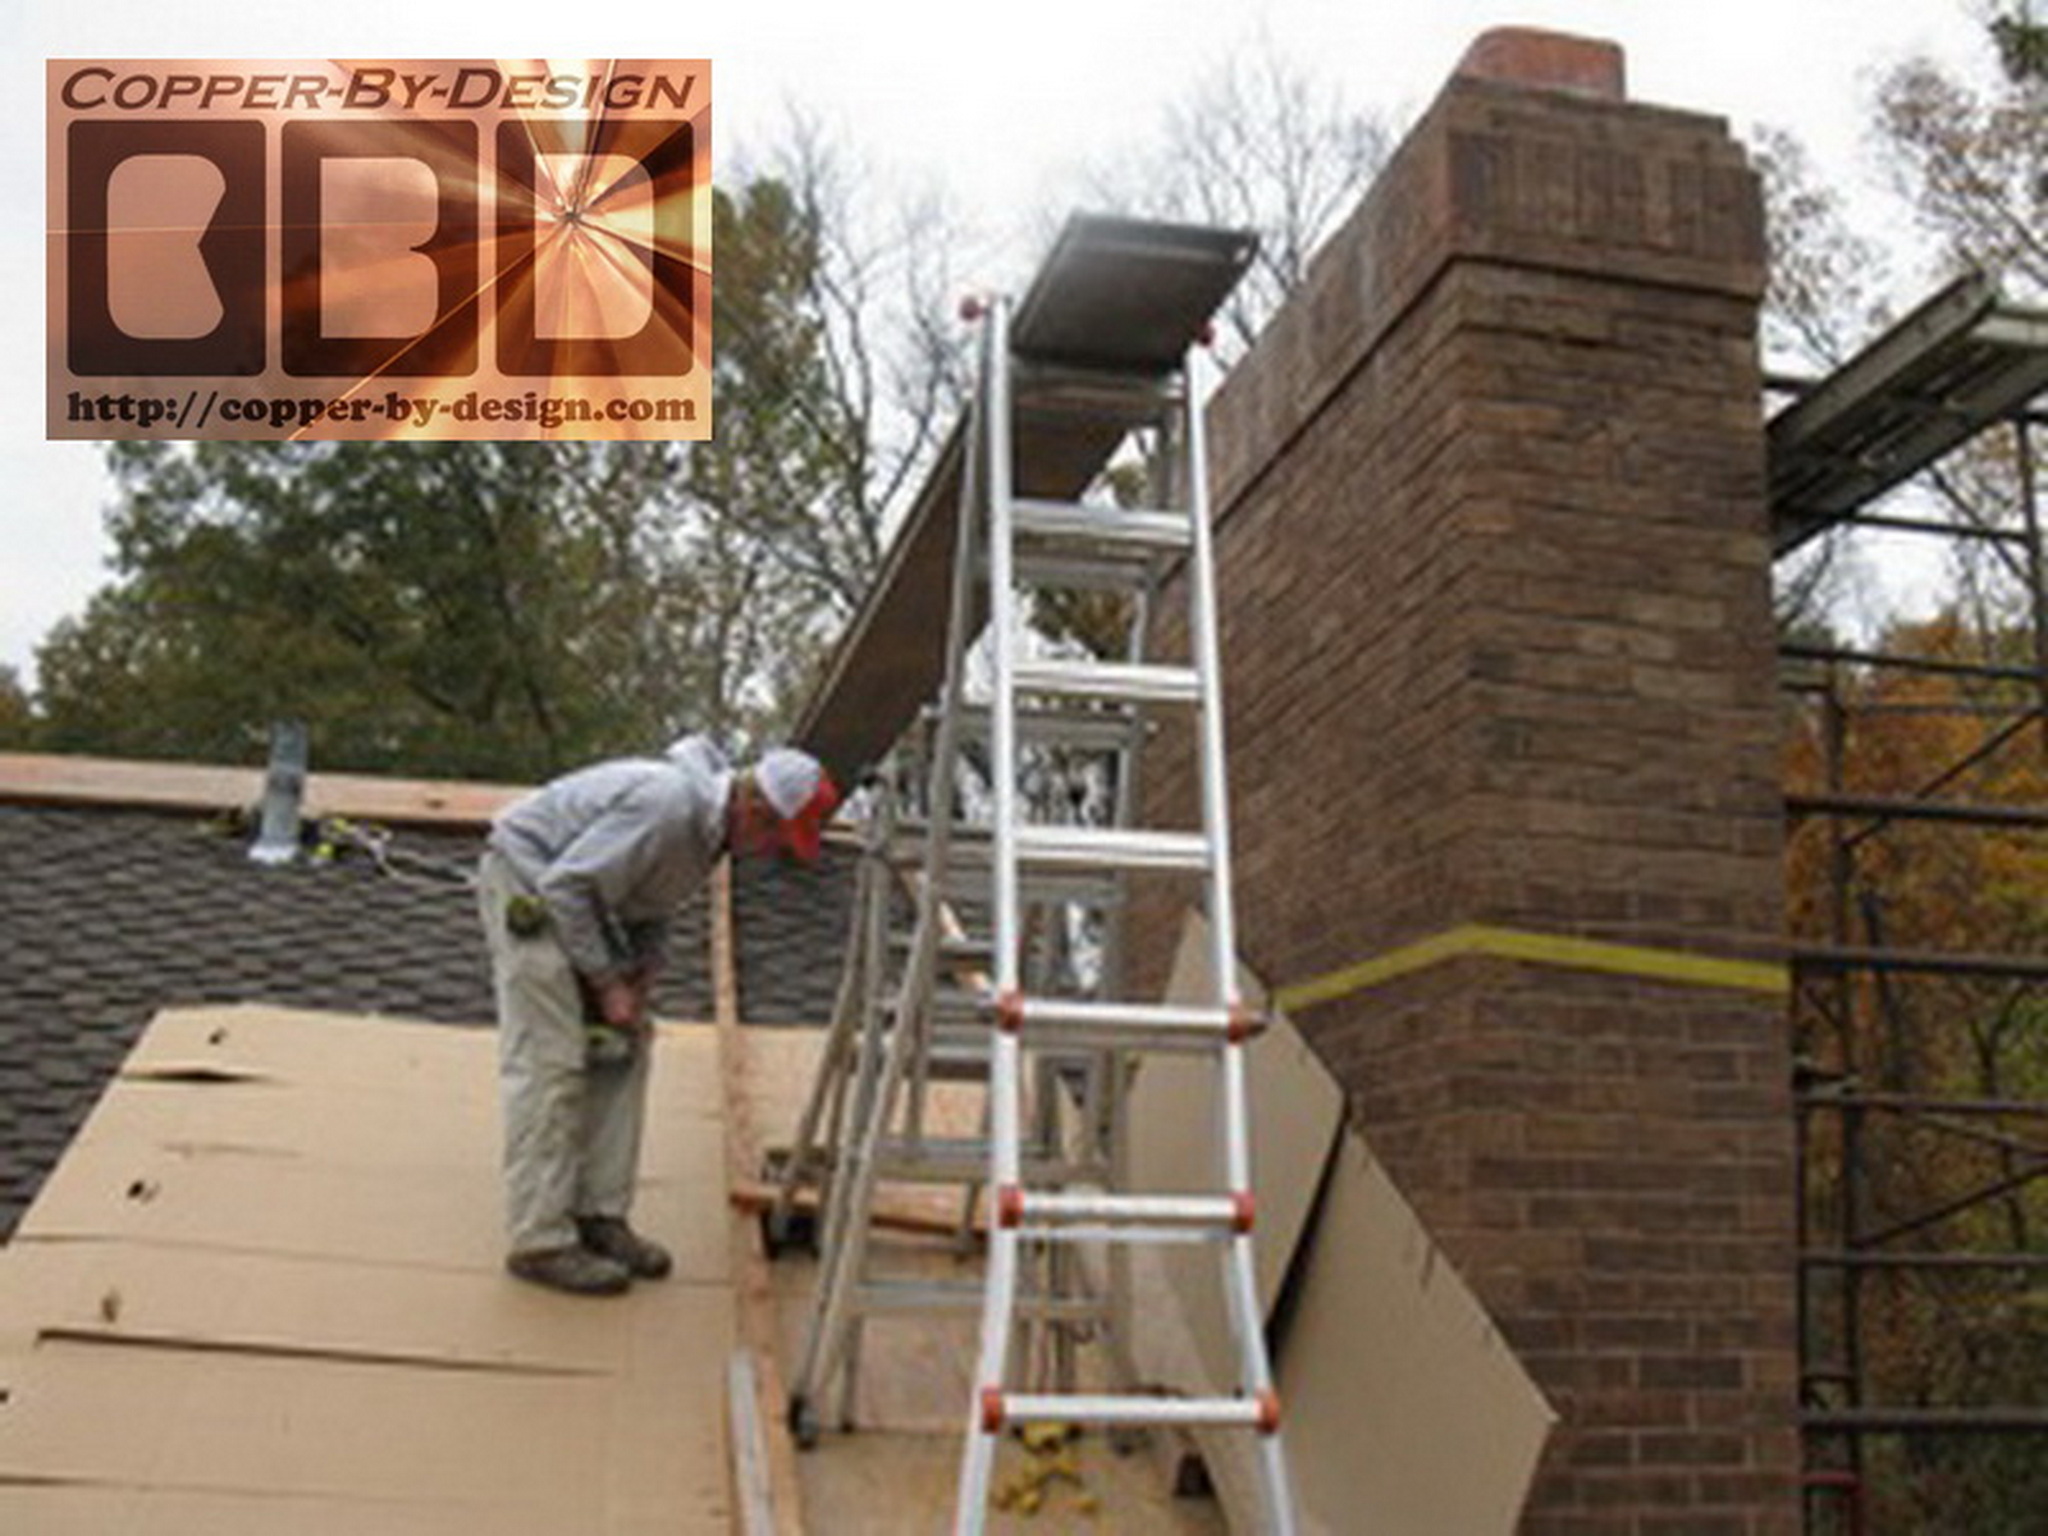
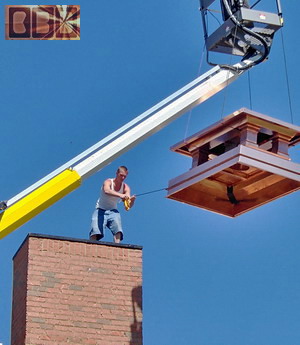
Here's the before and after photos of the installed
chimney cap.
|