David,
WOW! Your
work is the best definition of the word "craftsmanship".
The dictionaries should include one of your pictures
for illustration.
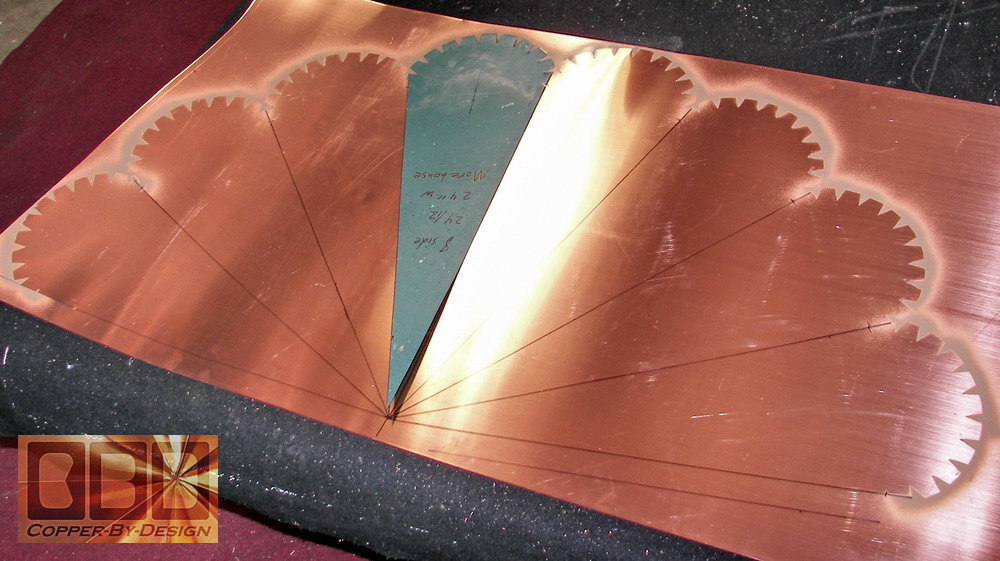
It's
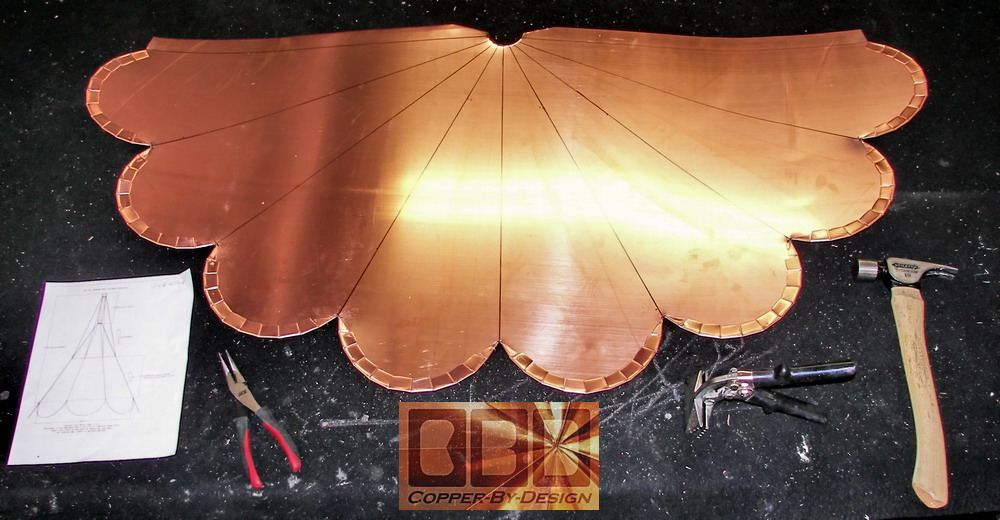
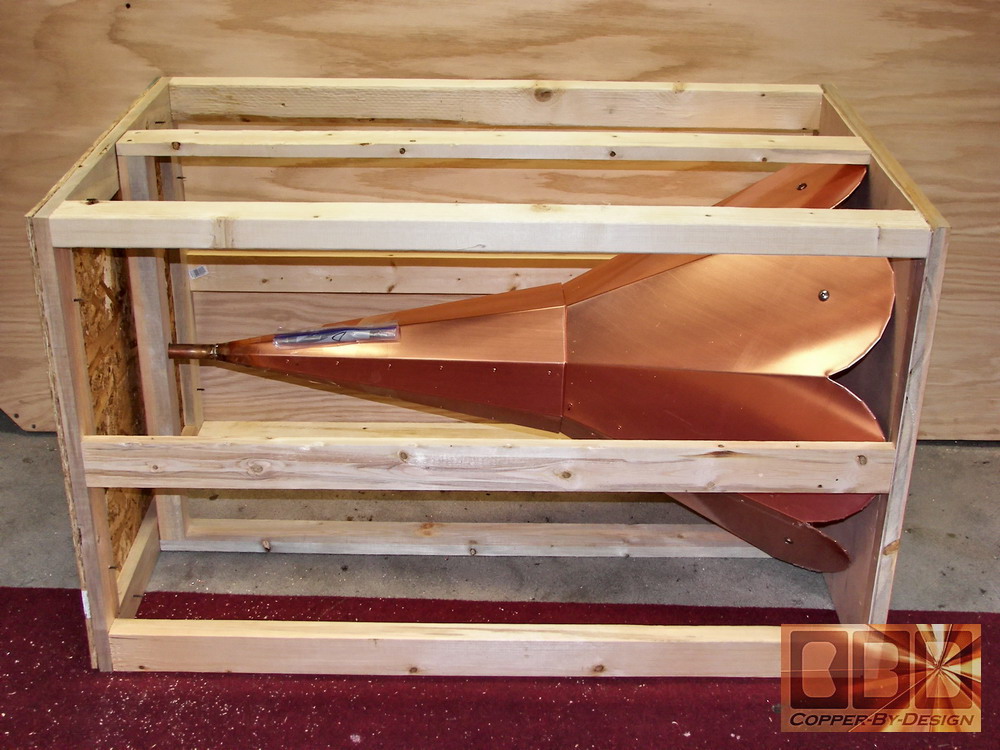
nice to see that you could reuse the Morehouse template,
and actually referred to the drawing I made for you.
Not that you needed it. I'm sure that you DO see
the shapes in your dreams at nite!

Watching
you makes me dream of doing such work in our shop building
as a rewarding retirement activity. Copper is
such an eye candy. My projects will certainly
include the creation of gingerbread wooden scrollwork
pieces for the house.
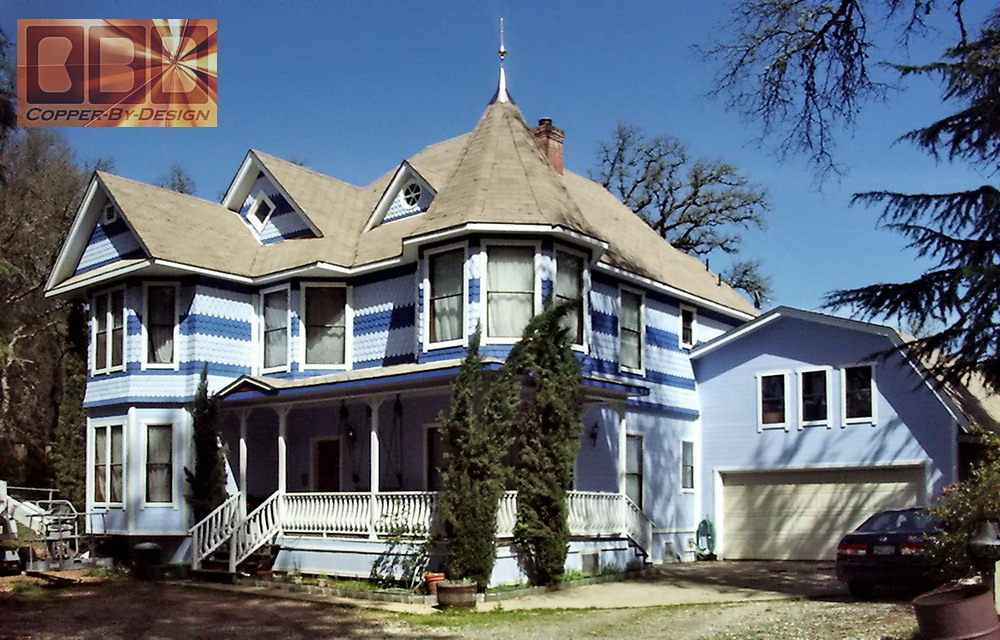
It
snowed here at the house (1,800 feet elevation) a few
days ago but it's all gone now. I got pictures
of the house in snow last winter before I got the new
exterior painting (50%) done. Just thinking about
what it will look like in snow with the new turret cap
and finial is joyful.
Thanks again for the posted
Soulmates story. I can
see why you put our story right beneath your own.
Some of the other stories are rather lame. I really
like the background music. Wish it was set to
repeat while your on the page though.
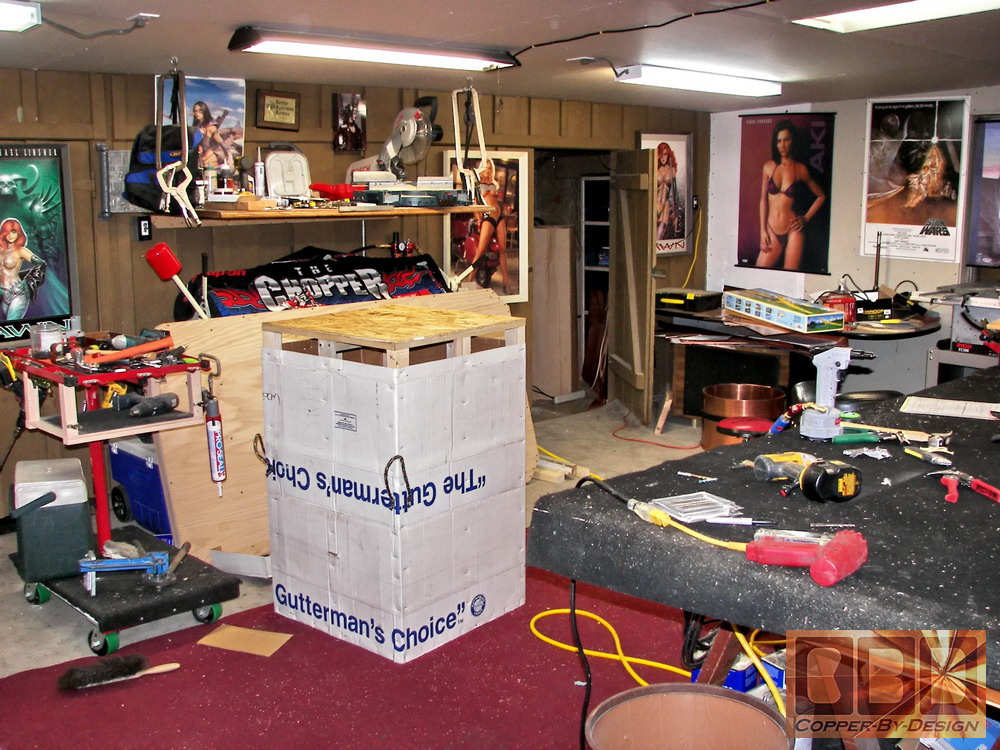
I
can hardly wait to open the crate and get my gloved
hands on your work.
Love
and white light to you,
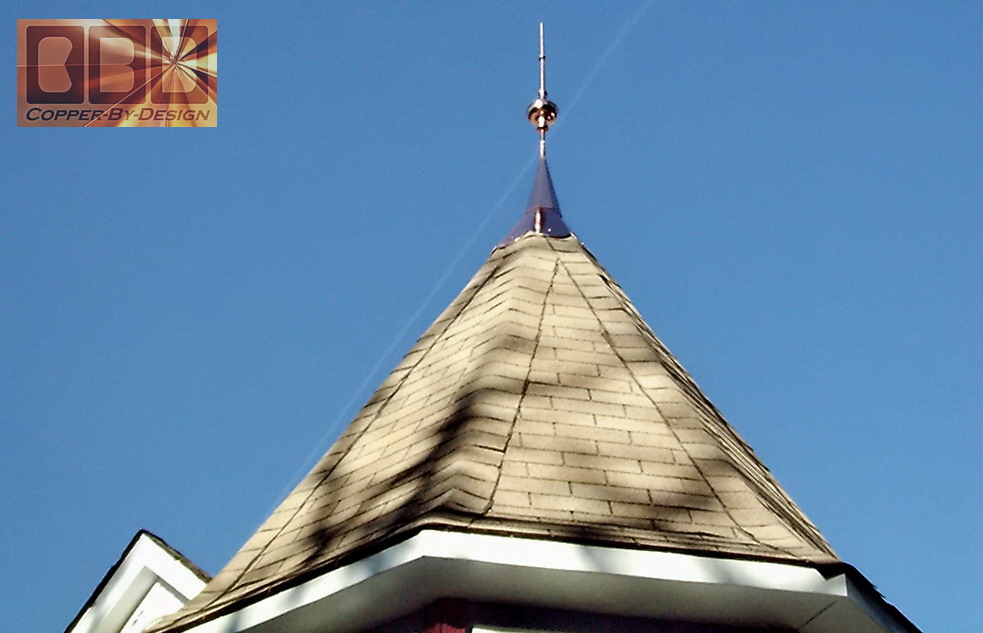
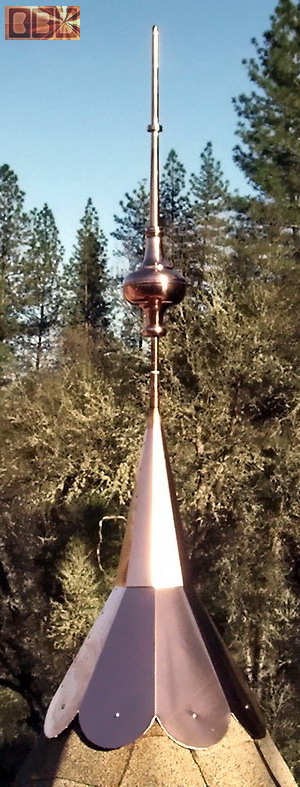
David,
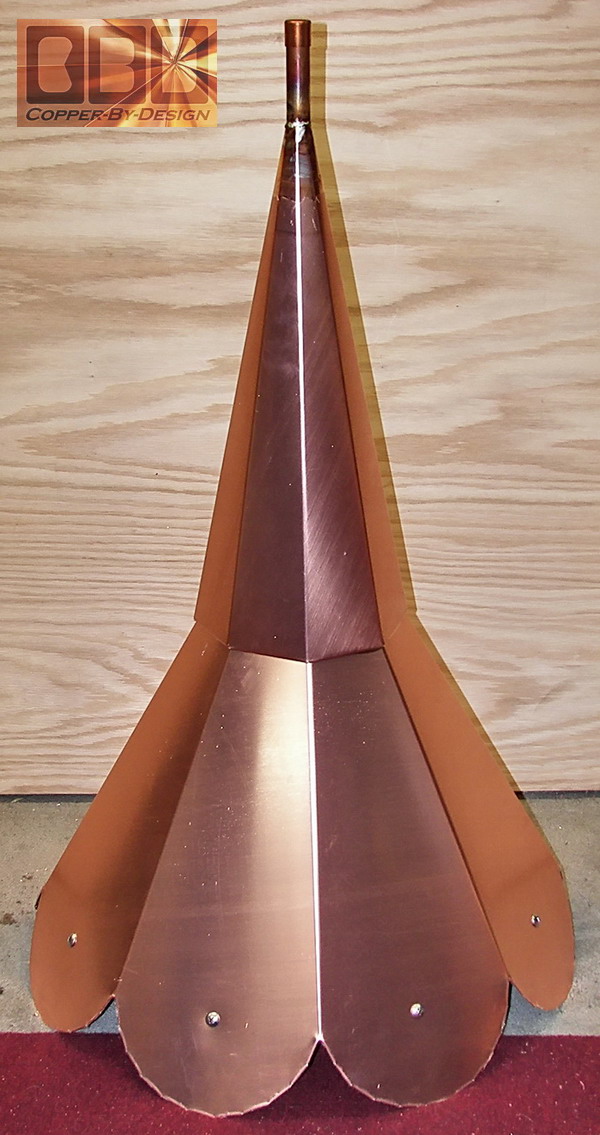
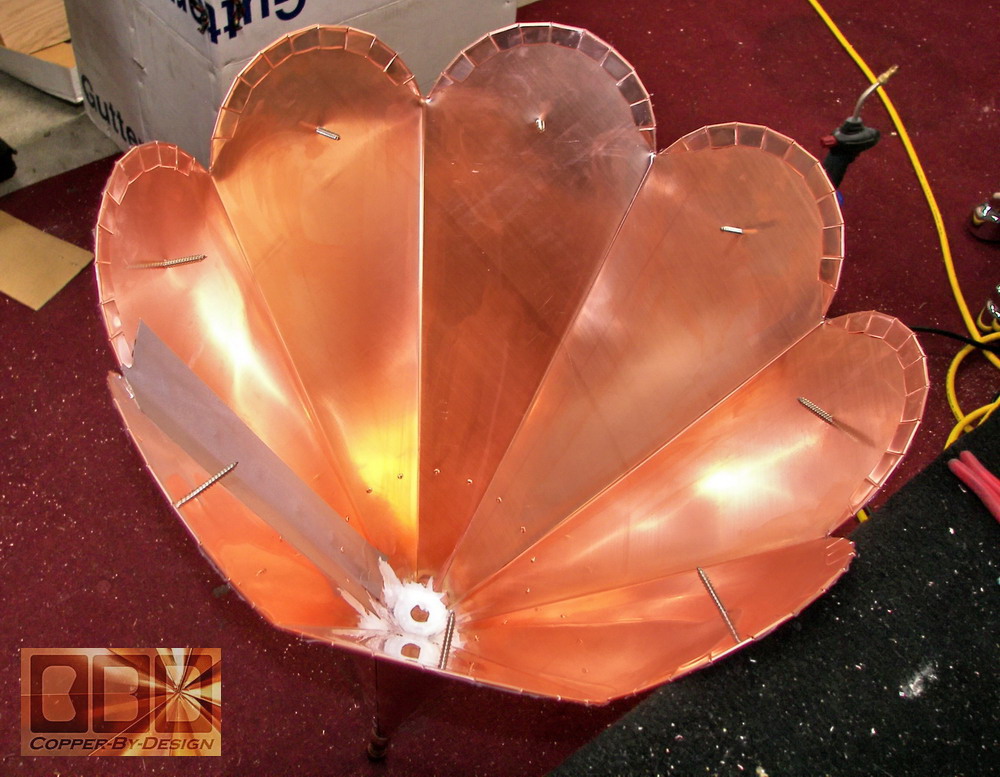
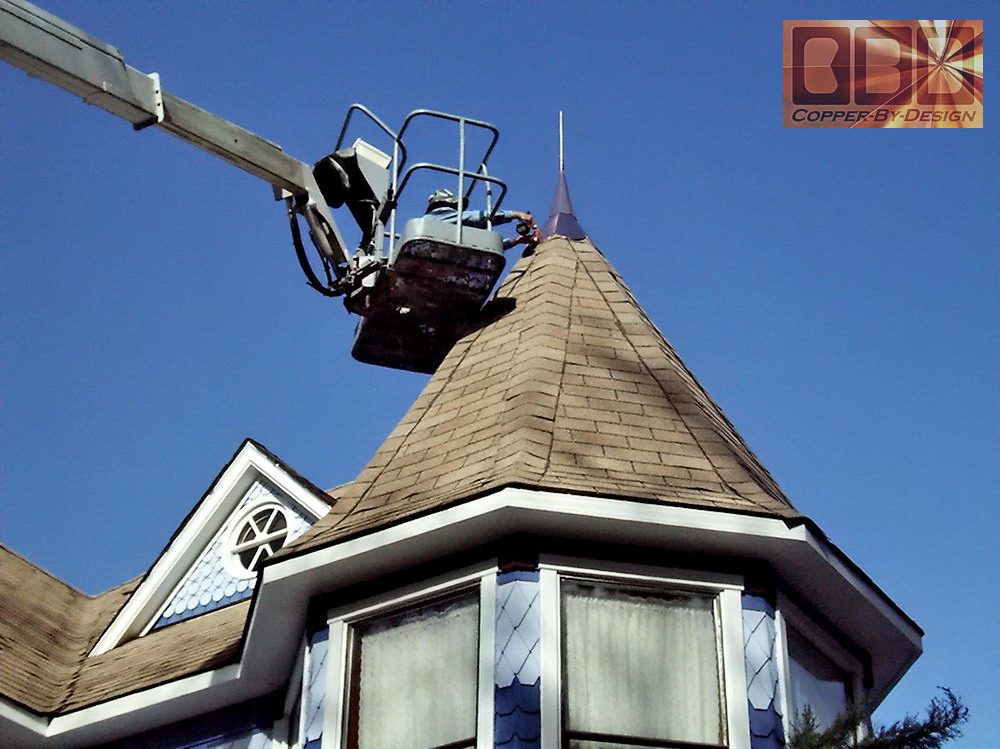
I finally got my boom lift
fixed yesterday morning and installed the
turret cap and finial in the afternoon.
Wow it looks incredible!
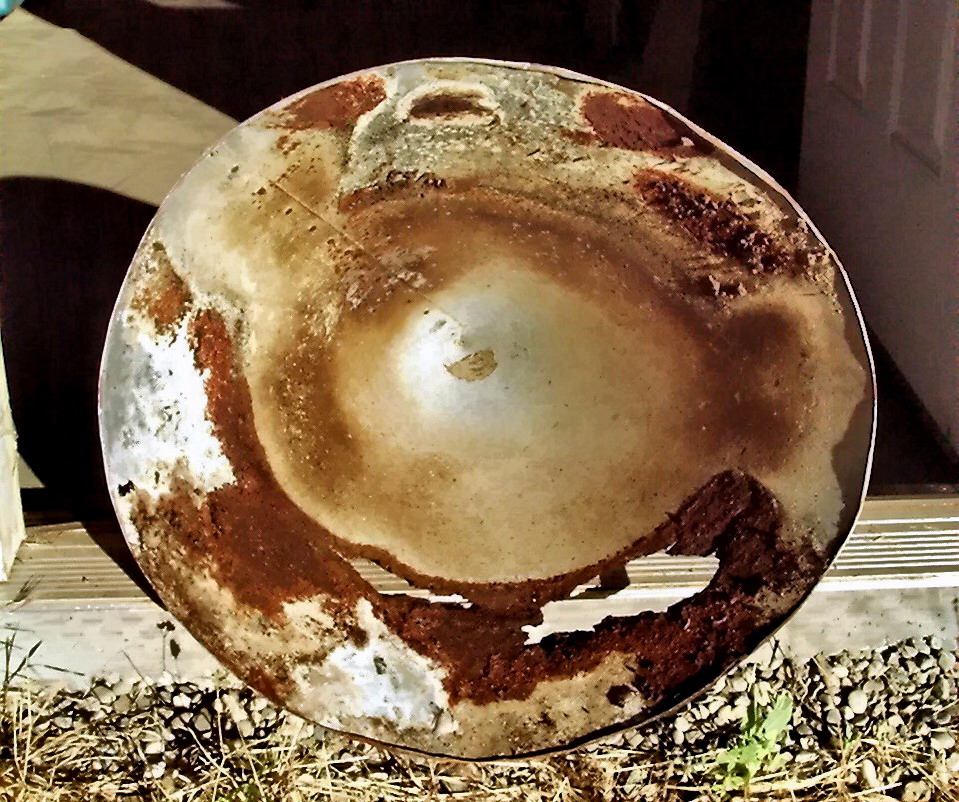
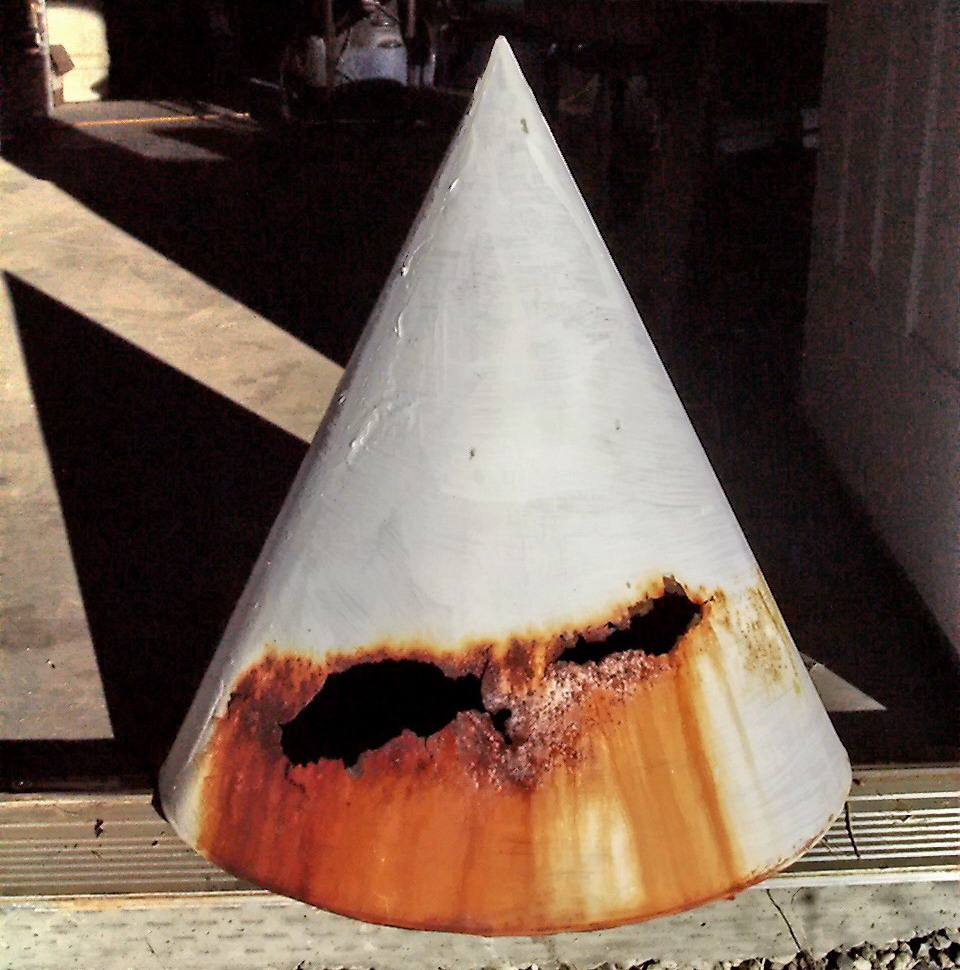
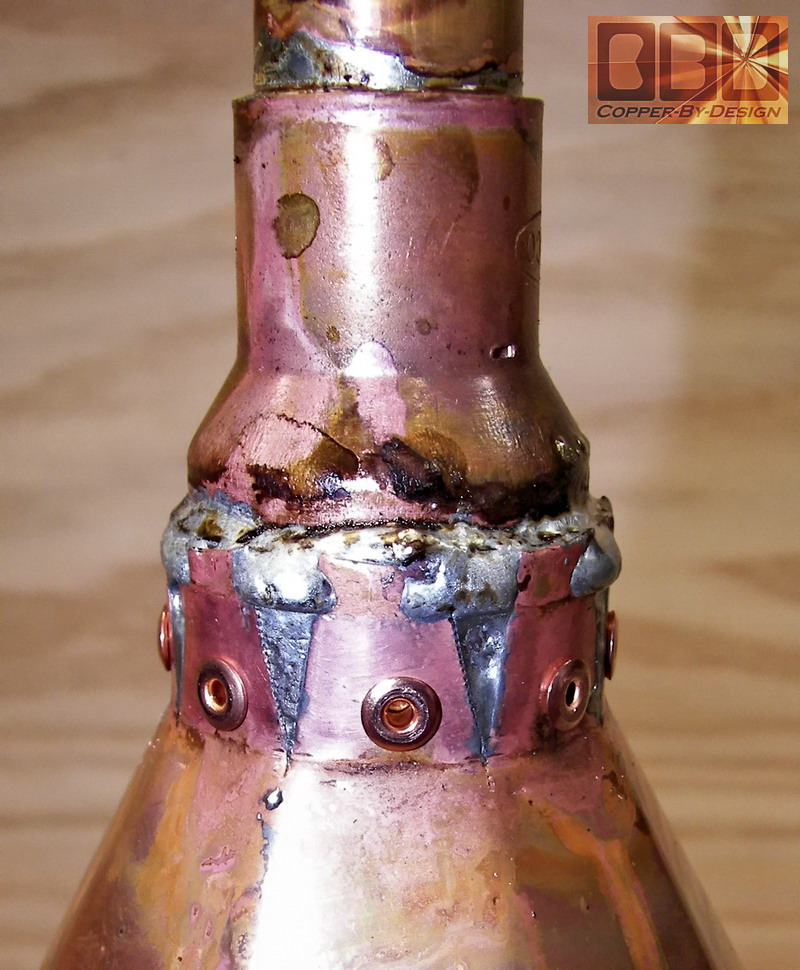
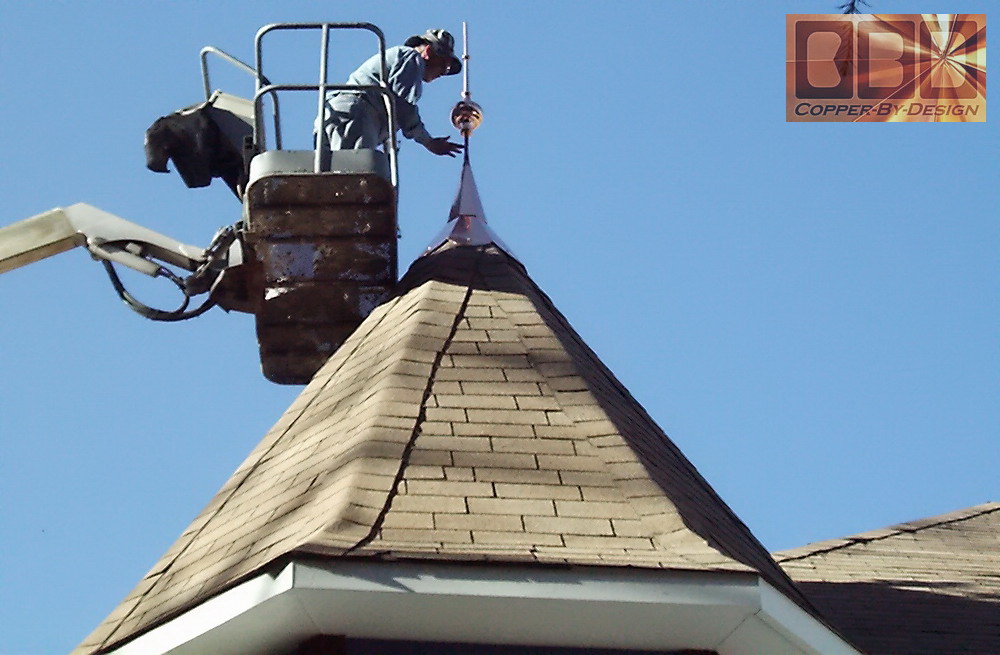
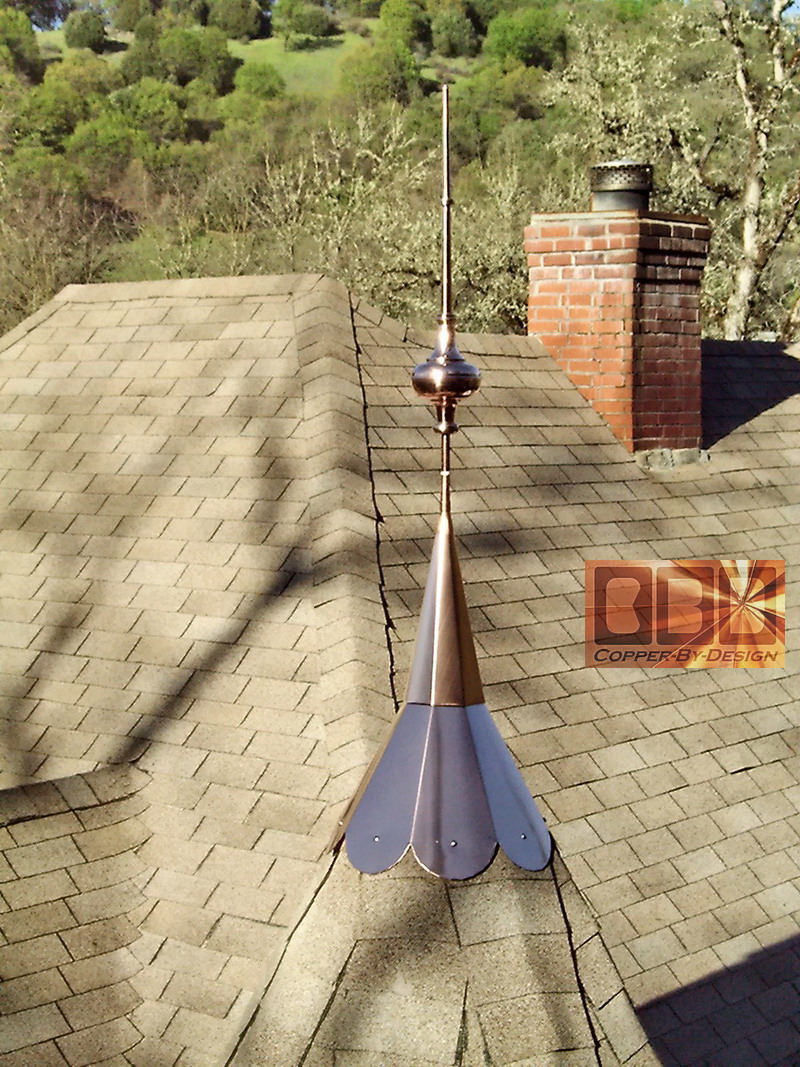
I needed
something to seal off under the cap to keep
the birds from trying to get up under it
and make a nest like they did with the old
steel cap. My wife Lynn went and bought
a number of packages of woven copper pot
cleaning pads. They were PERFECT!
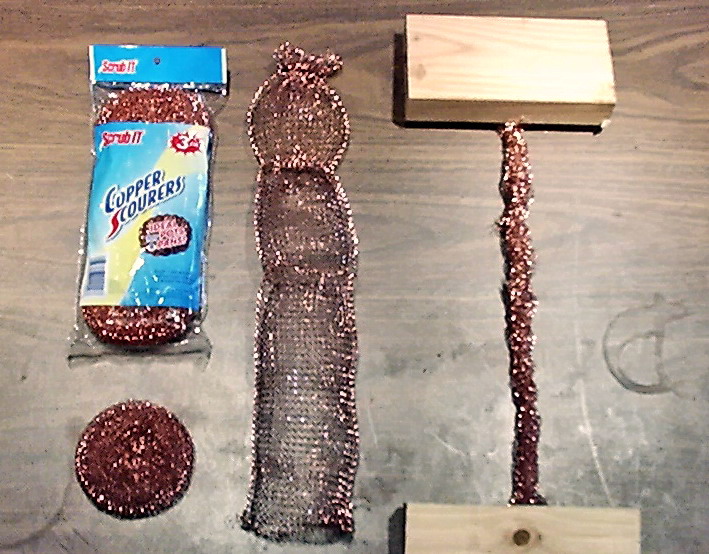
The pads can easily be unrolled into a woven
tube about a foot long and then you twist
it to make it like piece of a rope.
I jammed the pieces up under the cap with
a putty knife, pulled the temporary nails
one by one and screwed it down. That
worked so... nice.
Here are
those pictures I promised you. I will
take some more when I have better sunlight
on the house.
Take care,
Jack
Willard
Grass Valley,
CA 95949