|
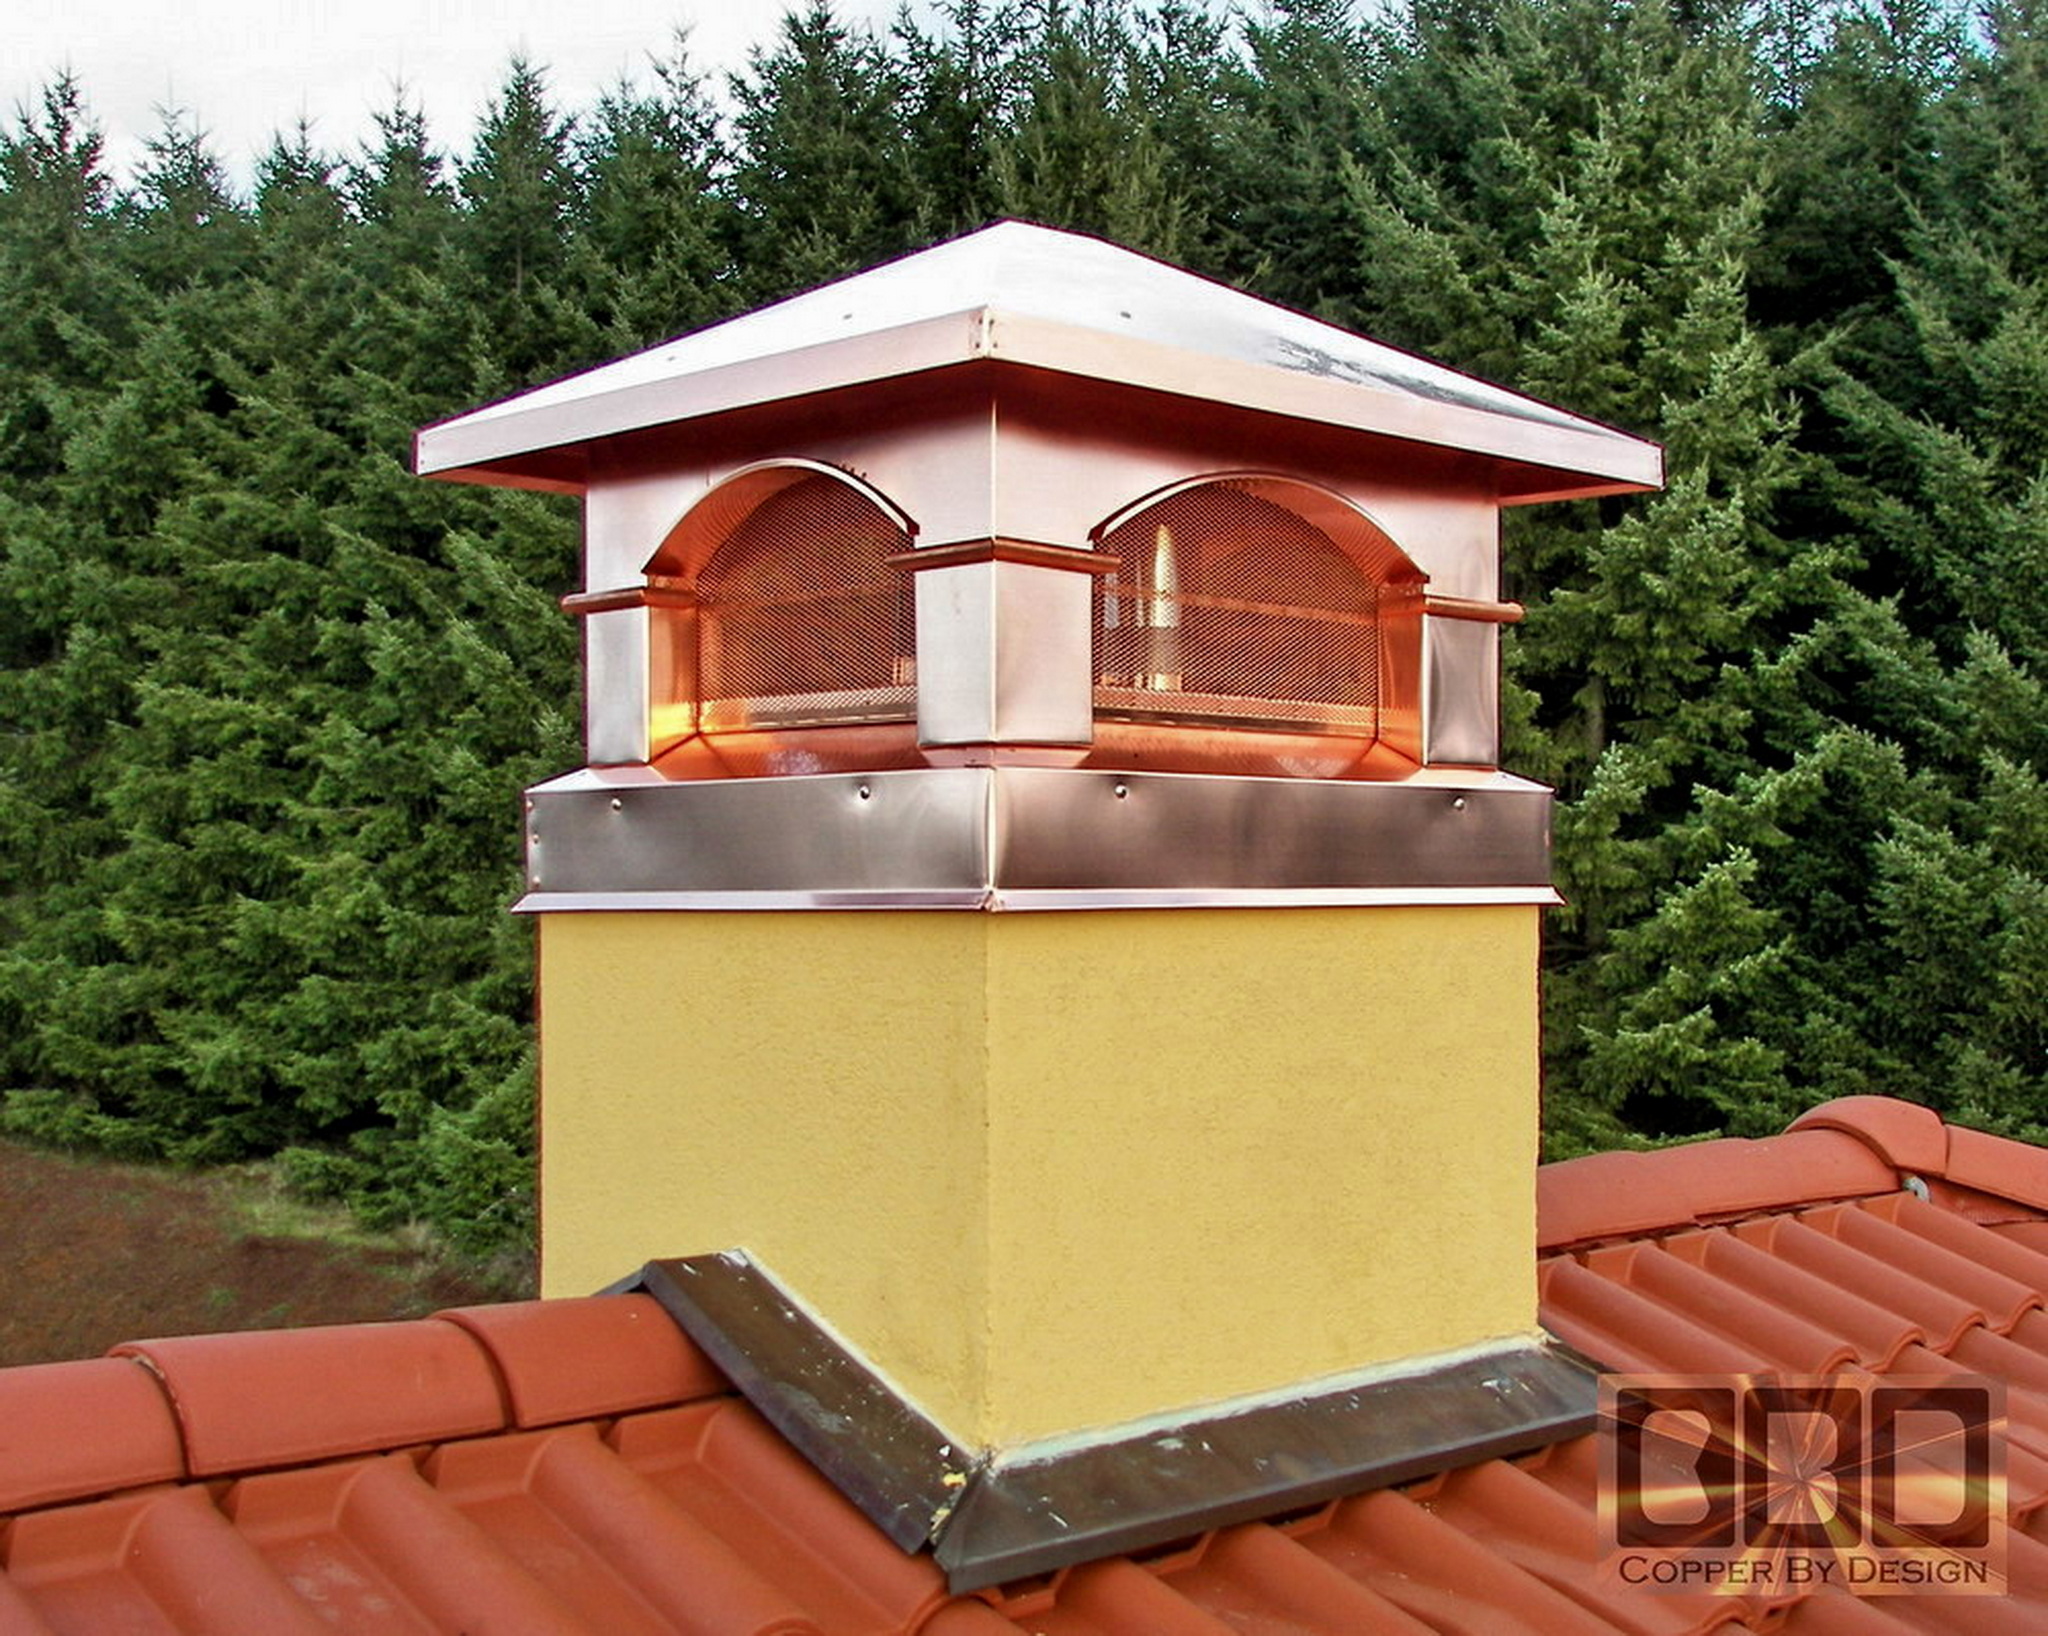
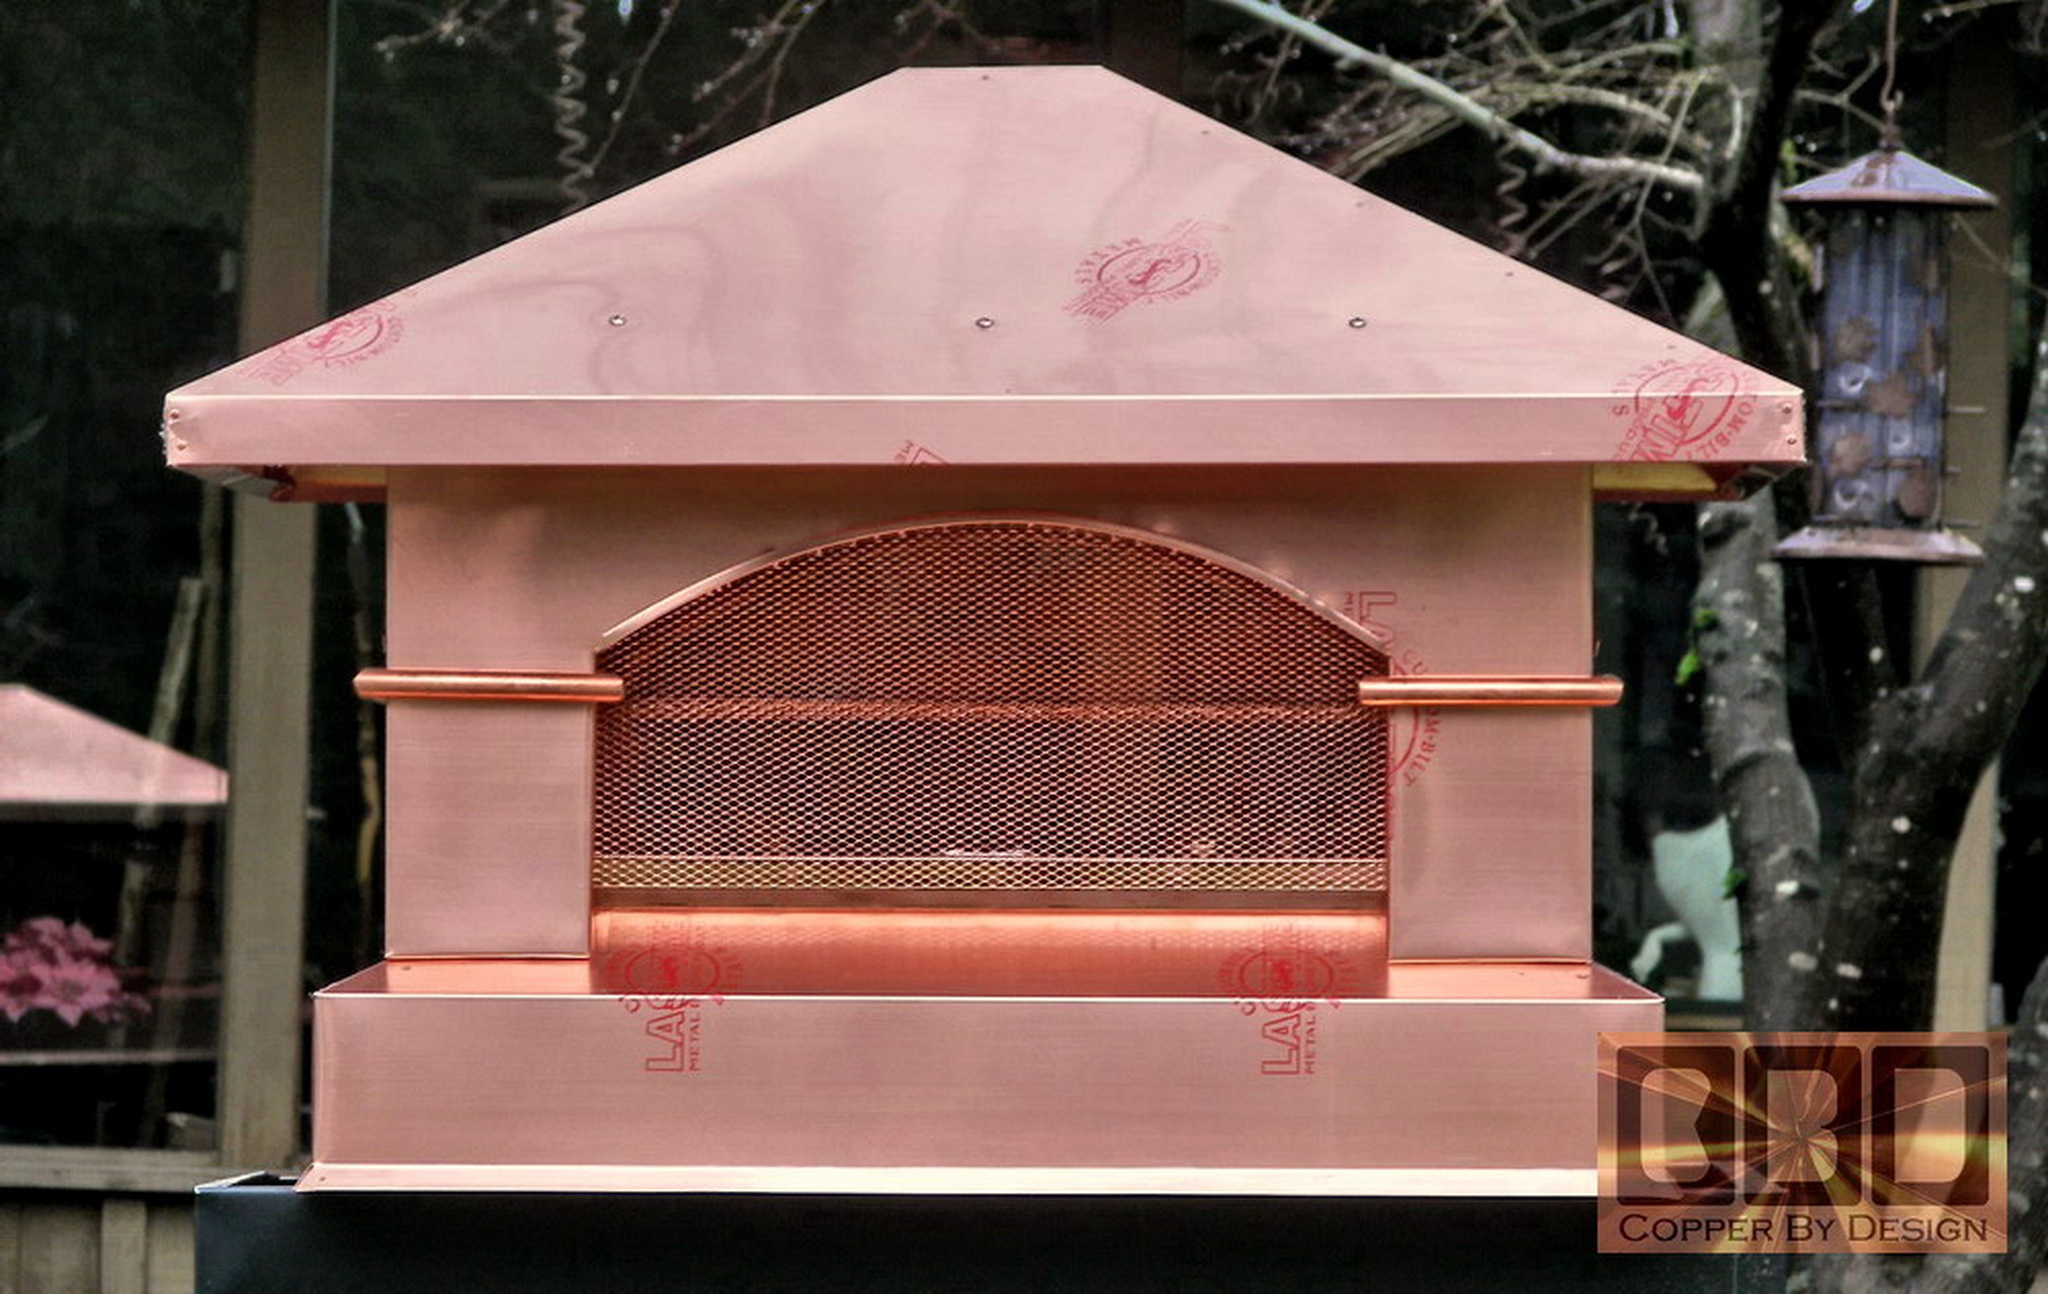
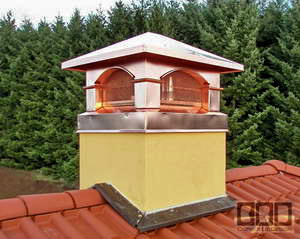
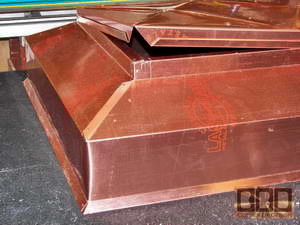
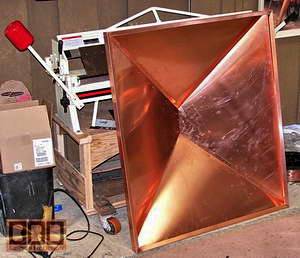
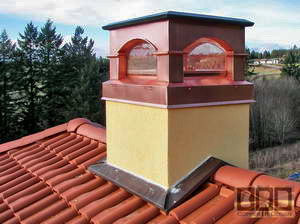
The detailed custom fabrication of a 33.5" wide x 39.5"
long copper chimney cap
(1-06) |
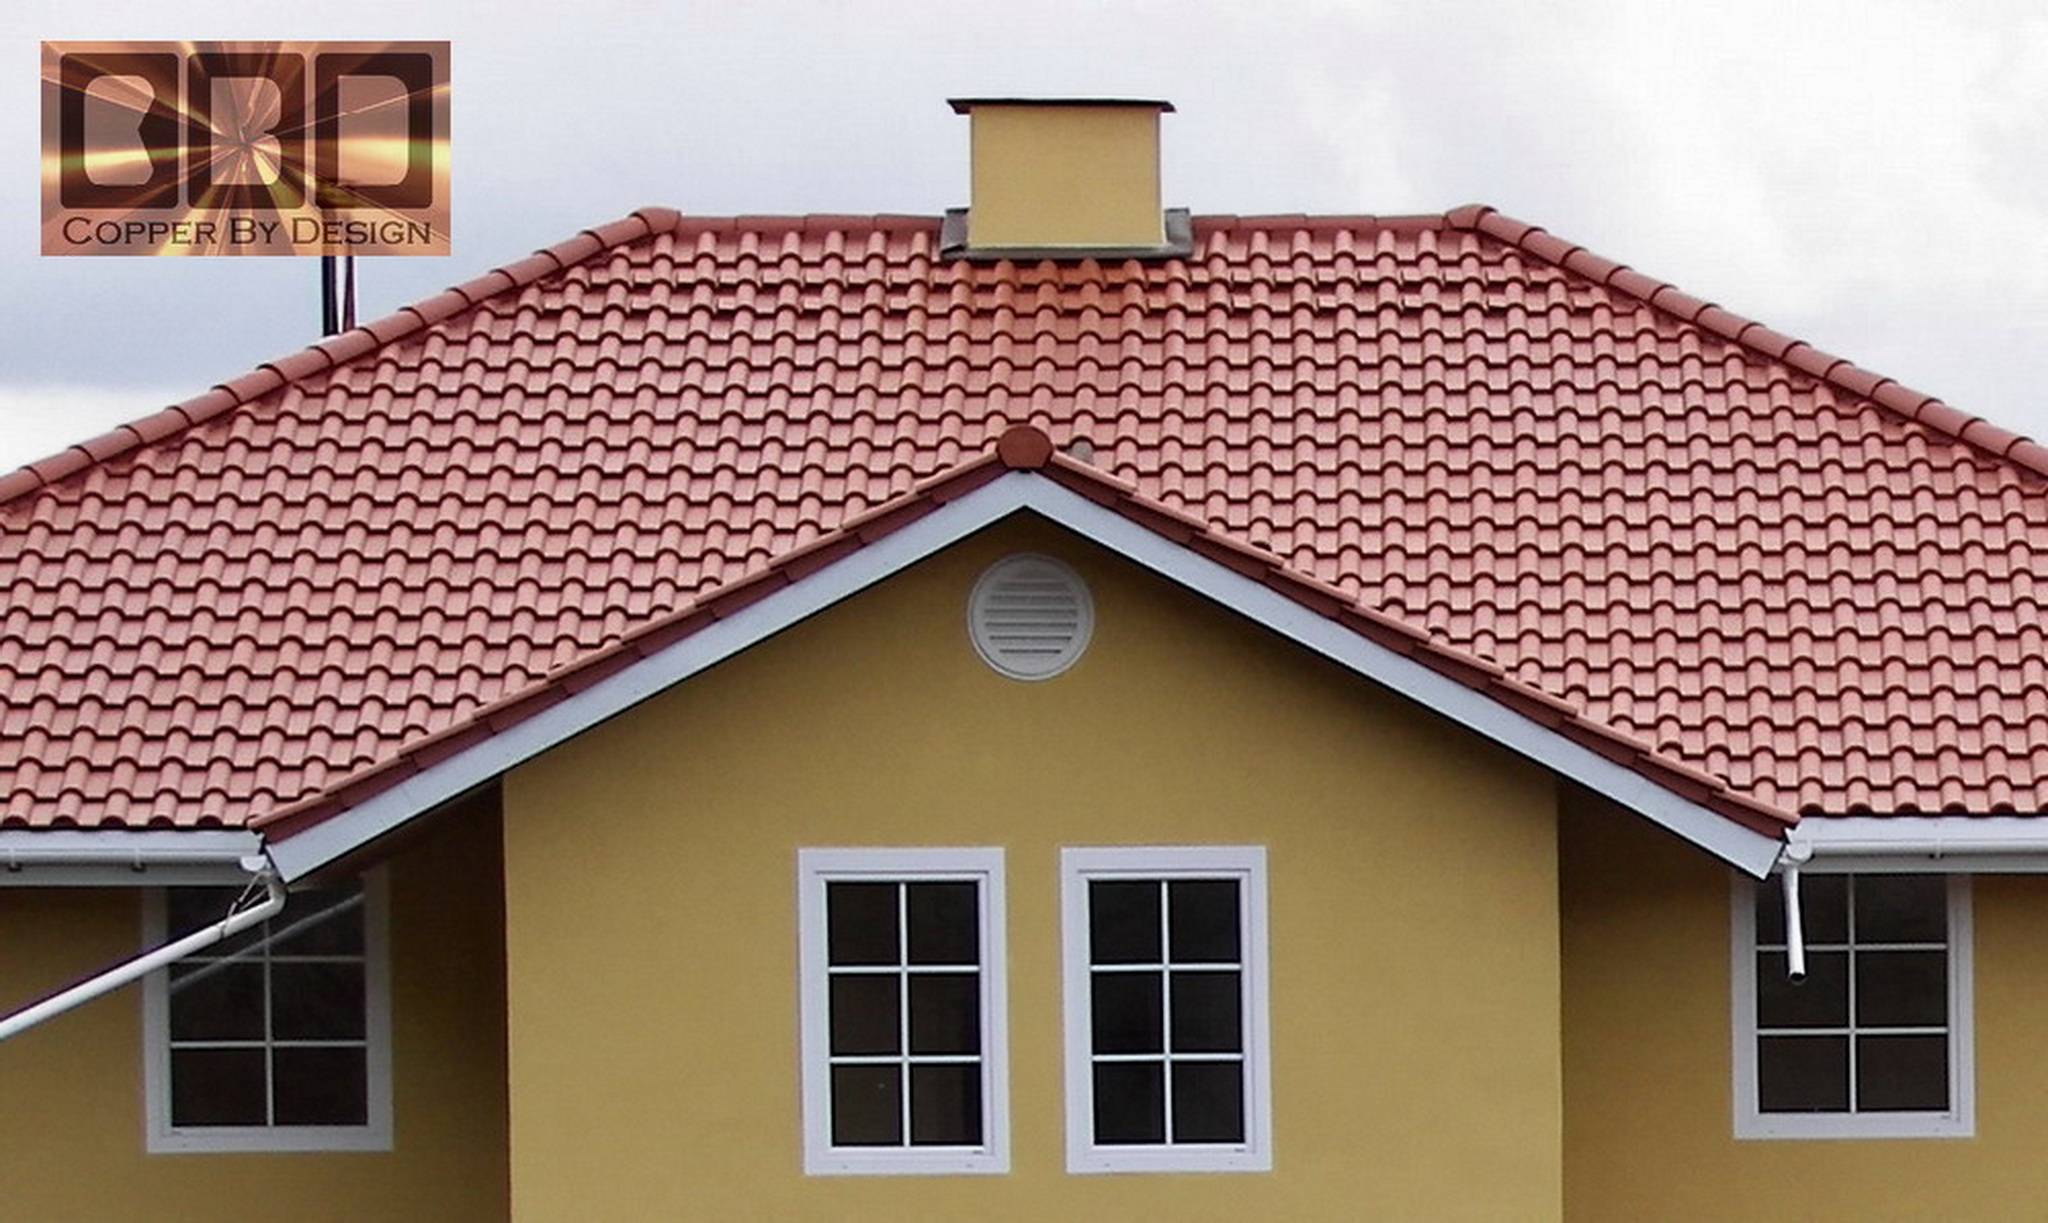
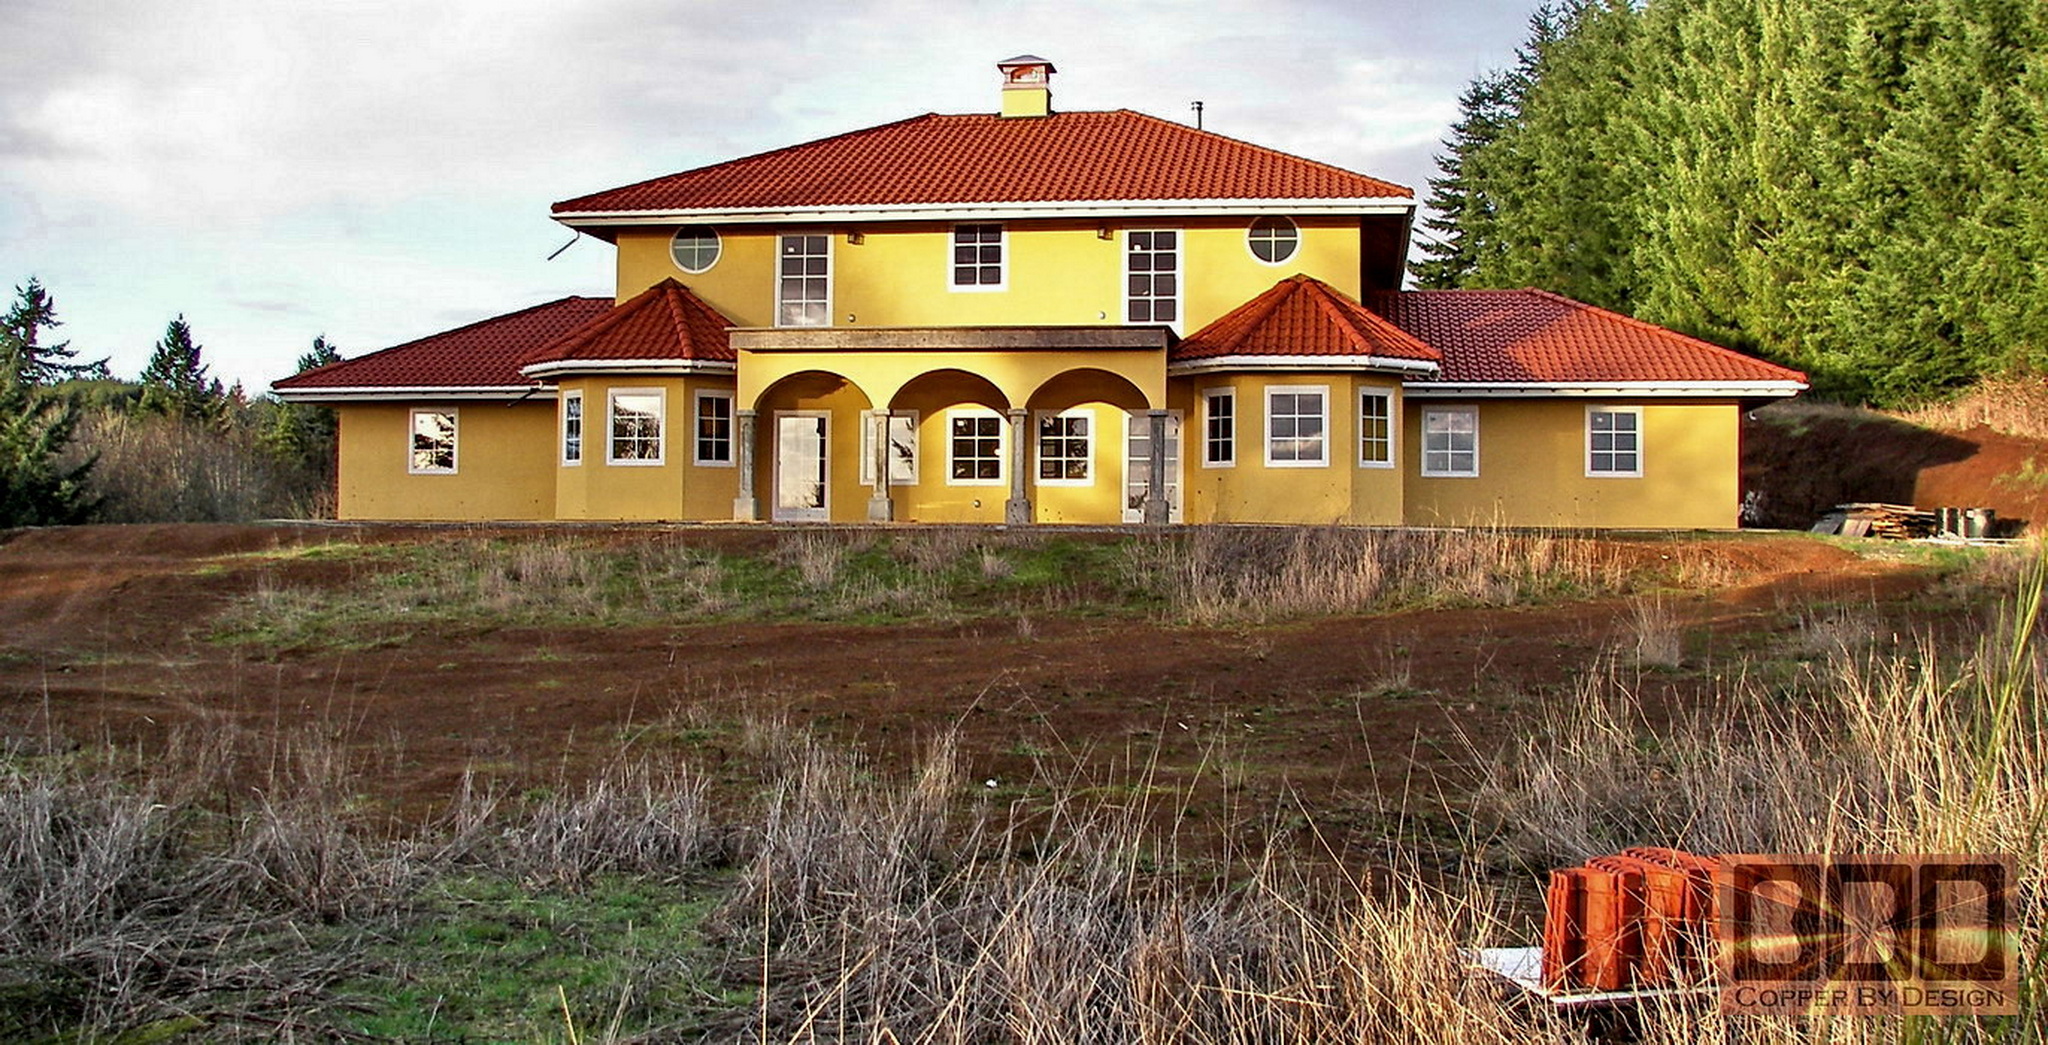
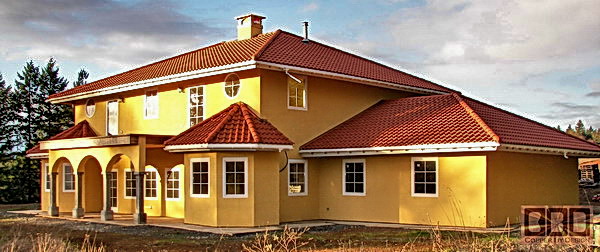
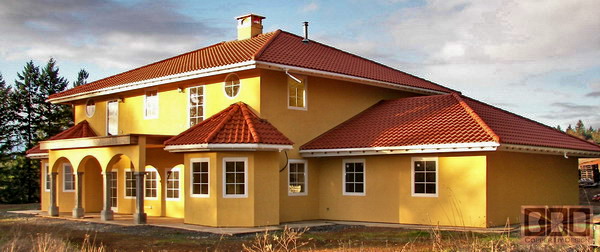
| Here is what we made with the design help from
the client: Todd Silbernagel in Dundee Oregon, just Southwest of Portland
Oregon. It was designed to cover a wood frame chimney case that was
covered with a stucco facing, and designed to support the aluminum bathroom
exhaust and plumbing vent. There is not going to be any heat involved.
This was just the best way to not have lots of small pipes coming out
of their tile roof.
It took about 65.2 square feet of copper to make
this chimney cap, and weighs in at 81lb plus 24lb for the lower wood
base frame, and another 6lb for the upper wood frame to screw the roof
onto. Even though it has very few visible rivets it is so sturdy
that when lifting it up on one corner it seems to have no detectible
flex to it. Made as seamless as possible. This chimney cap sits
down to cover the top 2" thick wood frame that was screwed into the
studs and another 4" of the stucco facing over the wood. It took
5 to 6 full days just to build this cap in our shop.
The final cost delivered
and installed was $2,030,
See below
for the 60 other photos of this custom fabrication.
|
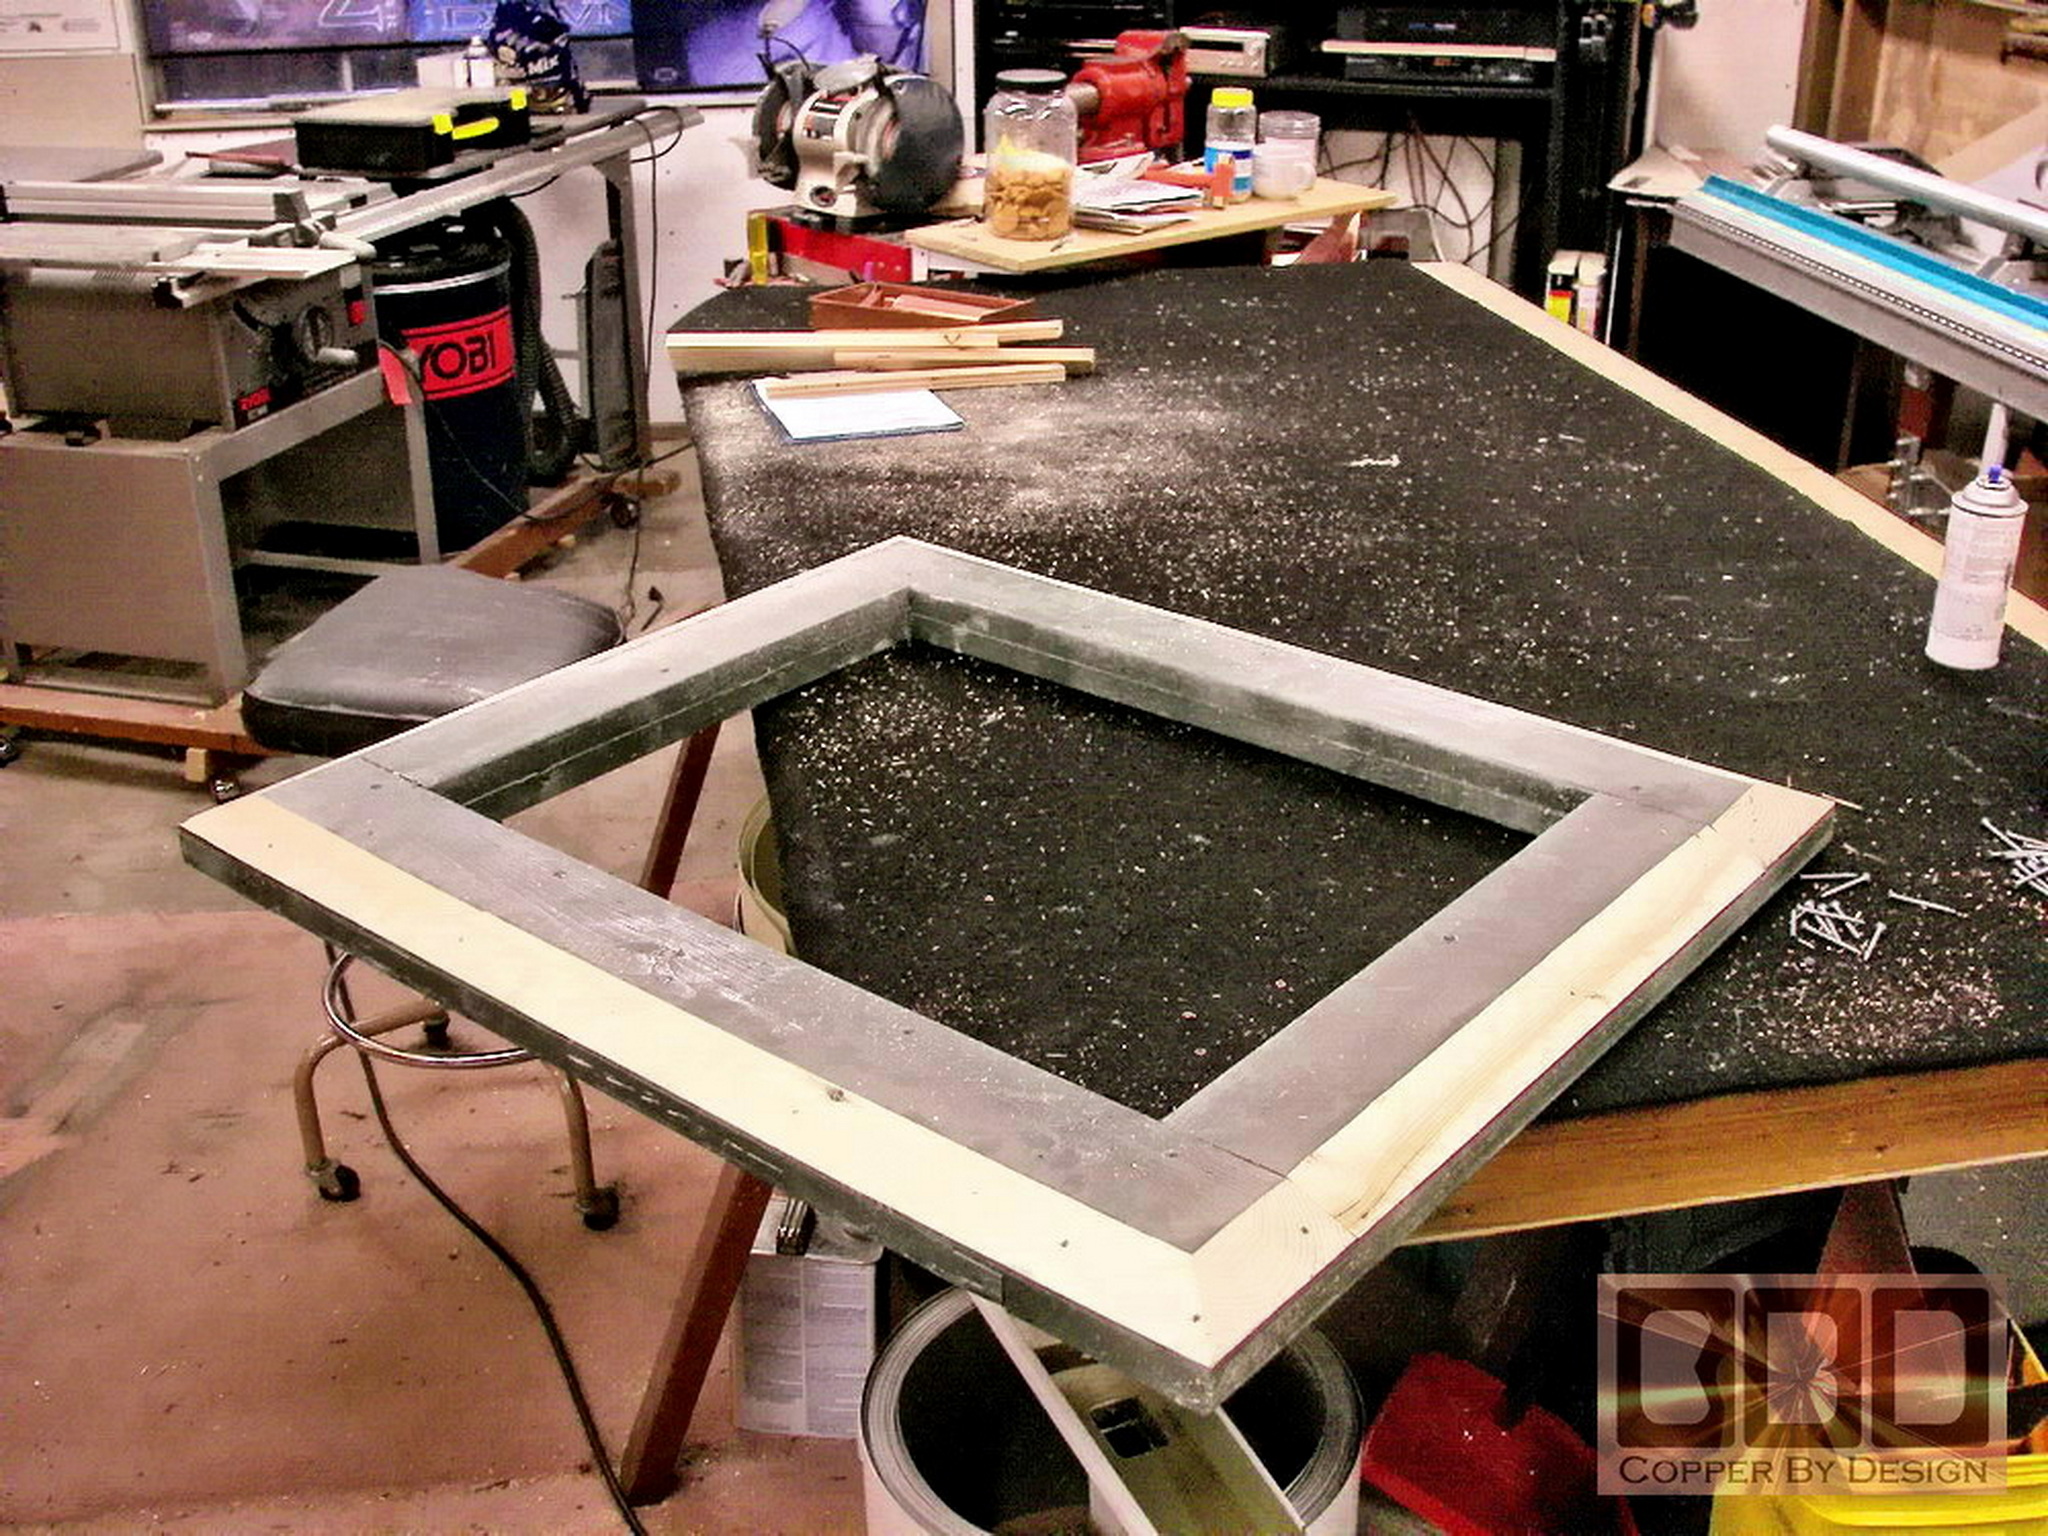
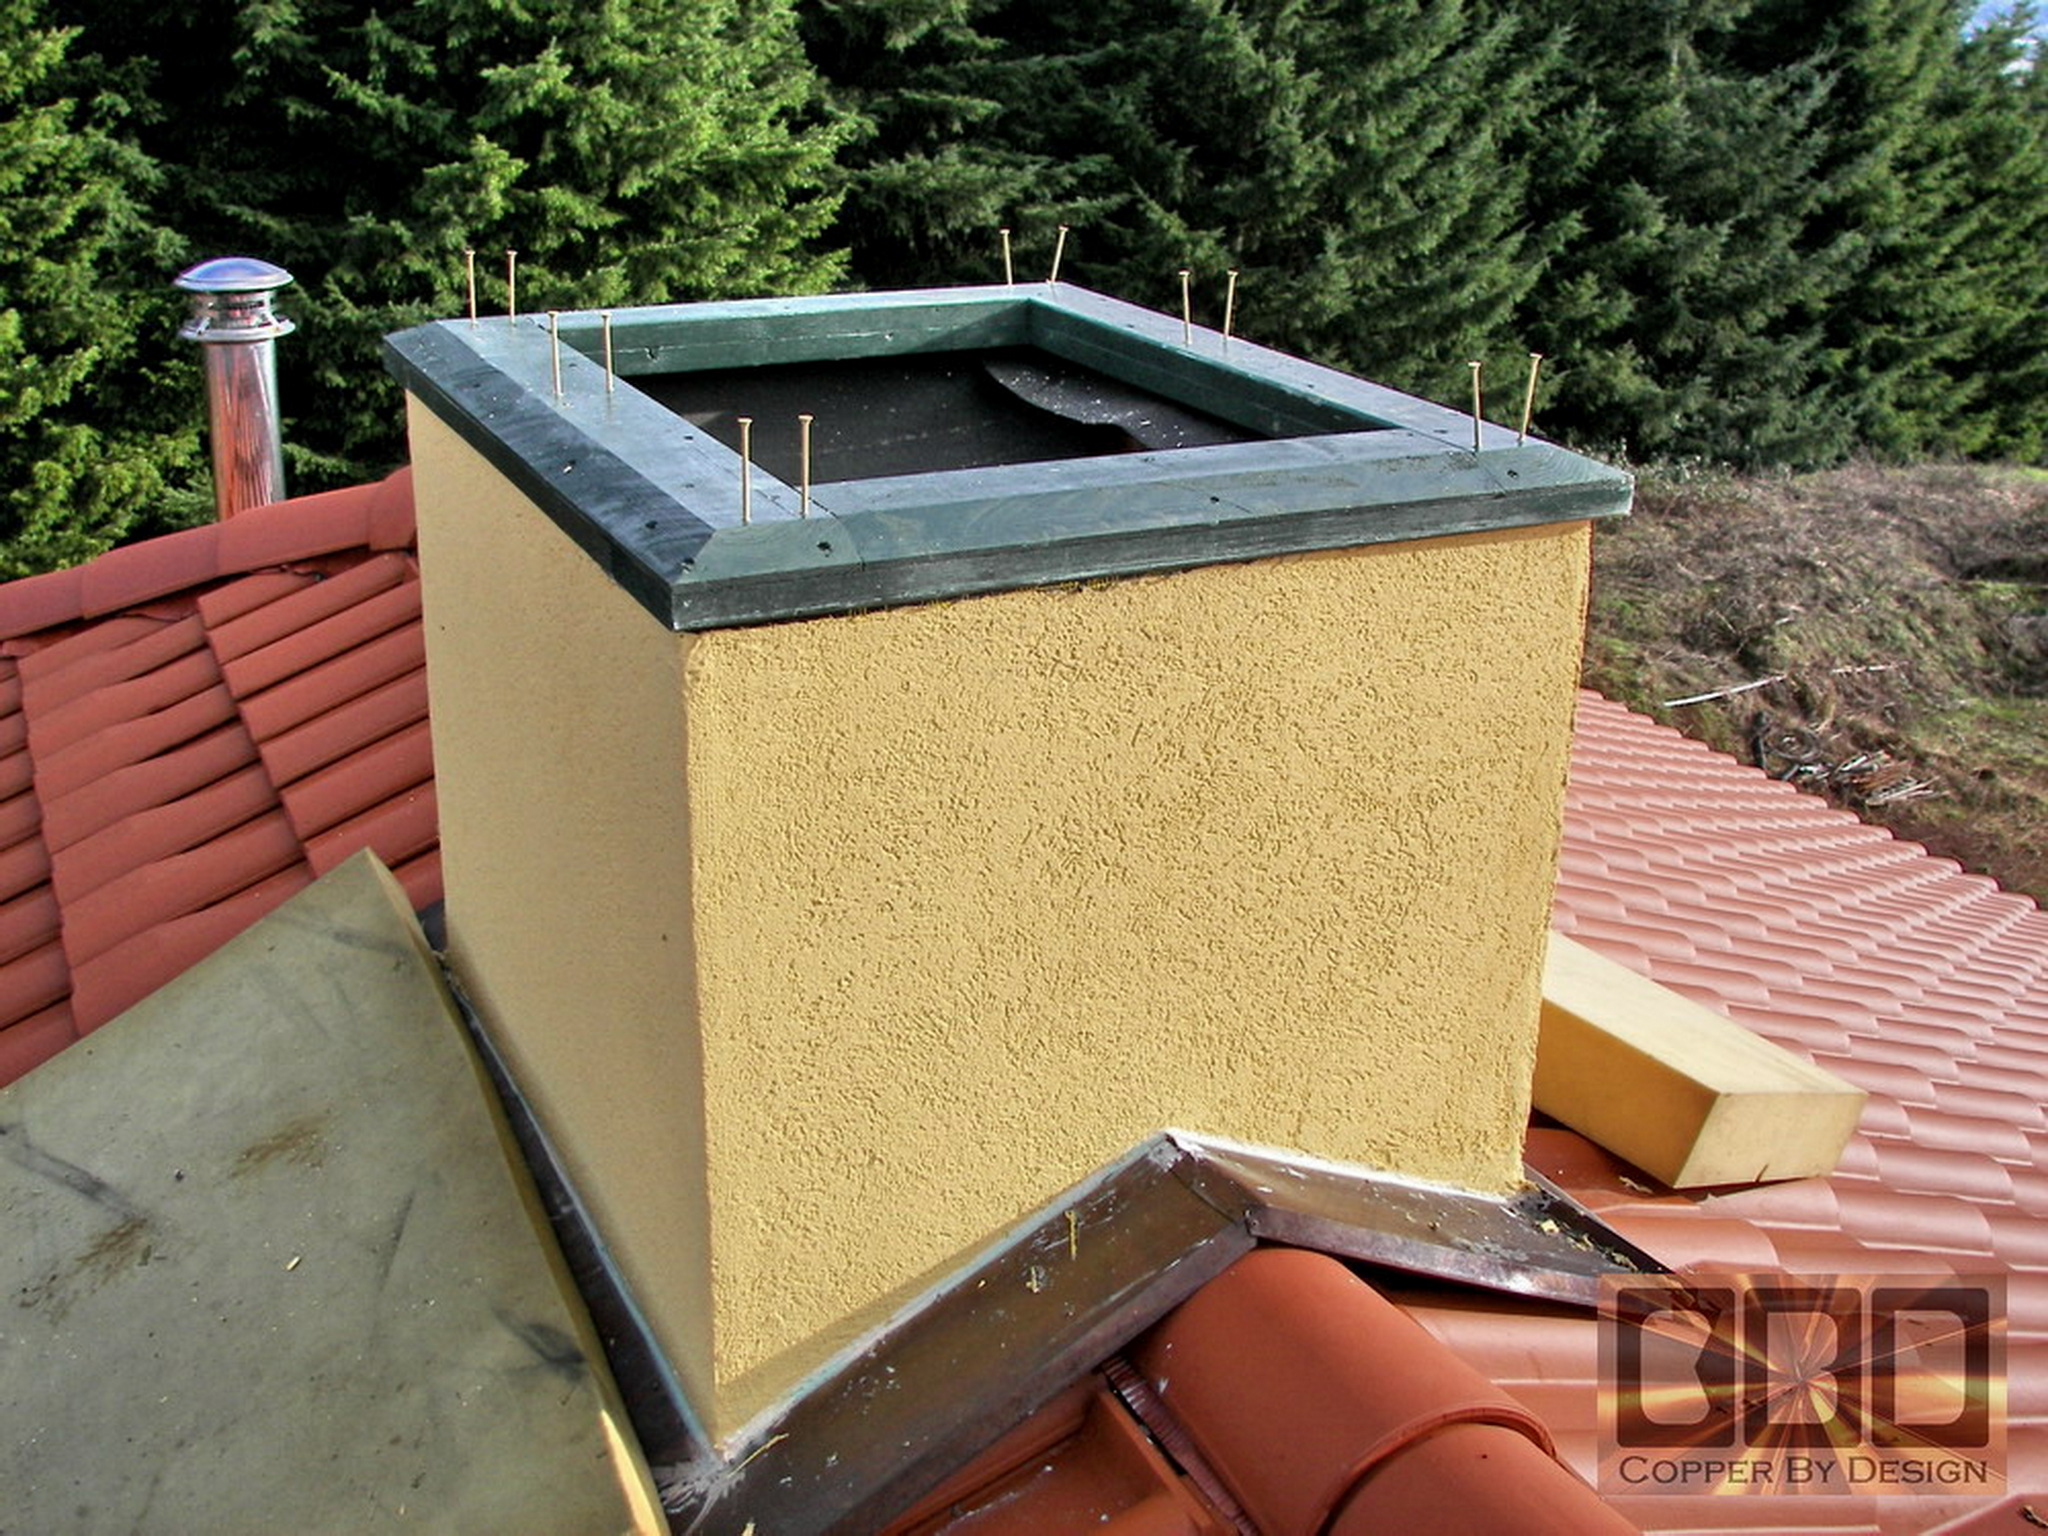
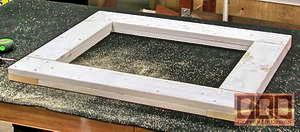
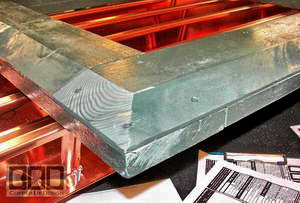
| The chimney top edge was just vertical studs,
plywood and stucco. This shows the wood base frame that will be screwed
down to the top edge of that chimney box and the chimney cap will be
sitting on. It is made from a set of 8 alternating boards that
are pre-primed 5/4 x 6. It was glued together with Gorilla clue and
held together with a couple dozen screws. Then angle cut to the pitch
of the copper base seen below.
|
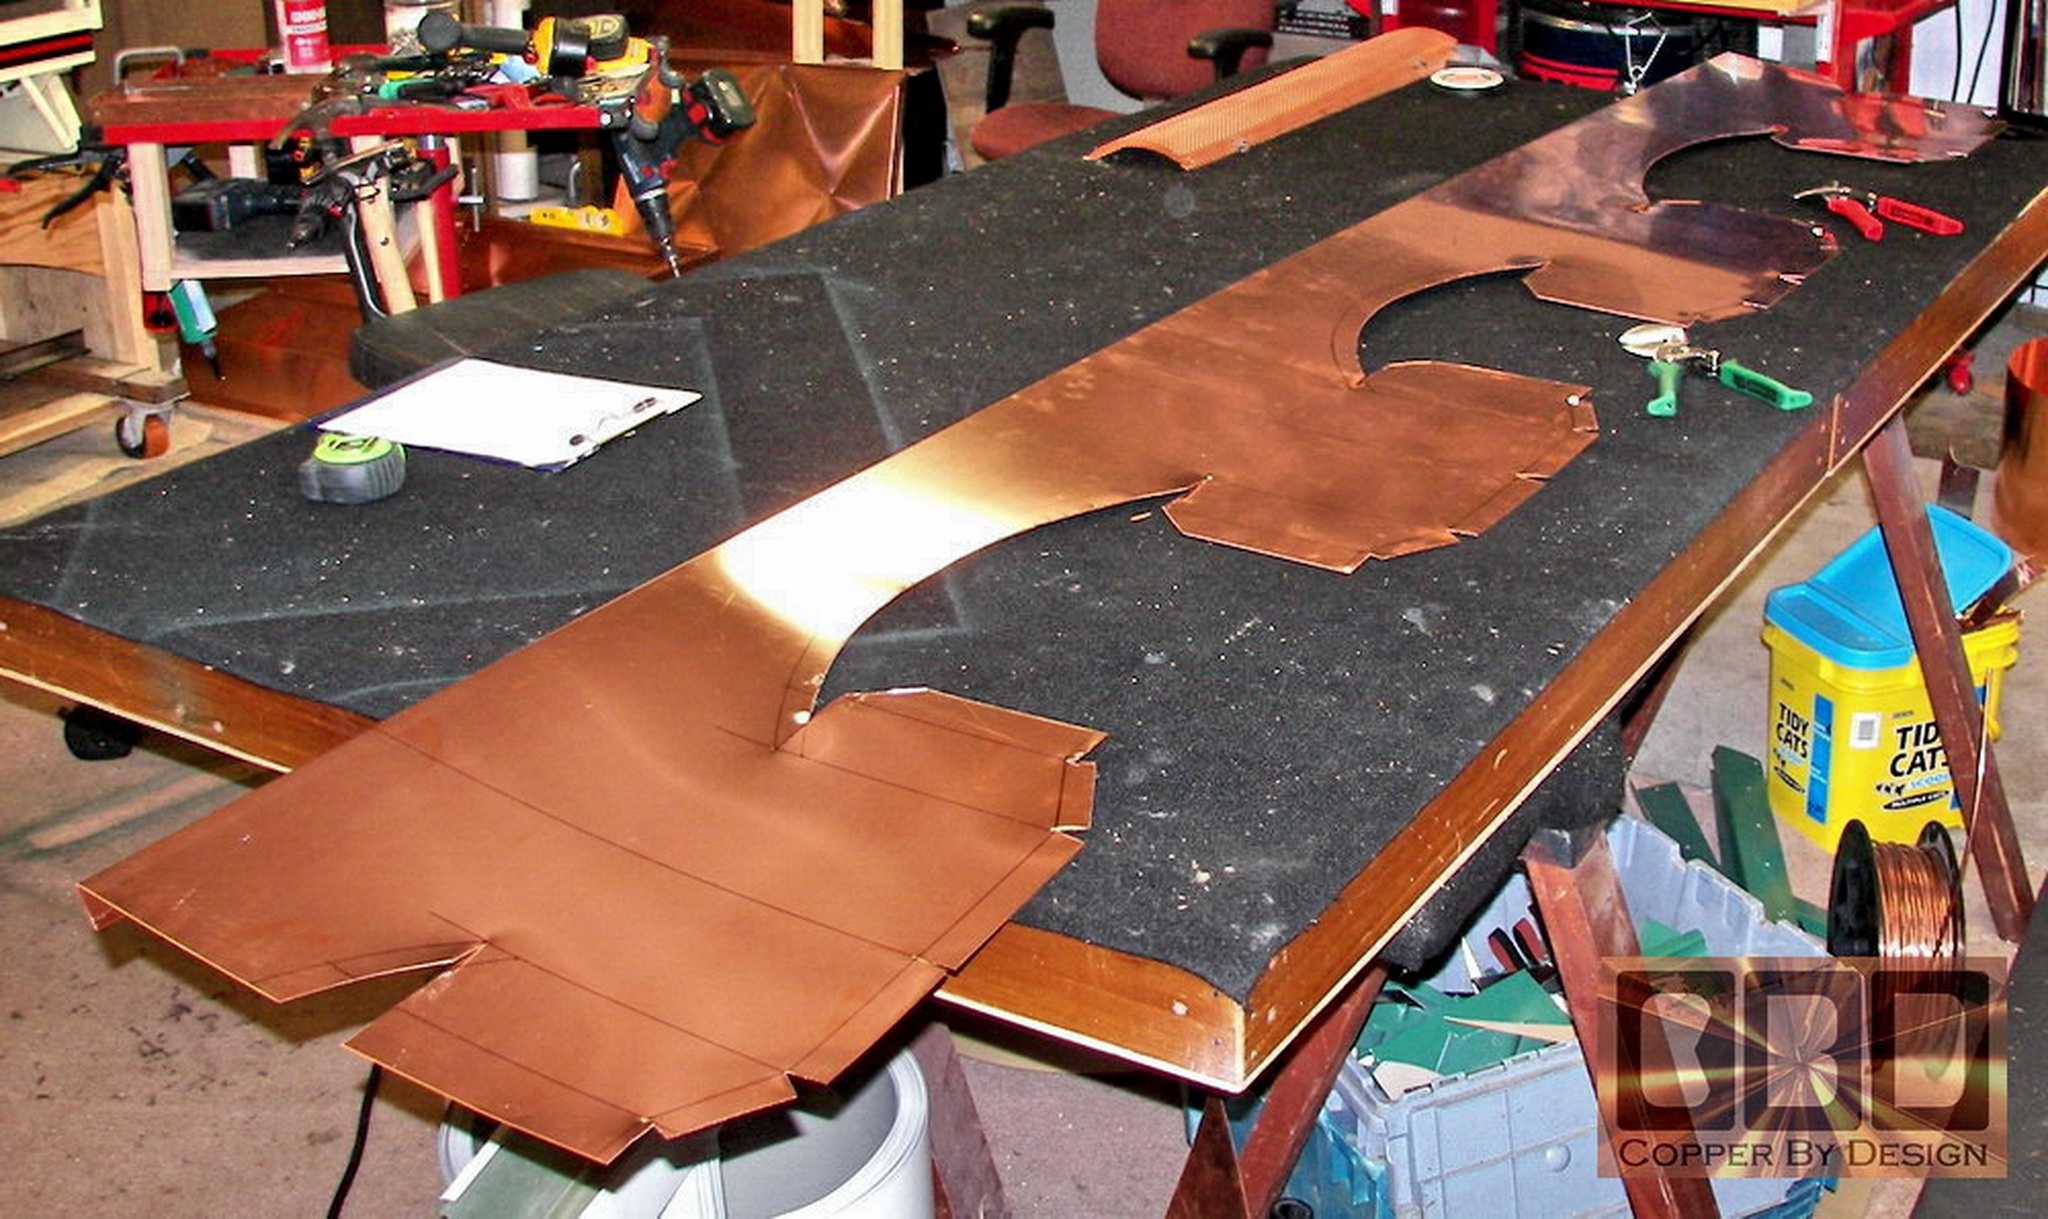
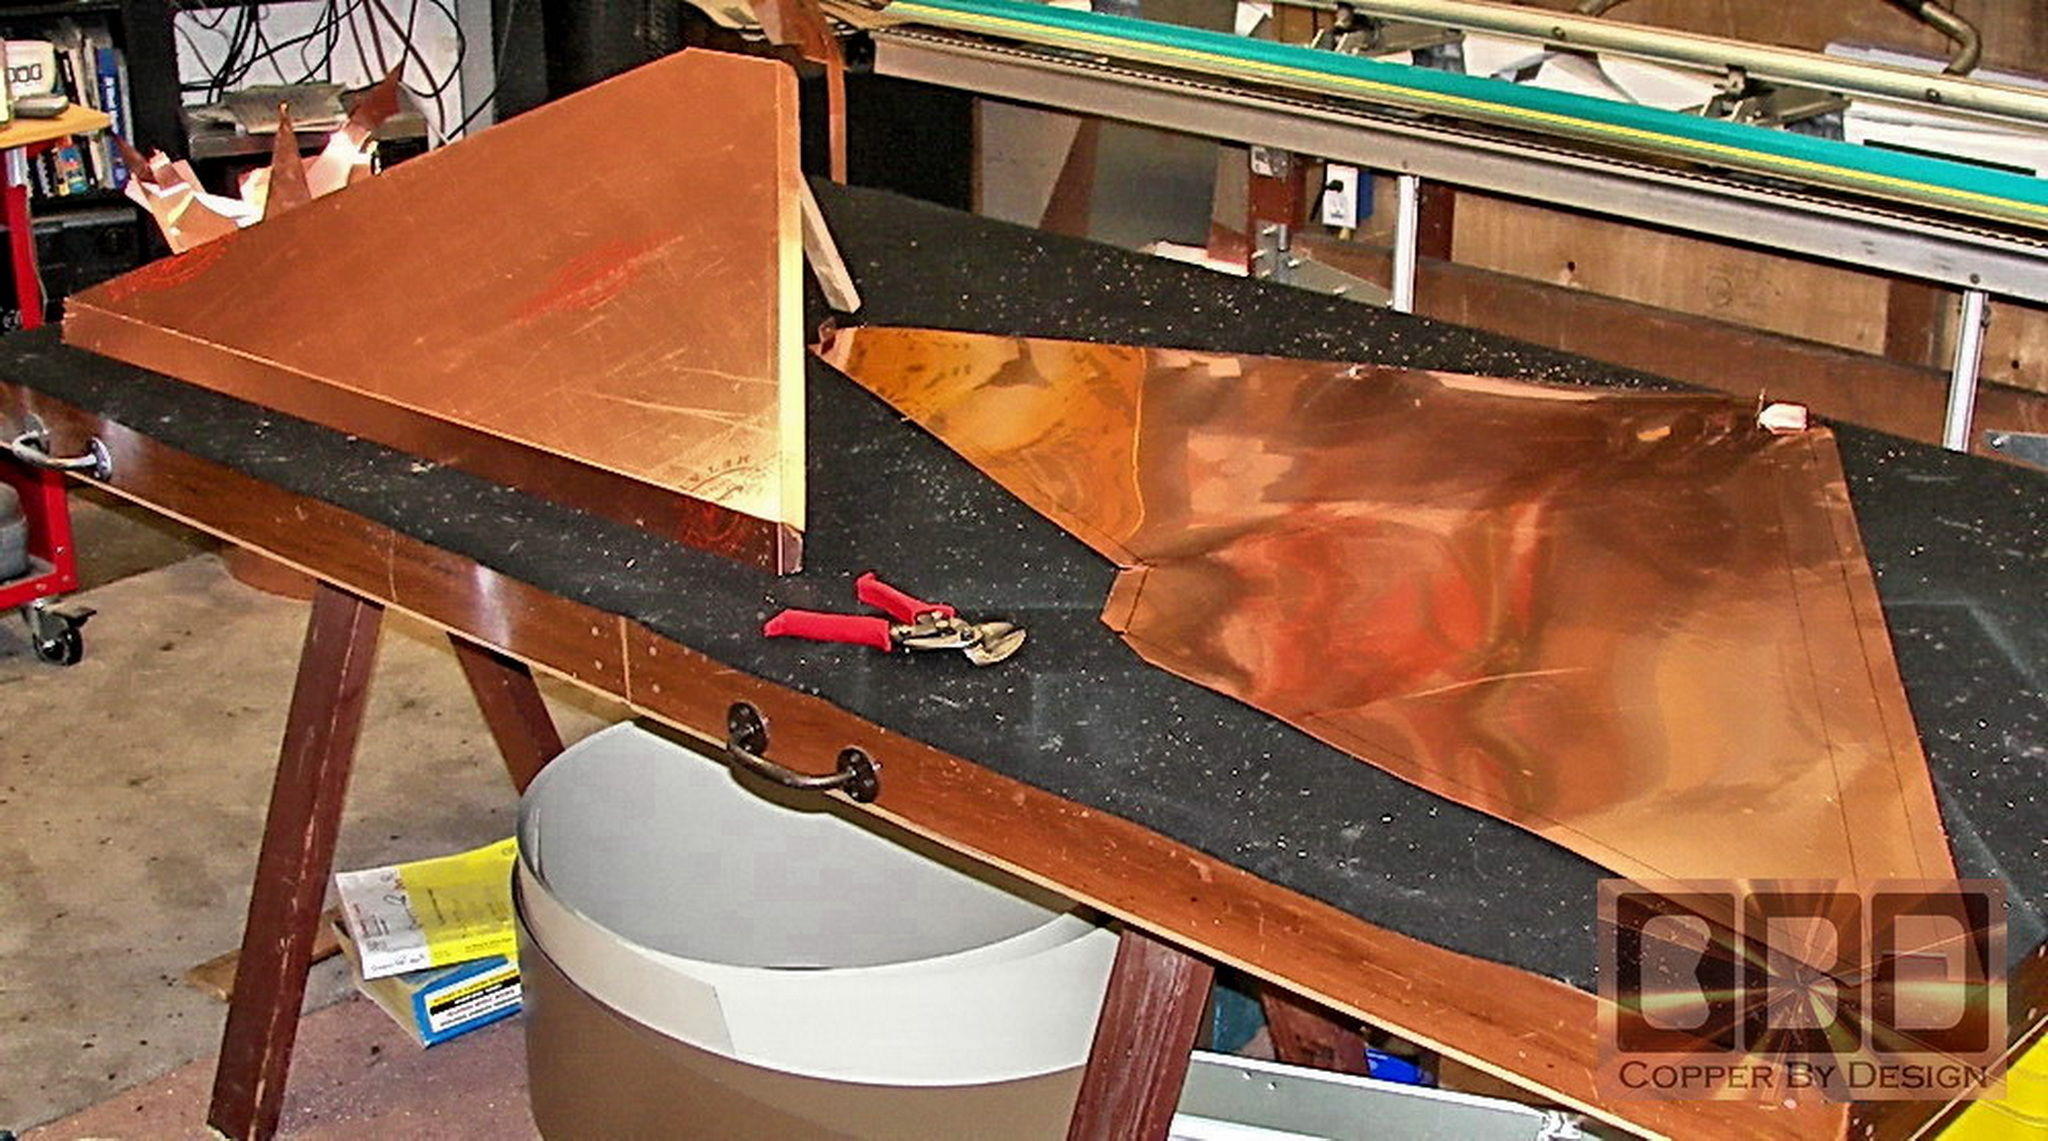
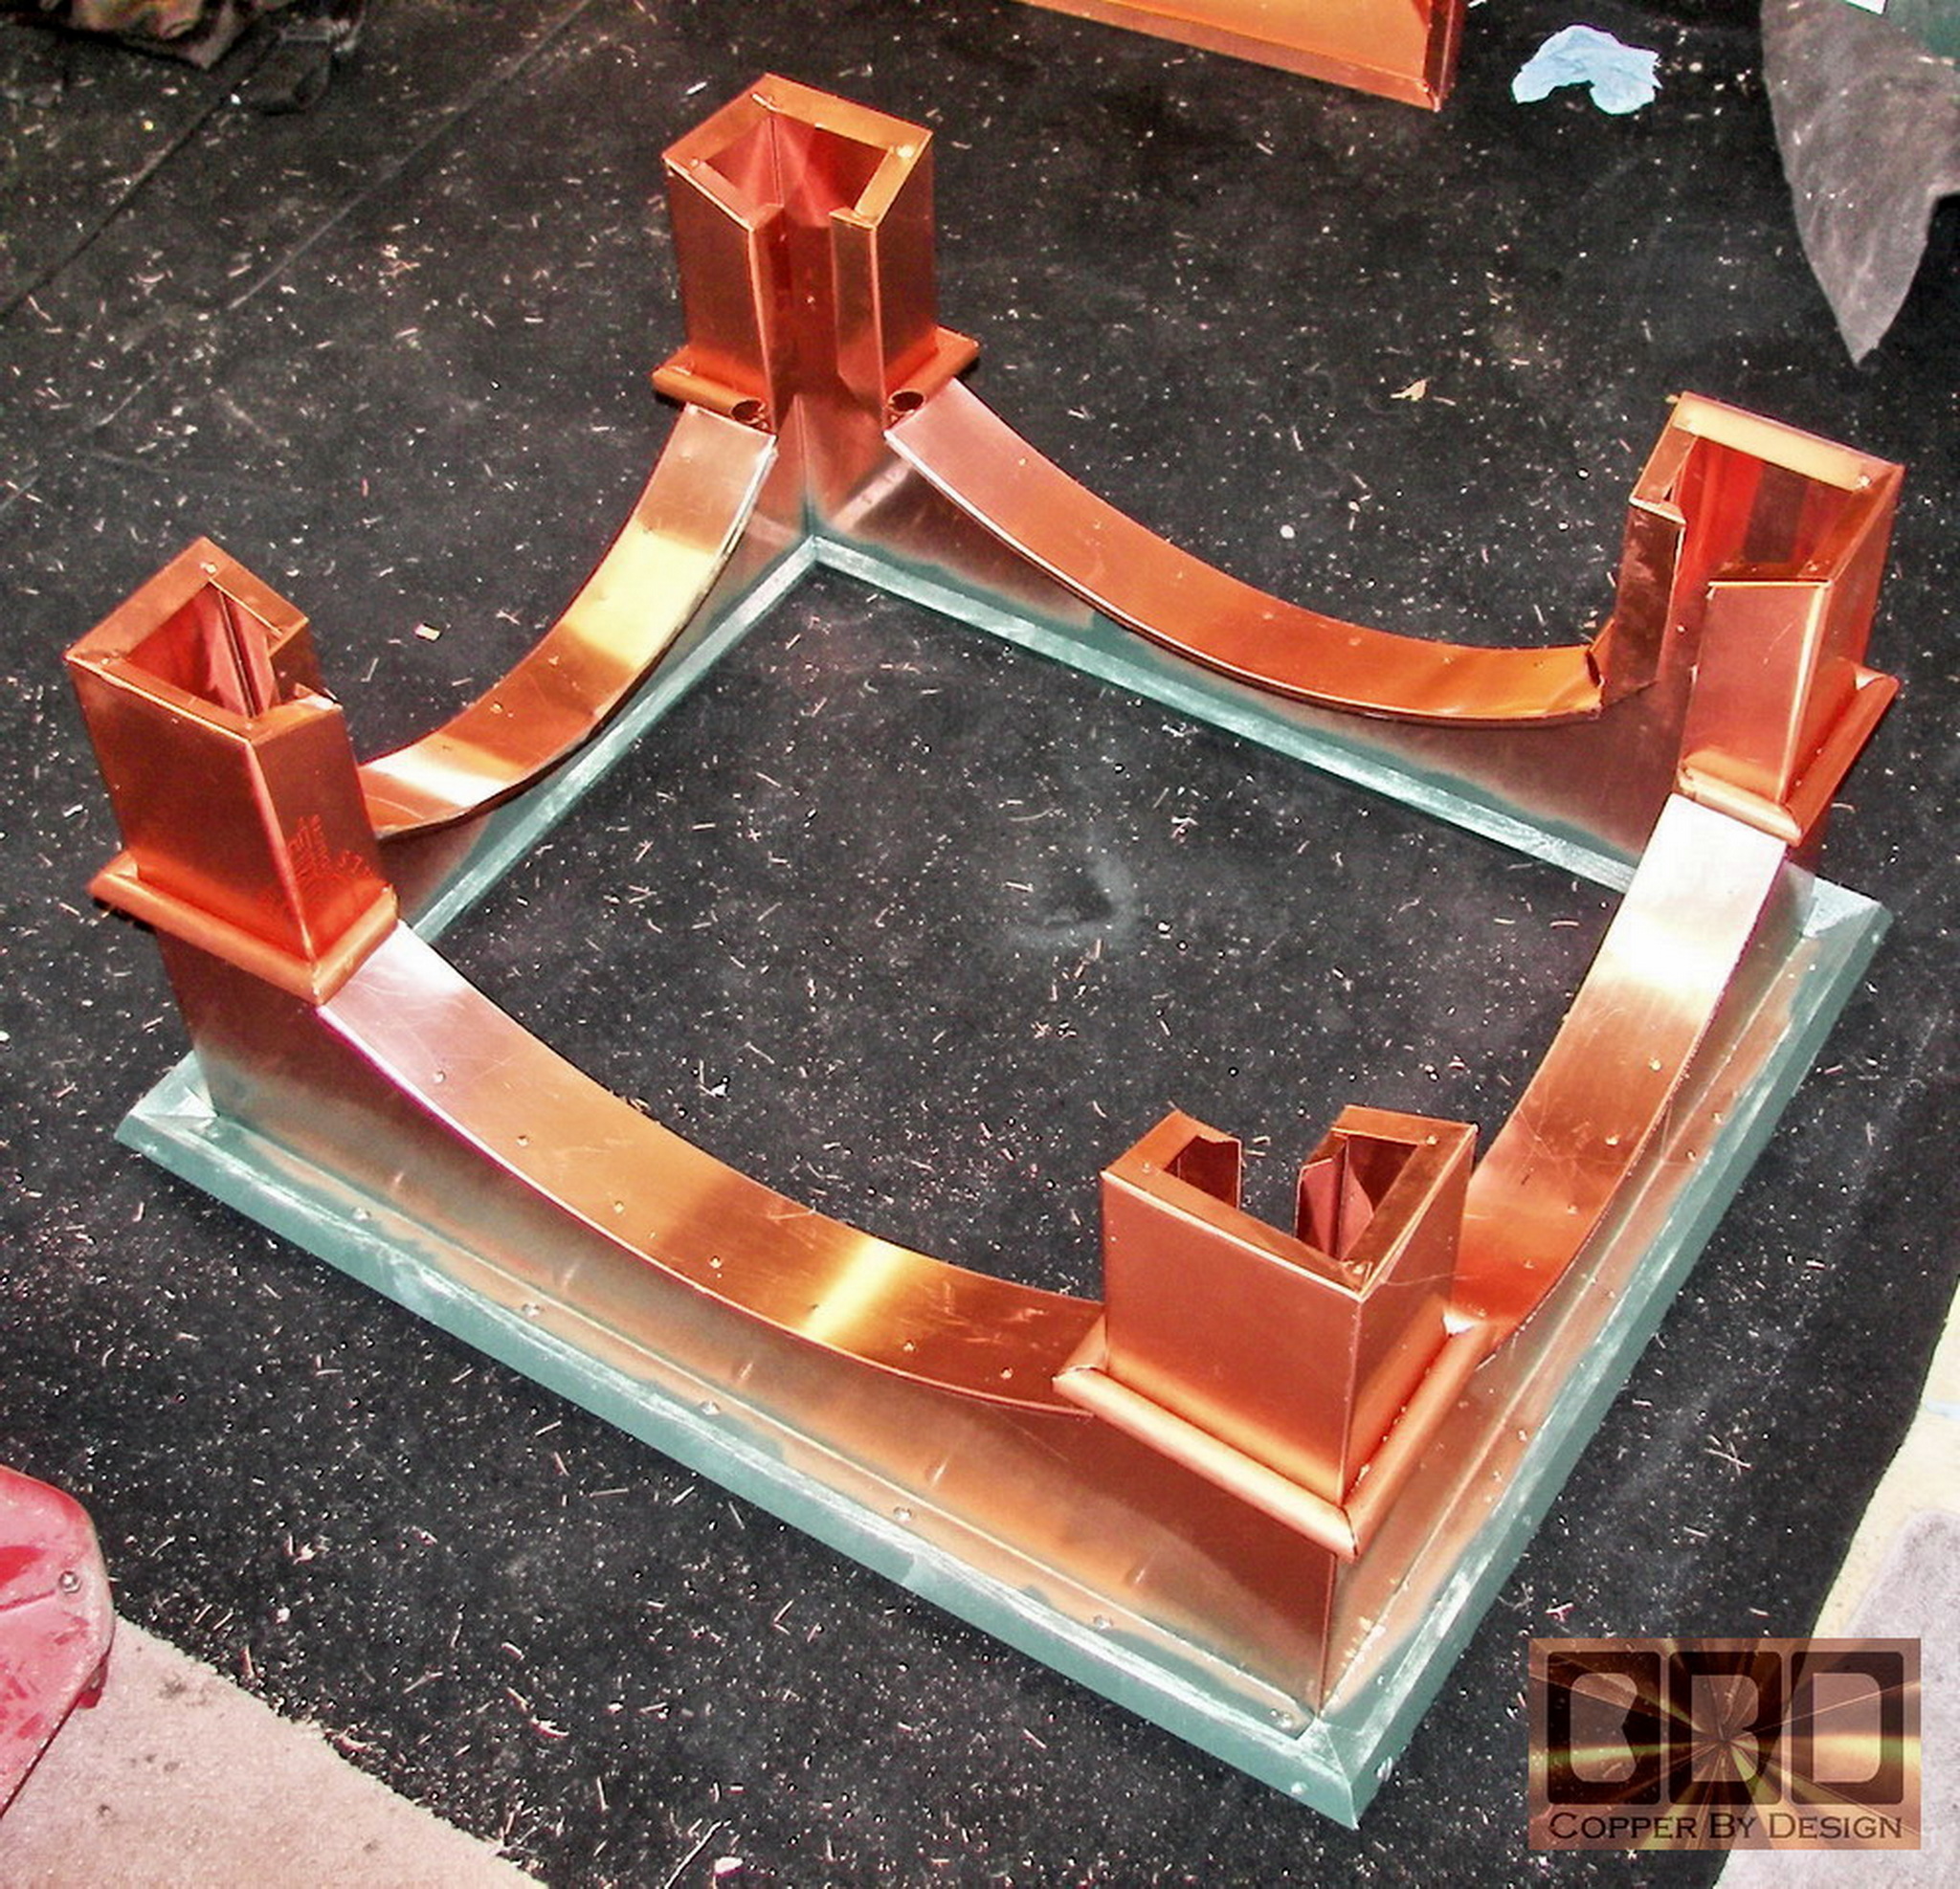
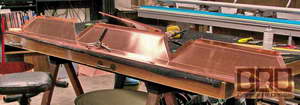
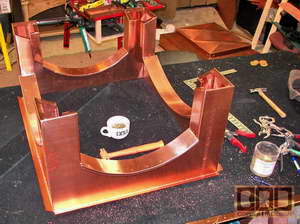
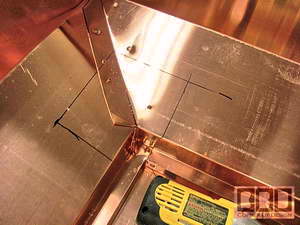
| The cap angles need to
be carefully calculated so there are no errors or unexpected complications.
We have to think several steps ahead, like working out the problems
of a Rubixs Cube. If we are in error, we may ruin some very costly
copper material. This shows three sides of the base bent
longwise, and then having the corners formed.
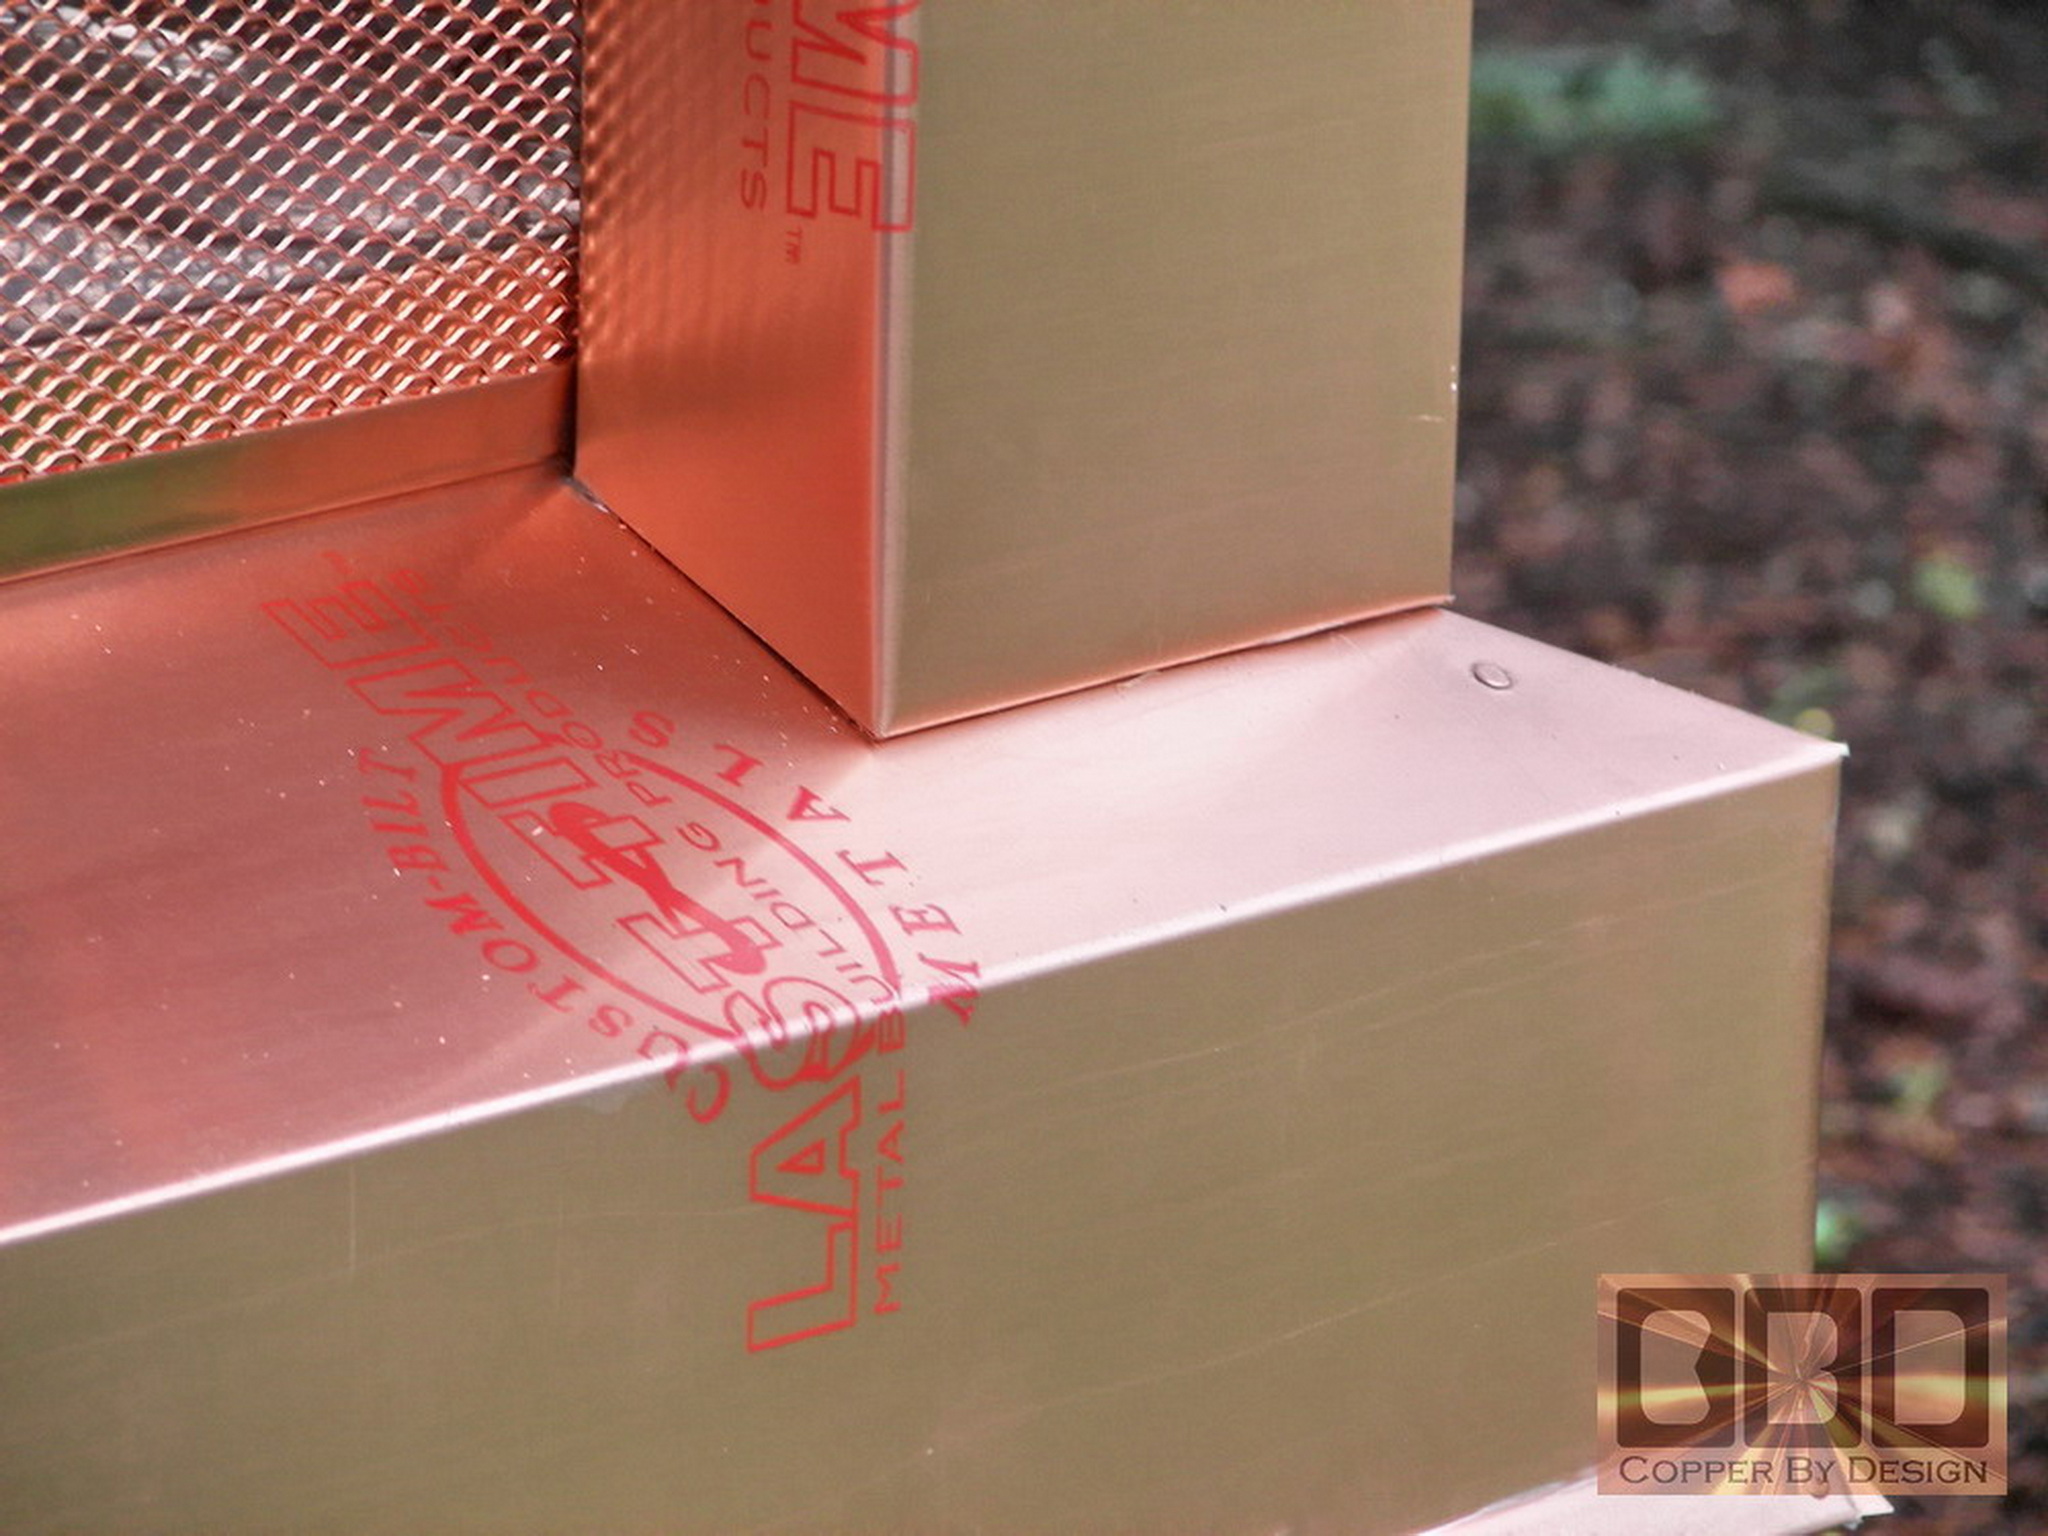
The lower section design has been drawn out on the copper on both the
film side and the underside, since there are several bends and cuts
to be made in both direction.
Our work table is 4' x 8'.
The sheet of copper shown come 10' long and 3 feet wide. Keep in mind
that the copper sheet metal still has a protective clear plastic film
over one side that will be used for the outside of this copper chimney
cap to protect it from finger prints and scratches. The red print will
come off with that film. It is to be pealed off after installation.
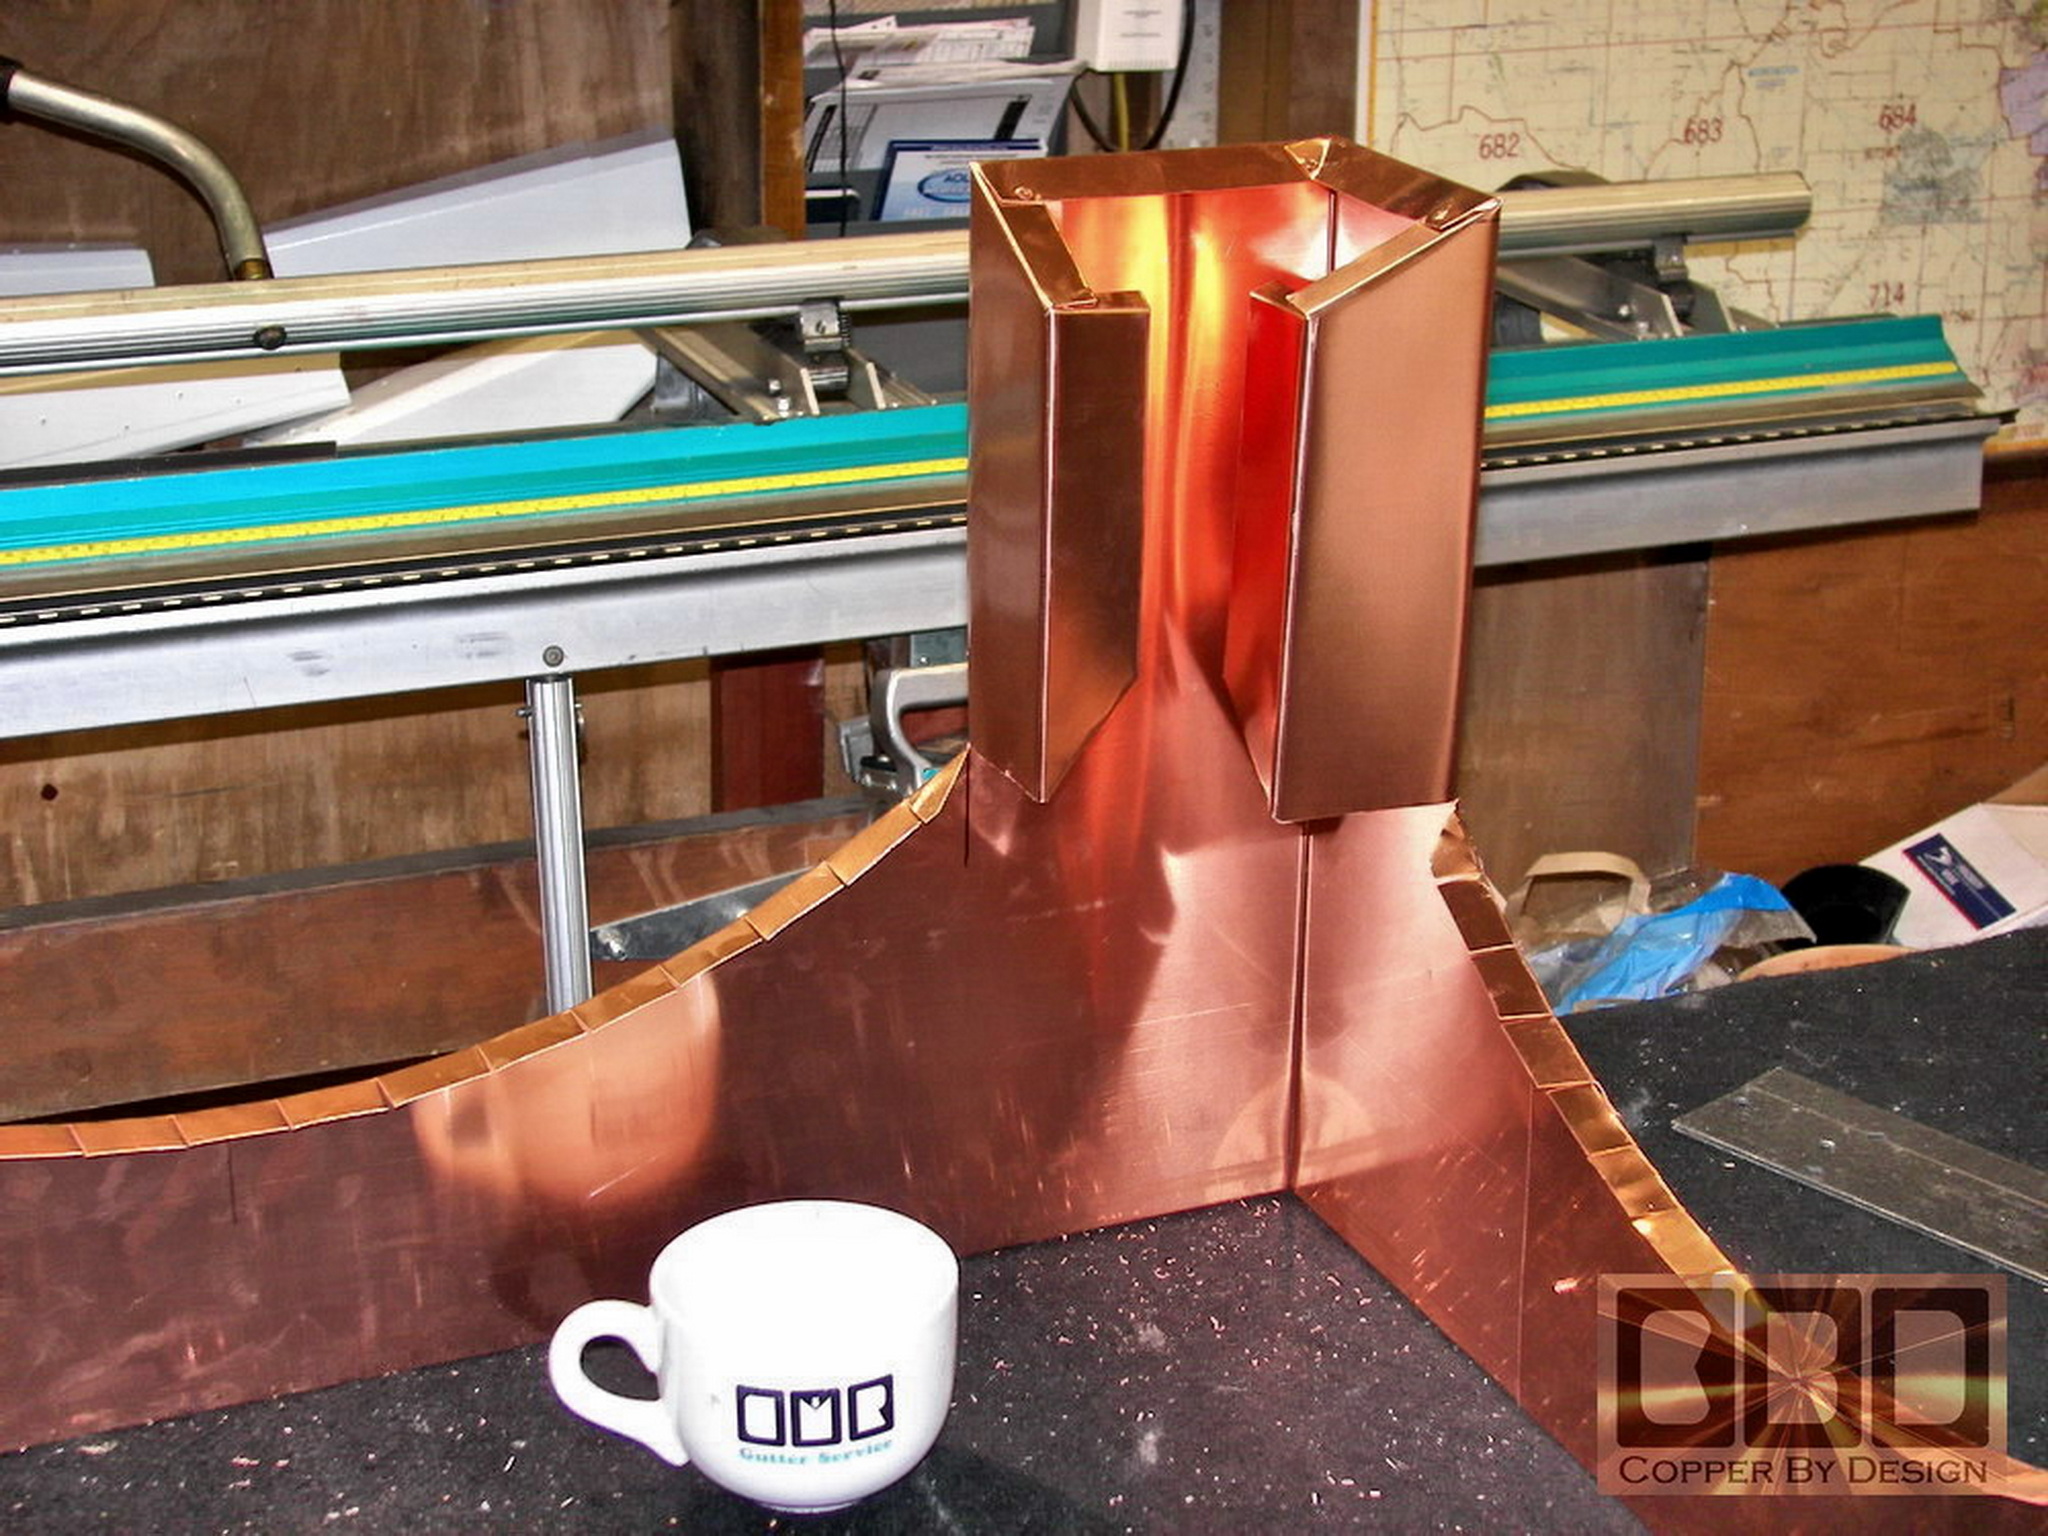
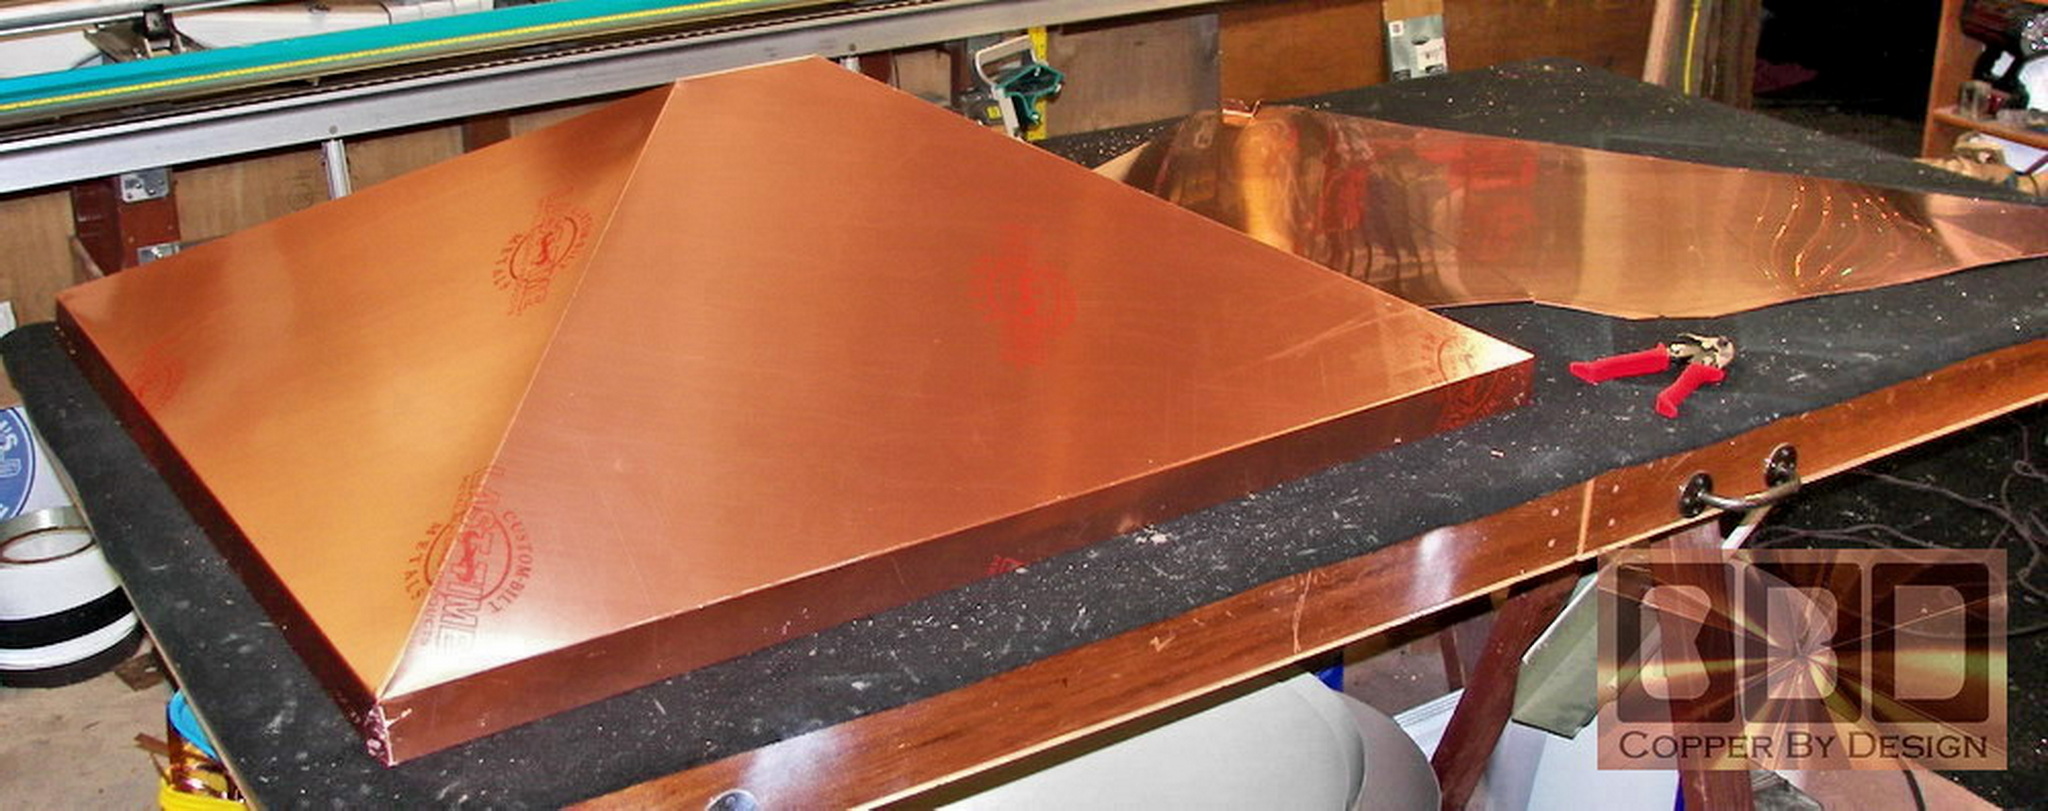
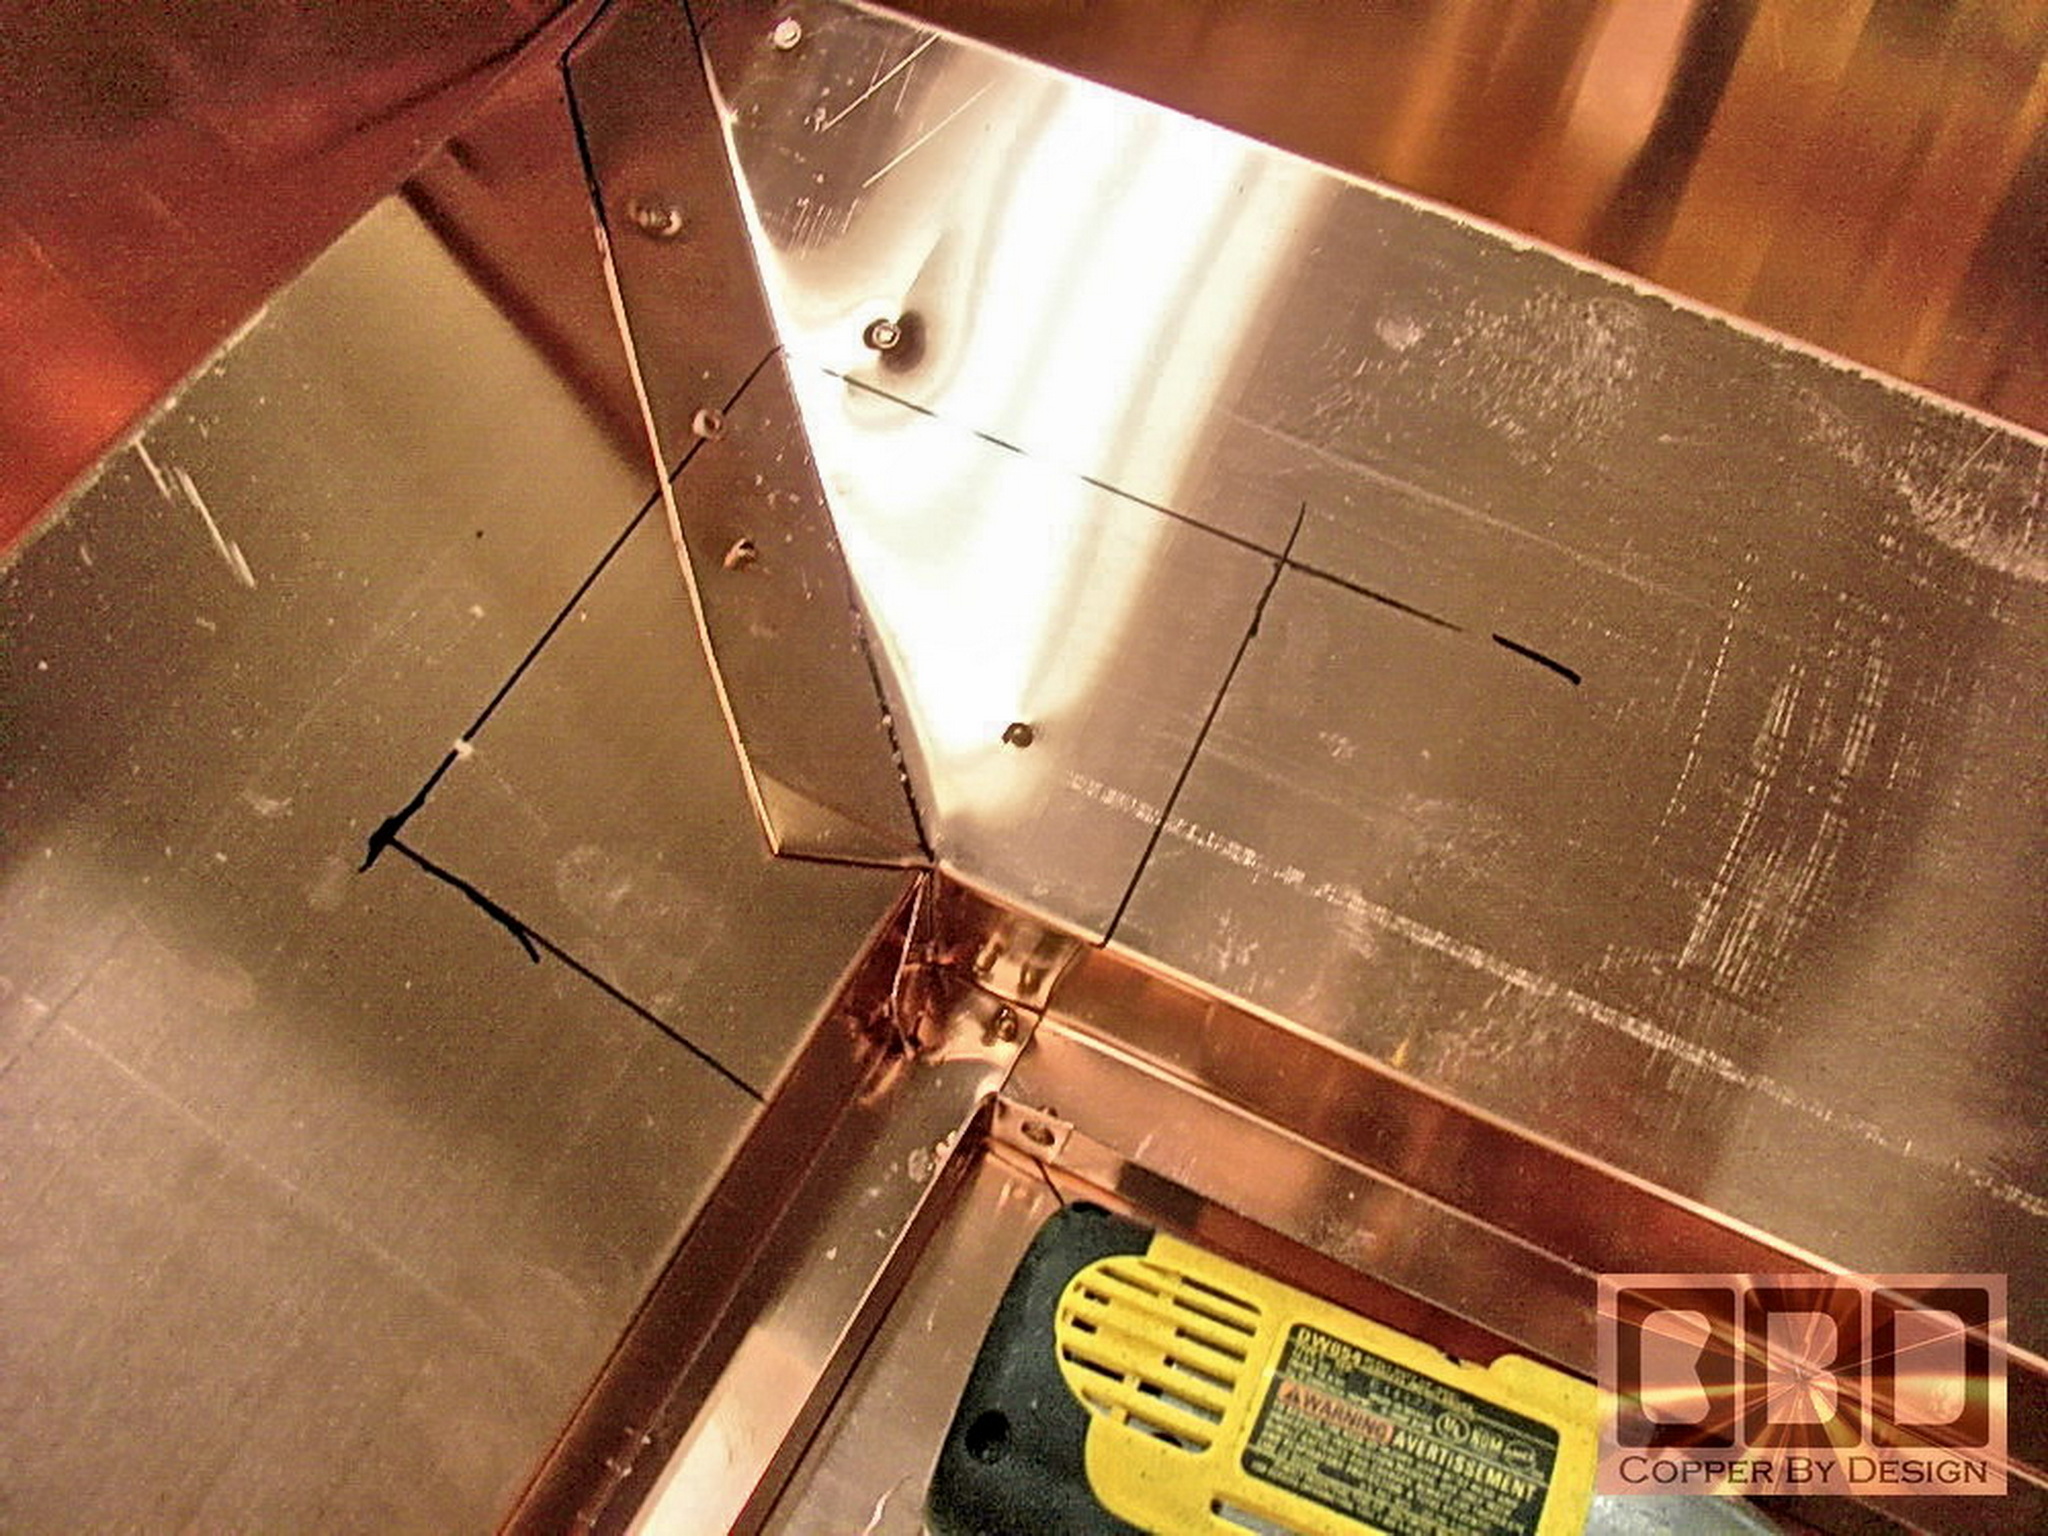
It is careful work to bend and fasten the corners here so they are perfect
right angles before riveting them together. The cuts in the inside
of the corners are also tricky to calculate so it will fit together
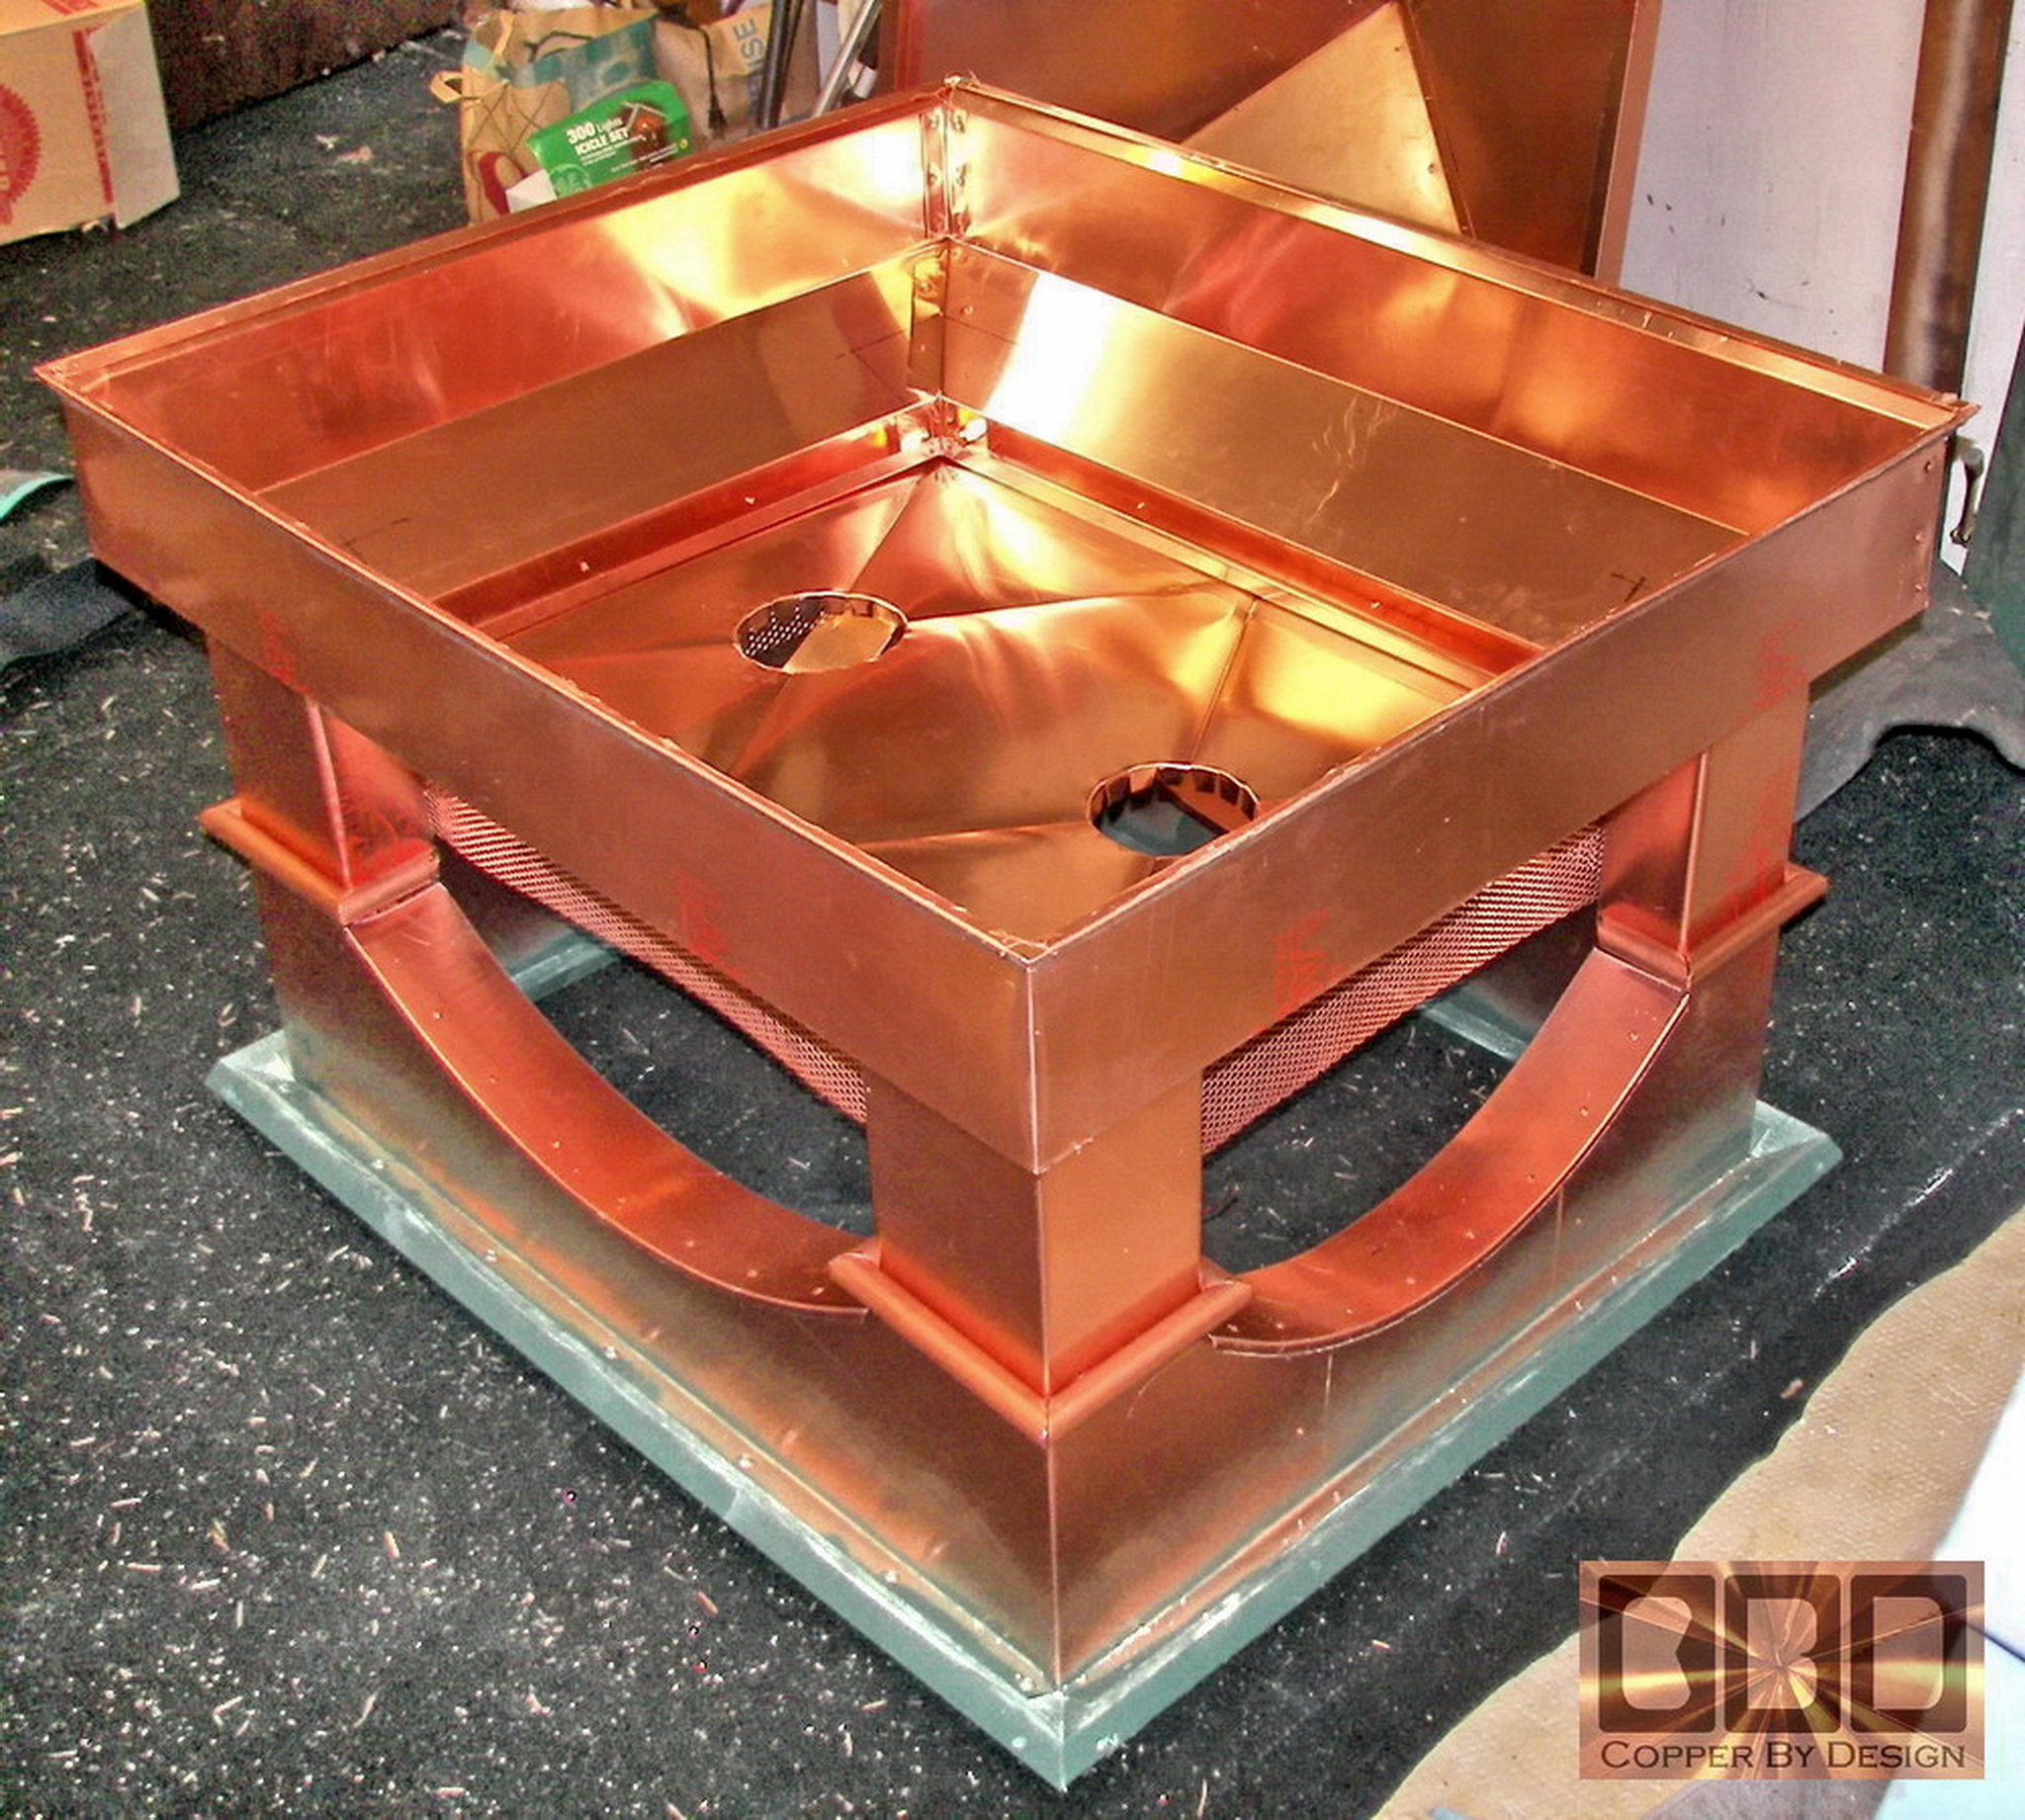
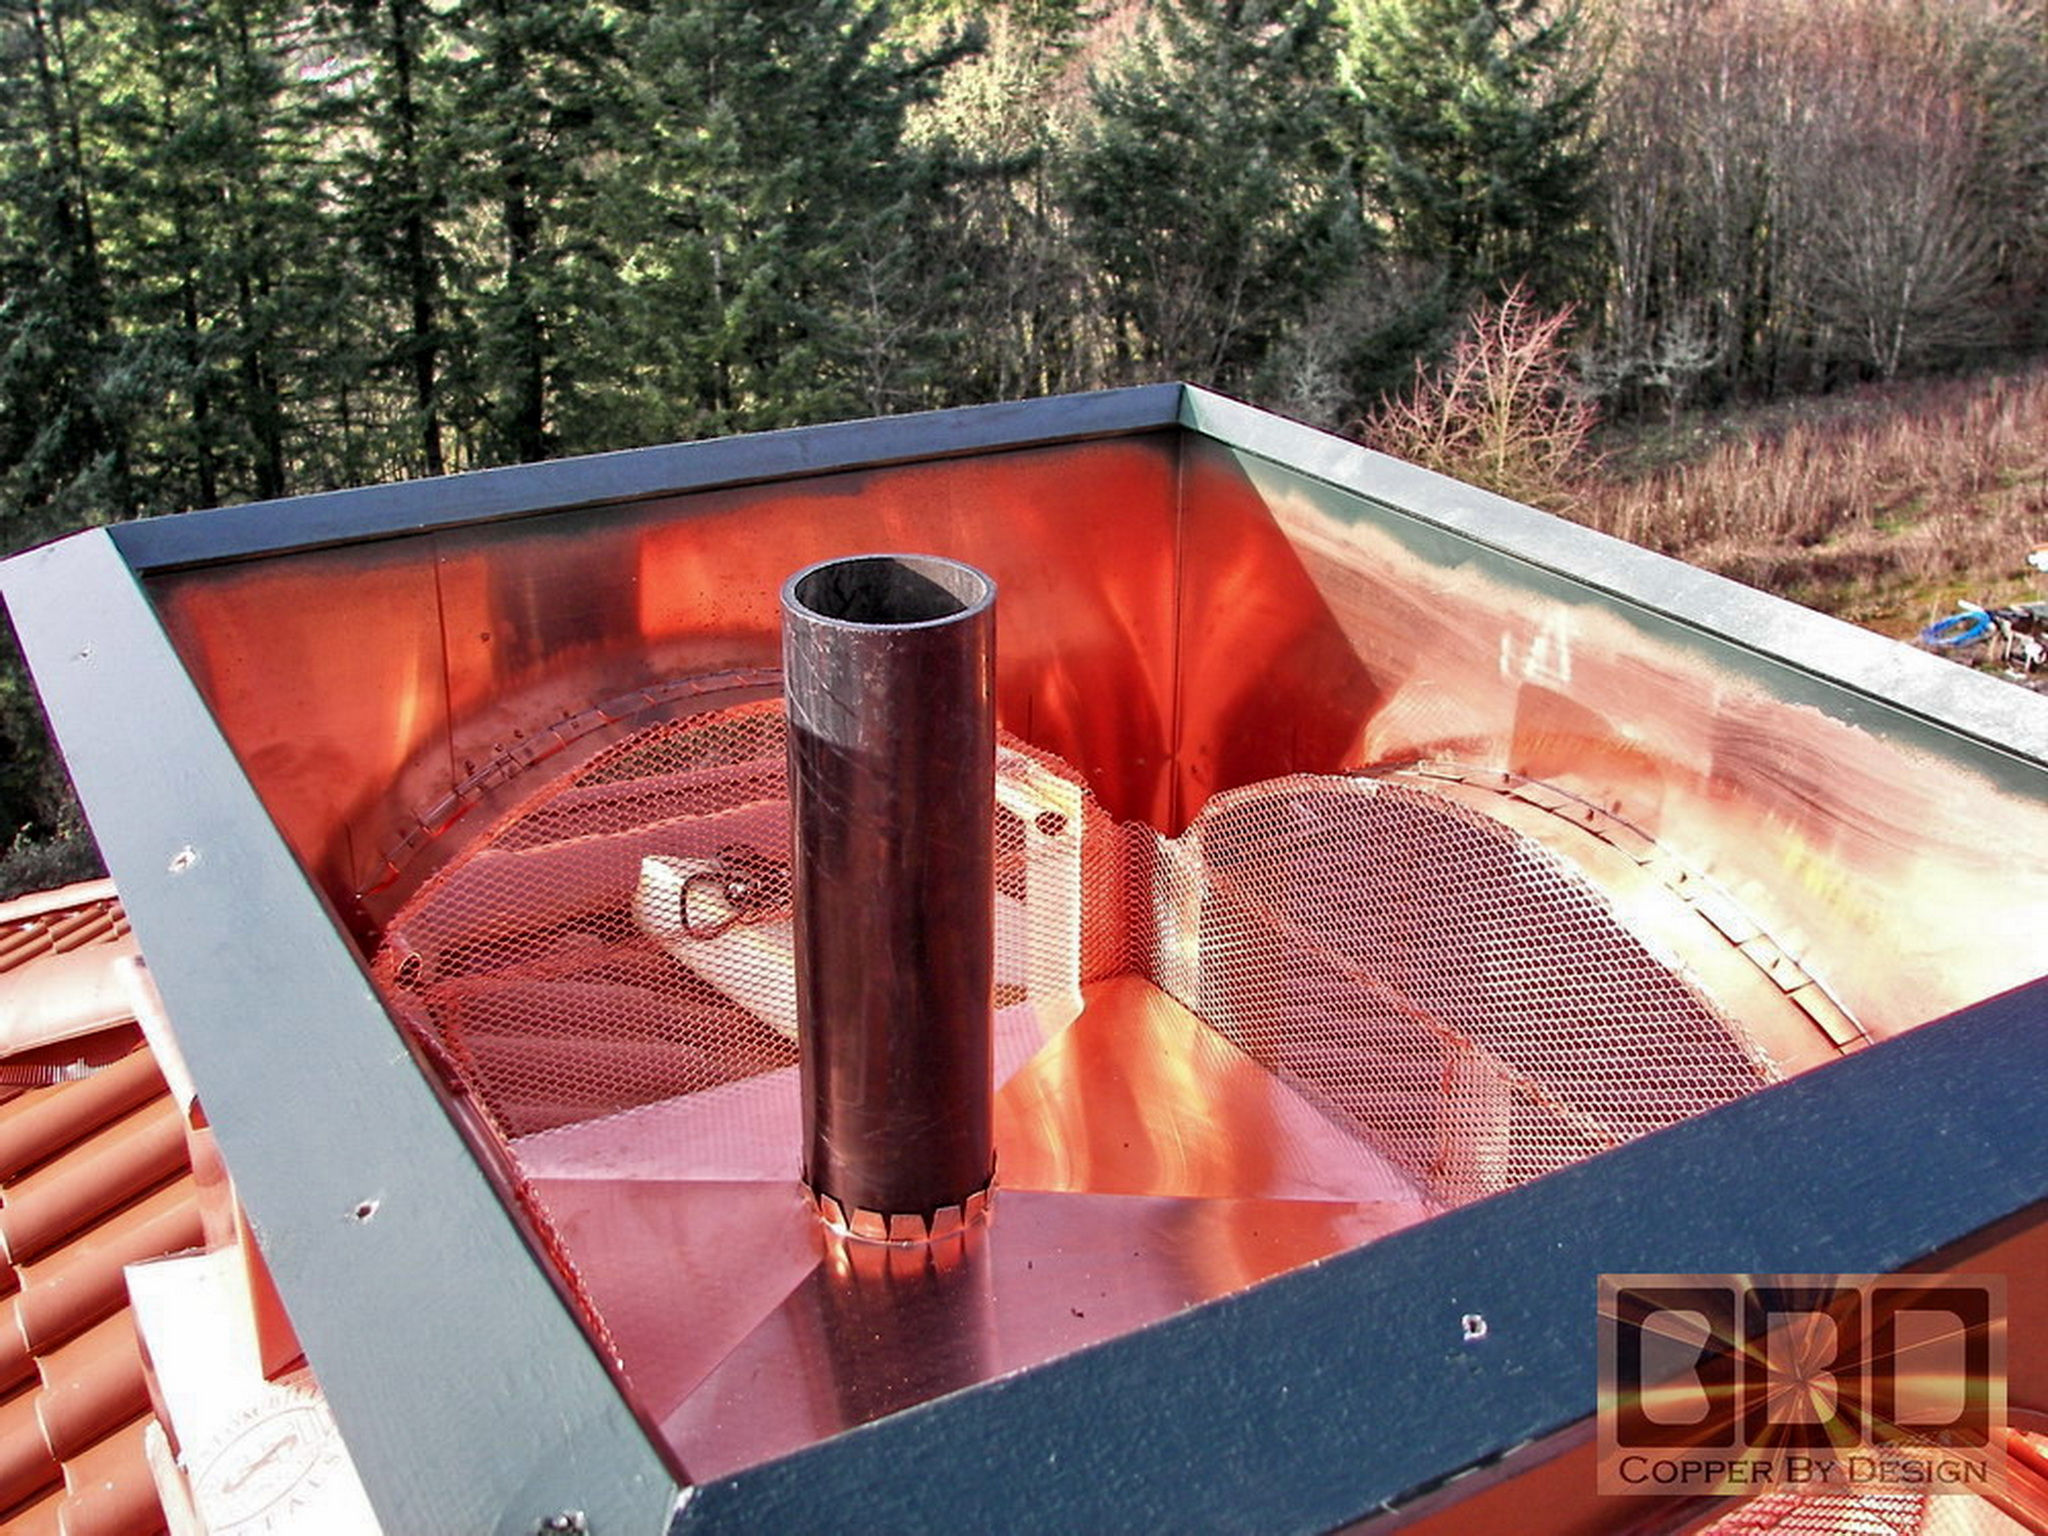
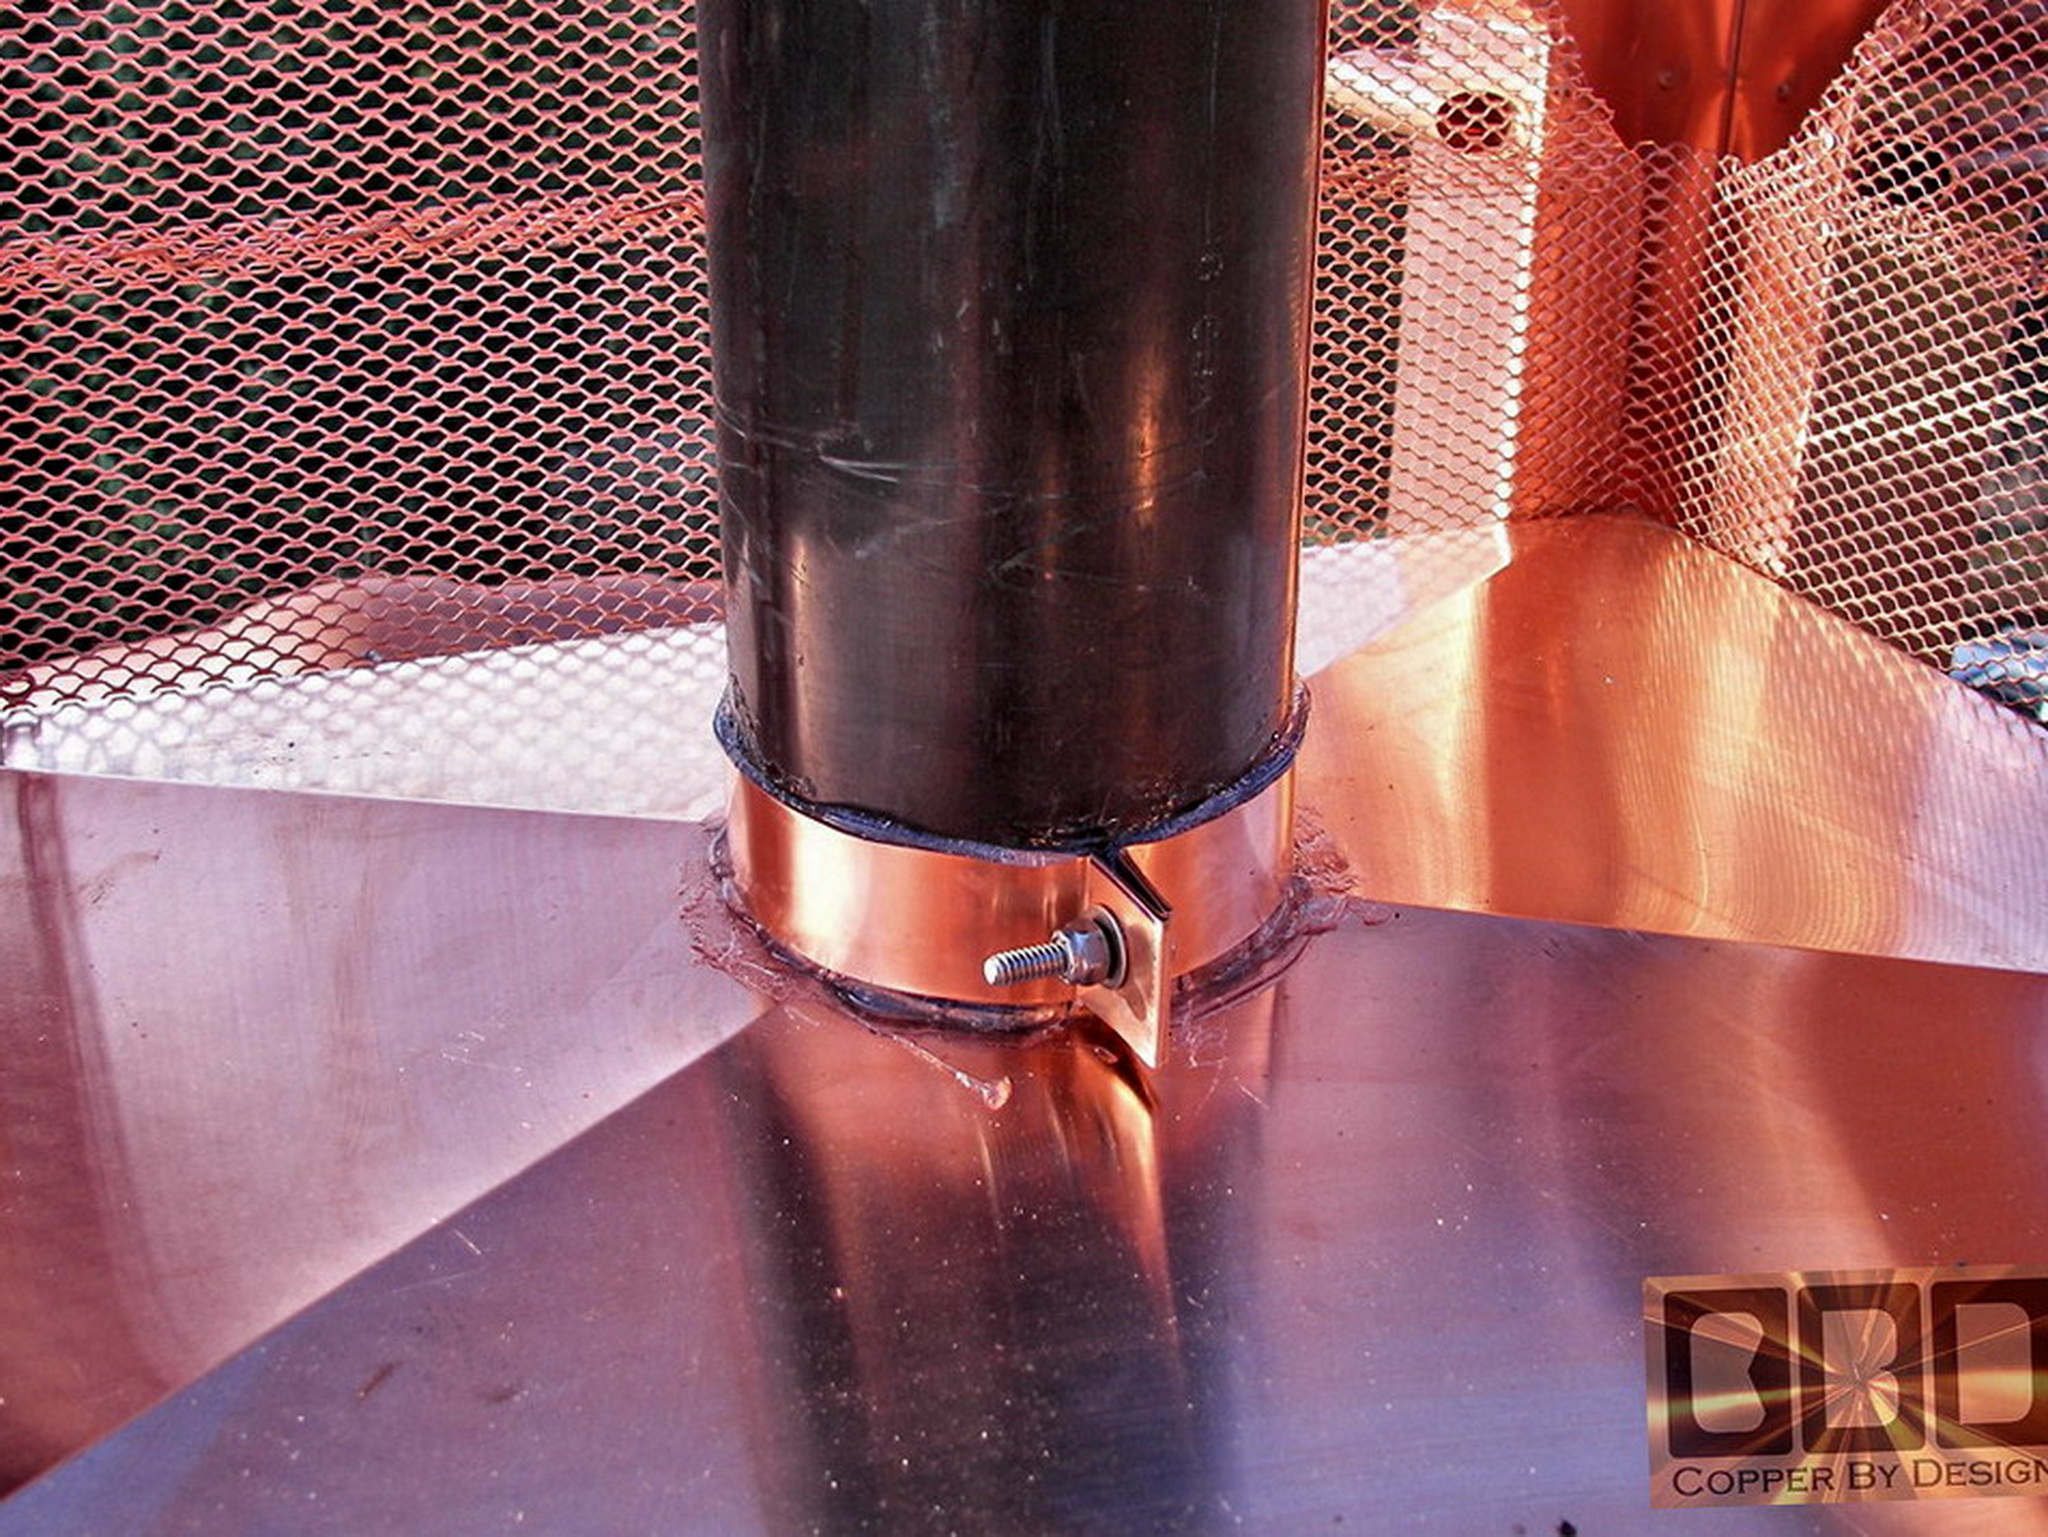
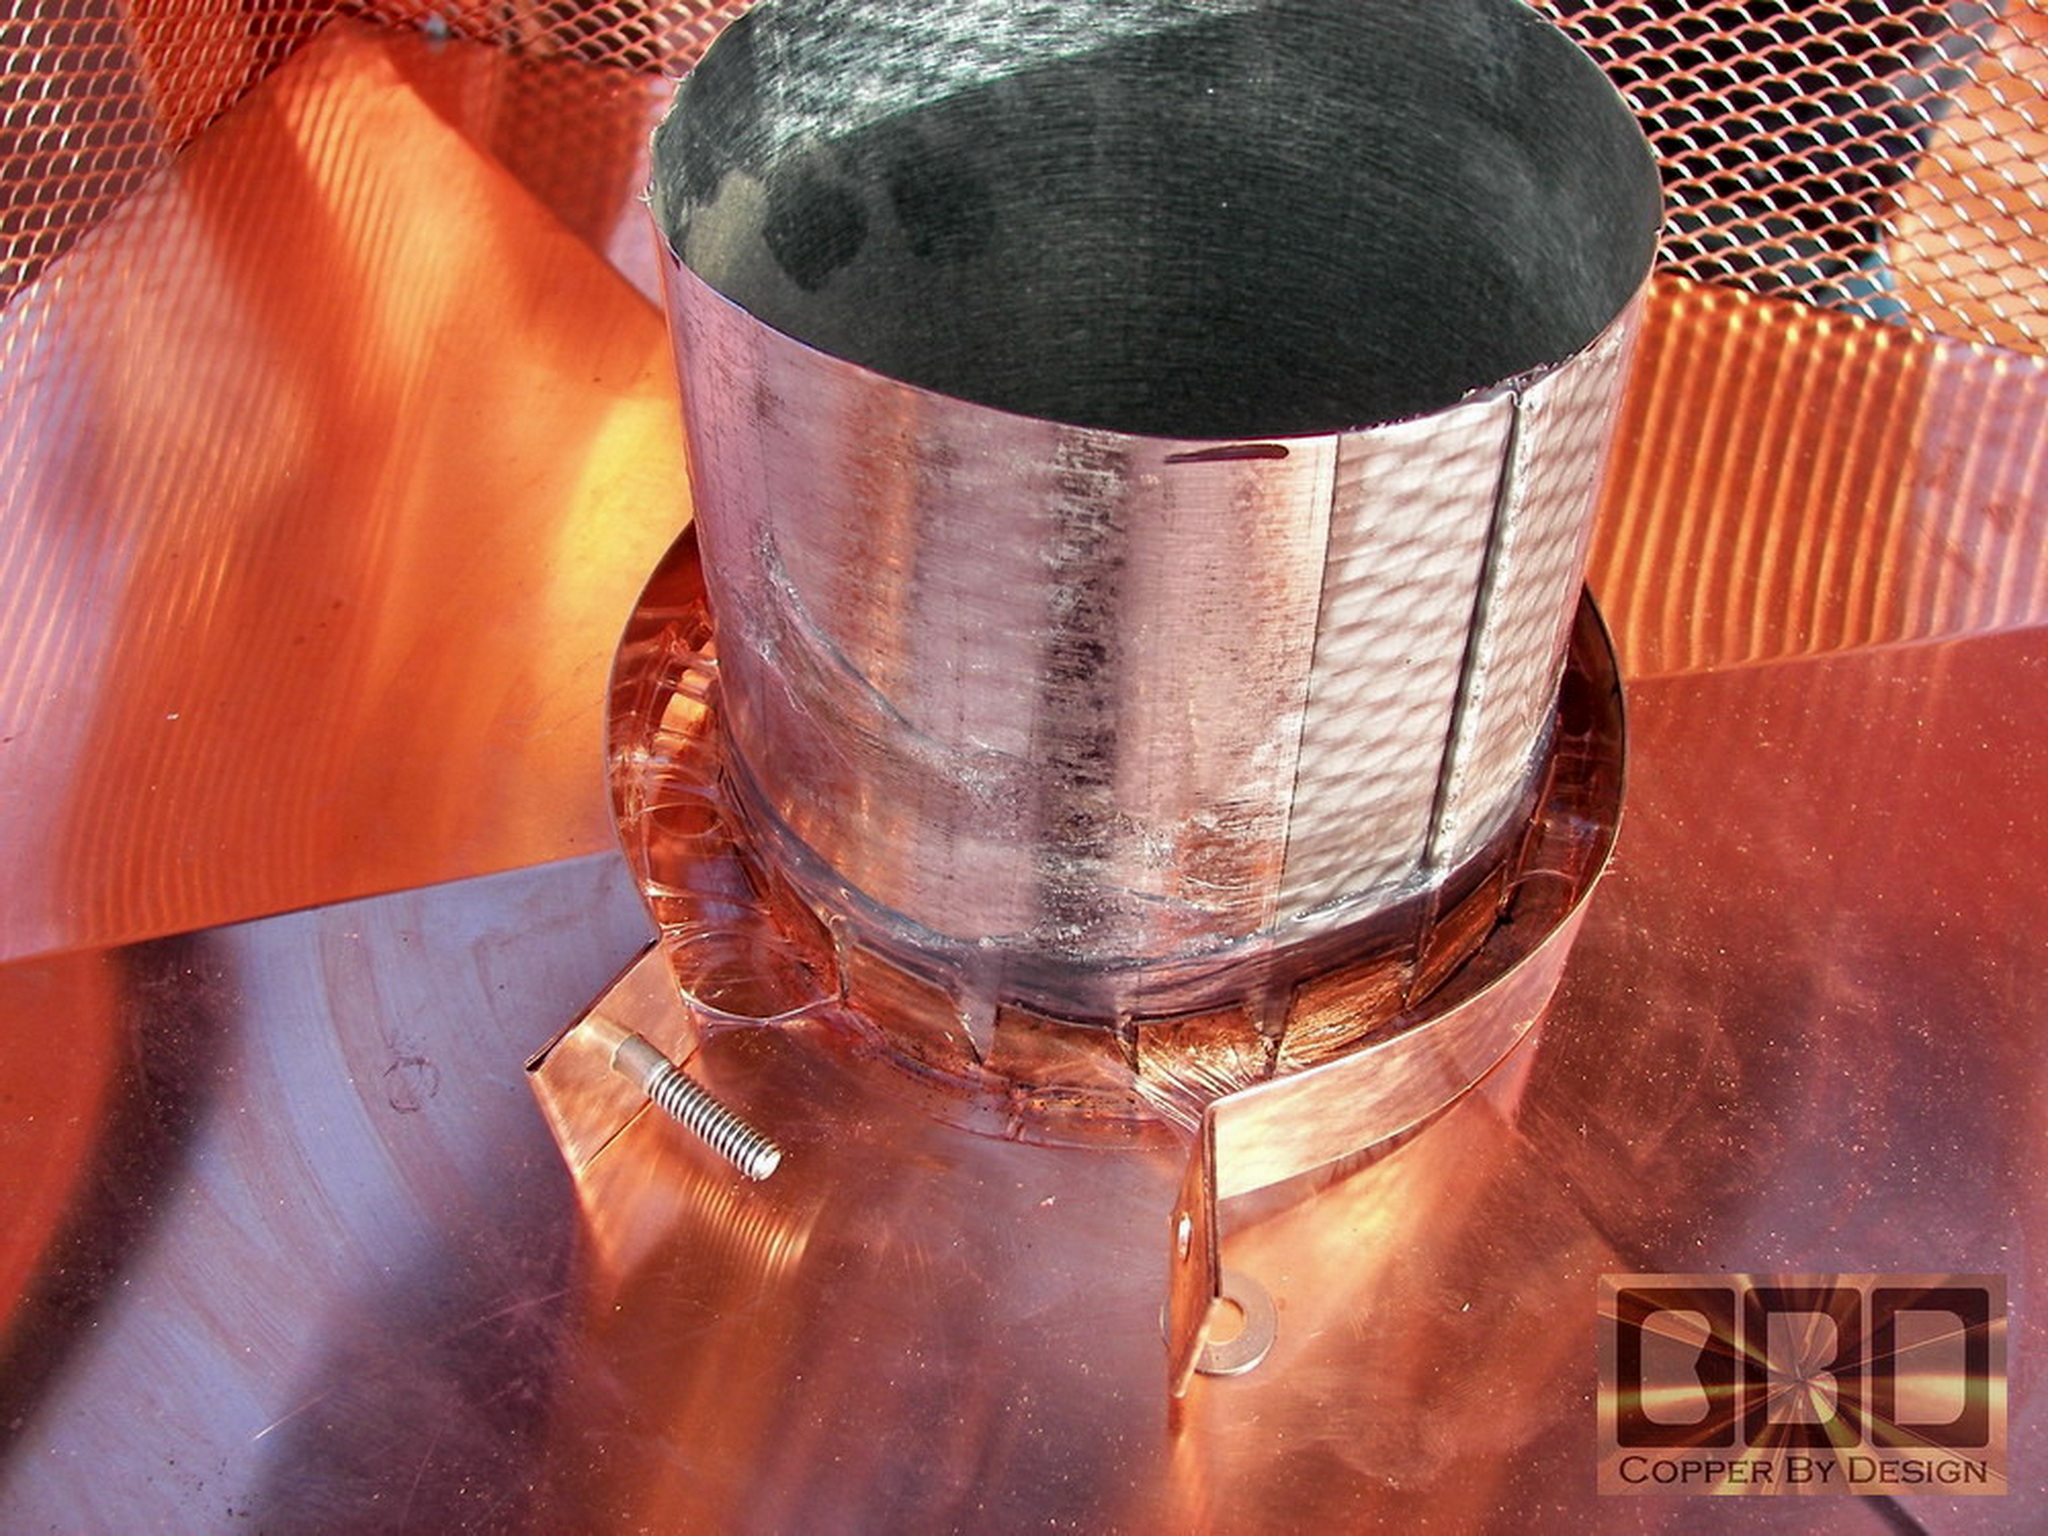
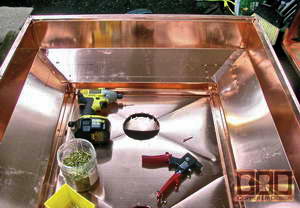
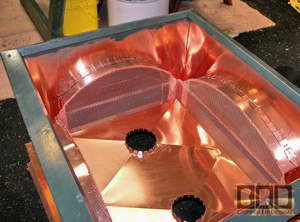
just right. Here is the base section getting the flue pan secured
in place.
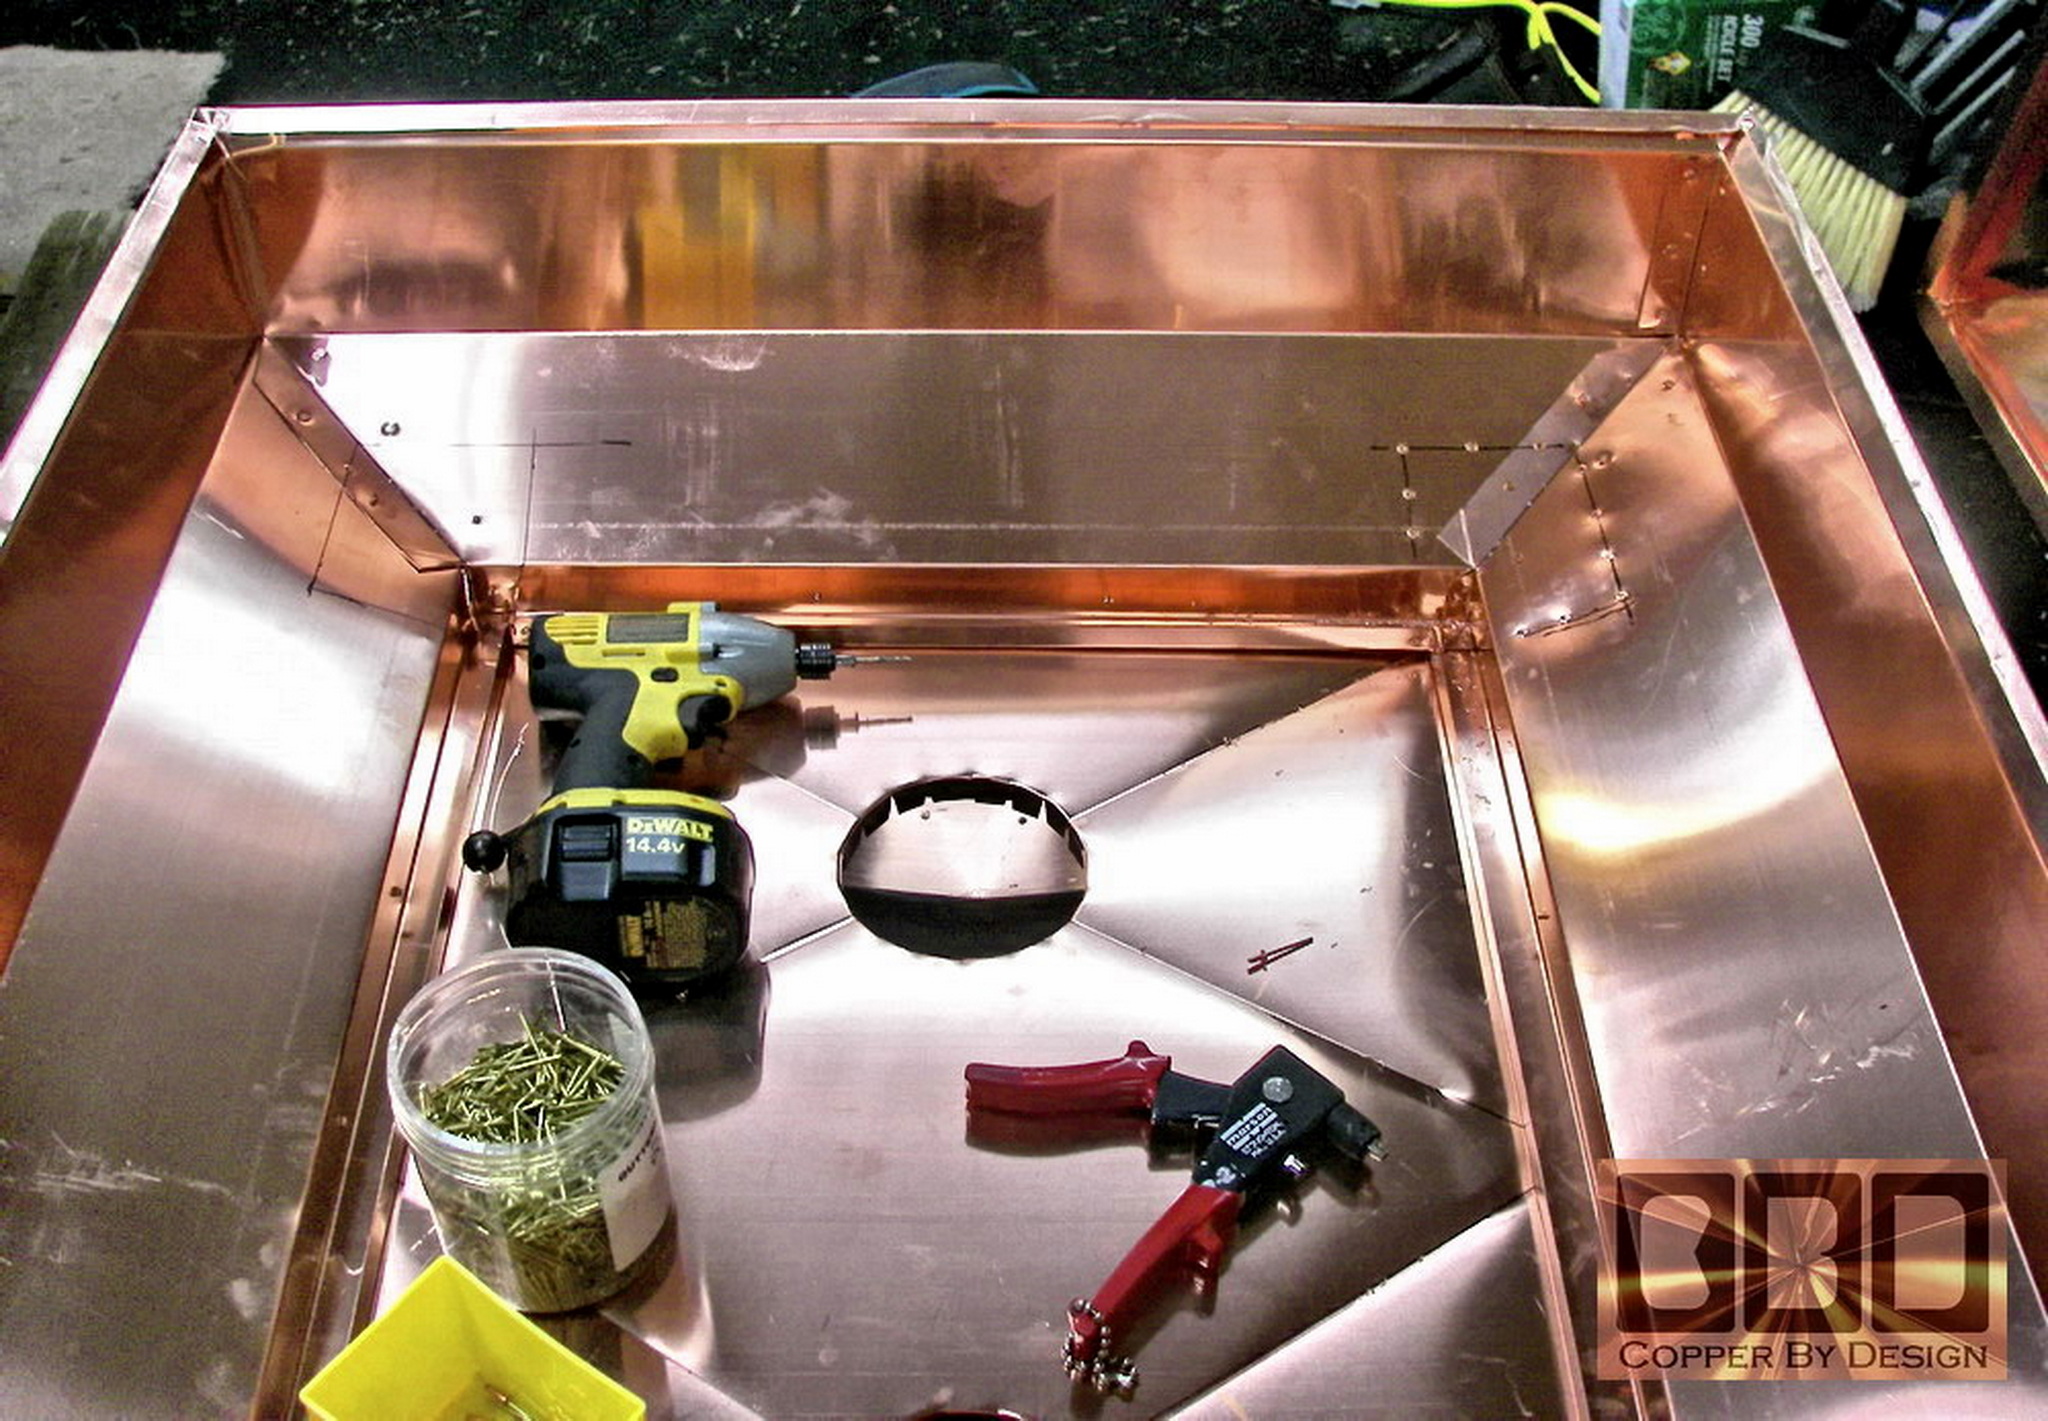
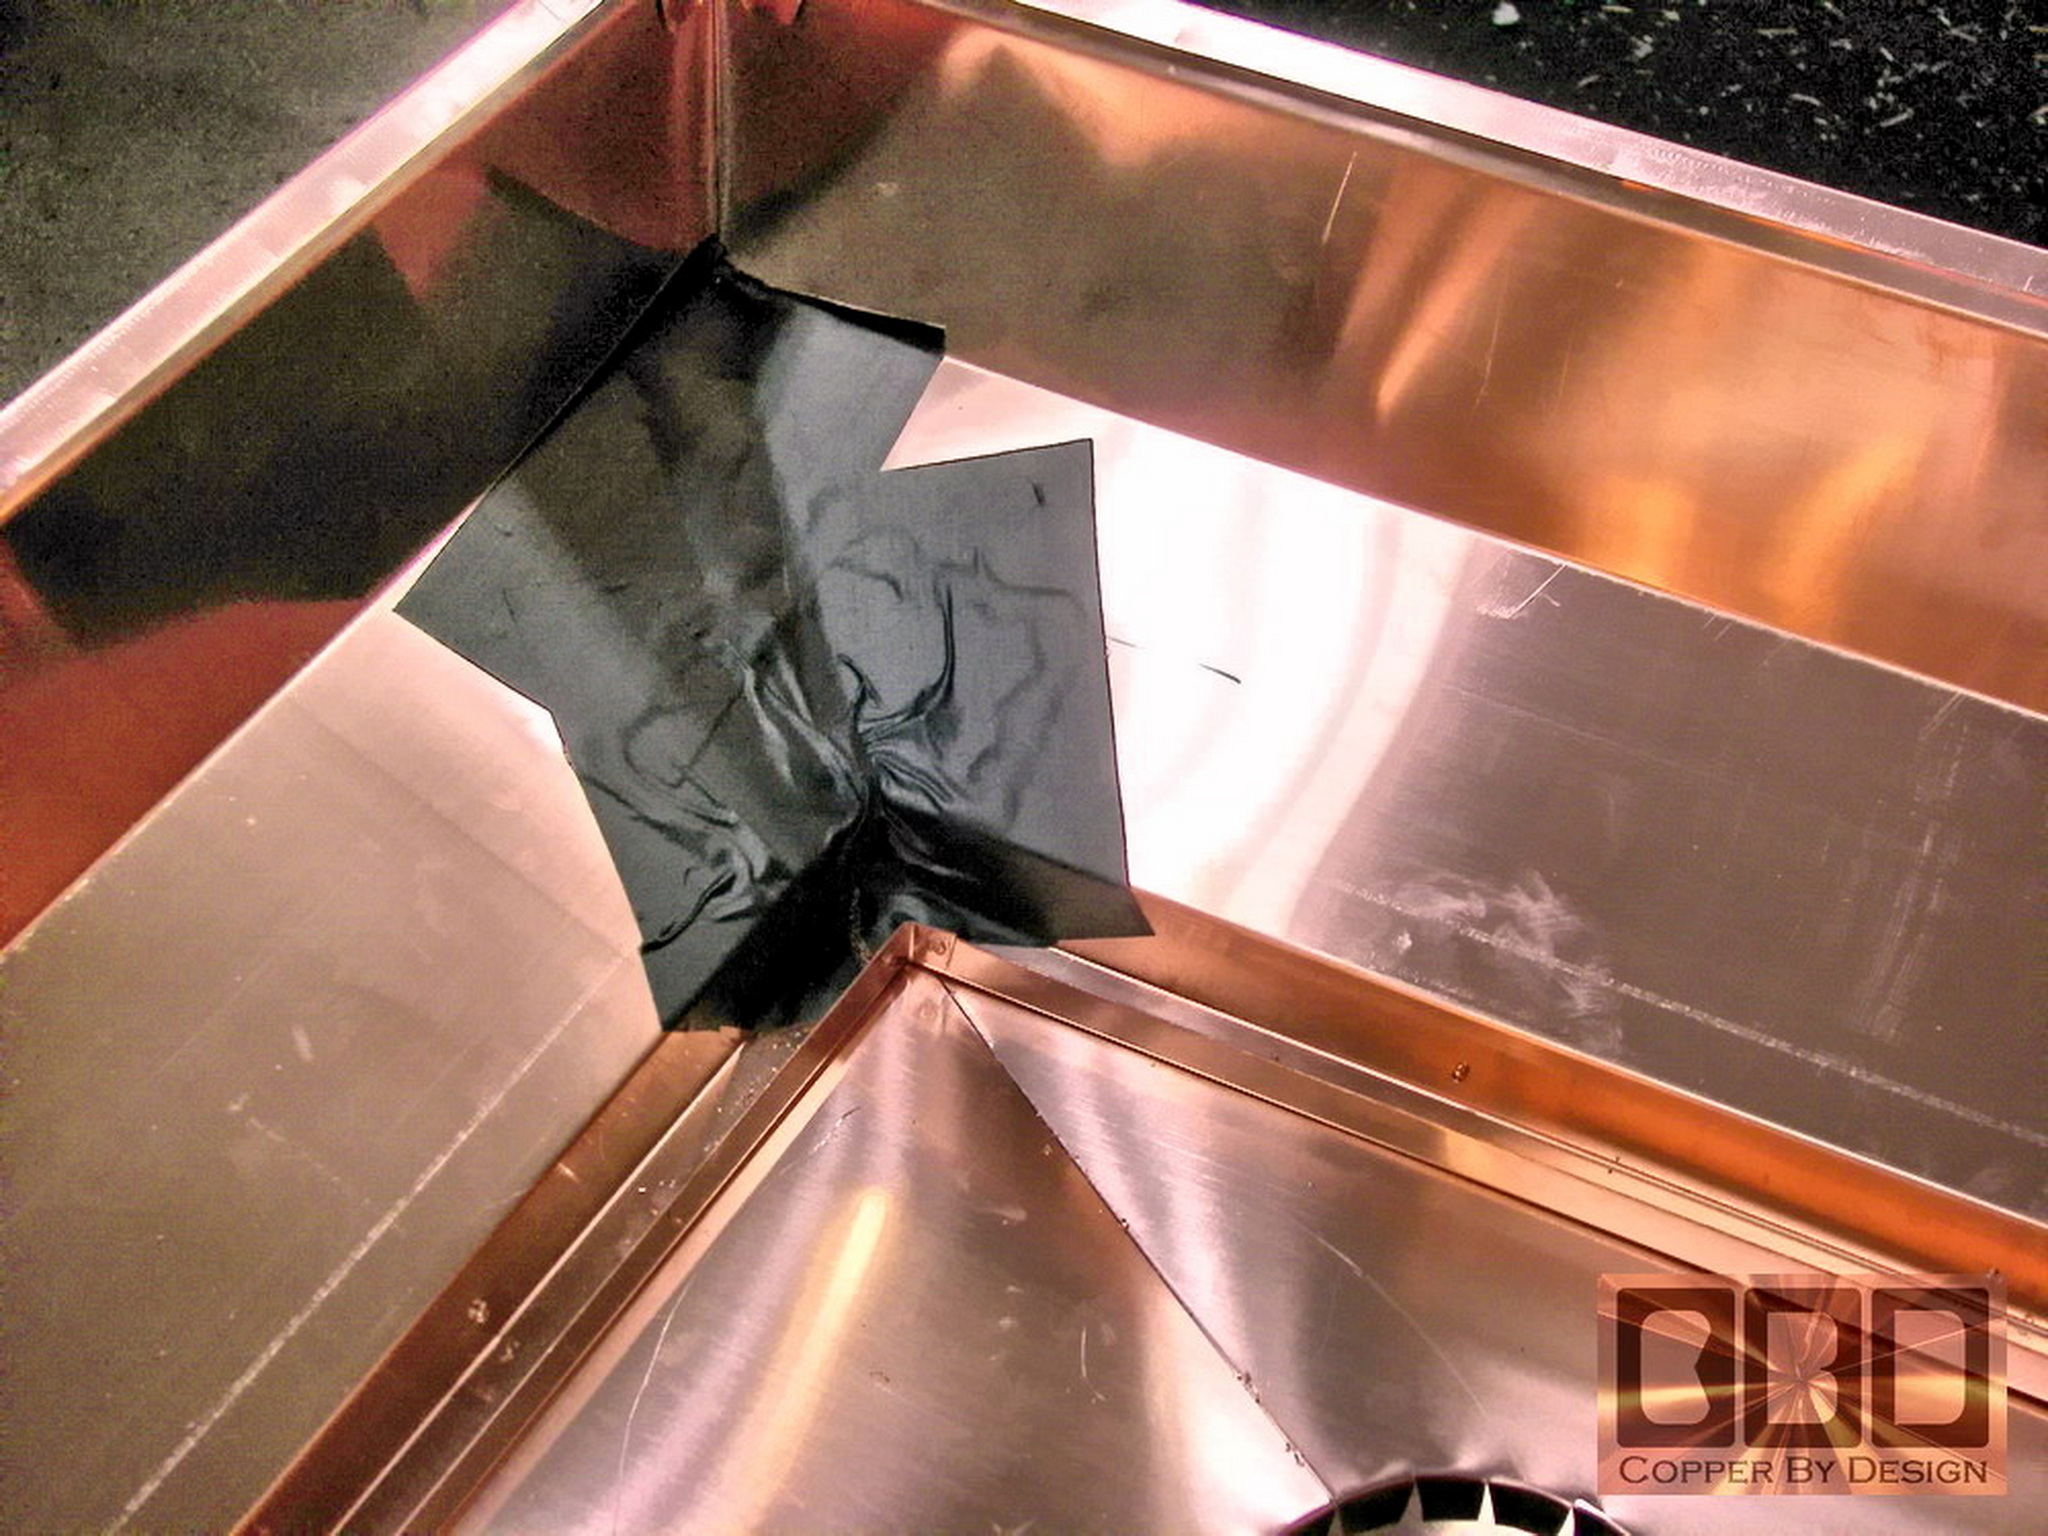
This pan has to support two separate vents and be able to seal
out hard blowing rain, and shed that rain out to the sides. I
have made this with a pair of cross bends to raise the centers where
the vents will go up through the copper pan. I also made a channel for
the copper screen to seat into.
 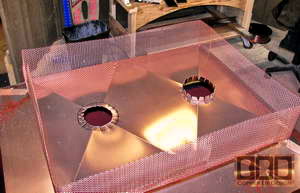
We then cut the tabs to bend up that will be clamped against the
flue pipe. with this copper straps and the stainless steel bolts with
lock nuts. In the last photo I had pealed off the protective film off
the pan. That is why it looks different.
|
 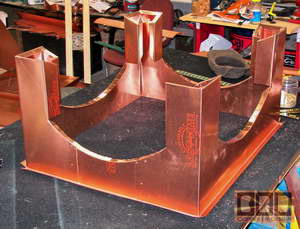
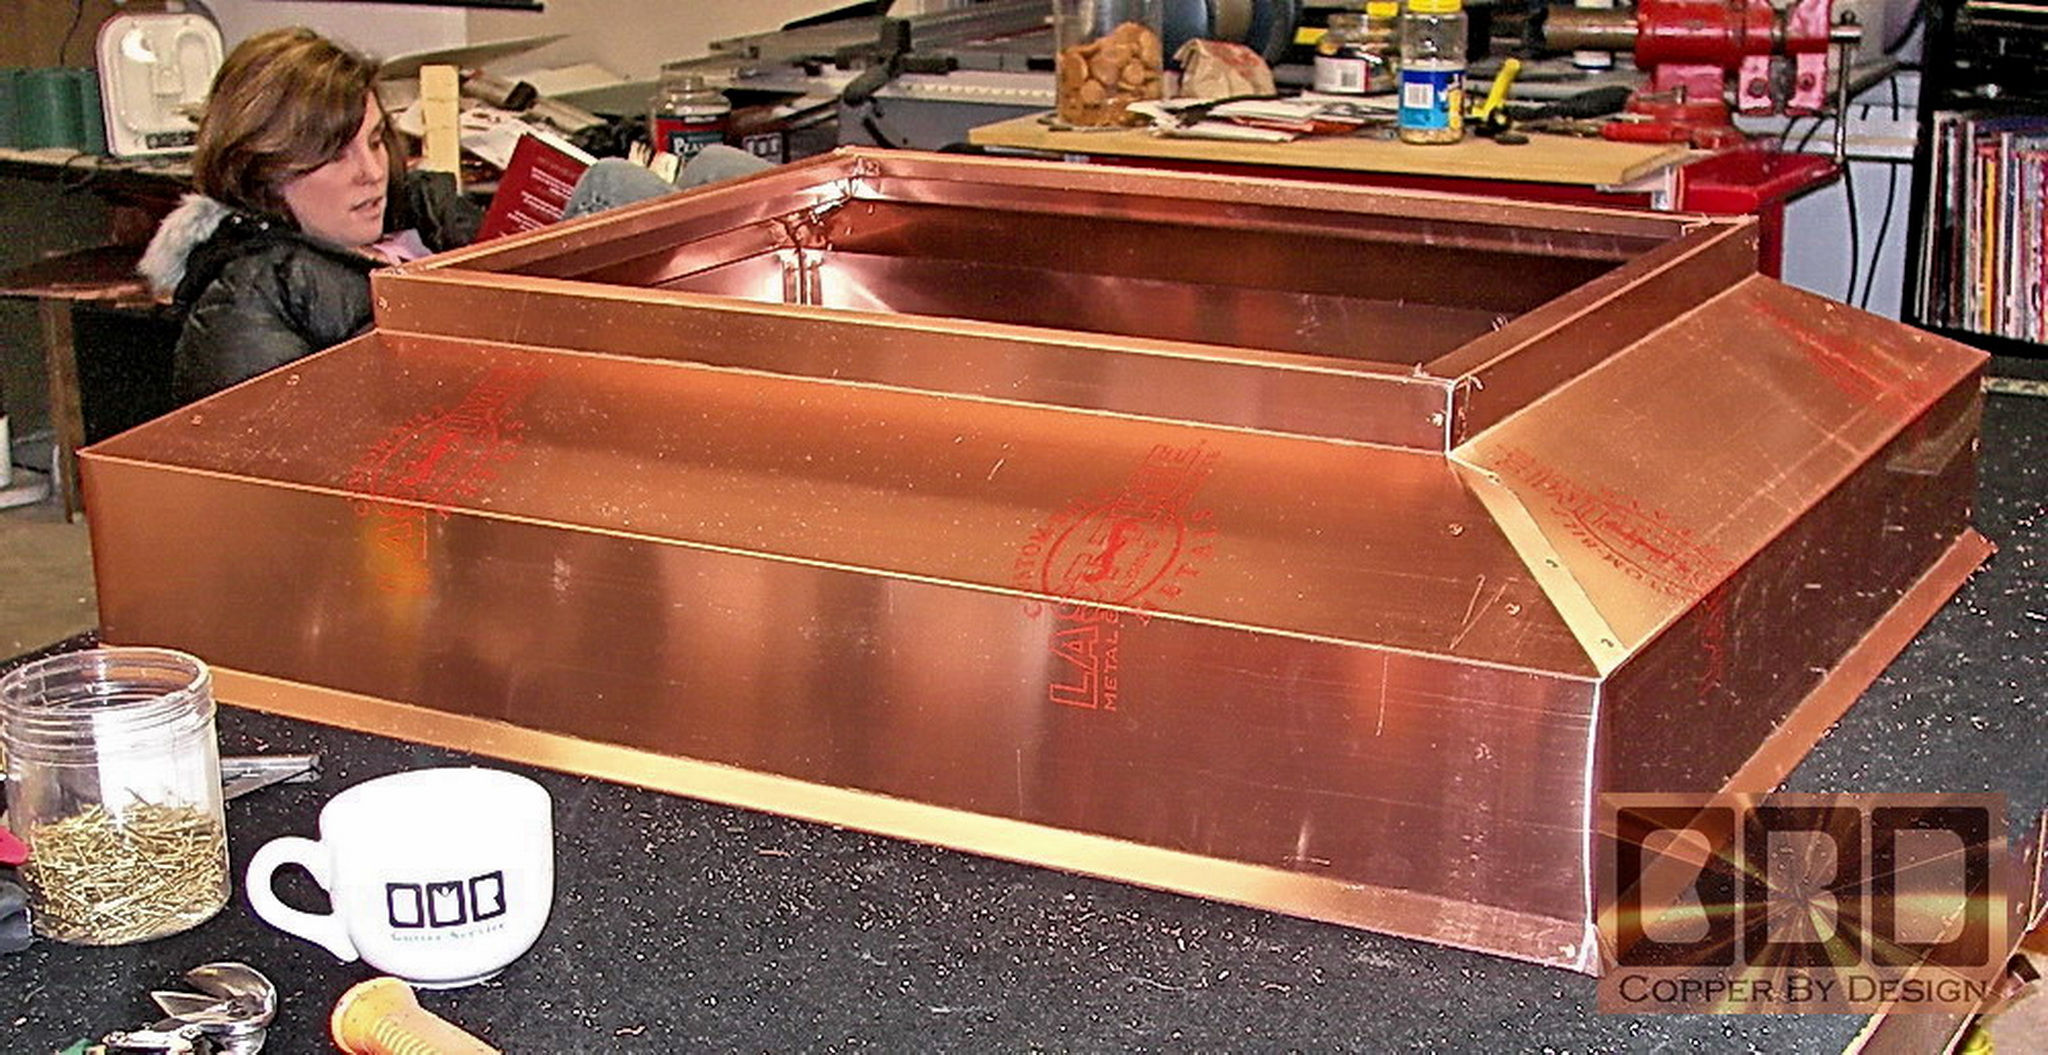
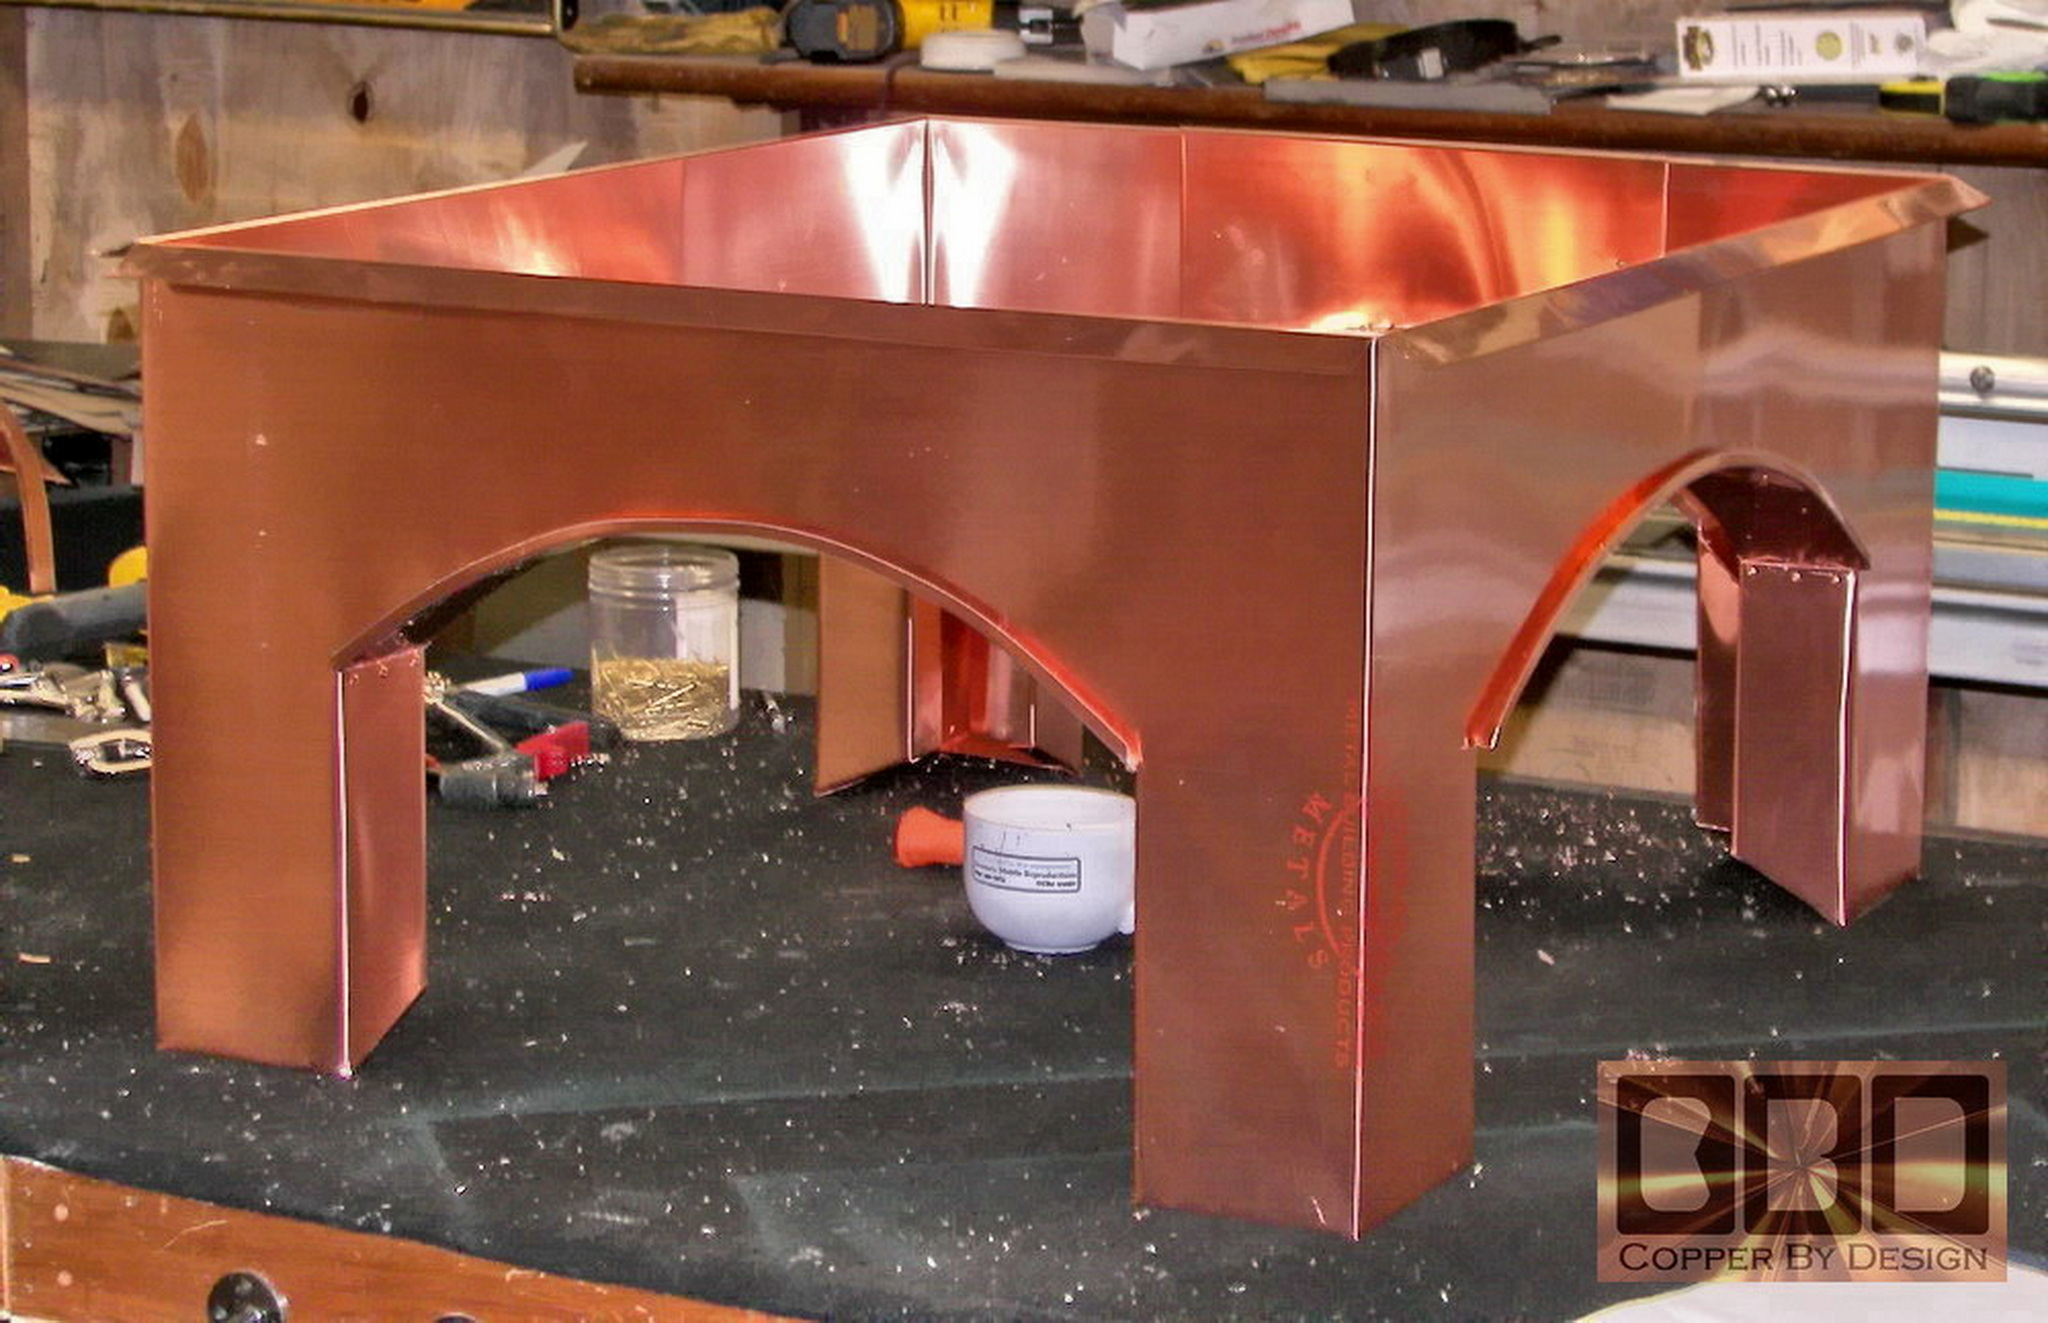
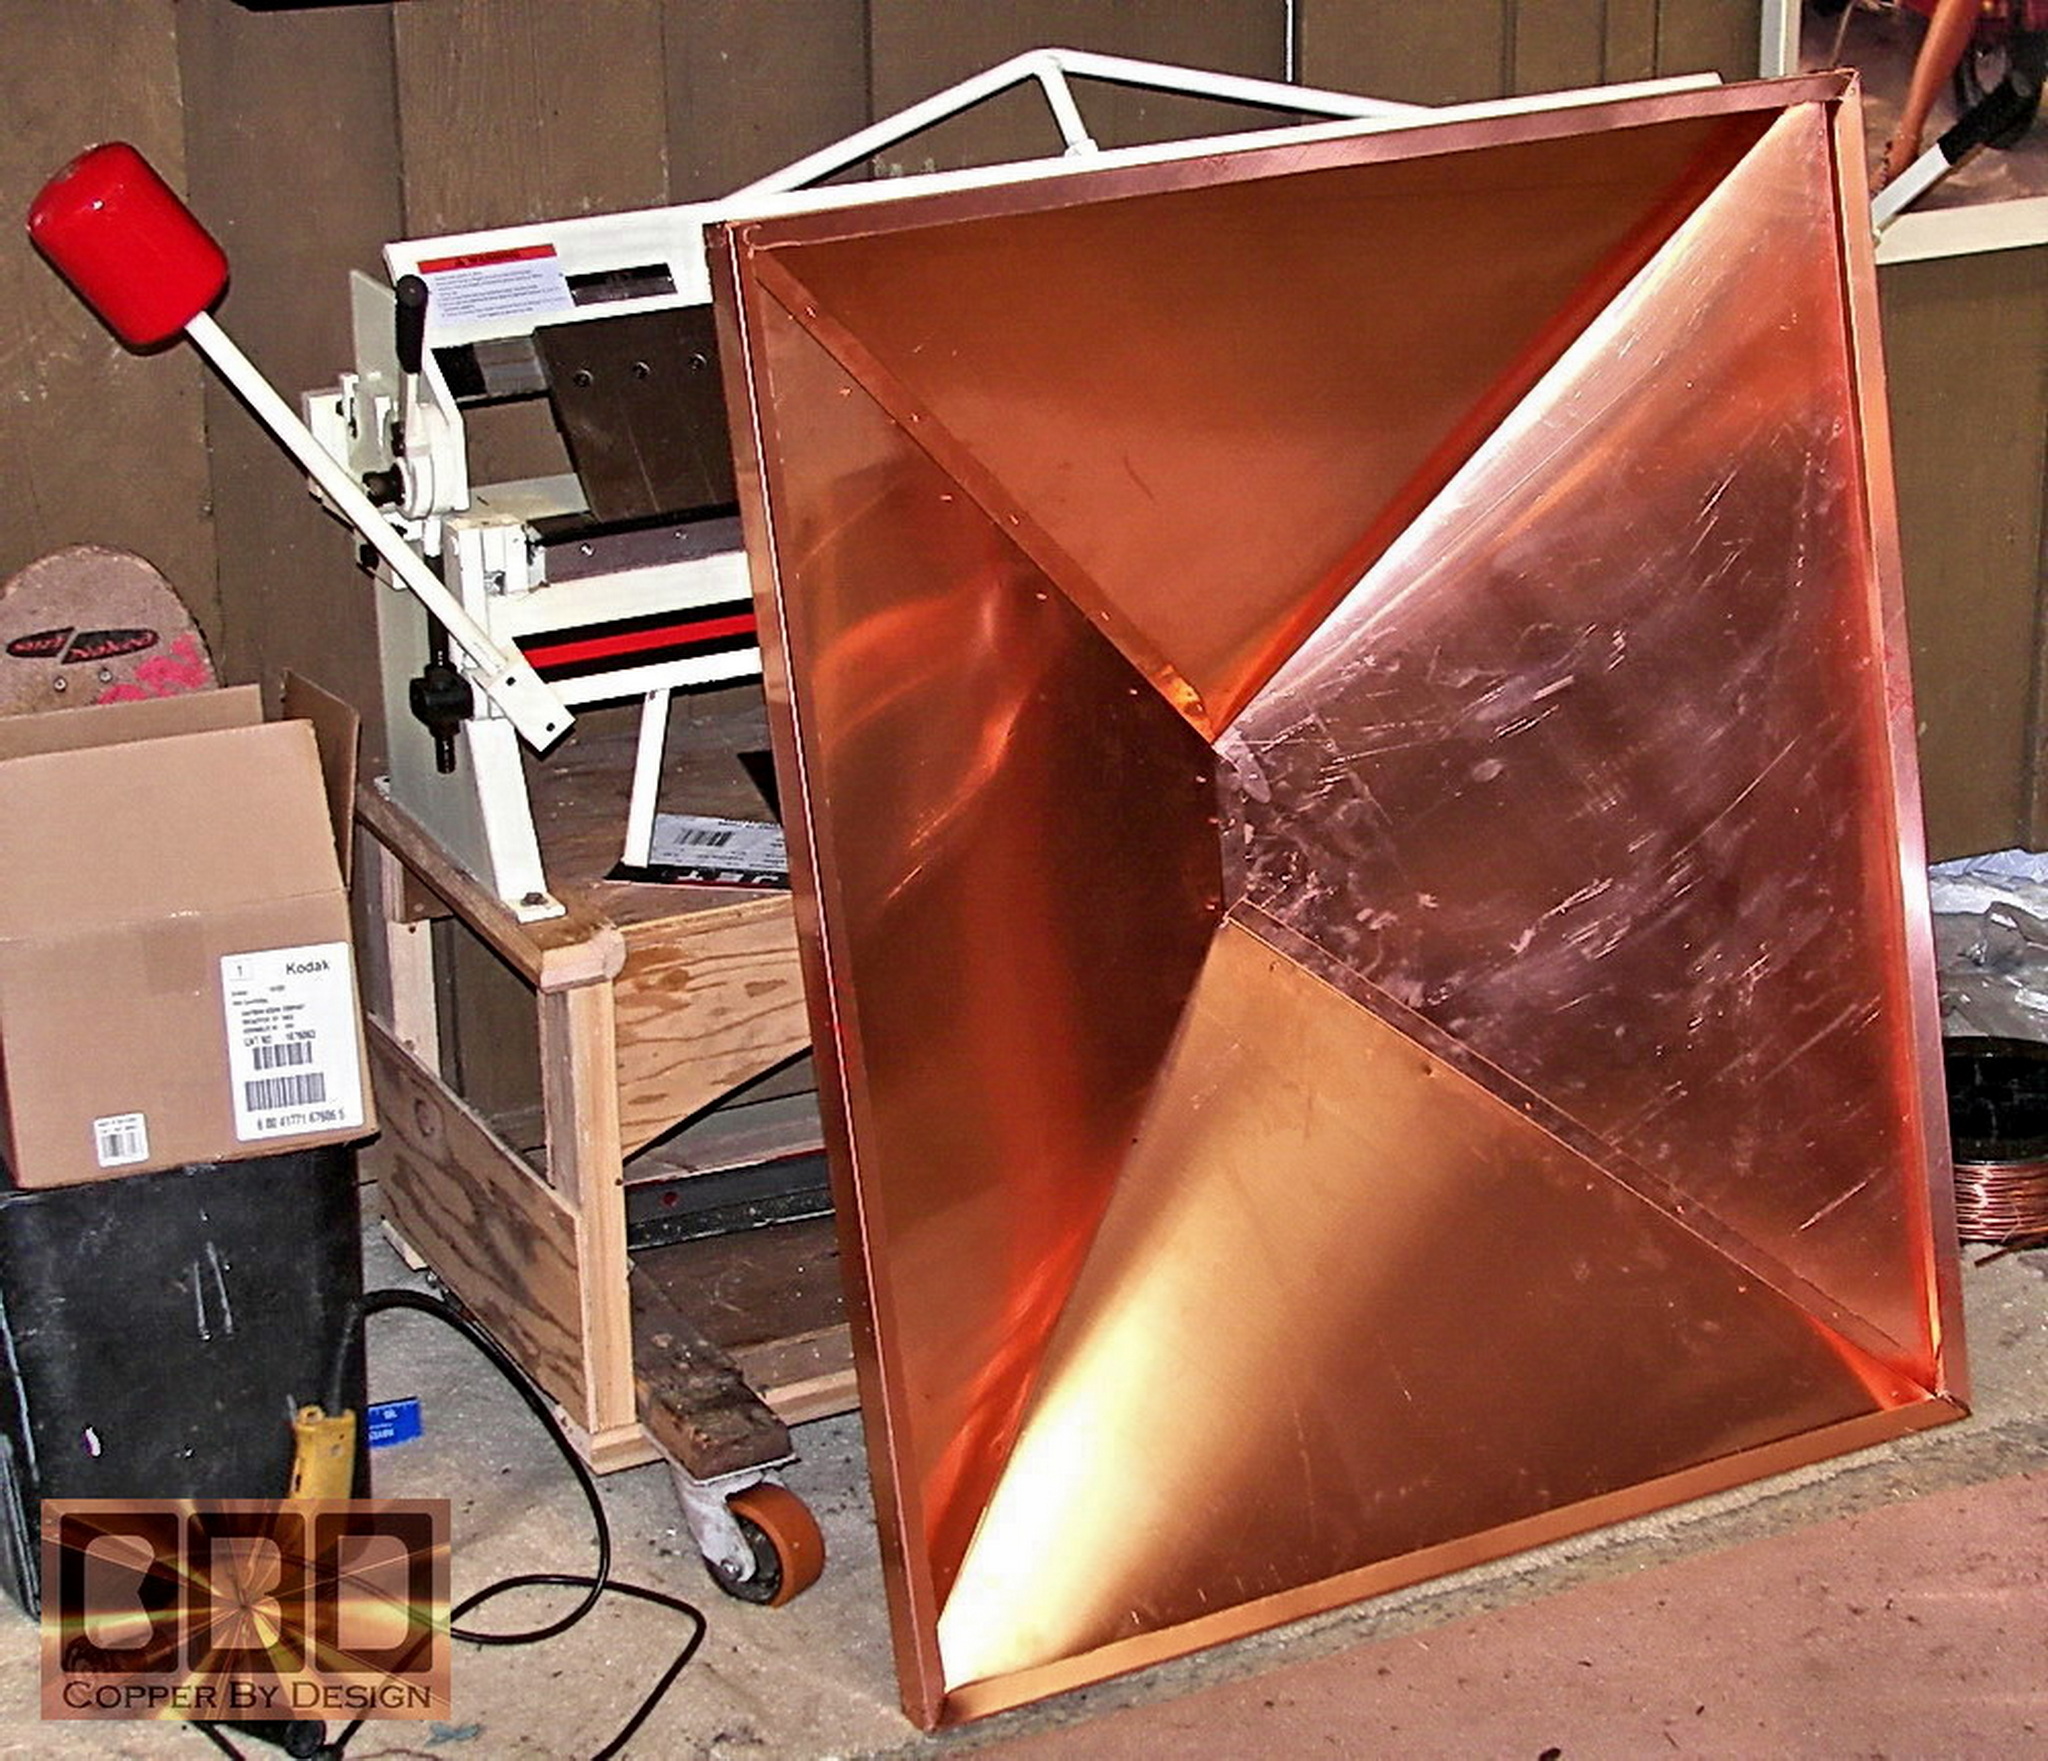
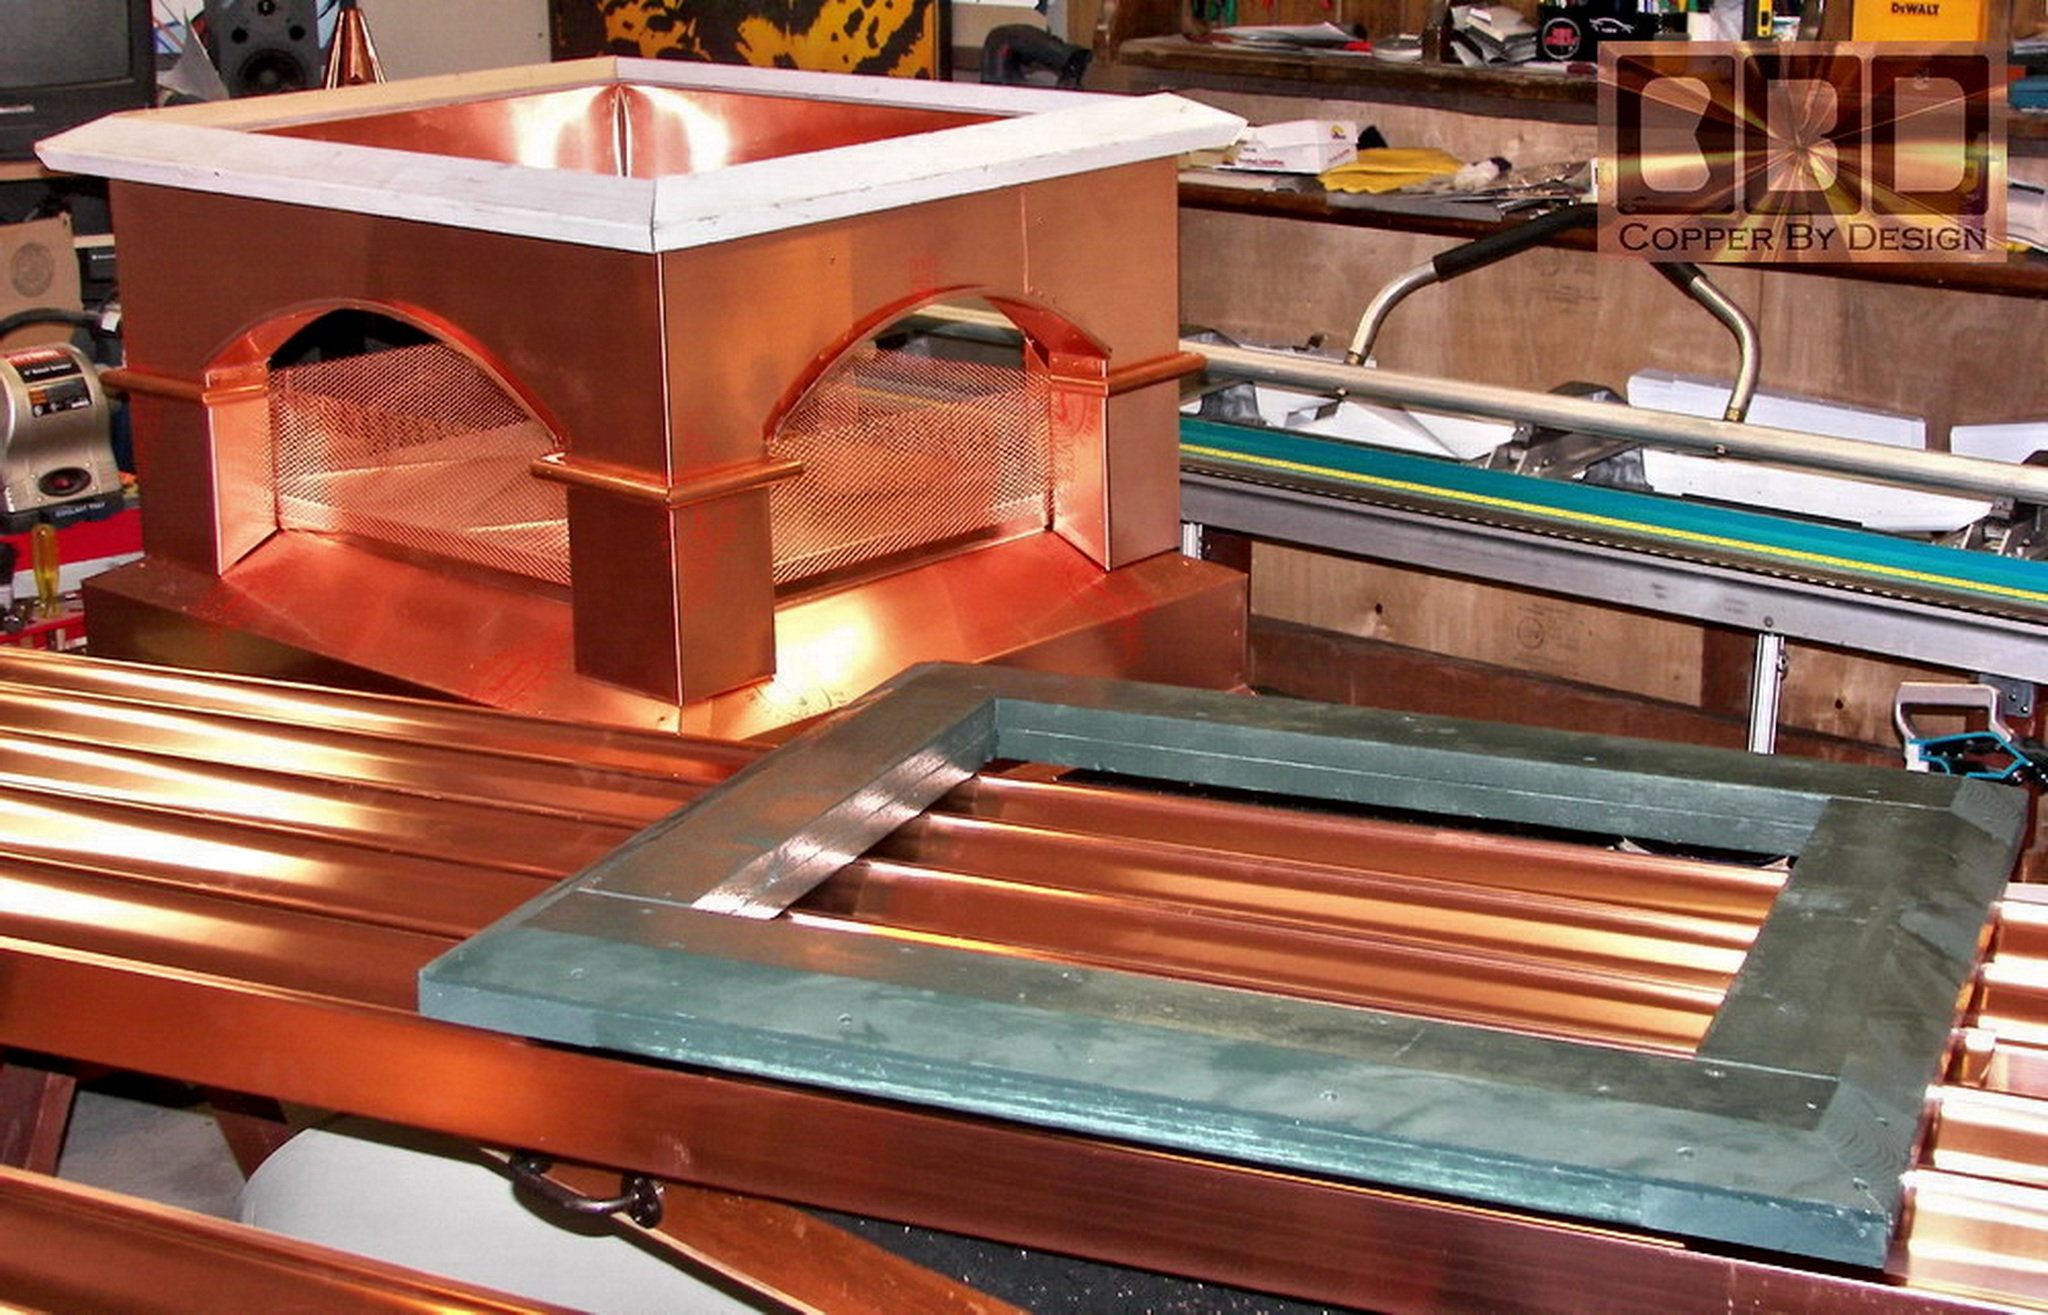
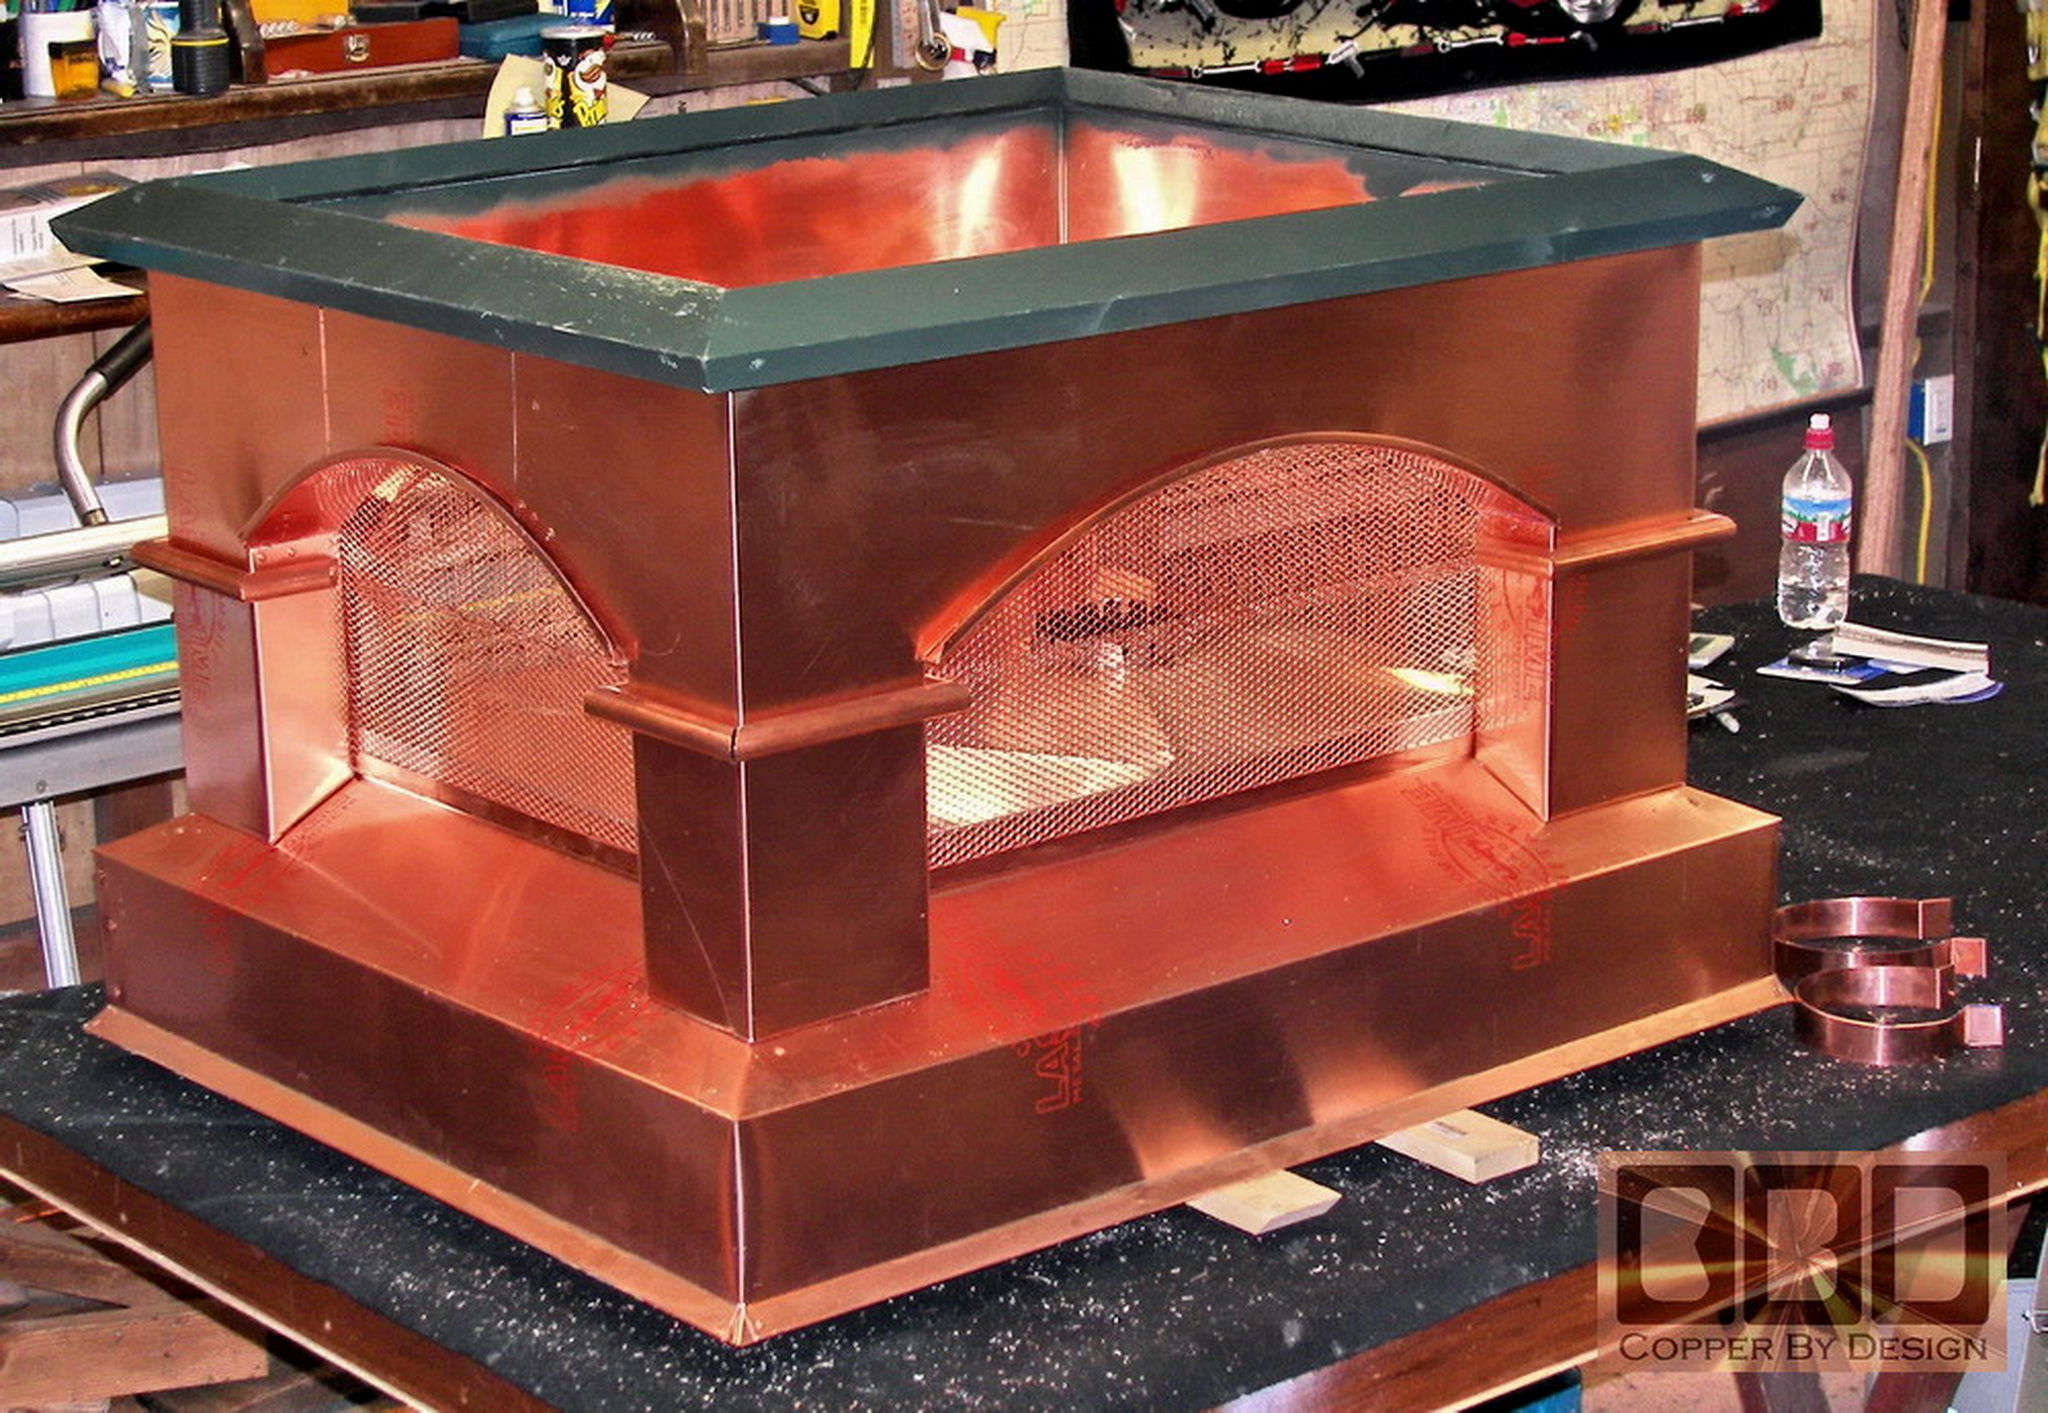
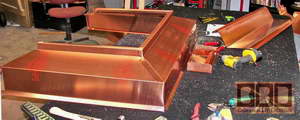
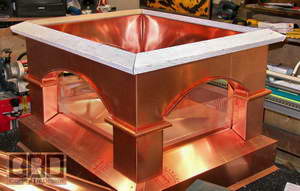
The middle section body of this cap that will support the roof is
one piece for all 4 sides (as seen here), with only one seam.
It is only 15" high. We then seamed the frame together with a
pair of 1" overlapping seams over the back corner.
|
|
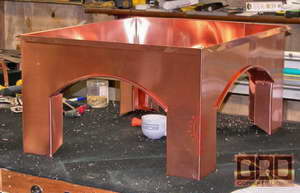 
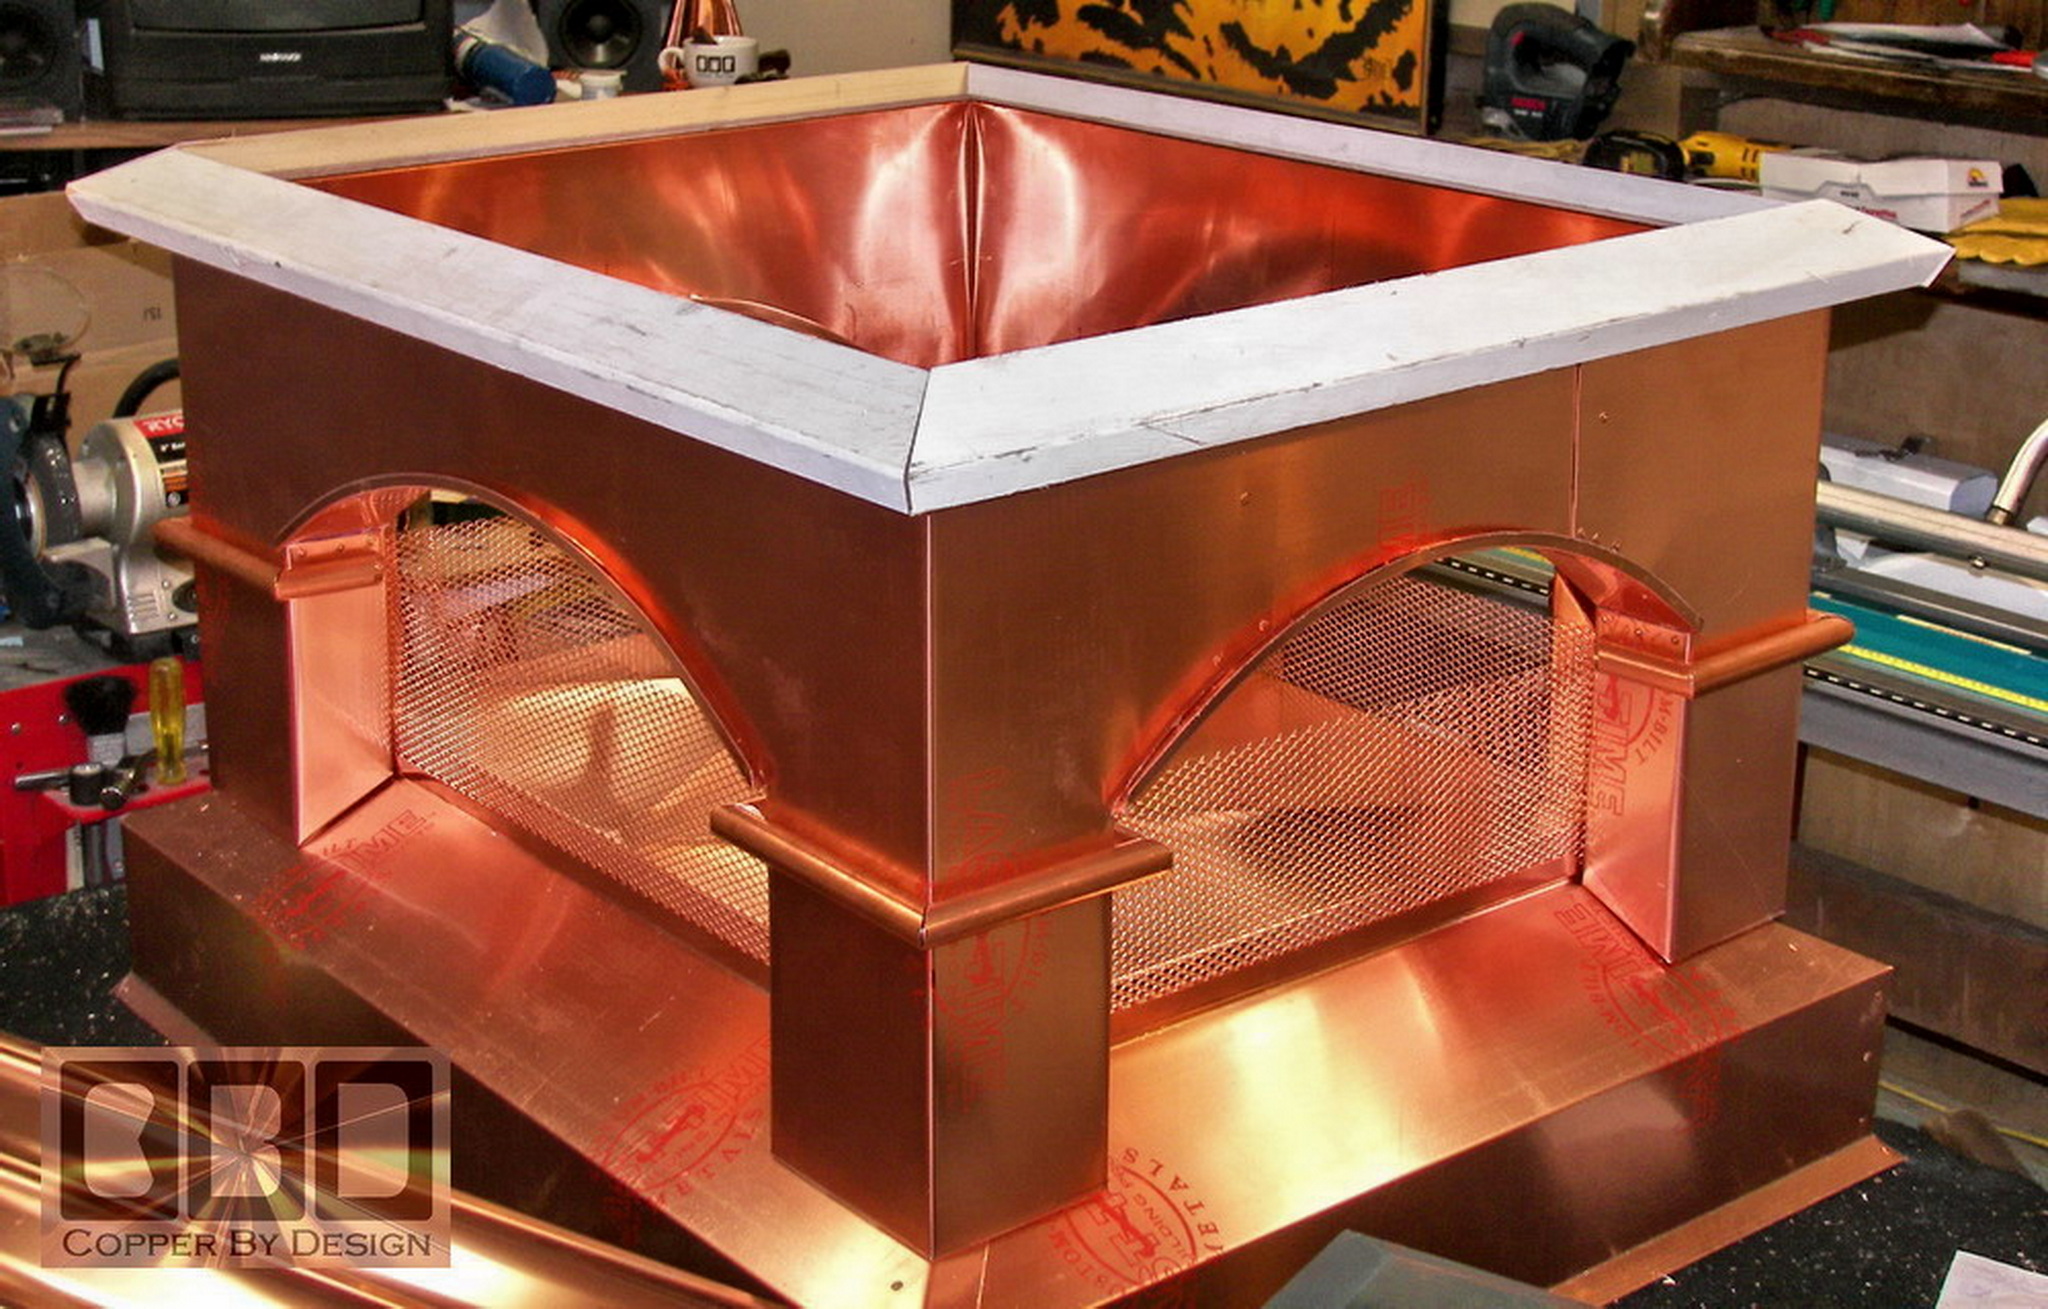
Here is the middle section frame standing up to finish
riveting the arch wells in place.
|
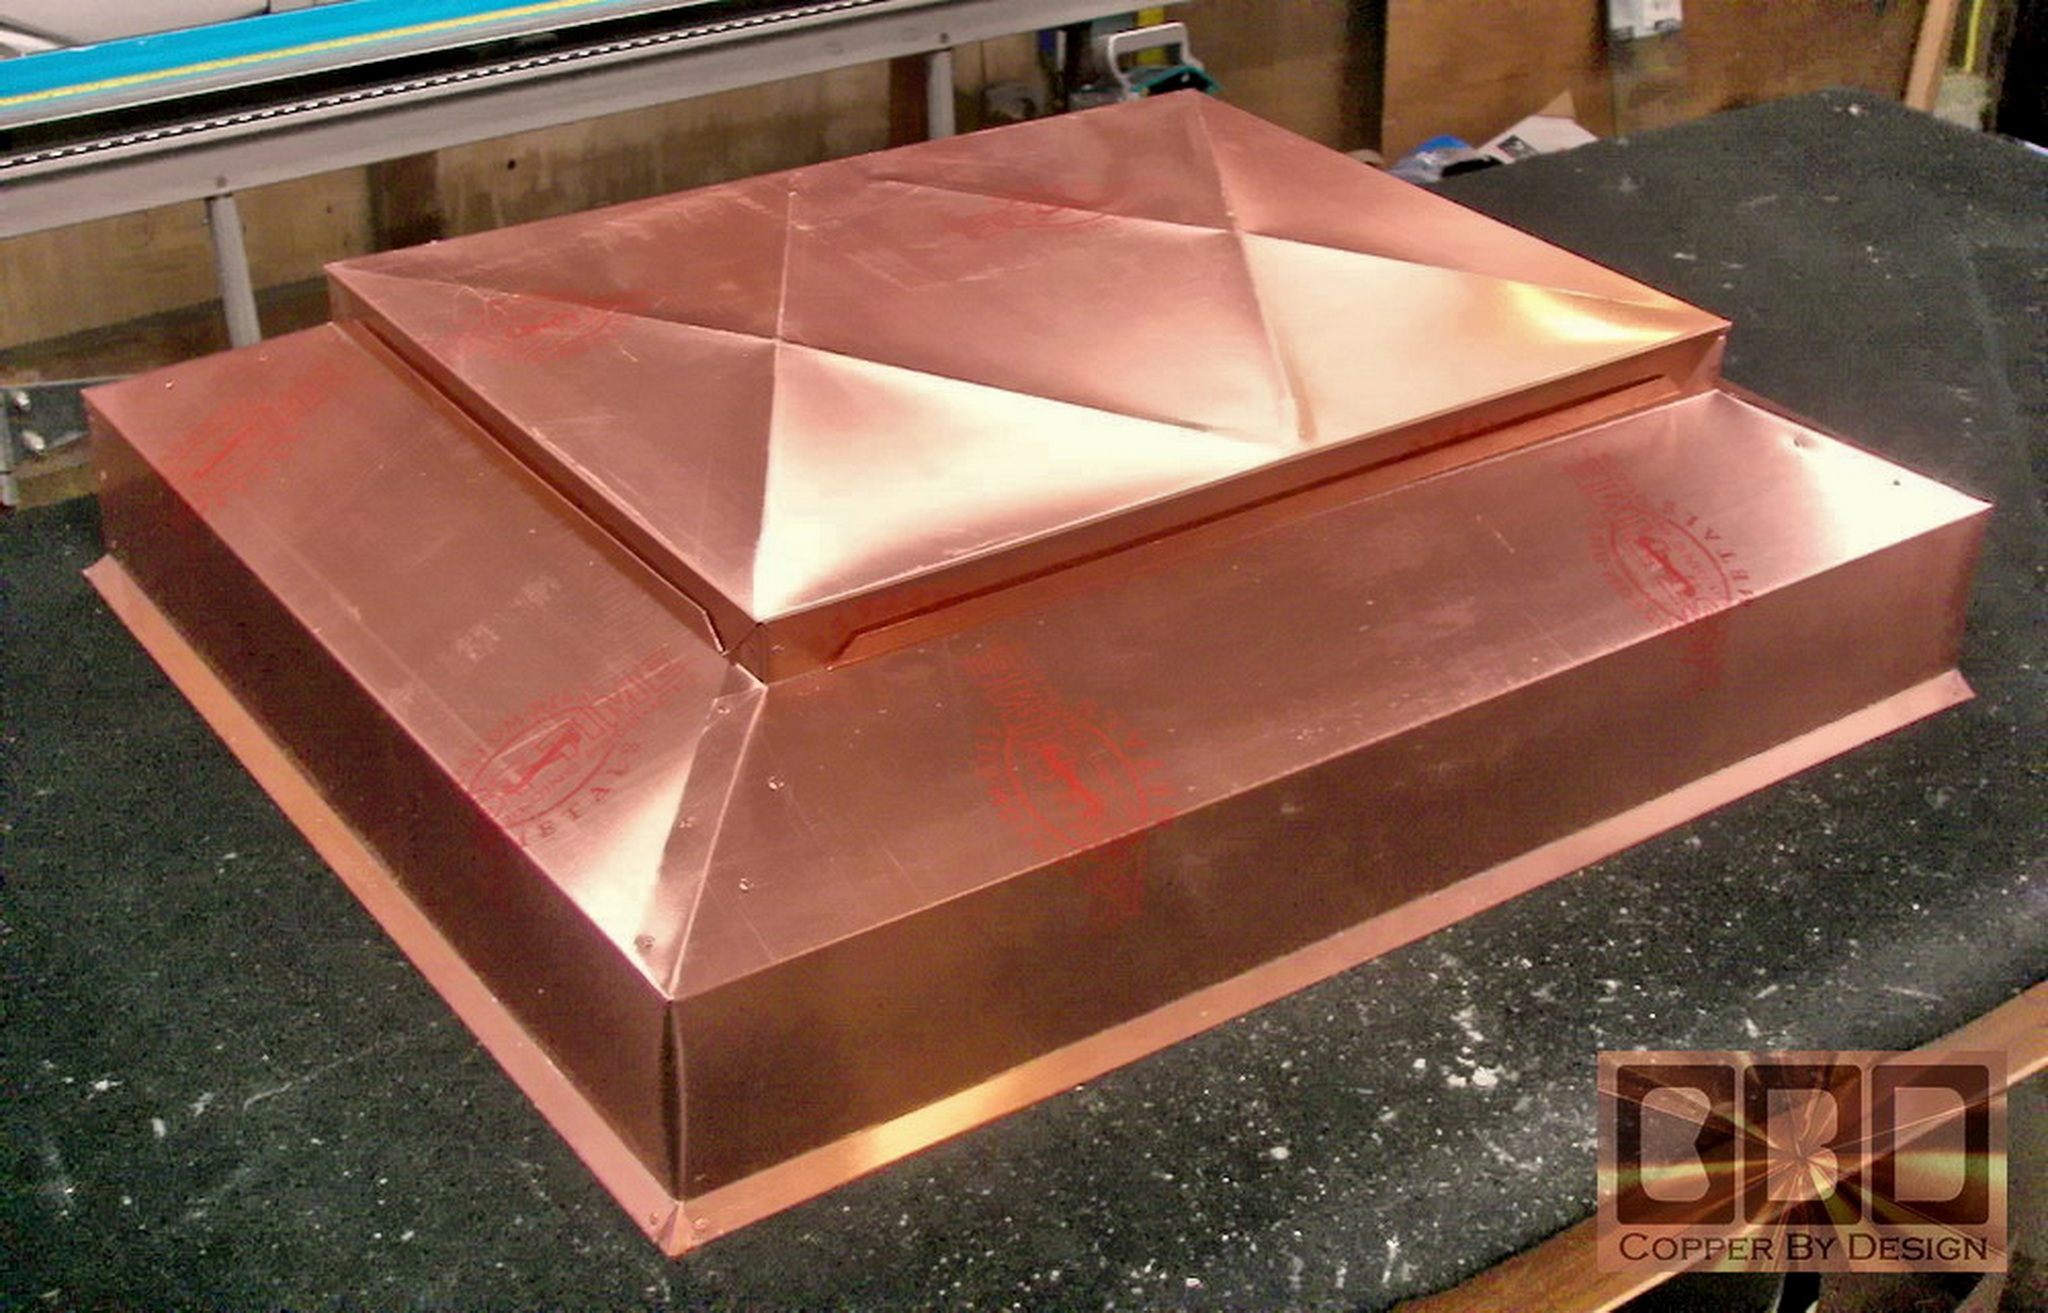
|
 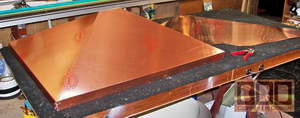
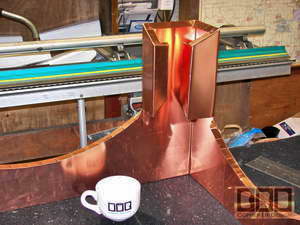
This is the assembly of the roof frame to go over
the arched screened area. It was made in only 2 separate section and
sealed together with overlapping seams.
|
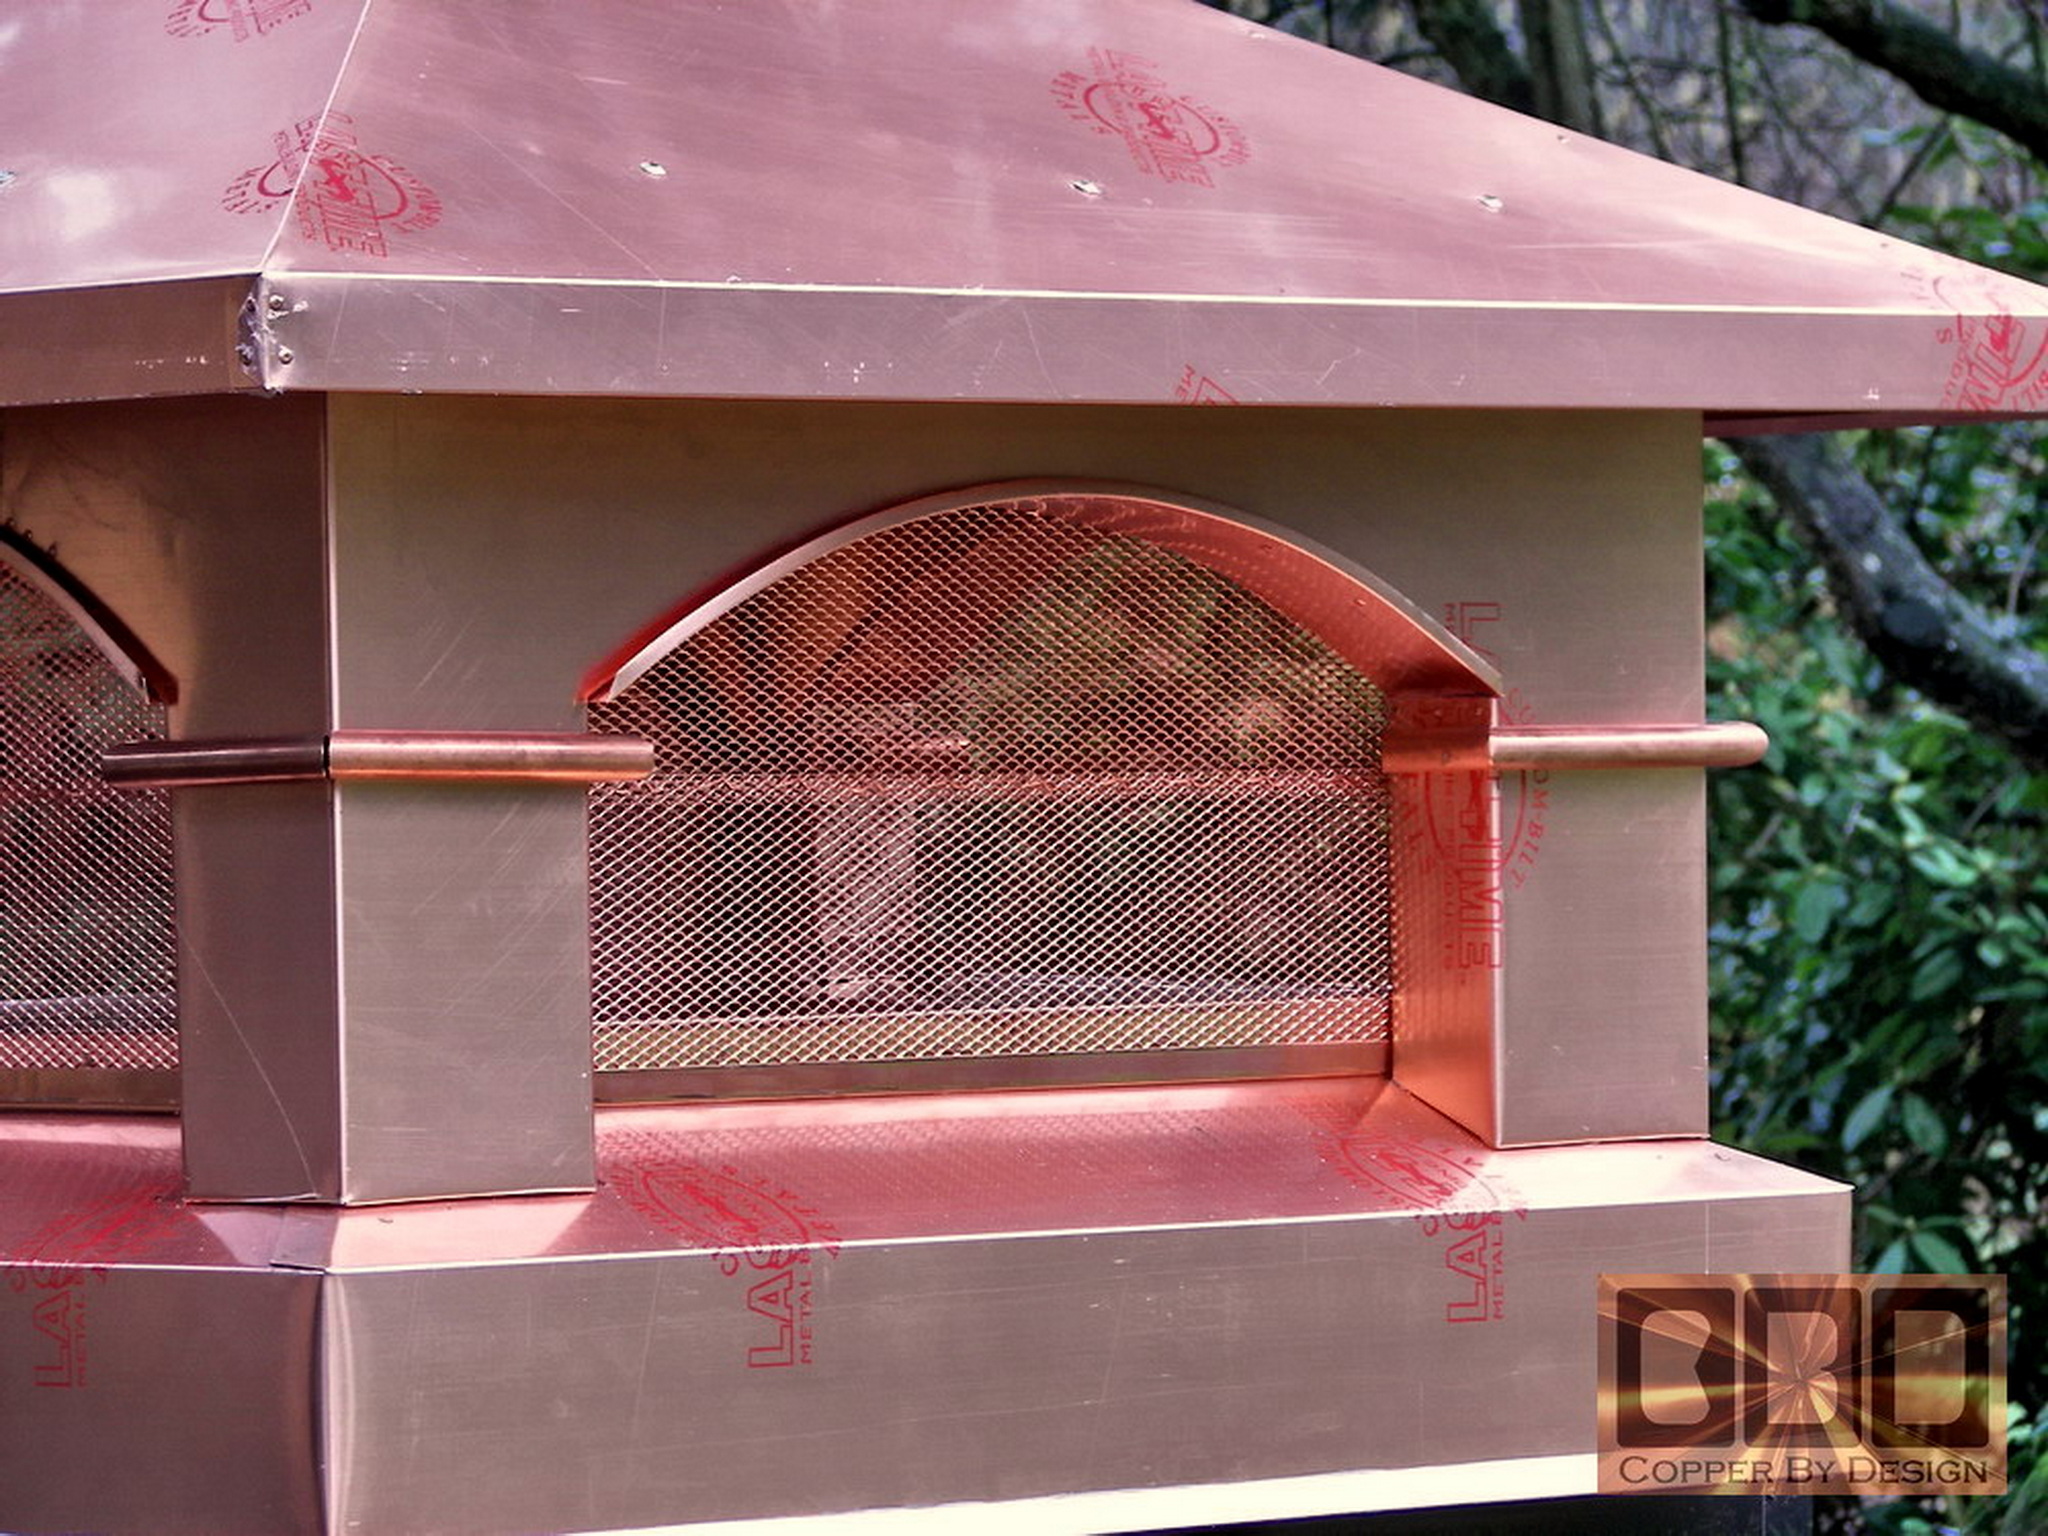
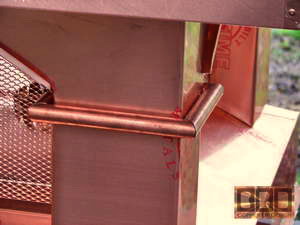
|
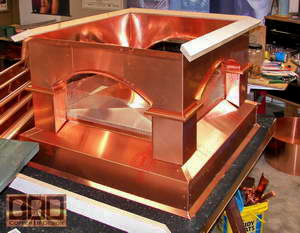 
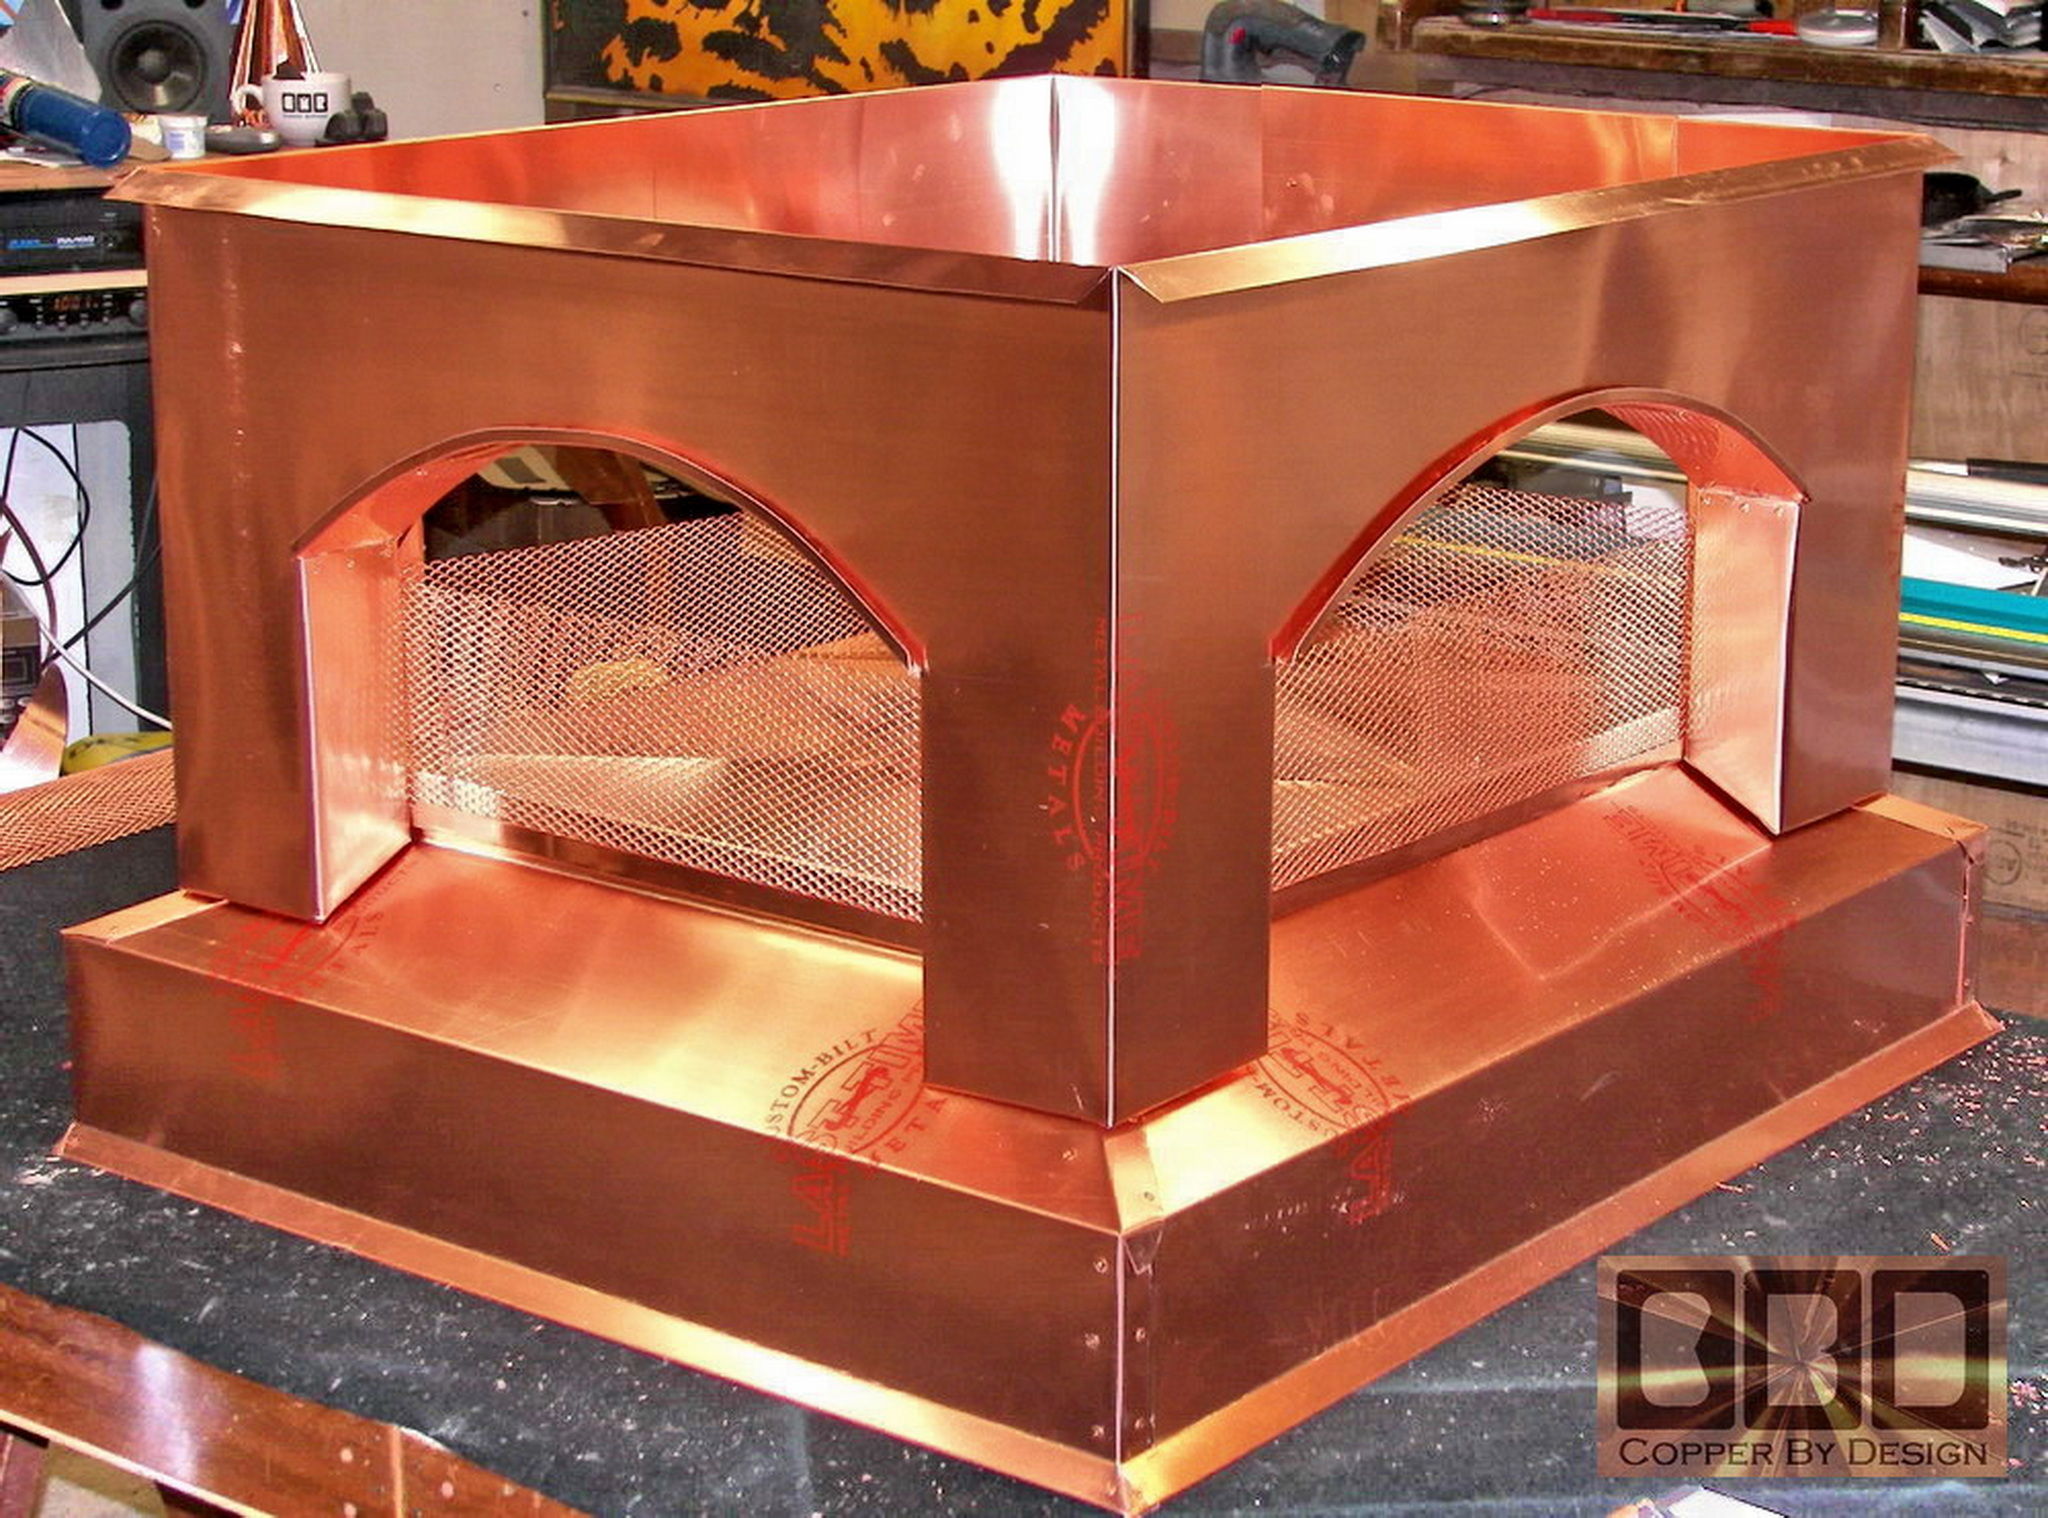
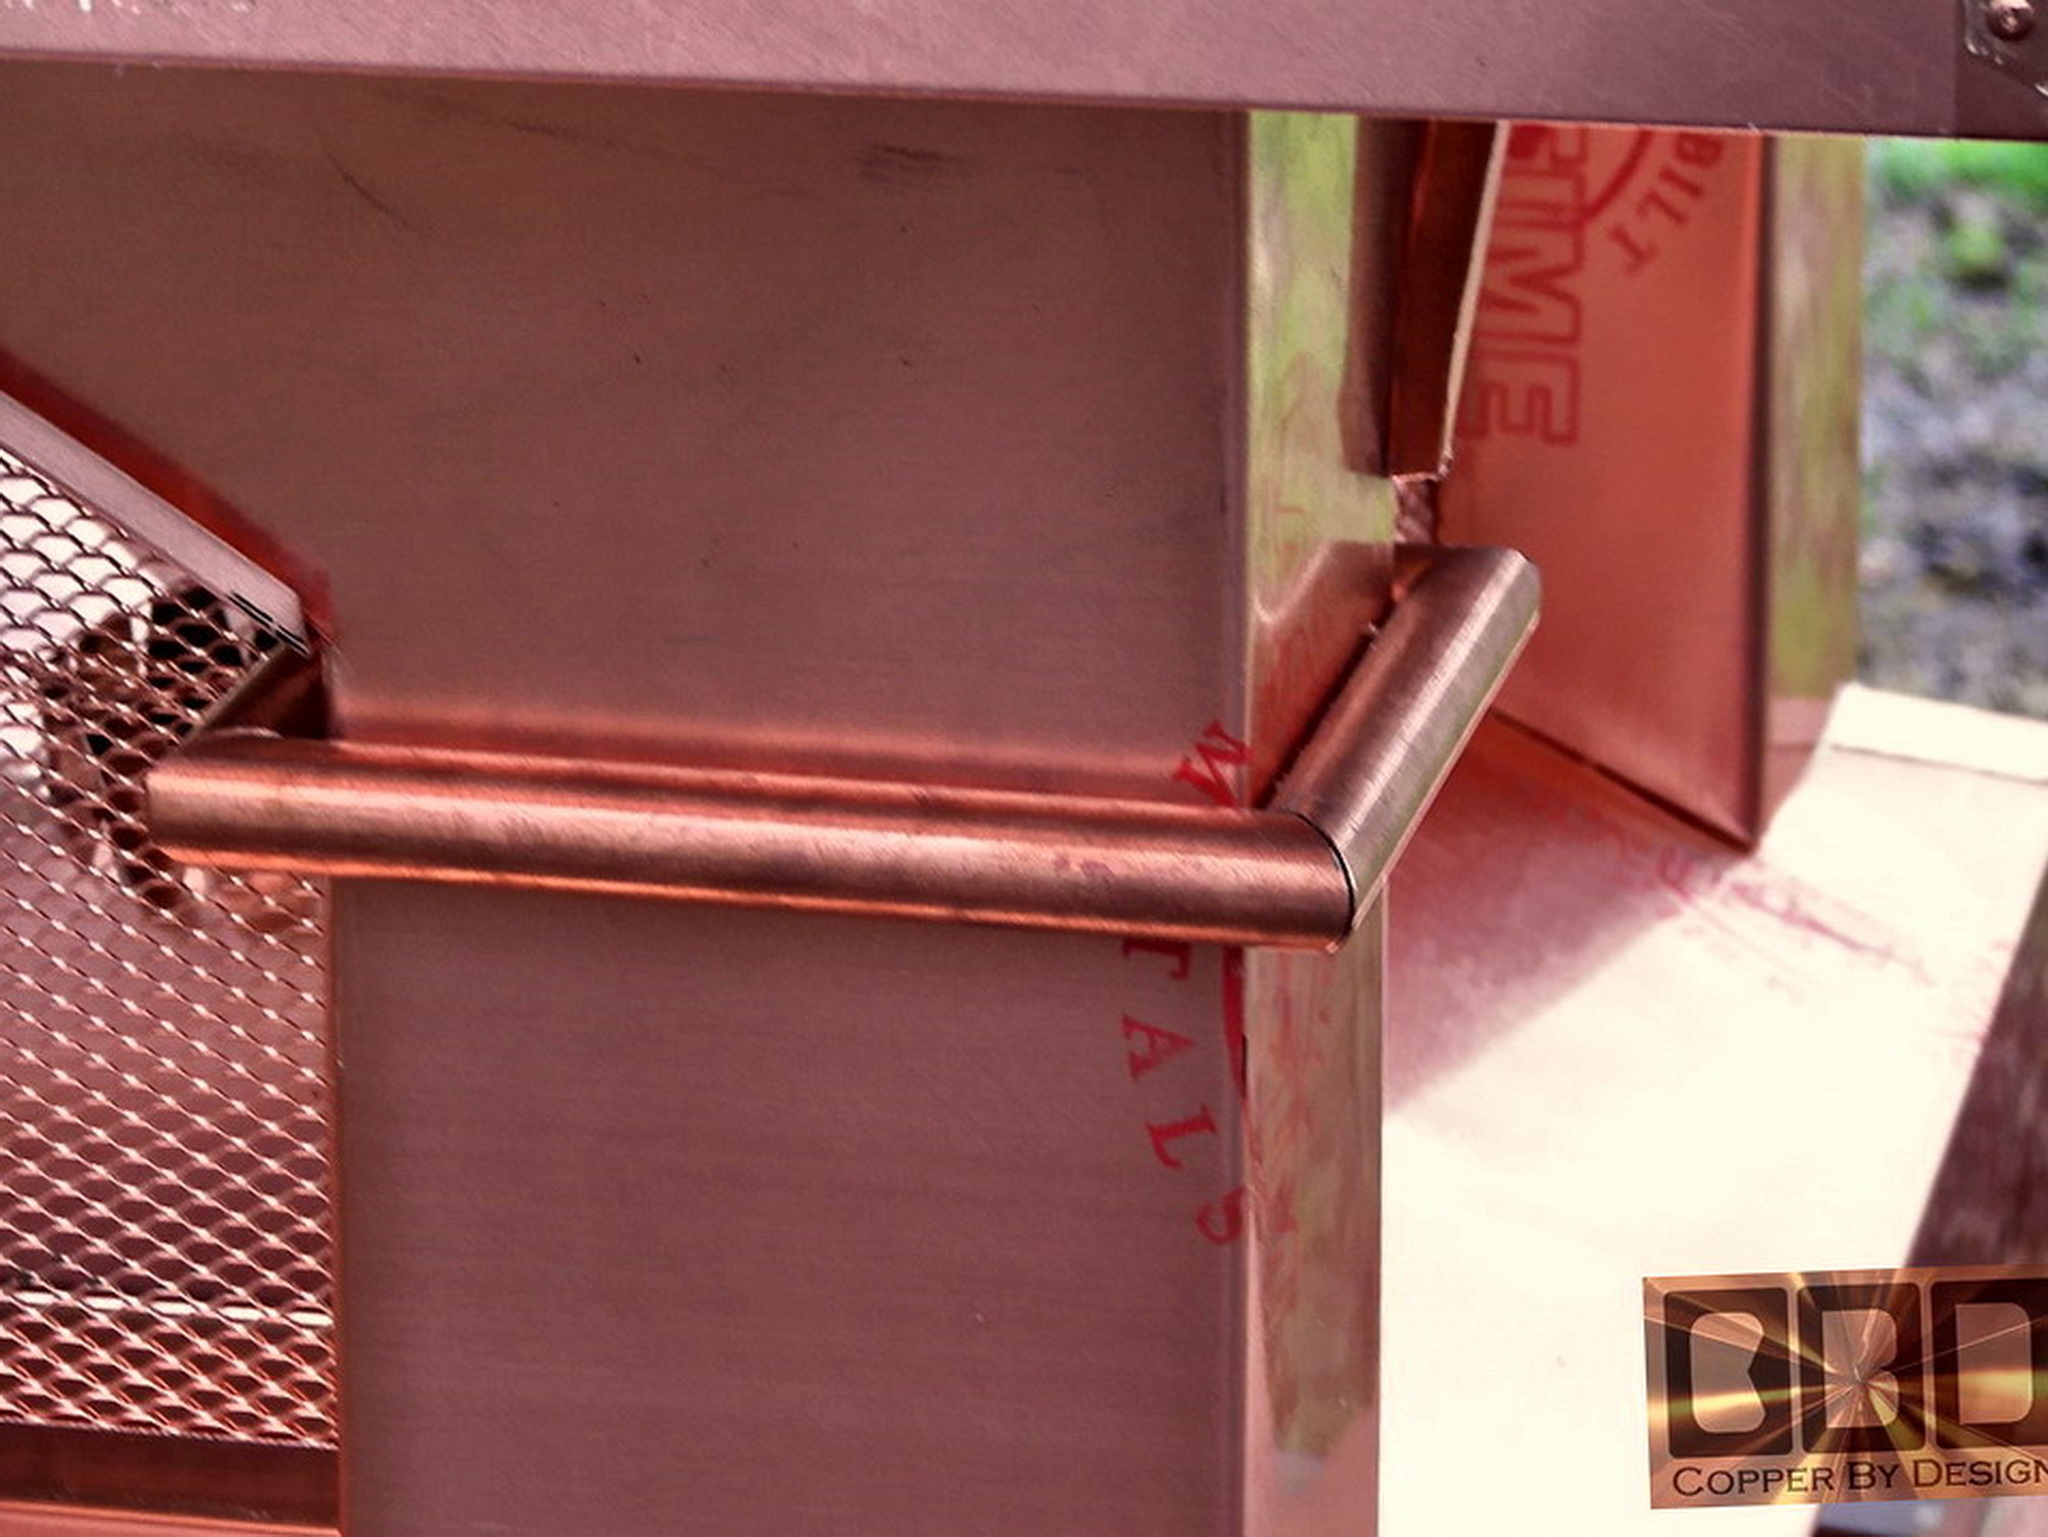
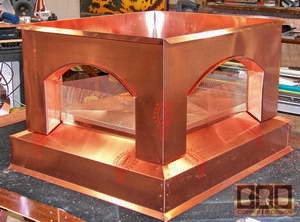
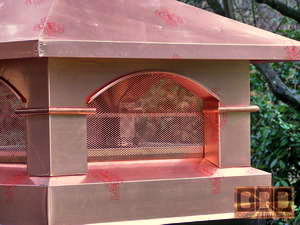
This shows the corner piping trim mounted just
below the arches over all 4 sides of each corner post. Since there is
no heat involved with this chimney cap, we made another custom wood
frame to secure to the middle section and screw the roof onto. Allowing
for easy removal for future maintenance.
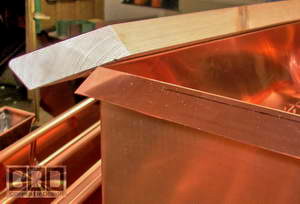
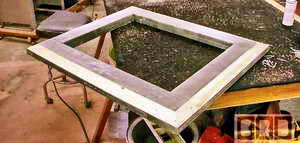
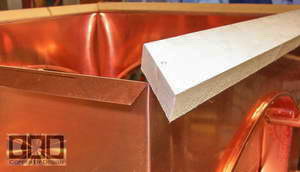
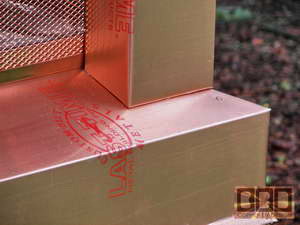
|
|
 
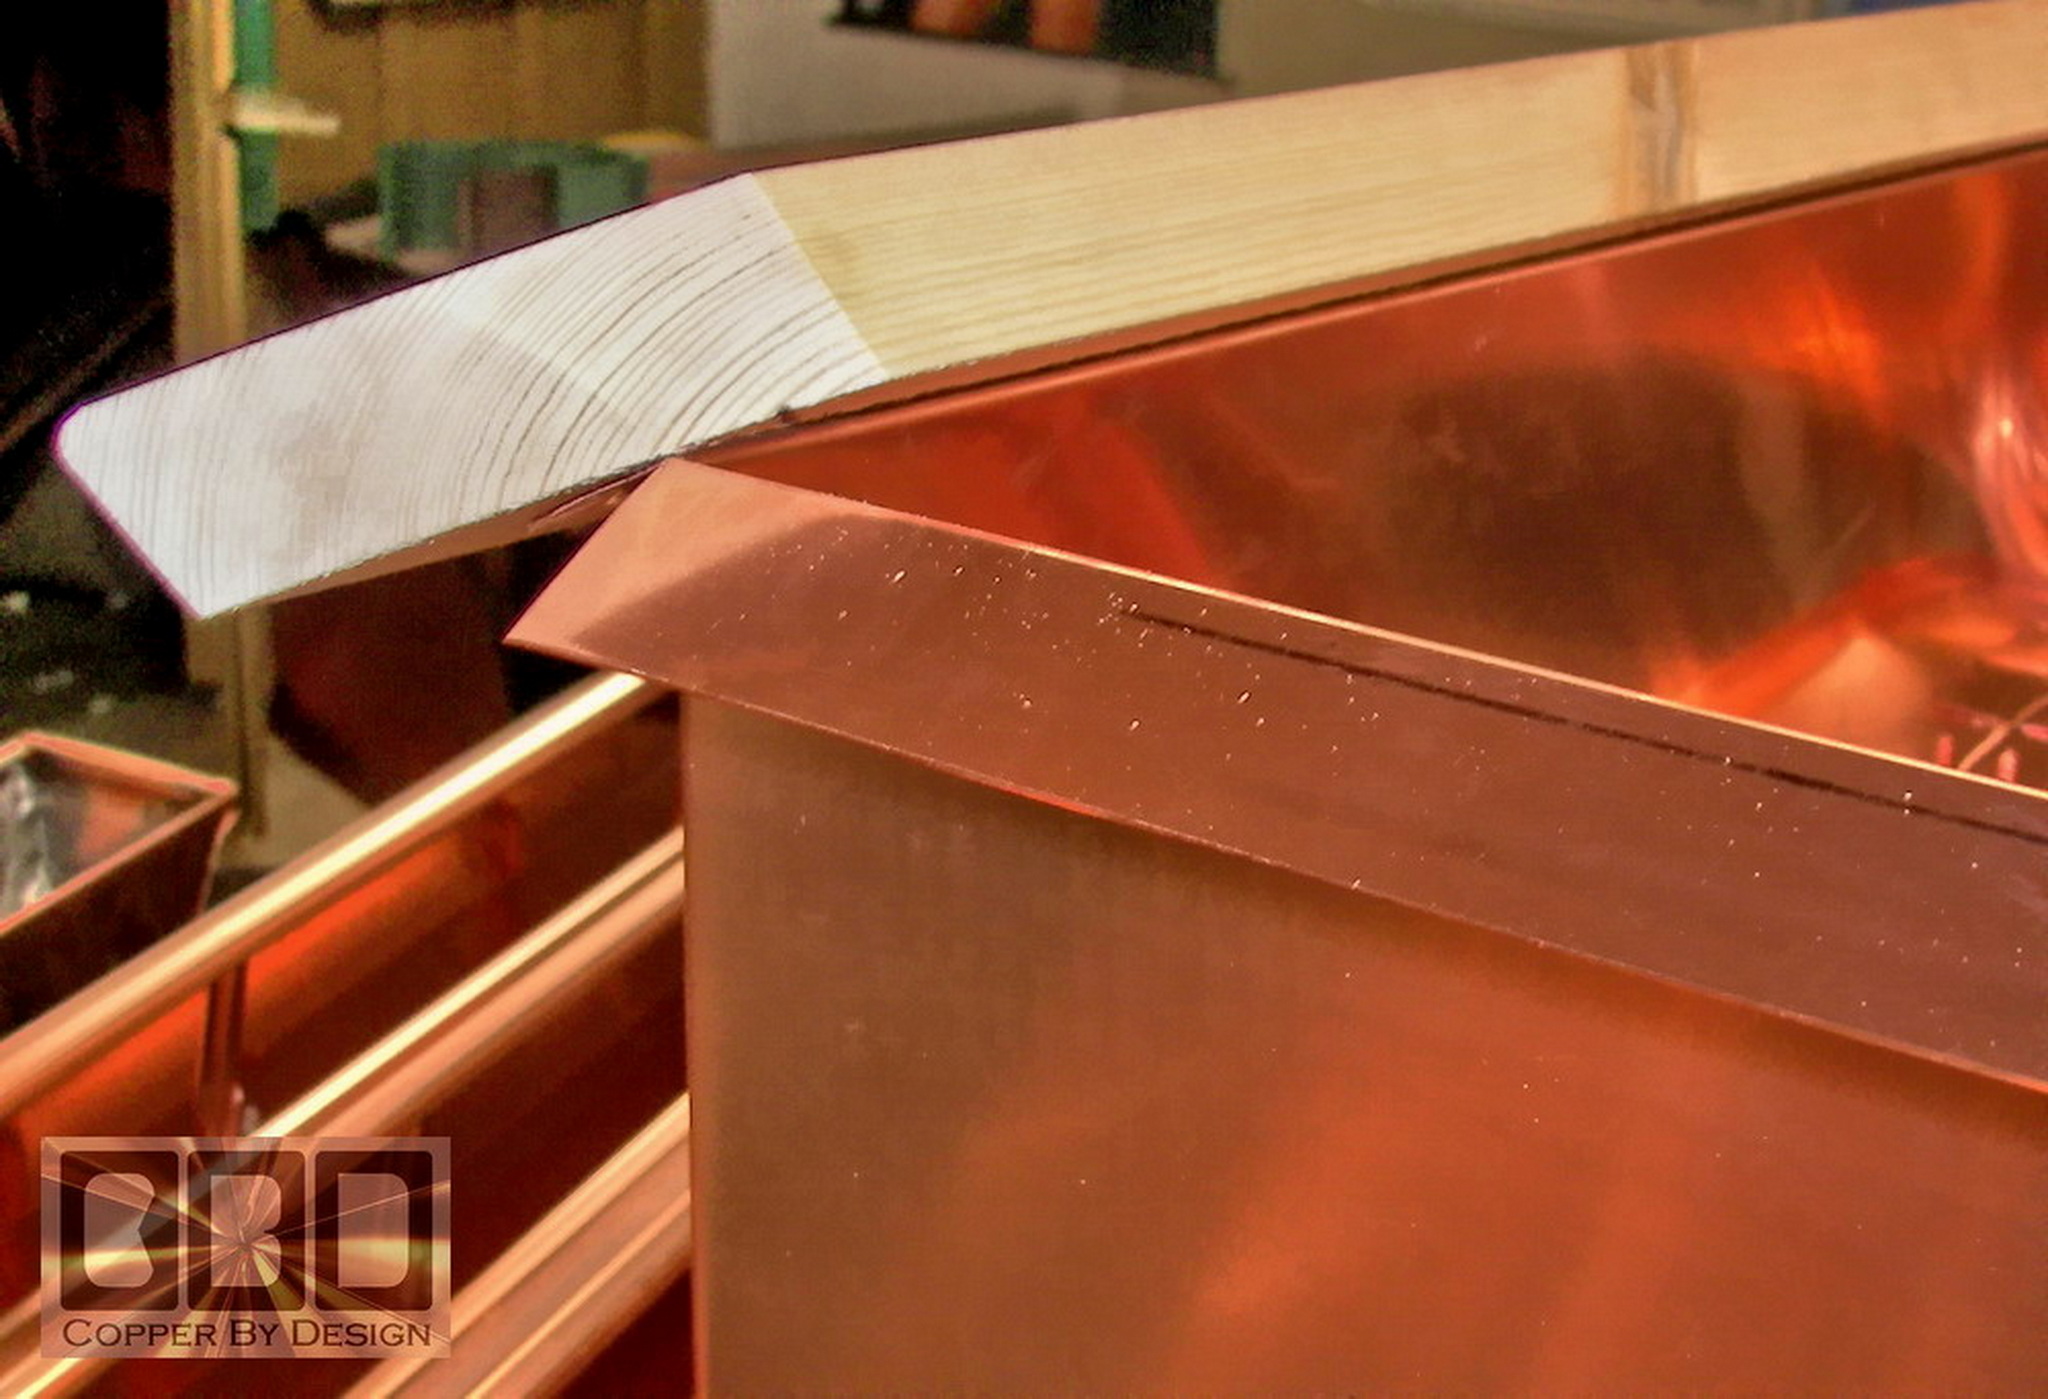
This shows the two different angled wood frames
we made for just under the roof and under the base.
|
|
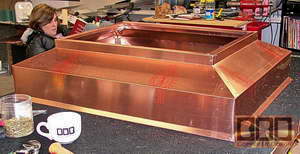
This shows the vent holed we cut into the copper pan and bent
the flanges down for the clamps. I am attaching the middle section to
the base and sealing the corners with a clear caulk.
 
|
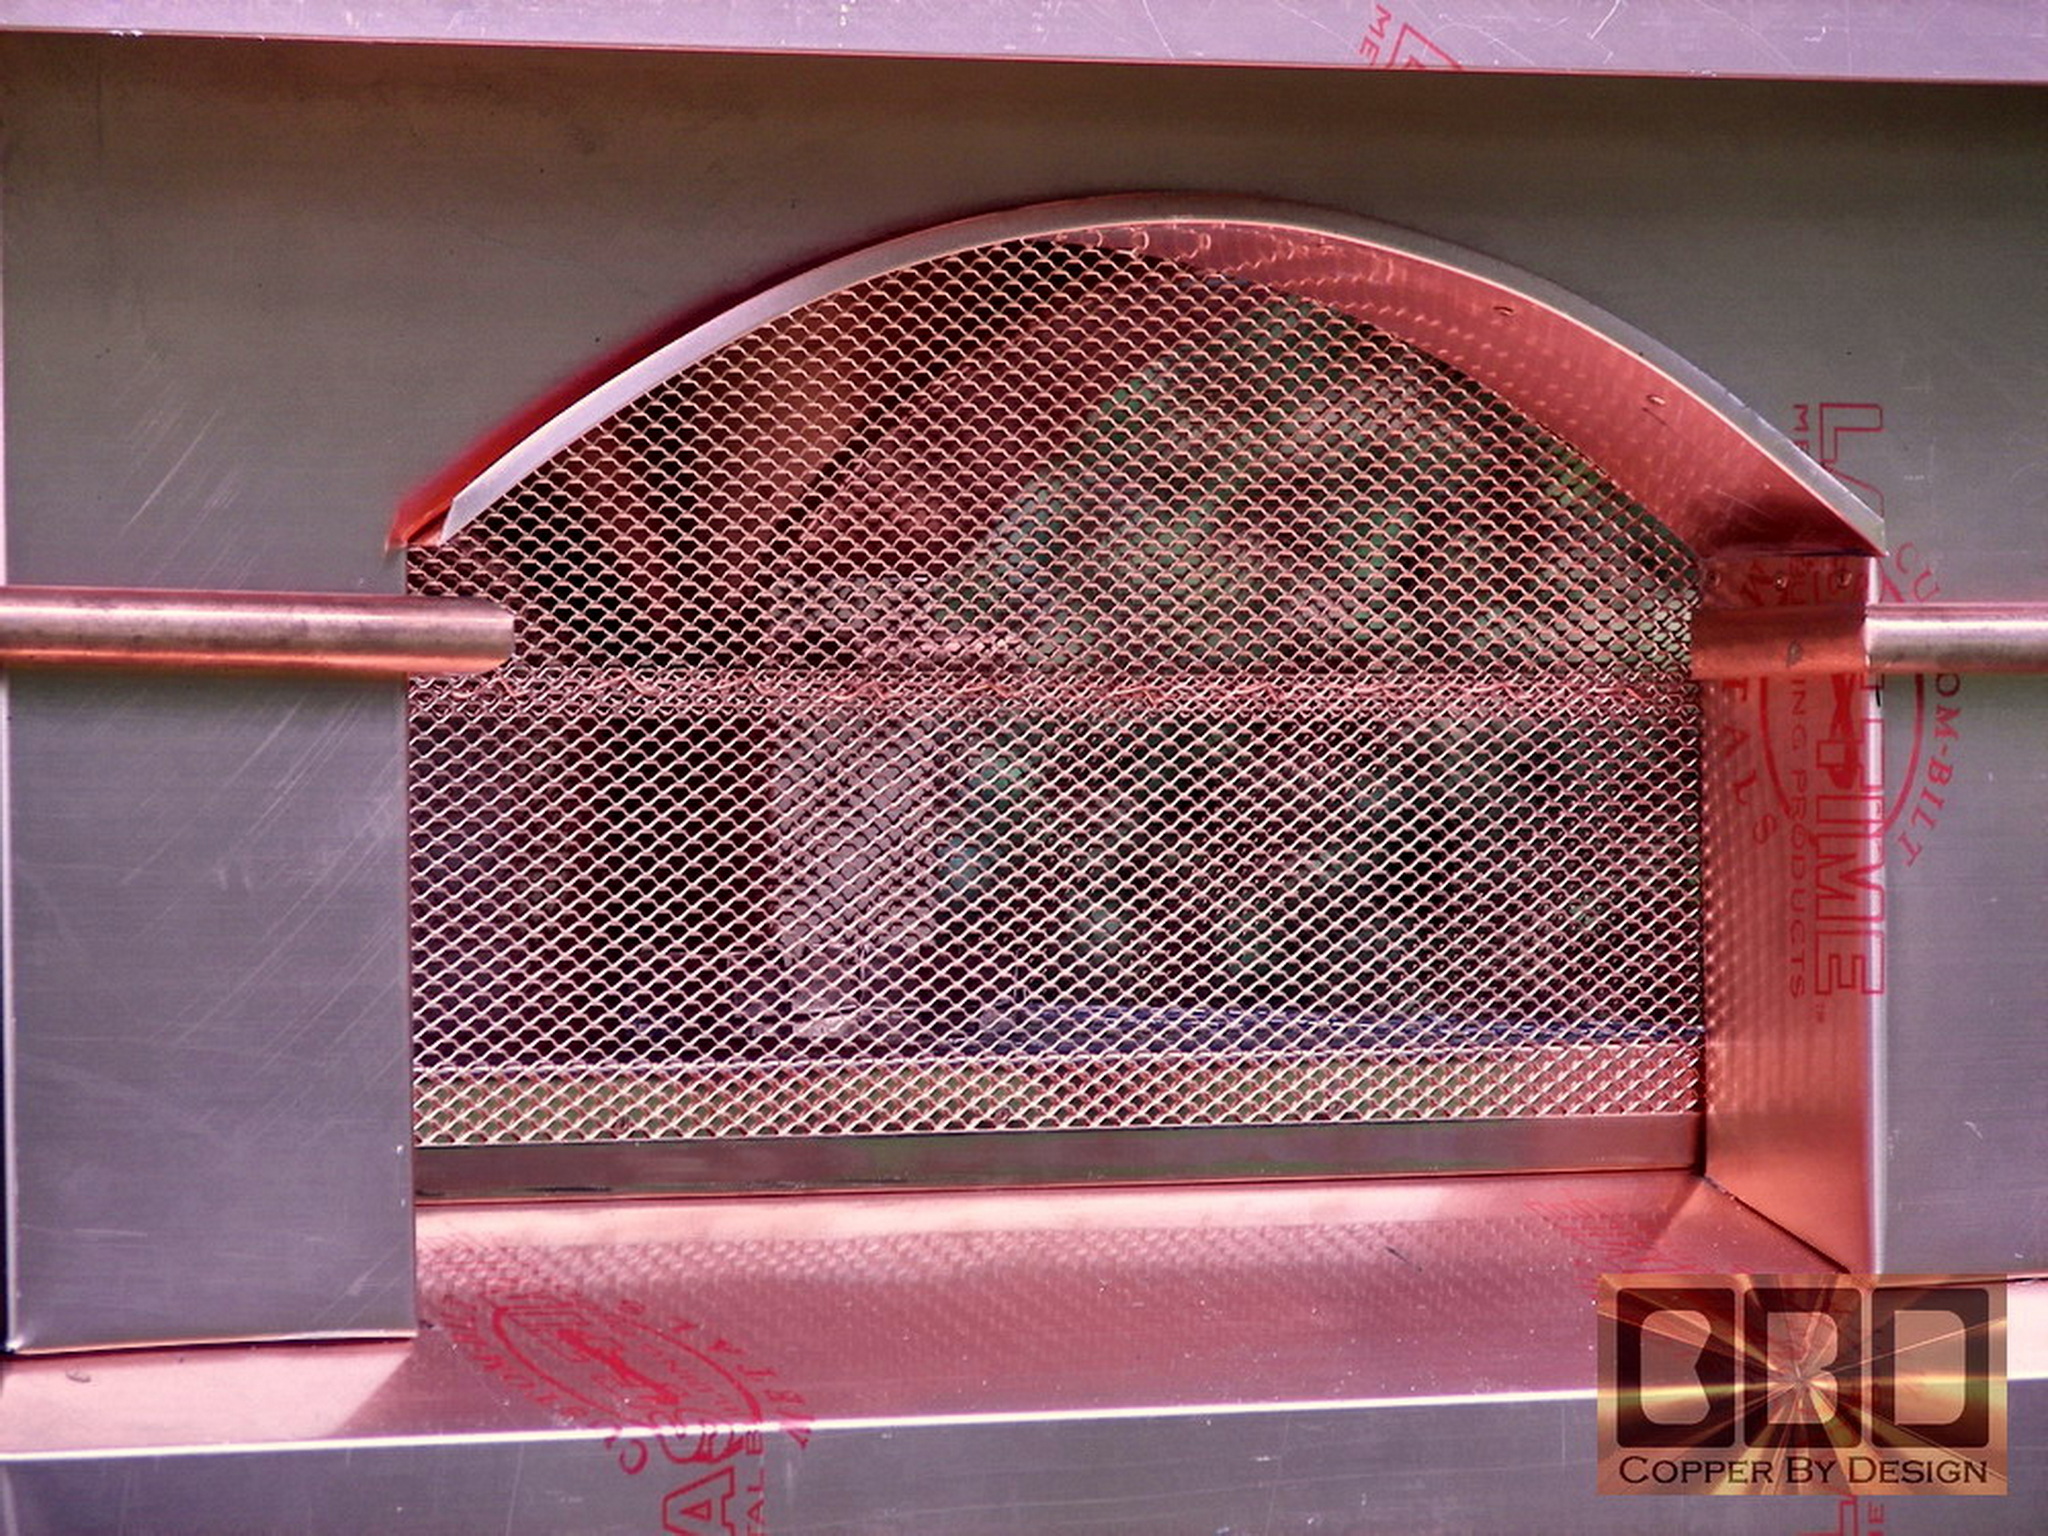
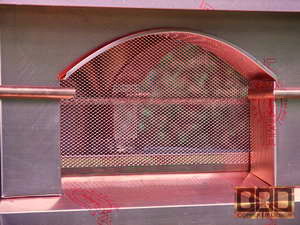
|
This is showing the screens area bent into shape
over the arches and attached securely with rivets to keep out any pests.
|
|
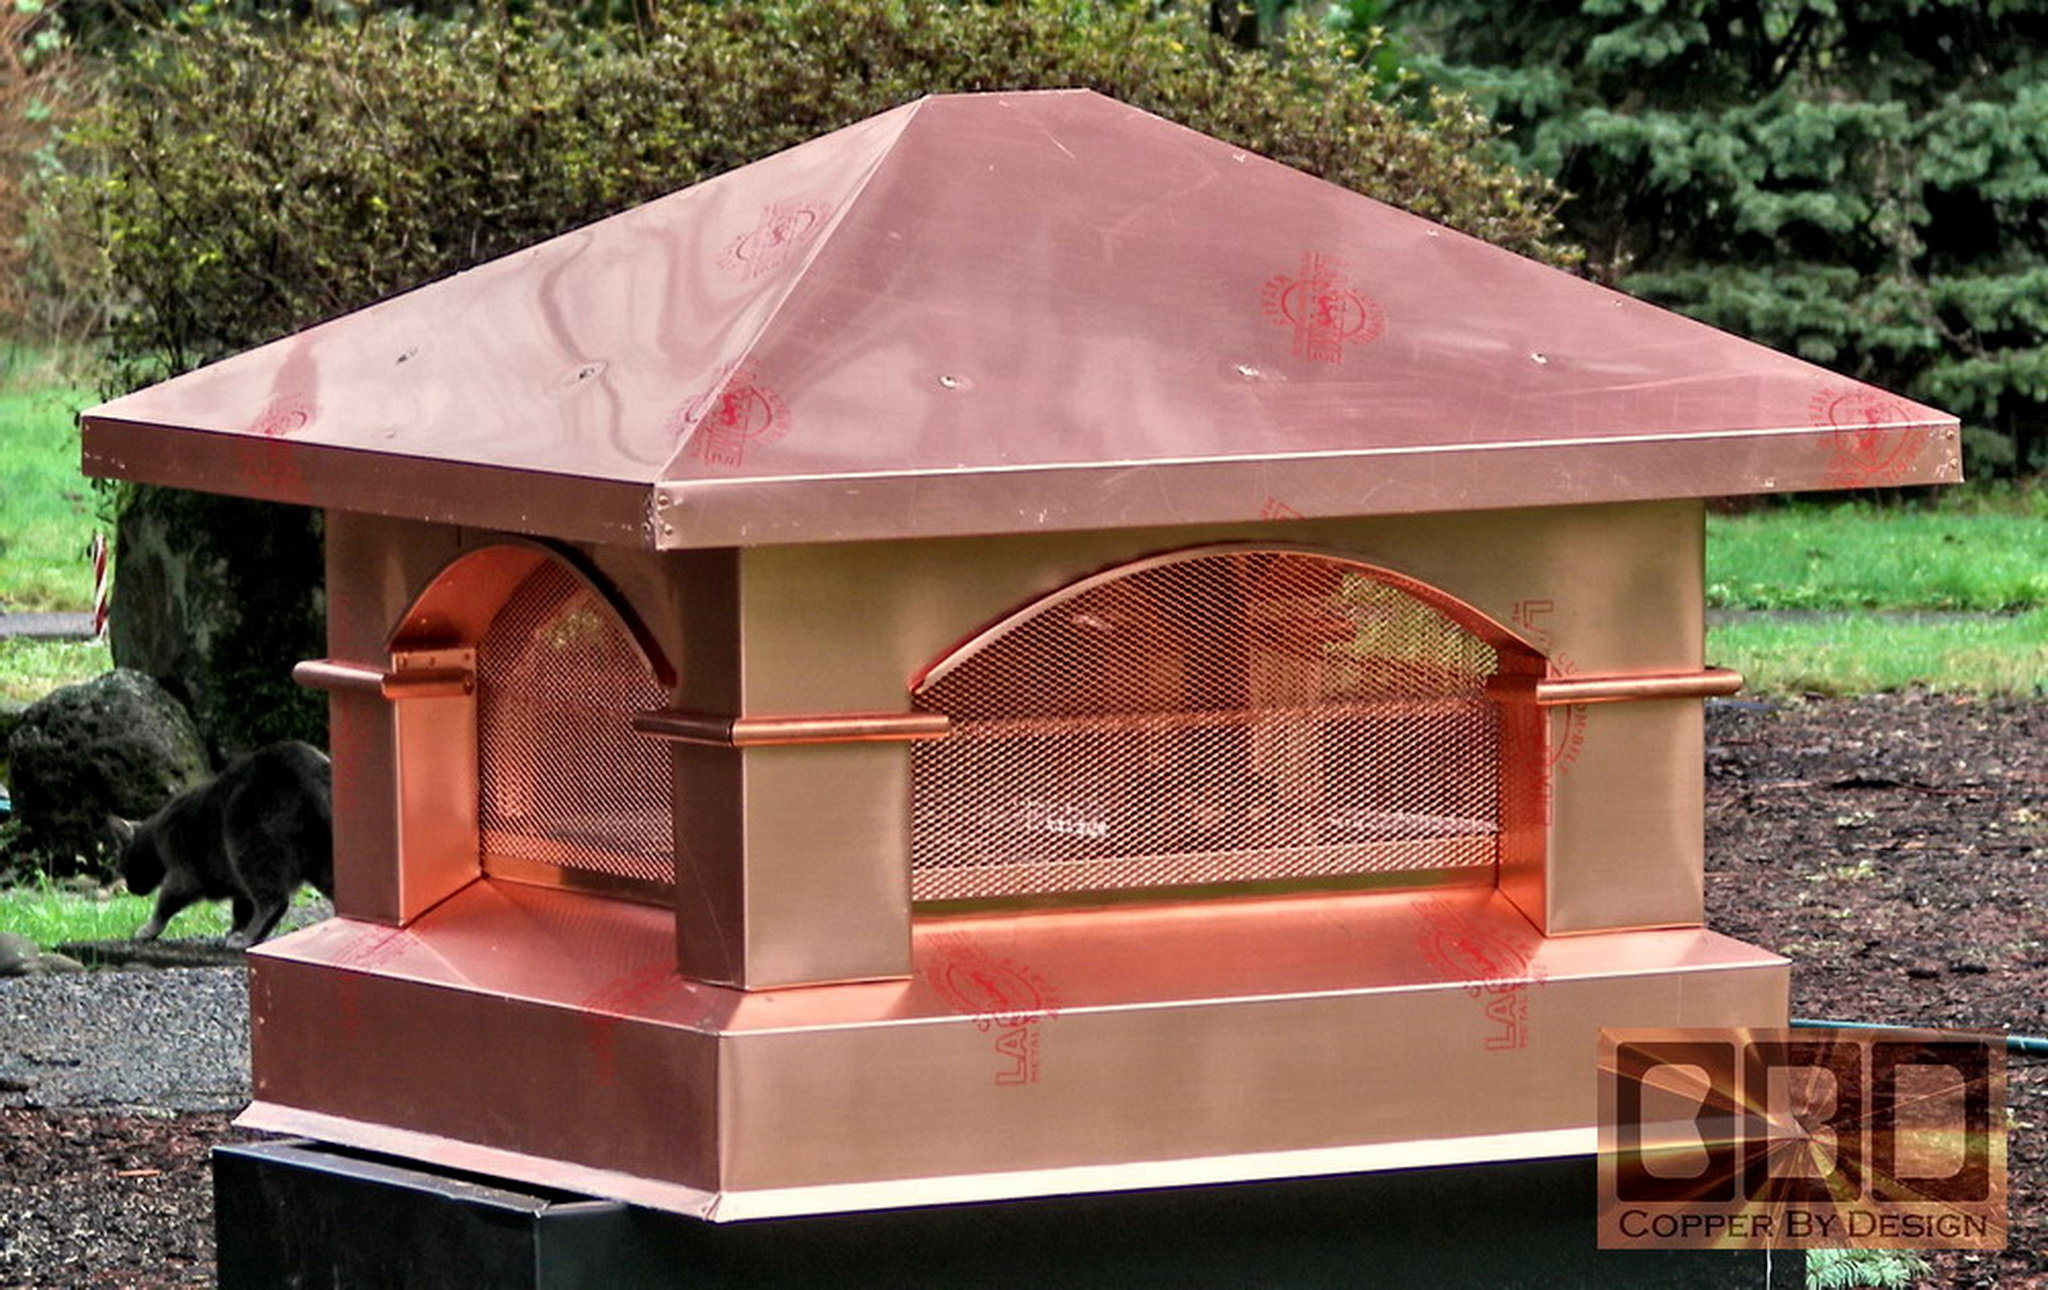
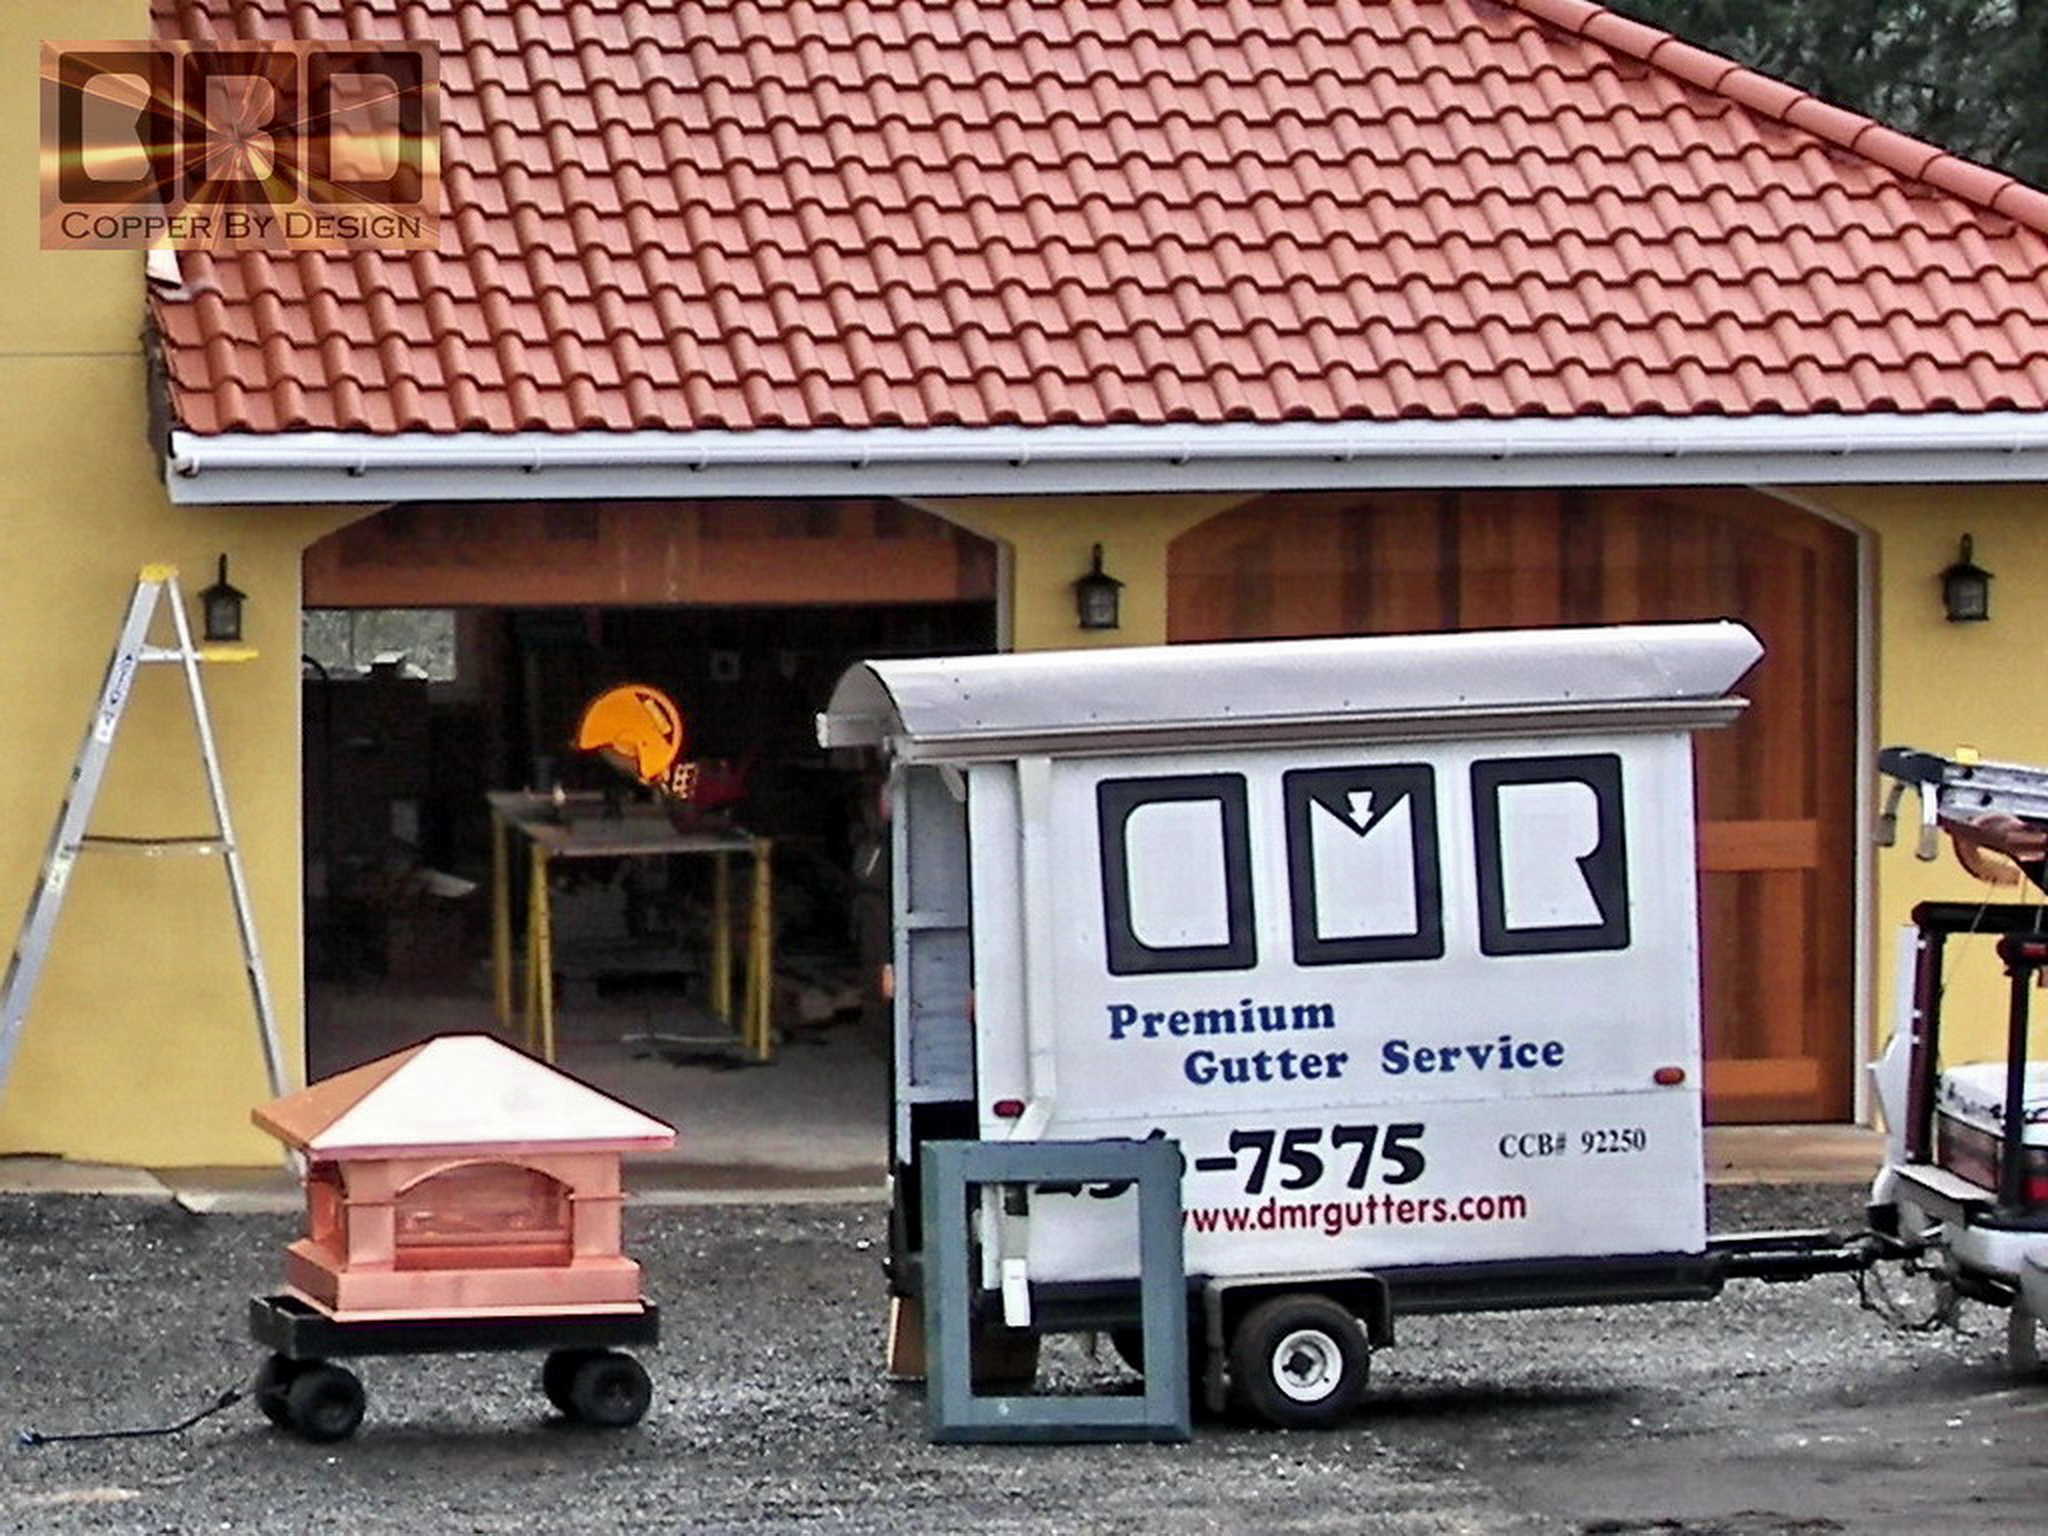
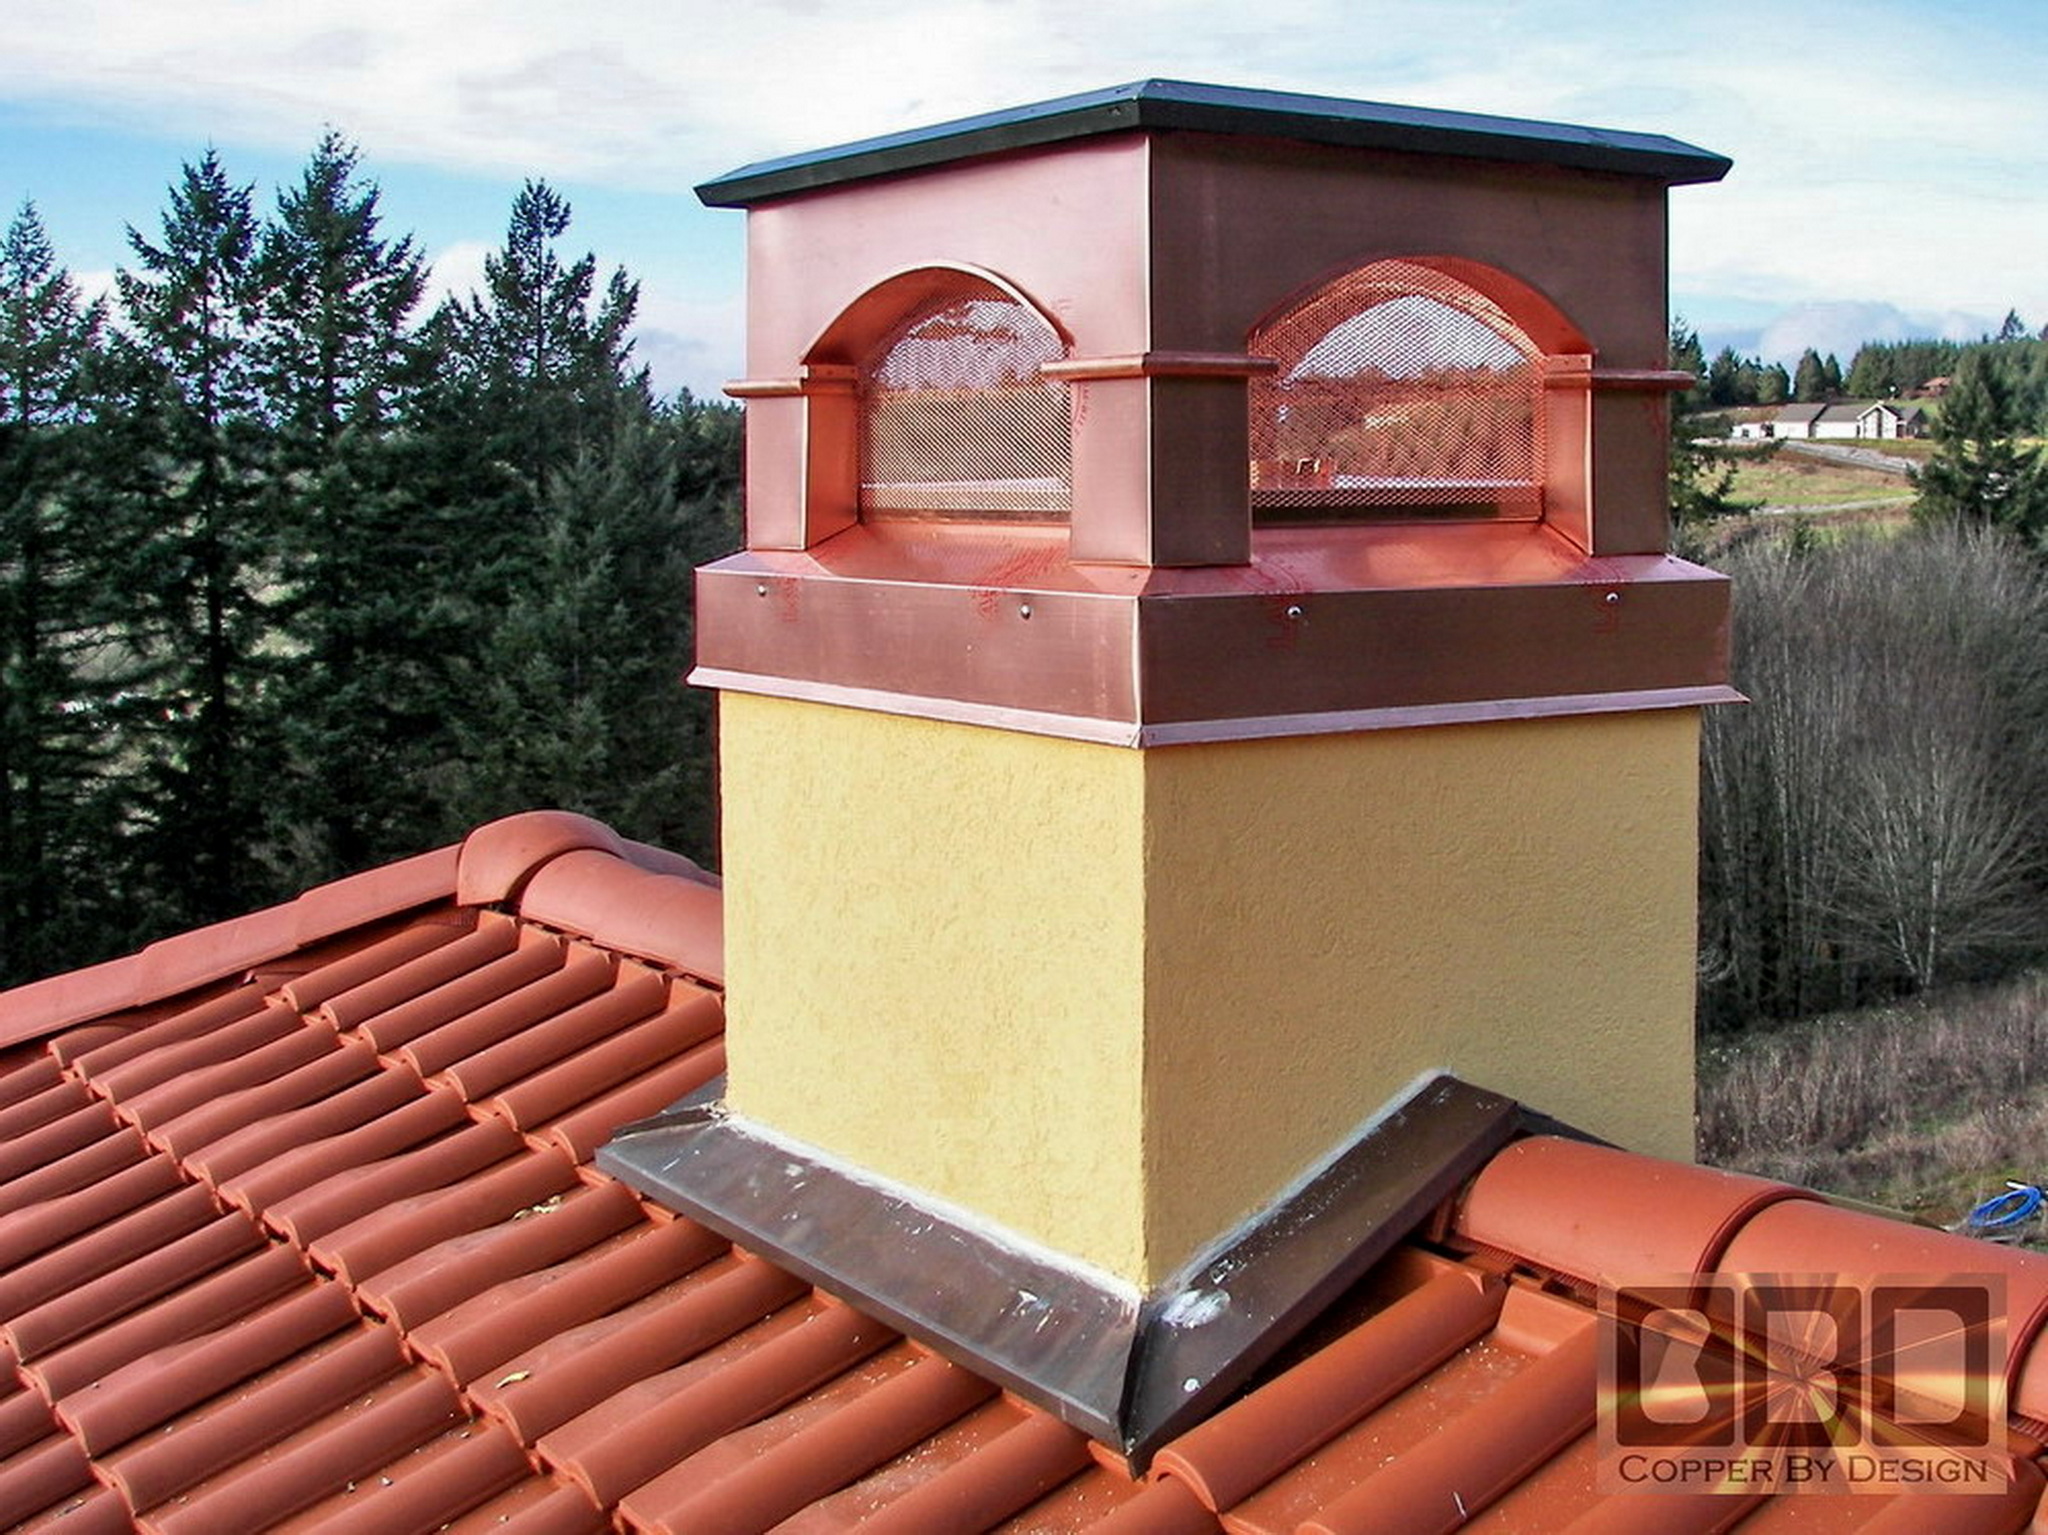
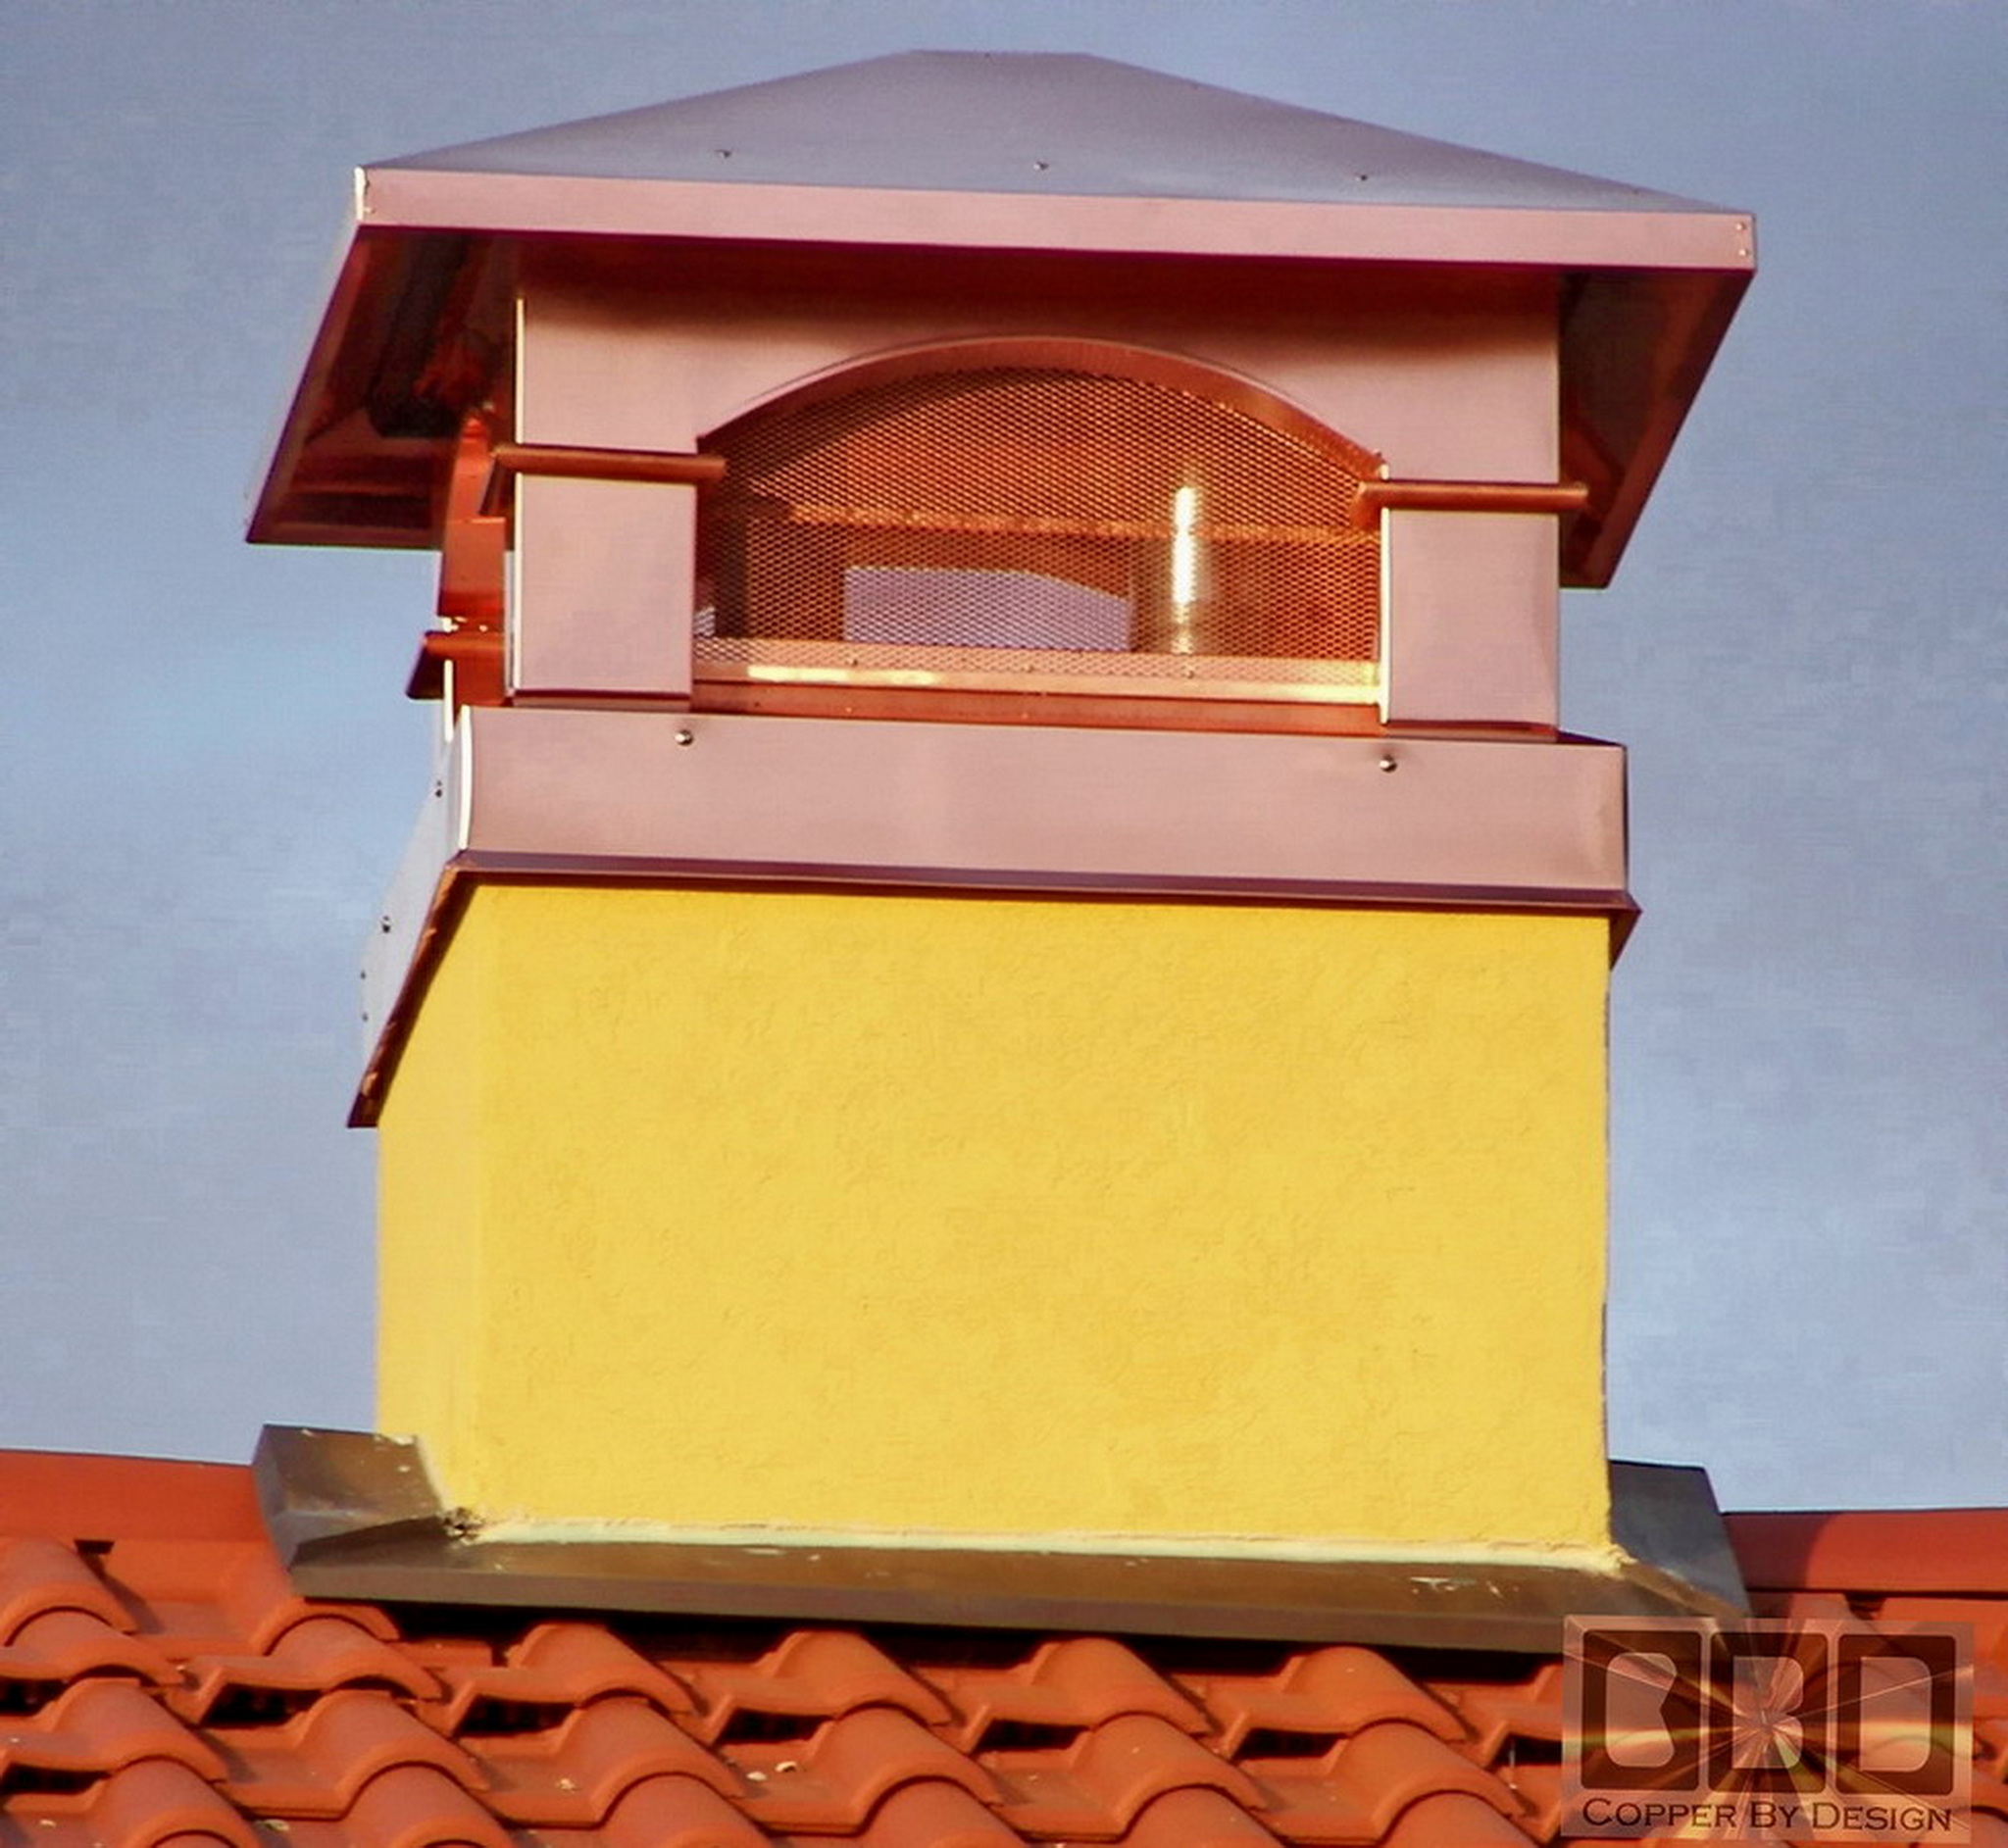
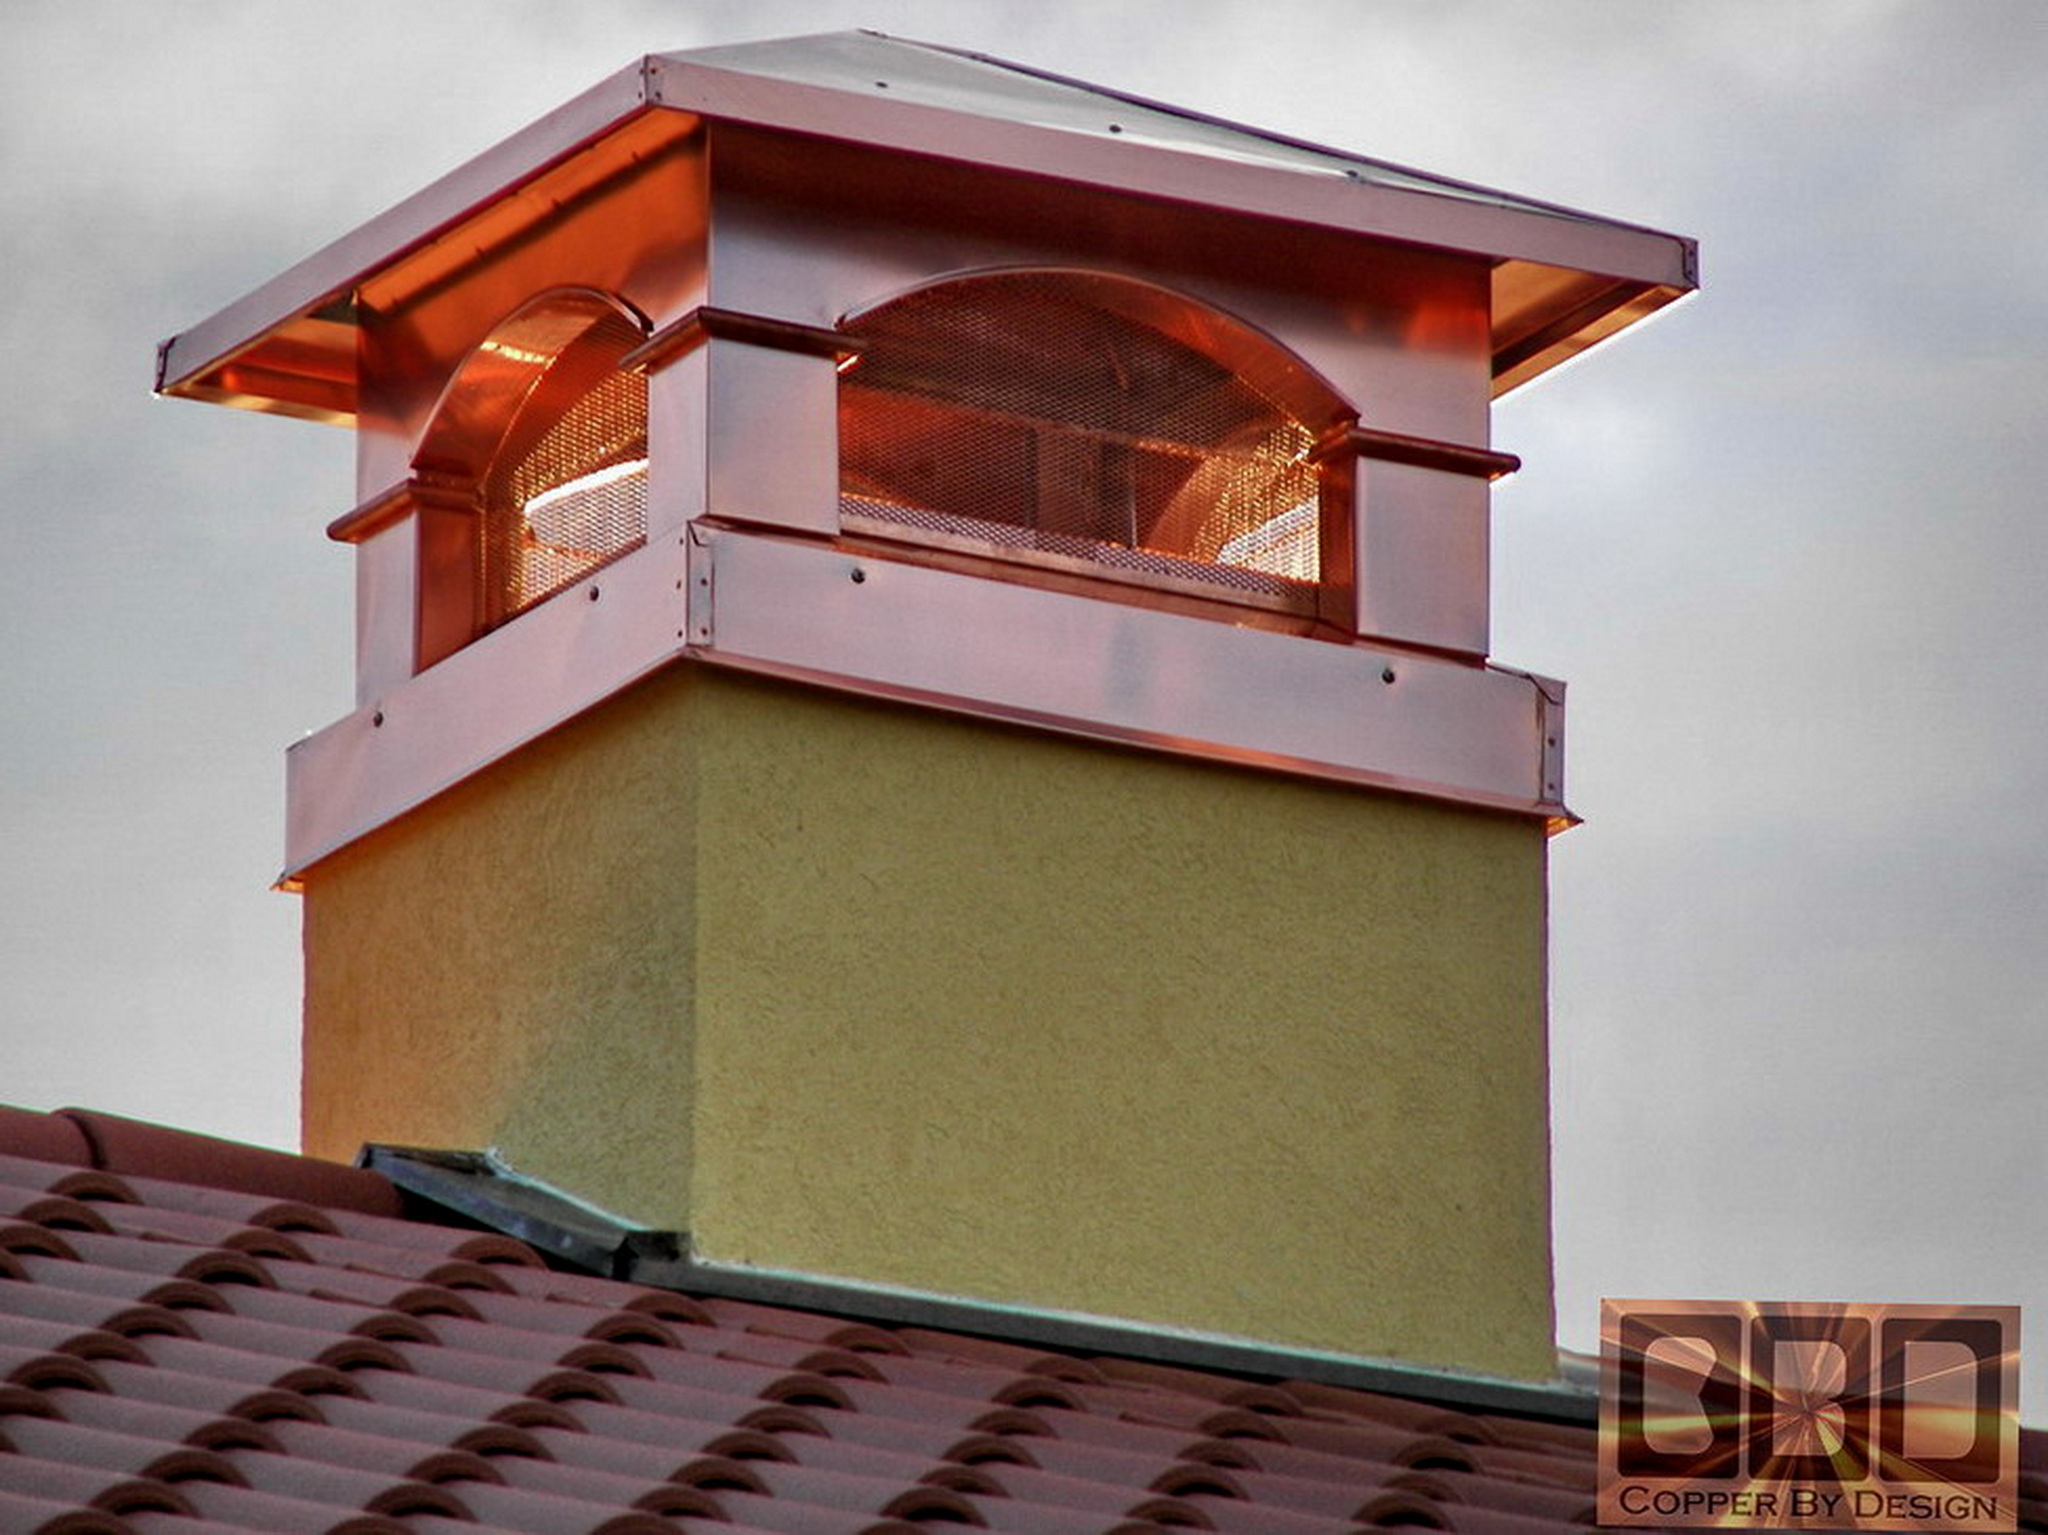
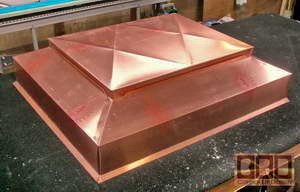
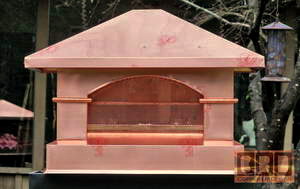
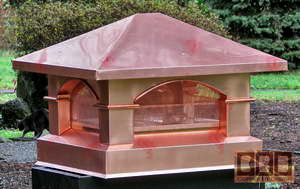
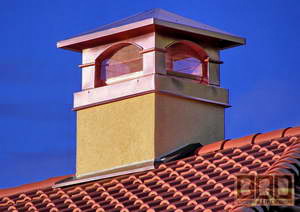
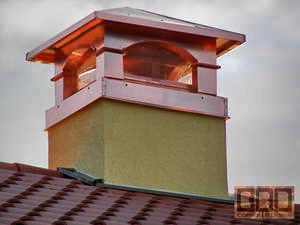
Here is some detail shots of this chimney cap
in daylight of the finished chimney cap from several different angles
to get a good look at it. It is not perfect at close inspection, but
the client said it turned out better than he had imagined. That is one
of the best compliments we could get. Our main focus is to make it durable.
|
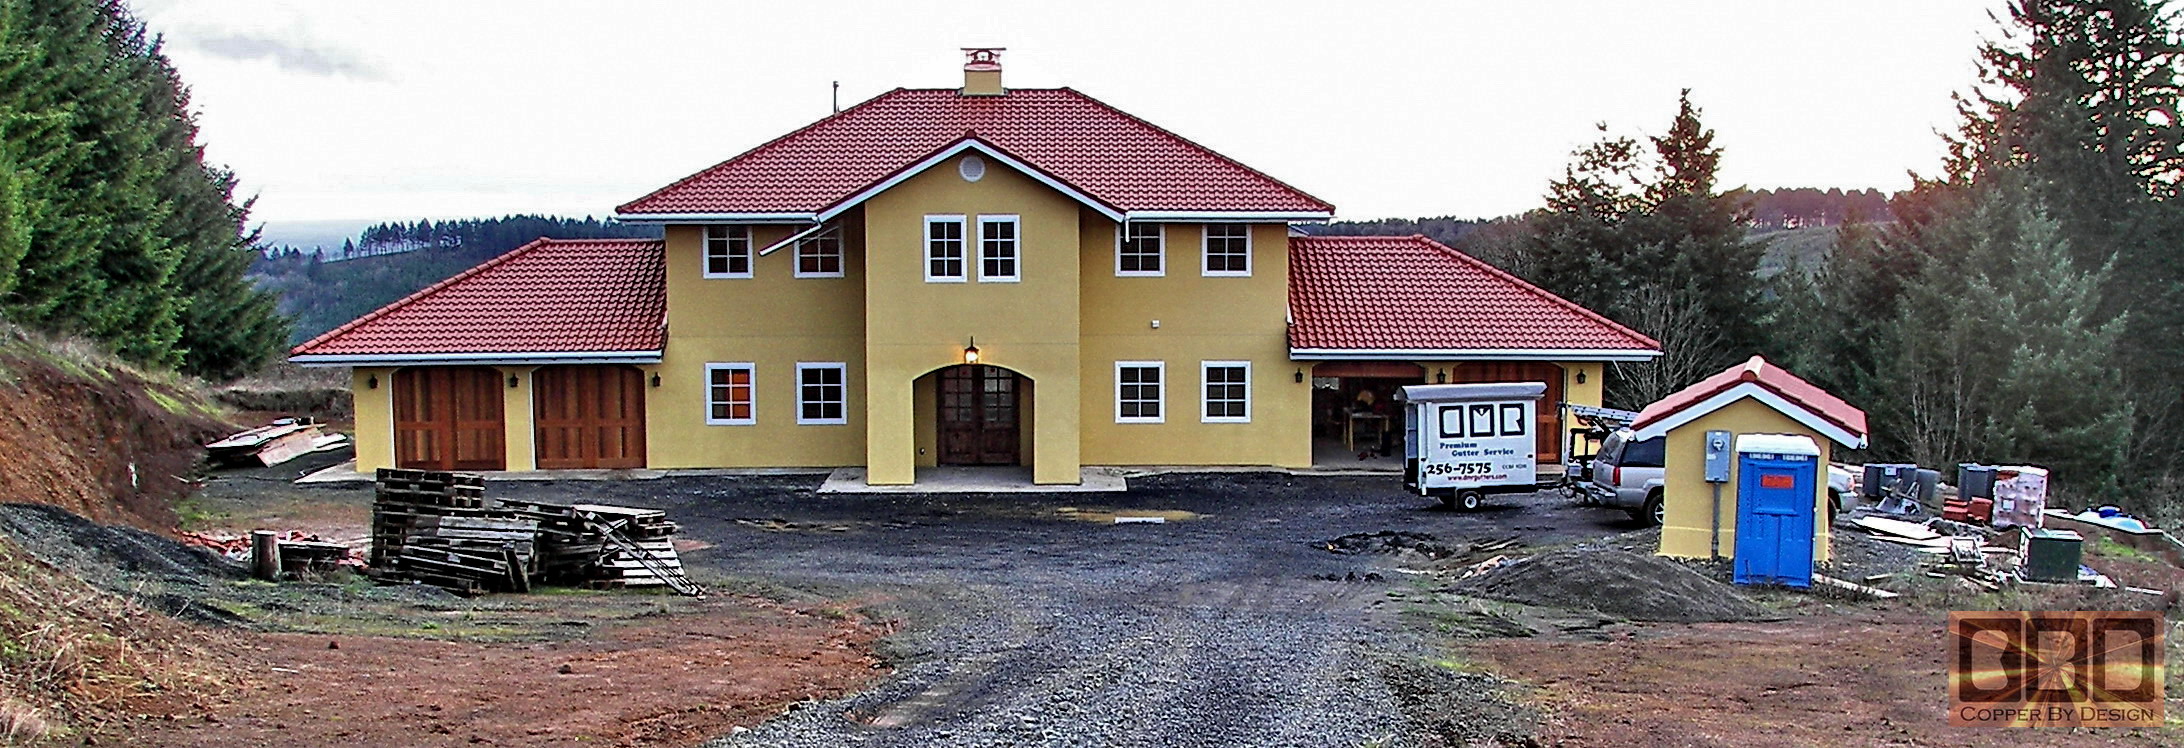
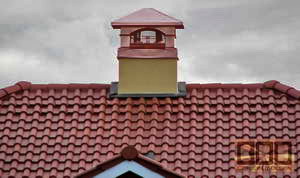
|
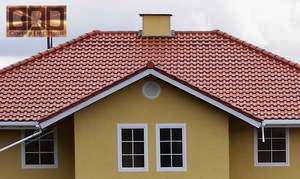
The roof of the house has clay tile roof, so the
owner wanted to minimize the pipe vents needing the punch through the
roof, so he organized all the pipe vents and house vents from the bathrooms
and kitchen to connect in the center and go up through this one area
in the top of the roof. Then contracted us to make this nice vented
screened roof cap.
|
|
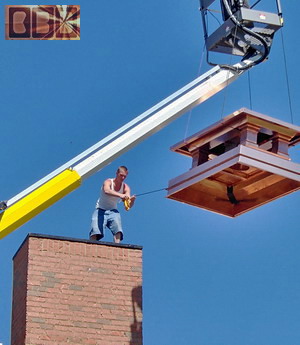
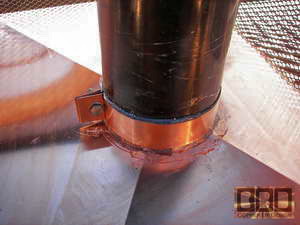
Here is the chimney box from up on the roof as
we show the installation. The flashing just over the roof is copper
as well, and shows the tarnish from just a few months.
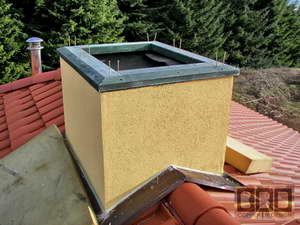 
The first step was to try an level off the stucco
using a chisel. The stud placements were measured for the drilling of
the screw holes in the base frame. Then attach the base frame to the
top with long 3.5" deck screws you will see in the first photo sticking
up out of the wood.
 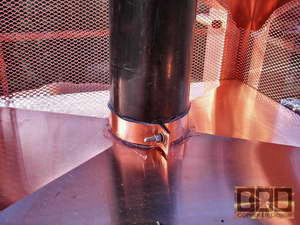
They fitted the vent pipes up through the pan
after we had it secured in place. Then caulk the pan and secure the
pipes with the collar I made with the stainless steel bolt.
The black plastic pipe was trimmed a little lower
before the roof was installed and screwed down tight and the plastic
film finally pealed off.

|
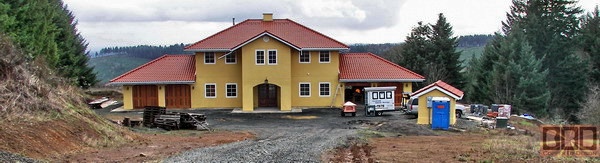
|

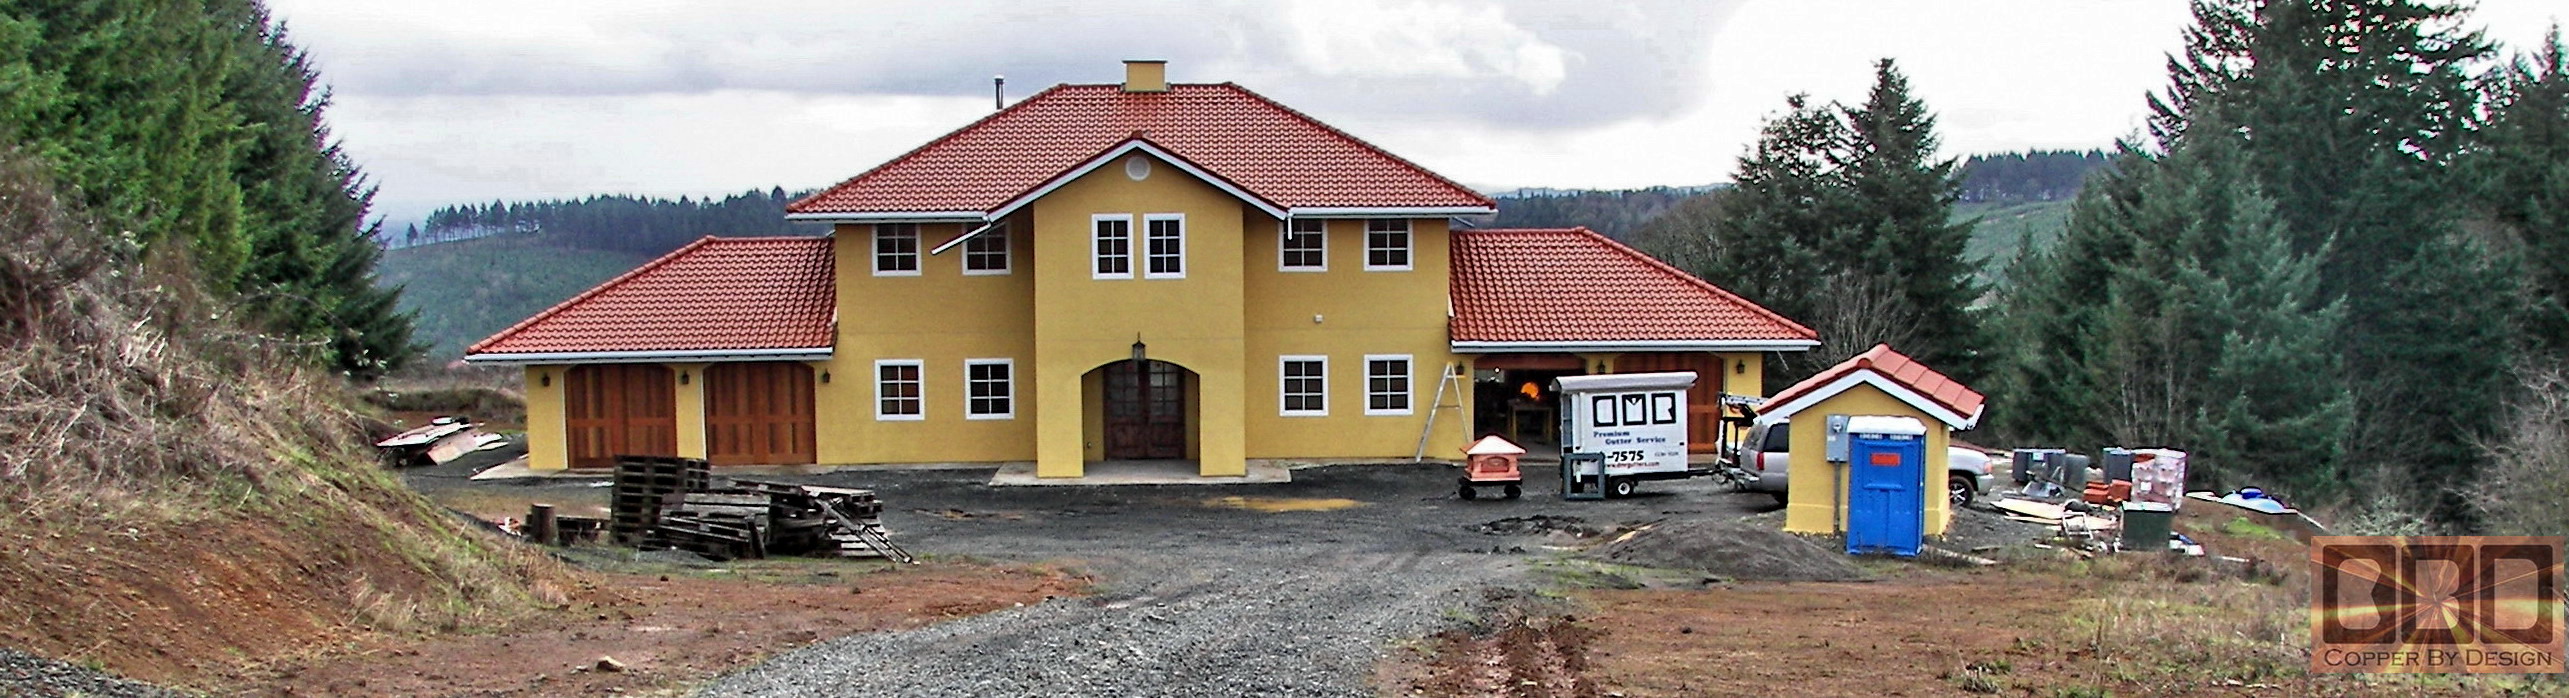
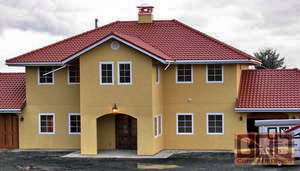
Here is more photos of the house with the finished
copper chimney cap in place
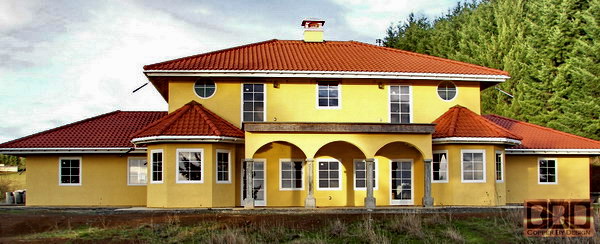
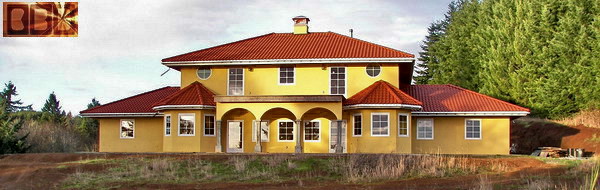
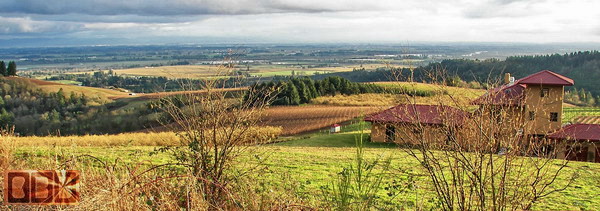
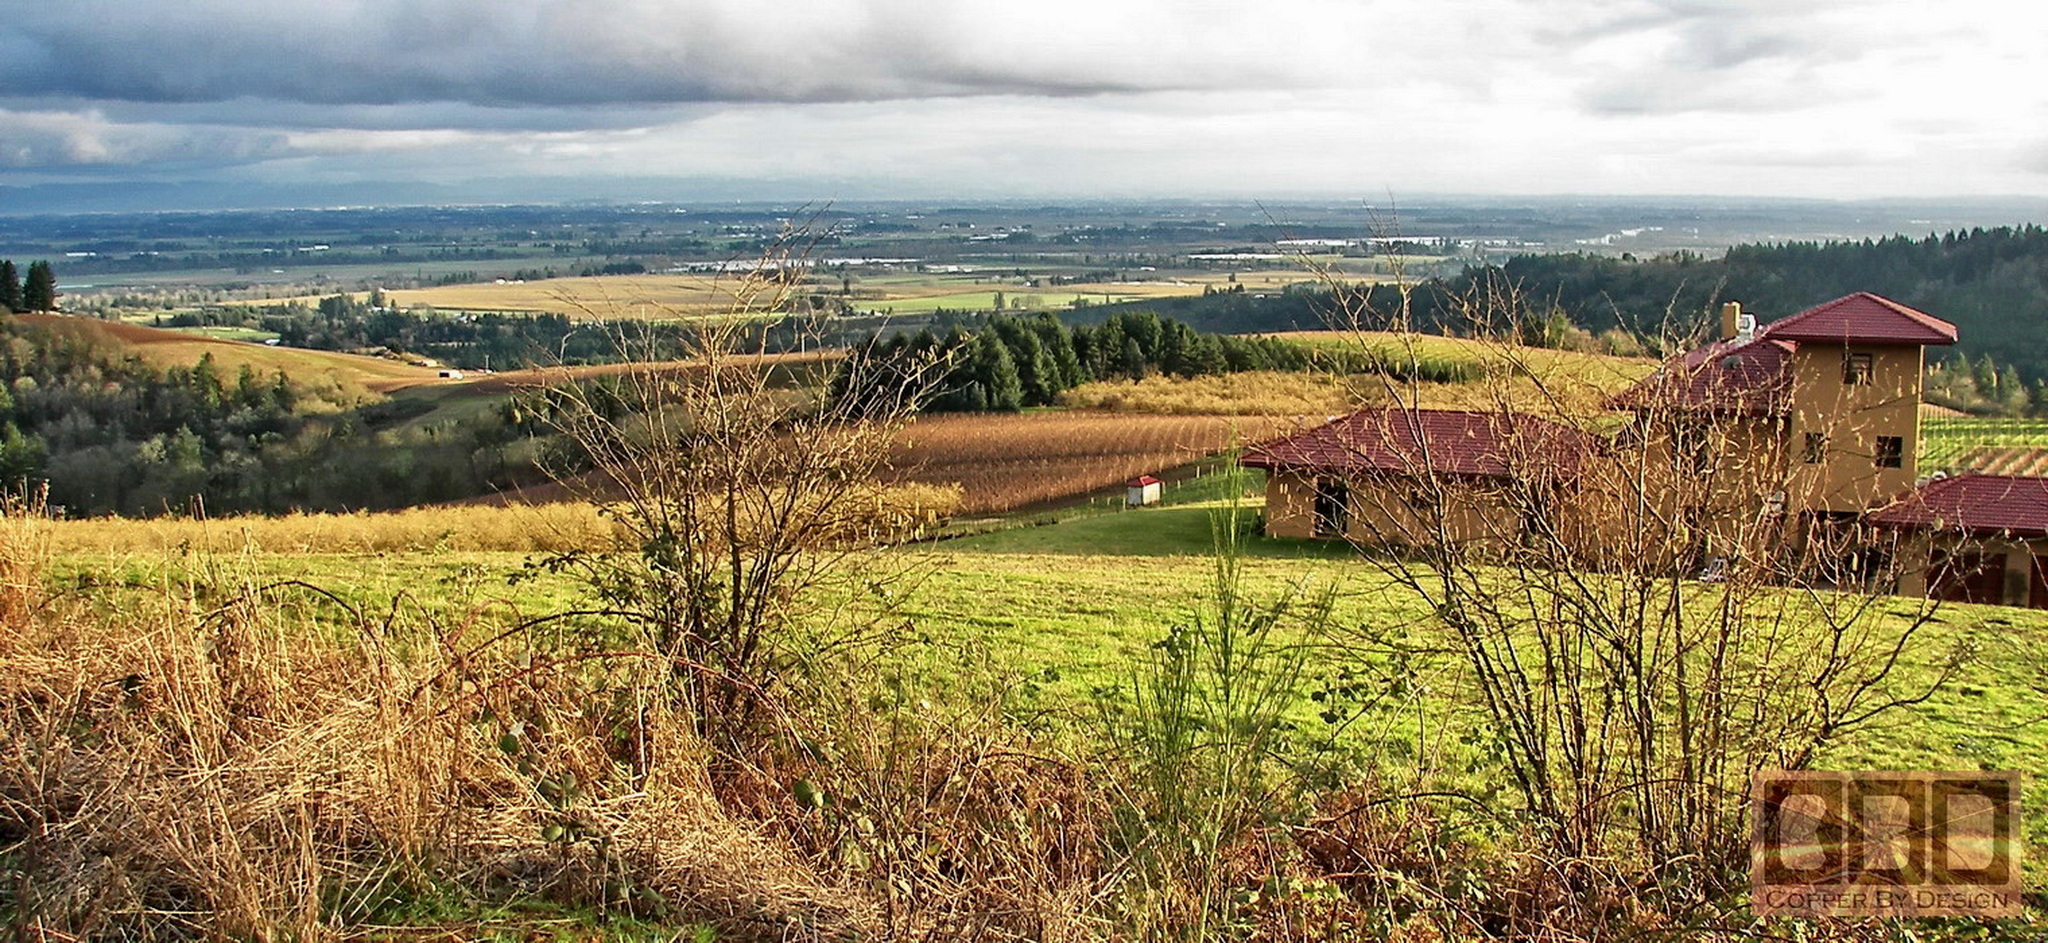
Here is their splendid view from the back of the
house.
|